Pale Rider
-
Posts
42 -
Joined
-
Last visited
About Pale Rider
-
Rank
Member
")
- Birthday July 24
Recent Profile Visitors


-

New KK Teak Flooring for Pool House
Pale Rider replied to Pale Rider's topic in Hand Hewn Floors General
I hear ya. It gets pretty windy here (as it does at many tropical places full of umbrellas), and I expect to watch this thing carefully. What we don't have here is tornados or anything like real hurricanes. I have it sunk below the patio on a four foot concrete post base. It was delivered with two 90-pound steel plates (which are supposed to help it withstand 50mph gusts), but my builder estimates we more than tripled its mooring weight. I am under no illusions about a severe storm though, so we try to practice the habit of cranking it closed every week in the summer (when it almost never rains) and every day we use it in the more unpredictable months. -
New KK Teak Flooring for Pool House
Pale Rider replied to Pale Rider's topic in Hand Hewn Floors General
It's pretty big. It's 14 feet wide by 10 feet deep. -
New KK Teak Flooring for Pool House
Pale Rider replied to Pale Rider's topic in Hand Hewn Floors General
Yep. House was pretty run down when we bought it [divorce, constant refi and withdraw money, no maintenance, etc.], so got quite a deal, but the tennis court and basketball court were salvageable. The pool, sadly, was not. So we ripped it out and started over, and we added the pool house. -
New KK Teak Flooring for Pool House
Pale Rider replied to Pale Rider's topic in Hand Hewn Floors General
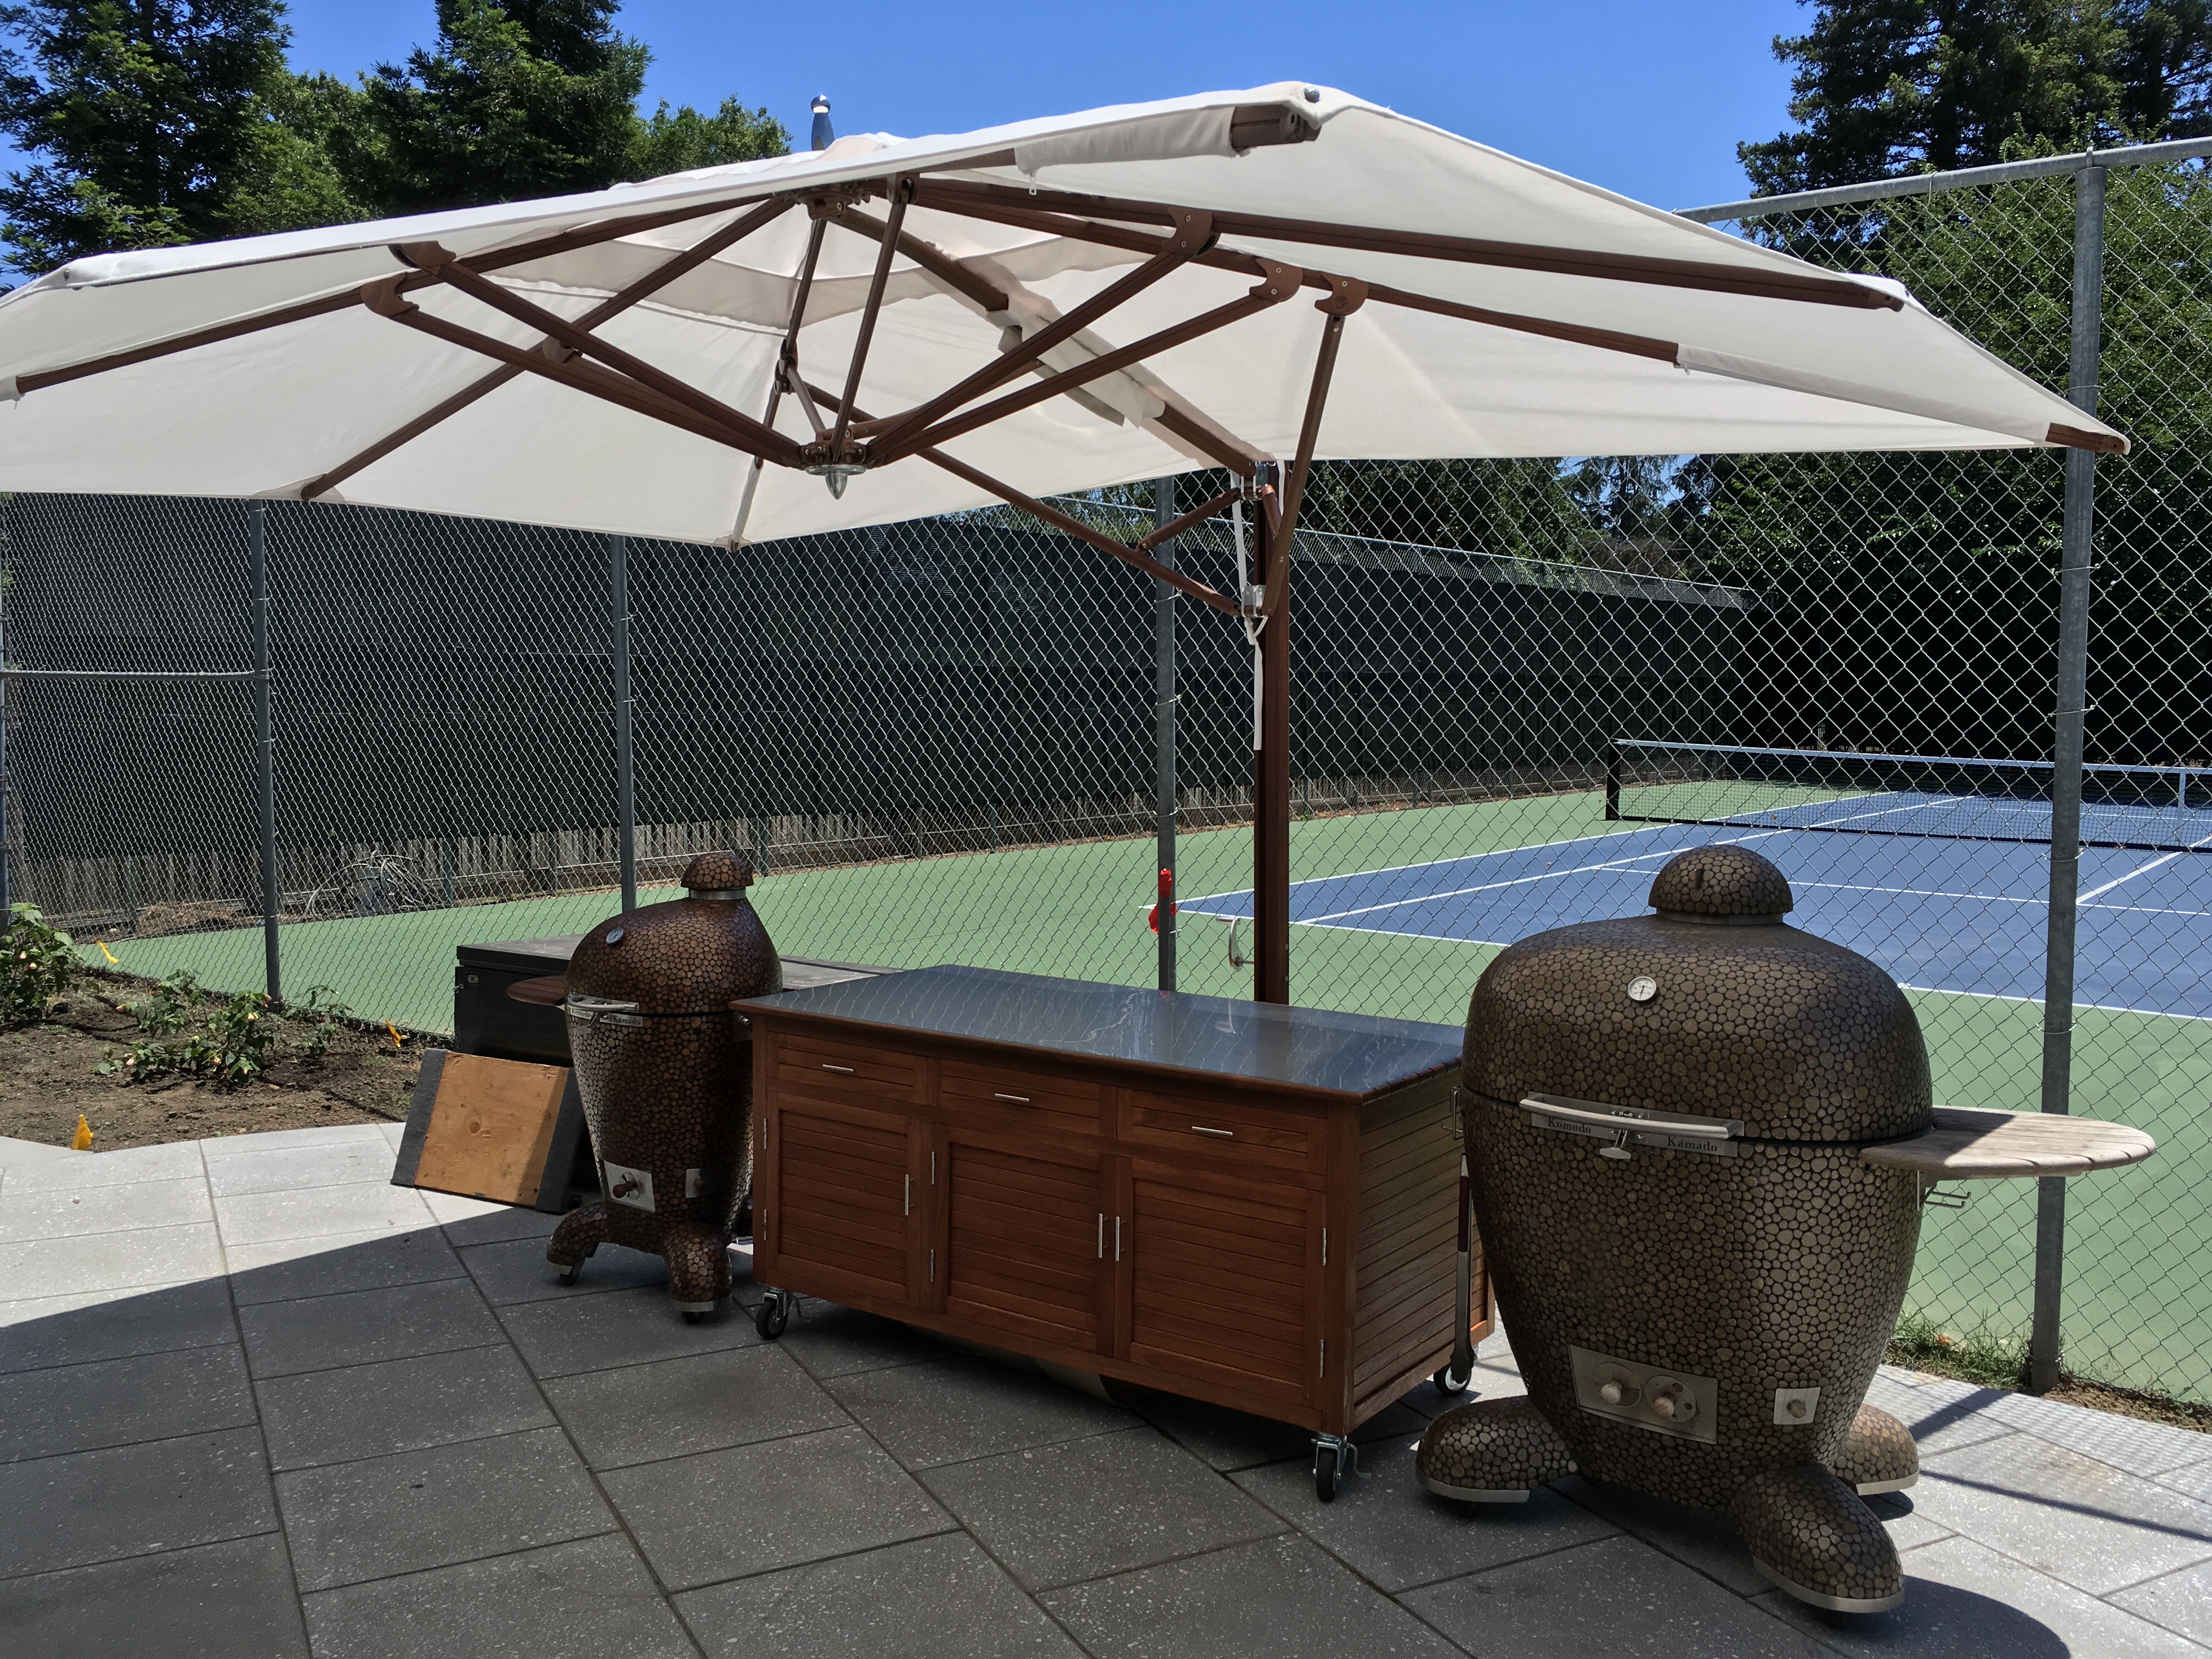
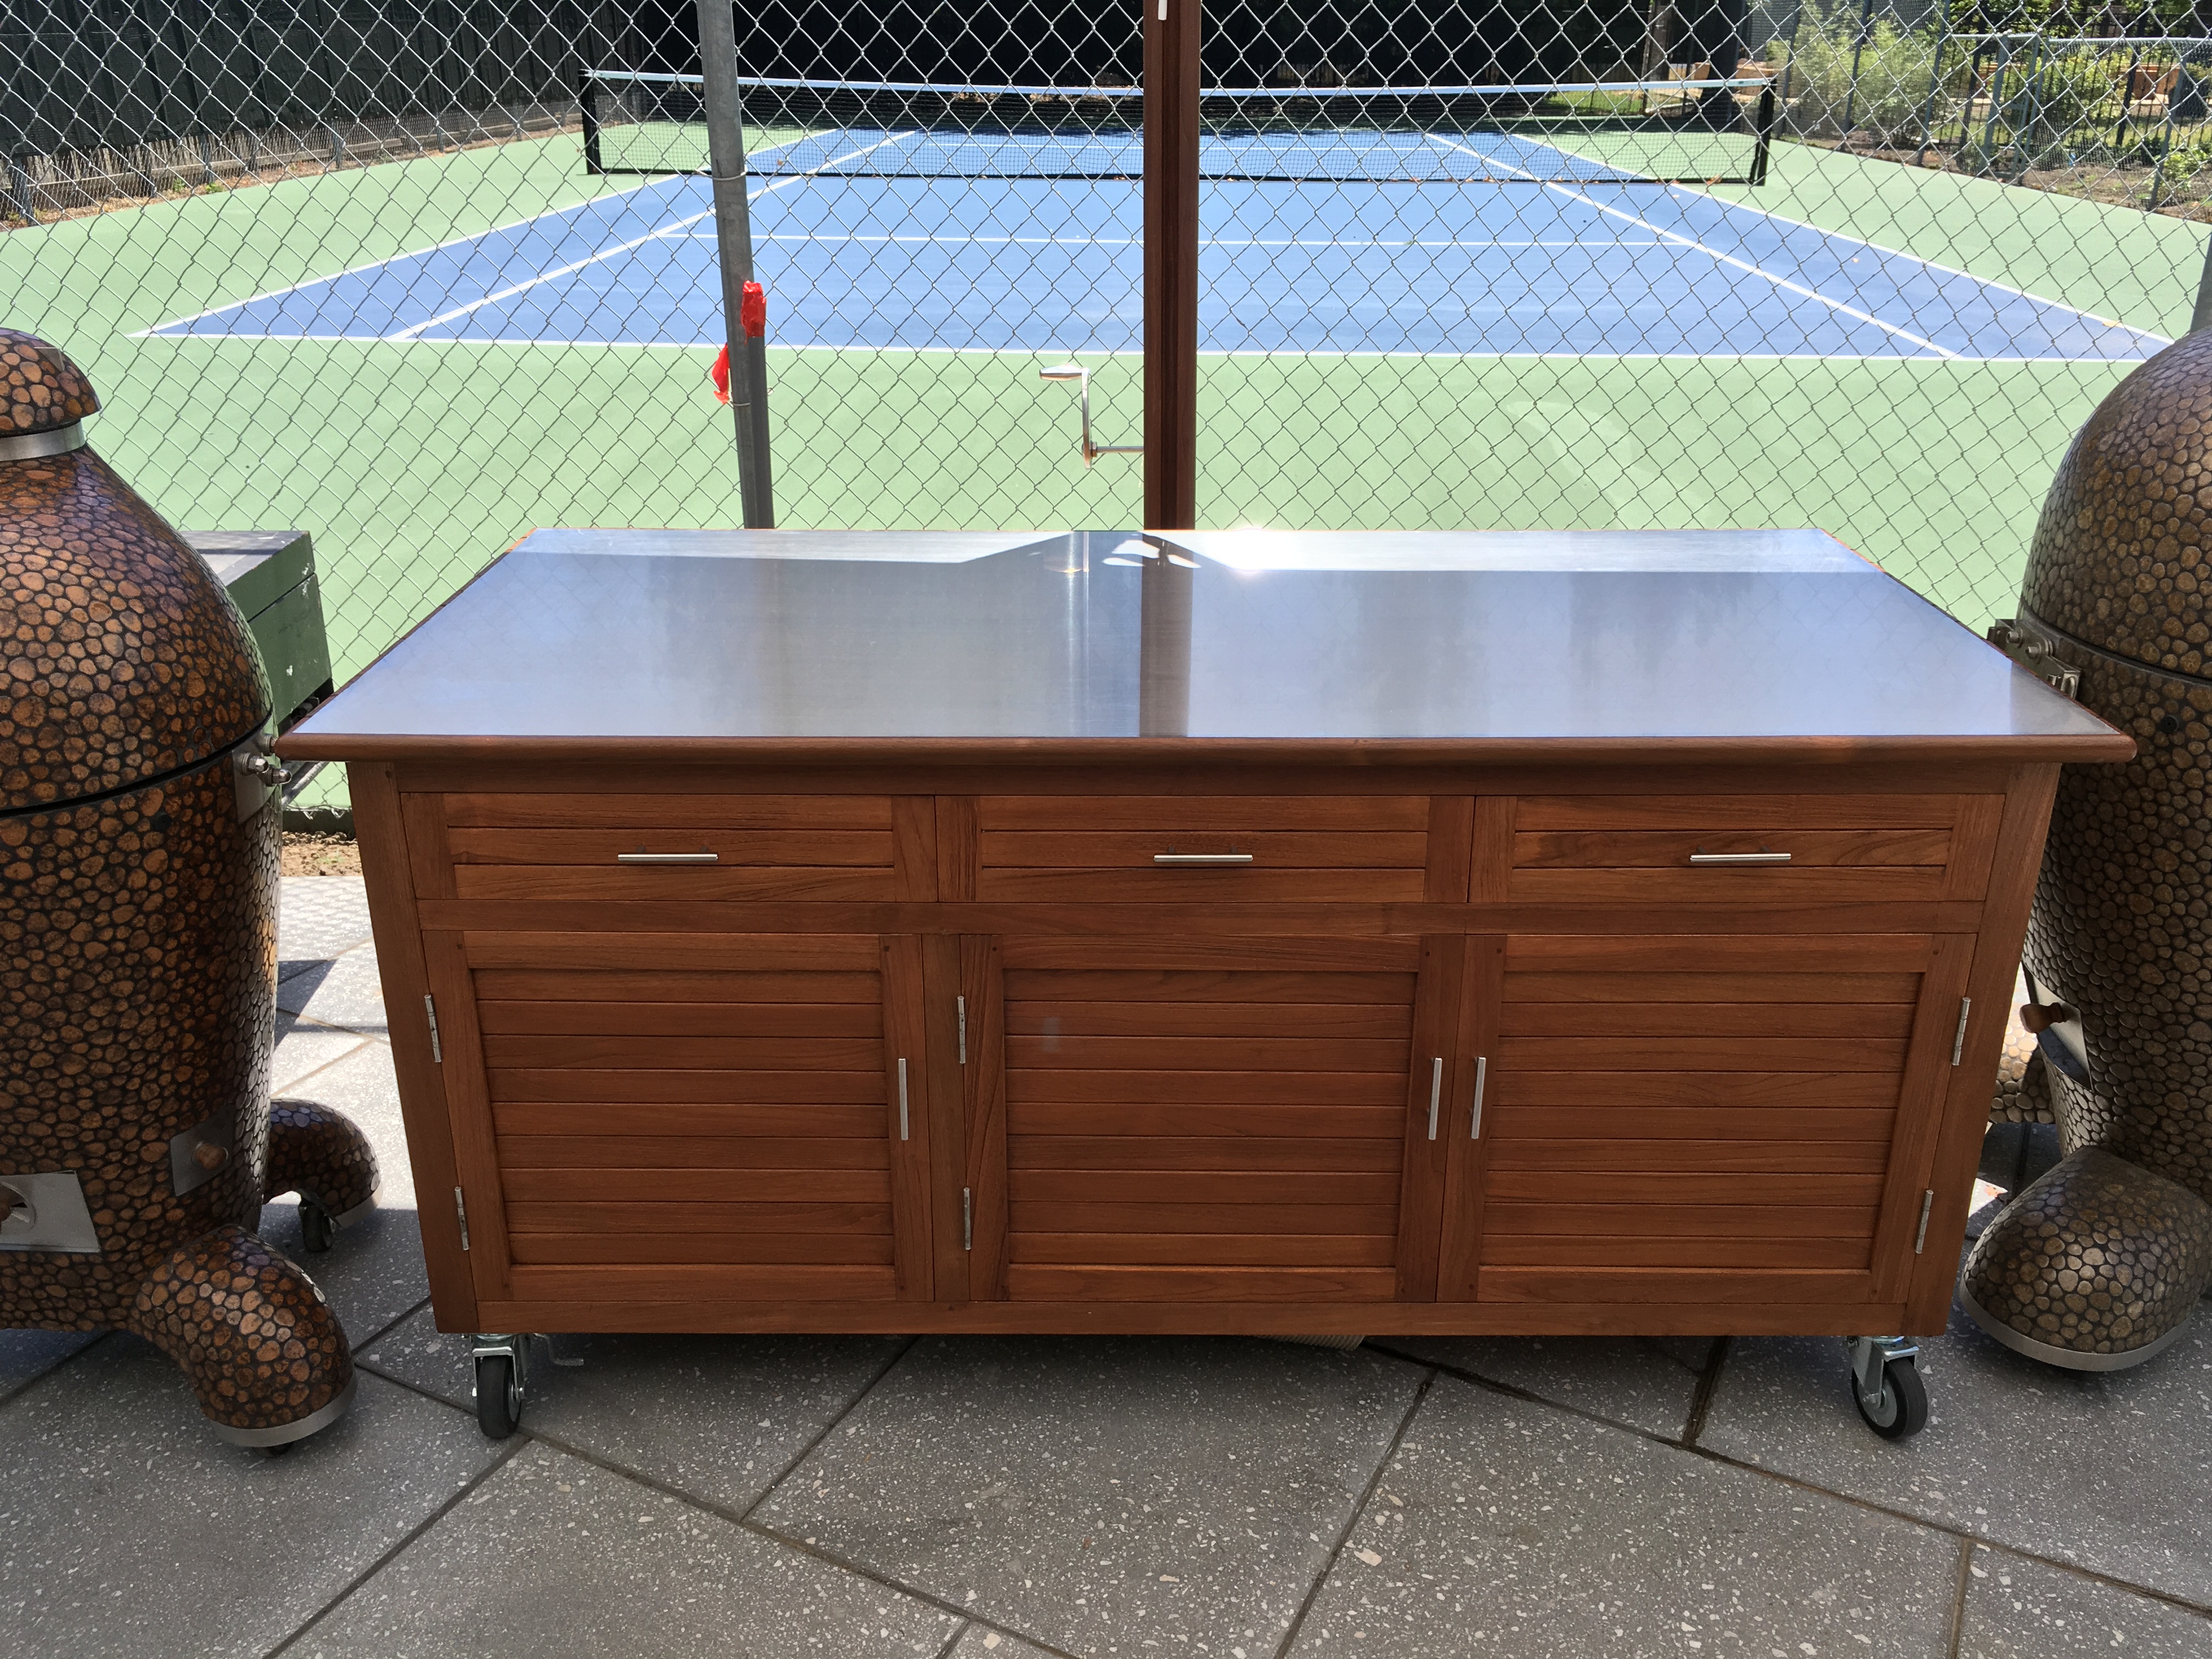
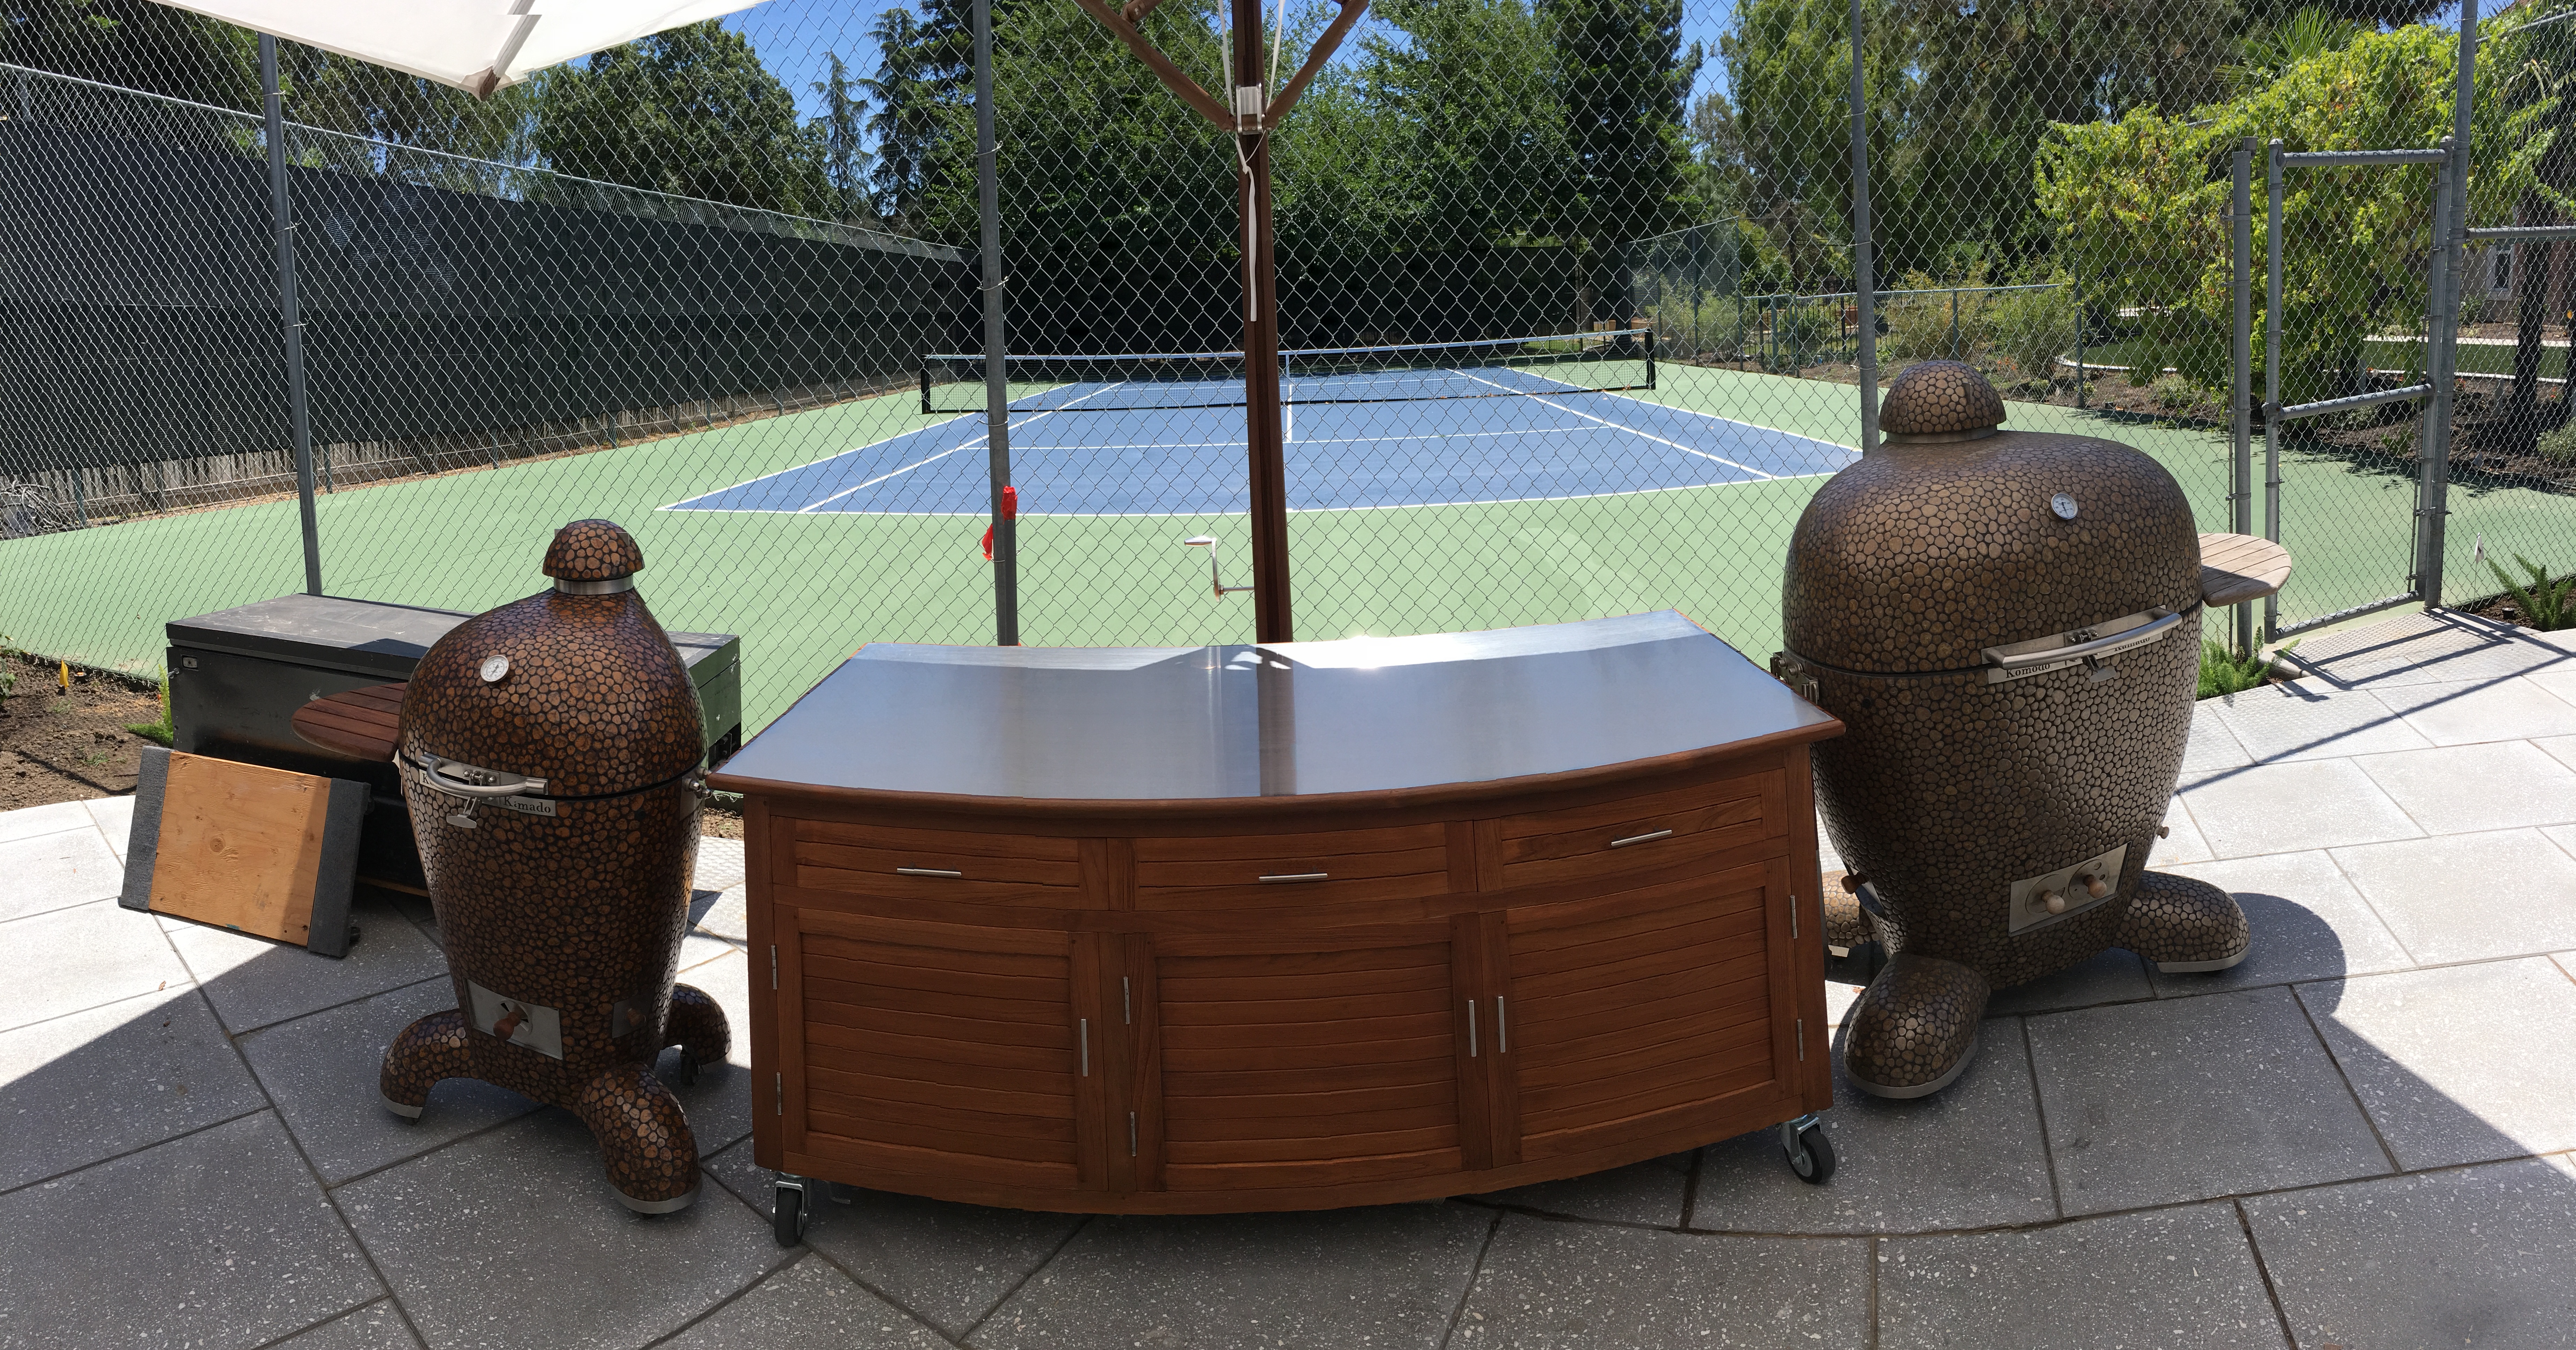
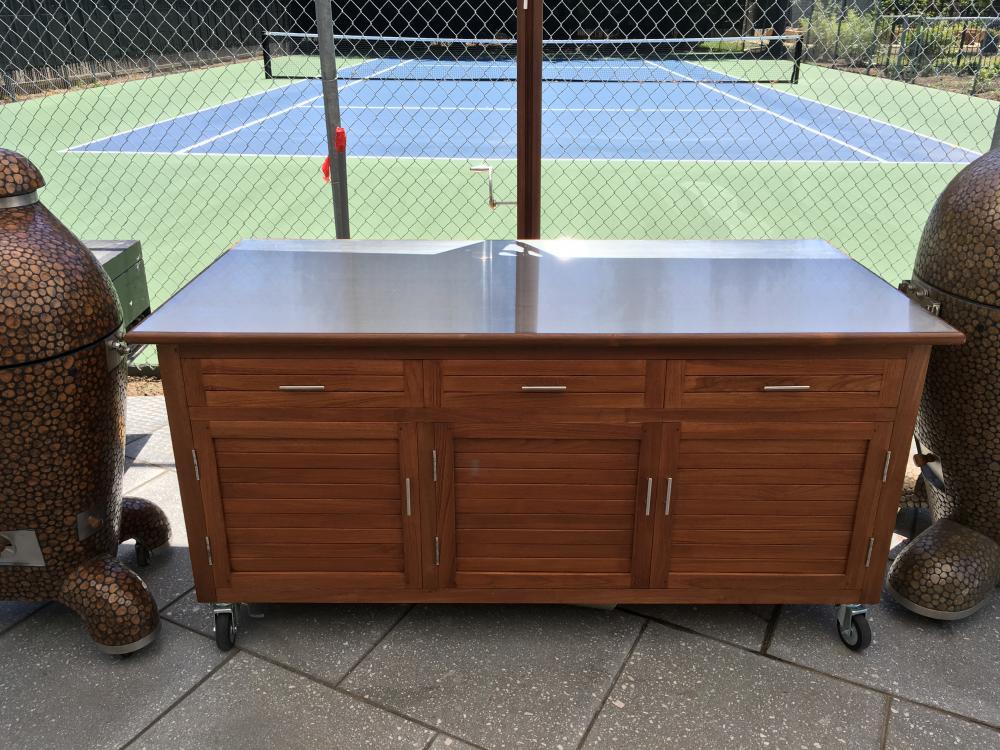
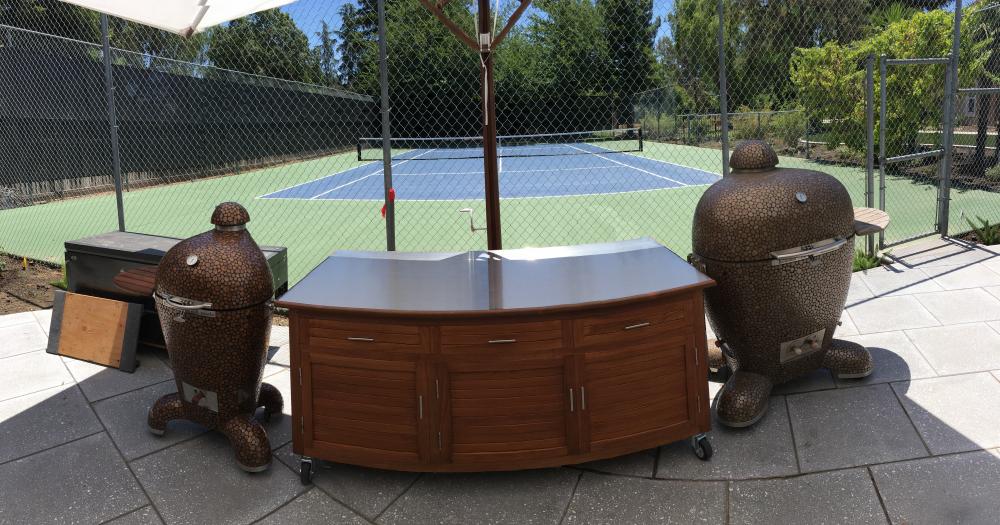
Pics of the new 19 inch and the new cabinet under the umbrella. As always, the workmanship is just superb. These sit right outside the pool house where the flooring has been installed [but is currently covered up for final painting].
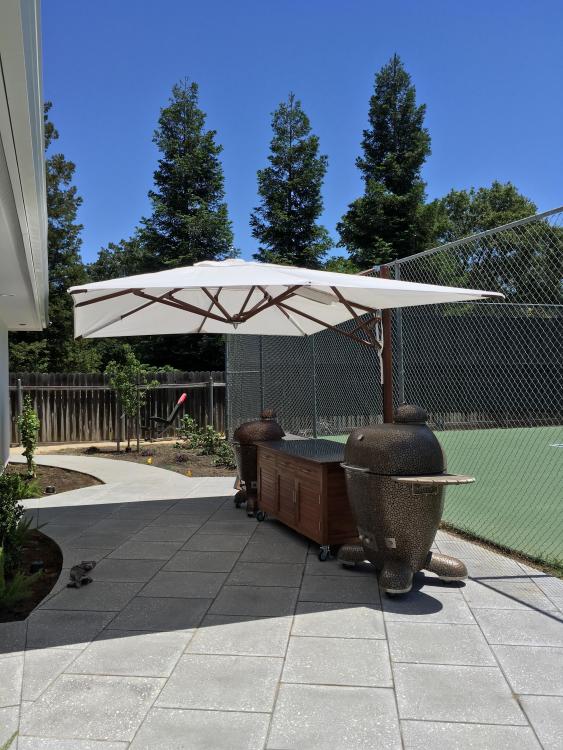
-
New KK Teak Flooring for Pool House
Pale Rider replied to Pale Rider's topic in Hand Hewn Floors General
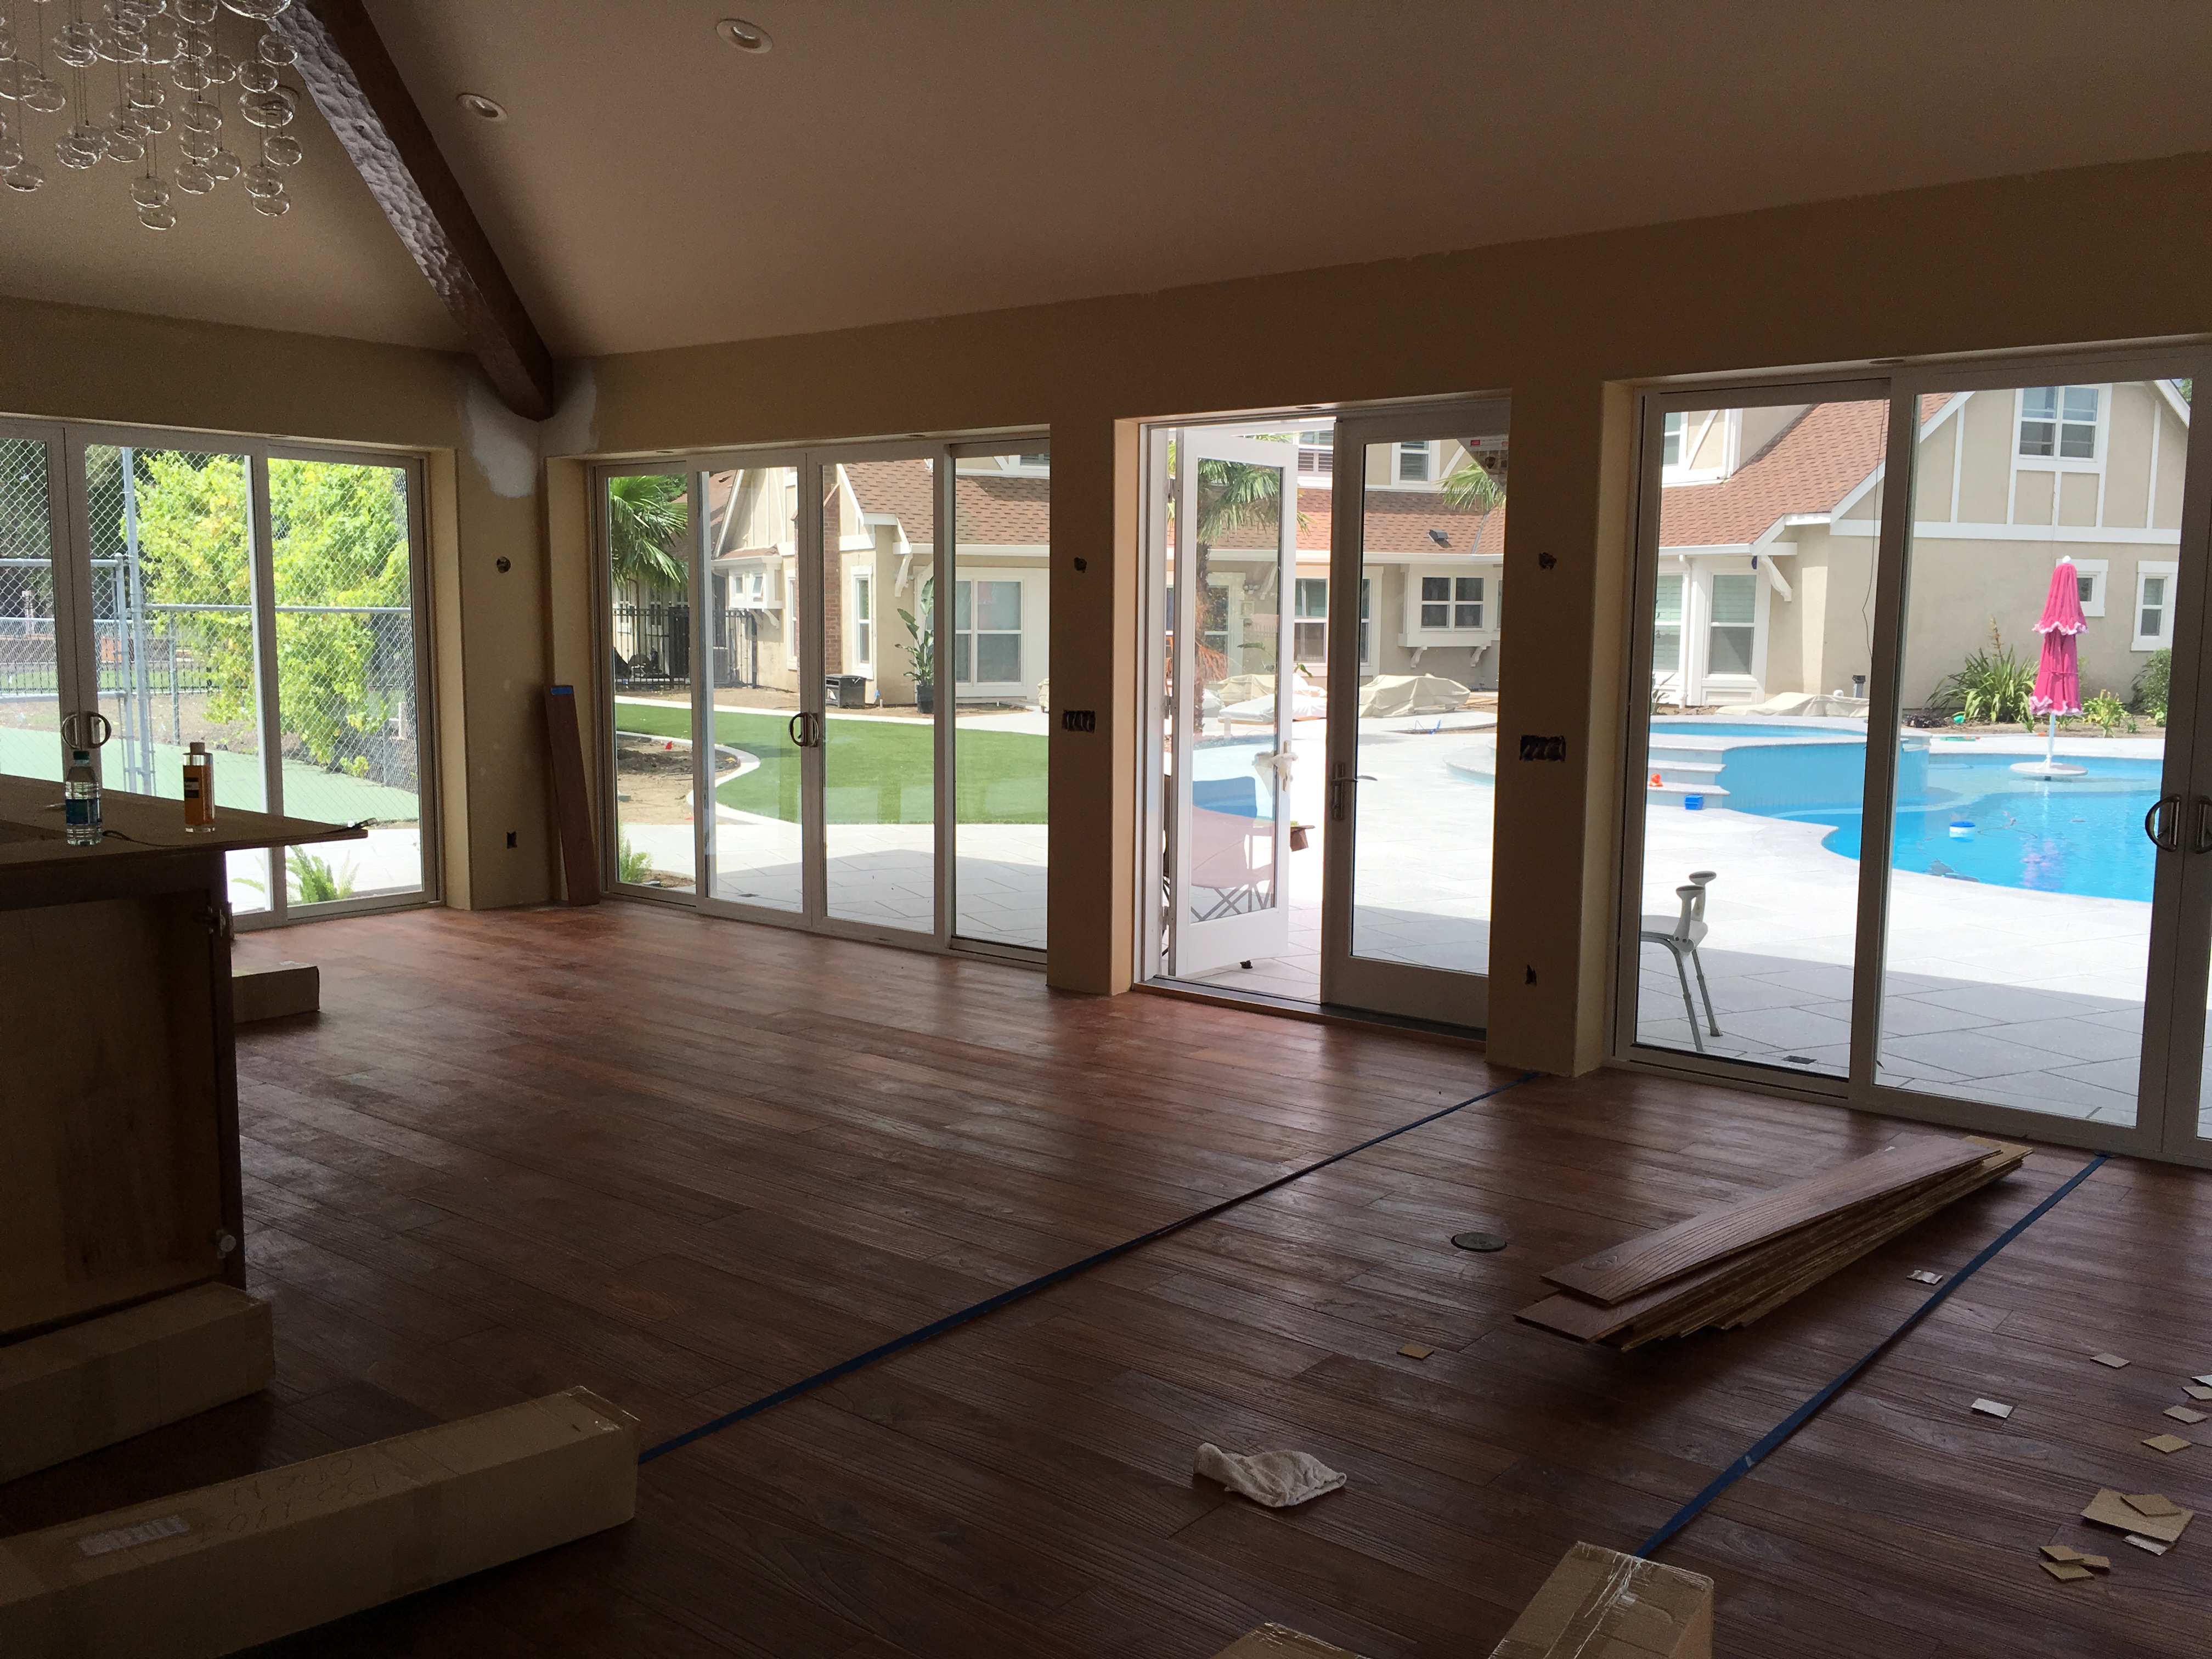
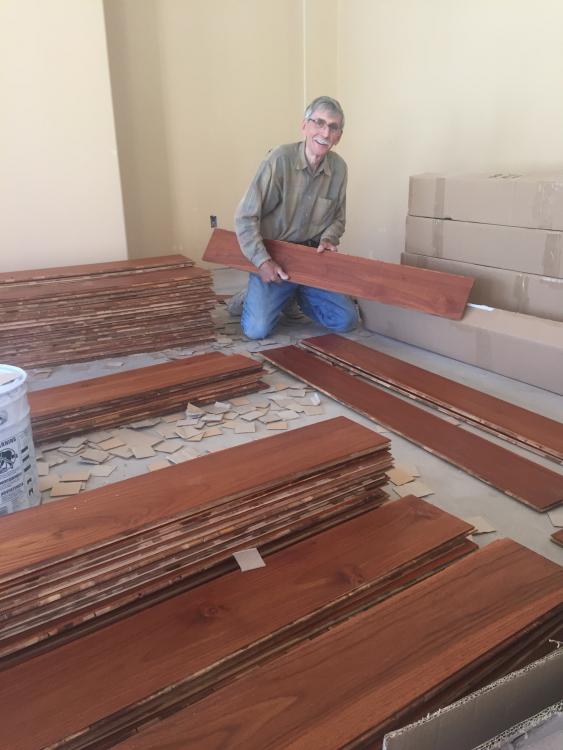
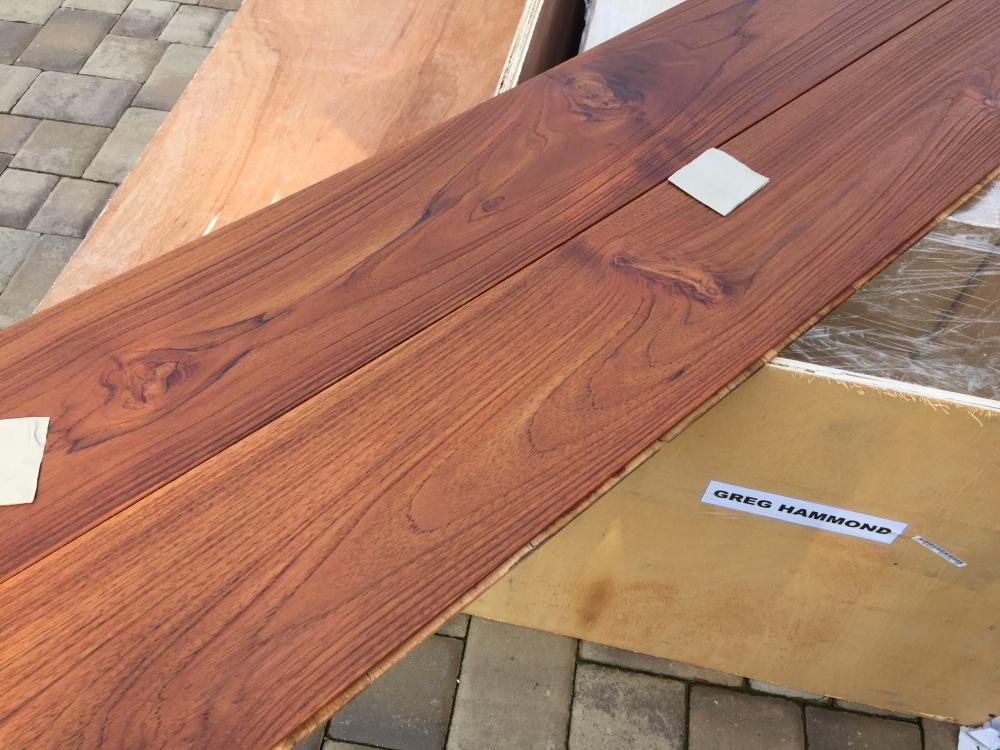
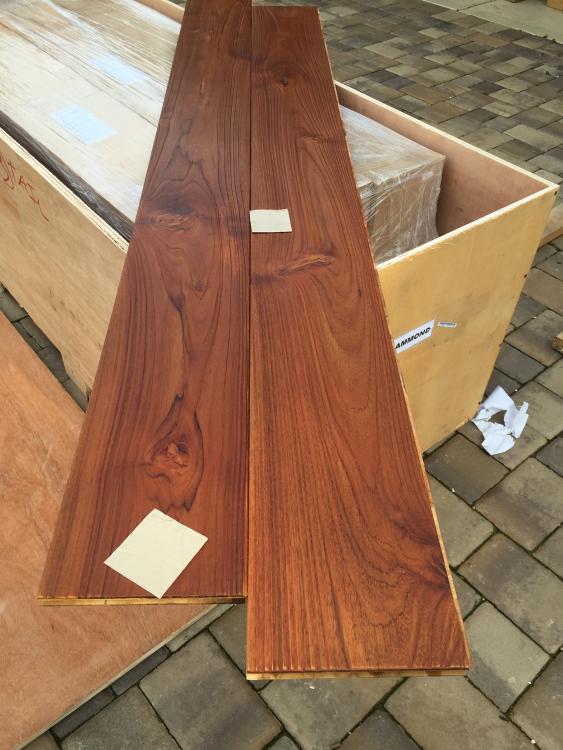
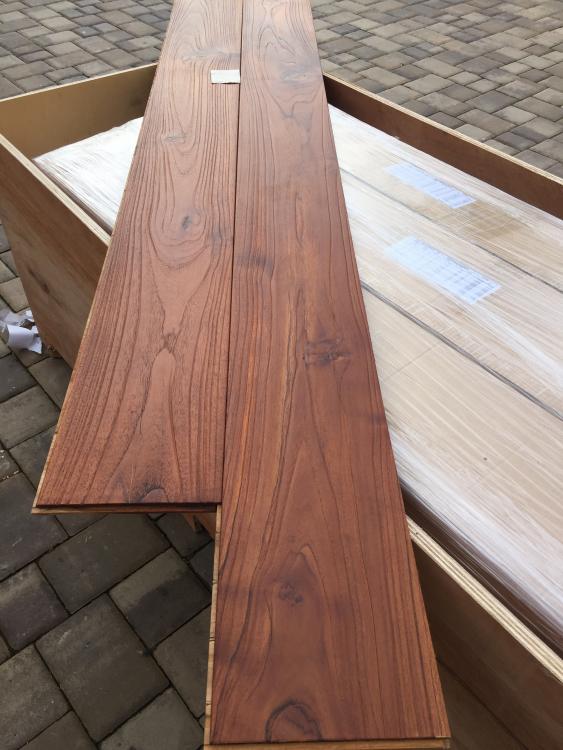
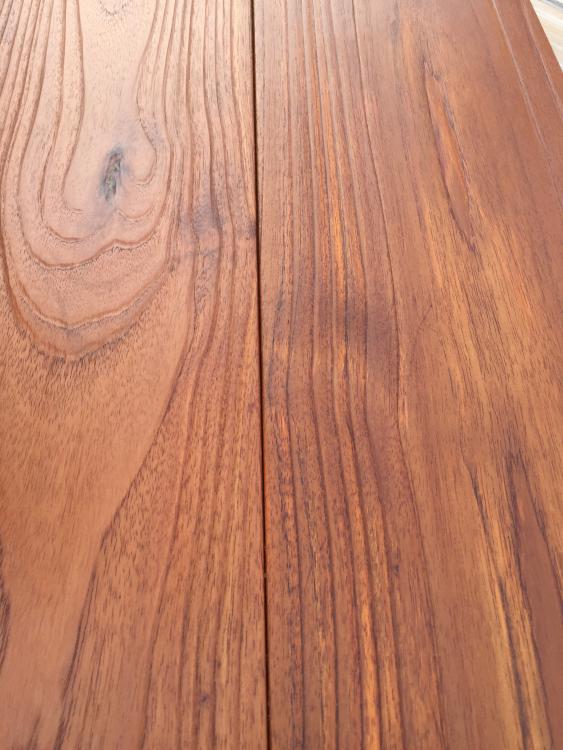
We are making progress on our flooring. We were fortunate to get a real "old world/old school" fellow named Ivan to install it. The tongue & groove construction is especially tight and requires a lot of work to get it right. The hand-hewn construction means that slight variations in pieces require attention to detail and keeping a straight line. Because we are installing the flooring "across the horizontal" of our pool house, it means that there is a wide optic into the floor line. All this makes careful workmanship valuable. Walking on this floor barefoot feels so good.

-
New KK Teak Flooring for Pool House
Pale Rider replied to Pale Rider's topic in Hand Hewn Floors General
Can't wait for the cabinet to arrive. It looks just beautiful. Flooring goes into the pool house next week. Will have some updated pics shorty thereafter. -
Pale Rider changed their profile photo
-
New KK Teak Flooring for Pool House
Pale Rider replied to Pale Rider's topic in Hand Hewn Floors General
Couldn't have said it better. Top shelf quality all the way. Will post some pics of the installed floor, and then the 32 and 19 with the new cabinet Dennis is building for me once they are all set up together. -
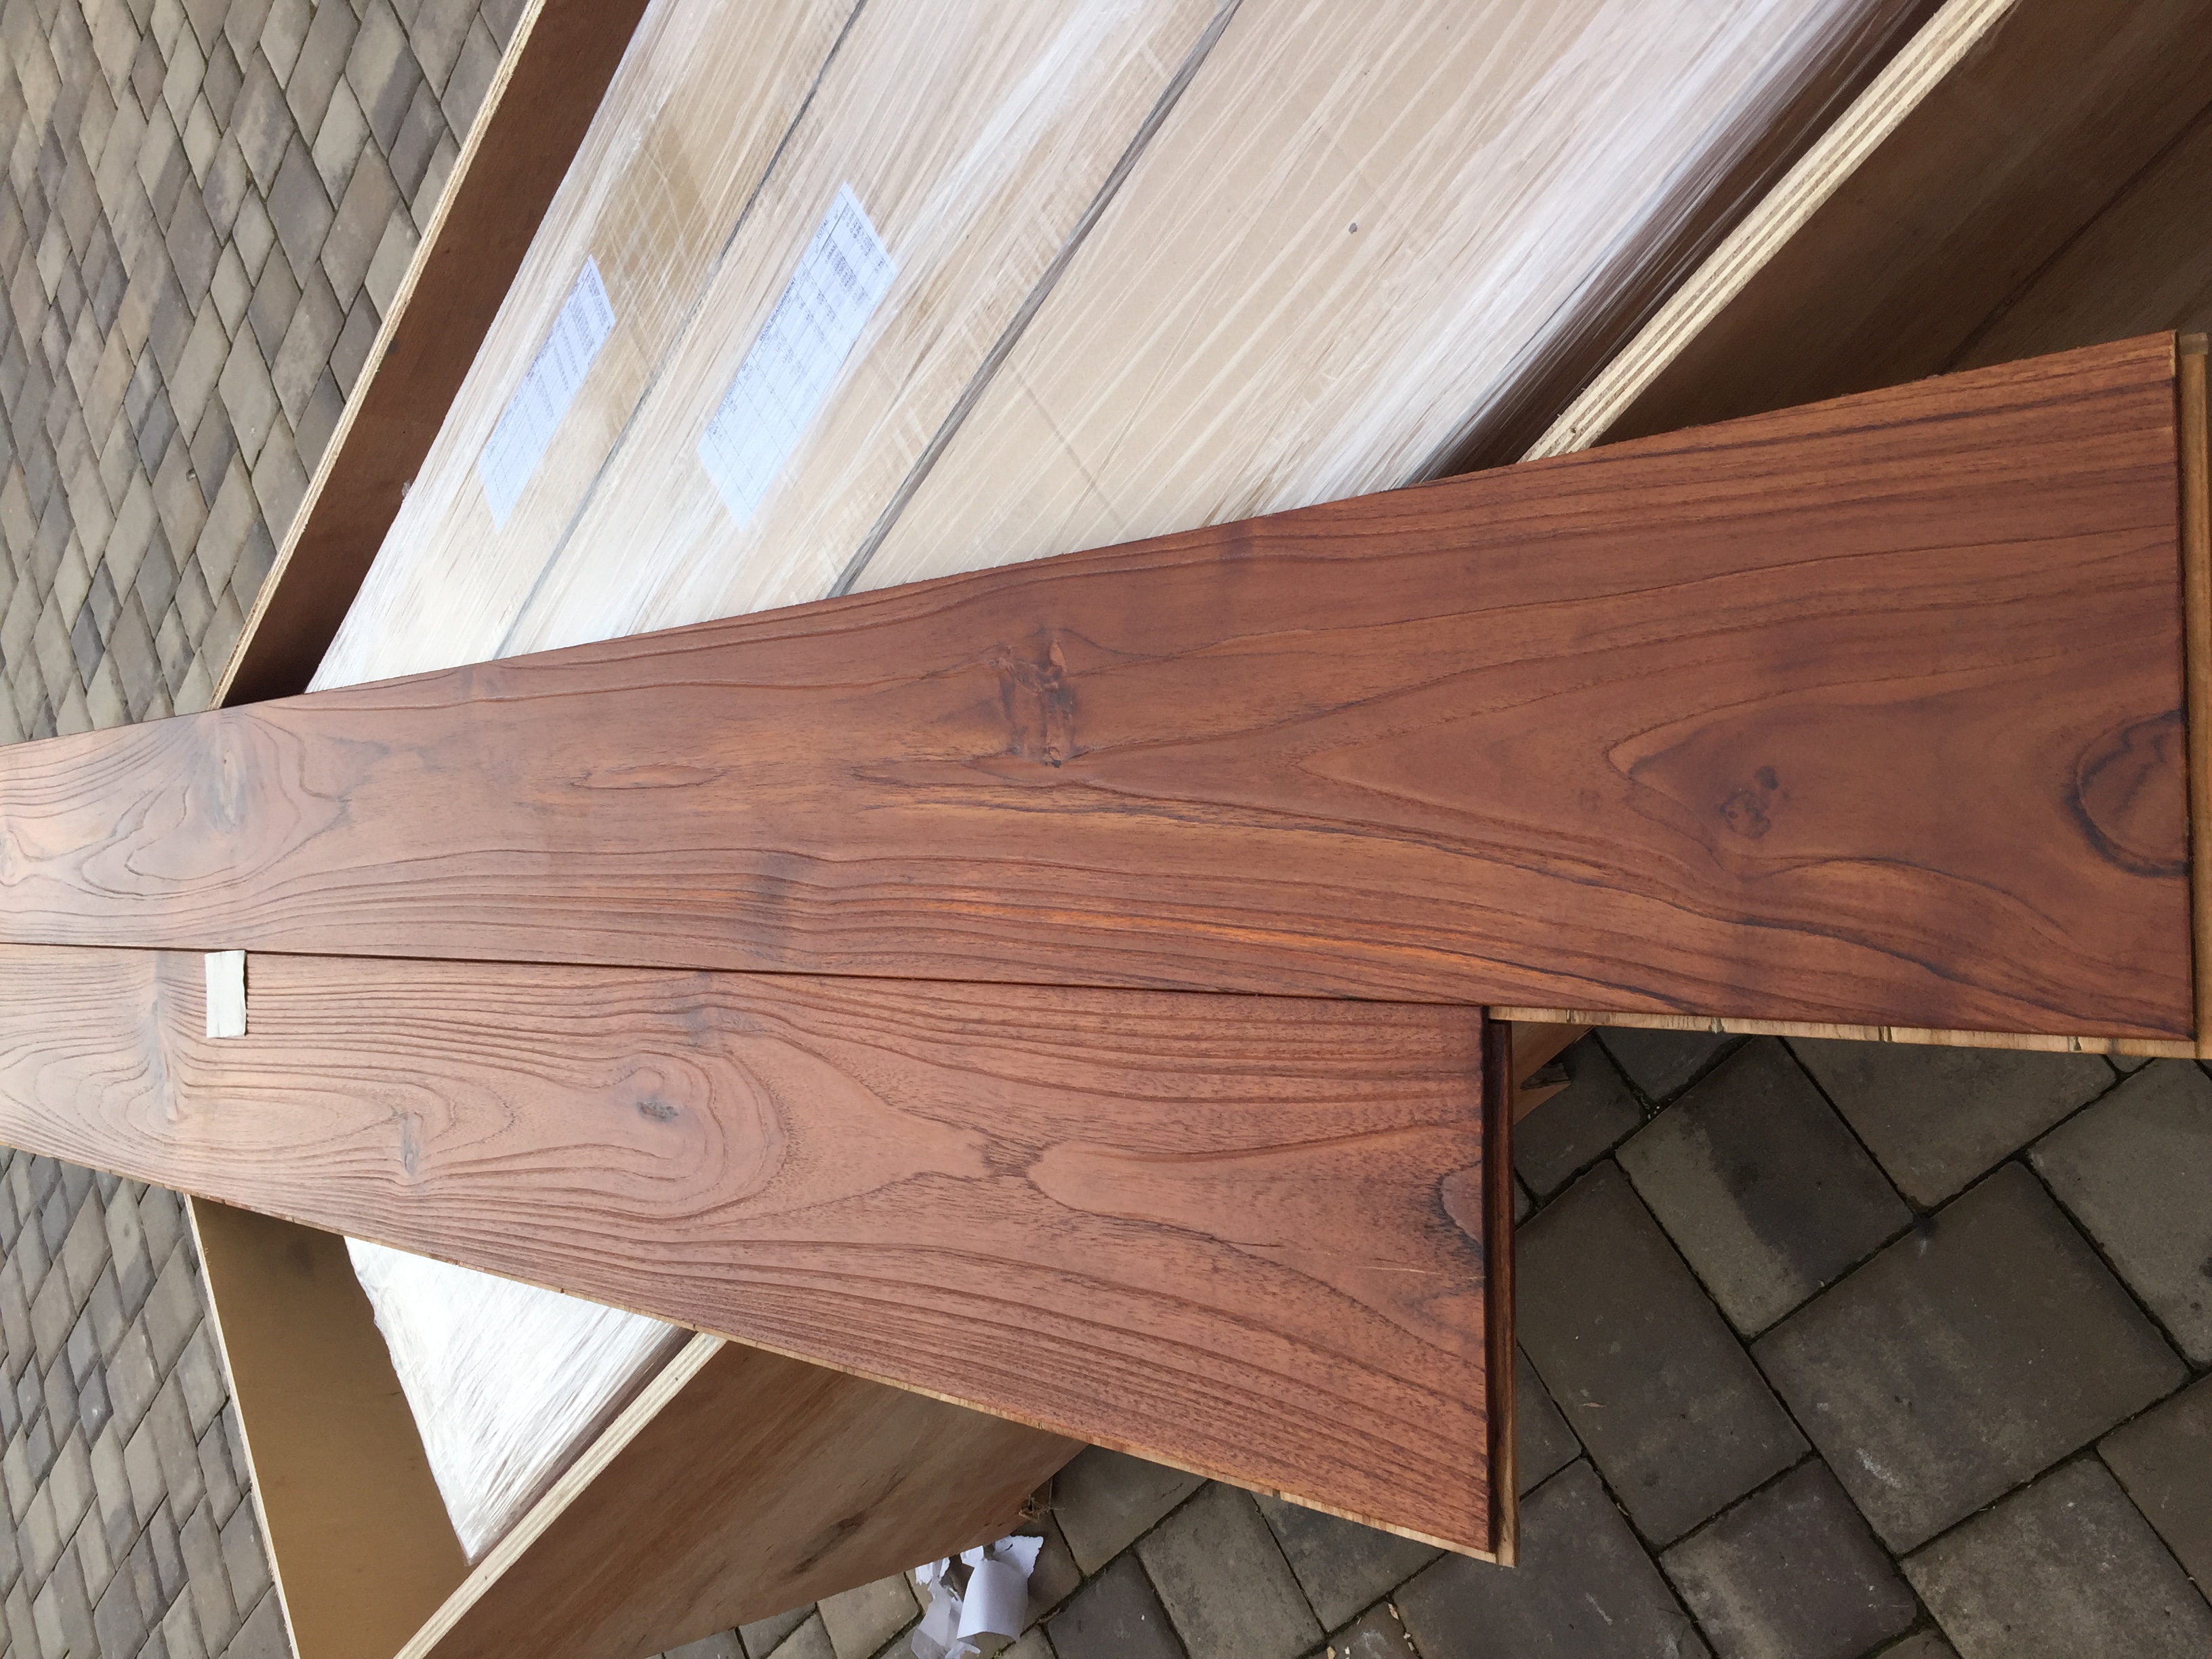
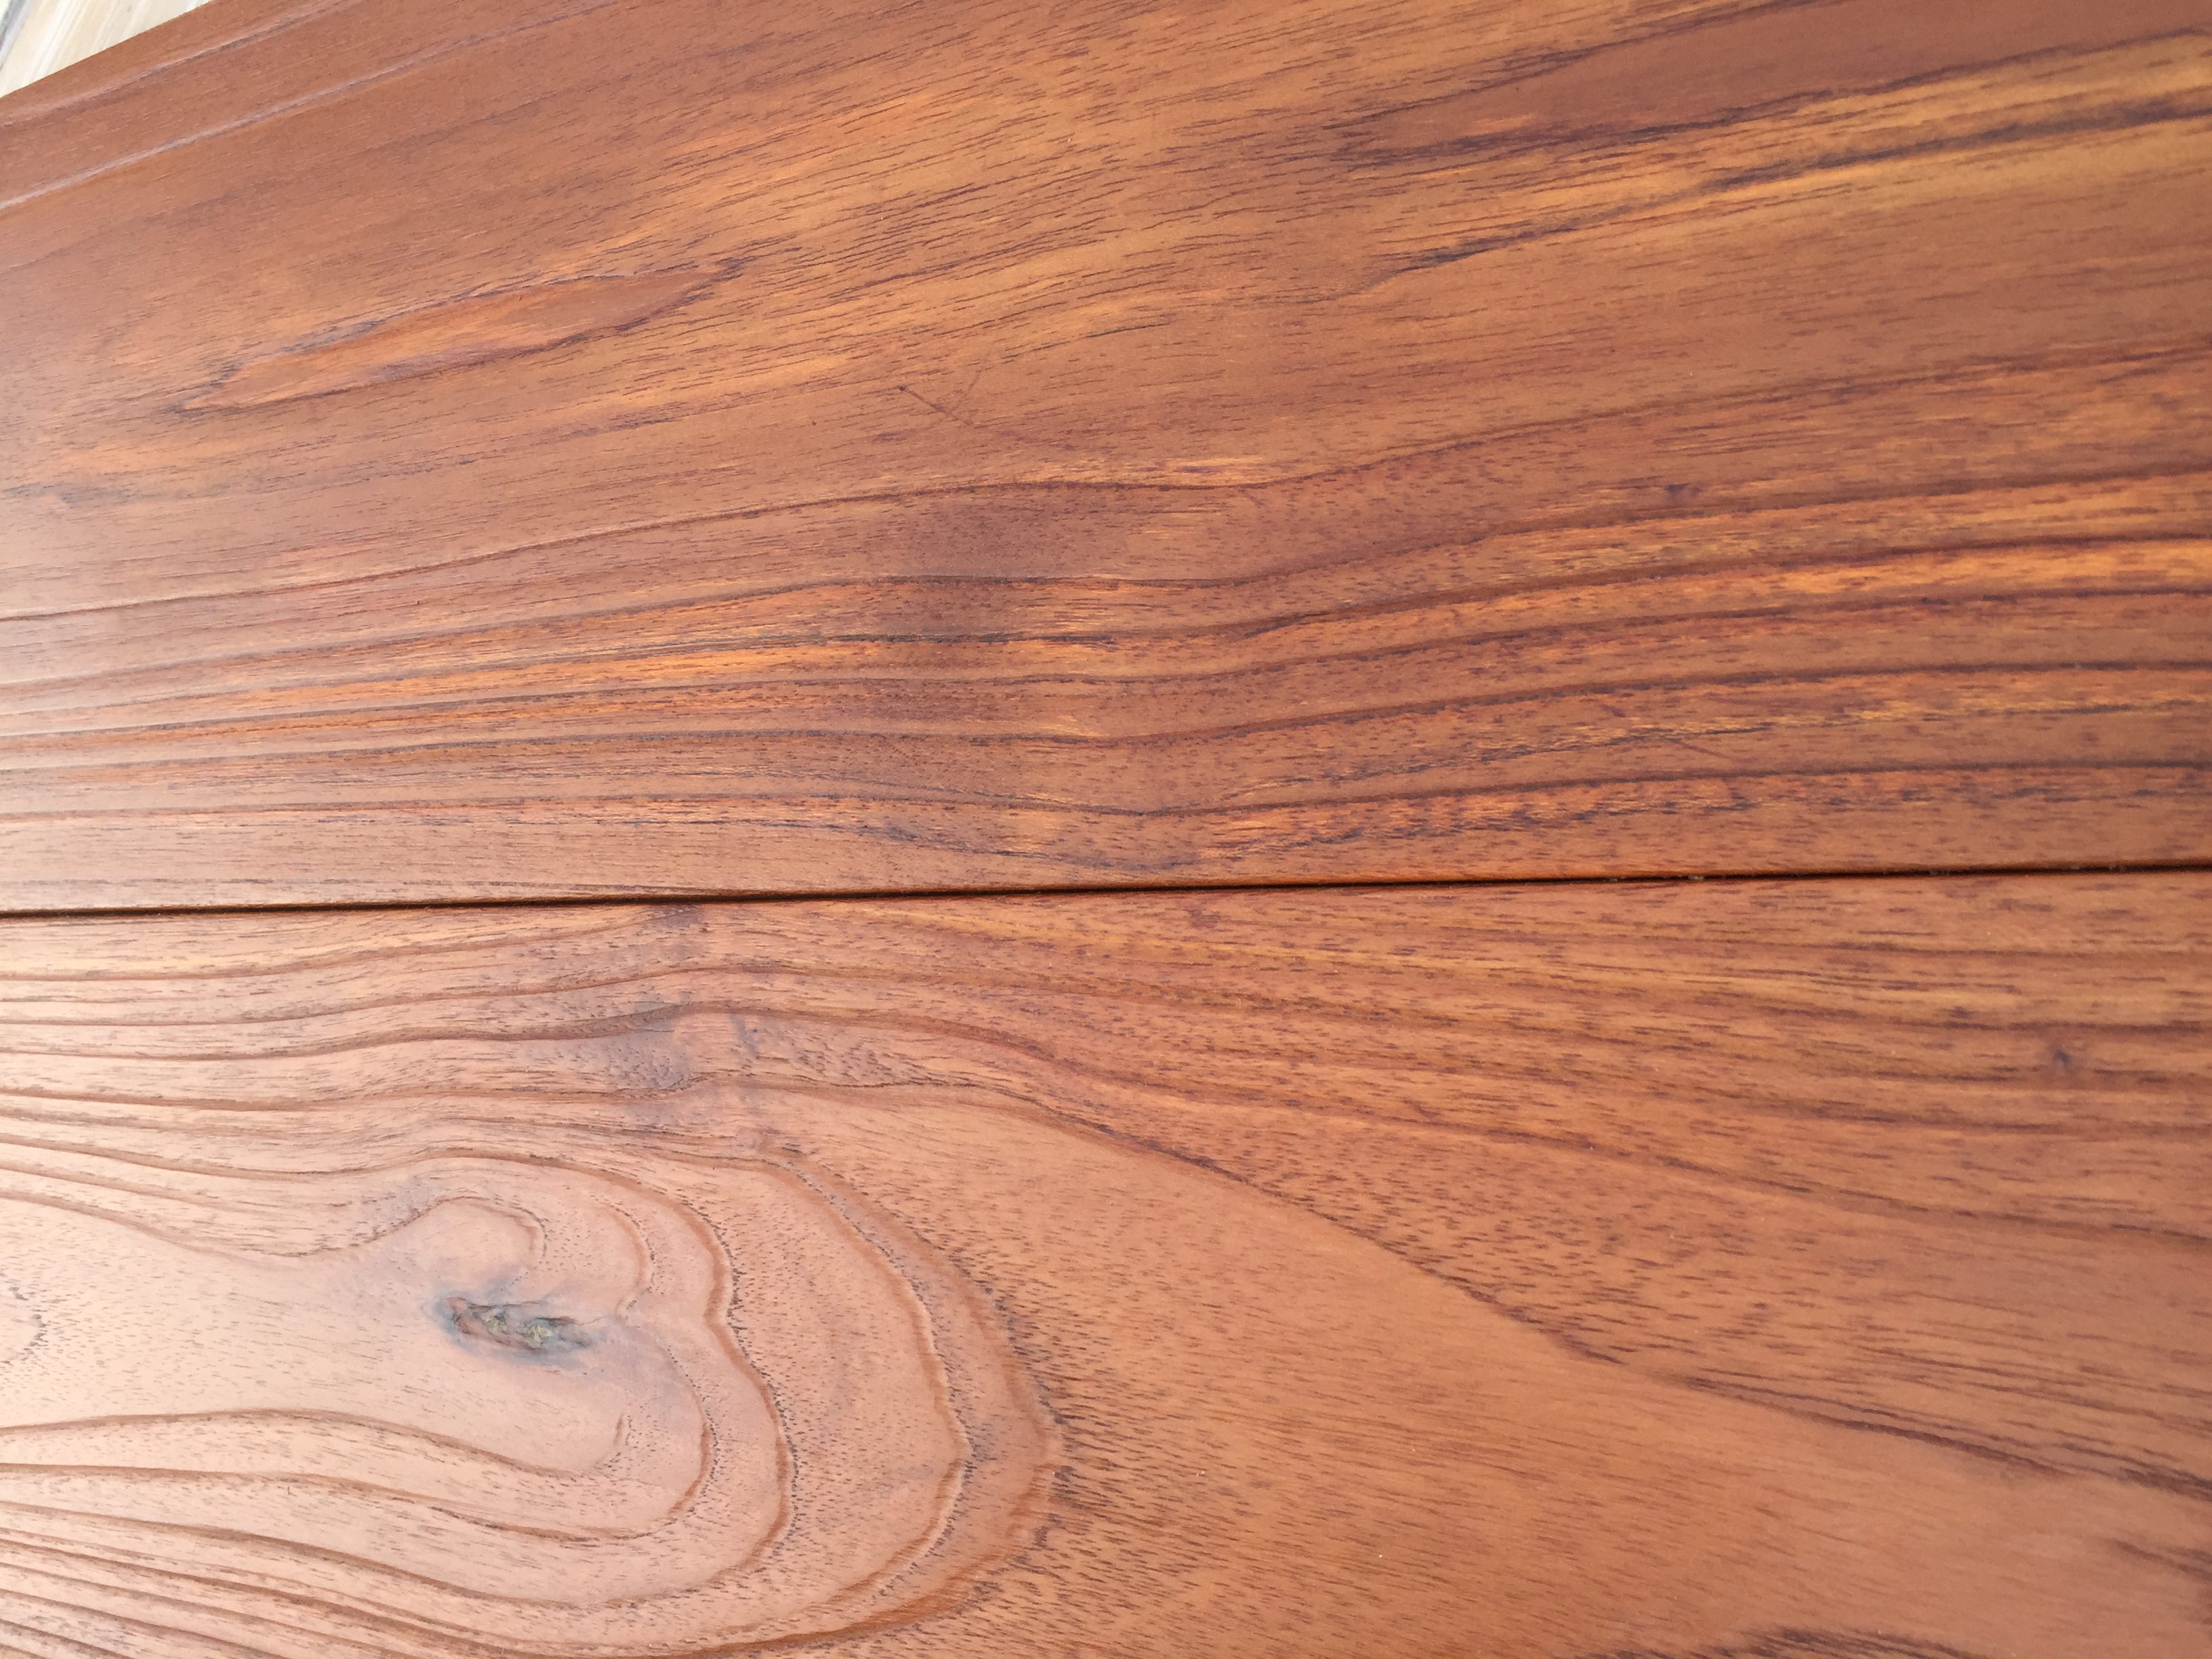
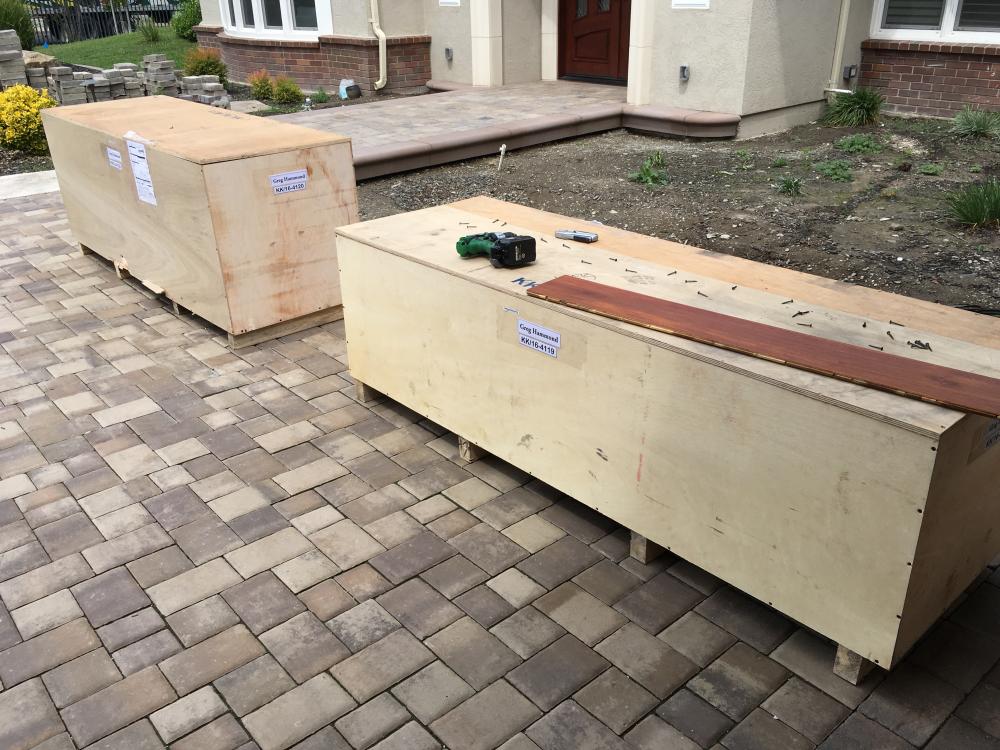
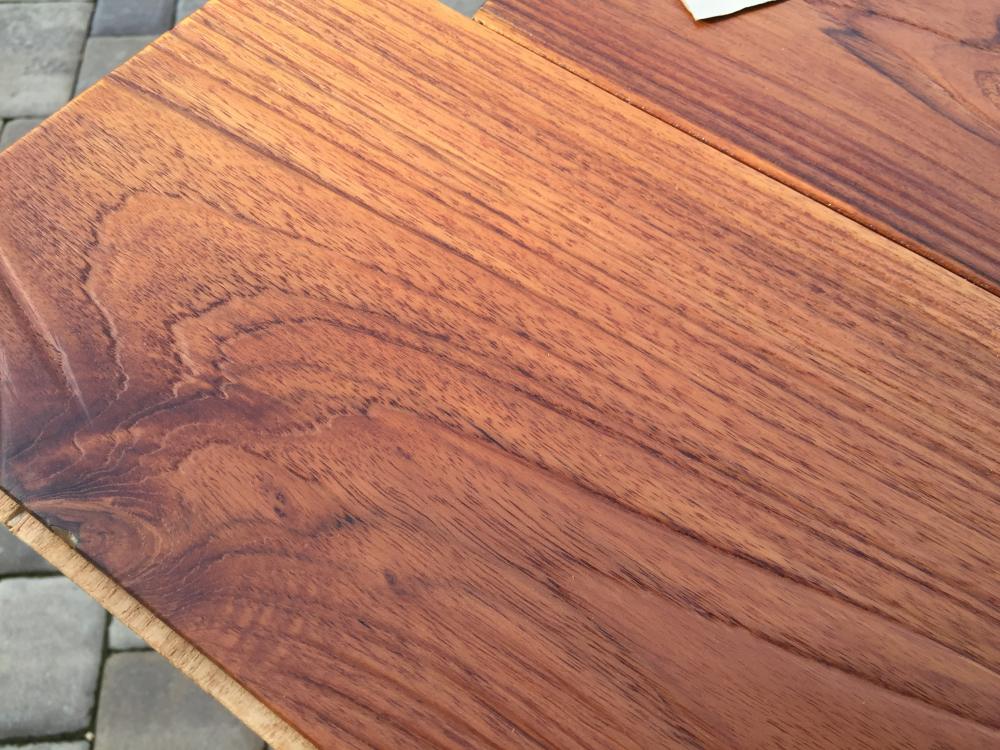
I know there aren't a lot of posts here about Dennis' teak flooring. I thought I would post some pics of the flooring that he supplied me for our new pool house. This stuff is incredibly gorgeous, and Dennis's pricing is very fair. The flooring arrives in crates that are well suited to protect it for the voyage. Hard to describe just how beautiful this stuff is, or how good the deep grain feels.
-
The financing is a great option that will hopefully spread the fire further. I didn't use the financing, but I did take advantage of the Dark Image Blowout to add the 19-inch tall Autumn Nebula to the stable. Excellent deal.
-
Best vacuum packer? (FoodSaver alternatives?)
Pale Rider replied to Syzygies's topic in Relevant Product Reviews
I know this is an old thread, but i thought I would add my assessment experience. After years of declining quality in the FoodSaver models [it almost seemed that the more expensive the model, the less reliable it became], and repeated lost seal/vacuum, we decided to look into the vacuum chamber models. Although I really like the DMC models I discovered at Pleasant Hill Grain, I eventually narrowed my chamber choices down to the Vacmaster VP215 and VP120. I liked the oil-maintenance motor feature of the 215, but chose the 120 for its lighter weight [still robust at 50+ pounds], and thus more pragmatic maneuverability in our home, as well as its one-touch operation. Webstaurant delivered it one day with free shipping and about $160 less than Amazon/Ary. We will probably still add either the Vacupack Eite or LEM MaxVac extraction style sealers to replace our aging FoodSaver for those items where this style works well. What I like about all these models is that they offer some level of user serviceability and parts replacement. We shall see. -
Low & Slow Temp Maintenance Tips Requested [32BBKK]
Pale Rider replied to Pale Rider's topic in Komodo General
Thanks Robert. Makes sense. So, clamp down harder earlier in the warm up phase, so I reduce or eliminate the risk of overshoot? -
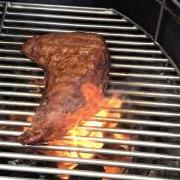
Hi All: Cooking some baby back ribs today. Tri tip yesterday was wonderful. I am having a bit of a challenge maintaining a heat below 300, and I wanted to seek advice from the forum members on best ways to do so. Not worried about it today, because ribbing at 325 is okay, but when it comes time for the butts, I will want to be much colder than that. Today, I am using a mix of coco and coffee wood char. I did not start with a blazing fire. I have a heat deflection stone sitting on top of the charcoal fire.I have the firebox SS separator set into the firebox on the right side, so the right â…“ of the box has no charcoal or fire. Started the fire with a Wagner heat gun, and let it rise slowly to about 325. Just for fun, I tried to turn the heat back down closer to 250, and even though the top and the bottom dampers are closed, she does not want to cool down. On my old RJK7, I had no trouble maintaining a temp of 190 and lower for sustained periods. But am wondering if the 32BBKK is so massive, that it is difficult to stay that low, or if it just takes a while to stabilize that low. Any insights or suggestions most welcome. Even guffaws. When I am drinking beer, I don't care if folks laugh at me. TIA! Greg
-
I have video and pics of mine, and I think you are right Bosco. This sort of graphic info could help new owners recognize what to look for and how to handle it properly. Heck, k could start a new thread with that stuff myself.
-
Thanks! I have an old can of the Watco that I have had for years, and used on my interior teak. But I plan to try this stuff, which receives good reviews on Amazon. Just trying to decide between the light or the dark.
-
You pretty much hit it on the head wilbur: the amount of grout, the irregularity of the tiles, etc. One thing I found curious about the grout is that it serves as both adhesive and grout. I have a bunch of tile projects going on around the house right now, and of course, on regular tile, grout is not the material used to adhere the tile to the subsrtrate. Here, the grout that Dennis supplies, at least for the pebbles, is both adhesive and grout. I haven't seen any of the square tile models, so I don't know how they differ. In any case, this tends to increase the likelihood that groups of the pebble tiles will delaminate [like the bubble you describe], rather than the right angle tiles which tend to pop up, if at all, individually at their corners. My second burn produced significantly less delamination, and only one spot of solvent outgassing. I only had to grout one tile to replace a tile that popped and broke in two. One more burn, and I will start patching the little razor creases and nail holes I made to assist the outgassing. The entire surface cooled nicely in place with almost zero sign of unevenness. Plan to do first cook tonight, likely a prosaic combination of sausages and bratwurst due to time constraints. But I did go to the butcher shop today and picked up some TriTip, ribeye, strips, ribs, and bone-in butt for later this week. I've seen a lot intriguing TriTip recipes and need to pick one.