golfpro2301
Owners-
Posts
62 -
Joined
-
Last visited
-
Days Won
2
Content Type
Profiles
Forums
Events
Everything posted by golfpro2301
-
$1200 if anyone interested. Not bad price for a KK Sent from my iPhone using Tapatalk
-
Anyone interested? It has now been moved to garage where will sit until someone grabs it off my hands Sent from my iPhone using Tapatalk
-
Willing to let this go at huge discount. PM if interested. Sent from my iPhone using Tapatalk
-
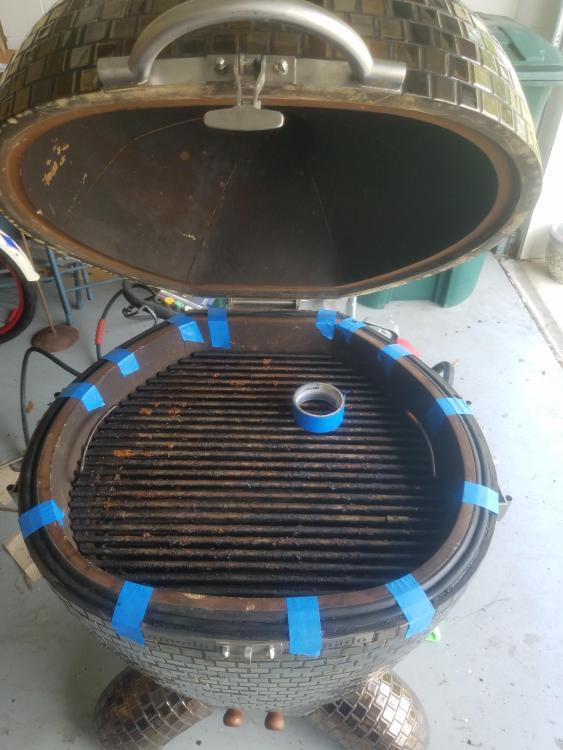
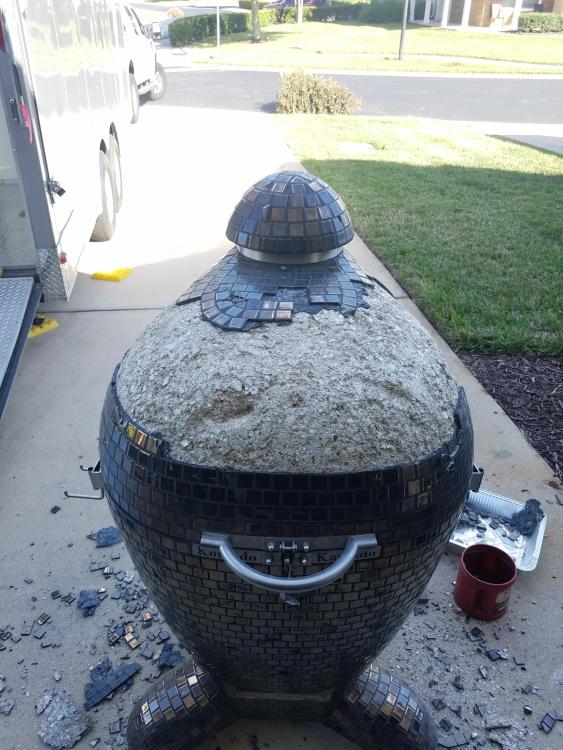
Hey all Its time to say goodbye to my beloved hammered KK. In redesign of patio it just doesnt work. Most of you have followed along and seen the rebuild process so know what it took get to working order. As it sits It is missing side plug for guru and two front knobs missing. Have both racks Pizza rack Heat deflector plate No longer have side tables or brackets for them Works very well with bo issues. Honestly dont know what value is so taking all reasonable offers Sent from my iPhone using Tapatalk
-
Here is reason painted it black. This is my homemade forno bravo pizza oven replica. The two match Sent from my iPhone using Tapatalk
-
I will get cover for KK. As far as counter Im building pergola over it soon Sent from my iPhone using Tapatalk
-
Got it clear coated and in its spot. Sent from my iPhone using Tapatalk
-
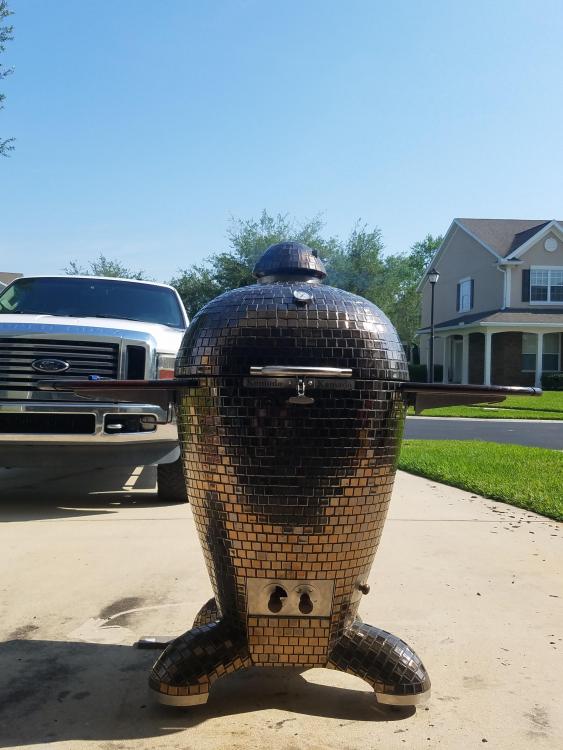
Finally got around to face loft on KK. I was able to get it over to my house and started prepping the tiles. I had to replace some on stack that I didnt do when rebuilding the grill (see hammered KK thread). Sanded whole thing down with 80 grit to give some texture for paint to stick to. Taped off all SS and sprayed with hvlp. Paint used is charcoal metallic high heat from KBS coatings. Ill hit it with a high heat clear as well tomorrow Sent from my iPhone using Tapatalk
-
Hello everyone In final stages of finishing outdoor patio area. Where the 23” KK is going is at low point in patio for drainage. In order to get KK to equal countertop height I need to raise it roughly 2”. Im either going to build a platform with drain for water to run underneath or just set each wheel on a paver that matches existing patio. My main question is what is best way to lift up a few inches? Start to dolly and lean back Hydraulic jack under bottom center Straps under each leg and a bunch of dudes Sent from my iPhone using Tapatalk
-
No. Trying to sell it. If I cant I will def paint it Sent from my iPhone using Tapatalk
-
I am building an outdoor kitchen and my 23” KK doesnt really go with footprint. I am looking to trade for a table top version if anyone is willing. Located in Jacksonville Fl. This os the hammered KK I had a thread on a while back Sent from my iPhone using Tapatalk
-
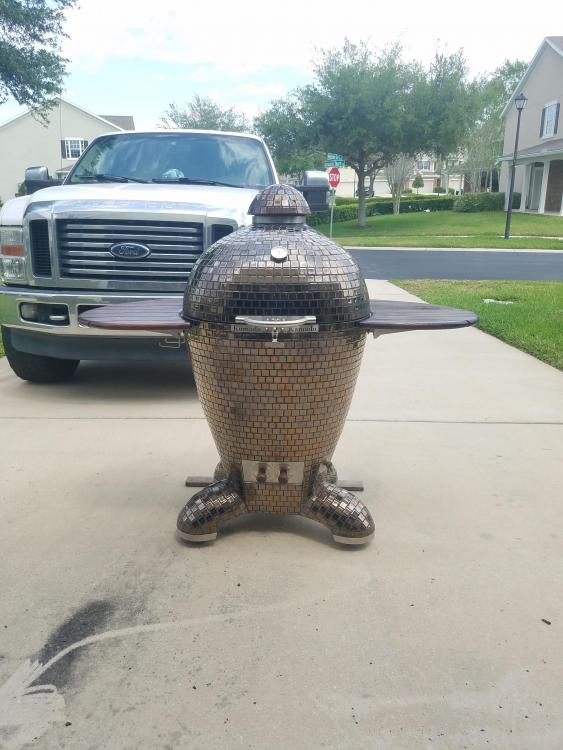
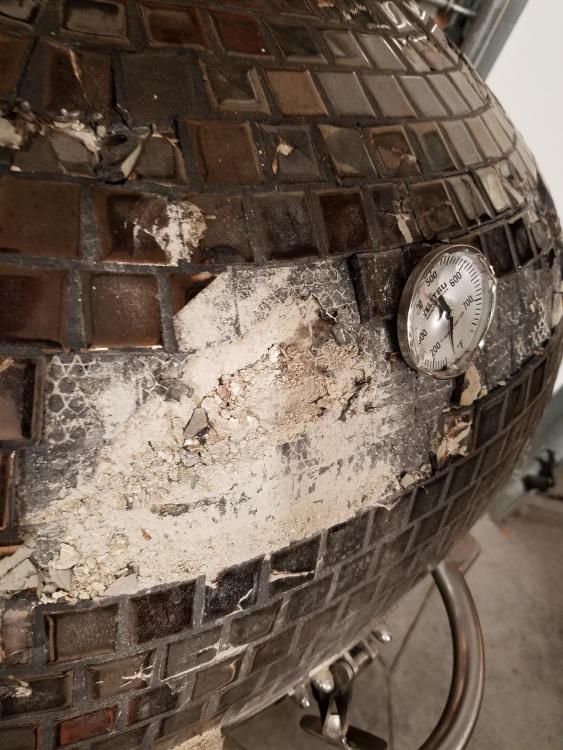
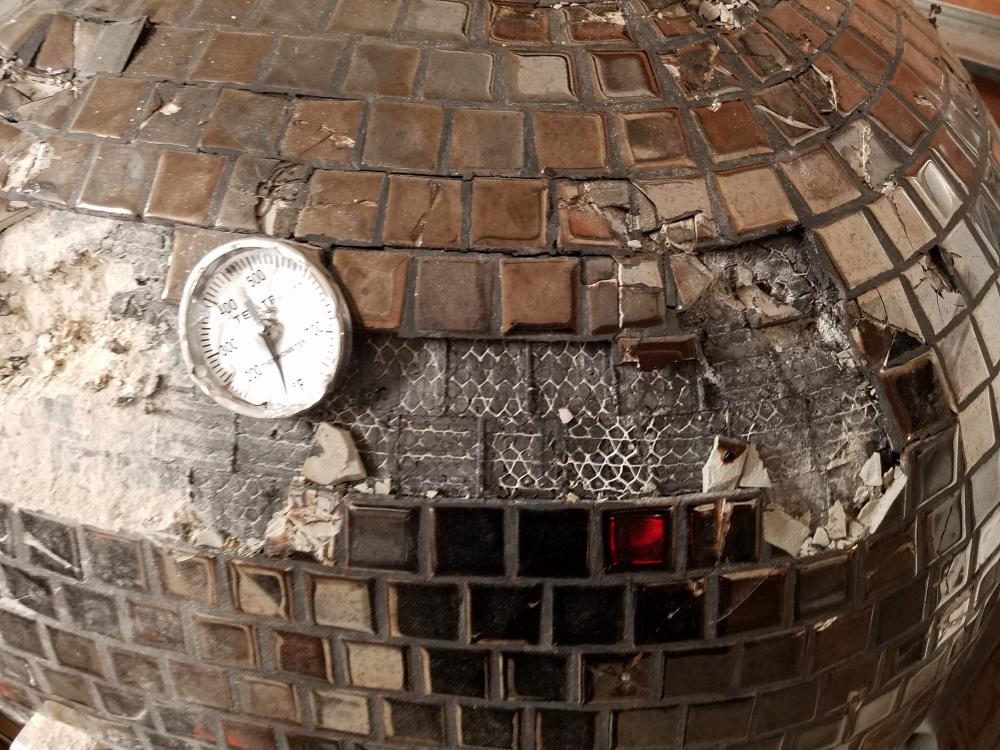
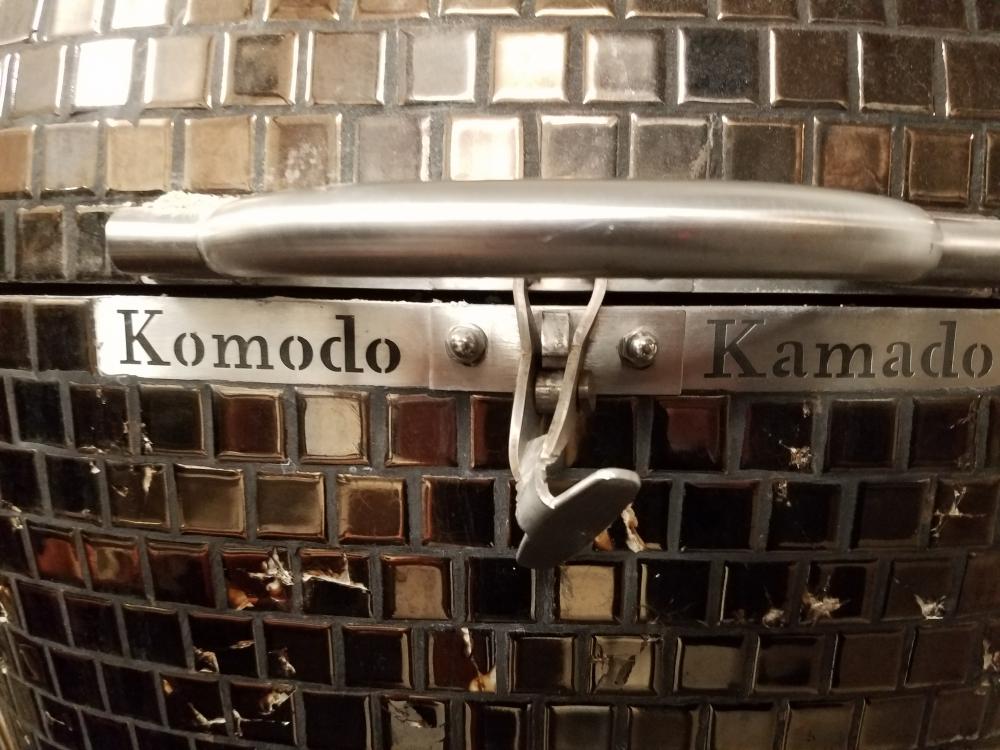
Hey all. I have made tough decision to sell the hammered KK. Its a 23” metallic bronze that was rebuilt. Most of you followed the thread a few years ago. I am building new outdoor kitchen setup and unfortunately just doesnt fit the space. I live in NE Florida. Few tiles on side missing but I still have them. Just havent reinstalled. Front left knob on air intake broke off as well. Grill still runs flawlessly. $3200 OBO Sent from my iPhone using Tapatalk
-
Hey Everyone Been a long while since I have been on. If you dont remember I was the fortunate one that bought a 23 KK for $250 and worked with Dennis over multi month period in redoing a log of the grout/tile work to bring it back to life. I have since moved and getting ready to start work on outdoor patio with a corner dedicated to my cookers (23 KK, 250Gallon offset, and a soon to be Brick Pizza oven). Color scheme for the oven, offset, and the countertop will be black with grey pavers/tiles. My KK is currently bronze tile but was thinking of using the KB high heat coating I use on my other smoker builds to paint it black followed by multiple layers high heat clear. Anyone have experience with painting mosaic tiles? I have used this paint with great success on everything else but never tile. Thanks,
-
Hey all. Feels like been forever since I have been on here. I have been using the 23 pretty much every weekend to cook steak and wings and thats about it. Started Keto diet in February and down 80lbs. Cant eat the sweet pulled pork or ribs and it sucks. Doing the Thanksgiving bird in the KK again this year. Last rear ran it about 280 on the upper grate and turned out good. Going to crank it up 325-350 this year and was wondering about putting it high up in the dome. Would that be good idea or burn the skin? Also I have a 23lb butter ball and think at 325-350 will take 4 hours. It is your typical 8% solution so am probably not going to bring but was going to inject with a savory/brown sugar injection. Anyone have any good recipes? As always appreciate the help
-
Haha. Yeah I just remembered the K7s and figured that was it. I told my buddy about all the horror stories. Guy wants $300 for it
-
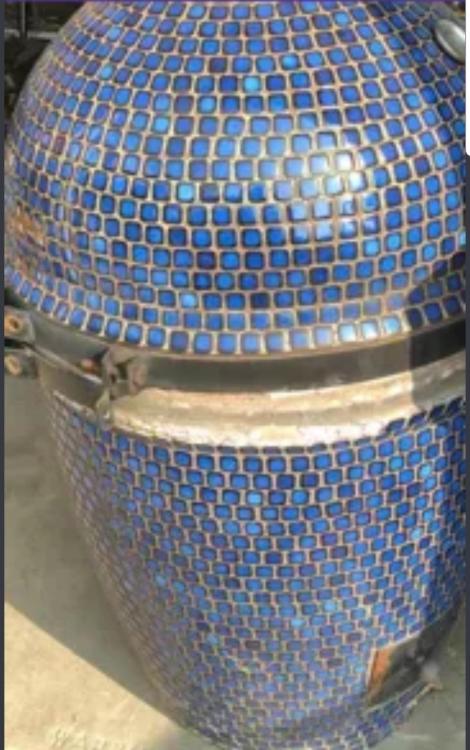
Hey everyone A buddy from a stock trading group I am in came across this in California. He knows about my KK restore and asked me what it is. Owner is selling it and he said he paid $3k for it 6 yrs ago at California Backyard. Can anyone help me on what brand cooker this is and value of these. He is going to go look at it Thurs and take more pics of work that need to be done.
-
Hey everyone. Been a really long time. I was the one that did the "Hammered KK" rebuild about two years ago. You can find the story here. Had a child in April of this year and the KK is at my parents so I havent been able to use it really. Finally decided I needed to cook on it more. Brother in laws and myself drug it thru the house to the back porch where it now sits on display. Did some chicken wings last weekend that turned out great. Cooking some pork butts today for a halloween party this week. Few things I want to ask for those who cook low and slow. 1. I use BBQ guru. Whats the trick to keeping temp low. Mine likes to run up to 275 range. 2. Although the lower damper door sits flush there is still air getting thru. Anyone else notice this? 3. The food probe for the guru has a bend in it and I cant get it thru the rubber cap on the side. Anyone have a solution to this? 4. When doing low and slow does anyone use a heat diffuser. I put a pizza stone on bottom rack but noticed some big hot spots towards back of the grills. Thought about resting the stone directly on the charcoal basket handles or is the diffuser not needed. 5. Had issues with the second gasket so I scraped everythng cleaned and used a felt gasket. Been working well.
-
Hello Everyone. Feels like forever since I have been on here and even longer since used the Hammered KK. Last time she was fired up was in May I think. Had a questions about the gaskets. I added the 2nd gasket using an rtv sealant that cures rock hard. The gasket isnt sticking to it and coming off in places. I plan on removing the new gasket and cleaning out the material . I have always used silicone on previous cookers but wondering if that is a bad idea due to heat. Are there any soft cure sealants to use on the gasket that will work best. Decided to do the Thanksgiving bird in the KK so want to get everything buttoned up before then. To be honest this may be my last cook on it. Expecting my first child in April and may need to sell for the $$$. I have no idea what the value is but I know will be tough decision to sell. Please someone talk me out of it.
-
Thanks Tony. I have been reading a lot about not using a diffuser on the bottom but some use it. What are pros and cons of it?
-
So took a weekend off before TPC week here in Ponte Vedra next week. Its busiest time year for me. Sitting around and decided pizza on KK sounded good for dinner. This will be my first attempt and could use some help. Looking thru other posts I know one thing for sure and that is to put stone high up into lid. I see most cook around 550 but some at 700+. If anyone has good thread to look at please let me know. My main questions are below. Heat to cook at? How to get thin crust? Cook time? What to use to get pie to slide off spatula? Dont want to fubar my first time in front of family
-
So let her run for a while today and had very little venting. there were a few large spots on the lid where I replaced tiles but nothing crazy. One thing I realized is it was going to be hard for me to notice tiles popping out since a lot of the tiles I replaced don't sit perfectly flush with the rest. After realizing this I decided a higher temp was the solution so cranked her up to 700. I then started to get the smell and hear the "hissing" of the vapor escaping in areas. I used a very small nail and started poling holes around the tiles to let the fluid and vapor escape. I put my maverick probe thru the grommet and it was reading 550. Not sure if there was a 150* difference from dome to grate so may need to calibrate the tel tru if possible. I didn't look to see if there was a screw on the back or not. After holding for 700 (dome thermos) for an hour I decided to just let her run and opened up air intake fully. The gauge wrapped around and was almost at the 200 so I am assuming this was 900-1000. After this there was 2 little spots that started venting and took care of those. I just let the coals burn themselves out and shut her down. I left it in the driveway and went to work on the golf game for a but. Came back at 6:30 and was still at 250 so the hold their heat well. All tiles were firm with no movement. One thing I did notice is the rutland gasket cement didn't work that well as the new gasket is coming up in some areas. May apply some silicone to a few areas. Planning on first cook next week sometime.
-
Got her fired up and holding at 525. Temp control on these is amazing. Ill never own a BGE again I know that. Good thing for me is I only need to focus on front and lid where I replaced all the tiles.
-
I forgot to include detailed rebuild cost Bought damaged - $250 Mandatory replacement parts plus shipping from over seas (tiles, acrylic grout, thermometer, guru port plug, gasket) - $534 Parts ordered didnt need (dual draft door, heat shield) - $169 Misc costs - $100 Total costs - $1053 I would say I have a good looking KK for slightly less than new
-
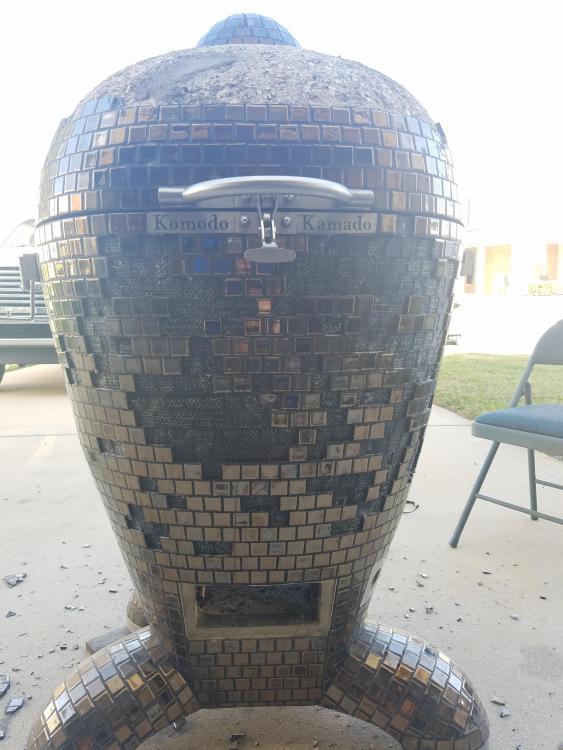
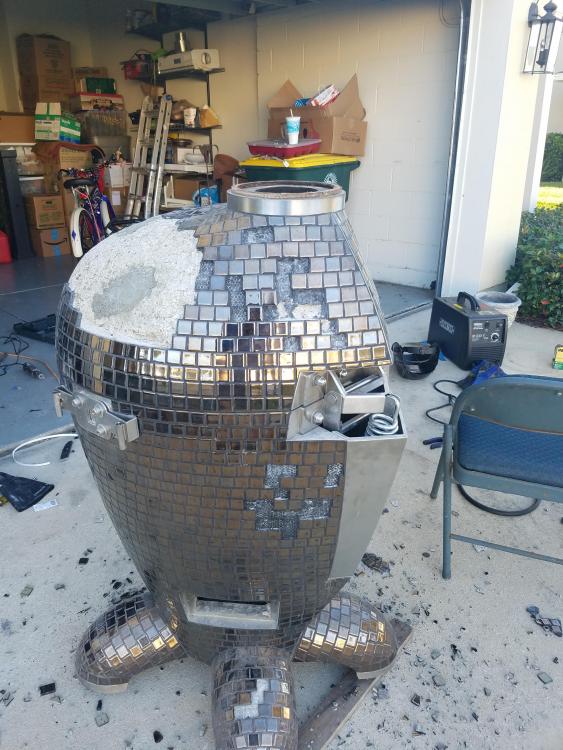
Got everything I wanted to get done today. I was able to fill in all the cracks. Got the gasket installed. Gave her a good wipe down and in the process noticed a few cracks that need to be filled and 2 tiles that had cracks in them that I didnt notice the first time around. Just going to leave those there as they are not noticeable. Called Dennis and he was able to walk me thru the adjustments to the front draft door to get it to sit flush. It is almost perfect. May need to tweak it a little more but not much. Here are the before and after shots. Been a long road but happy with the result. Burn in is set for Wed which means the first cook is a brisket next week. Before FINAL!!!
-
Thanks for all the compliments. Looking forward to being able to stop working on it and start cooking on it. I just remembered the Ace Hardware by my house sells rutland gasket cement which handles 2000*. I used this on a few other homemade smokers with great results so going to go grab a few tubes today. Goal for today is to fill in large gaps on lid, try and give the tiles a good cleaning. I will call Dennis for the adjustment to the door. Last thing I will do is apply new gasket and let it sit overnight. If I am able to get this all done I will be able to do burn in on Wed


