Nanuk
-
Posts
105 -
Joined
-
Last visited
Content Type
Profiles
Forums
Events
Everything posted by Nanuk
-
Dennis, sad news, hope wife gets better. Will be in our thoughts and prayers.
-
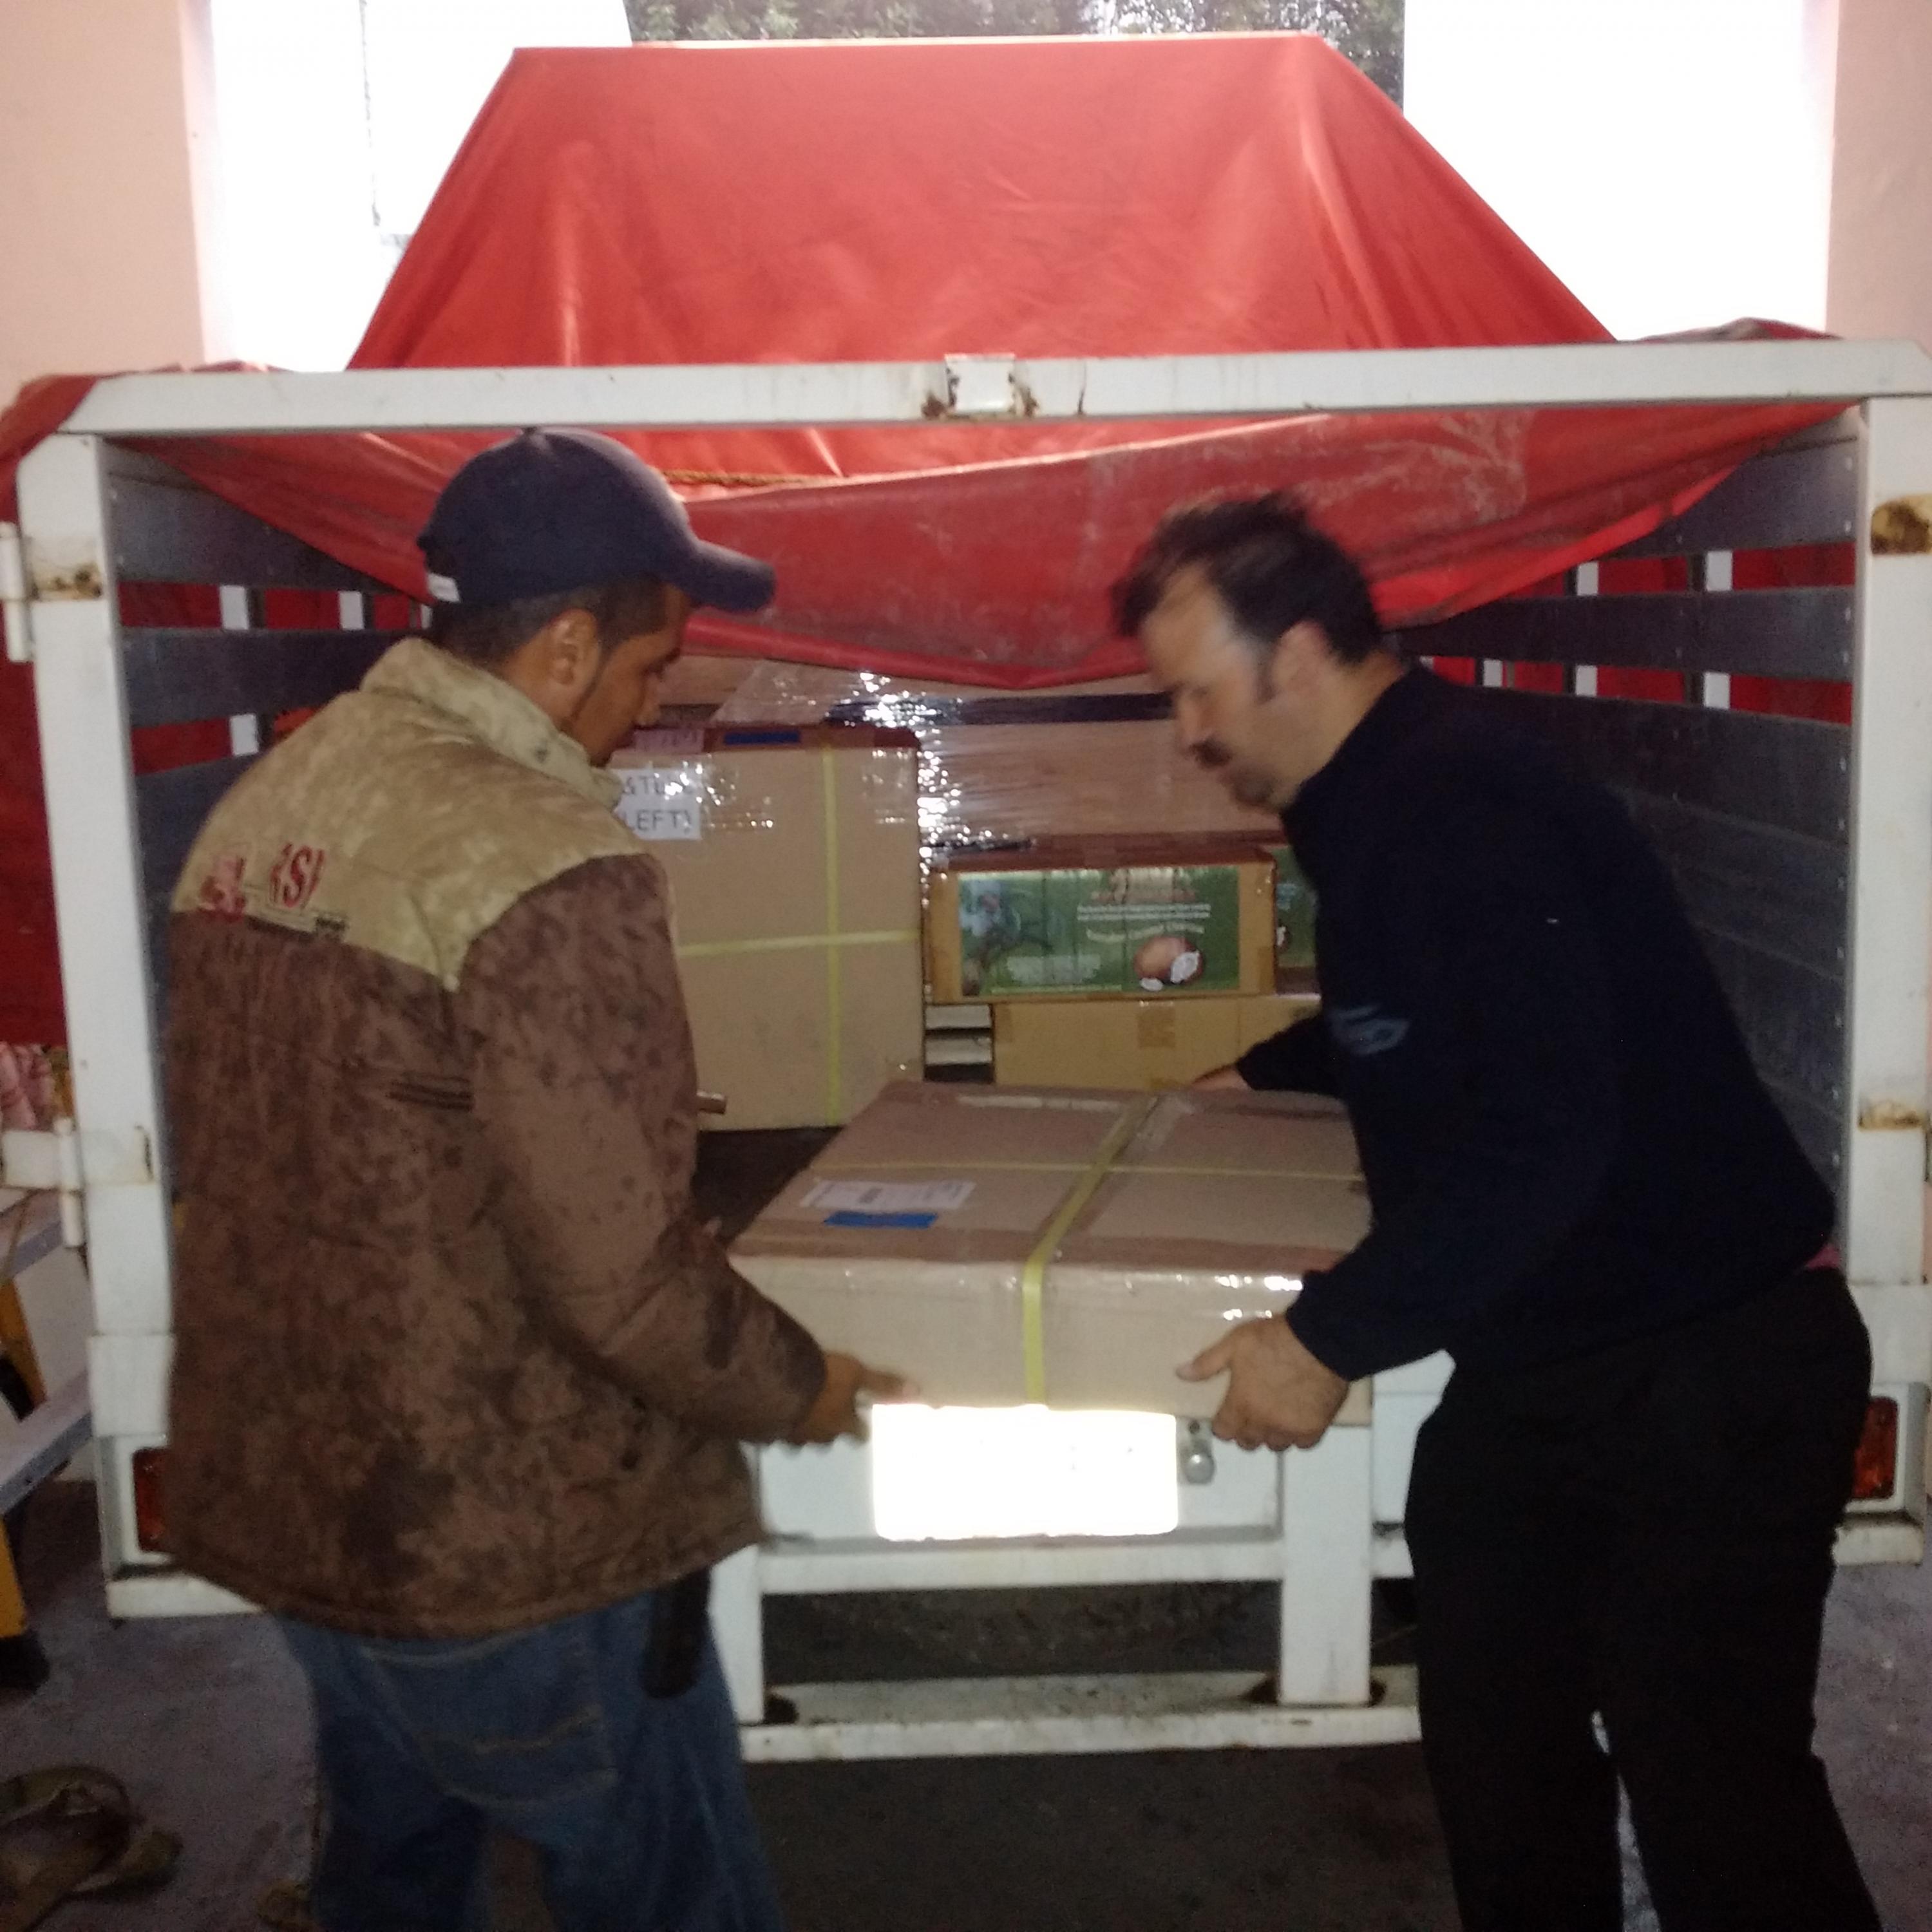
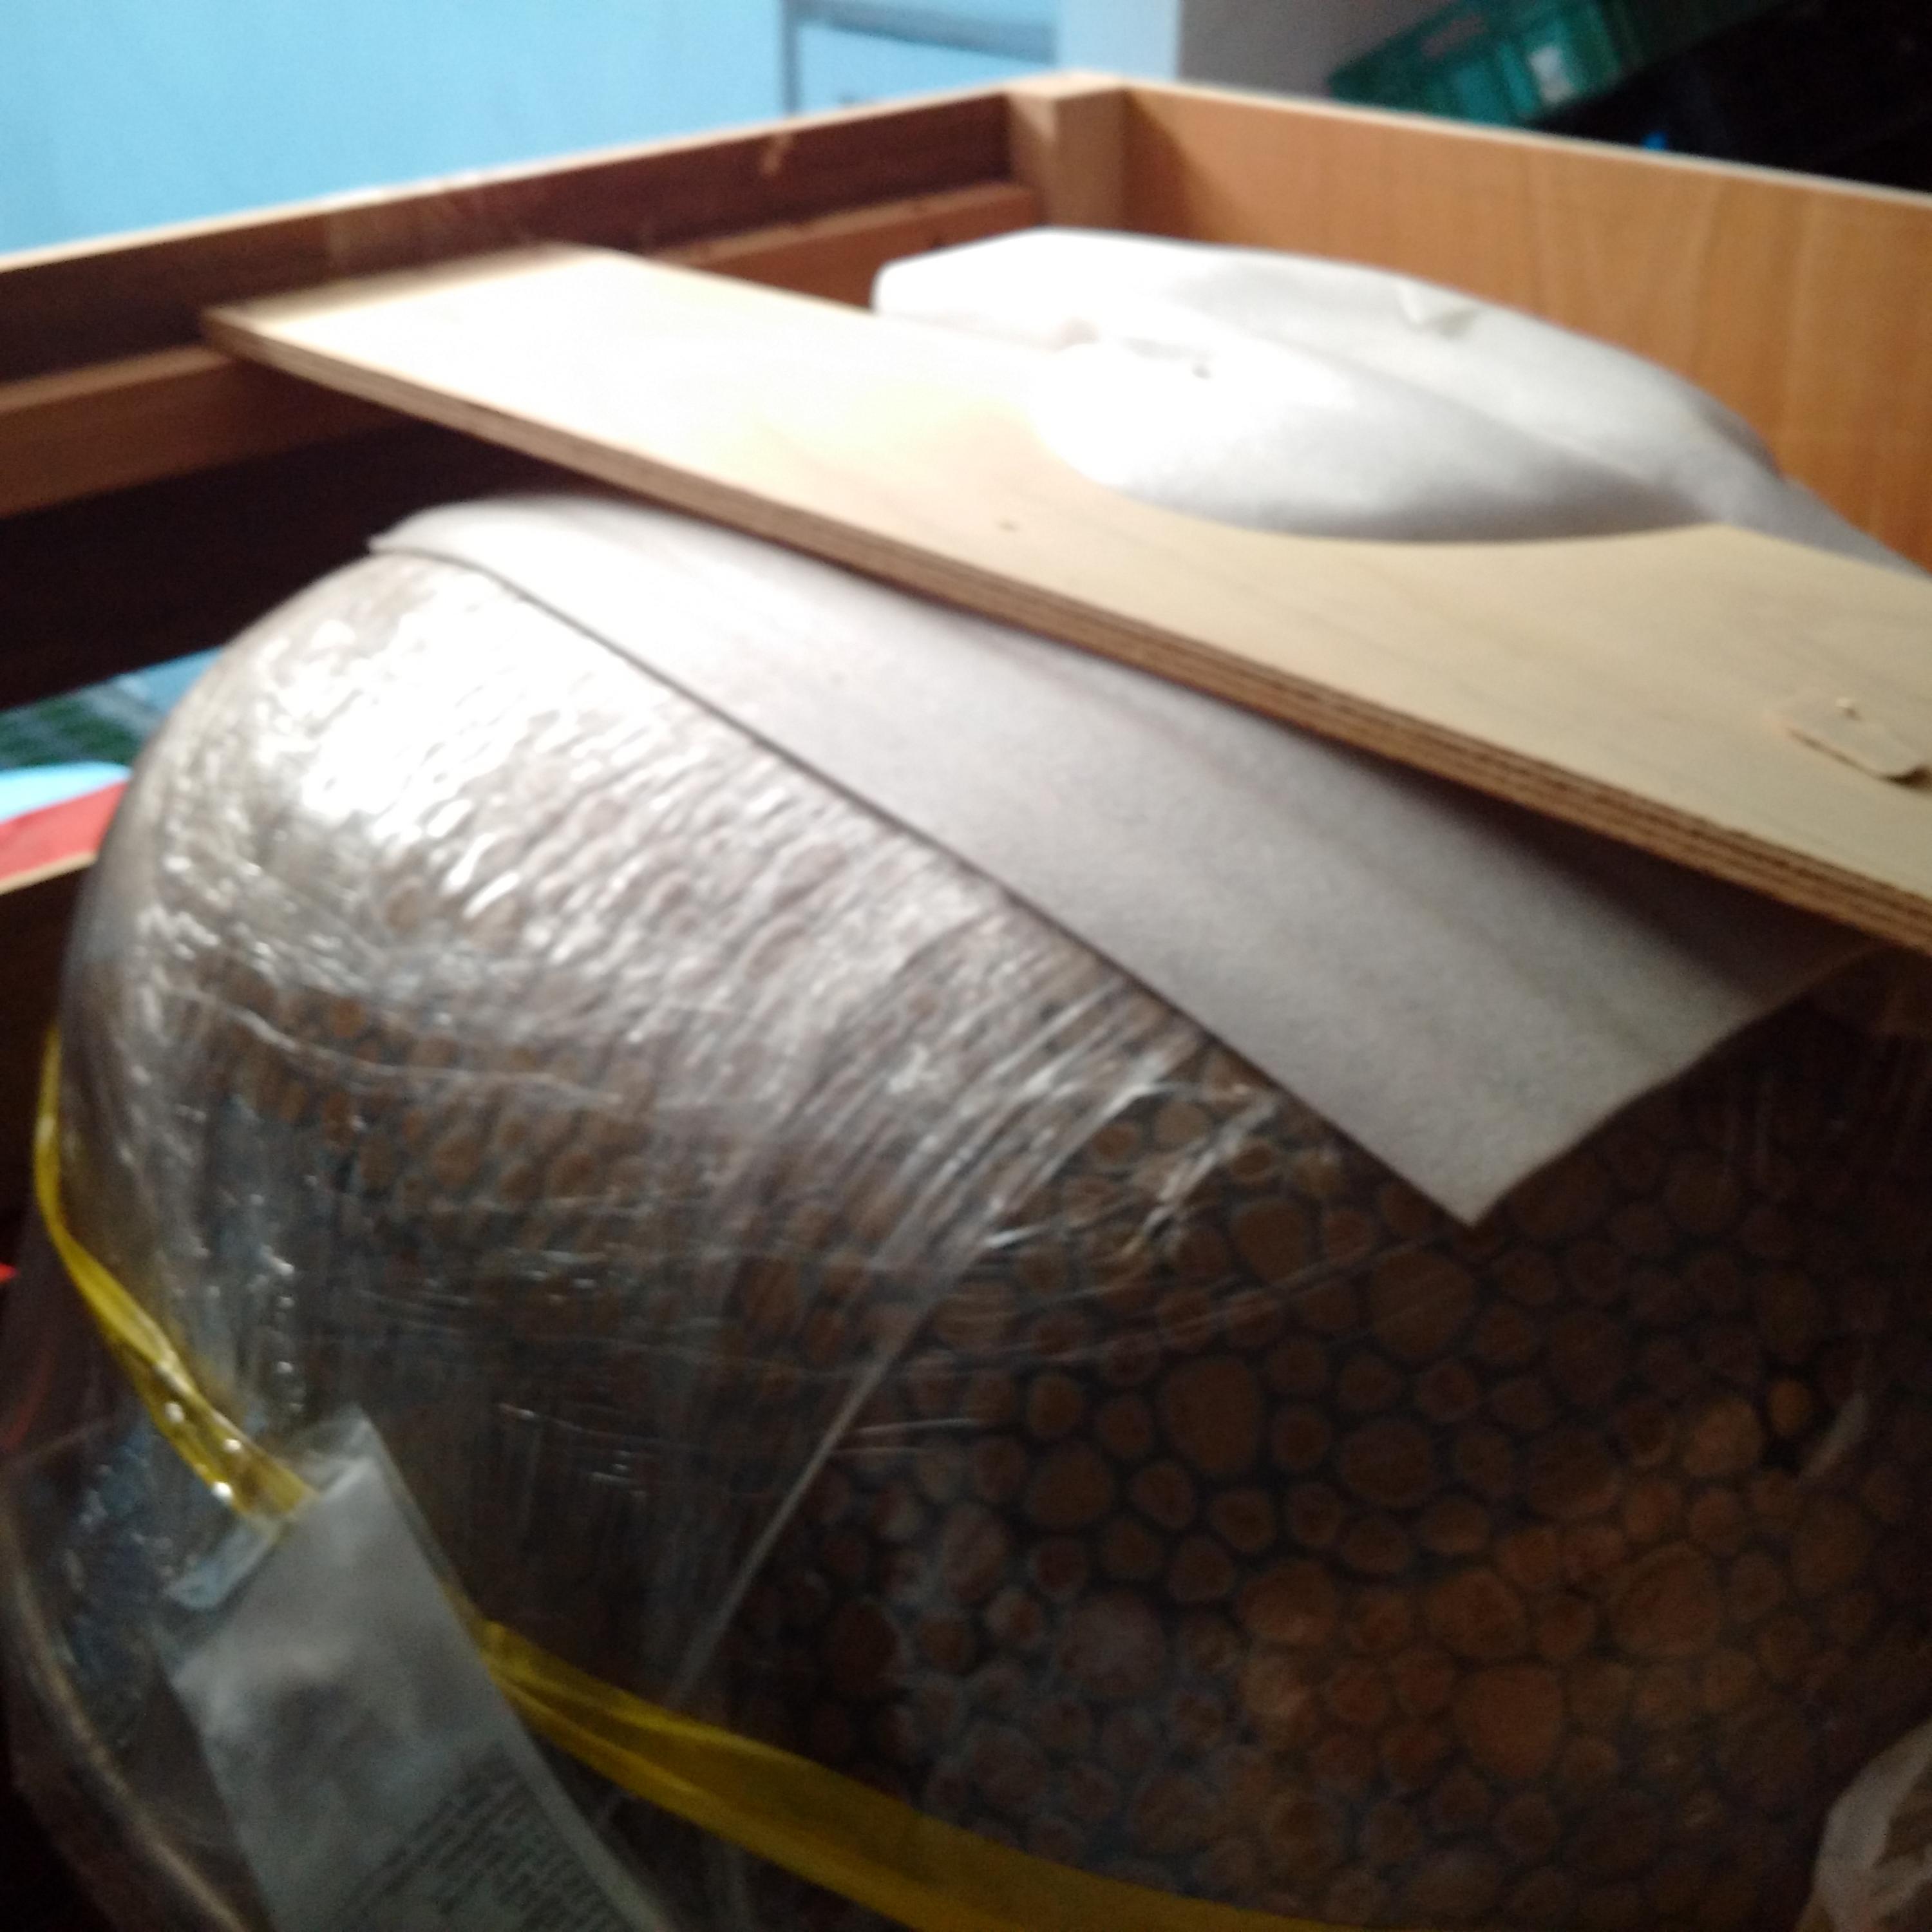
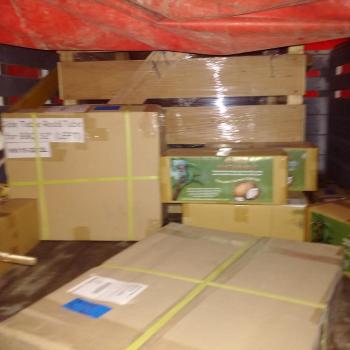
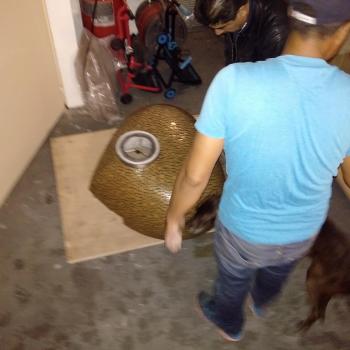
I also posted the unpacking, we took the dome apart and hand lifted everything, to bring it down from a truck to my garage.
-
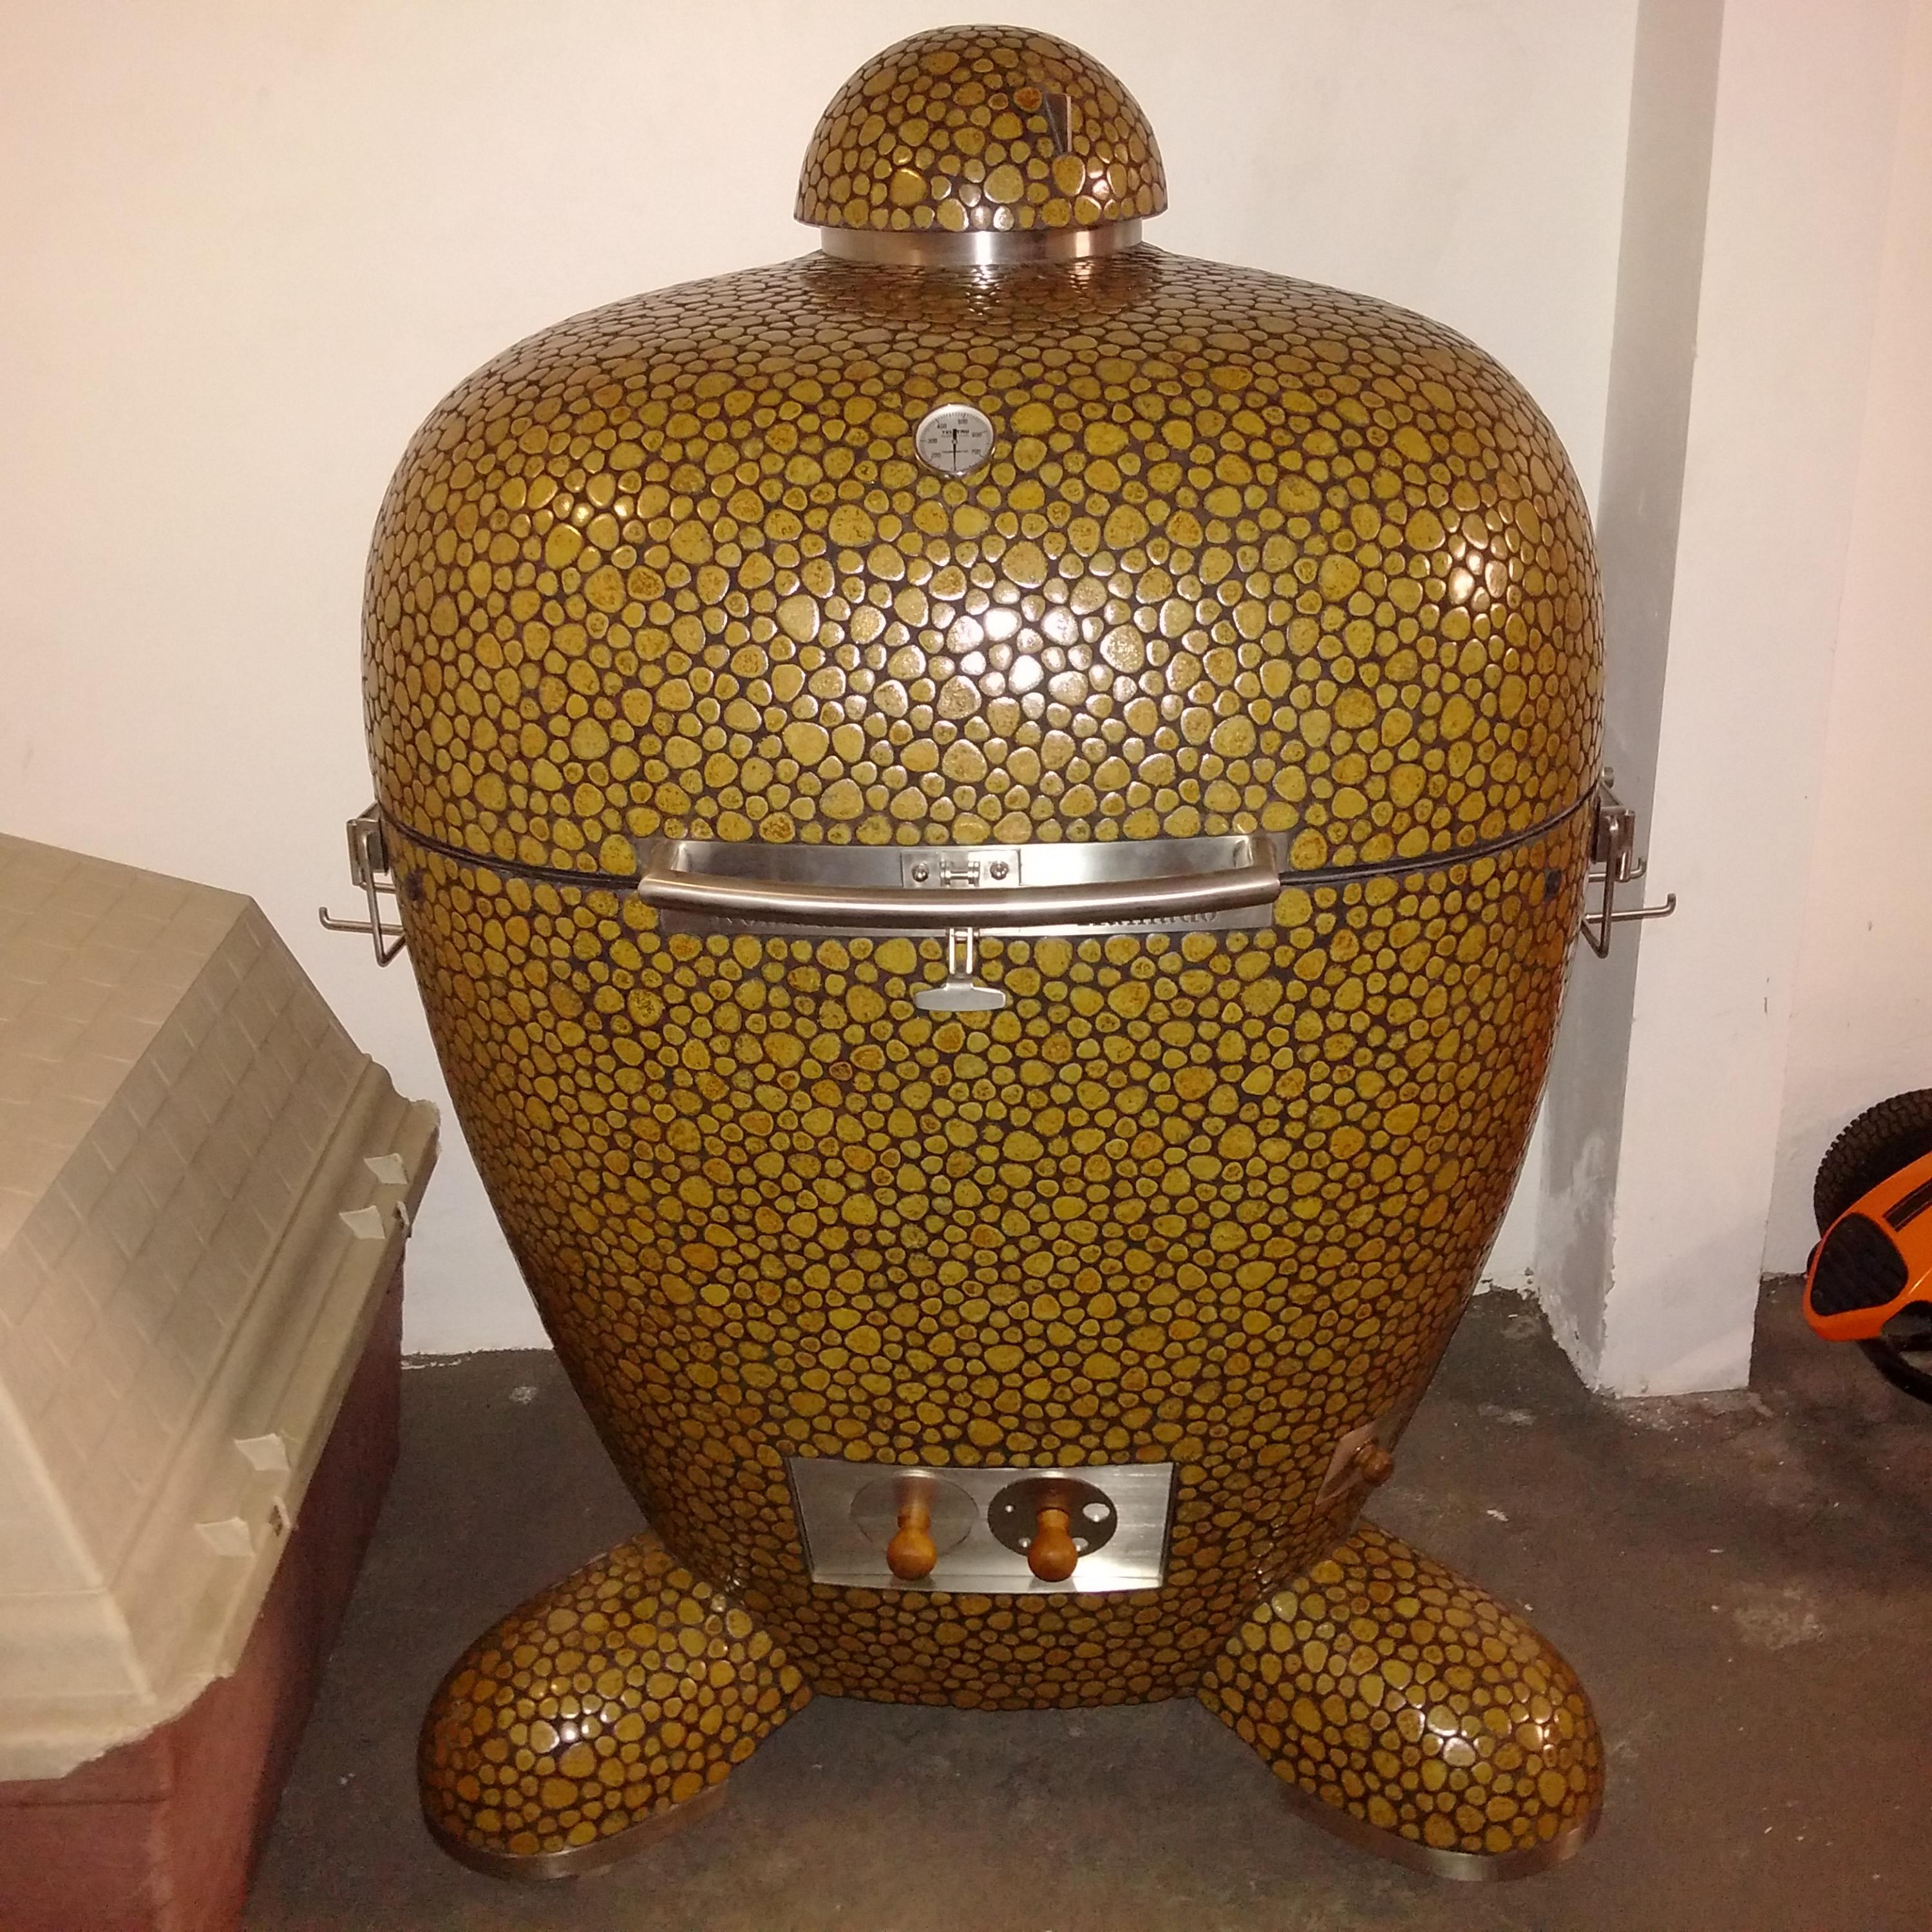
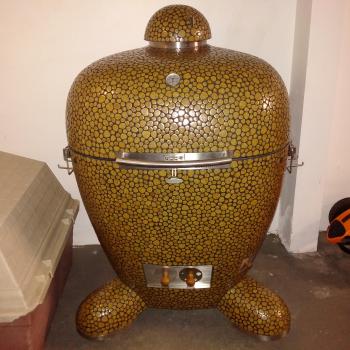
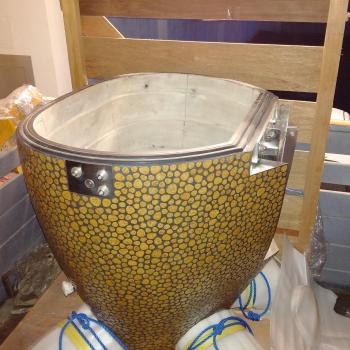
Sorry guys, just comping back to the forum. Yes it is Olive and Gold. It's a beauty.
-
Ckreef Nice photo explanation, Thanks By the way, from the pictures I can see that you are missing the safety pin on the bolt that fixes the lid to the hinge.
-
Thanks Ckreef Started this post because when looking at the KK site could not find a list of the parts that come standard with the KK. And thought it could be usefull for potential buyers.
-
Thanks Ceramic Chef You are absolutely right.
-
Everything is top quality materials. And of course the best customer service available.
-
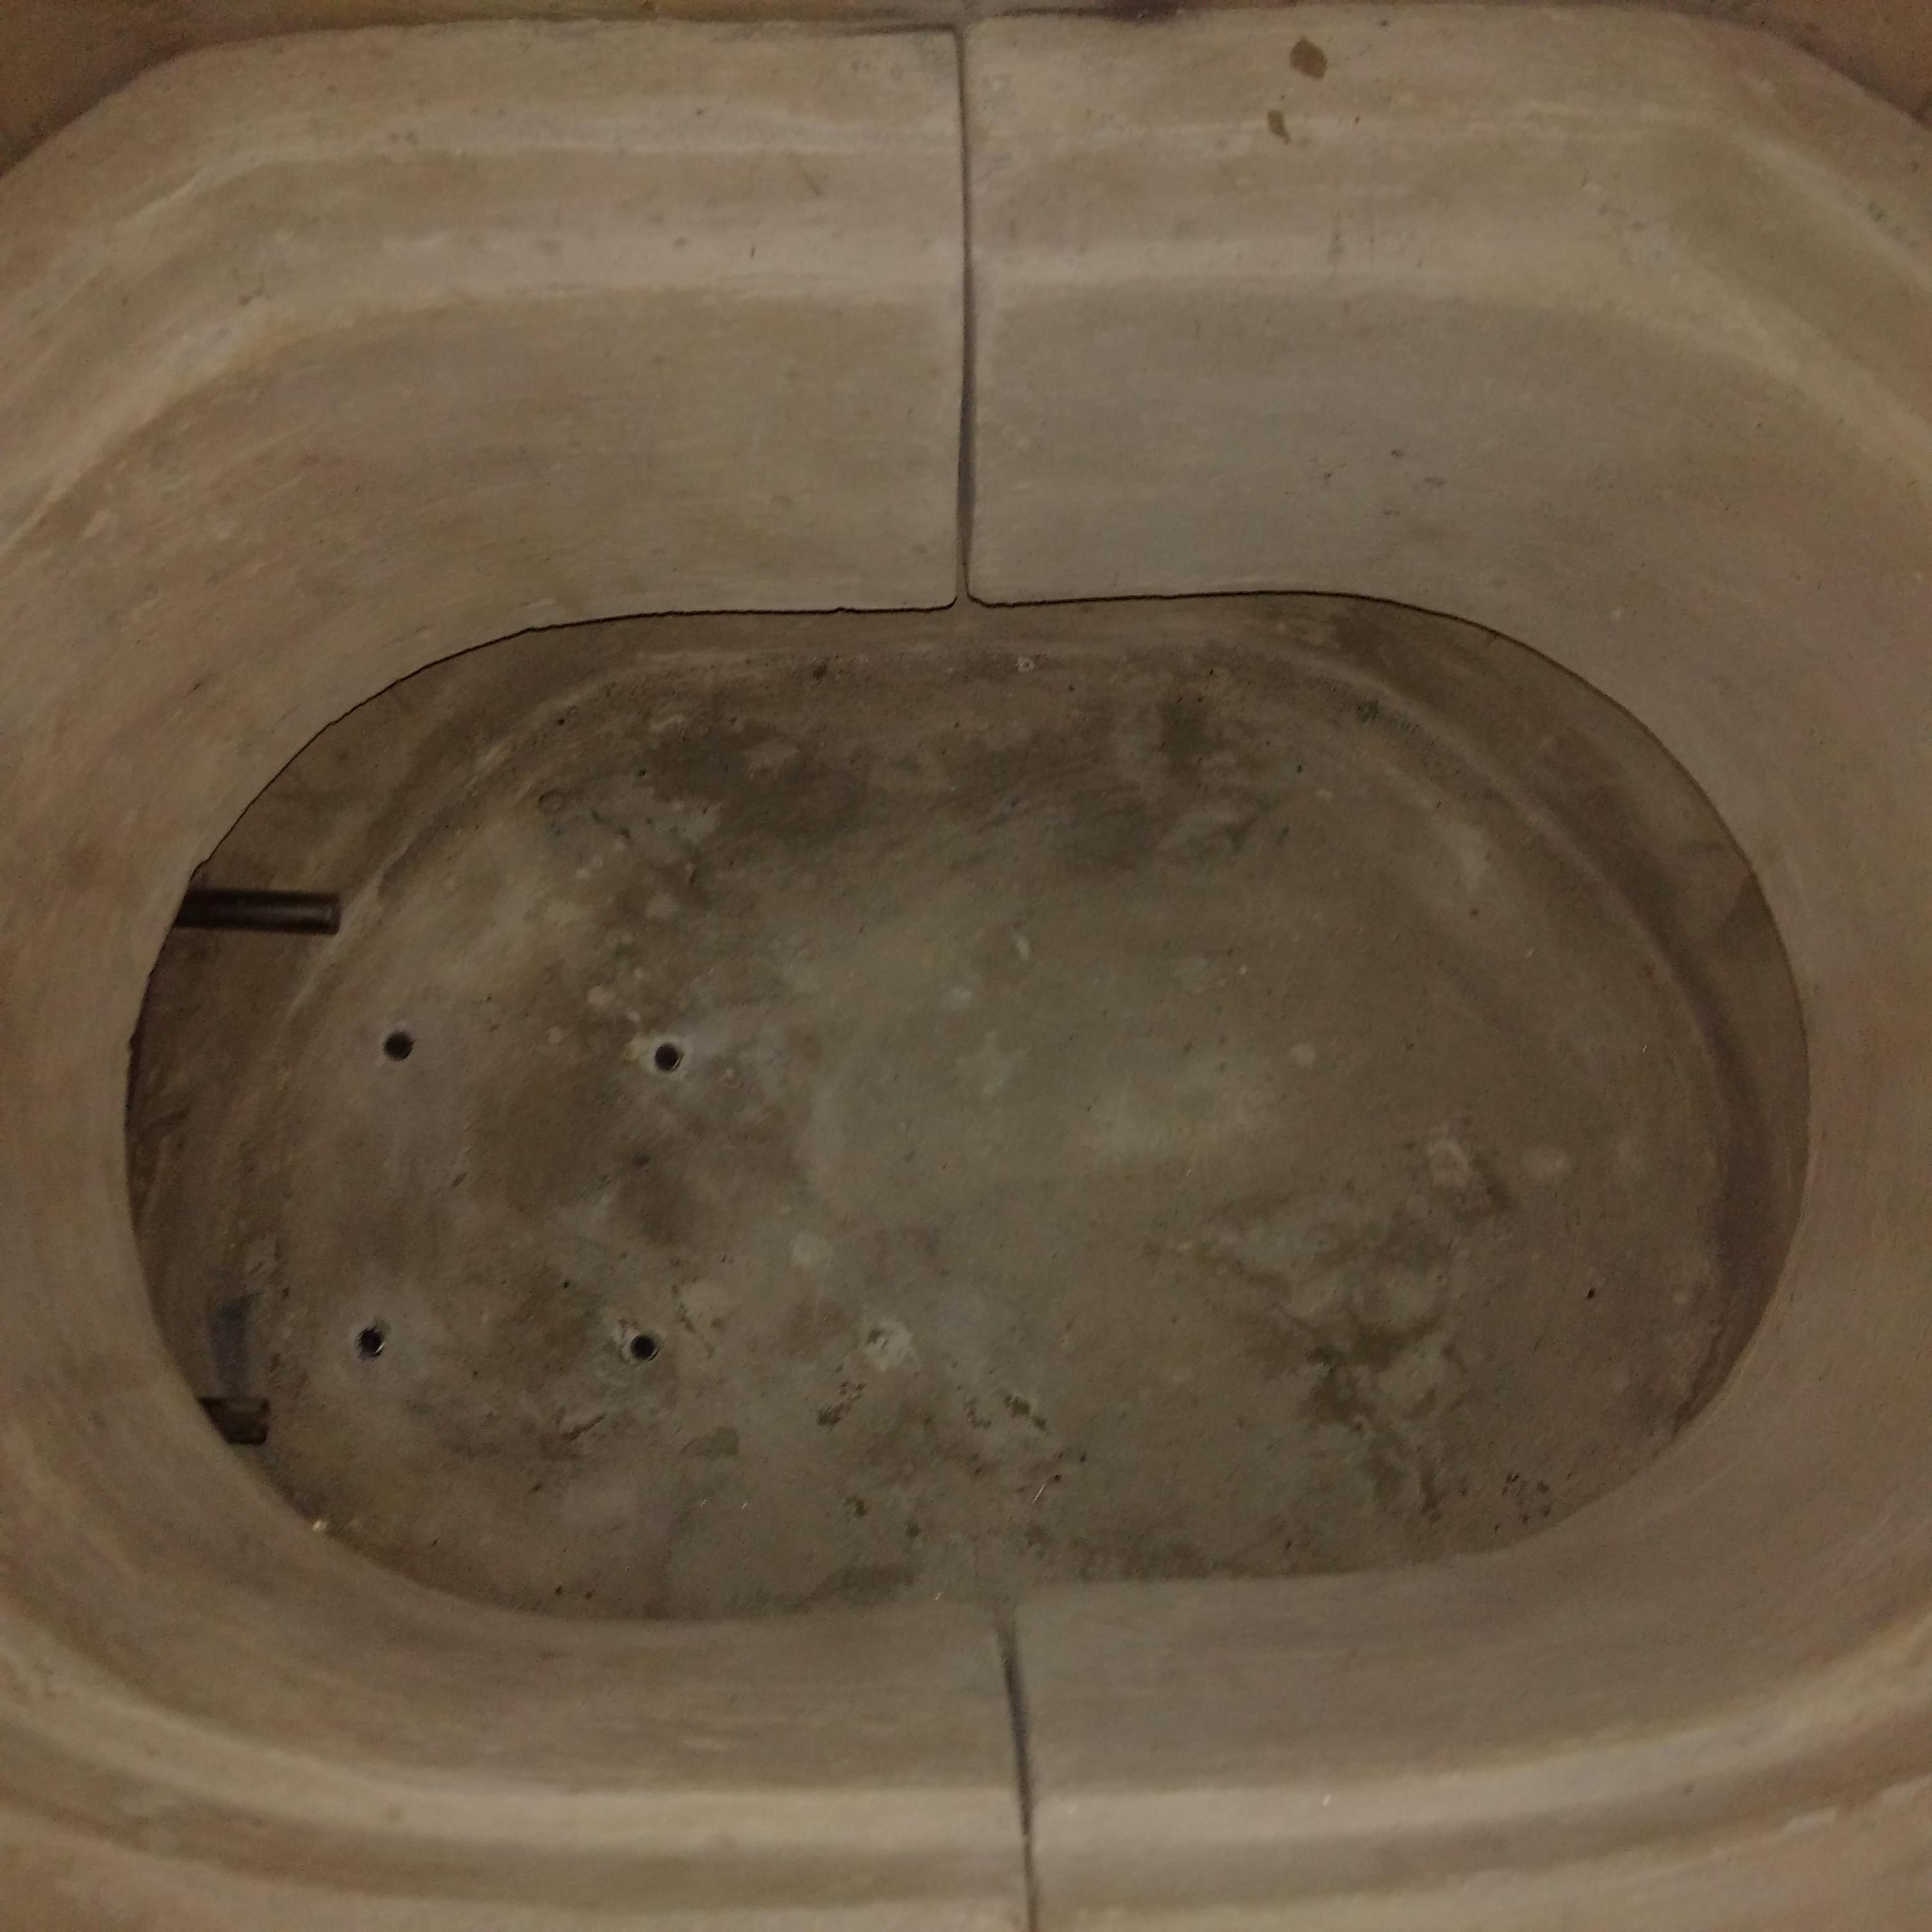
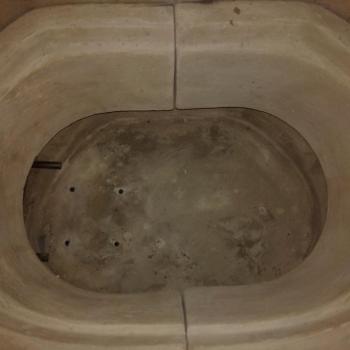
The 32 KKs come standard with the following items: 1 Two piece fire box (every KK comes with it) 1 charcoal basket 2 sets of heat deflectors (they come in two shapes) 1 lower grate 1 main grate 1 upper grate (which you can put in 2 possitions, one higher than the other) 1 main half grate 1 stainless steel drip pan. 1 thermometer 1 draft door with two airflow dials 1 metal door to shut the gas accesory inlet. 1 plug for the hole where you can install a bbq guru. 1 set of tools (1 wrench for the spring bolt and 1 allen wrench) 1 box of spare parts. Anything missing?
-
Vkl thank you.
-
Wilbur thanks for everything, you made me think a lot about the size to choose from.
-
Thanks Poochie I'll try and keep up.
-
Wilburpan, thanks great read. There is an issue that I find with getting a KK, What will I do with the rest of my kitchen?
-
I'm really impressed with my KK, this thing held a temp of 540 - 560 for 7 hours yestarday with little to none changes.
-
I completely agree with Dennis, you can throw everything at it while cooking without waiting for some space to become available when other food is ready. And I don't think is huge. I'm glad I got the BB32. Thanks again Dennis
-
Bosco, you are on the right track. This things are amazing. I was set on a 23, even made the deposit and changed my mind right before the shipping. I'm pretty happy with the 32. I think that if I would have gotten the 23, would always be thinking I should've gotten the 32. Happy that it serves you well. Fernando
-
The temp controls on this thing are amazing. First time using it, and went pretty slowly to 200 then opened a little bit more and up to 300, and then again opened a little more and got all the way up to 540 ish, and closed a little so I can have it cured. Been around that temp for 1 hour and 30 minutes. This grill is way better than I expected.
-
Tony, thanks, but I'm doing it right now with nothing except the grills in it. So if they had any residue or chemical it would go out to. But thank you.
-
Tony B after thinking about the first cook I'll do the burn in first.
-
Thanks Ceramic Chef.
-
Ckreef, you are correct, it's the two allen screws on the top of the back cover, then you pull the top of the back cover and take it out. The screws on mine were 5mm. And only used an allen wrench. Hope this helps.
-
Syzygies, nice point. Yes I had my doubts, but after a lot of thinking about it, conversations with Dennis and the fact that I will mostly use this for guests, set the balance towards the 32. Thanks
-
Here is one pic, took it with the phone and the picture quality is not as good.
-
Thanks again to all.
-
Some pics. Sorry for the quality of the pictures, on the phone they seem better.


-
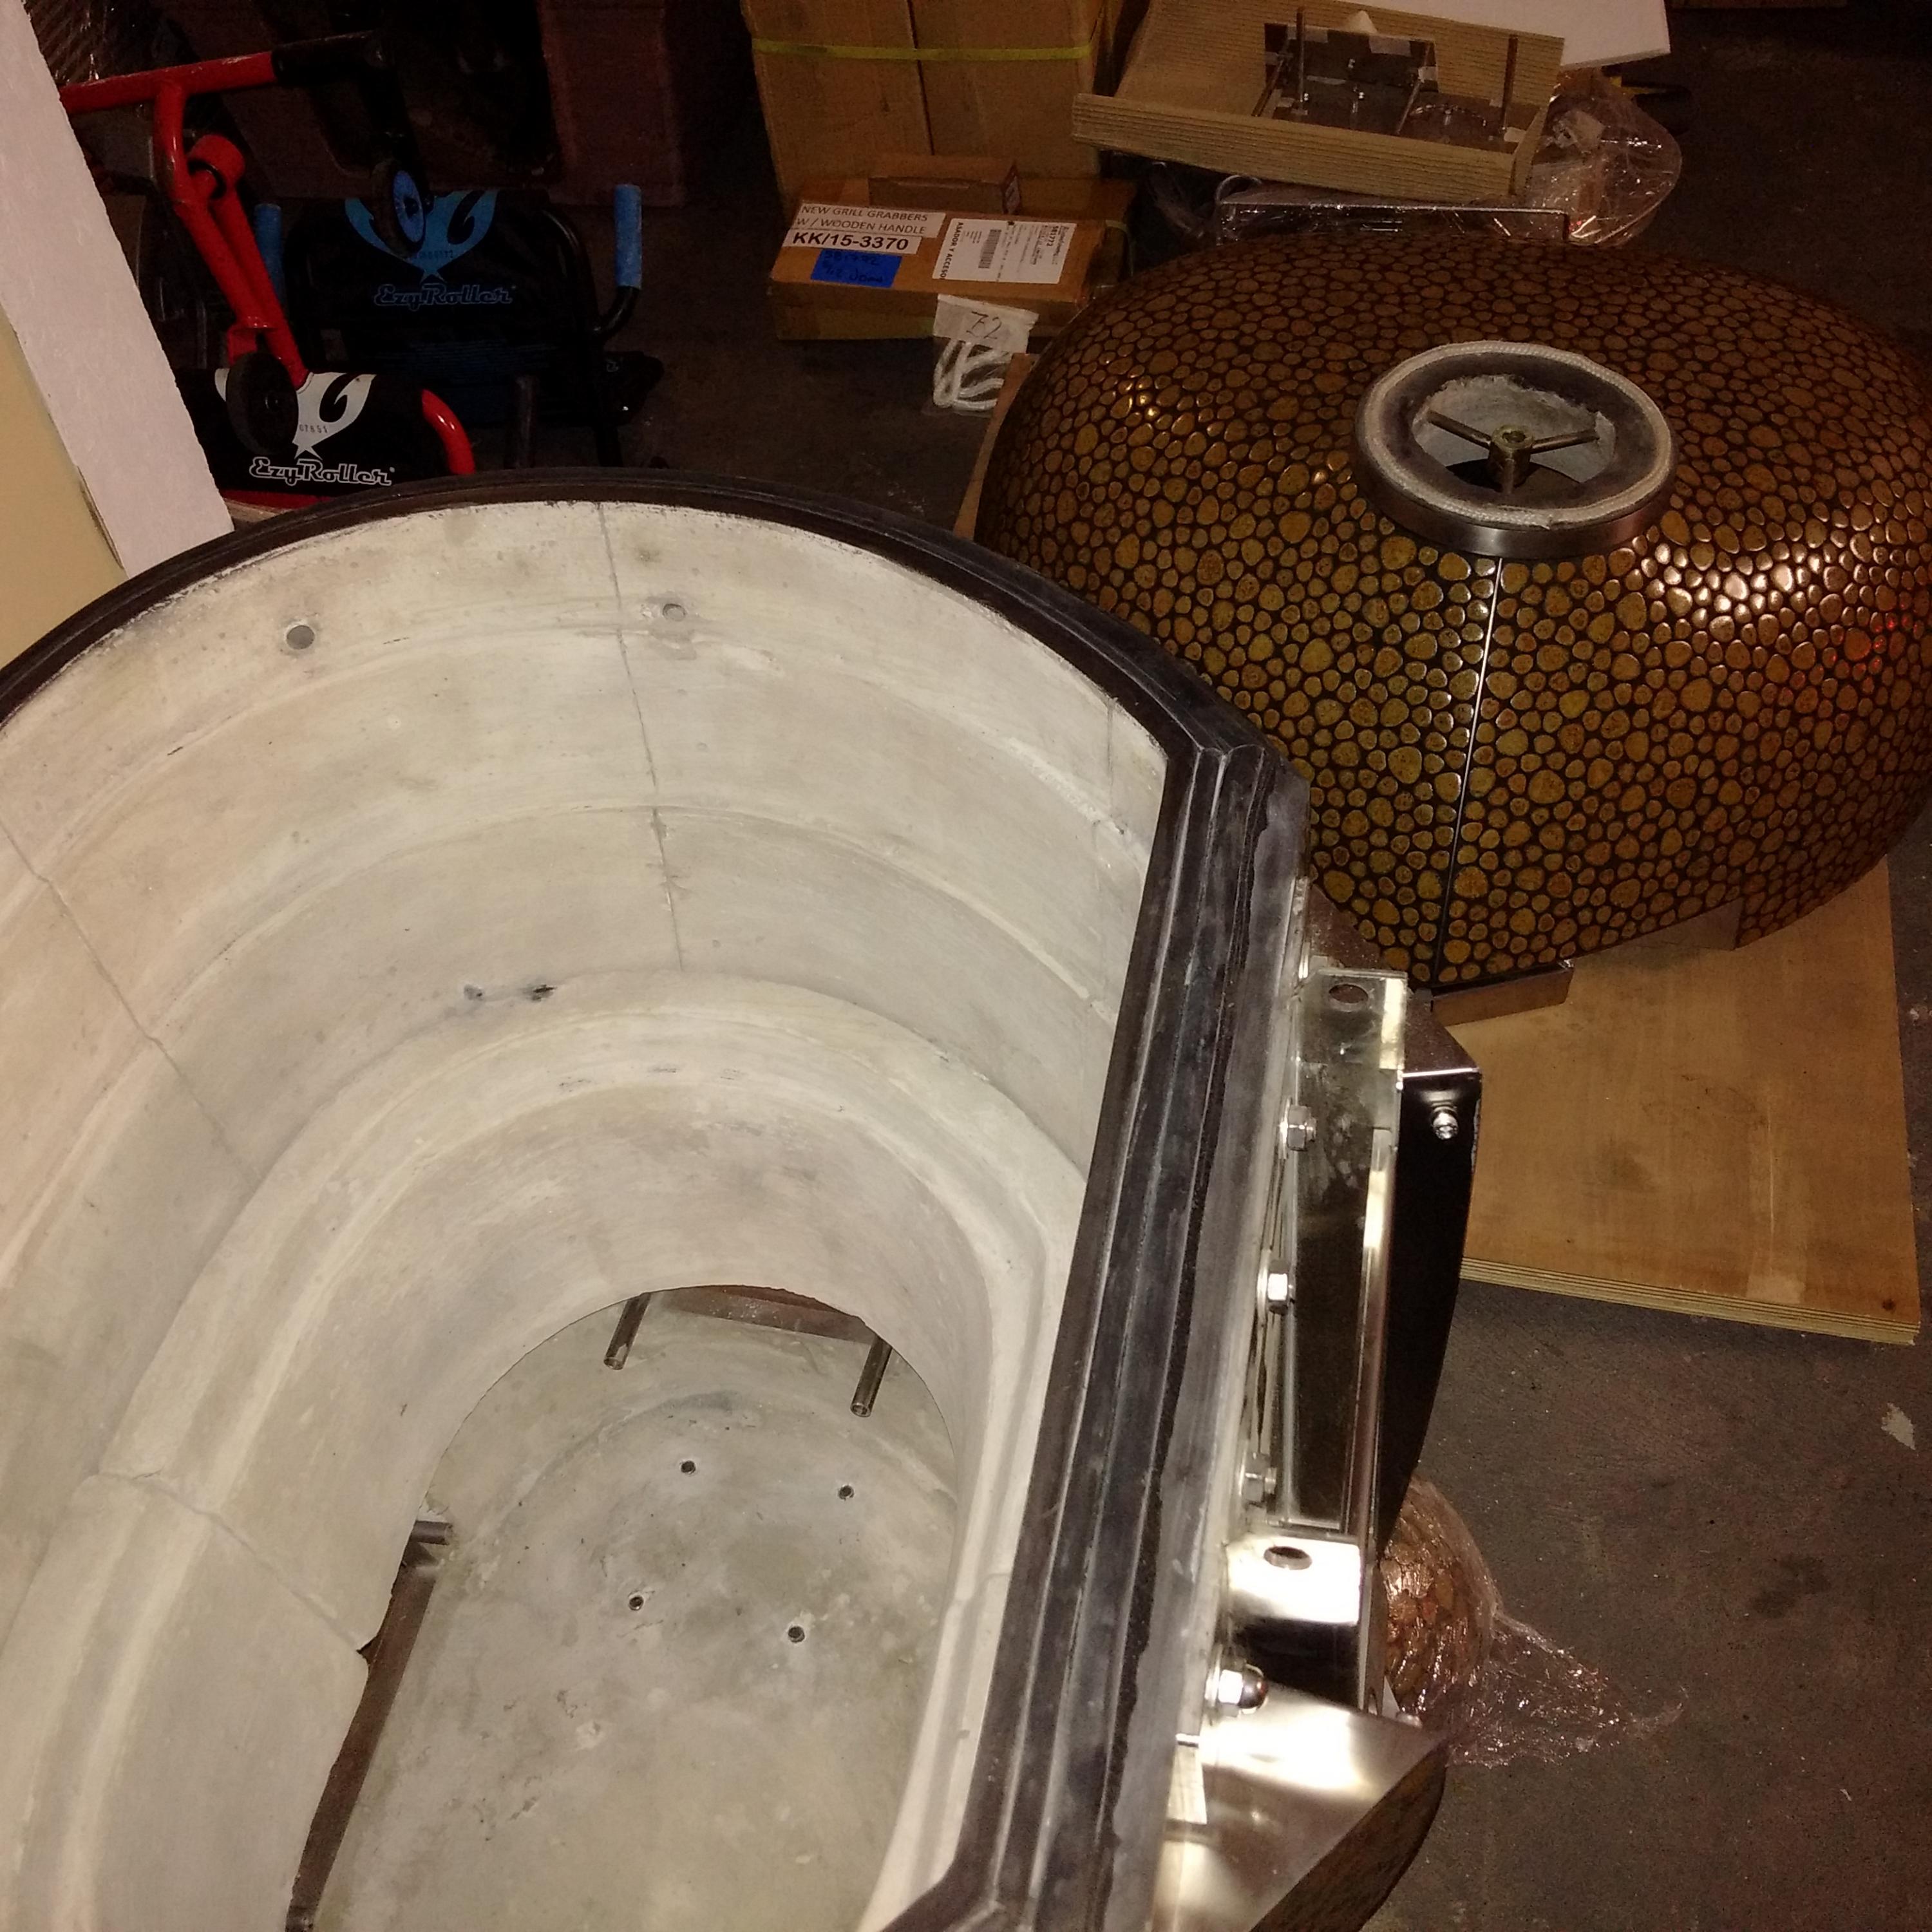
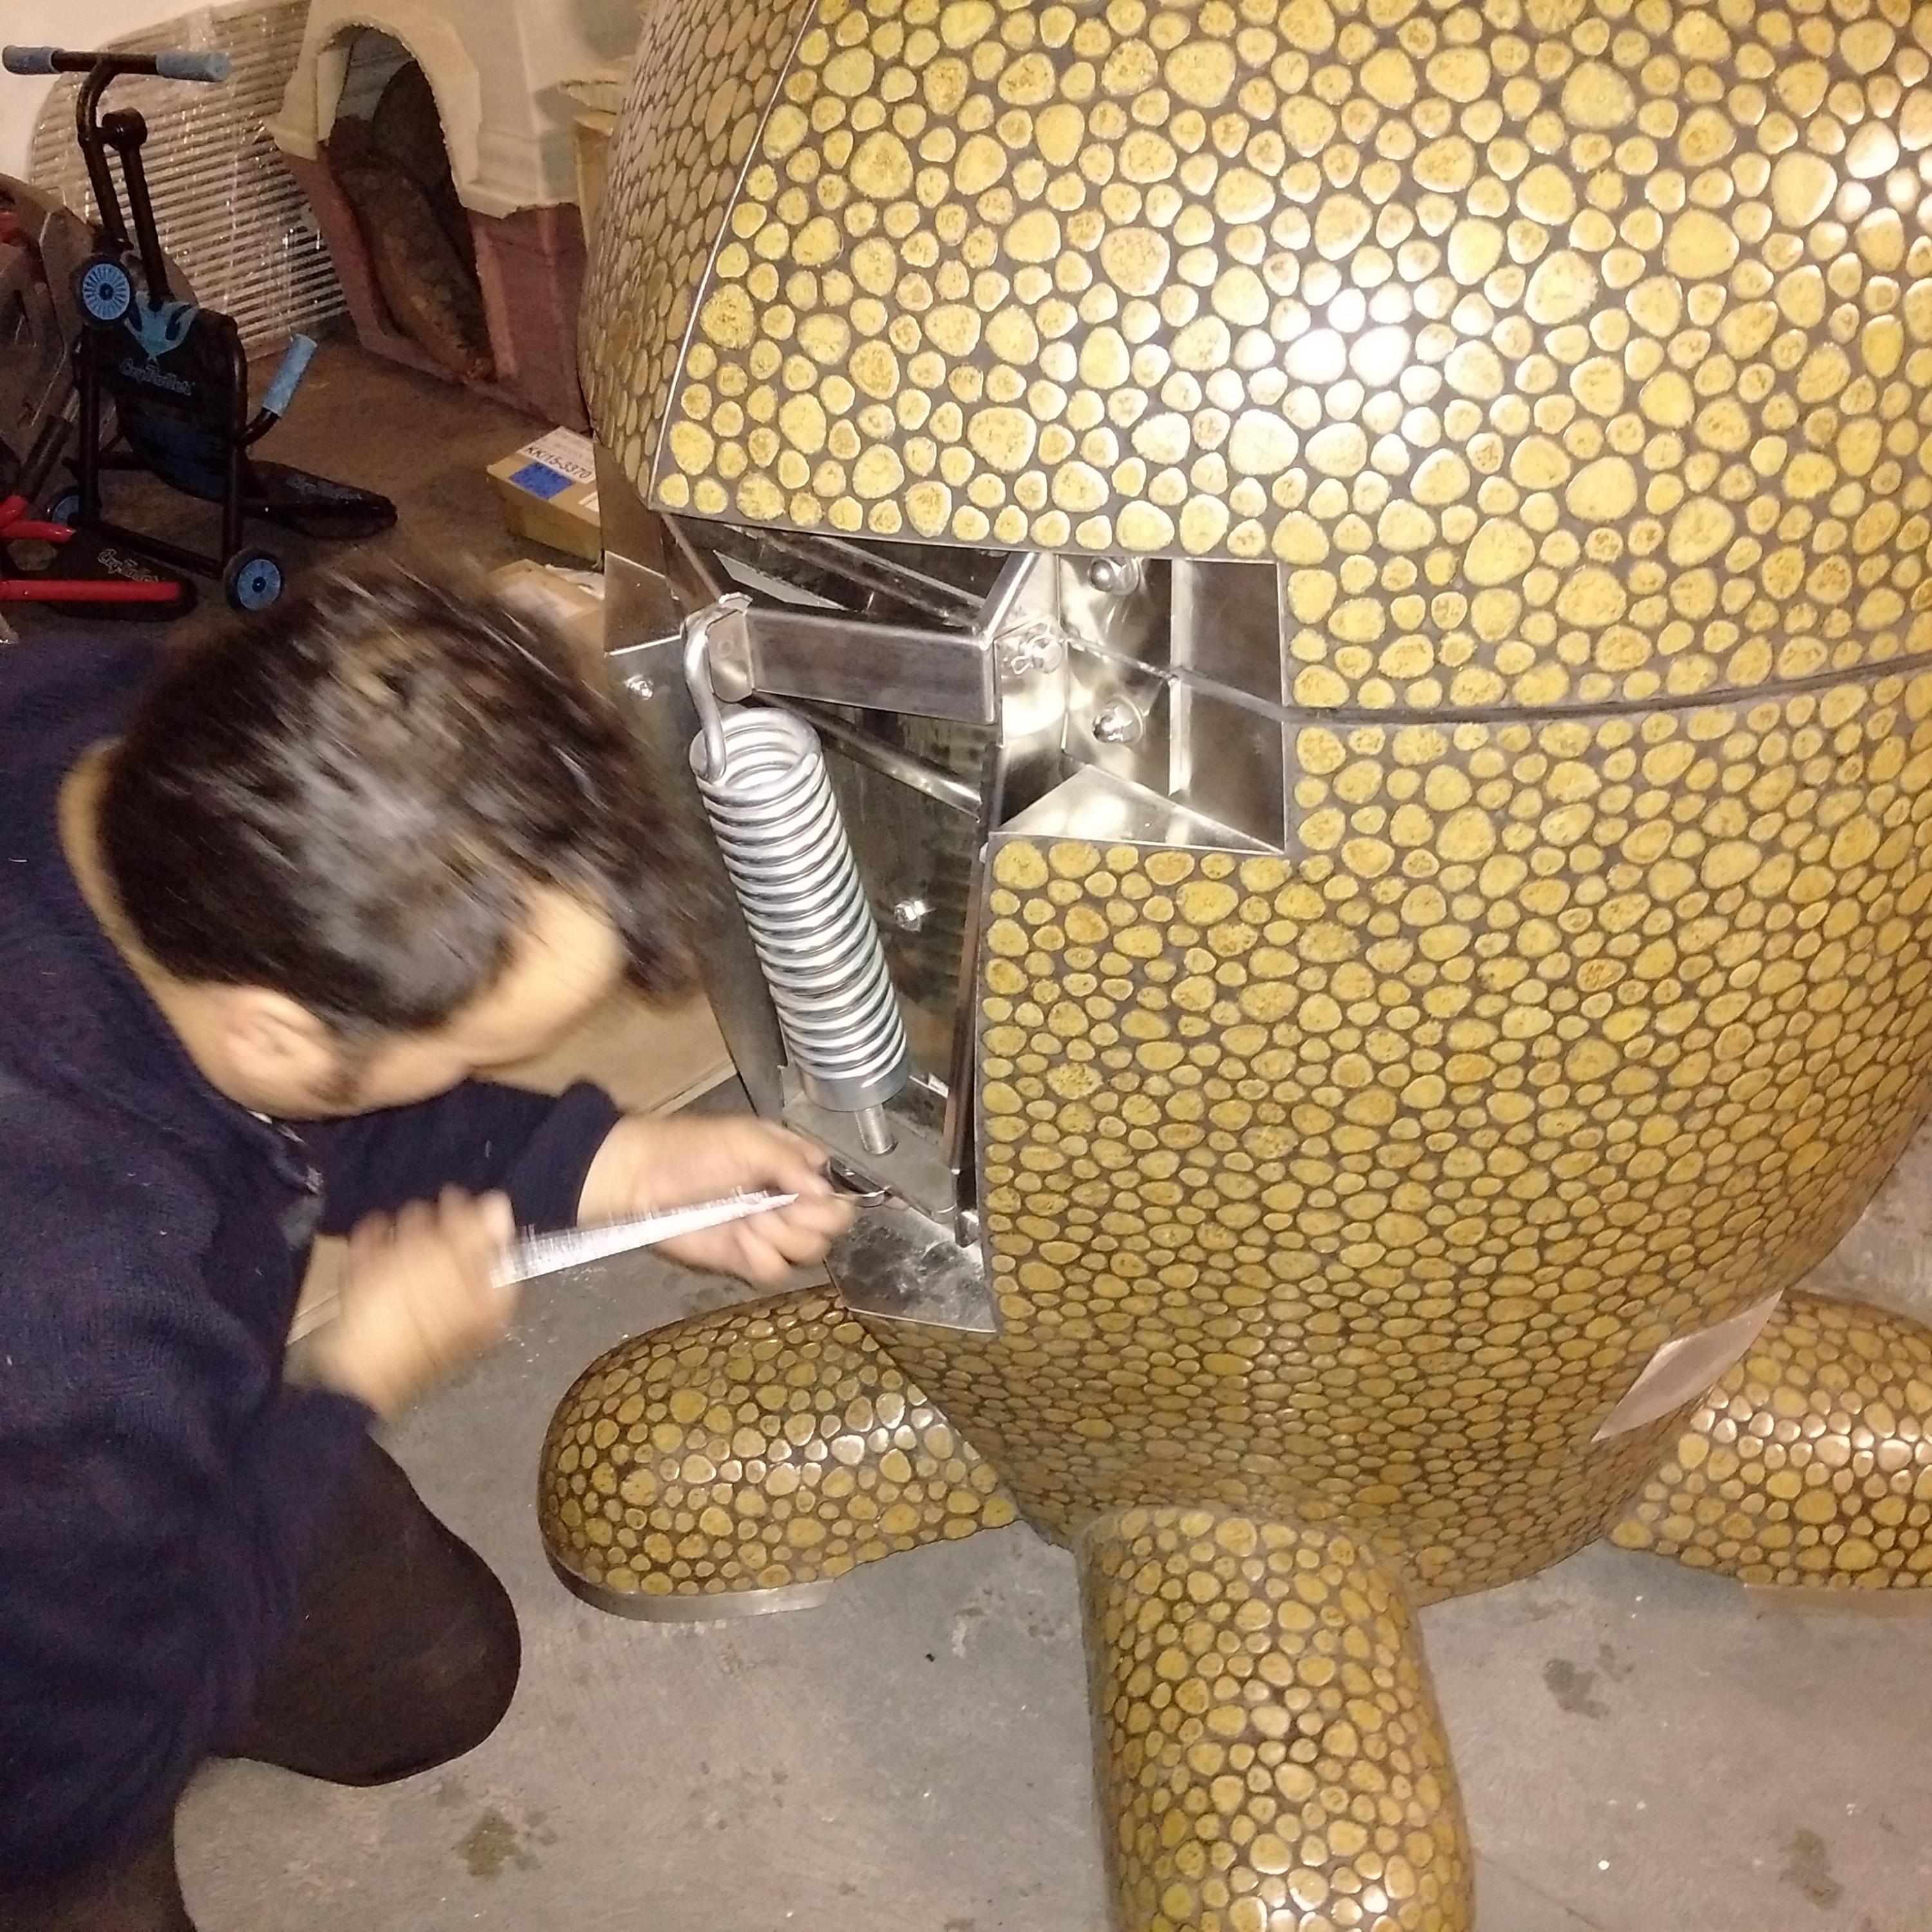
Thanks. Ckreef, about the dome, first you have to loosen two screws that hold the steel plate that covers the spring. Then with a wrench that came with the grill, you have to release the tension of the large / only spring, until you can un hook it from the dome, it's easier when you get the screw that sets the tension out, and have some one open the dome, so you can un hook it. Then, just take out a safety pin on the back that holds a large bolt in the hinge. Then you tap that bolt and it slides out. At that point the dome is free. To assemble, you have to set the dome like it is shut and have someone slightly move it for the large bolt to slide in. Fix the safety pin, hook the spring and insert the screw that holds it on the bottom turning clockwise until you get the same tension that it had, that is not an exact thing so I did it until I thought it was the same, and voila, you are done. Thanks again.