KK787
-
Posts
47 -
Joined
-
Last visited
-
Days Won
4
Content Type
Profiles
Forums
Events
Everything posted by KK787
-
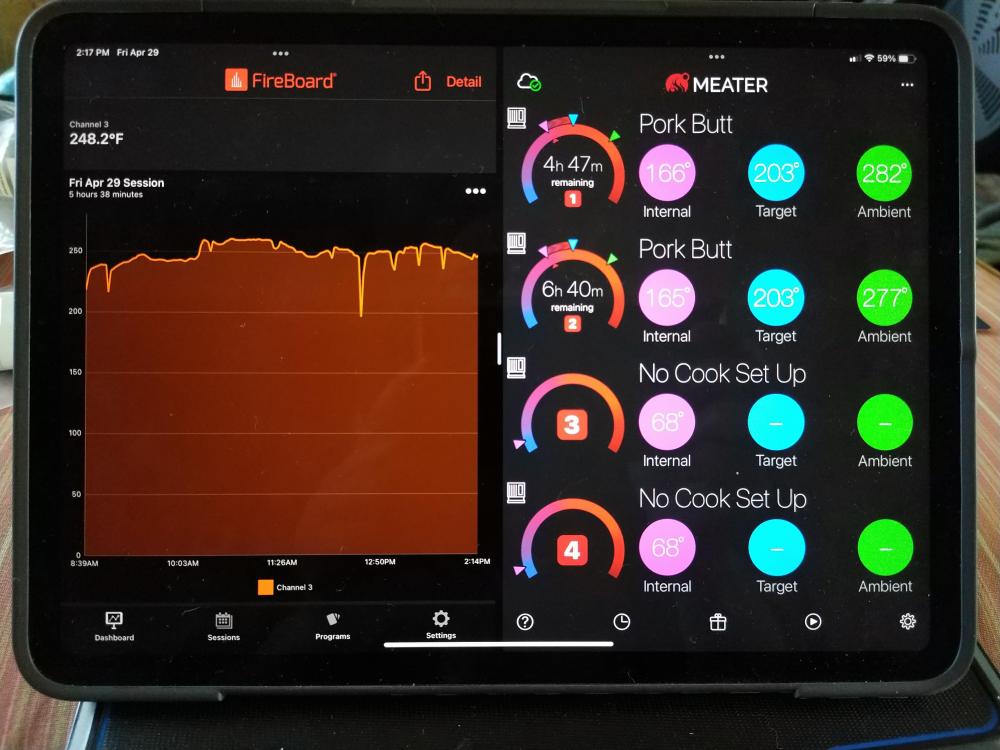
Also note, the cook times in the stall are not accurate and Meater sends you a note during the setup process that reflects this. Once out of the stall completely, the finish times are accurate.
-
Looks good! What do you use for smoke generation? Foil pouch, Harry Soo's method, cast iron pot, etc?
-
After months of research and practice with many cooks on lower cuts of meat, I found the perfect method for prime rib that does not involve Sous Vide but gives similar results. That is, perfectly cooked meat edge to edge - no brown bands, excellent crust. Here is the link: https://blog.thermoworks.com/beef/science-of-perfect-prime-rib-roast/ The final cook was performed on a 11 pound, 5 bone, dry aged, Prime, prime rib. I could not afford to screw up this cook! I used a drip pan and the rotisserie basket which the roast fit perfectly. Plus there was no skewer hole in the meat. Anyway, it came out great. Excellent bark, the center was medium rare pink throughout. The ends were medium. The meat was perfect and everyone was extremely pleased. The technique above was the key. The big surprise was the length of time. According to the charts, it was going to be a 4 to 5 hour cook at 225-250. The MEATER probes saved the day - I used all four in this roast. At 1:30 into the cook, it said the roast would be done in an hour!! I was in disbelief! So, I put my faith in the Meater, called everyone, moved Easter dinner up, and pressed on. The roast was done in 2:45 total. I foiled wrapped it loosely in a metal pan and let it rest for roughly 45 minutes. It was still really warm when served. It was absolutely excellent. My wife was supposed to take more pictures buy in the chaos of the day, she/we forgot. Again, the technique above was the key to success. I used straight charcoal, no wood. Just salt, pepper and garlic powder. Was going to baste with oil, butter thyme and rosemary the last two hours, but it cooked to fast! And in retrospect, I am glad I did not. The flavor was perfect with the seasoning as is.

-
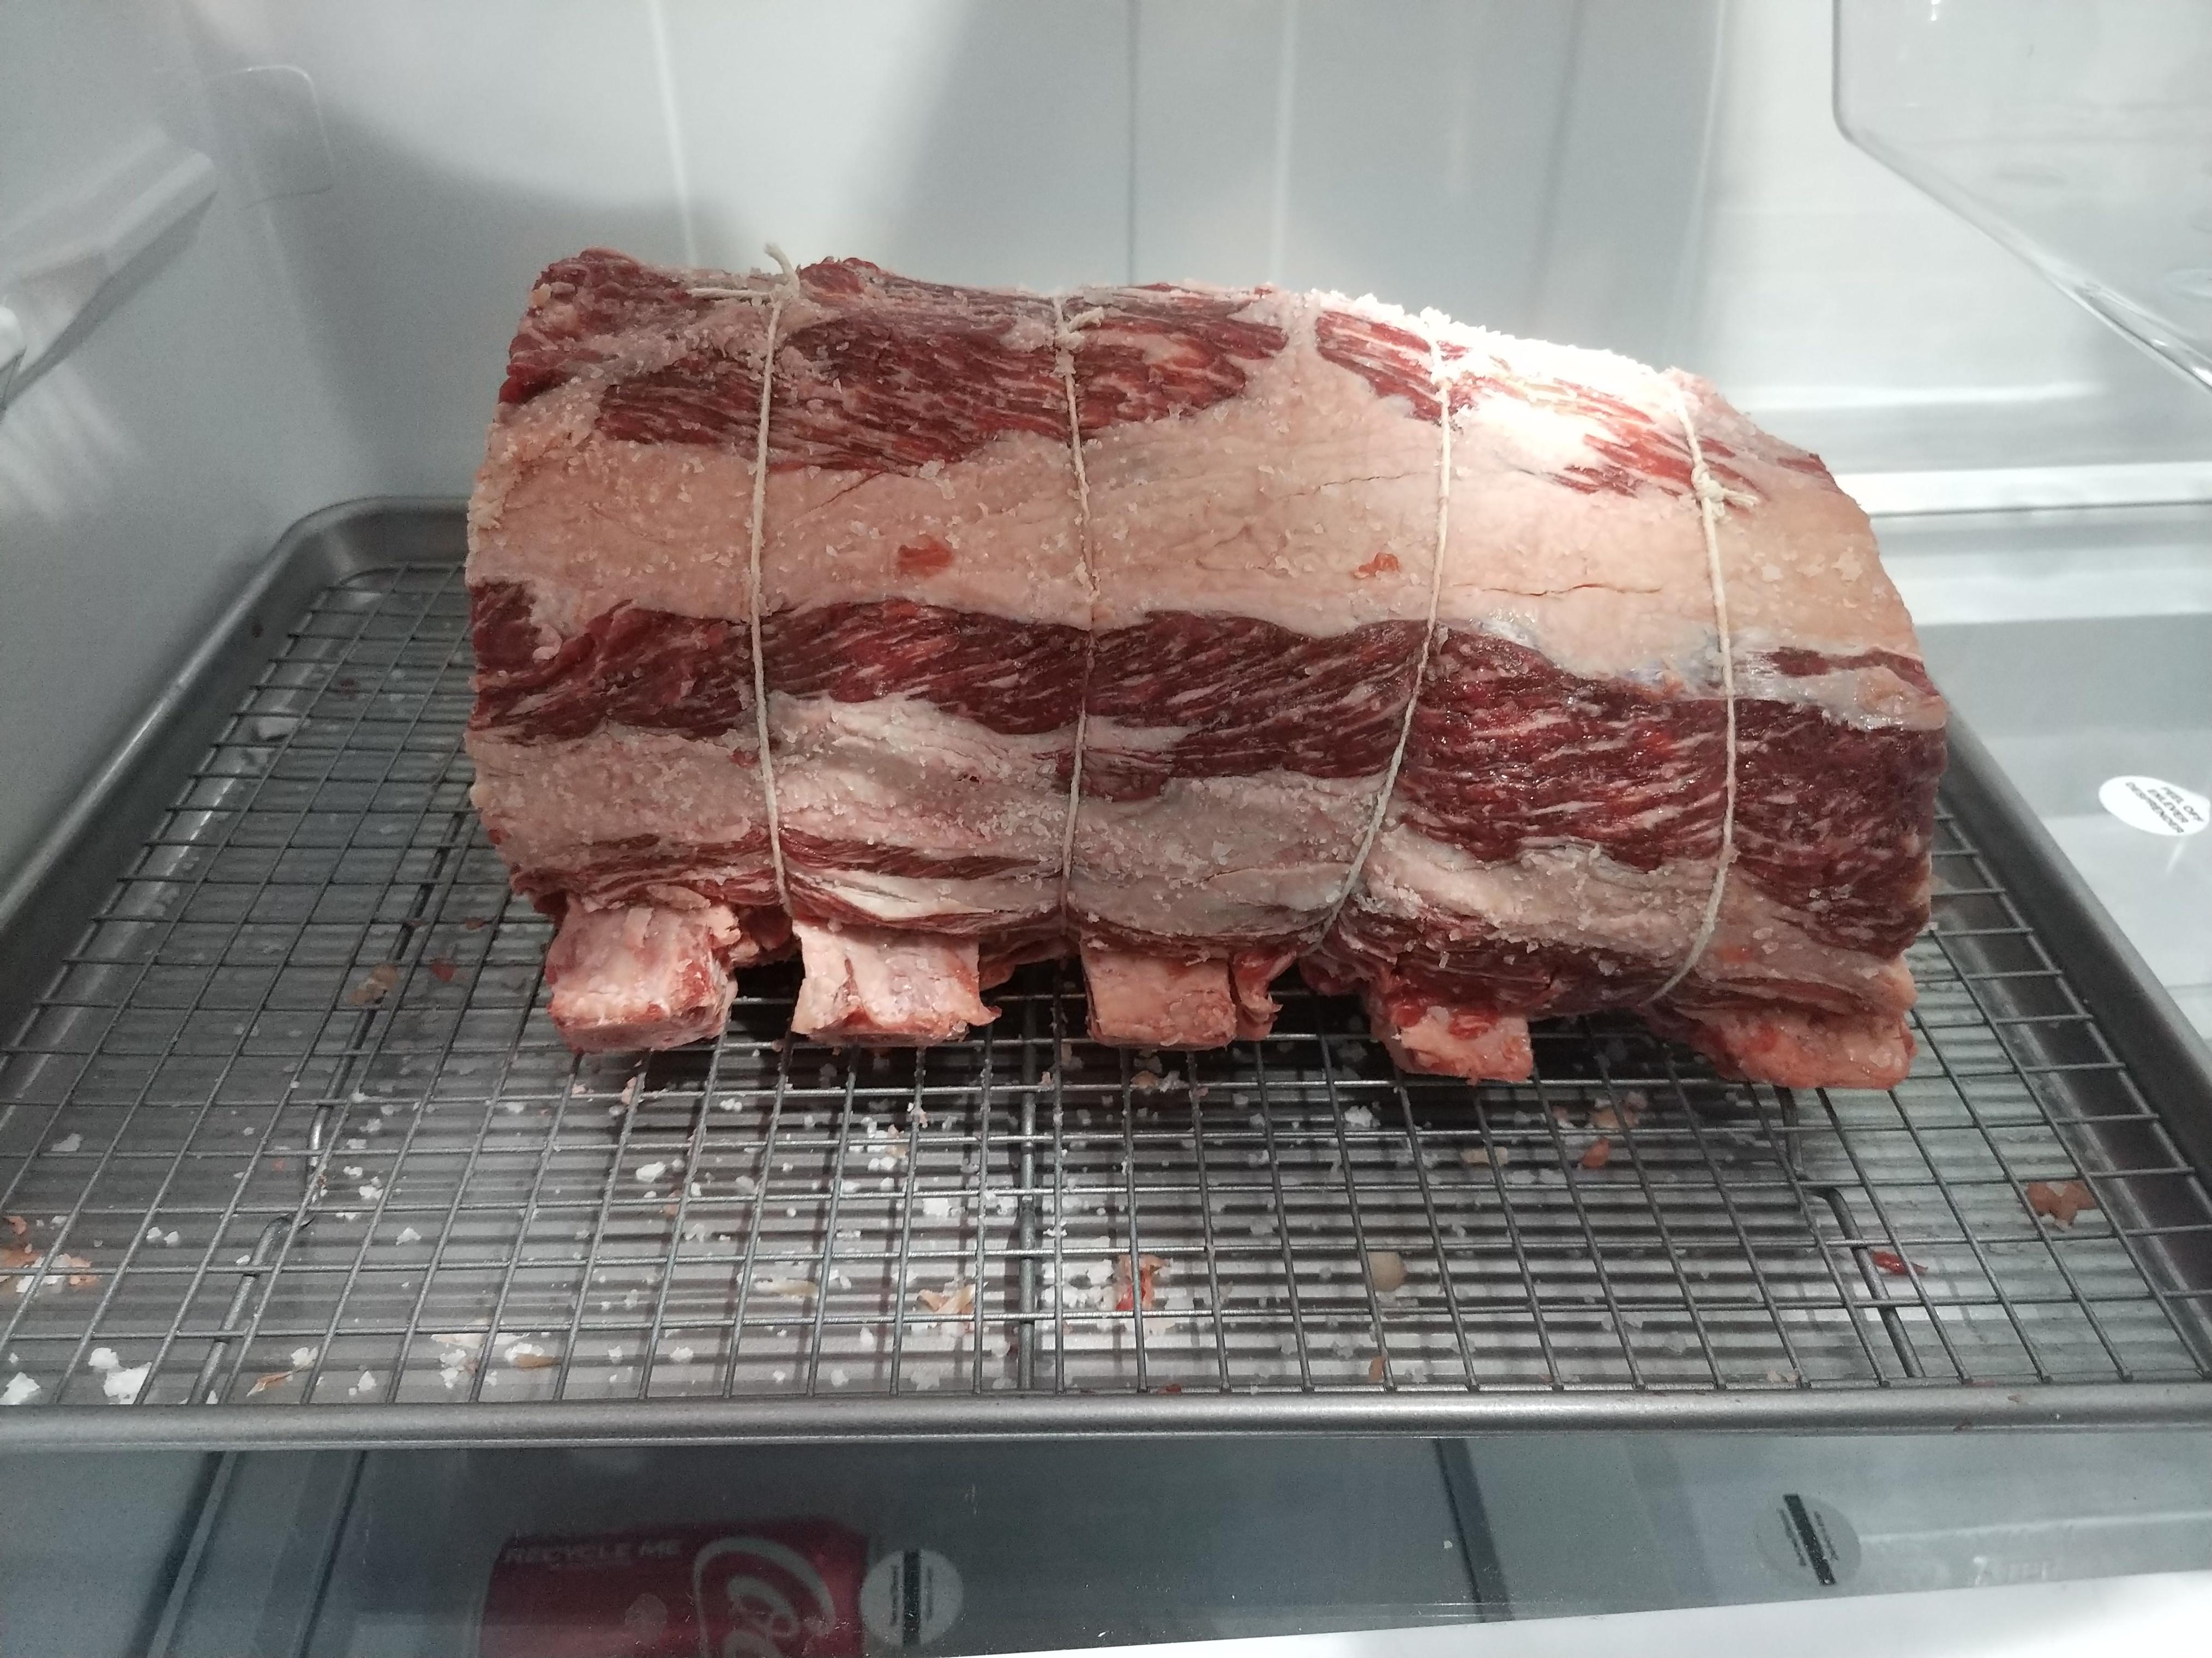
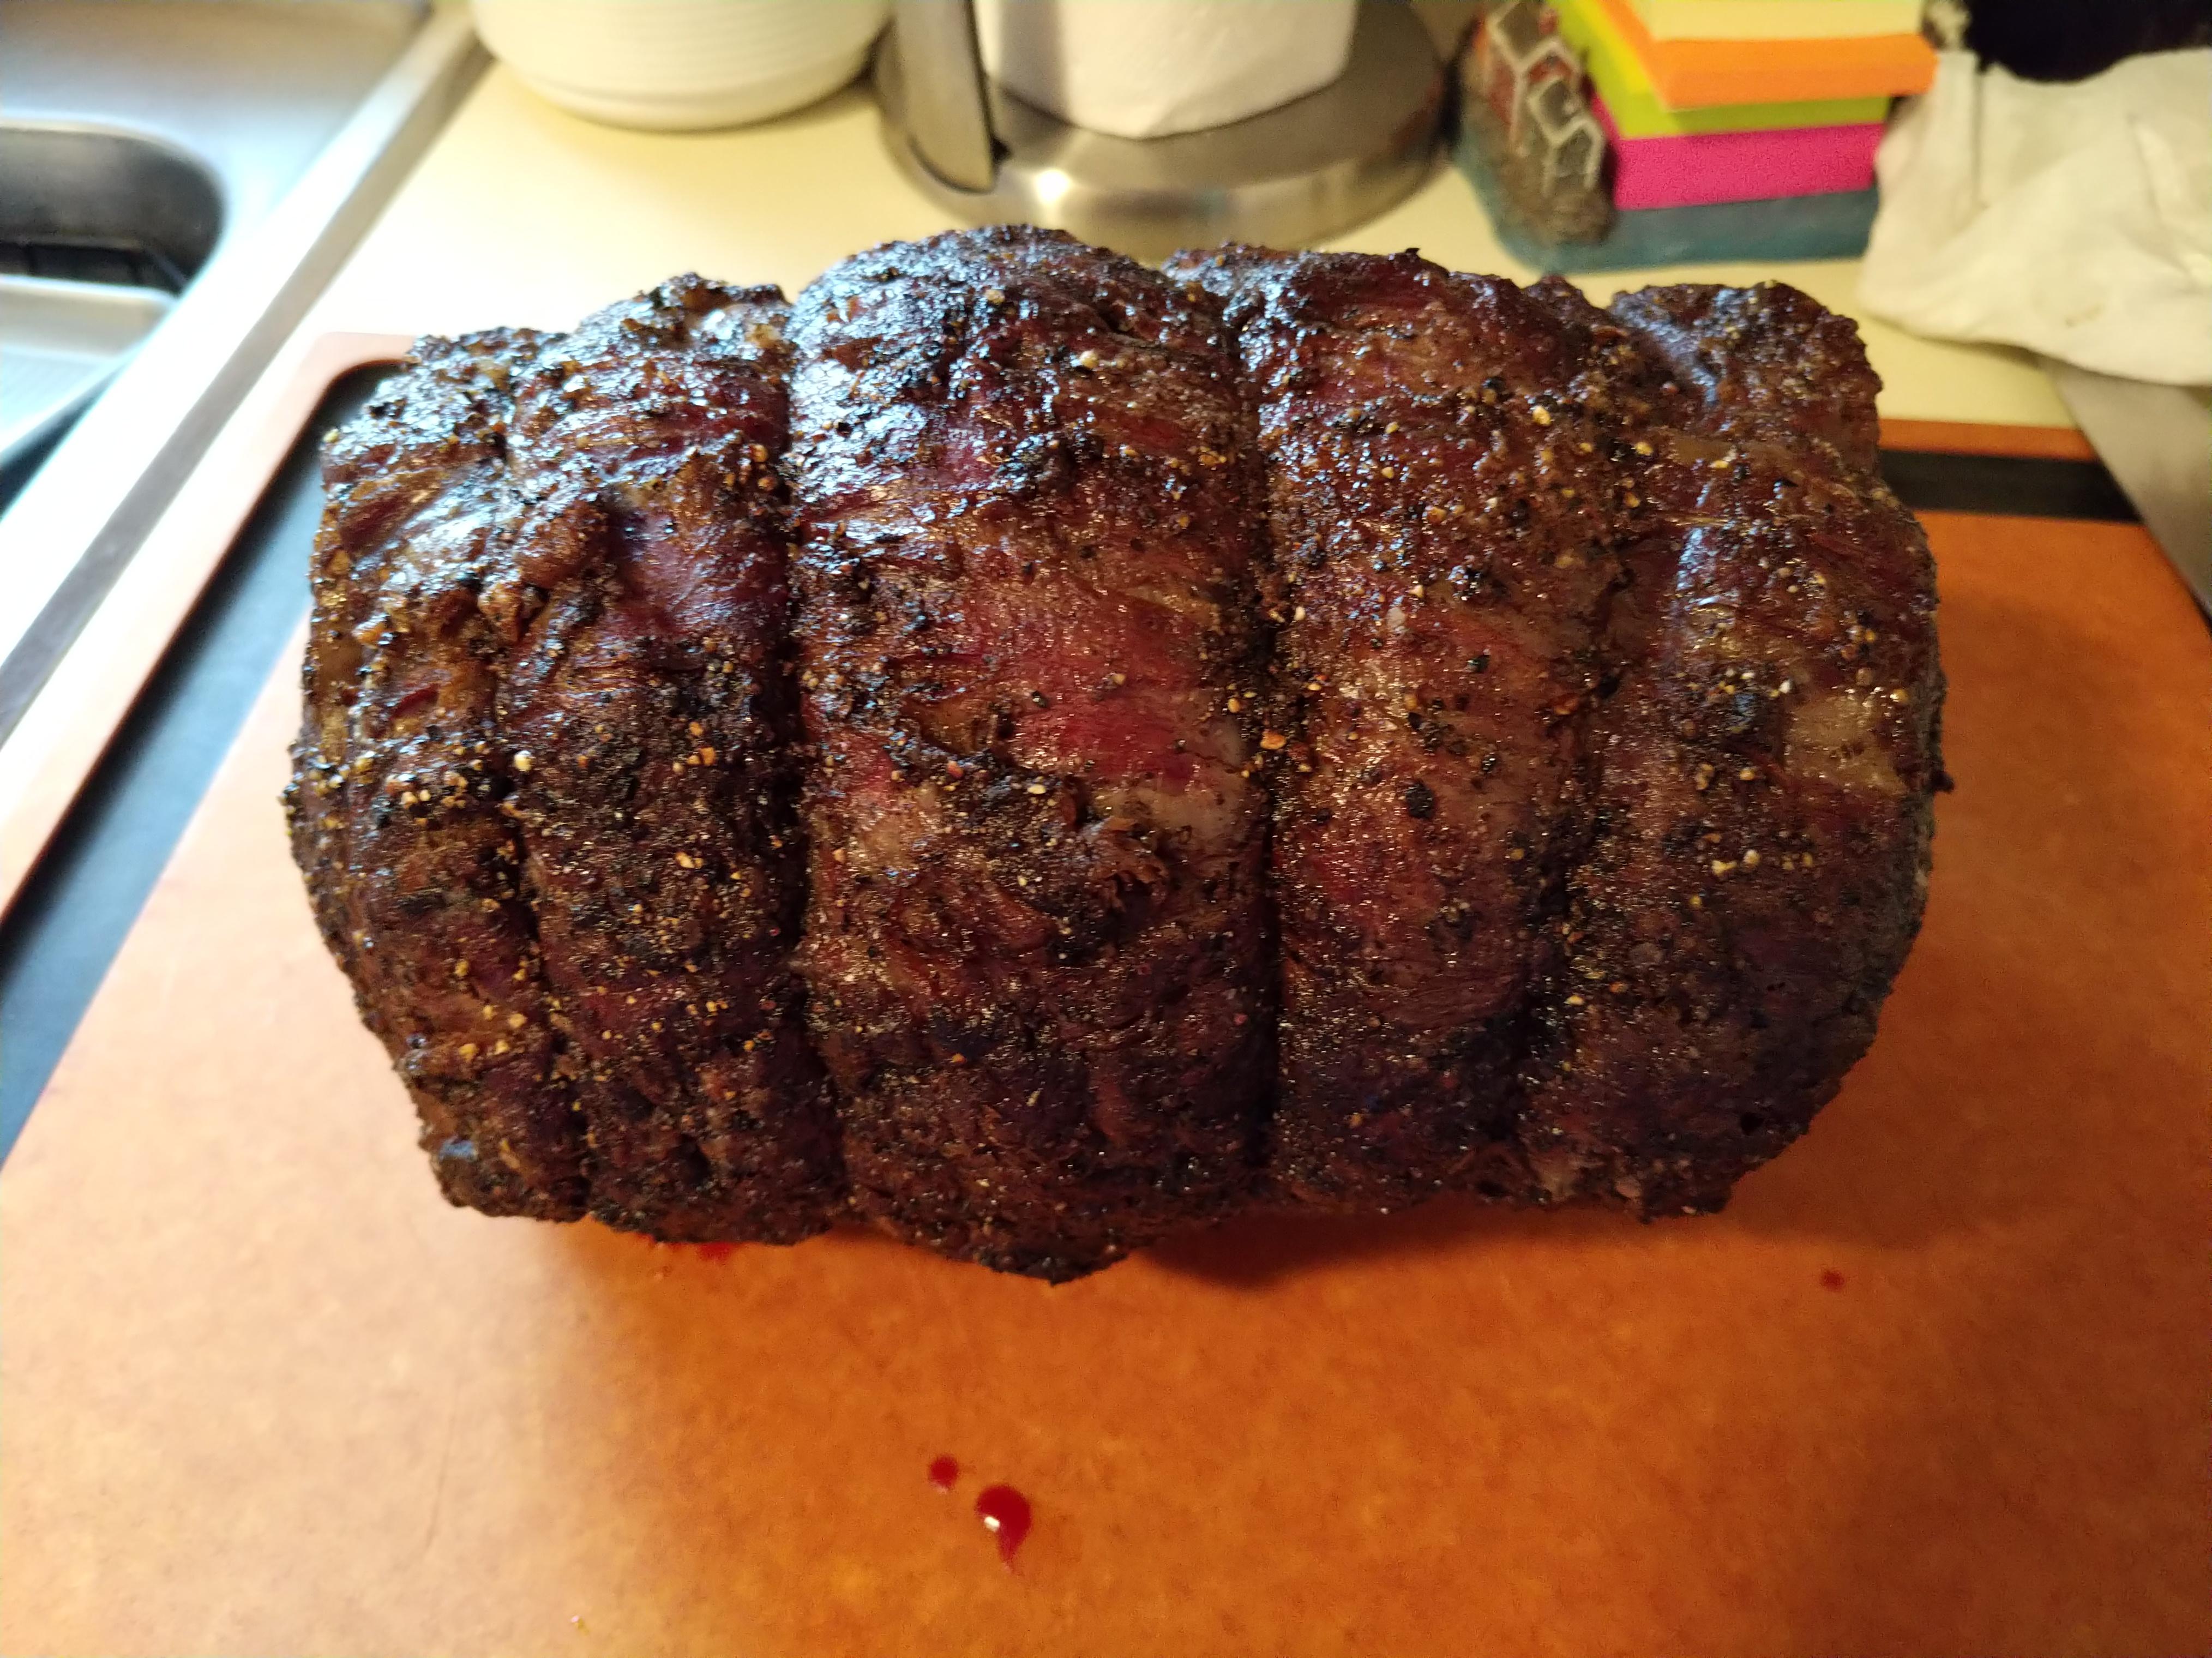
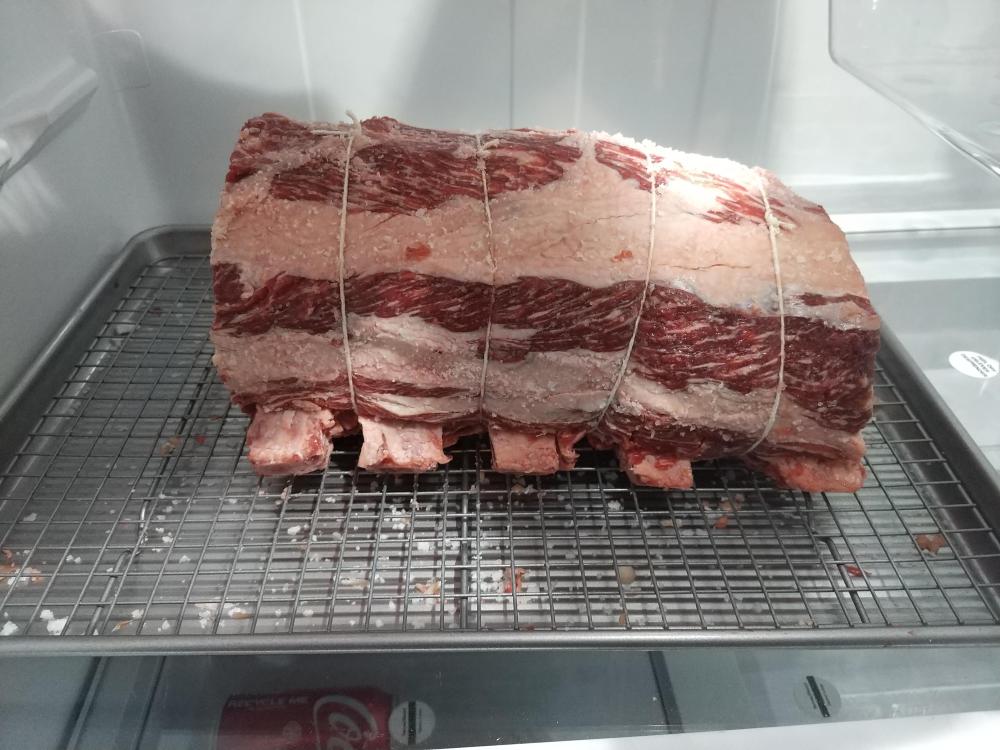
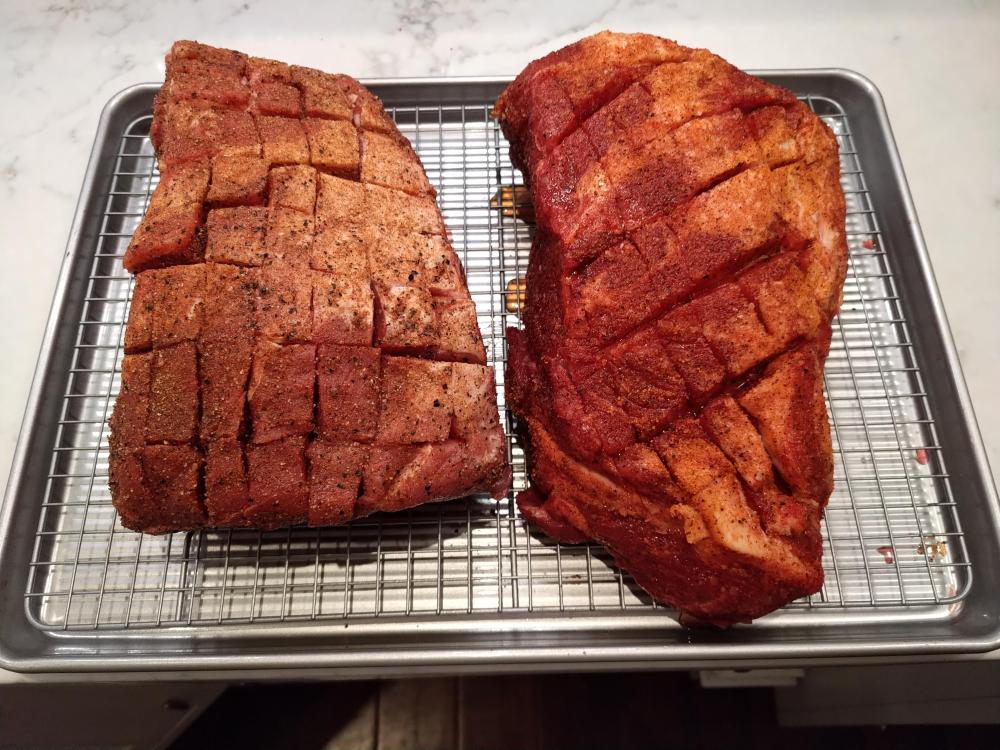
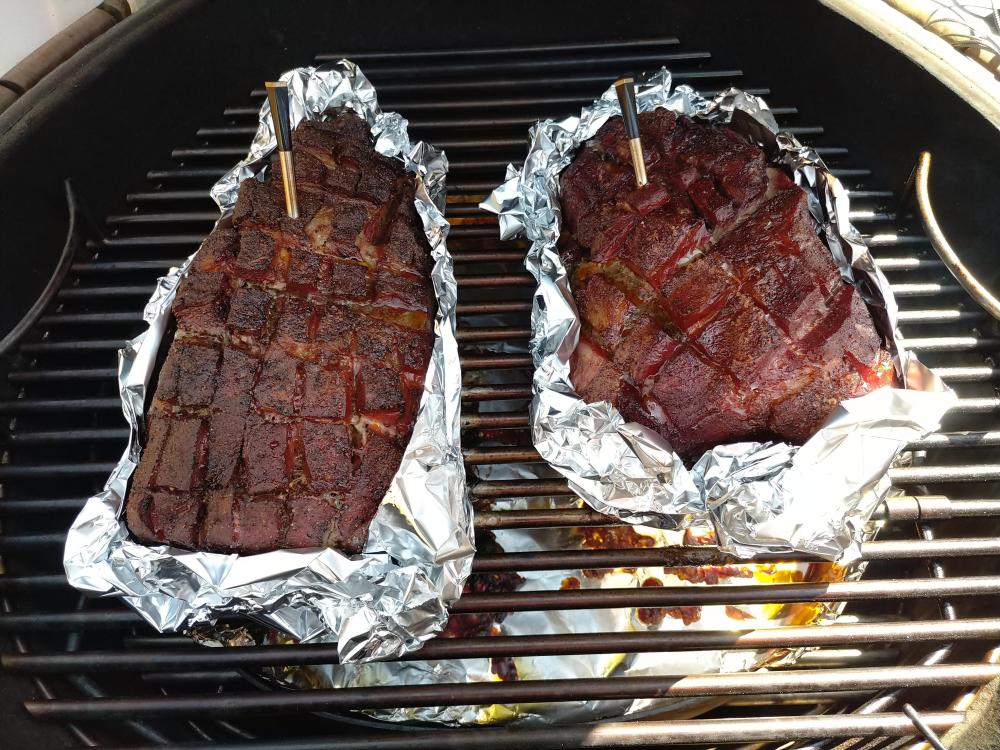
I’ve made pulled pork on my Camp Chef smoker and 23 Ultimate KK and they were pretty good. Yesterday I tried Smoking Dad BBQ's Kamado style pulled pork in my KK, the results were fantastic. Incredible bark, super moist meat without being greasy or wet and full of Smokey flavor the likes I’ve never experienced on the CS or KK. Here is a link to his video: https://www.bing.com/videos/search?q=smoking+dad+bbq&qft=+filterui%3avideoage-lt43200&view=detail&mid=DFBF2B49473021E24E16DFBF2B49473021E24E16&&FORM=VRDGAR&ru=%2Fvideos%2Fsearch%3F%26q%3Dsmoking%2Bdad%2Bbbq%26qft%3D%2Bfilterui%3Avideoage-lt43200%26FORM%3DVRFLTR As Rum and Cook says, you don’t need all the contraptions that other Kamado style grills require in the KK and he is absolutely correct. All I did was use my foil lined double wall drip pan as a heat deflector on the lower rack. I used award winning Harry Soo's technique for setting up his Weber Smokey Mountain for long cooks - worked fantastic. Perfect light blue smoke for hours. I forgot to shut down the grill after pulling the meat and even after 13 hours, the smoke was perfect. No foil wrapped wood or cast iron pots. Just charcoal and wood specifically placed and lit. I followed the temps used in the Smoking Dad BBQ link above. I used my Fireboard controller to run the Pit Bull fan and my Meater Block to monitor the cooks in both pork butts. A split screen on my iPad made monitoring both apps easy. To set the correct temps, I first set the dome temp to 270. I then referenced the Fireboard probe reading and set that temp in the Fireboard app. I closed the KK bottom vent, opened the fan vent about 1/2 way, and that controlled the temps well. The sharp spikes in the graph is where I opened the KK for spraying. Please not, the iPad picture is a snapshot and does not reflect when the finishing temps were raised to 330. Special thanks to Smoking Dads BBQ, Rum and Cook, and Harry Soo for your excellent How To videos. Really appreciate your hard work and time all to make my cooks better.
-
Technique For Getting Crispy Chicken with the Rotisserie
KK787 replied to KK787's topic in KK Cooking
And add baking powder after the brine and before placing in the fridge? -
Technique For Getting Crispy Chicken with the Rotisserie
KK787 replied to KK787's topic in KK Cooking
I have one of those Dennis - thanks for the advice! Will give it a try. I tired roasting the bird directly after the wet brine and it was way to moist and watery. So brine, jaccard, air dry in the refrigerator over night then cook? -
Technique For Getting Crispy Chicken with the Rotisserie
KK787 replied to KK787's topic in KK Cooking
Beautiful machine! I was looking the exact same one this morning. Does it over dry your chicken meat in an effort to get crispy skin?. If you are doing ribeye steaks, mow much meat on each side do you end up slicing off - 1/8”? -
Technique For Getting Crispy Chicken with the Rotisserie
KK787 replied to KK787's topic in KK Cooking
What kind of Dry Ager and size do you have? -
Technique For Getting Crispy Chicken with the Rotisserie
KK787 replied to KK787's topic in KK Cooking
Ok ……. This worked. Brined the whole bird for 3 hours - 1 gal water, 1/2 cup kosher salt, 1/4 cup brown sugar. Patted dry with some moister left. Salt and peppered. Then I took a small sieve, put a heaping teaspoon of aluminum free baking powder in it carefully held it over the bird, then tapped with my finger which dusted the bird perfectly. I placed the bird on a wire rack pan and let air dry overnight. Cooked the bird at 350 in the rotisserie basket for about an hour and a half using the Meater probes. Pulled the probes when the breast was 175. Cranked up the heat to 500+ and seared the skin until golden brown - about 5-8 minutes. Came out perfect. Moist meat and excellent crispy skin. Do not tent the bird because this will soften the skin. Let it rest uncovered. -
Technique For Getting Crispy Chicken with the Rotisserie
KK787 replied to KK787's topic in KK Cooking
Fantastic - thanks for your input. -
Technique For Getting Crispy Chicken with the Rotisserie
KK787 replied to KK787's topic in KK Cooking
Appreciate the info - thanks! Do rub the bird down with Gehee or butter or just put your rub on directly to the skin? -
Been having great results with the rotisserie on a 23 Ultimate. The chicken is super juicy and fantastic flavor. But looking for techniques to get crispy chicken skin. So I am throwing it out there! What say you?
-
Look up Harry Soo from Slap Yo Daddy BBQ. He is an award winning pit master and achieved his hundreds on competition trophies using a Weber Smokey Joe. He has a fantastic video on how to set up the Smokey Joe for long cooks/smokes. I followed his advice to the letter and have had phenomenal results in the KK. No foil pouches, no cast iron pots with holes drilled and flour paste seals, etc. Just Charcoal and wood chunks arranged in a very specific way. Again, I have had fantastic results with his technique. Good Luck! Here is a link:
-
Going to cook my first turkey on a 23KK with the rotisserie. Just looking for a few pointers. Right now my 14lb bird is wet brining. When I pull it out, I will let air dry uncovered in the refrigerator for 24 hours. I’d o the same with my chicken, season with salt and pepper only, and they turn out fantastic. I am looking for crispy skin and juicy meat. So here goes: Basket or Spit? I have both. Oil/butter on the skin or forgo? Baking Powder on the skin with herbs? Do you need a binder like butter/oil? What works for you? Thanks!
-
Great info - thanks you for your replies.
-
Thanks for the info - really appreciate !
-
Hello …….. I am going to do my next long smoke using the foil pouch method. I realize there is the cast iron pot method too, but I would like to limit this discussion to the foil pouch. I am planning on using unsoaked wood chunks. A few questions. How many for a 5 hours of smoke before the bark achieves 140+ degrees? Do you want space between them or pack them in tight/wrap tight or loose? Like the pot, do you put 3 pencil sized holes on the bottom near the center? Holes up or holes down toward the fire? Any advice you can provide, pictures, etc would be great - really appreciate the help! All the best
-
Thanks for the tip! I talked to Dennis yesterday and he gave me some excellent advice. I am going to try the foil pouch and chunk smoking method next time. Also, Dennis recommended that I close the damper on my fan to 25% open because the fire still vents through the fan while it is off andhe is exactly spot on. My fire kept wanting to climb and this explains why.
-
When smoking meats, I’ve read the the billowing smoke talked about in earlier posts is not what you want to smoke with. You want light clean blue smoke. In a stick burner, you are adding wood to hot embers which produces some billowy smoke initially but settles to a blue smoke quickly. Is anyone using smoke tubes, throwing wood chunks on the top of the charcoal instead of underneath, or using wood logs in their KK in a manner like a true stick burner or something close? I put wood chunks under the coals and my Boston Butts had very little smoke flavor. However, I did throw chunks on top of an established fire doing a reverse sear, got the nice blue smoke and had fantastic wood smoke taste on 3 in NY Strips. Has others tried this on long cooks?
-
Well I went fat cap down so I guessed right!! What temps and vent openings on the KK do you like? I started at 275 with a Fireboard 2 controller and a Viper fan. I think my initial fire was just a tad big but not bad. I controlled the temp with the vent about at 1/8 of a turn open. Would 225-250 and a larger vent opening be more beneficial? Thanks for all of your help!
-
Here is award winning pit master Harry Soo’s setup video for his Weber Smokey Joe. Works fantastic on the KK for long cooks. No cast iron pots needed. Be sure to use a little less fire than Harry does when using the chimney to start things or the temps can get away from you in the KK. Also, there is lots of smoke in for the first hour when I am preheating but then it tapers off beautifully to a clean blue smoke. The method works fantastic. Enjoy.
-
- 4
-

-

-
Quick Question Fat side up or down? Or doesn’t it matter? Check out award winning pit master Harry Soo’s method for setting up his Weber Smokey Joe. Works fantastic on the KK. No cast iron pots needed. Thanks