LedHed
-
Posts
15 -
Joined
-
Last visited
-
Days Won
1
About LedHed
-
Rank
Newbie
")
-
I cooked Deep Pit Beef (adapted to the Kamado). You can read more about it here. There isn't much to look at, it's basically a beef roast sealed in foil and cooked low-n-slow for 12+ hours. It's popular (or was) at California fairs and rodeos. Rather than dig a 4 ft deep hole in my backyard, I used the KK. It's kind of like beef pot roast meets pulled pork. It's great by itself or on a bun. Would make for good tacos and enchiladas also. Seasoning is basically 50/50 prime rib rub and black pepper. It turned out well so I'll be doing it again soon. I'll make sure to take some pics and post in KK Cooking.
-
My first overnight cook on the new KK. Setup: Grill: KK32 Top Vent: 1/8th turn, (just after the gasket lets go of its grip) Bottom Vents: Closed Controller: HeaterMeter Note: I'm not using the Damper/Servo Probes Pit Probe: K-Type Thermocouple Food Probe: Maverick ET-72 Fan: BBQ Guru Pit Bull Fuel: Royal Oak Lump Charcoal Diamond Strike-a-Fire (fire starter) KK CoffeeChar I started with a clean KK (ash removed), I had about a quarter basked of leftover / semi-burned lump which I spread evenly across the bottom of the basket. I then laid a Strike-a-Fire on top of the used coal, positioning it on the right side of the grill (opposite the fan intake). I then laid 3 large pieces of CoffeeChar on top of the fire starter. After that I filled the basked up with medium & large Royal Oak lump (smalls sifted out). I lit the fire starter and let it burn wide open for about 10 minutes, then I connected the HeaterMeter & fan, placed the top grate, drip pan (as heat deflector), and raised grate, connecting the pit probe to the raised grate. At 10:08pm I set the HeaterMeter setpoint to 225°F, closed the lid and let it work its magic. By 10:36pm the pit probe was reading 226°F (~1°F overshoot), and by 10:39pm it had stabilized to 225°F (±2°F) where it stayed for roughly 15 hours. When I pulled the food I still had about 2/3 of a basket of coal left. I used the 3 pieces of CoffeeChar because they were larger and denser than the Royal Oak. I wanted something that would burn long and slow through the night so I wouldn't have to worry about getting up and relighting the grill. Considering how slow the rest of the lump burned, I don't think the CoffeeChar was necessary, then again, the fire didn't go out, so worth it even if just for piece of mind. Orange: Pit temperature Grey: Ambient temperature Blue Shading: Fan percentage Yellow Shading: Lid open

-
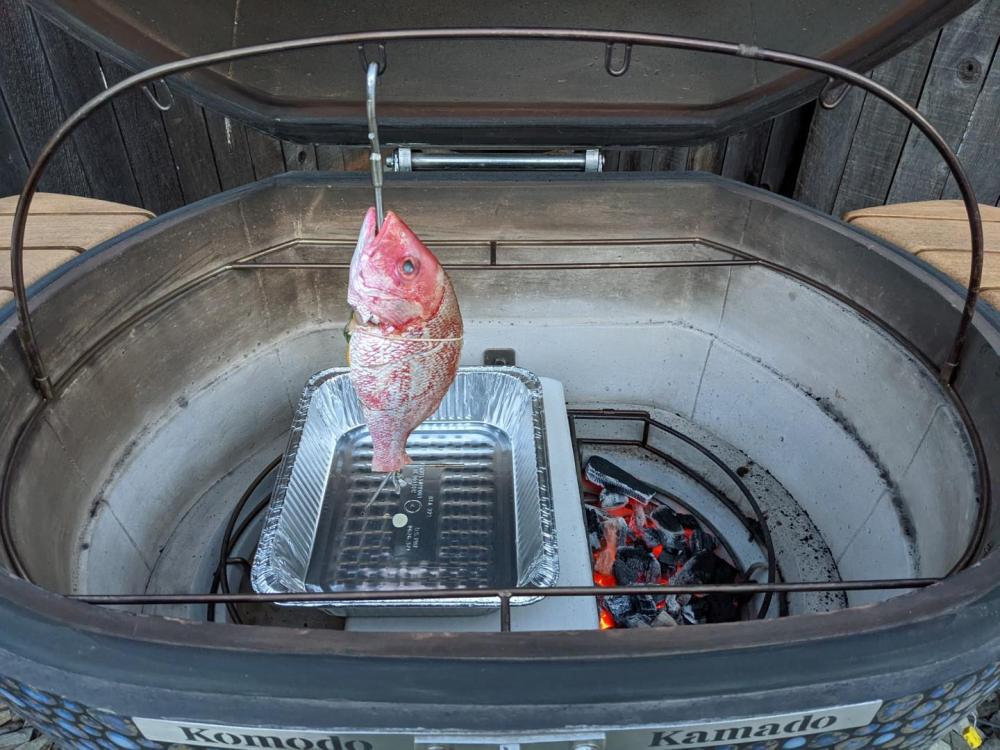
The more I use this thing the more I like it. I'm really surprised at how evenly the food cooks. 45min, dome @ ~400°F, fish pulled at internal temp of 155°F
-
Its funny, I randomly chose that image for a gaming avatar 20 years ago and it's just stuck with me. I don't think the avatar is from Lancelot Link, but that's a really good guess. My wife loved that show as a kid.
-
 LedHed changed their profile photo
 -
Ya, that was my concern as well. I'm guessing the curved dome and convection currents really move the heat around.
-
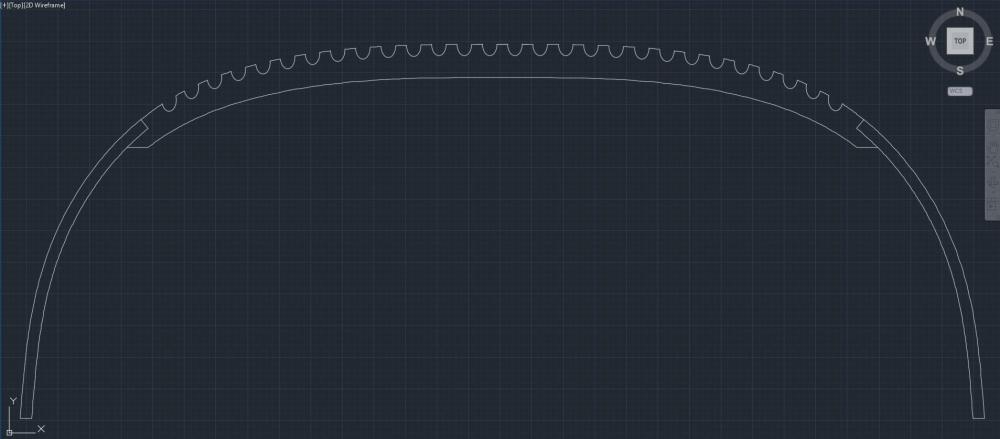
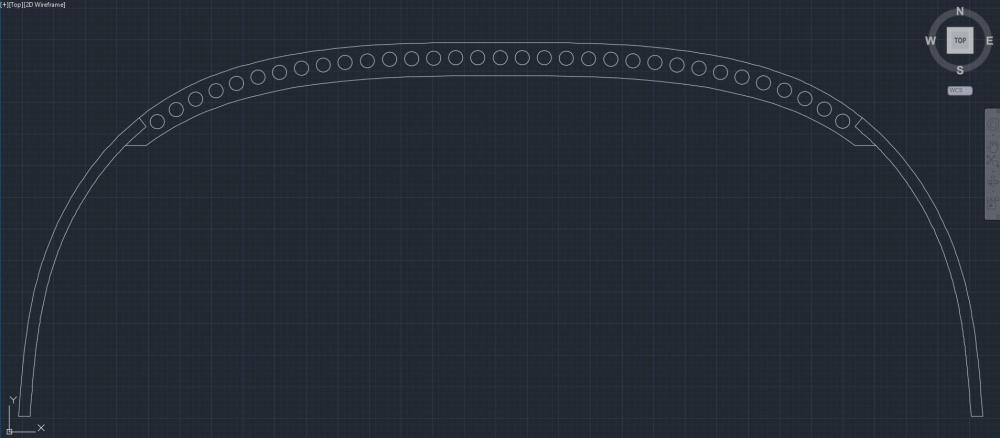
I agree the notched is more versatile.
-
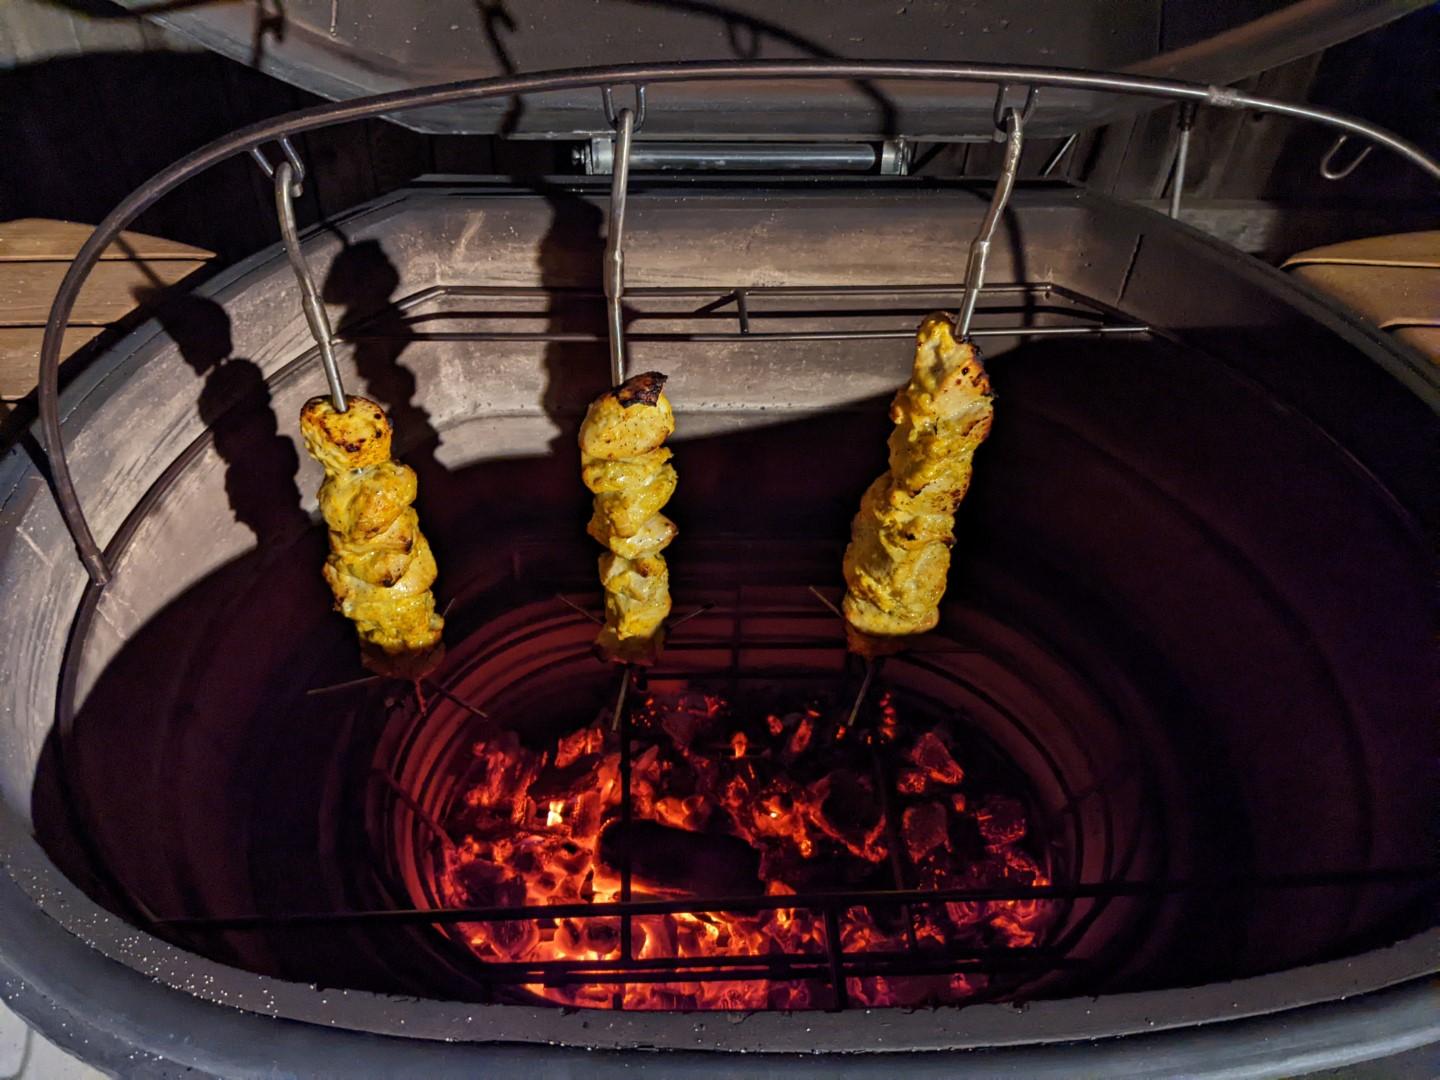
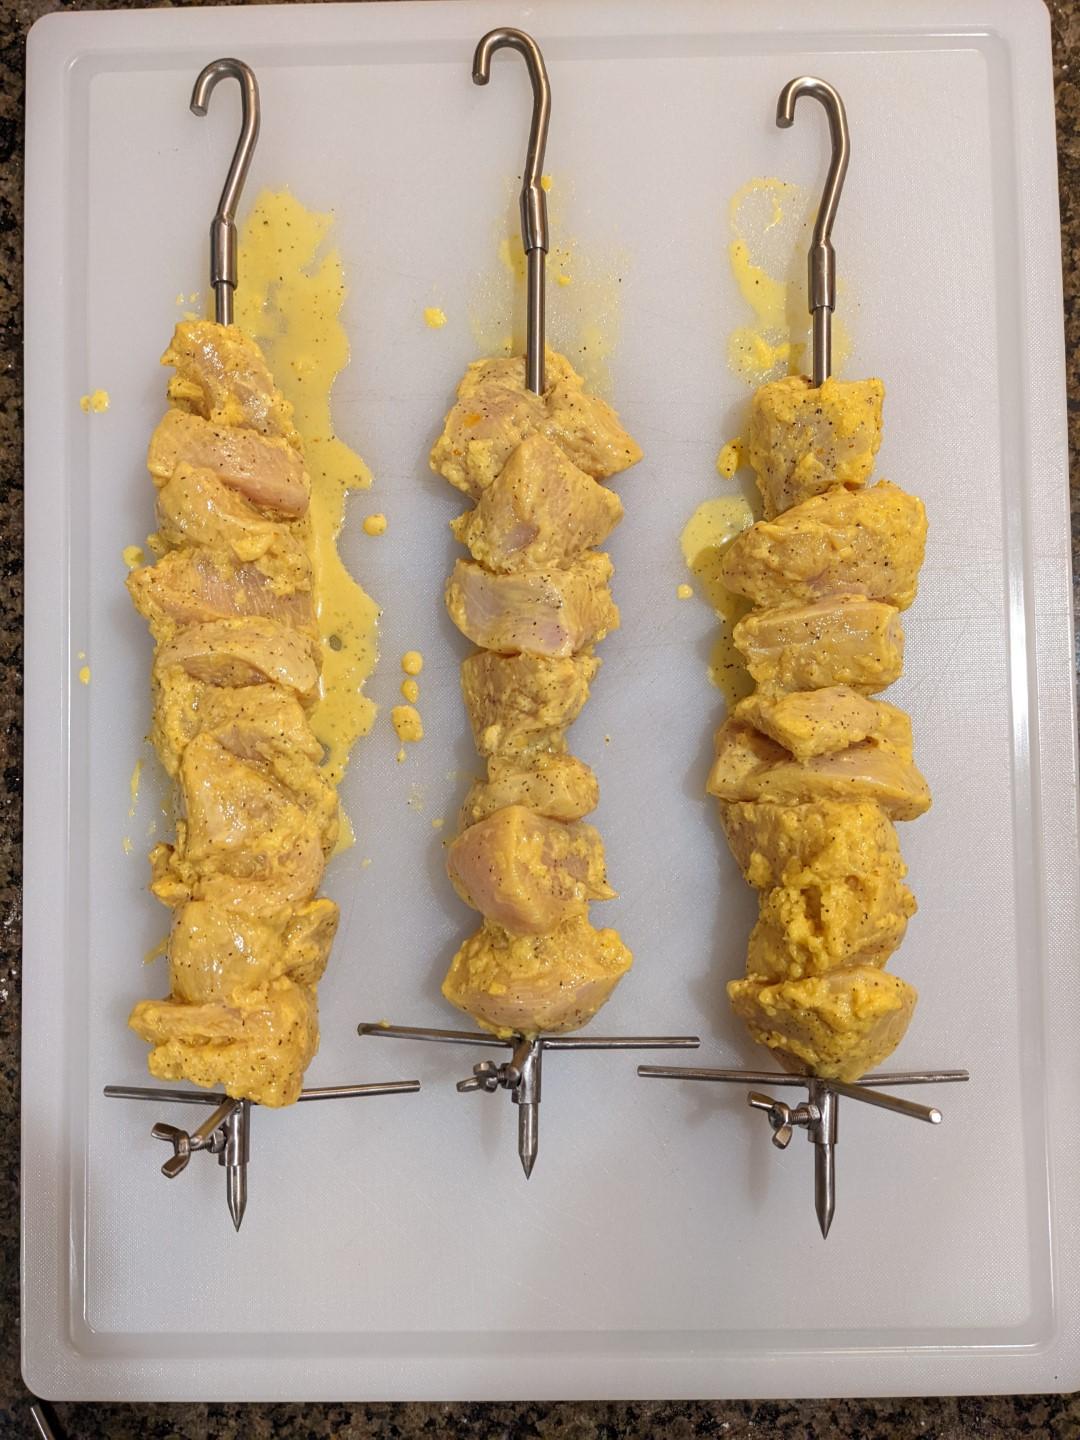
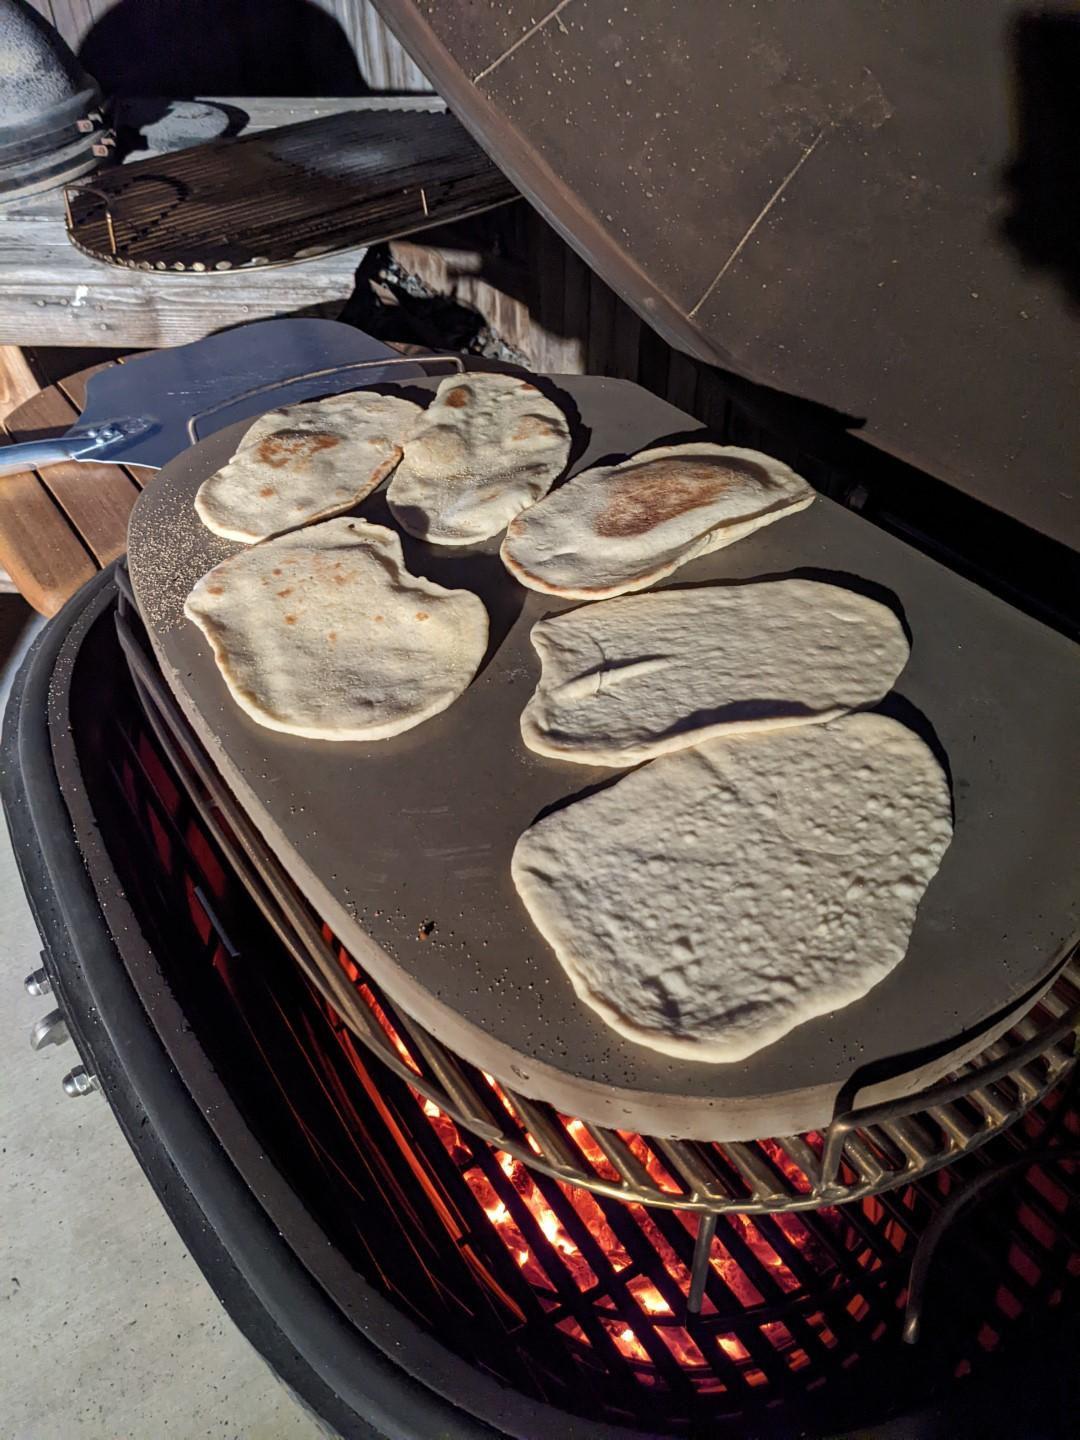
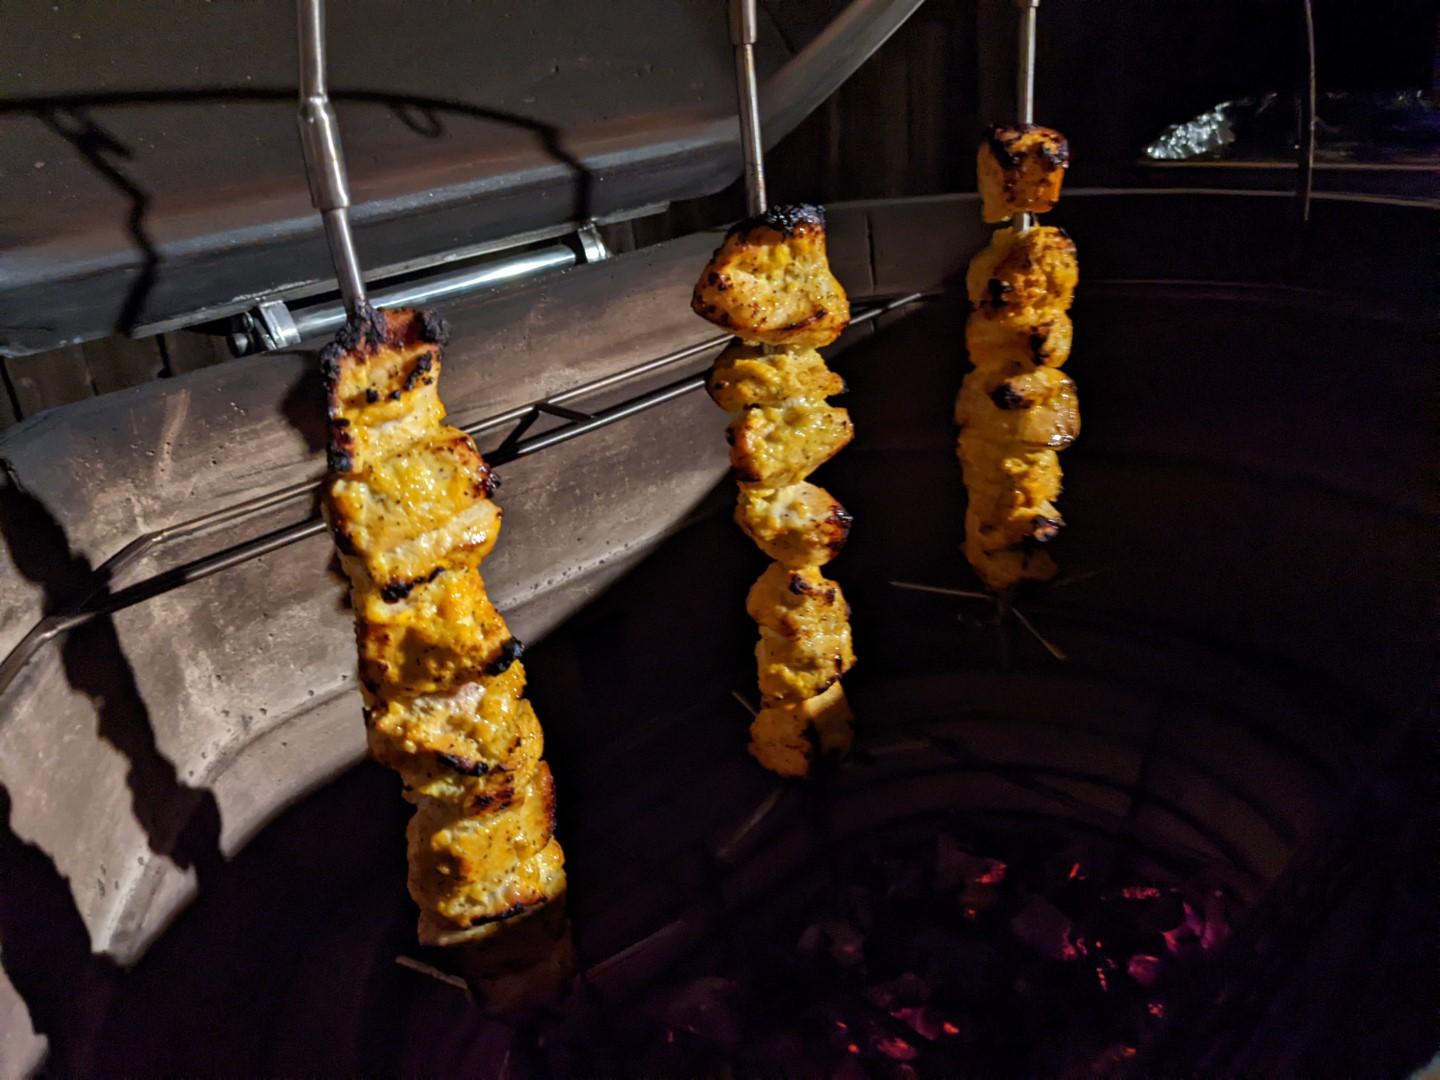
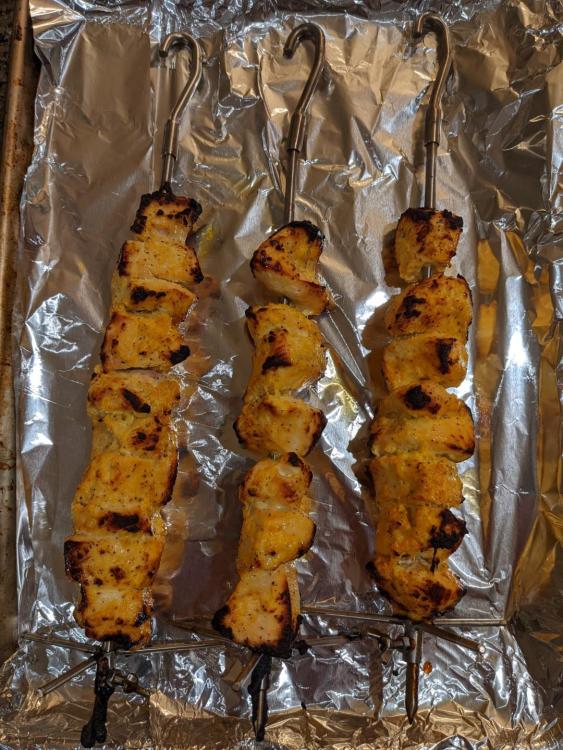
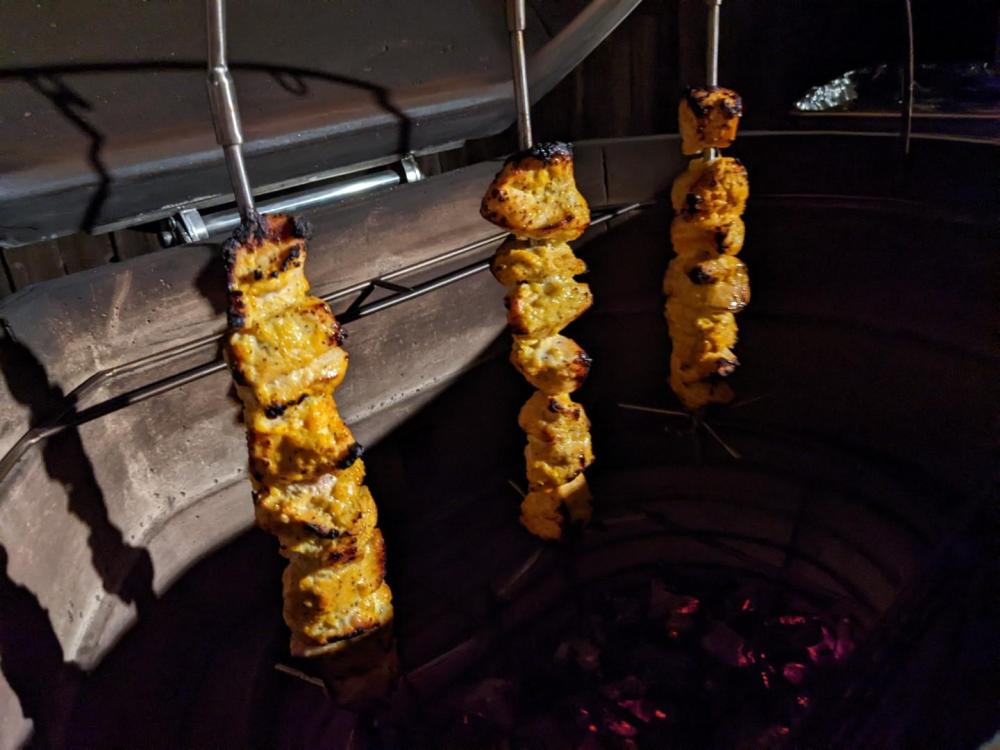
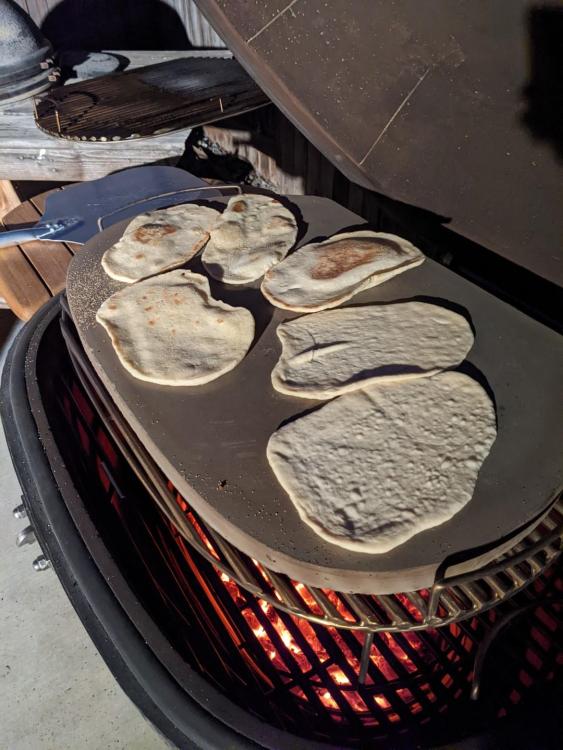
My first attempt at tandoori chicken and naan on my new KK32. Naan recipe: https://www.recipetineats.com/naan-recipe/#wprm-recipe-container-58510 Heated pizza stone & dome to 550°F, cooked for 1 minute per side. Chicken recipe: https://www.thedeliciouscrescent.com/persian-grilled-chicken-kabobs/ Dome @ 550°F, cooked chicken for ~15min (turn 90° half way through the cook)


- 11 replies
-
- 12
-

-
Tandoori Chicken and naan on the pizza stone. Link to the post in KK Cooking


-
@DennisLinkletter If you're open to suggestions, I had these ideas. They may add complexity from a manufacturing perspective, but would give more flexibility in how you position the meat, and the ability to hang more items (thinking chicken leg hangers).
-
The curved rod is removable. It also comes with 4 skewers/hooks.

-
Meat Hanger pic in the above thread.
-
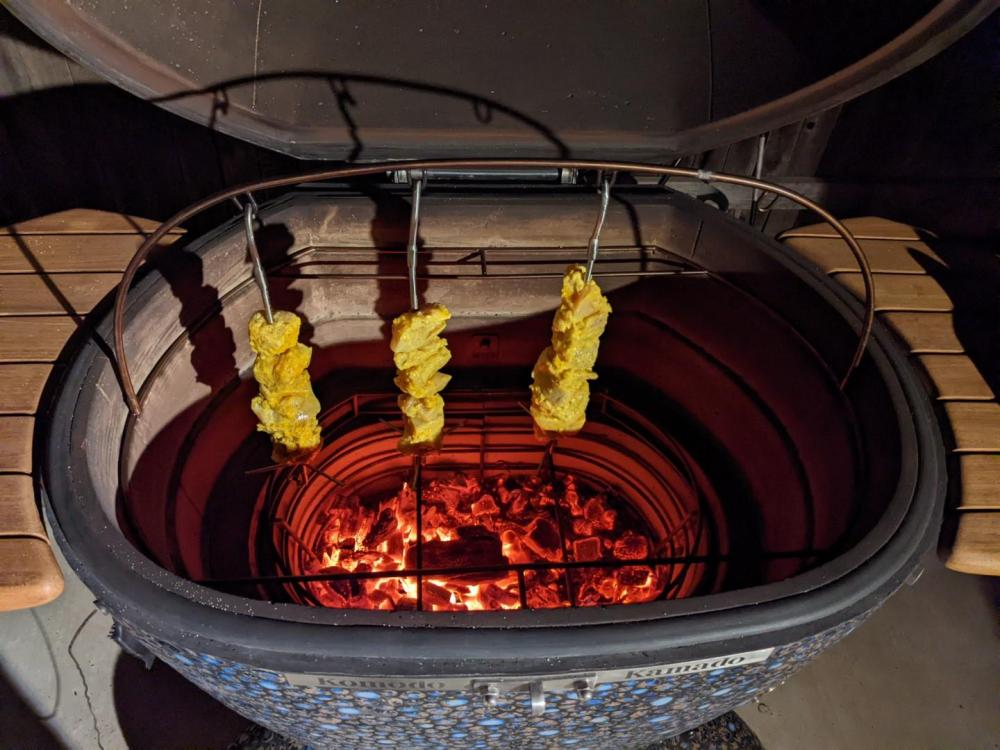
I'm trying to come up with other things to cook on the hanger. Here are some of my ideas so far: Chicken (as pictured above), duck, turkey Tandoori Chicken Shawarma (not sure how this will turn out since the heat source is on the bottom) Koobideh / Kabobs (not sure how this will turn out because of its vertical orientation) Hanging Ribs Sausage Links Tomahawk Steaks Al Pastor Anyone else have some ideas?
-
@BOC I just received my KK-32" this month, I ordered the Meat Hanger as an accessory. I'm very happy with how the birds turned out. I experimented a bit, one with breast up, the other breast down. Breast up was juicier. Spatchcock chicken can be dry if you're not careful, but cooks really fast, these birds (~5.5lb each) took about 3 hours @ 275-300°F. I'm still trying to master temperature control, but getting there. Overall I'd say this method's results fall somewhere between rotisserie and spatchcocking (similar to the beer can method). I would say that if you want darker/crispier skin, rotisserie is probably the way to go. My main reason for buying the Meat Hanger is to cook Tandoori Chicken, so I'll post pics of that in the 'KK Cooks' section when I get a chance. Regarding the heat deflector, I think I was one of the last orders they were offered. It was quite a funny story too, Dennis and I had a phone conversation and he asked if I needed the deflectors, he then explained for a few minutes how they weren't needed in the KK because the construction already has ample thermal mass, and they're only really needed on egg style kamados because they have thin walls. He then explained that he uses the large steel platter to deflect heat. All of his points were spot on (as usual with Dennis, the man knows his stuff), but I said I still wanted the heat deflectors, and he let out this very sad sigh of disappointment. He did honor my wishes and included them in the order, which I really appreciate. My first smoke (pork butt) I did without the heat deflectors and used the steel platter as he described and he was absolutely right, the butt turned out perfect. In the case of the meat hanger cook above, I think the heat deflector makes sense to keep the heat from overcooking one side of the bird (assuming you're offset cooking). If I were to use all 4 hangers at the same time, I'd use a full basked of coal and hoist the birds higher up on the hangers to get them further away from the coals.
-
My first cook with the Meat Hanger in case anyone wants to see one in the wild.