Leaderboard


Popular Content
Showing content with the highest reputation on 02/23/2026 in Posts
-
Here's how to use a fan belt and wrench to open a stuck damper top. VIDEO-2025-10-24-05-10-08.mp43 points
-
Cooked up a nice kielbasa stuffed pork loin wrapped in a bacon weave and it turned out delicious! Sent from my iPad using Tapatalk1 point
-
How desperate are you, are you Jonesin and seeing racks of ribs? The fix my friend is a good sturdy shovel, cut a path and the rest is all down hill. C6Bill and I are sitting in the sweet spot for this storm 12-18, he's probably doing the no snow go away dance in his living room. Ain't gonna work, but I'll be cookin. Neither snow, nor rain, nor heat, nor gloom of night shall keep you from your appointed rounds of tending to your KK.1 point
-
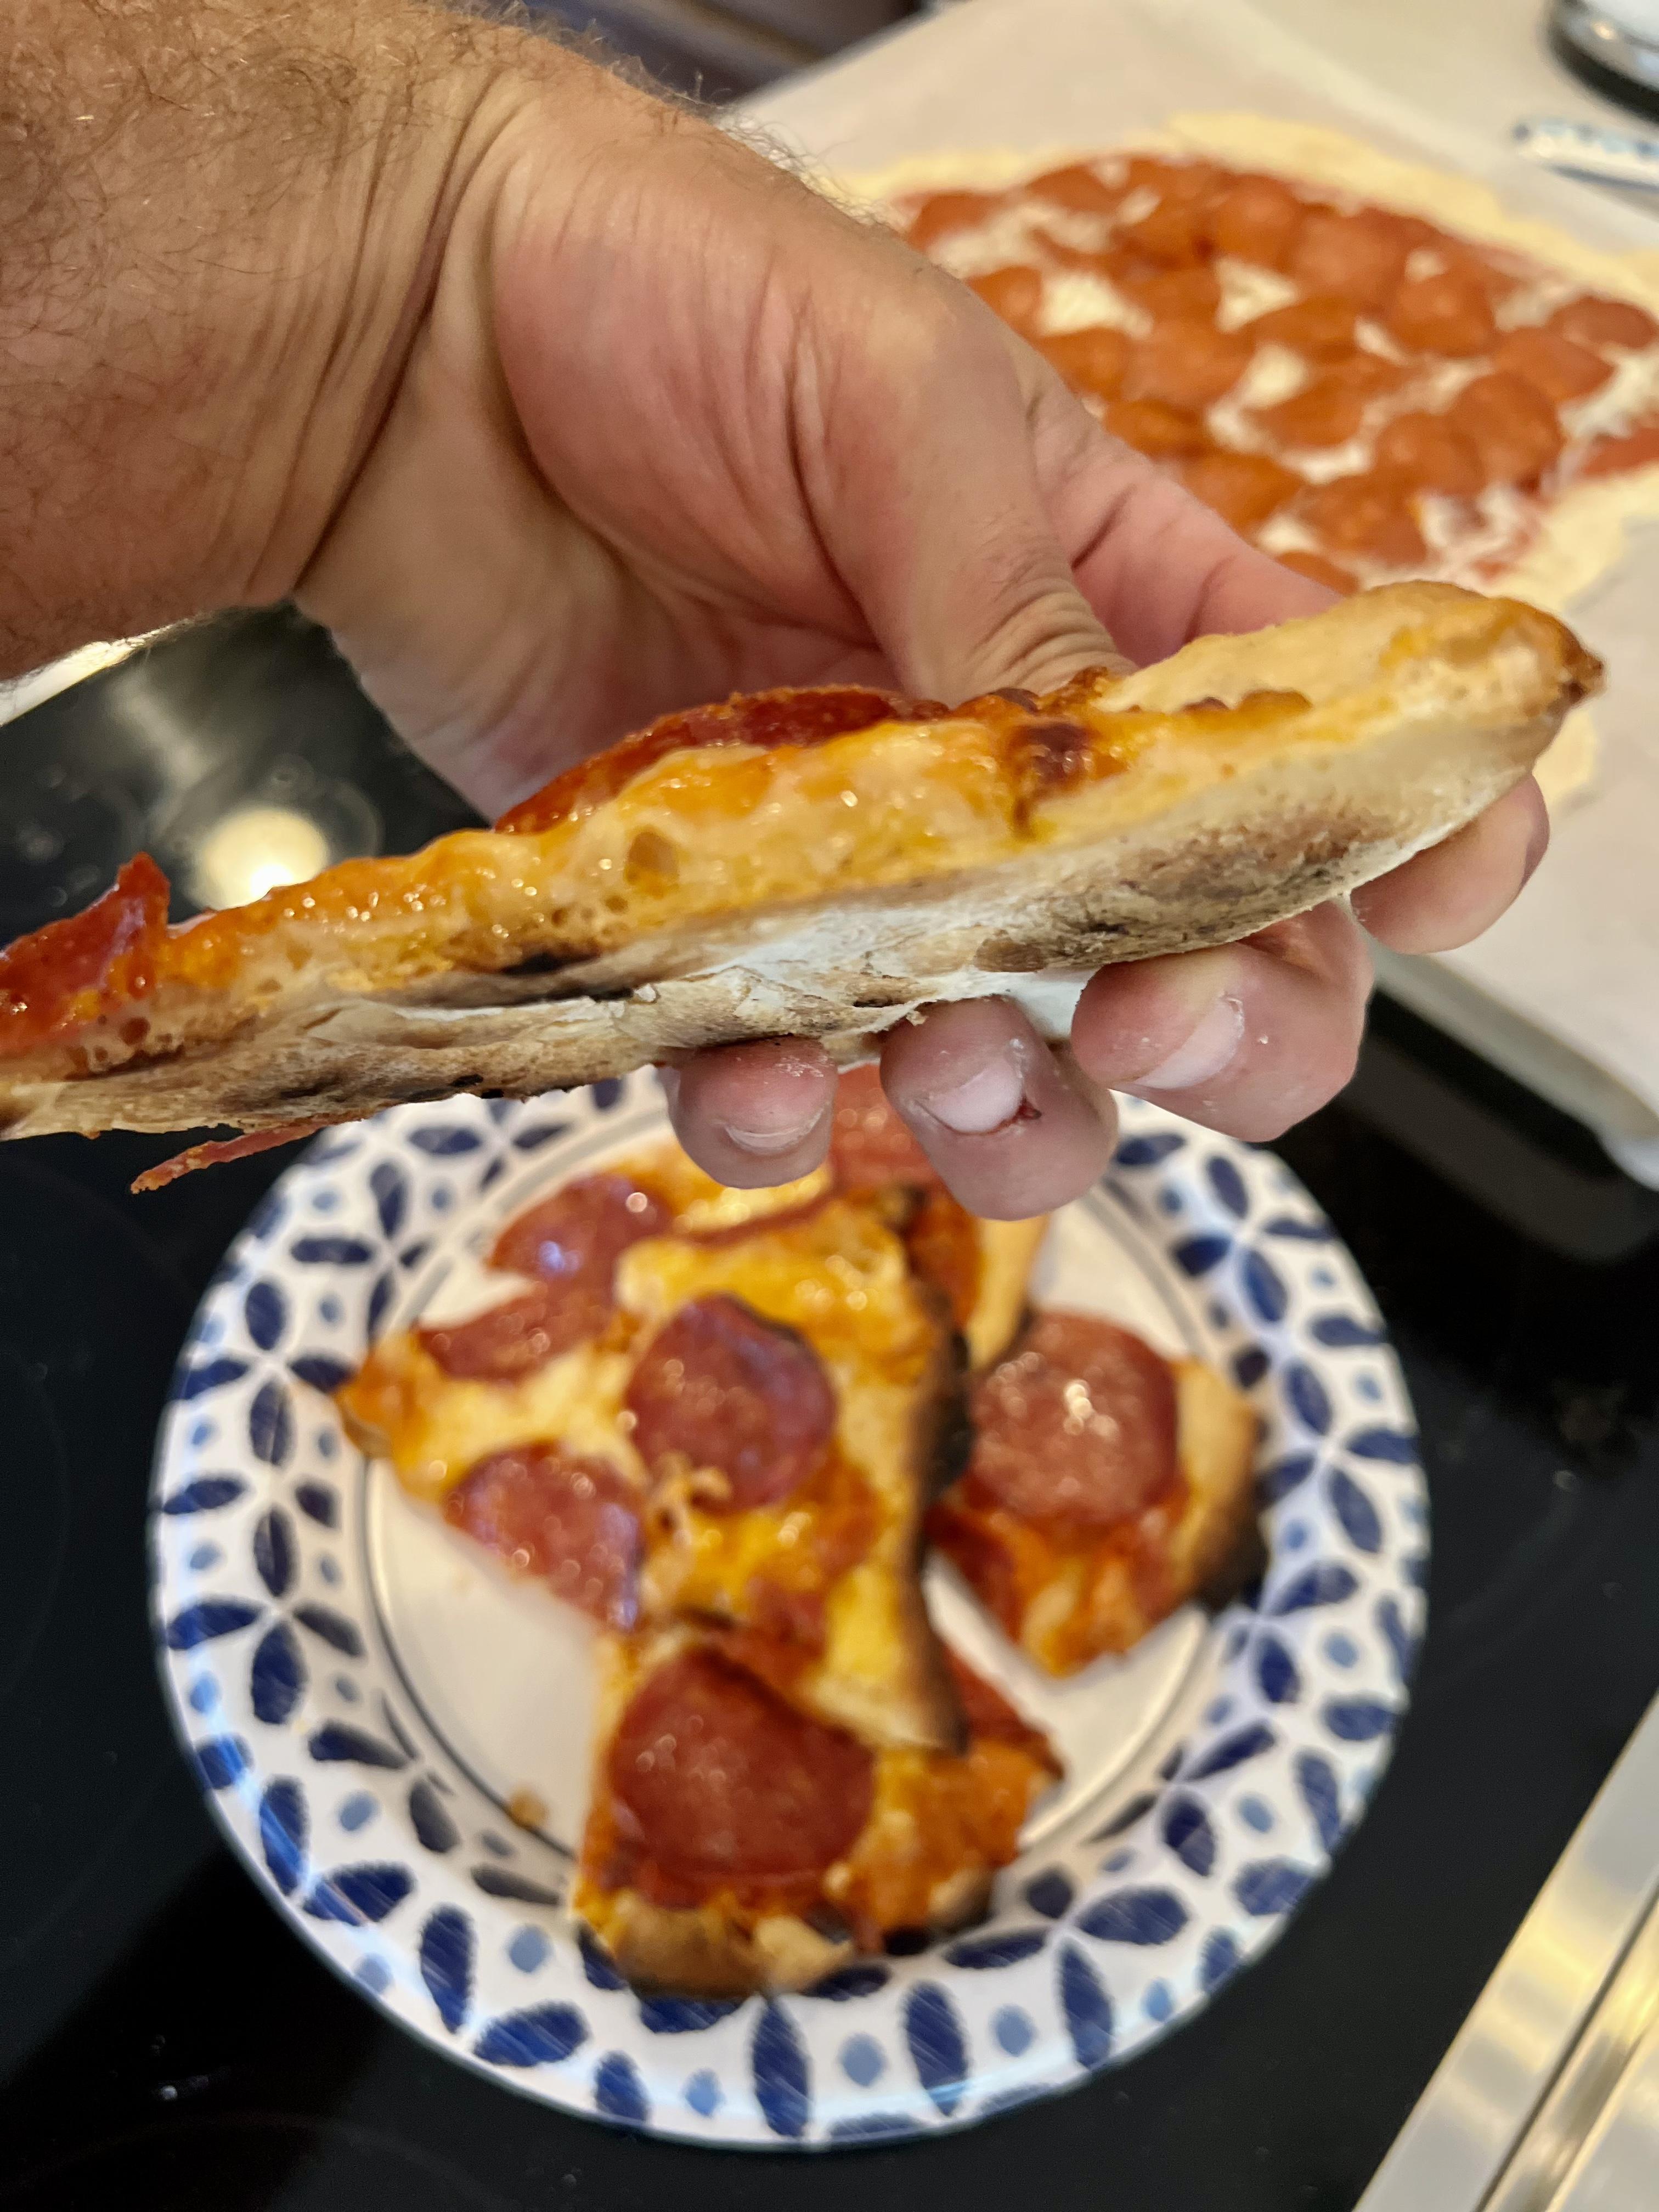
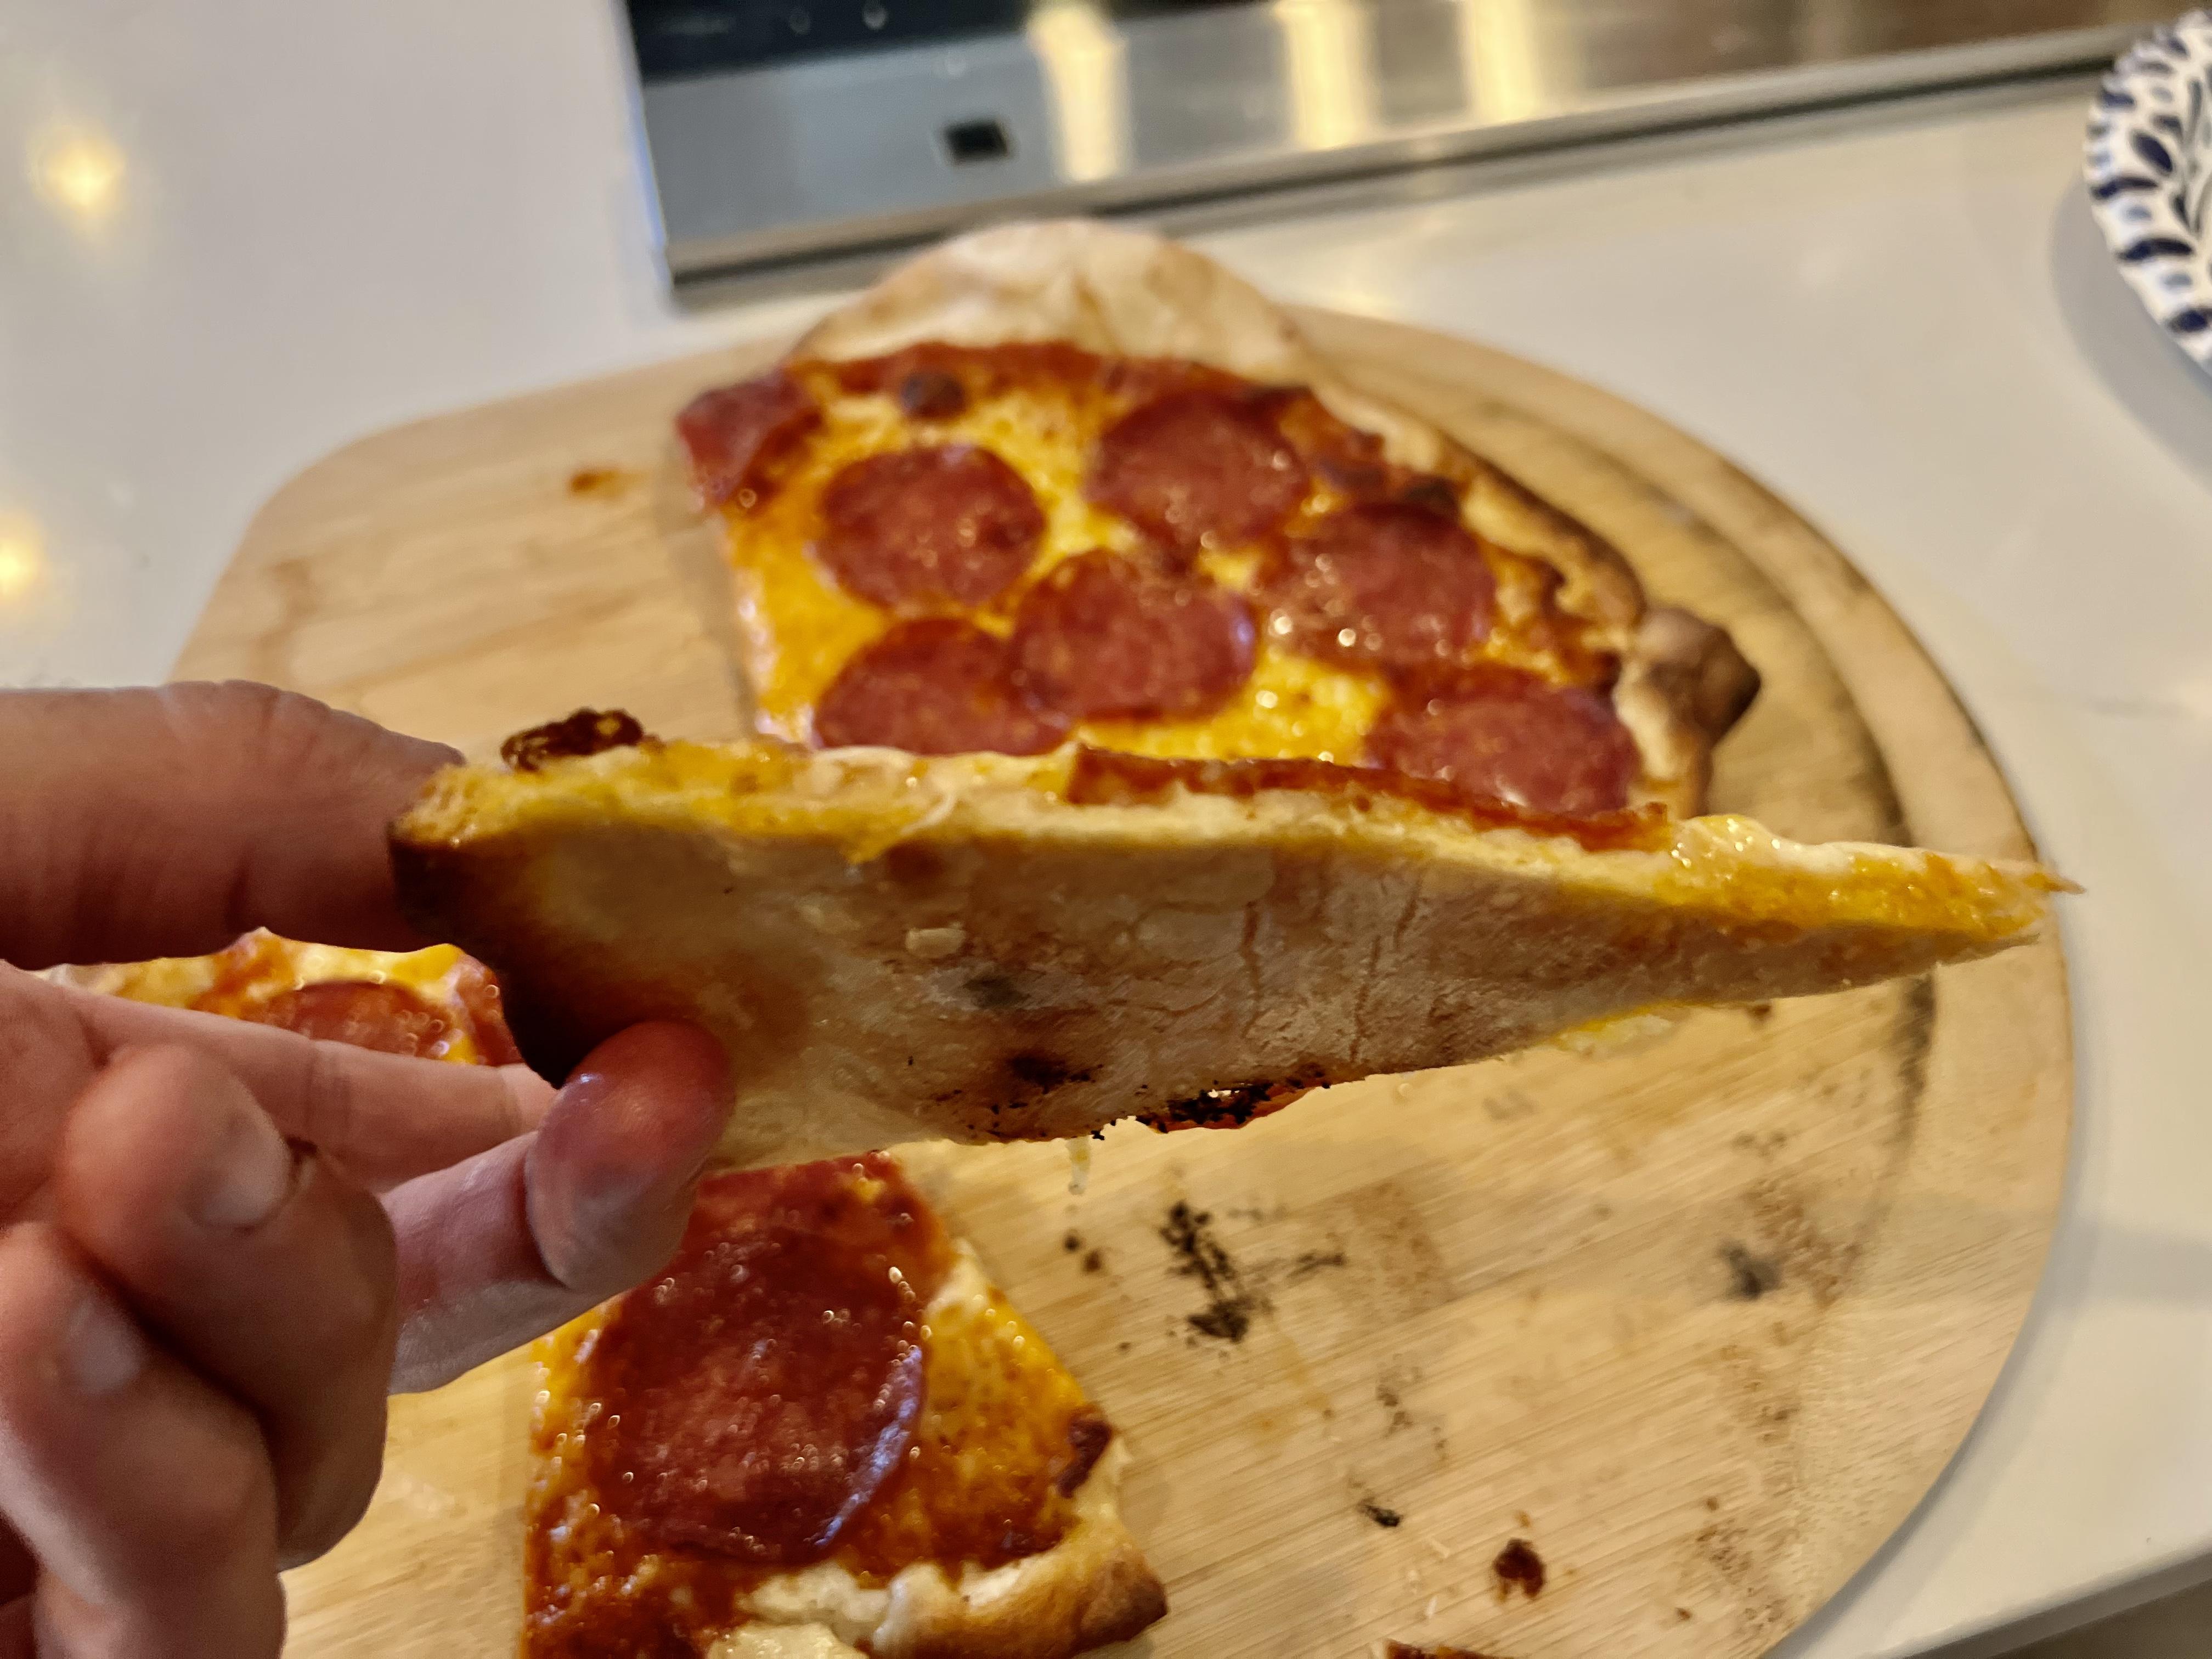
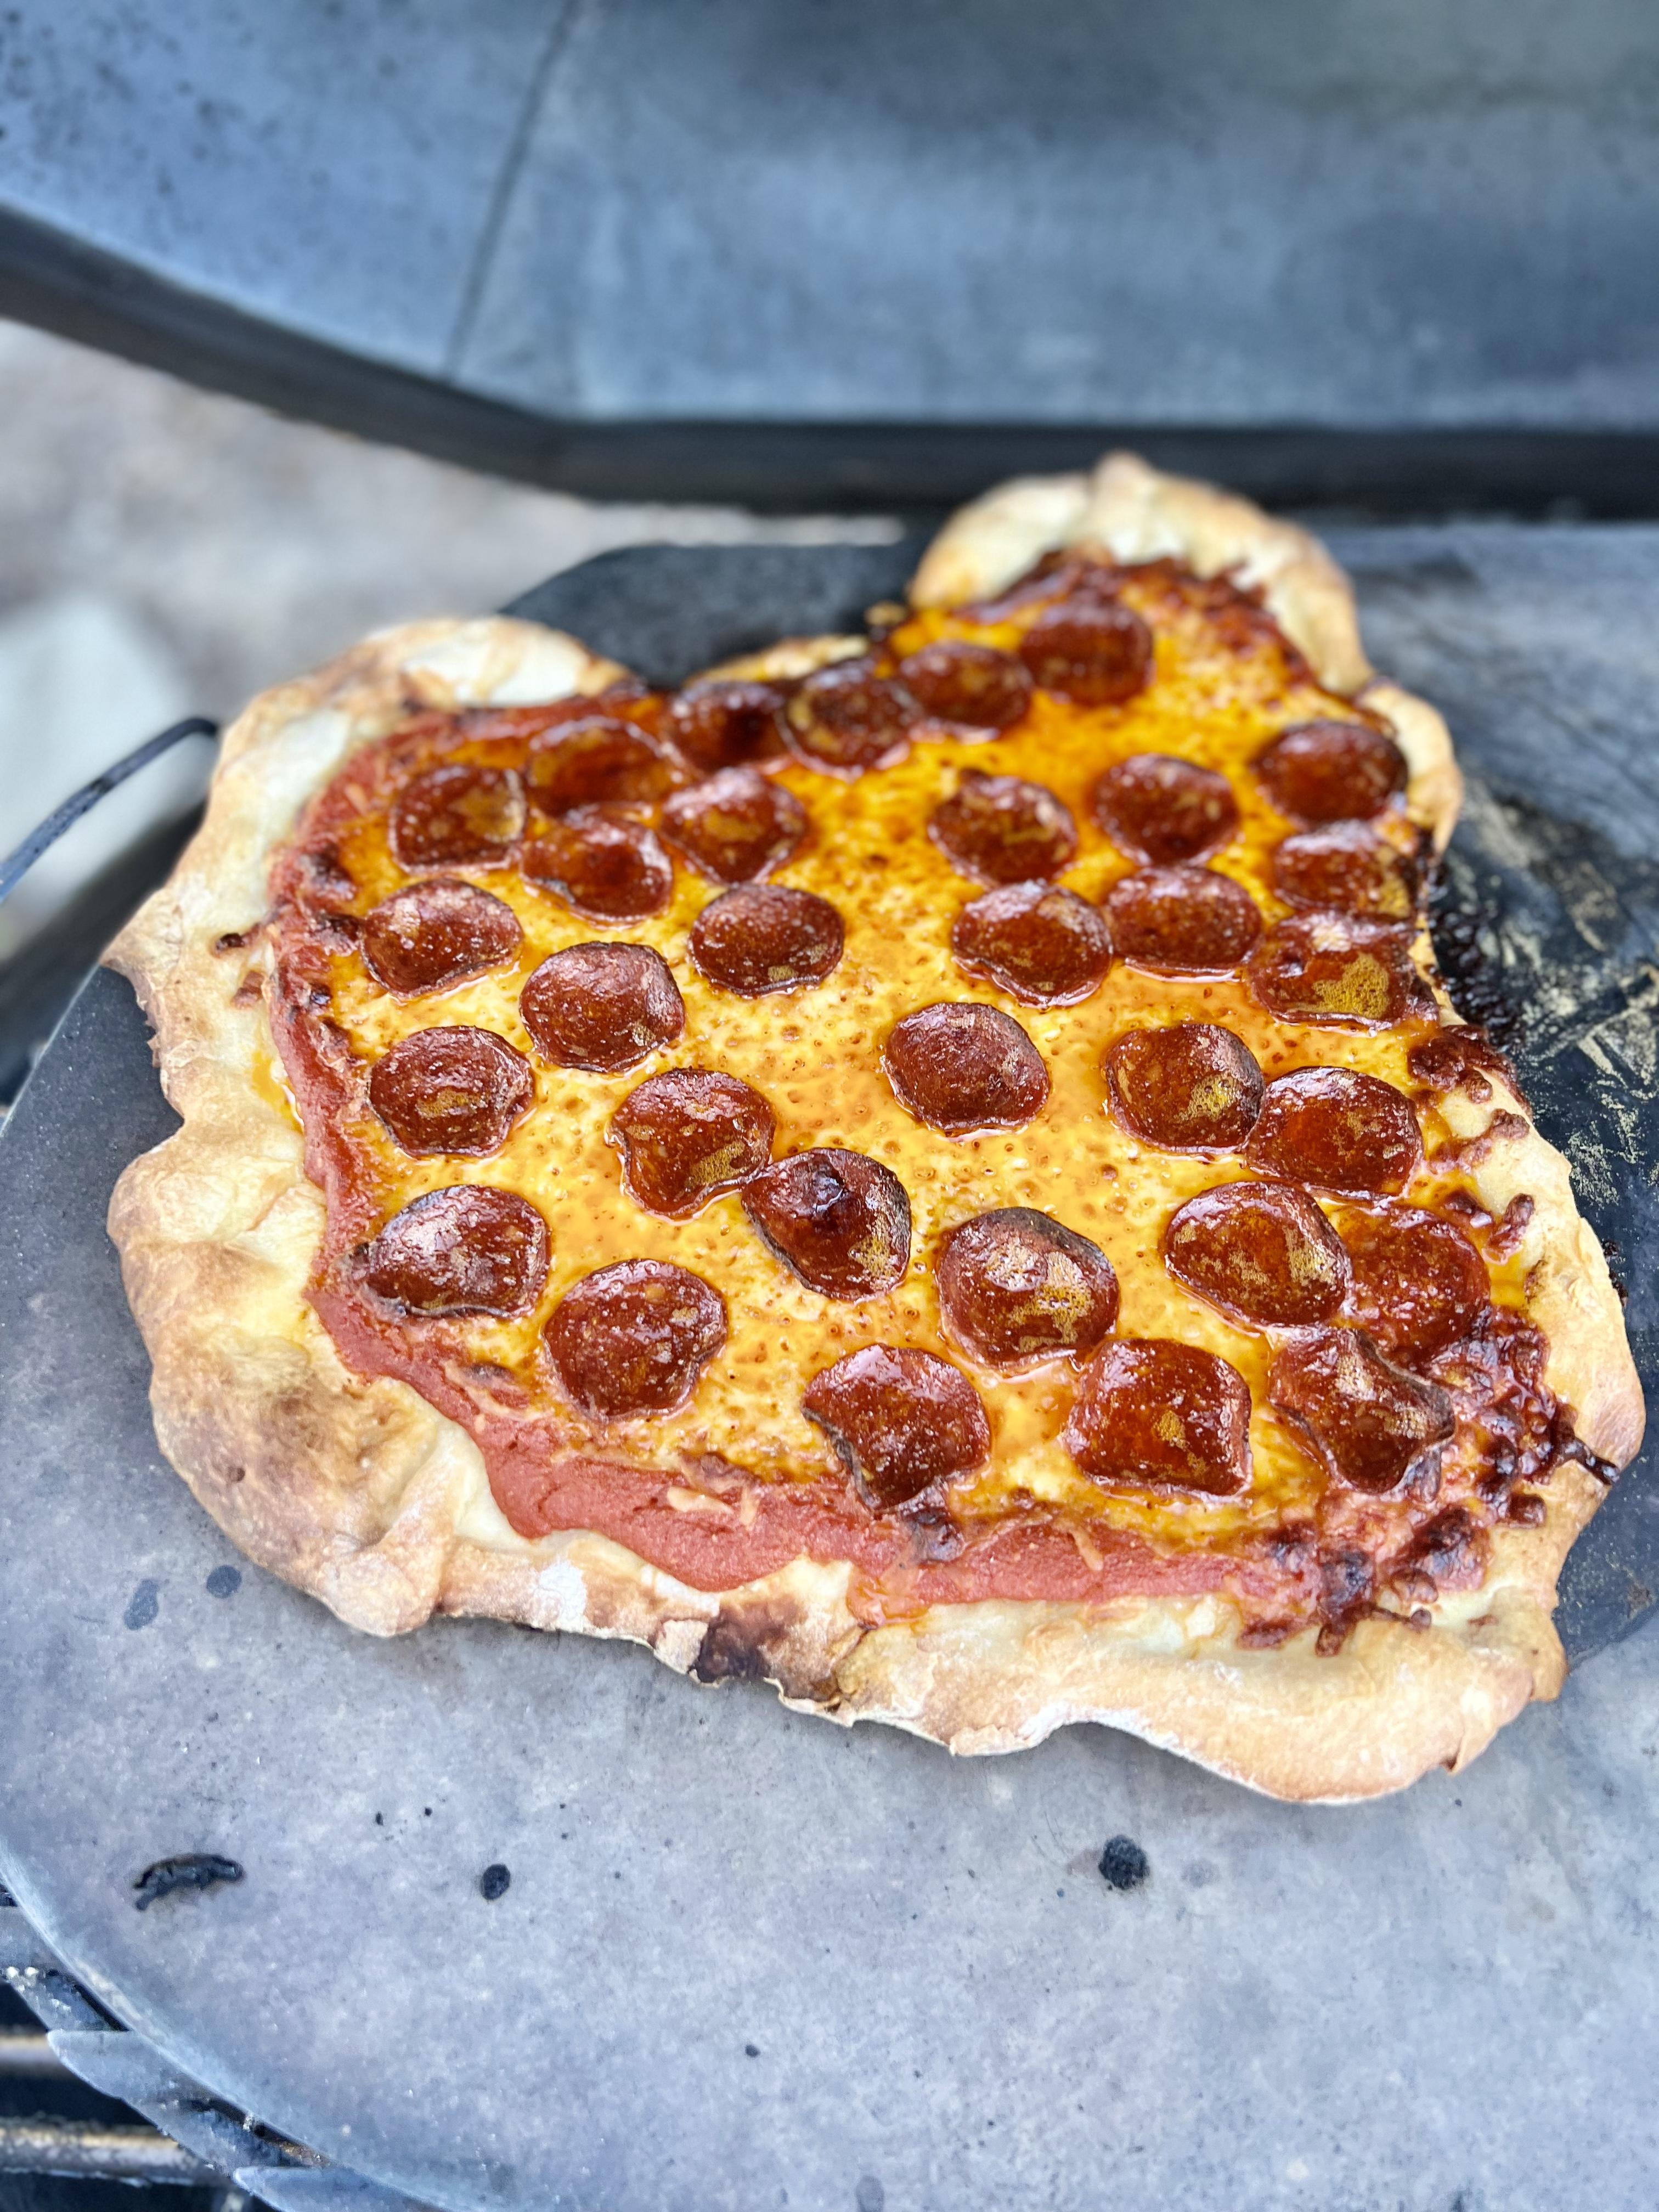
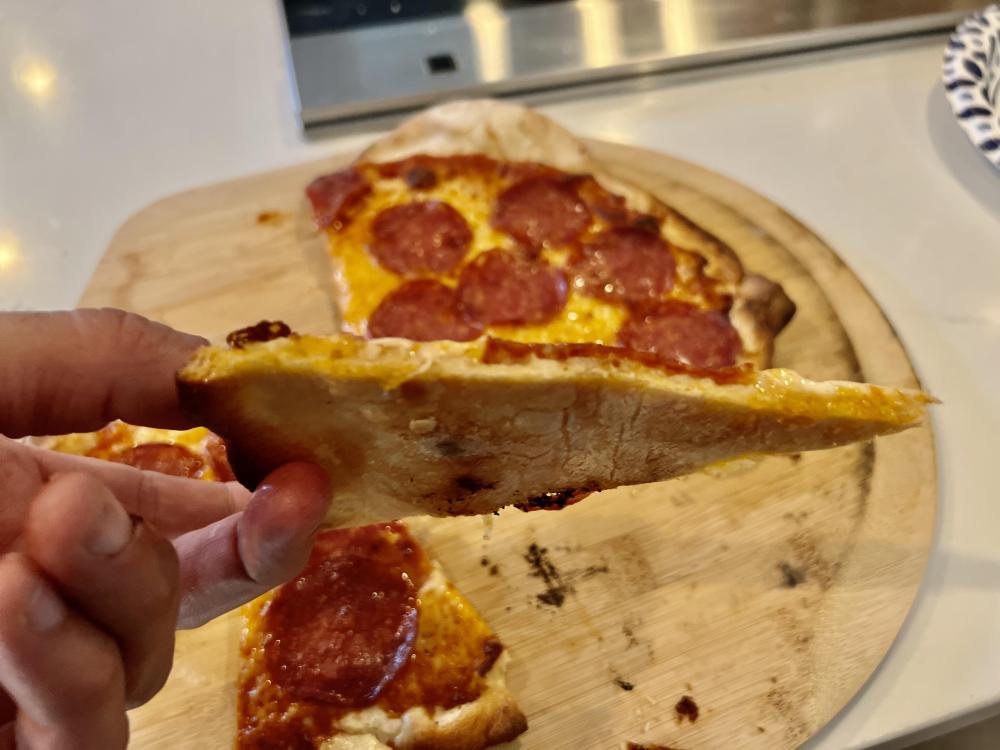
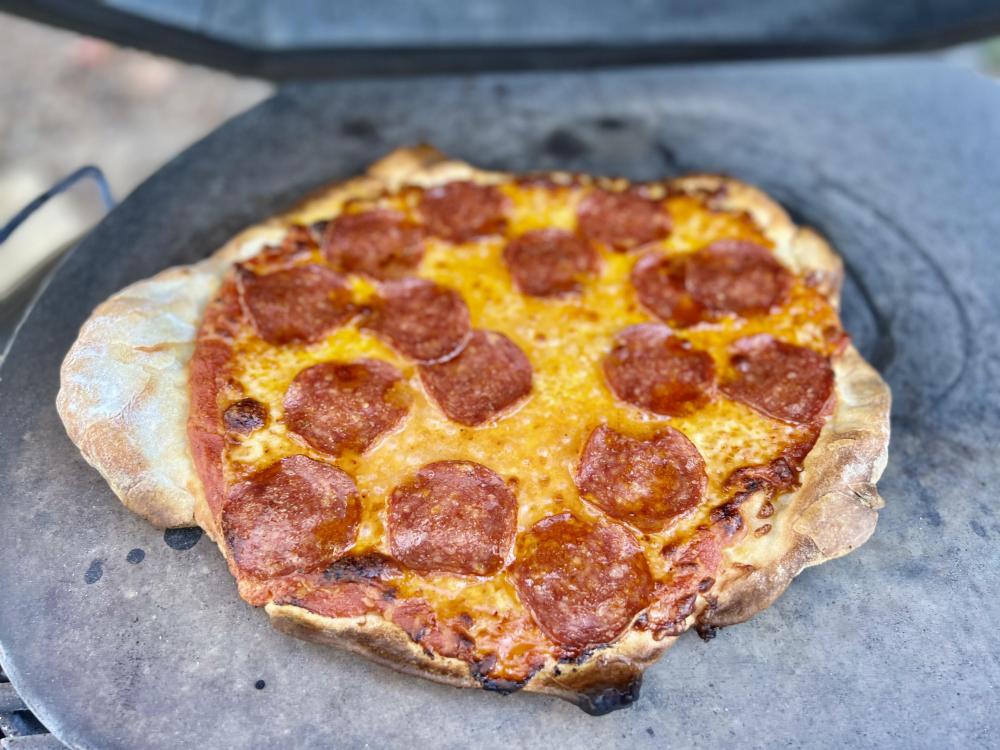
Bought some Caputo Blue 00 flour and tried my hand at making neopolitan style pizzas with my gores. Crust came out thin and crunchy. Had a hard time keeping them temp above 550 for 3 pies, think I need to use better fuel ne f tine bud happy with the results gif the first attempt. Nice change of pace to my NY style pizzas I’ve been making the last 3 years

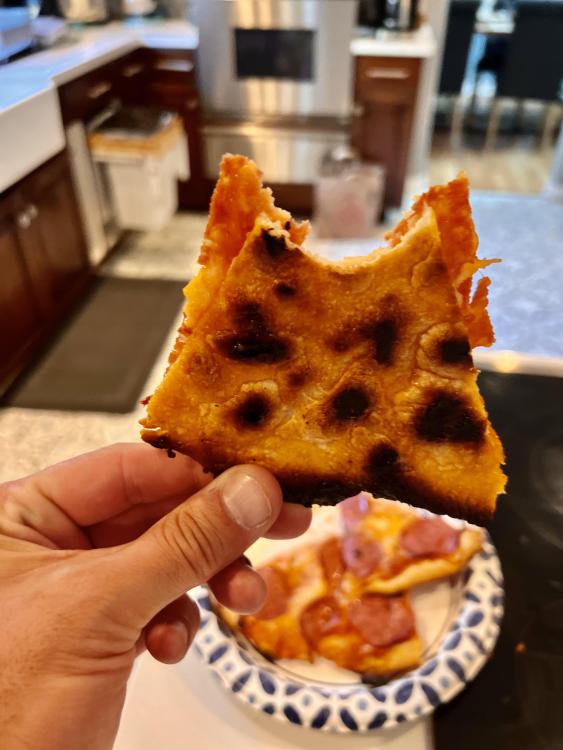

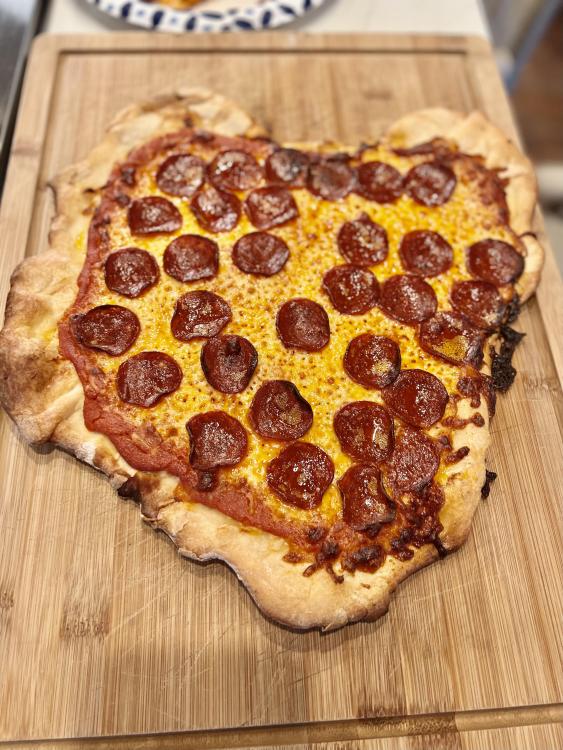
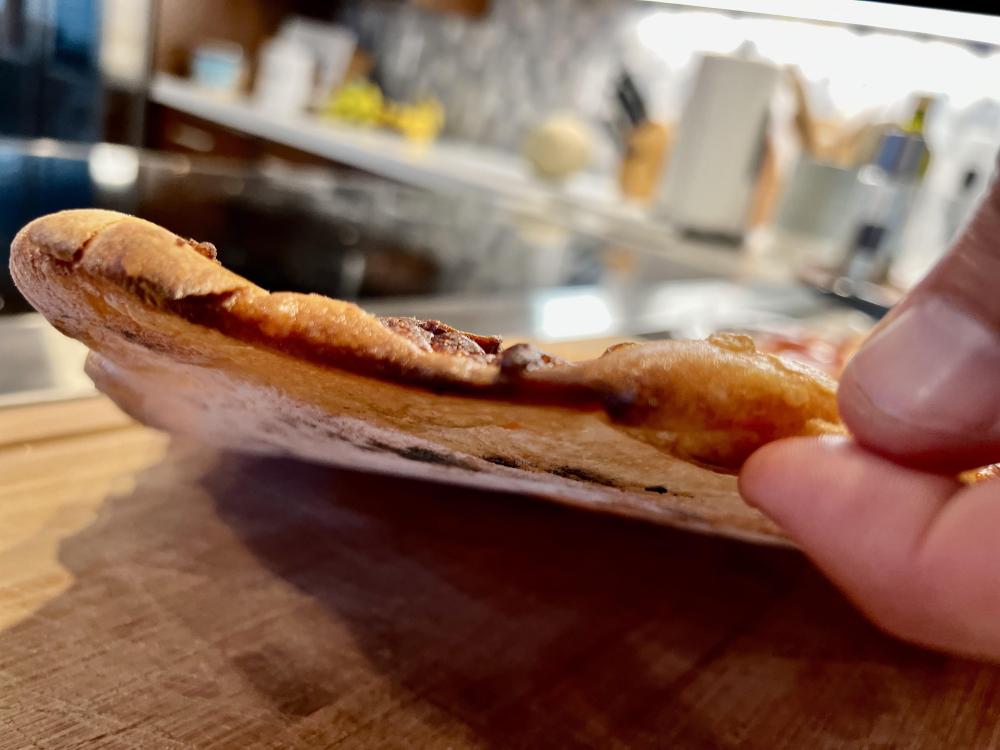 1 point
 -
How to get Kamado hot 500F°+ -Remove any items or debris from the lower intake vent (e.g. ash catcher, small charcoal pieces, etc.) -Make sure the bottom of your firebox is well aligned with your lower intake vent. -Store your charcoal inside away from the wet elements. Only use dry fuel. -Use lump charcoal, it will get a lot hotter then briquettes or extruded charcoal and produce less ash. -Don’t blame your brand of lump charcoal, all major lump brands are capable of producing high heat temps for cooking pizza. -Deliberately build your fire: * Keep in mind small pieces of lump burn hotter however they also restrict airflow. * Larger pieces won’t burn quite as hot but they promote airflow. * Airflow = Heat * Airflow restriction is the primary factor preventing you from getting your Kamado to pizza cooking temperatures. * Do not pour your charcoal directly into your firebox, small pieces of lump can fall into the bottom of your firebox and block free airflow. * Lay your lump charcoal out in a wide mouthed bin. * Sort your lump by large, medium, and small pieces. * Discard any really small lump pieces and the dust that settles at the bottom. * Deliberately build your fire box to promote free airflow. * Start with large chunks (fist size or larger) place them one by one at the bottom of your firebox until you have a complete layer of large chunks on the bottom of your charcoal basket. * Now light your layer of large lump pieces. I prefer using a torch until I get a visual flame coming off of two spots of the large lump pieces. * Once your large lump is lit continue building your lump pile by using medium pieces on top of the large lit coals, lay them on top in such a way they don’t interlock with each other and block airflow. * Fill your firebox to the brim with medium lump atop the large chunks at the bottom. Cooking at high temperatures requires a lot of fuel. If you do not use enough lump your fire will run out of steam. * Optionally, you can place some smaller pieces of lump at the very top of your charcoal basket on top of the medium pieces. Don’t use too many small pieces and ensure they don’t fall down into your firebox. * Again, light several more spots on top of your now fully filled firebox, I recommend lighting until the charcoal is glowing in at least four different additional spots. * Once your fire has been built for airflow and is lit remove any platesetters, fire deflector plates, or any larger objects in your Kamado blocking the free airflow of convective and radiant heat up into the dome. * Close your Kamado lid. * Open your bottom vent completely. * Open your top vent nearly fully open, the more your top vent is open the stronger vacuum airflow will be created making your fire burn hotter. However, if you completely remove the top vent then you also allow some of the hot convective air to escape rather then being trapped in the dome so there is a fine balance, explore this with your own grill. * I like to let the grill heat soak for at least 1/2 hour at a temperature of 50 degrees above my intended cooking temperature. * Time is your freind, I recommend starting this process 2 hours before your intended cook time. Rushing things will lead to unsatisfactory results. * Once you’ve allowed sufficient time for the dome to heat soak open you grill and set up your pizza cook with your stone and deflectors if you are using such. Close you lid once again. * Keep your grill lid open as minimally as possible. You will lose some heat after installing your deflectors, let your Kamado stabilize once again at your cooking temperature for at least 15 minutes without adjusting vents. * Place your pizza on your stone. * Check on your pizza as infrequently as possible, you want to retain dome heat for cooking your toppings. * Burp your grill dome before opening. *Additional tips -You can pre-heat your pizza stone in your oven while you grill is heating up. -An infrared temperature gun is a good idea, this will allow you to determine if your stone is to temp before placing your pizza on. -A fan such as the BBQ dragon, a hair dryer, or leaf blower can force air into your lower vent speeding up this whole process. Getting your Kamado hot too fast can put additional stress on your ceramics. -Beer helps. Sent from my iPhone using Tapatalk1 point
-
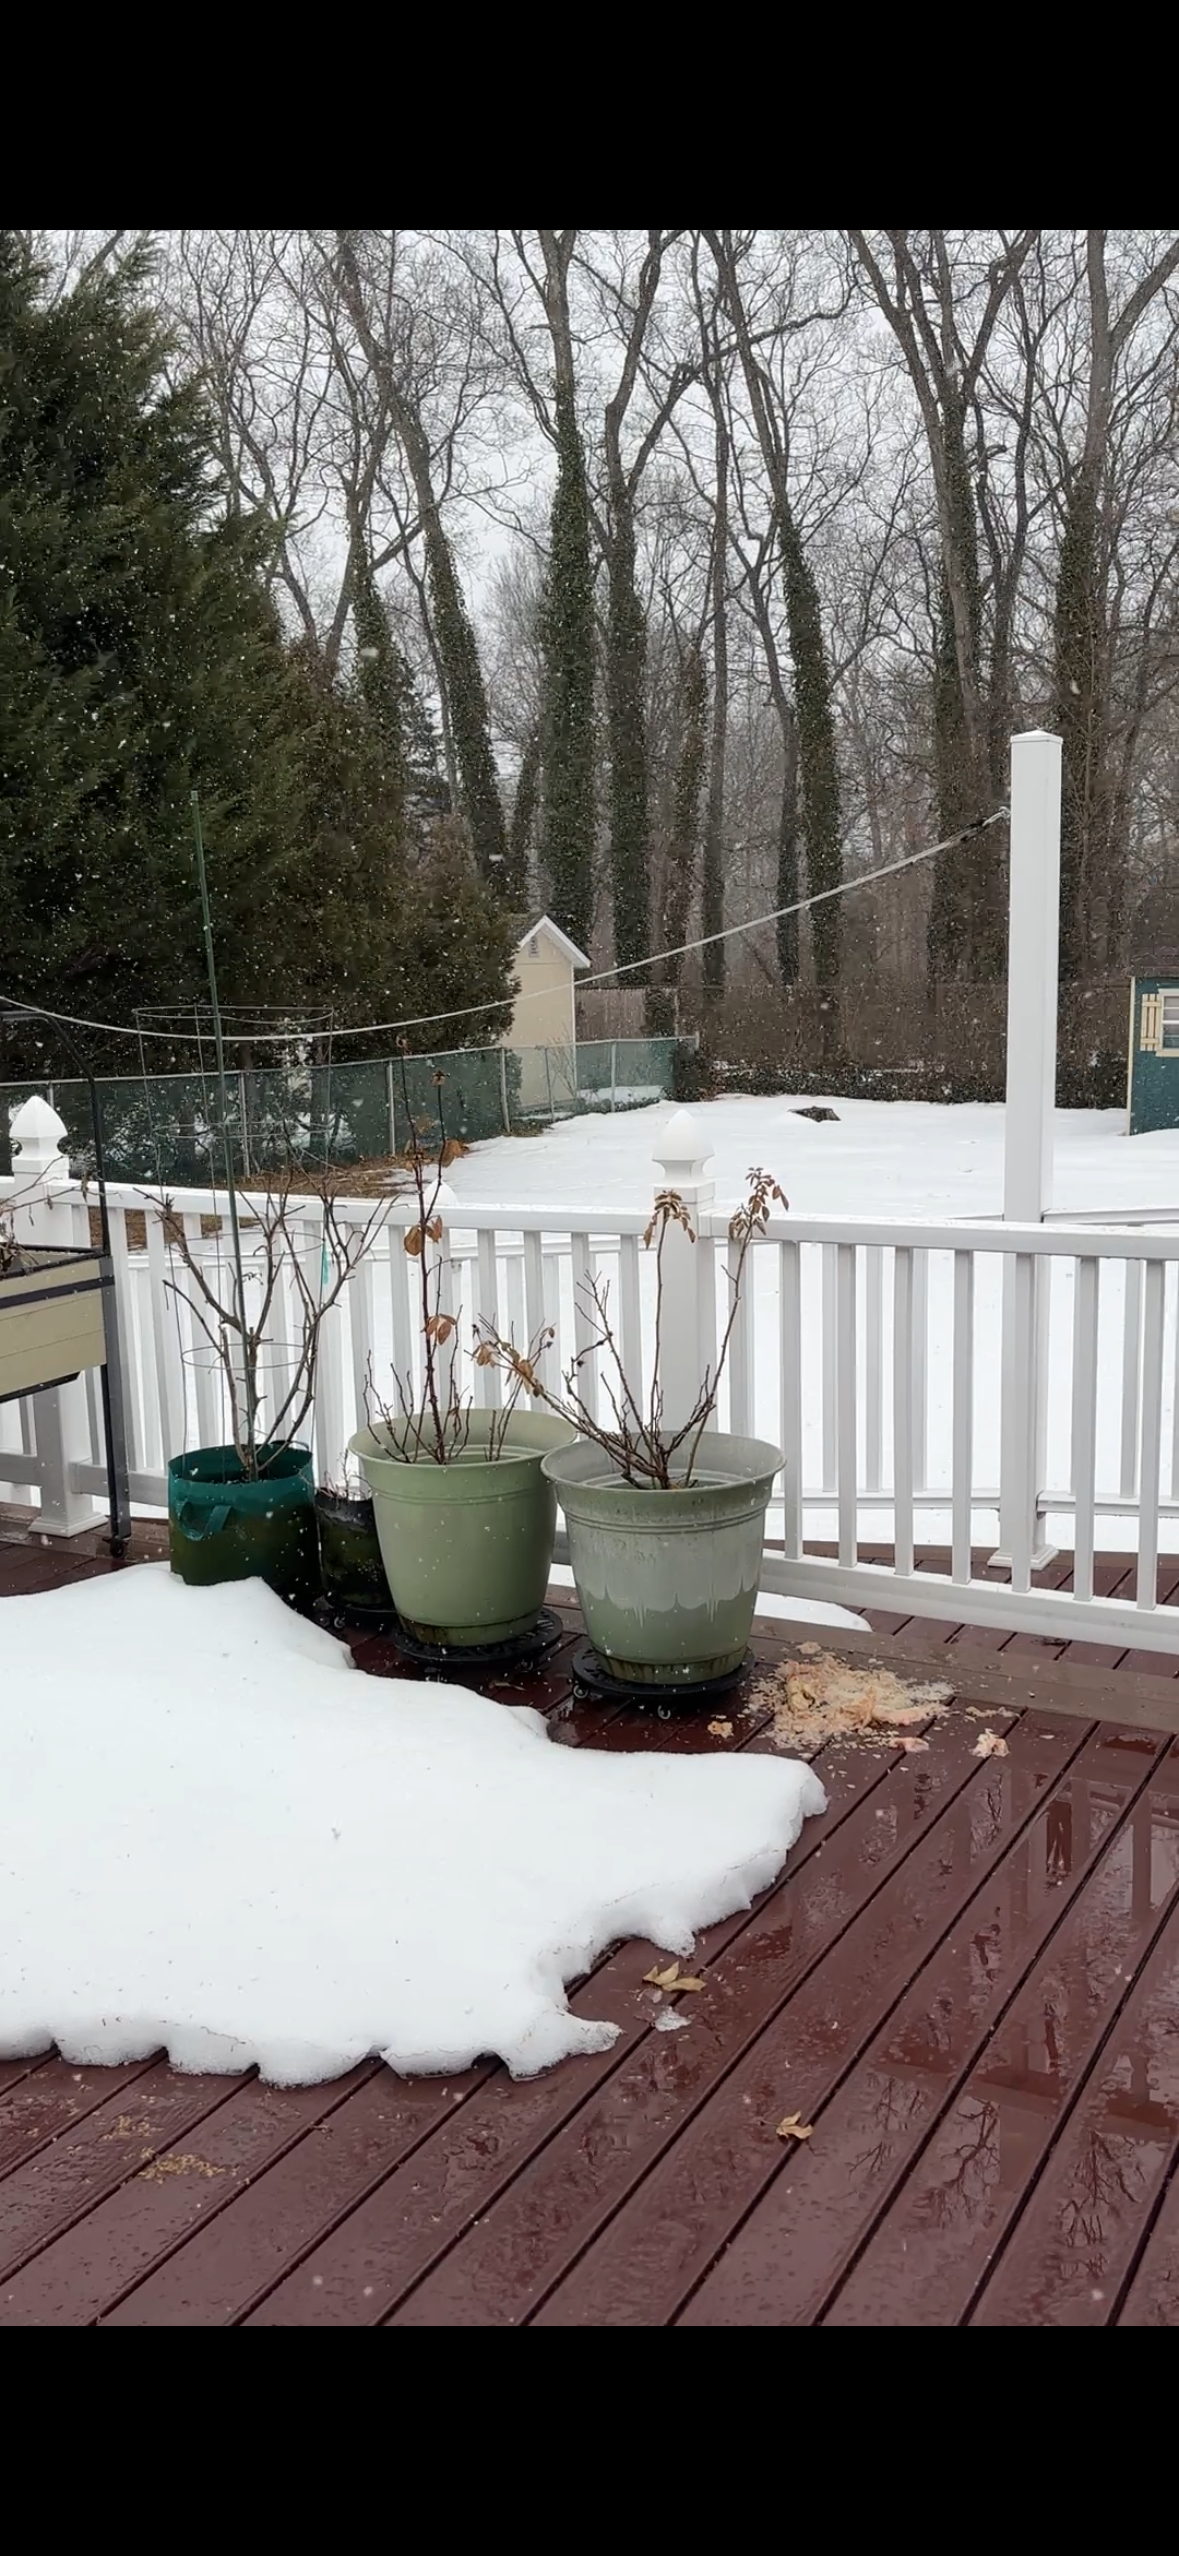
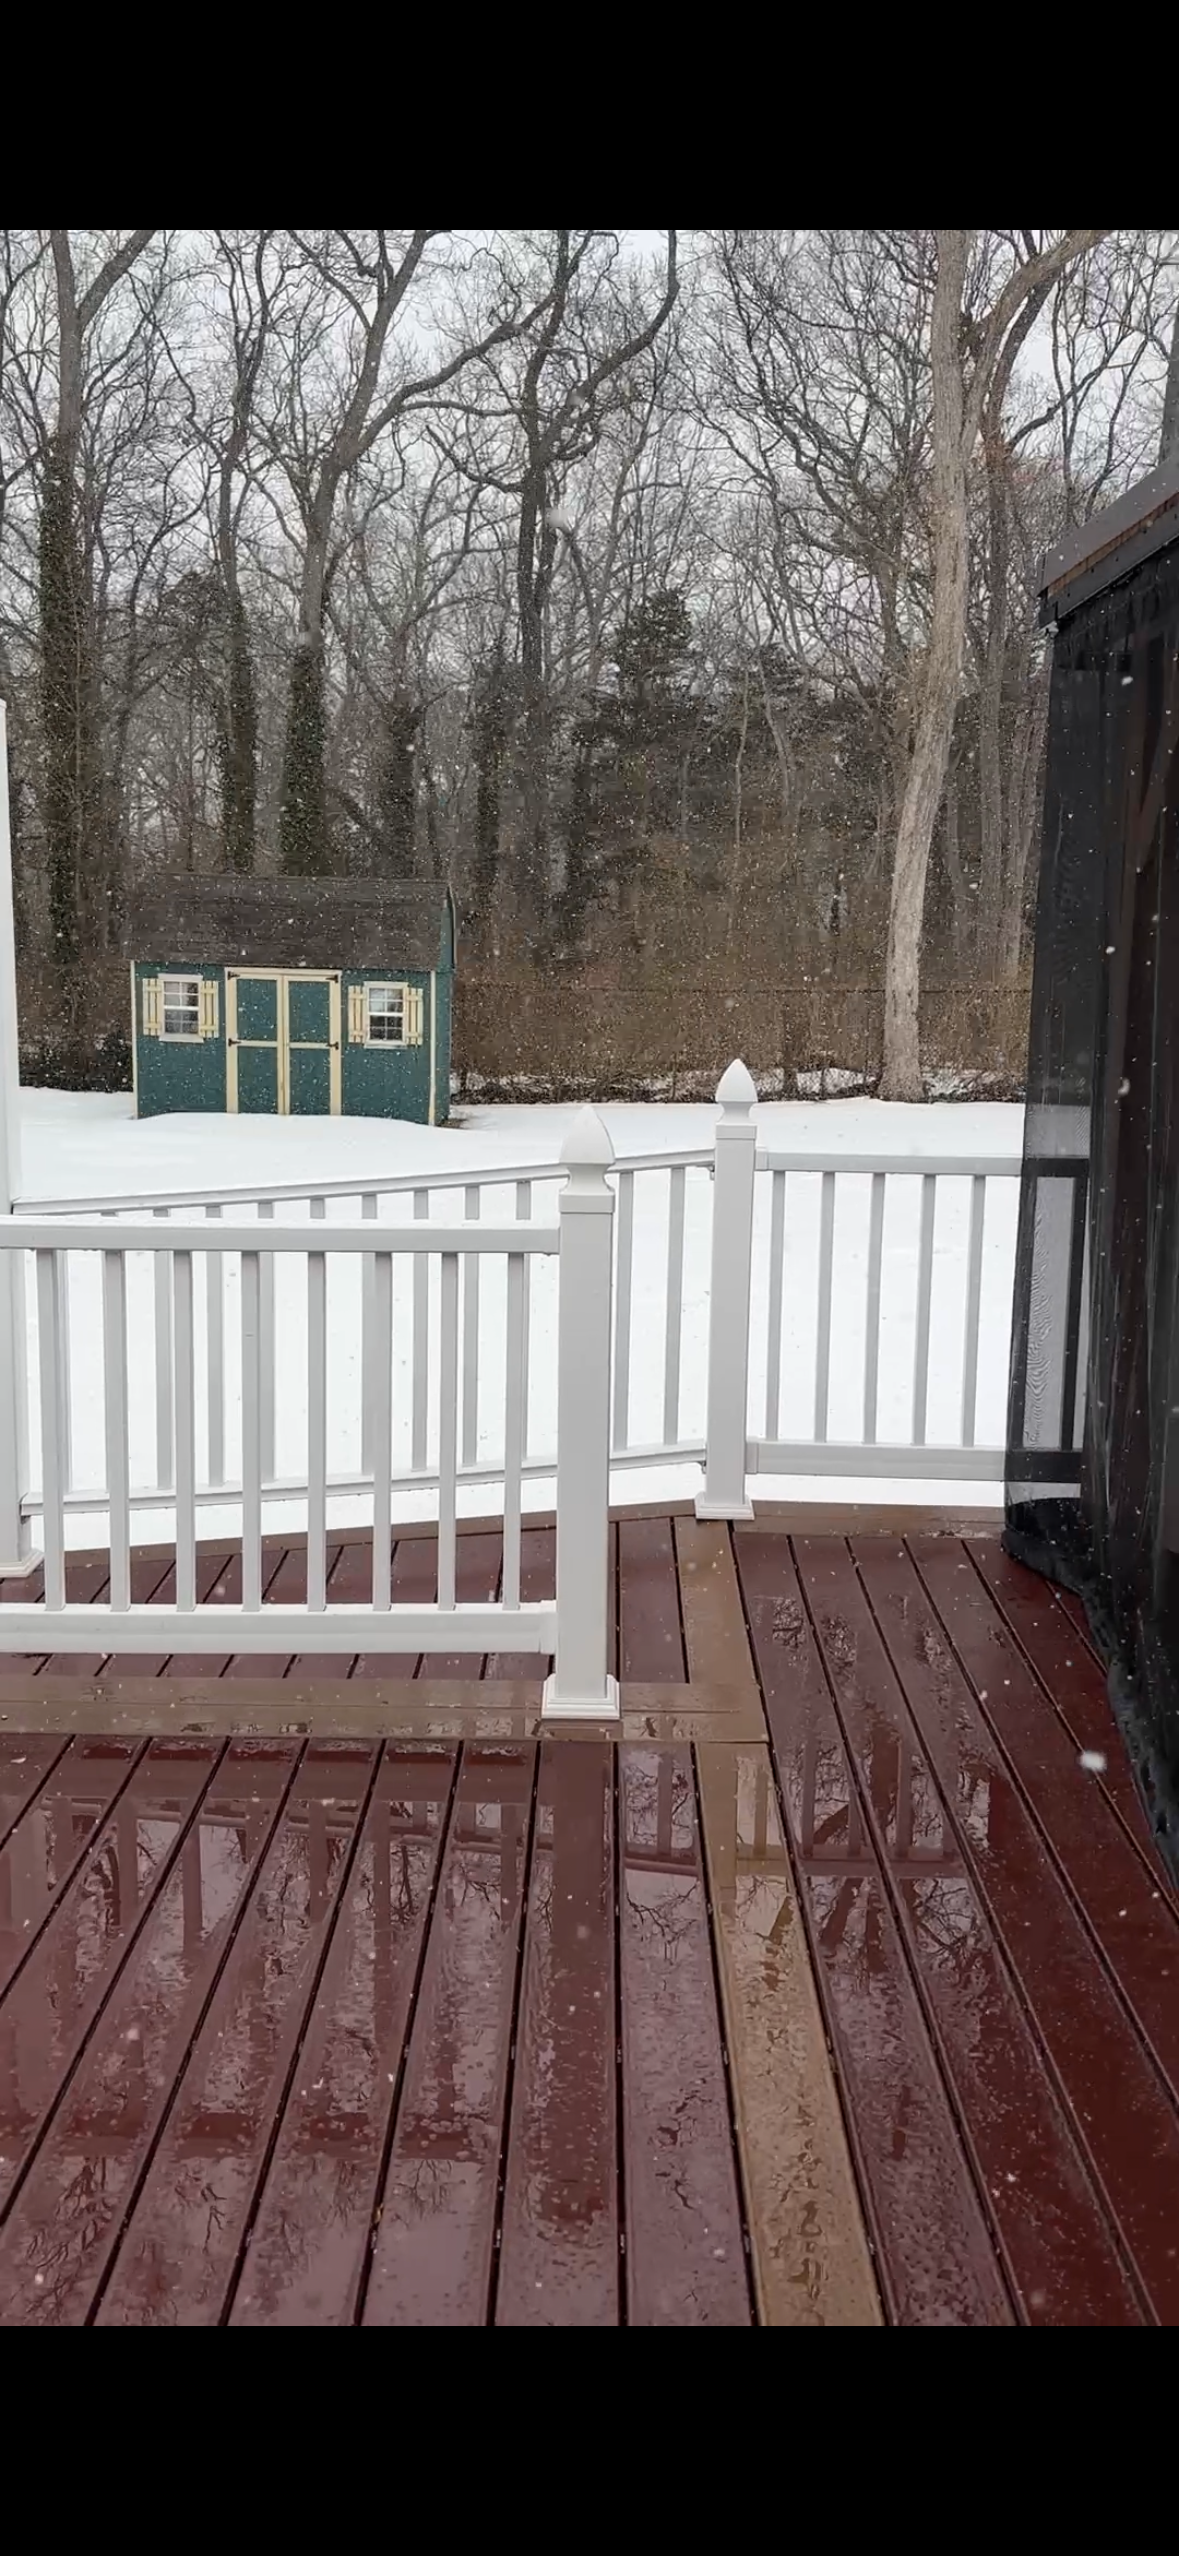
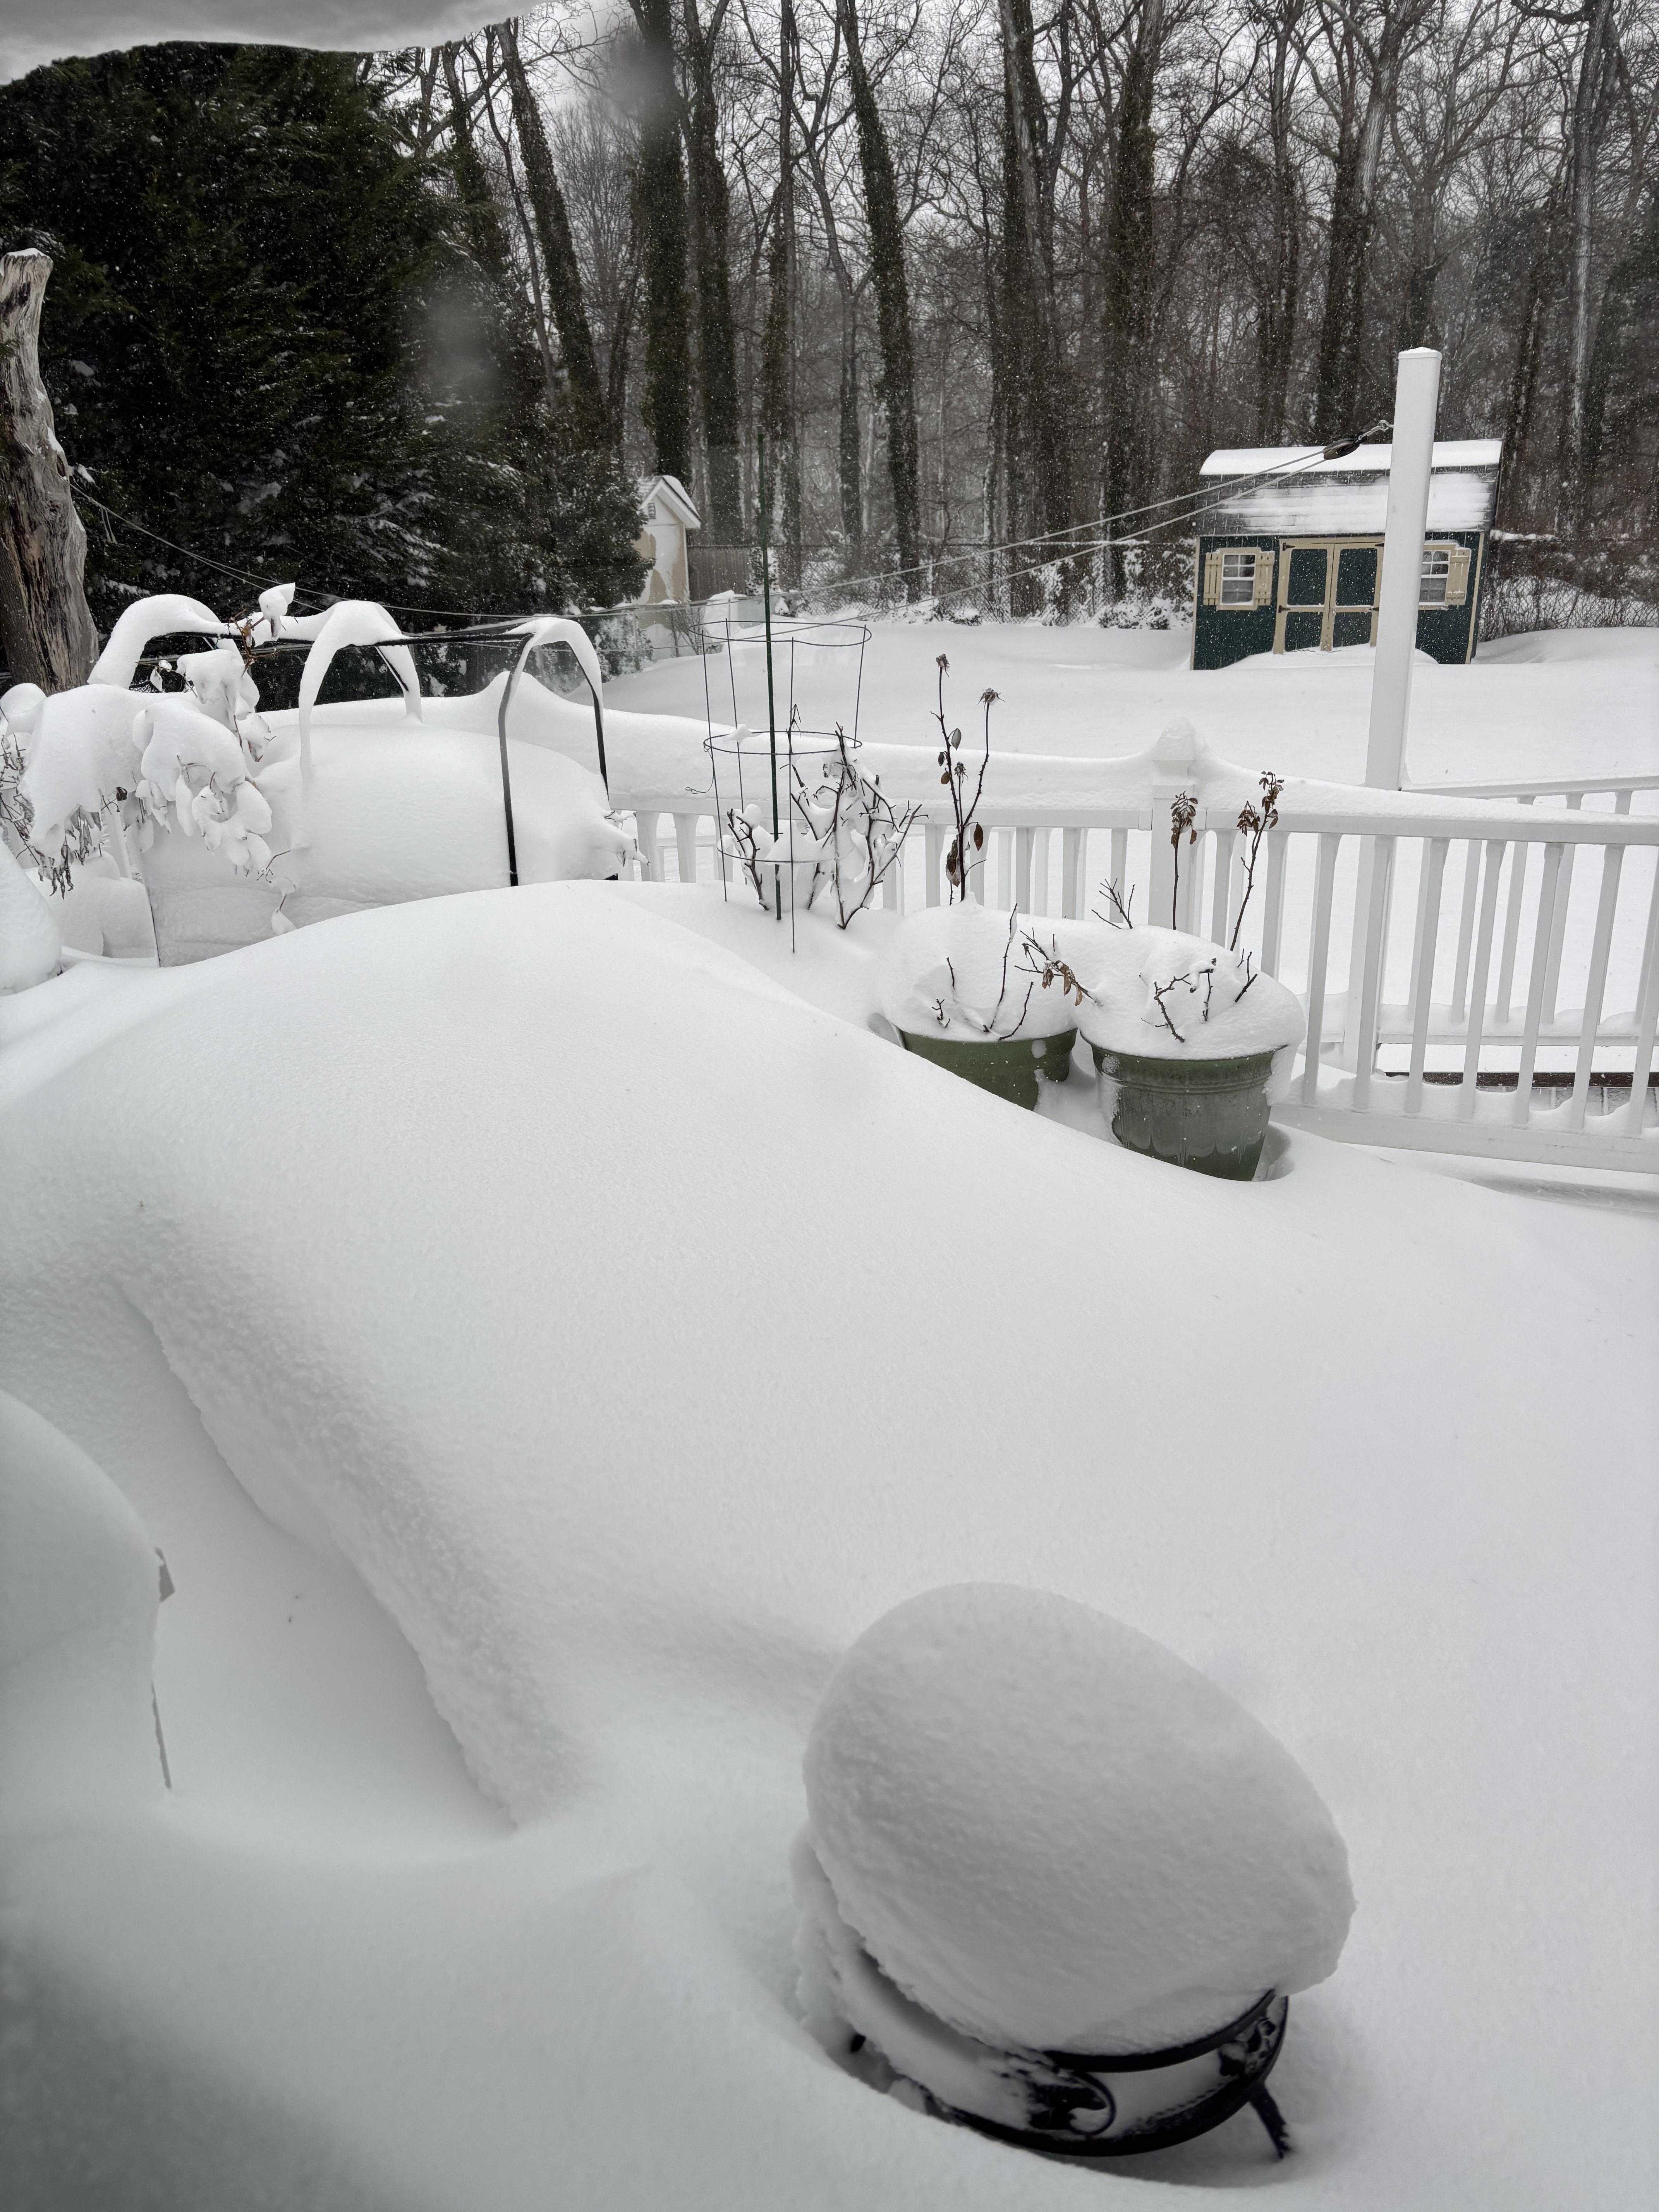
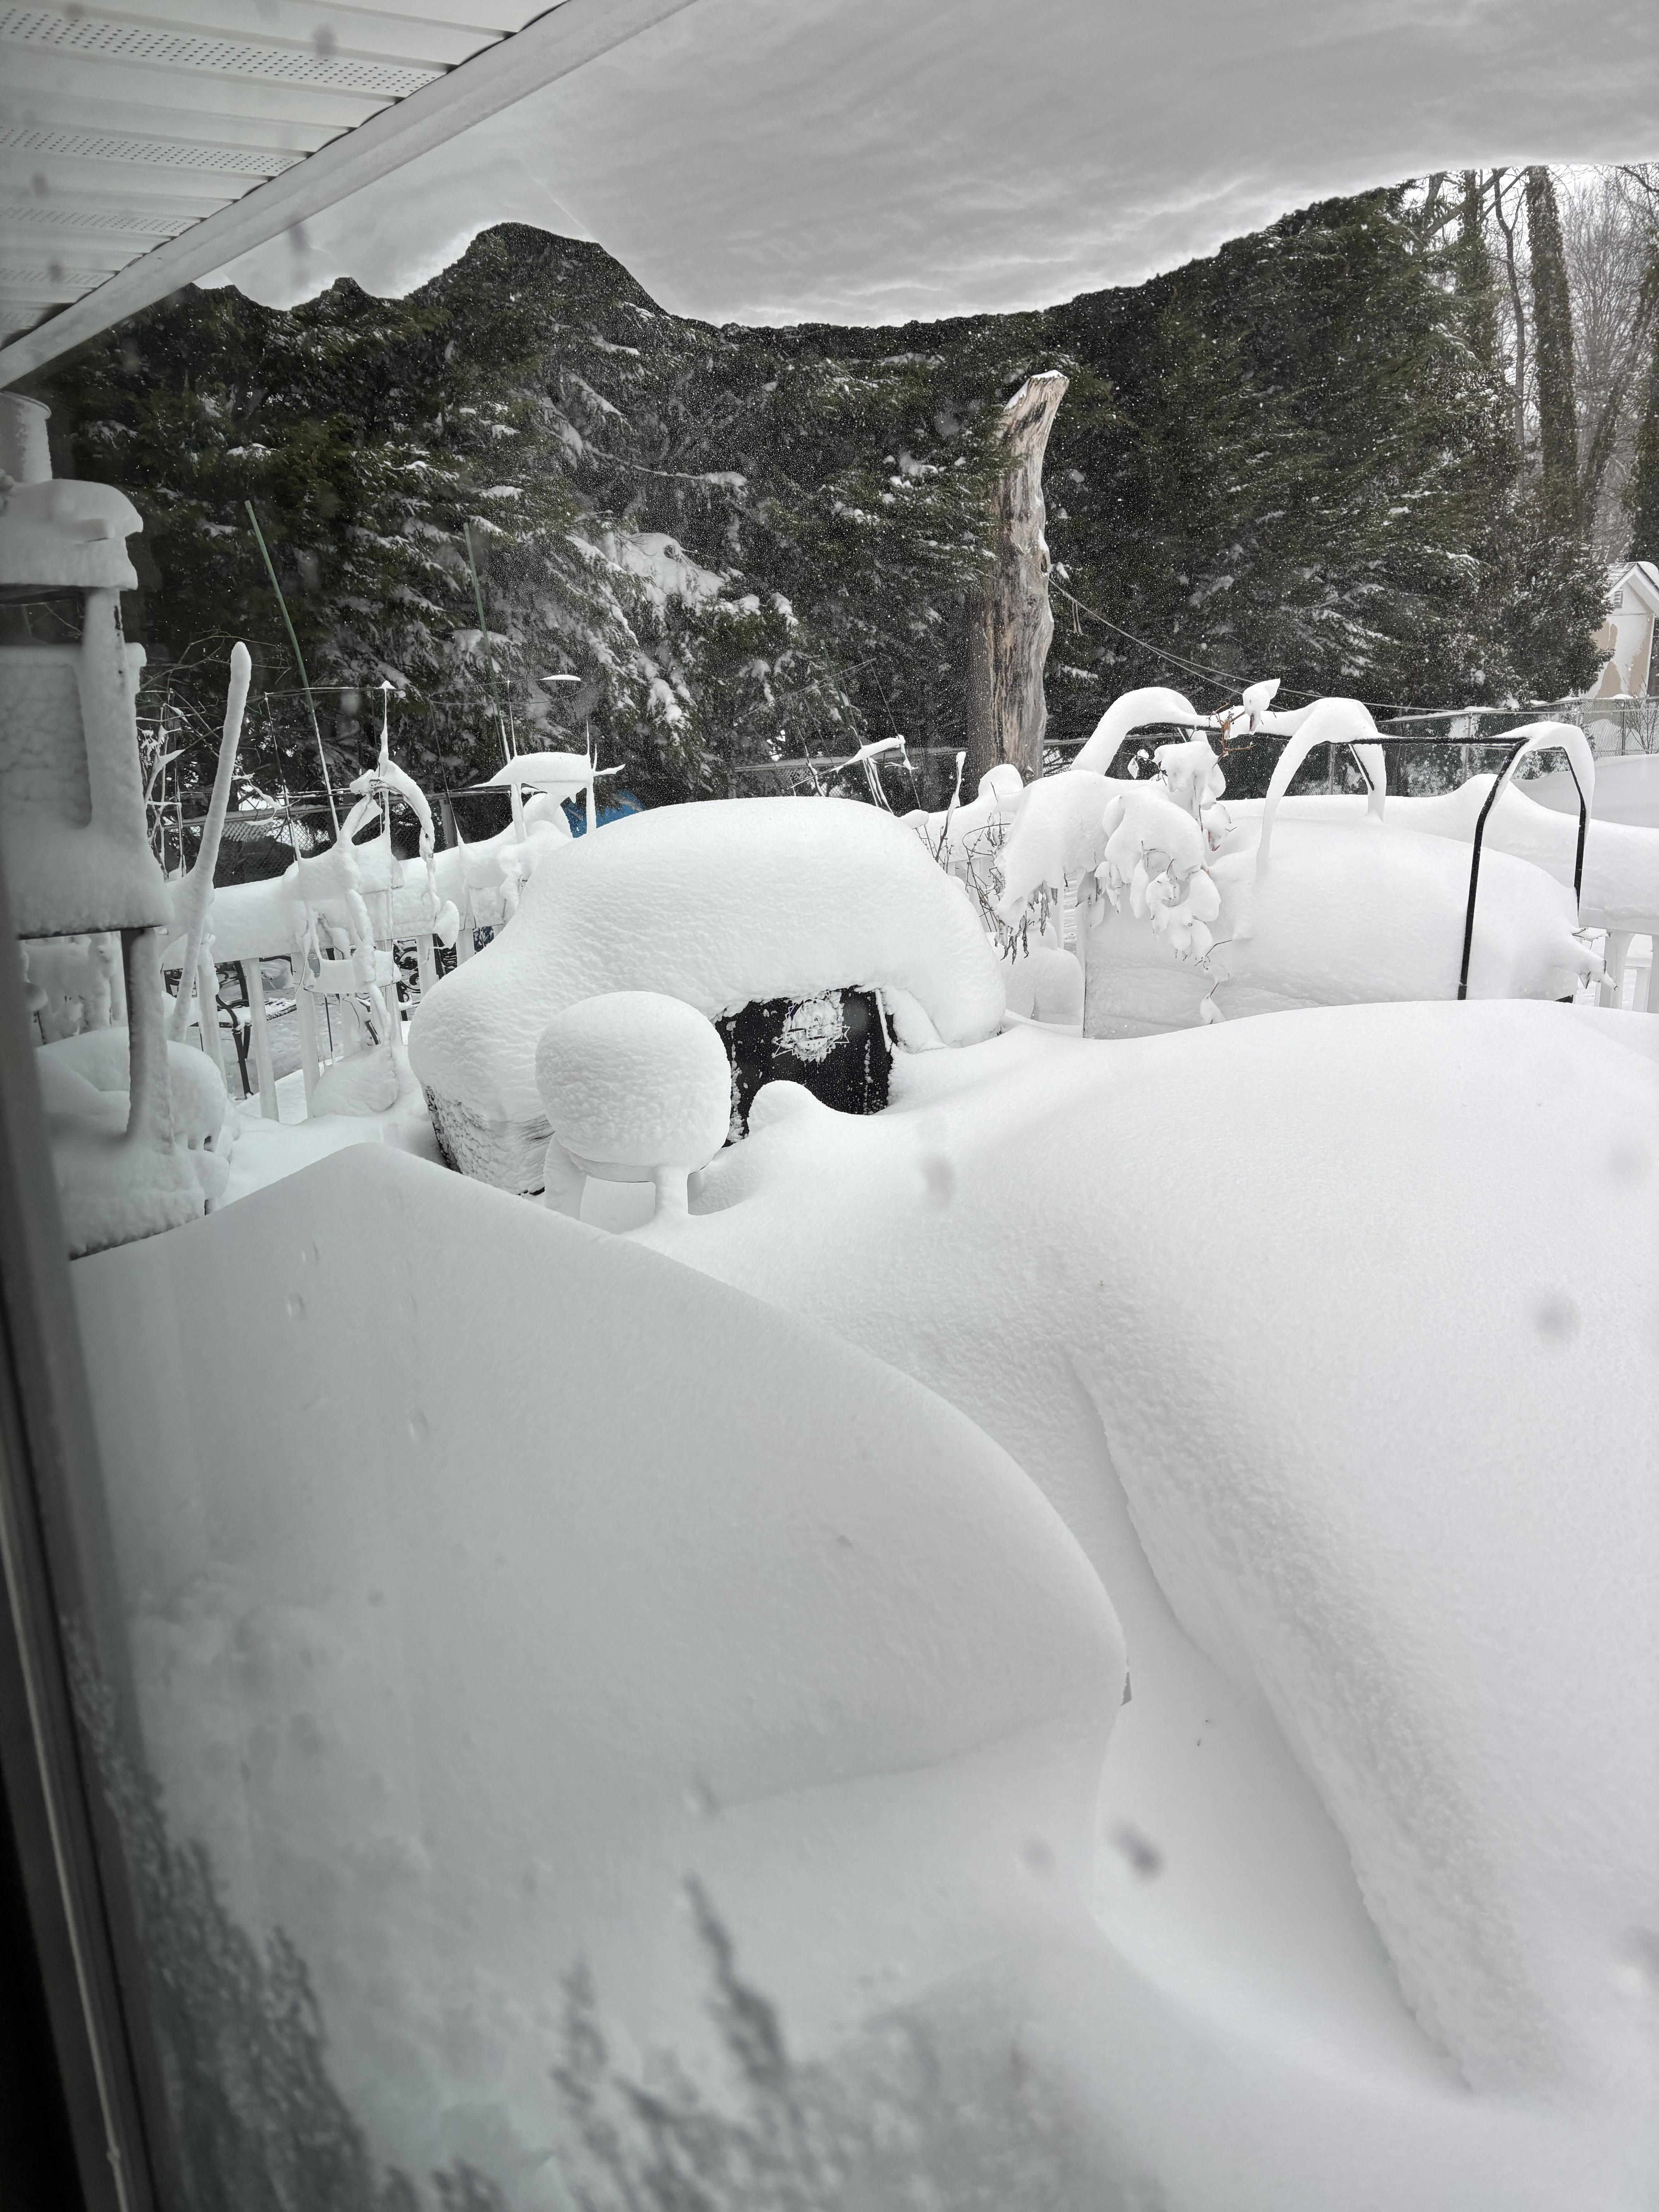
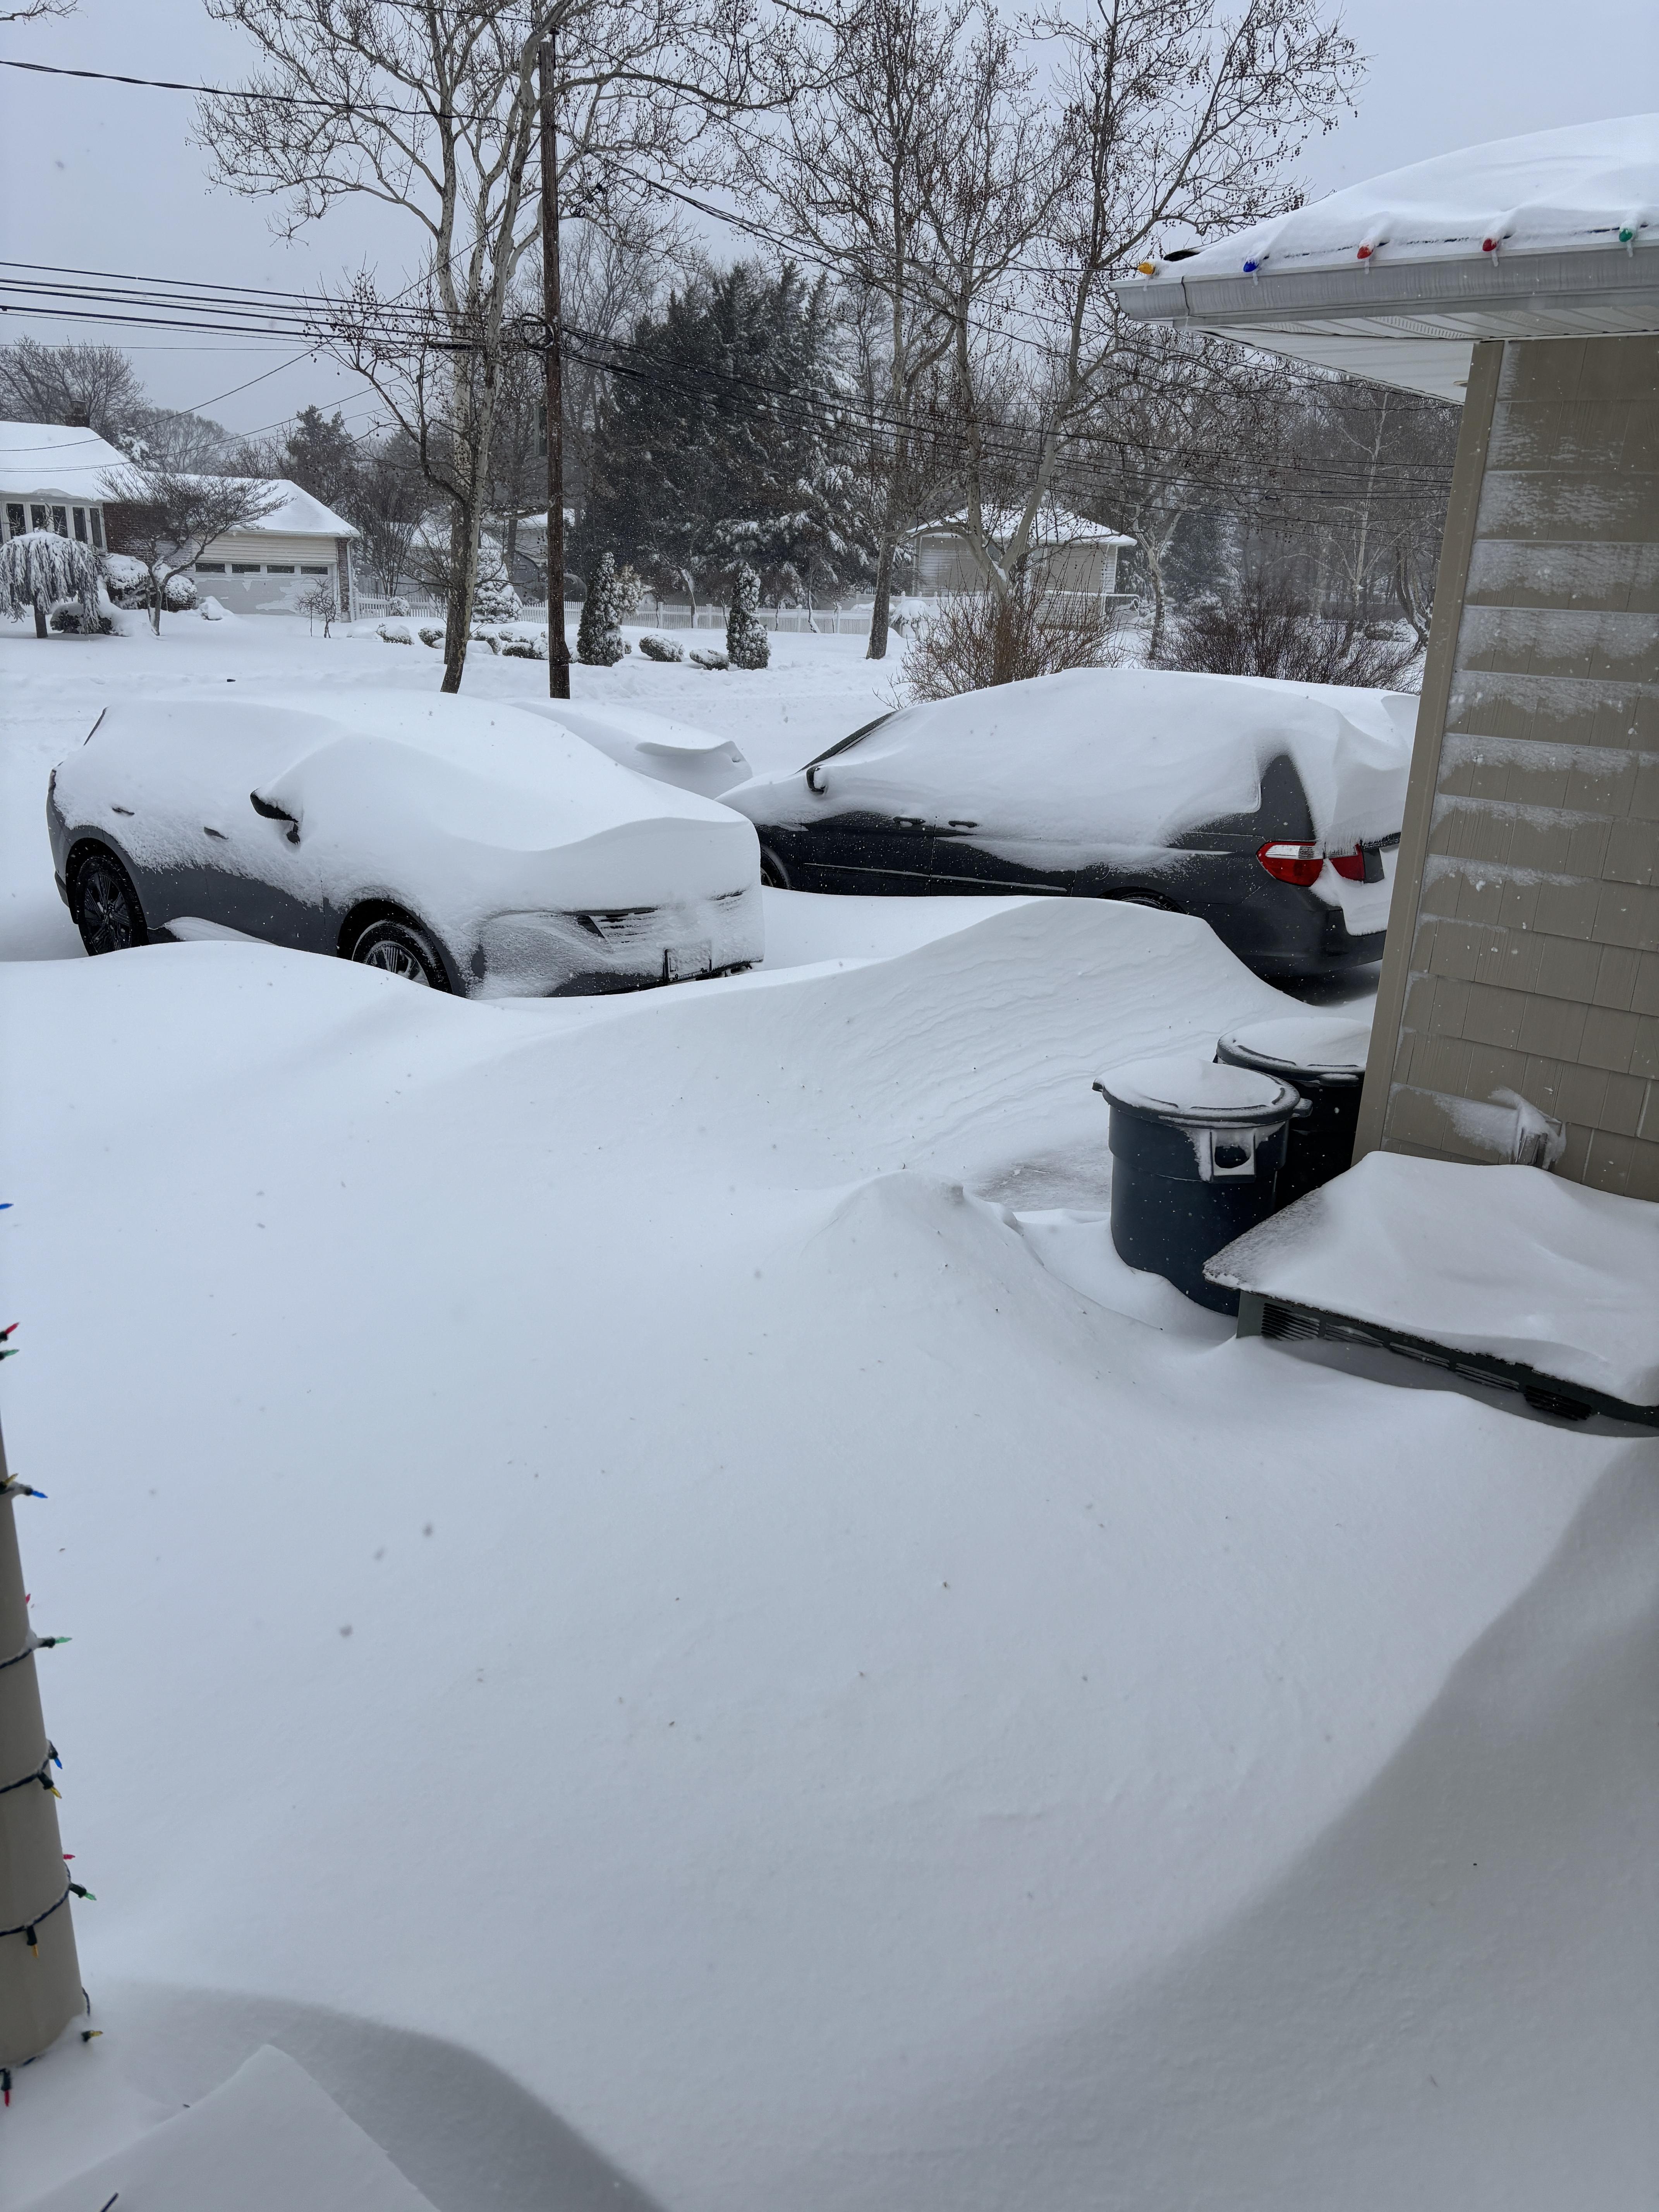
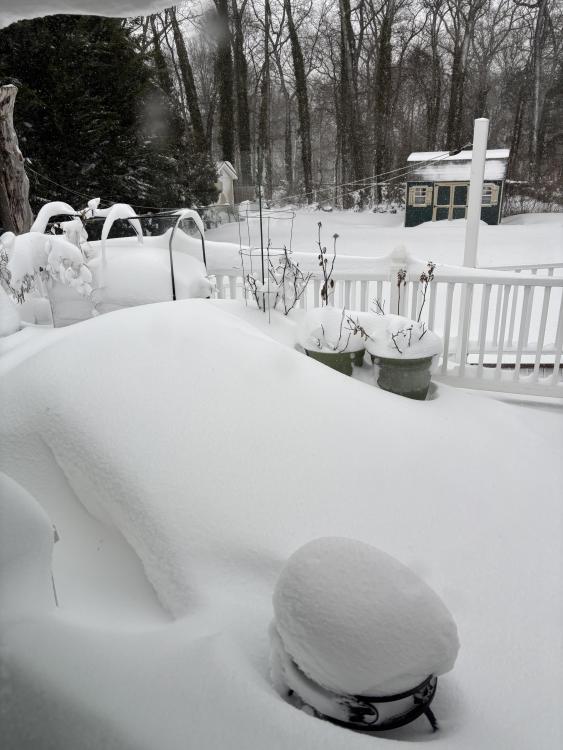
The weather men got it right!! The Blizzard was spot on. So far we have 23'' and still snowing with winds still gusting to 50mph. Here are a couple of before and current pictures!! Will have to wait a few days to dig out the KK for my first cook of 2026!! Stay safe if you're in the northeast and don't over do it with the shoveling !!! Be smart take breaks or just hire someone to get it done!!!


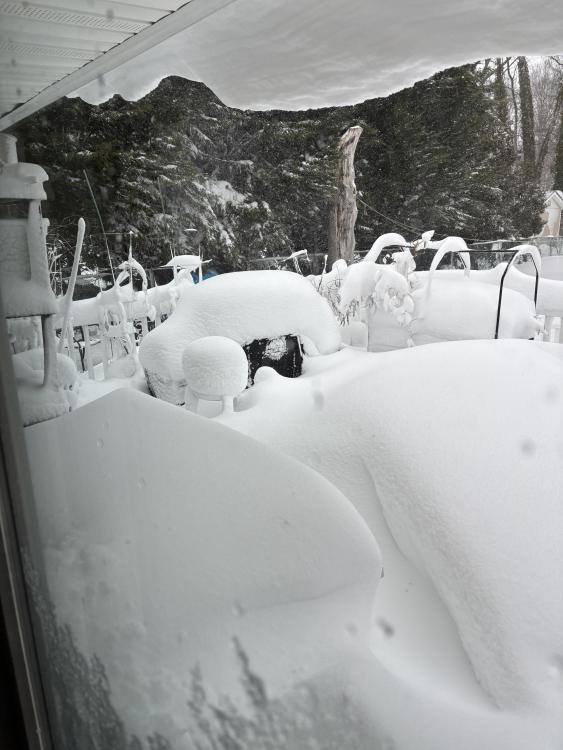

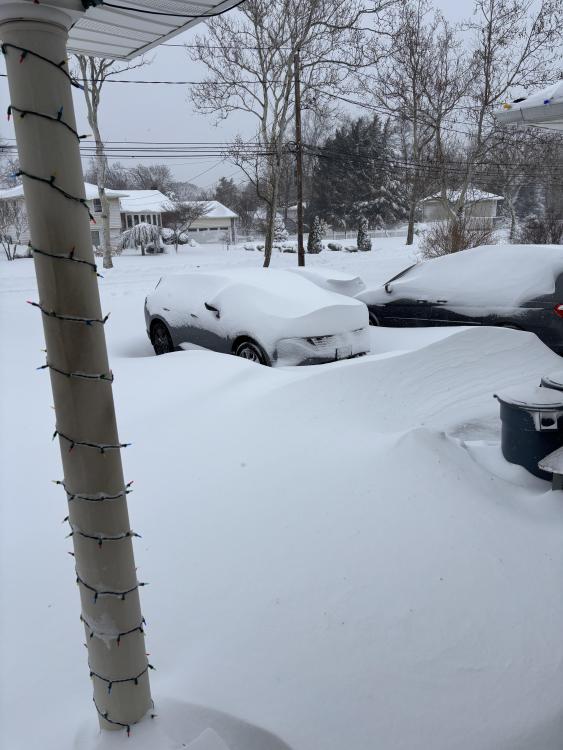 0 points
 -
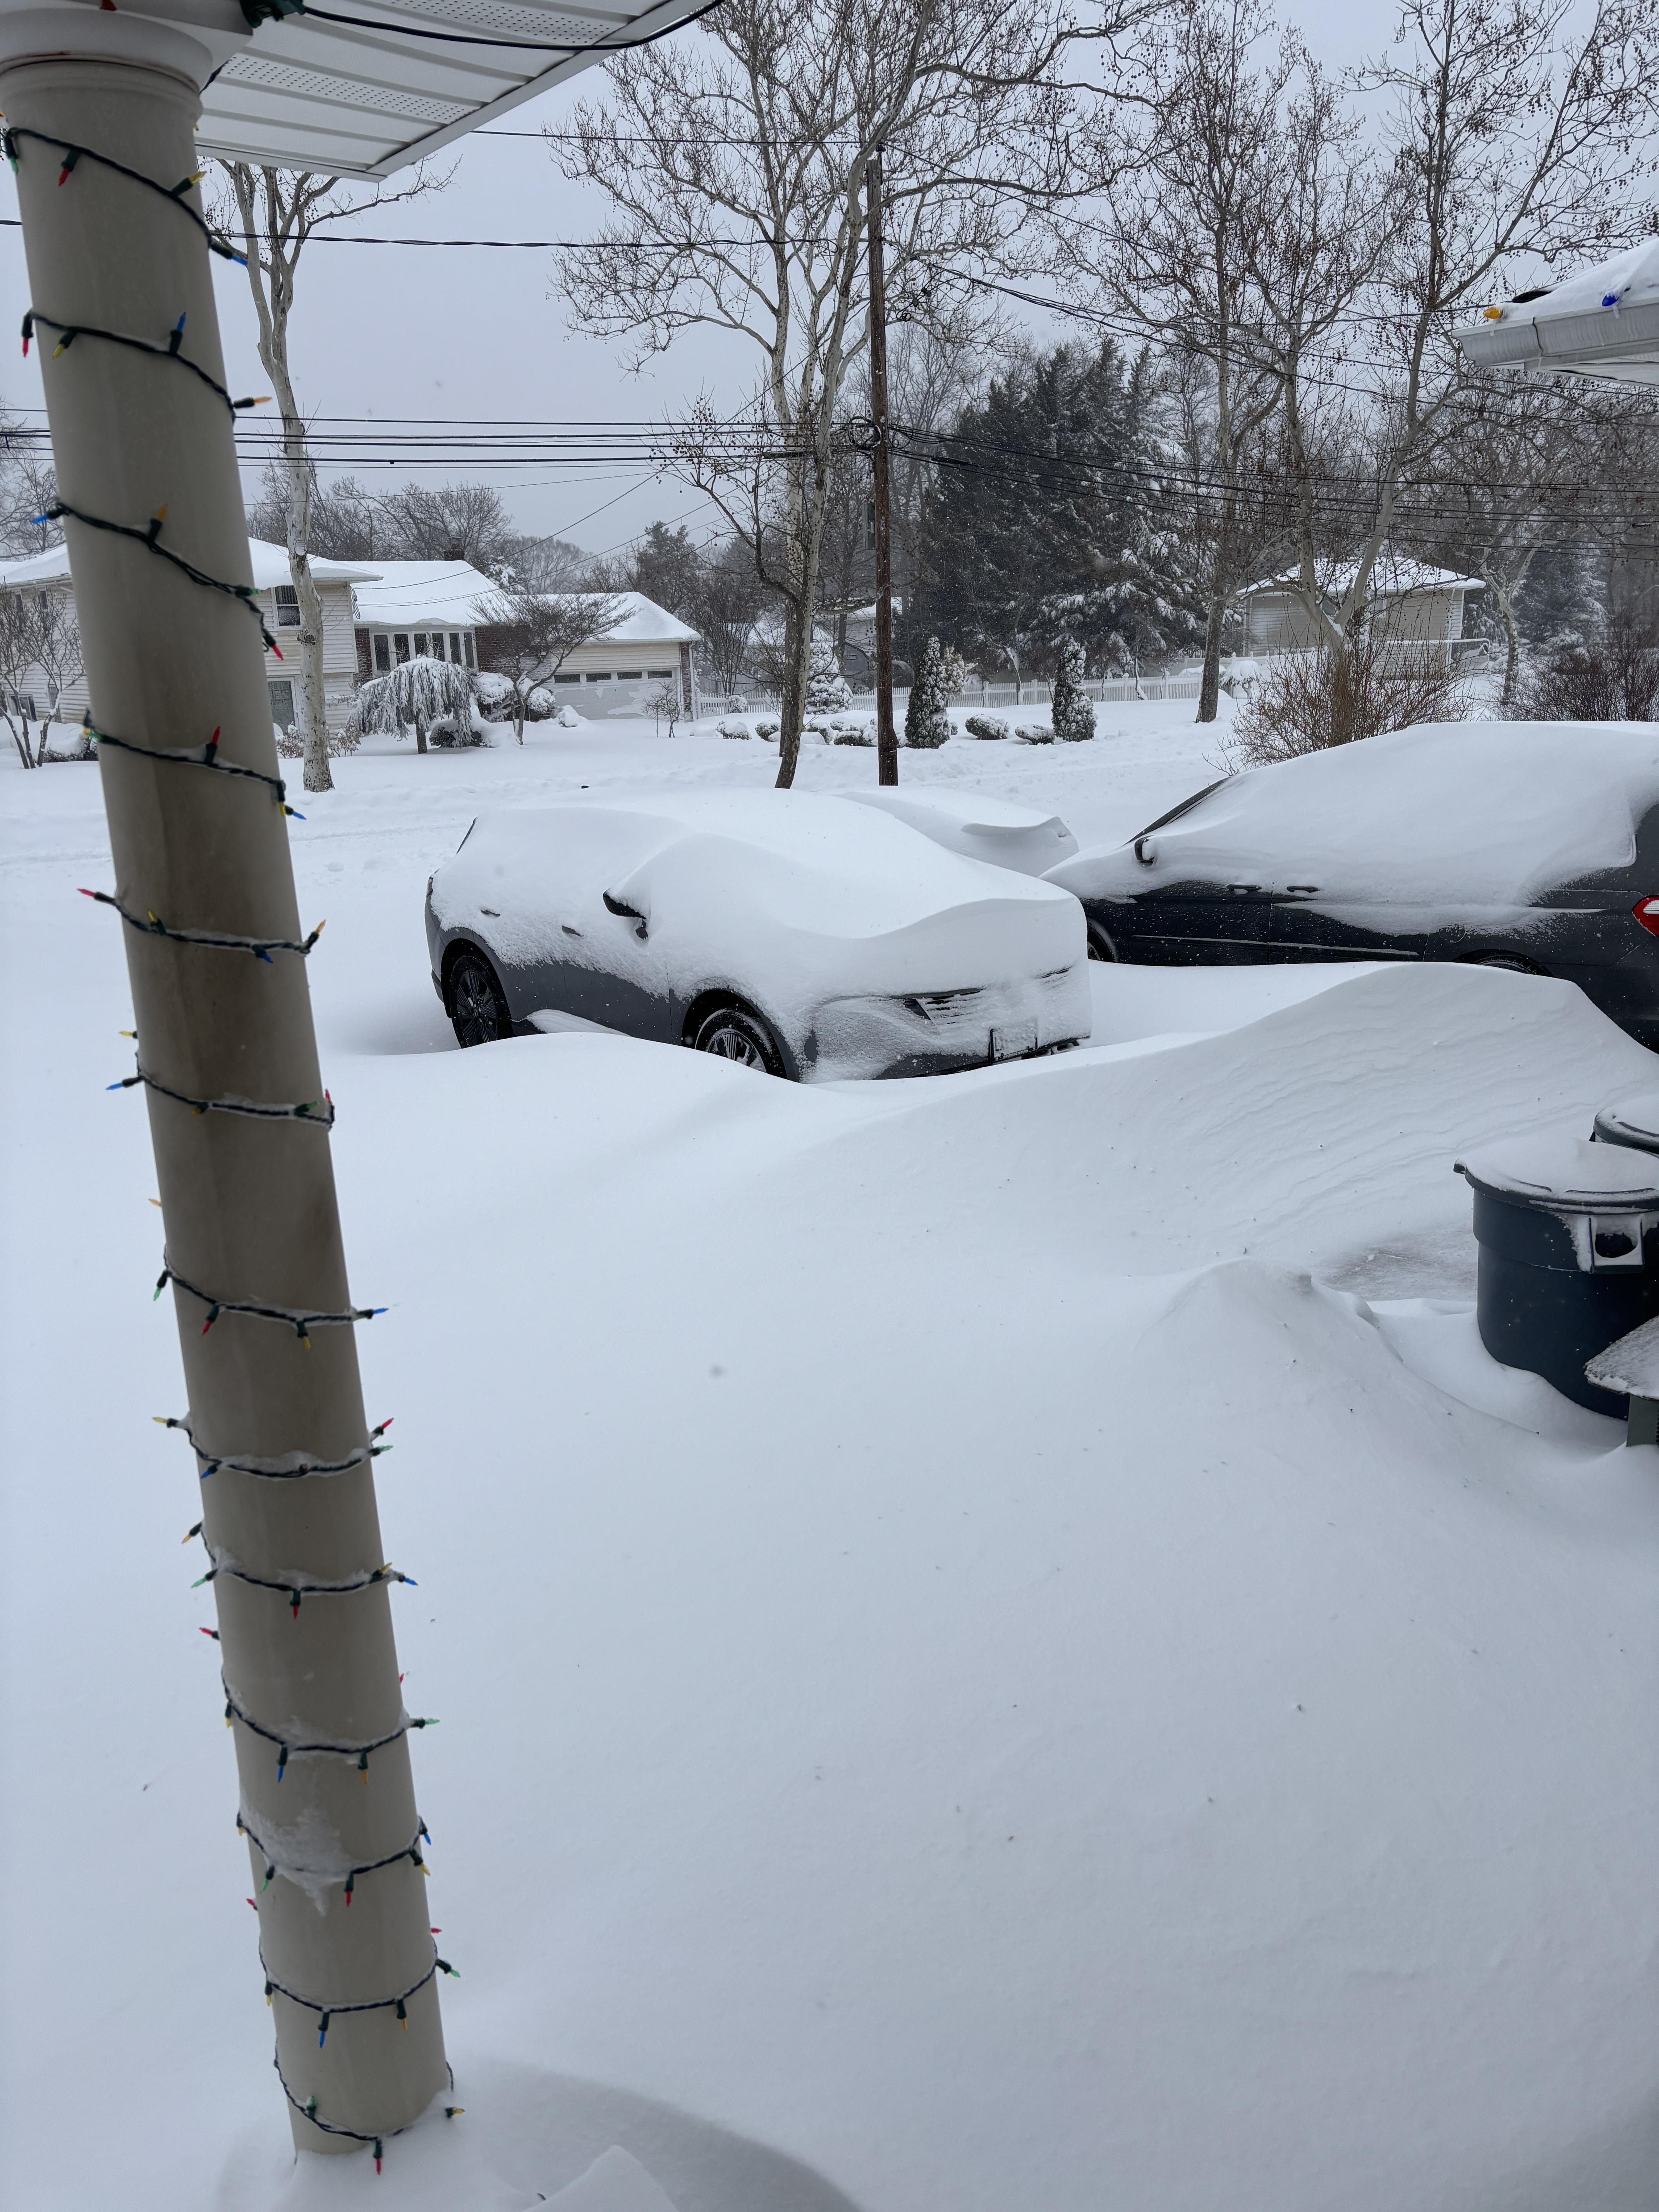
We already have well over a foot and it is coming down hard. Add in the 70 MPH wind gusts it is making life difficult to say the least. It looks like they will be close with the 24-30 inch prediction for this area, it is just hard to tell with the drifts. I need to get back out and do a pass on the driveway before that gets too tall for the snowblower. So far I've just been keeping the back deck clear and making trails in the yard for Max and a bathroom for him lol Stay safe out there everyone !!!!0 points
-
Tony b The Blizzard has just started and we are going to get between 18-24'' with wind gusts 55 to 75 mph. I think that much snow and wind will continue to postpone my 1st cook of 2026 on my KK for a little longer!!0 points