bosco
-
Posts
468 -
Joined
-
Last visited
-
Days Won
31
Content Type
Profiles
Forums
Events
Everything posted by bosco
-
see if you can mod your order... I was wrong about the second heat shield. Only 1 for a 23 as mentioned above. Sorry for the confusion
-
I have 3 Kjs next door that I have allowed my neighbour to use and in the yard I currently have my 23 and 32 KK with table. A friend gave me a traeger that he is not using and I am enjoying it so far. I am done and really have no further needs for BBQ
-
yes you are correct @cschaaf sorry I forgot about that again...
-
well since you are asking... and the fact that you got a screaming deal on this unit... I would say upgrade to the new lower vent. It is a finesse convenience and I agree that it looks good. You need the deflector plate on the back and if yours has the rear port door you should have one for that as well. This will preserve the knobs from burning up as well. I think I would get the baking stone but would never use it for a deflector. Like Robert said, you do not need a deflector stone anymore. The fire to grate distance is far enough that you won't have to worry. Simply add the lower grate and a piece of foil and then put your food on the main grate and done! Gone are the days of deflectors in a kamado. Consider a double bottom drip pan and perhaps a rotisserie spit rod as well. Also perhaps a cover to protect those pretty new tiles in the colder months
-
Comes with roti kit not a standard item in the shipment
-
i see
-
When we were trouble shooting my 32" that was the first thing that you had recommended and walked me through? What changed?
-
I agree with the last few statements. The lower latch is adjustable but not the top latch. If you loosed the two nuts you can lower the bottom latch and increase the tension. Give that a try before anything else that you do. My new 32 had an air gap and I was able to lower the latch less then 3mm did the trick. No issue since
-
I cant see why you couldn't cook on it? I wouldn't want to see it getting wet at this point but I think you should be fine. Maybe others can chime in on that. As for names... Many do, I didn't. If I were to name yours it would be one of the following Thor - related to the hammer Scorned - Hell hath no fury like a woman scorned Patch - for the rebuild
-
its the grout. Once you add the new tiles and you are ready to go, do a burn in
-
sorry I'm late to the party... this post broke the internet today. I can not believe just how big that sucker is. Can you please do me a favour and take a side by side with the 23 and 42, I would like to put it up on the KK instagram page. I am so impressed with the design. This thing is absolutely incredible to see
-
That latch looks wonderful. Honestly looks really good. Did you take some photos of the tile design on the upper dome before you started going so you knew how to put them back on? this thing is well on its way to an incredible rebuild. Fantastic work I mean that honestly. The inside looks good. A high heat burn will clean it right up
-
someone else just sent the tiles and the bolt back to Dennis and he made them a new cap. Perhaps you should do the same. As for the side tables, you should buy a teak wood treatment kit. Wilburpan on this site recommended a brand. The side tables came out beautiful, do not use stain! Patience as this is a fun project and a smoking deal once all fixed up. Dennis is your life line here and will answer everything. Slow and steady and you are going to have one hell of a gem when it is all finished!
-

Wok cooking!? Accessory for wok cooking
bosco replied to Garvinque's topic in KK Features & Accessories
Good point Aussie. Ckreef would the GE port not be a good source for her control? but that brings up a good point about having to cook down low in th bowl. That would be a real pain in the ... -
when you are finished cleaning the grates, that water is gross. There is no way I would be allowed to bring it into the house. I just dump mine on the street curb and it made its way to the sewer and I rinsed with hose.
-
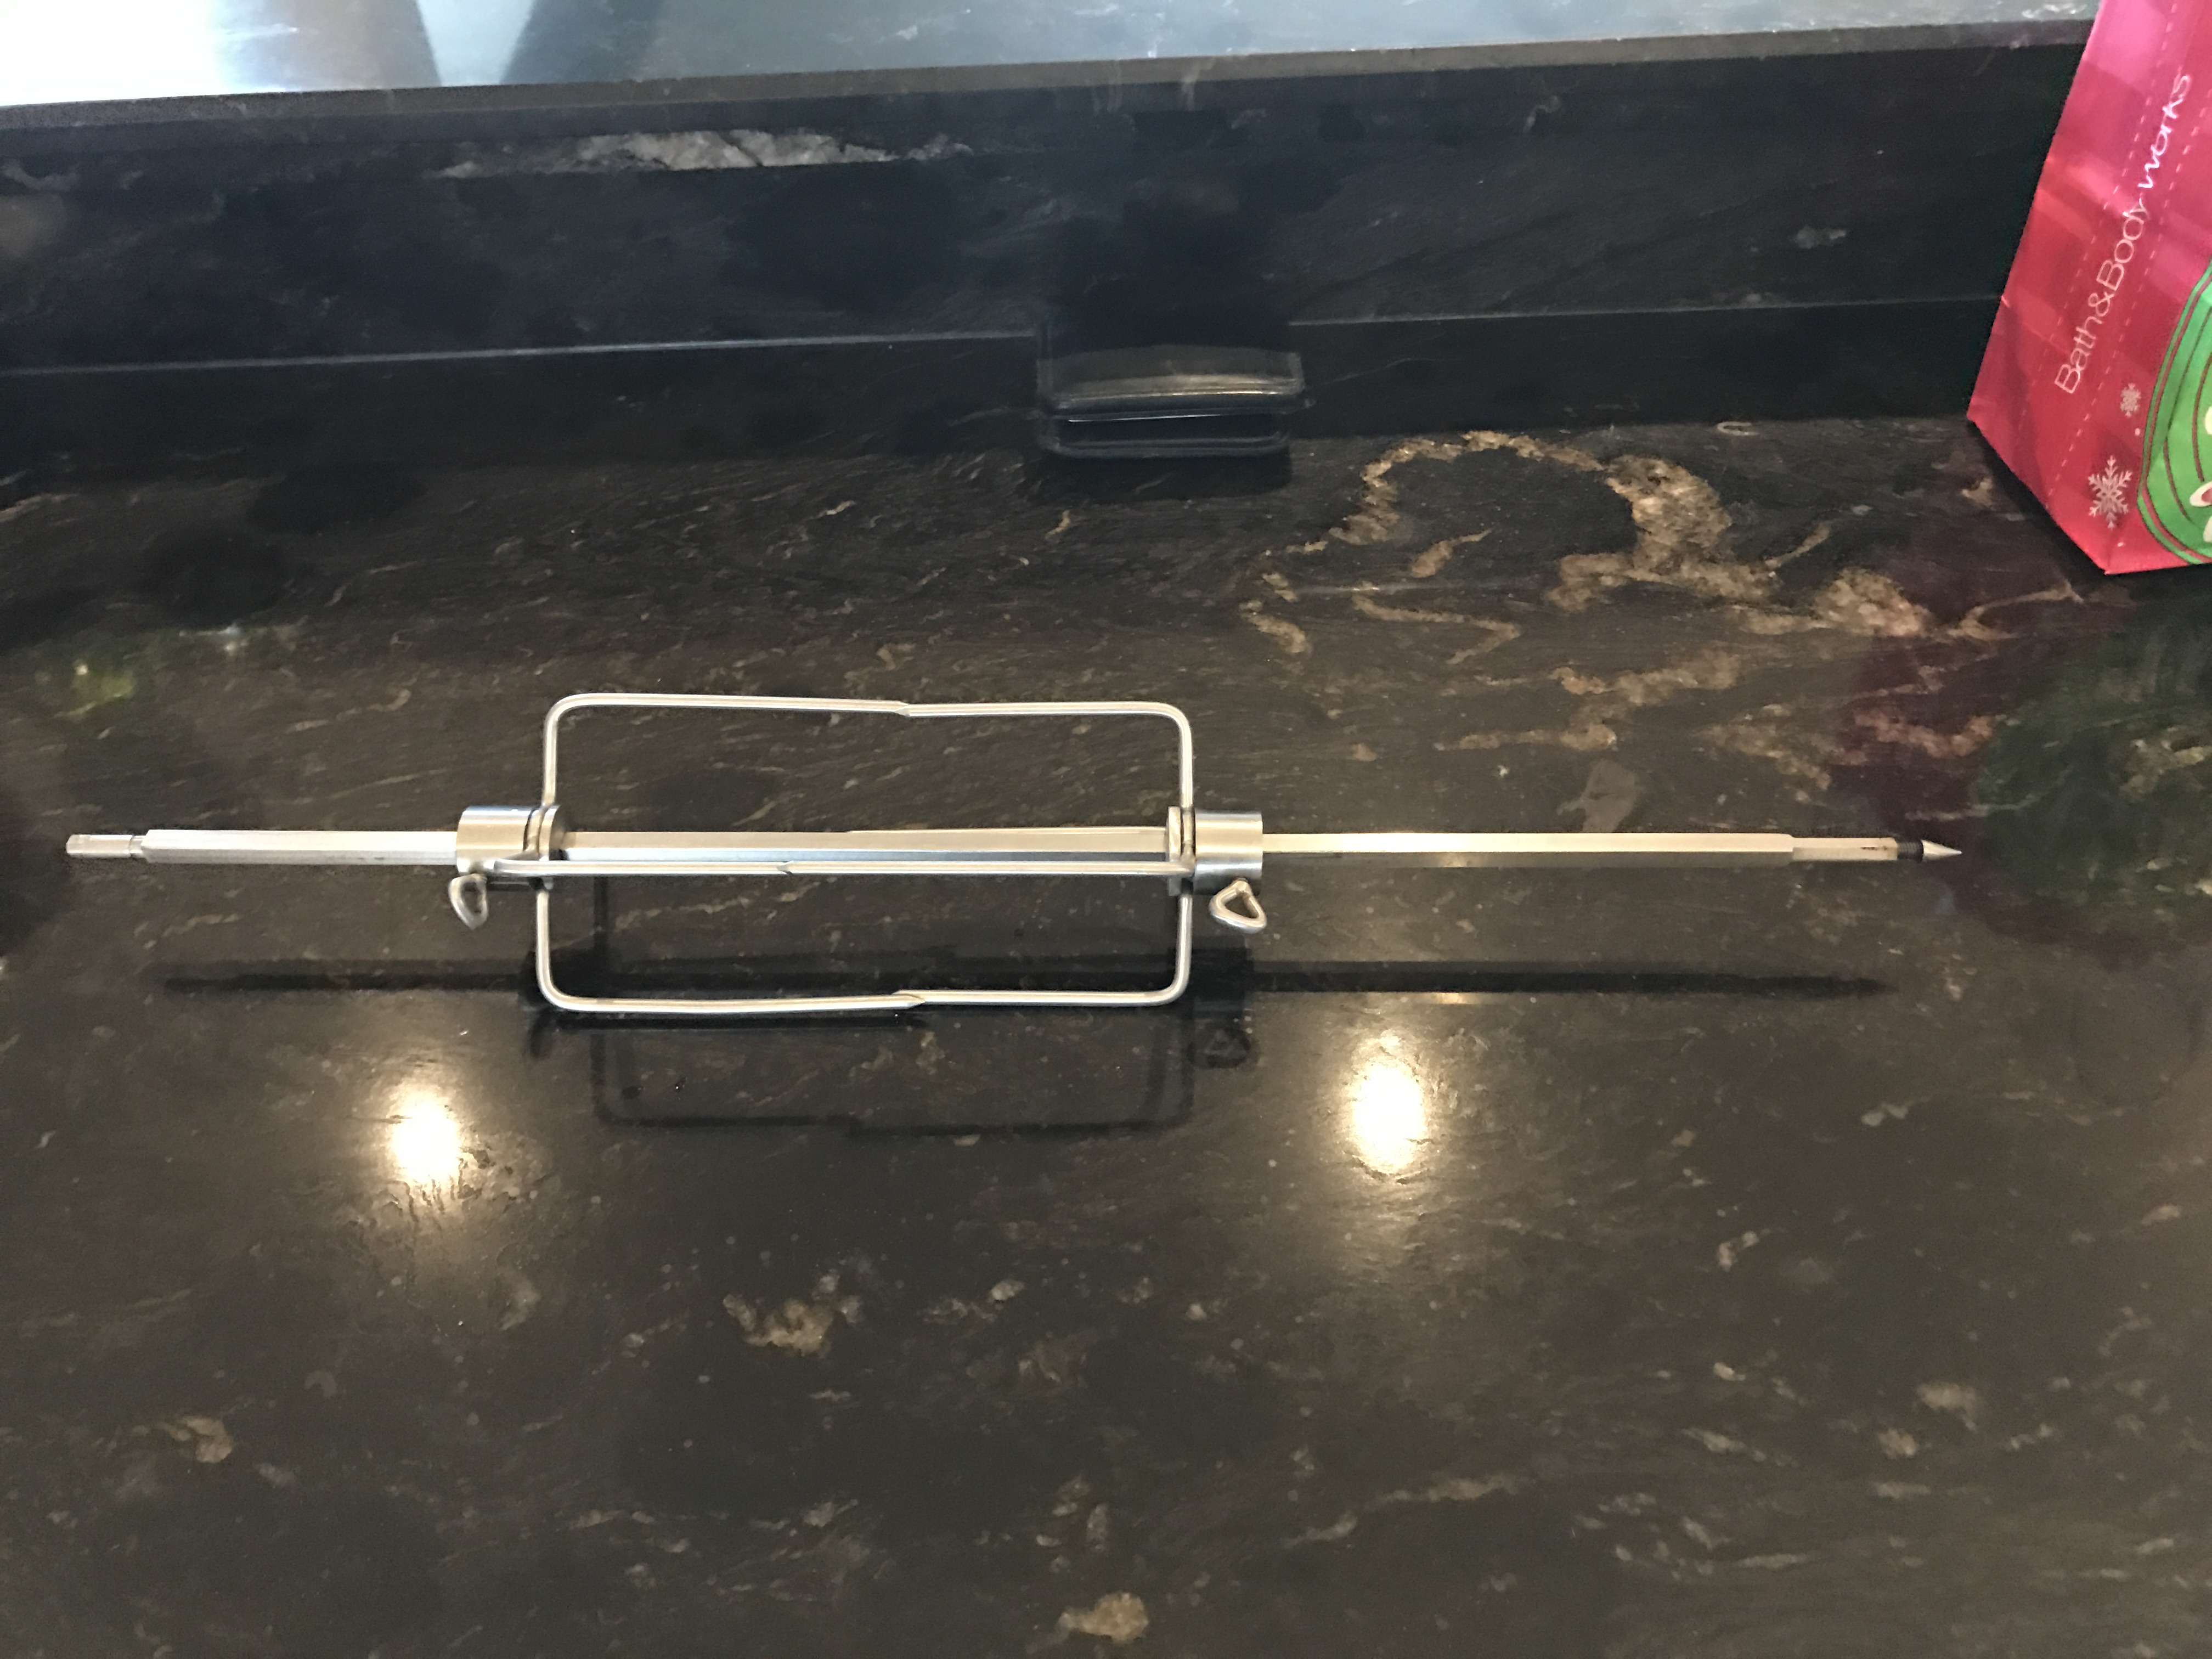
Looking at grill spring is on left side. Like others said unscrew the spike after piercing the meat. Here is a picture of my setup for the spit rod. mad you can see I put the adjustment piece on the left side. I adjusted the piece so the rod fits. I left the spike on the right side as I don't want to be taking the spike on and off on the adjustable side. Once you take the spike off push the left side in you should feel some give. The purpose is so that you push the rod to the left. When you bring the right side of the rod into place you want to just clear the intake. When you release the tension from the spring the rod should push right into the right intake. Mid it's too long then the adjustable piece needs to be shortened enough that the rod clears a bit. Take into consideration that when the rod heats up it will expand. I made the adjustment side a bit smaller to compensate for this. That way once heated it will still clear when you try to take it out

-
Incredible deal. Did you get along rod shaped like a capital T? That is the tool Dennis made to remove the back spring cover. Ckreef a tutorial is bang on and I used it to adjust mine. I agree with not going on two wheels as you are talking about 600 plus pounds on that grill. I like the ramp idea as it is simple and it rolls. One suggestion is to maybe hit up staples and get some sheets of this little circle stickers and put one on each broken tile so you no what's to be removed. There are so many tiles it will be hard to see and keep track. I am so looking forward to watching this thread develop. Time for some more photos to keep us going lol comgrats and welcome to the best cooker you will ever have
-
Welcome to the forum I was the one that recommended that you come and talk to ckreef. He fixed a latch for Dennis and did a great job. Working with Dennis that thing will be perfect once done. If you don't mind me asking what did you wind up paying for it?
-
If I were a betting man you didn't use enough. I doubled the recommended dose as the beer store guy said that the beer crud is easier to clean up then heavy caked on grease. Since using it, I have been actively cleaning the grills after each cook to keep then cleaner longer, but will PBW again every 4 to 6 months
-
look into getting some wedges under the wheels. I would hate to see that roll back on you
-
The lack pebble was one of my favourites however I went with my initial love the harvest gold pebble. That being said ... if I had to do it all over again that colbolt blue speaks to me now like crazy. Well... and the speckled black glass as well i think there really isn't any that I wouldn't be stoked about owning
-
Ouch that sucks! I think personally it's the right choice it not taking away from any other grill
-
?? you have a free standing 21 now called the 22 and a TT? Am I missing something here?
-
Awesome buddy
-
I don't want to come off as the bigger is better club guy but let me just be the first one to recommend the 23". Or if they have a discounted 22 you like that one. I really like the stand alone units. I like them because you don't need a stand. If you have a setup table then sure this is non issue. My favourite thing with a KK is the fire to grate distance. It will be less on the 19" I believe. I love the I can grill without flare ups, smoke without a deflector and the overall look of a one piece unit looks awesome opposed to using a stand. I understand the reasoning behind the 19", but that 23 is really the flagship. It has the nicest lines in design. I think it's a good size and if you only want one cooker get a bit larger. Just an option. Any KK you buy you will love. Don't use the baking stone as a deflector. Why get that all greasy and messed up. It's for baking keep it separate