Steve M
-
Posts
1,529 -
Joined
-
Last visited
-
Days Won
19
Content Type
Profiles
Forums
Events
Everything posted by Steve M
-
Loaded with the coffee char, it took about 10 minutes to get to 375. I started to try and slow it down using the top vent at around 340. I thought it was going to hold but it has creeped up to 390. At half a turn open, it has stopped and reversed course. I'm going to leave it and see where it settles unless it goes below 350
-
Would you leave the bottom open at 2/3? Just filled the basket with coffee char and getting ready to fire her up.
-
Winner Winner, um fish dinner
-

The apple that hasn't fallen far from the tree
Steve M replied to quiet kiwi's topic in Forum Members
Beautiful grill and cool story. Been to Texas a few times myself but regretfully never did a BBQ tour. I look forward to your cooks, especially with fish. Living on the mid-Atlantic coast, we have lots of fresh seafood but nearly all of my grilling has been the usual beef, pork, and poultry. Welcome to the forum. -
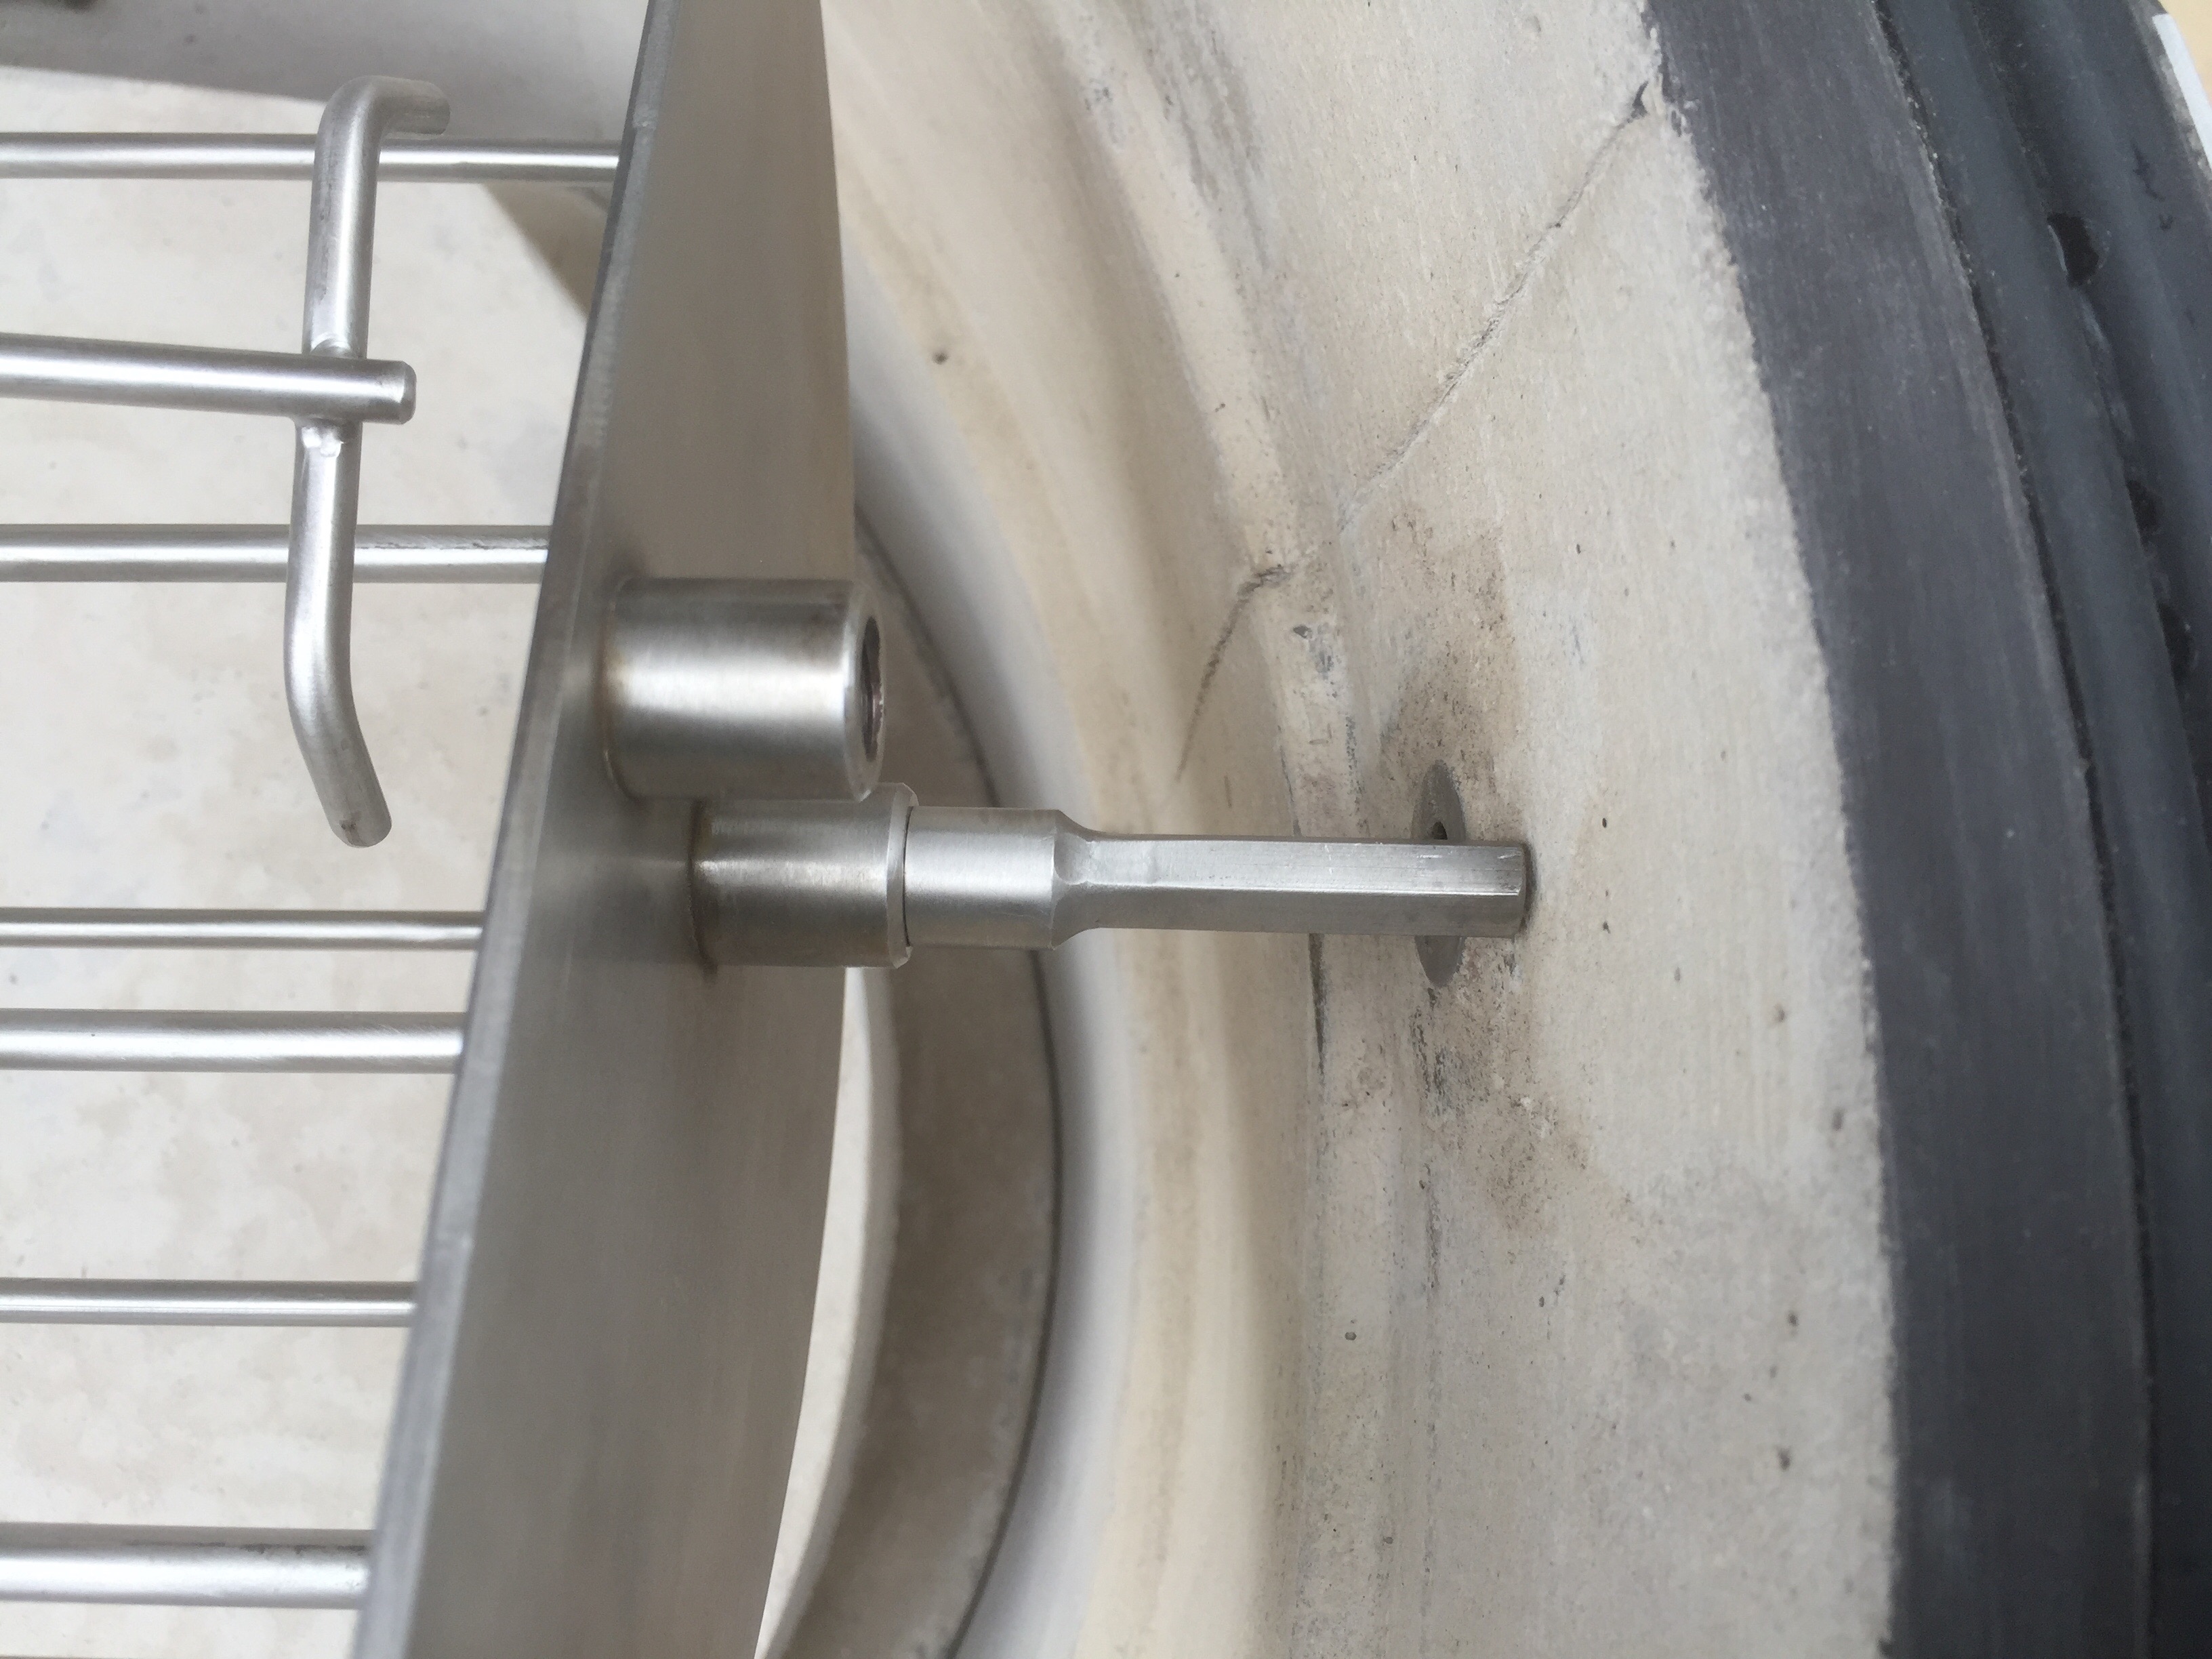
Yes Kevin, the ribs were fantastic and that is not to be overlooked. IMG_2746.MOV IMG_2745.MOV I included a couple of video clips to show some necessary modifications to the rotisserie so I can use it today. I had to shorten the shaft attachment on the right of the basket by about 1/16"+ and it fits perfectly now. A hacksaw went through it fairly quick and I used a file to take down any burs on the edge. I installed it and tried it out with the rotisserie motor and noticed the shaft between the motor and the grill was unwinding. The rotation of the motor tends to loosen the threads. I drilled it out with the smallest bit I had that would drill through stainless and put a paper clip in until I can get a cotter pin. It looks pretty sturdy now. The motor bracket's thickness is slightly thicker than the slots on the motor housing so the housing needs to be modified slightly. I used a woodworkers card scraper to pry it open just enough so it would slip onto the bracket. It worked very well and it did not damage my scraper. the scraper is basically a heavy duty piece of steel that is about 1-1.5 mm thick. We'll get through this with all the help here. I plan on doing a wagyu brisket in a couple weeks for a few people, probably overnight, so I hope I can get it figured out quick. I may practice a few low and slow cooks even if I don't have food on the grill.
-
Xraydoc, the kk seems to be perfect so I've ruled that out as an issue. That sort of leaves me as the problem. [emoji4] Thank goodness for the experts here. I'm not concerned
-
Mackenzie, as good as your cooks look, that's all I need to hear. I was thinking the drip pan would probably serve well enough as a deflector but wasn't sure.
-
It was even with the top rung when I started. I snugged the top vent down when I finished; not overly tight but it felt like it had engaged the gasket so I don't think it continued to burn until it was out of charcoal. Thanks for the settings. I'll go with that today.
-
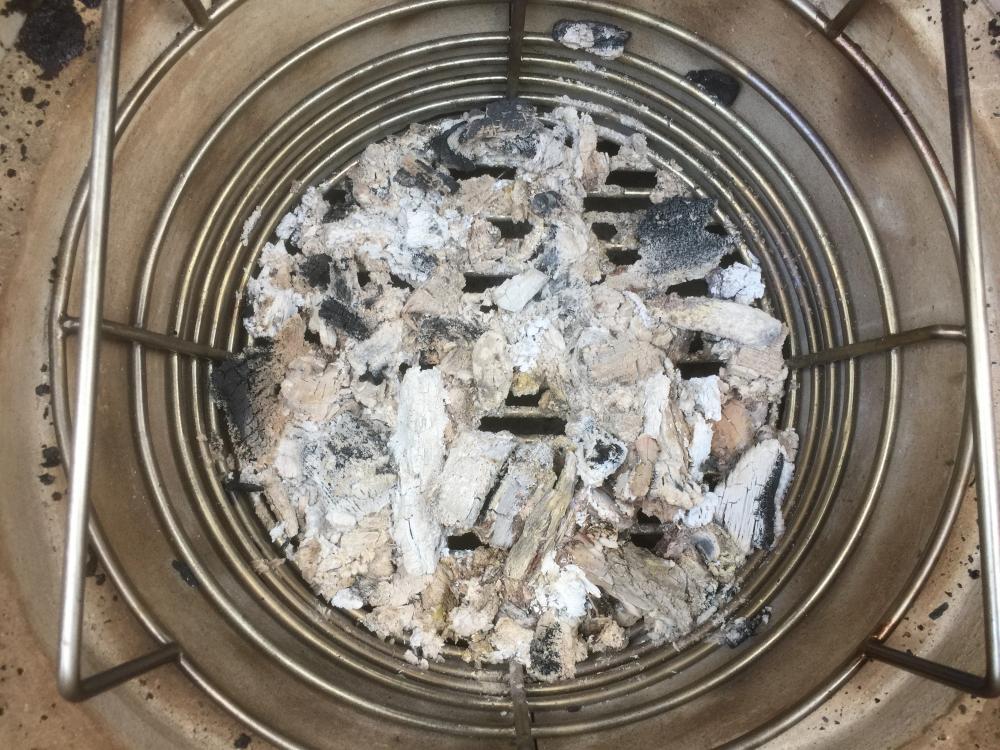
I took a look at the basket this morning and was somewhat surprised to see it had burned down so much. Probably explains somewhat why I couldn't get the temp up past 330 at the end. I plan on doing the chickens today and may try the coffee char. Should I load the basket again for a cook around 375? Light in more than one place? Thanks everyone for the help so far; you make it a lot easier
-
Looks really good Kevin. I love the bark. You were wise to take it up to 190+. I've done quite a few and wait until the temperature probe goes in easy which is usually around 195-200. I haven't done many briskets but have one coming up so I look forward to seeing your brisket cook.
-
I calibrated the thermometer on the day of delivery. Reads the same as my thermopen. It was new RO red bag from home depot. I had the deflector stone in and the drip pan sitting on top. I didn't check the coals before cranking it but I started with a full basket so it had been about 7.5 hours since starting. I'm not used to cooking with lump charcoal but I thought the pieces looked on the small size. do you think they settled in so close to prevent airflow? There was quite a bit of white smoke in the beginning. I threw some chunks of alder on when I started but only one was on the lit part of the coals. Thanks Aussie I was just shy of 2 hours when the ribs went on. The temp probably only stabilized for about half an hour though at the temp I wanted. The main problem was trying to reach 235. I'm wondering if the lumps were too small. I just poured them in and didn't try to arrange them or anything. I hope to do a couple of chickens today at 375 but at this point, I'm not sure I can reach it without changing something up. I'm going to check the grill out this morning since it is cooled down.
-
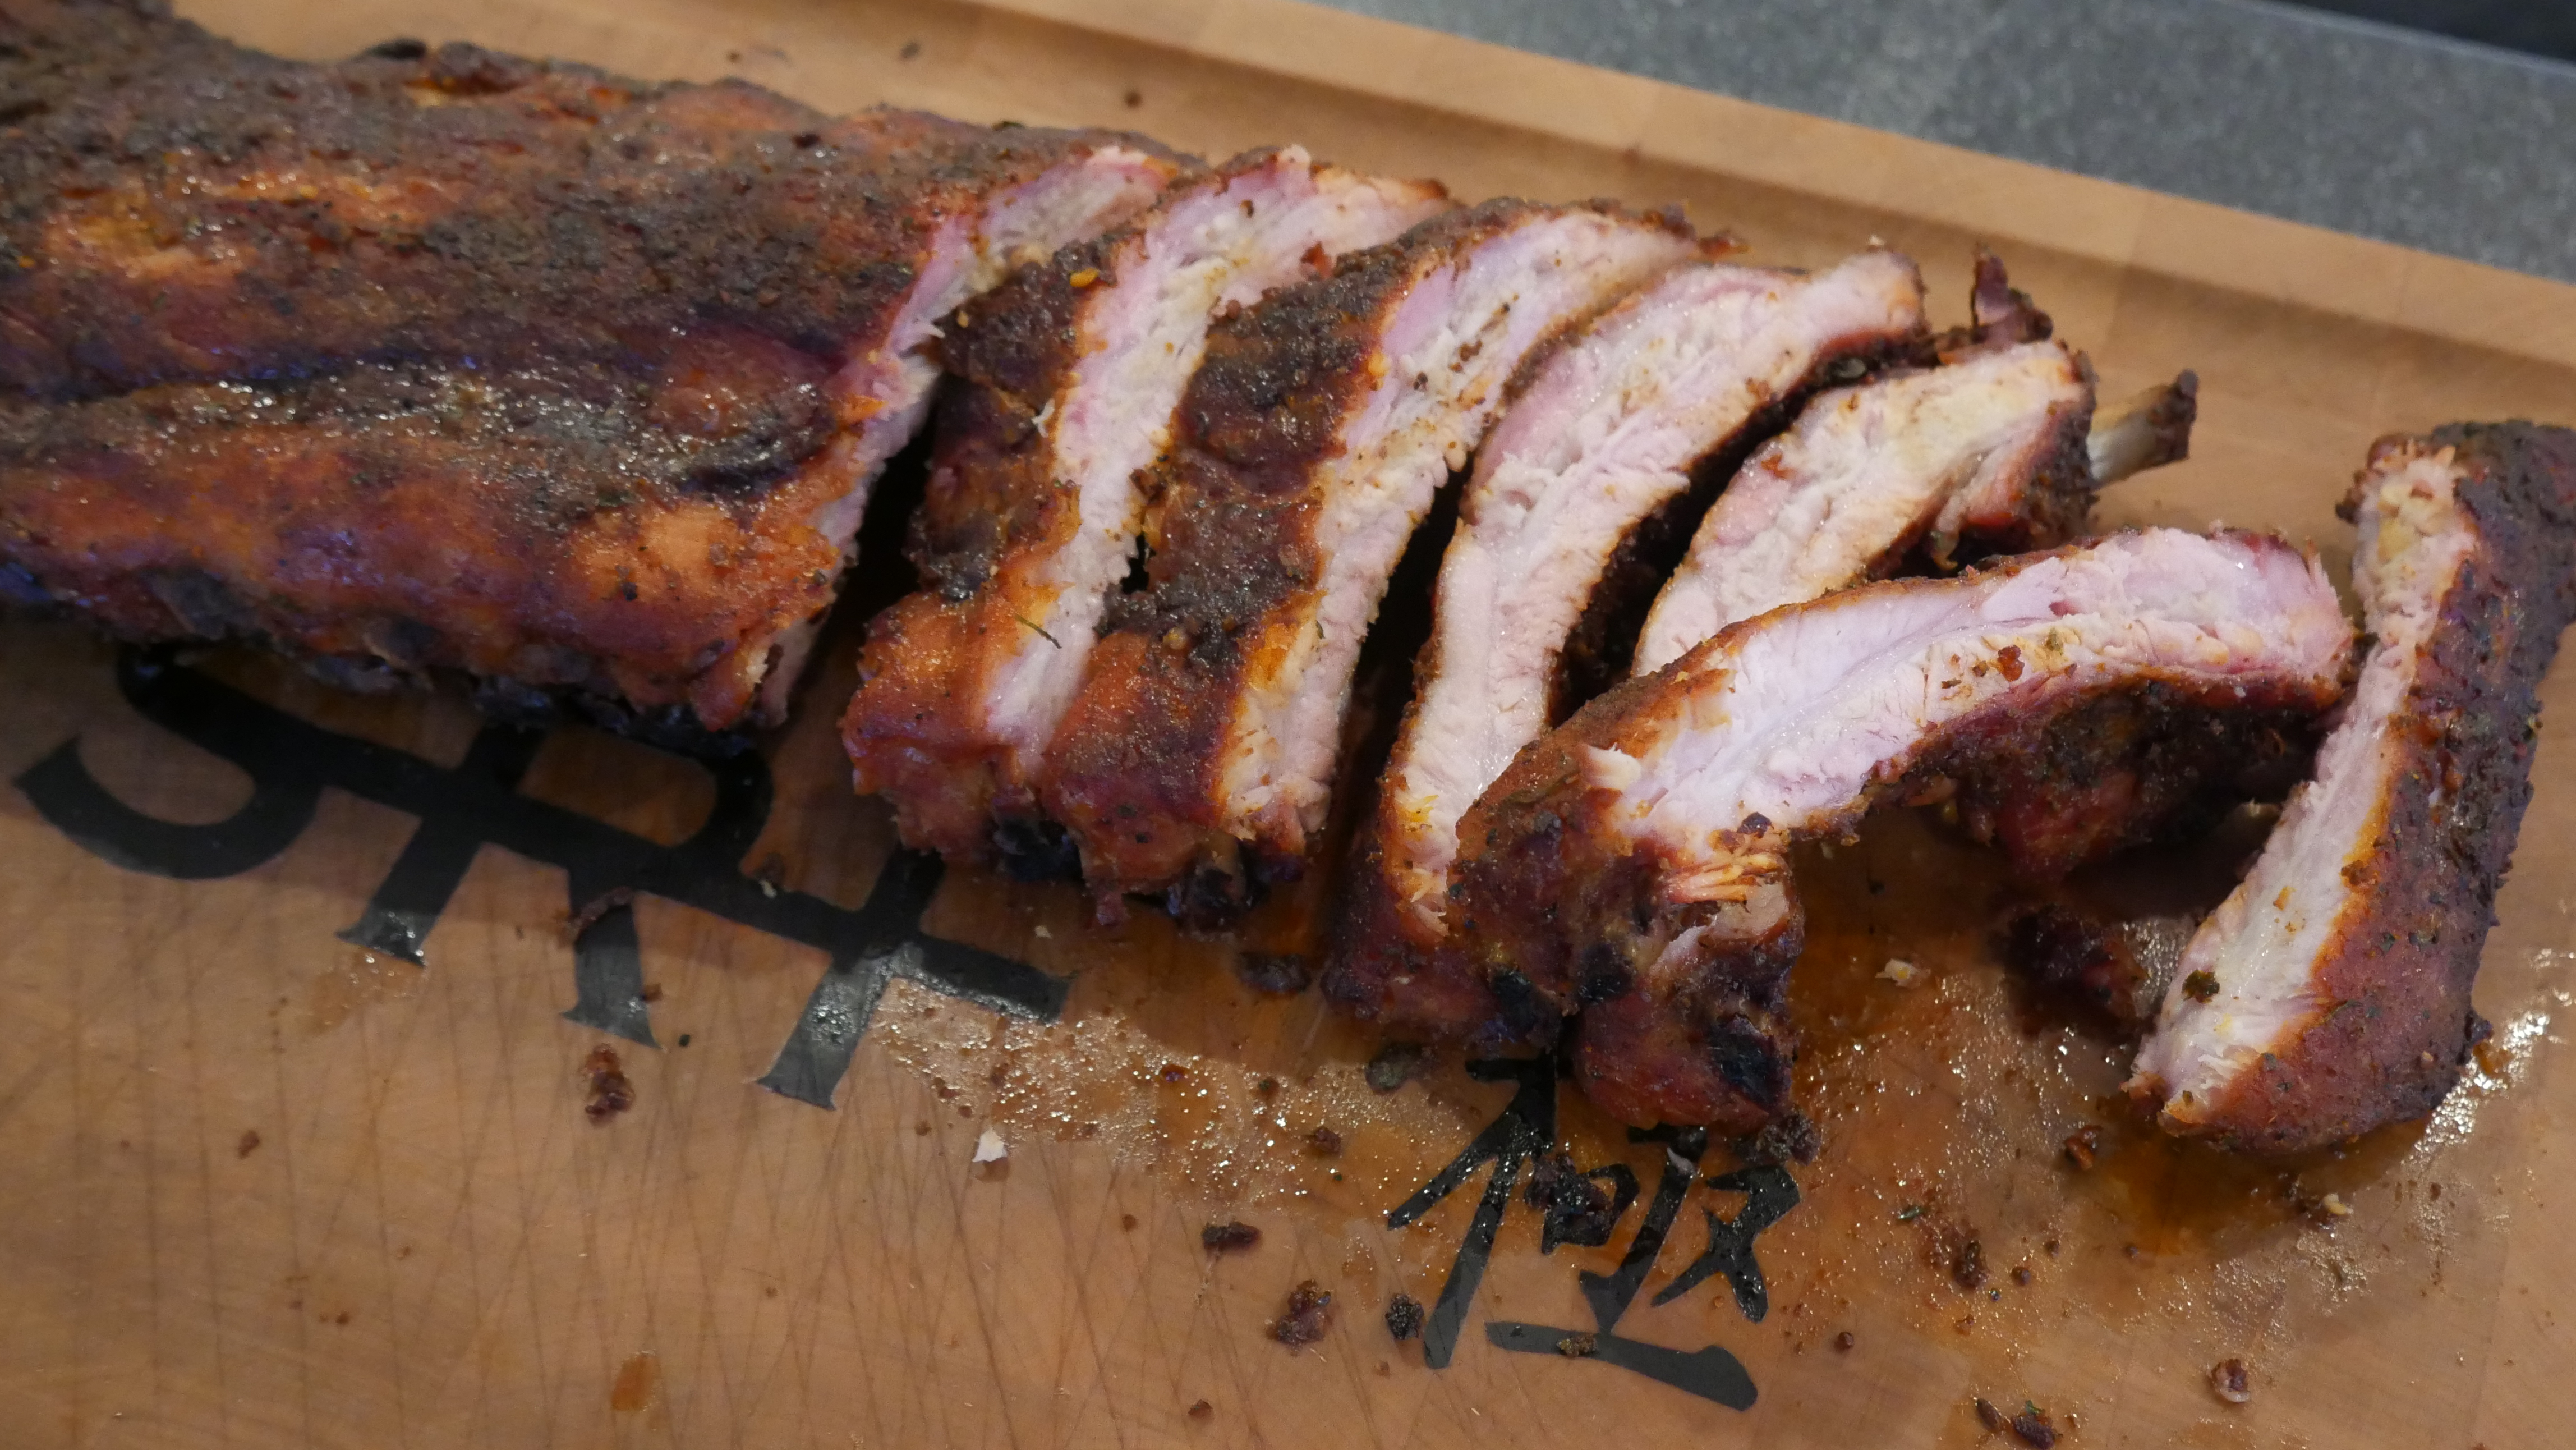
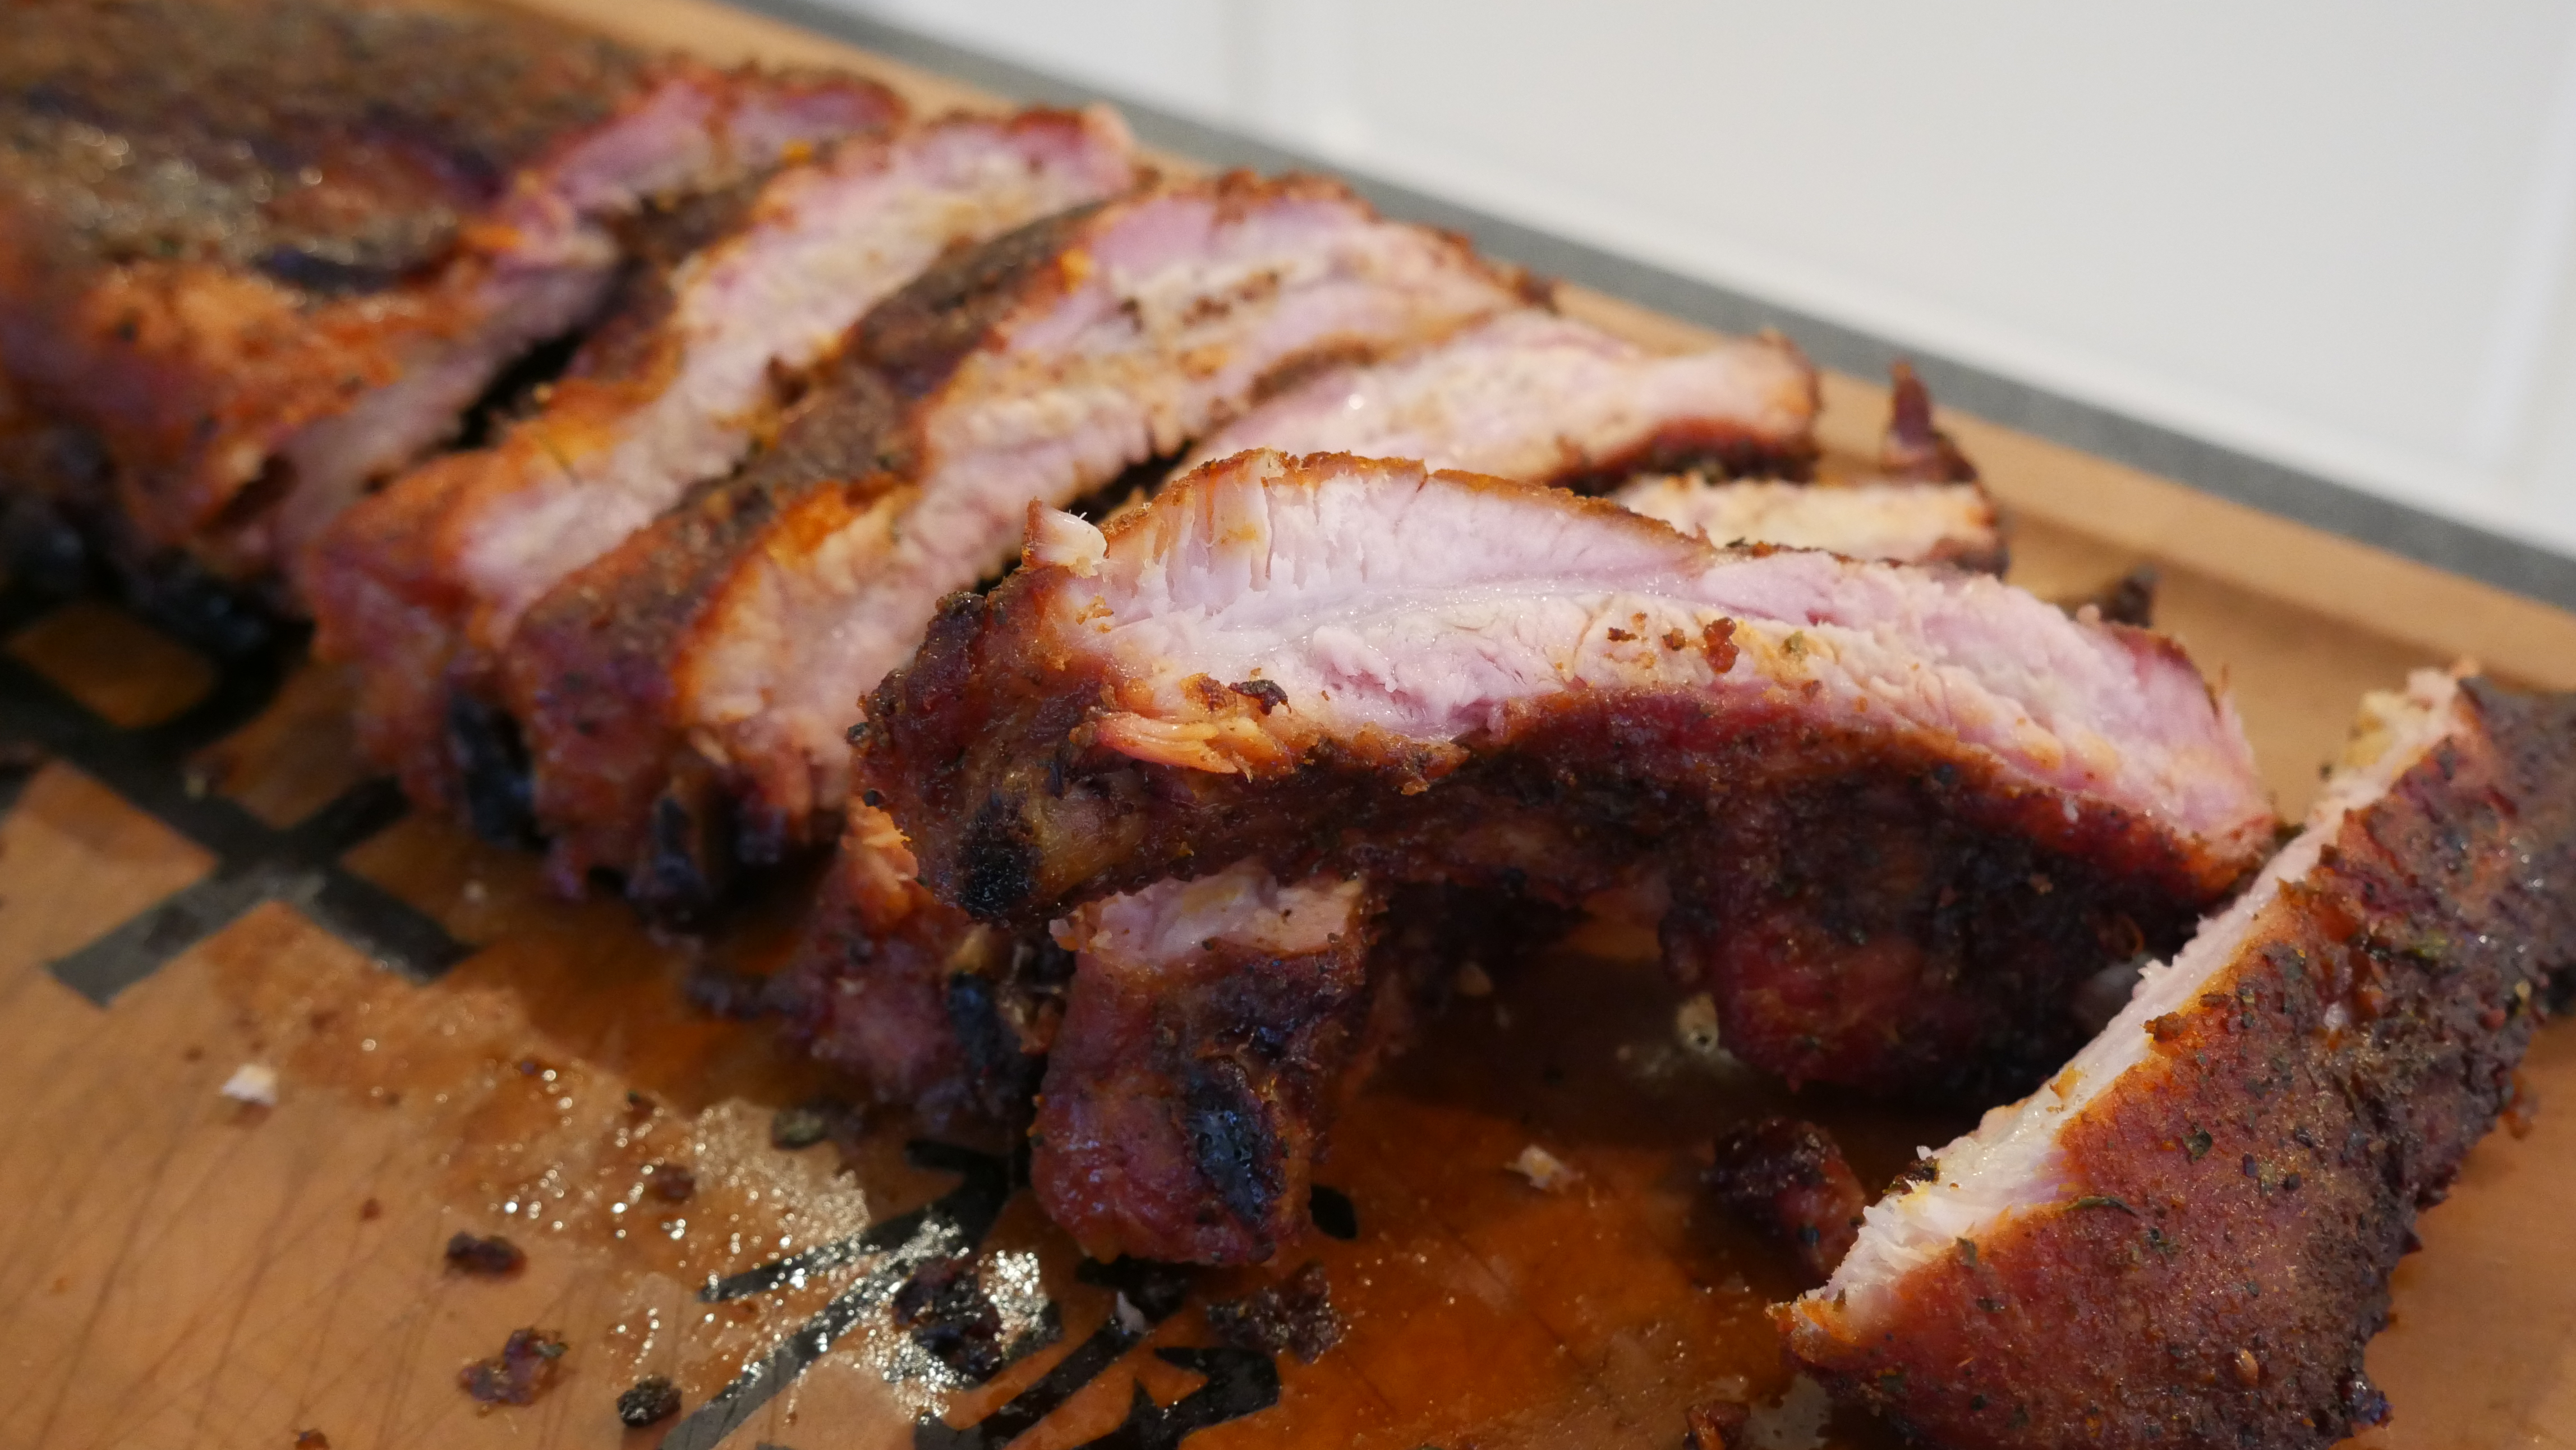
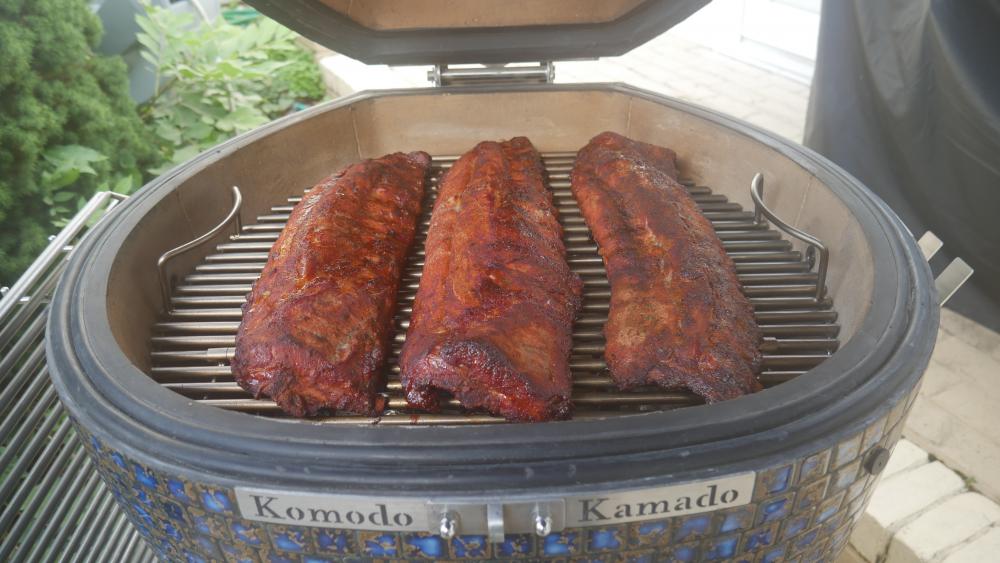
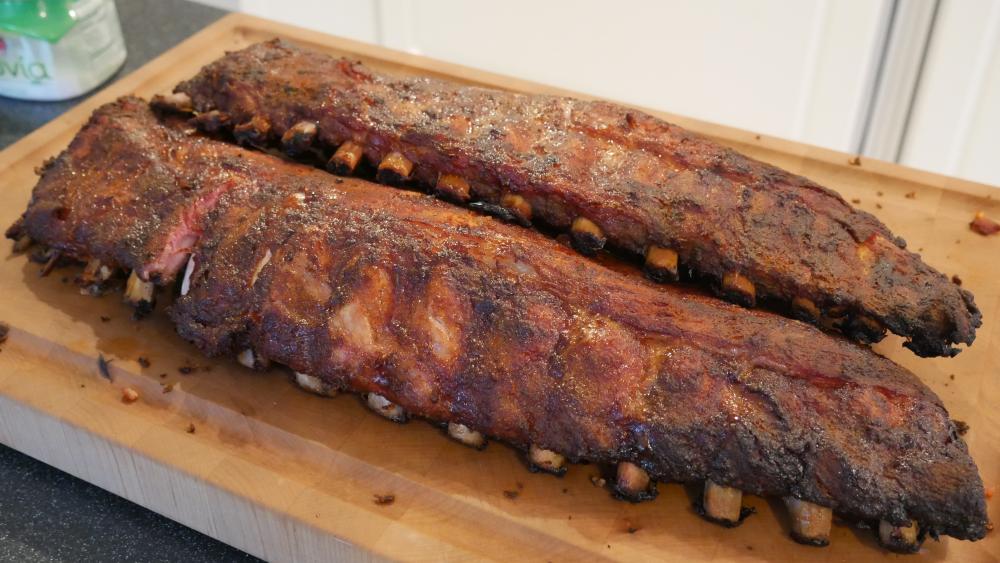
My initial plan today was the burn in but it looked like a rainy day and I didn't think it would be a good idea to vent it in the rain. So I headed to Costco and picked up some baby back ribs and a couple of chickens. Ribs today and chickens tomorrow. I had 3 racks and seasoned the first one with slap yo daddy all purpose rub and the other 2 with killer hogs "The BBQ rub". The first rack came off at 5 hours and the rest at 5.5 hours. On all my other grills, I would typically spritz them with apple juice/cider vinegar about every 30 minutes. Sometimes I would wrap for 1.5-2 hours as well. For these, I didn't open the lid until 4 hours to check for doneness which I did every 30 minutes afterwards until done. I was surprised to see they still looked very moist on the surface. On previous grills, they always looked dry. The finished product was really good. Nice and moist as I had hoped and really the best tasting ribs I can remember that I made (and that is quite a few racks). There was also something about the texture that was heads above what I have made before. They had a nice smoky taste but nothing overpowering at all. I think I preferred the slay yo daddy rubbed ribs over the others. Here are a some pics. I also have some questions regarding issues bringing the kk to temp. I know it is user issue but would like to know where I went wrong. Please see below after the pics. The above pic as after 4 hours. Looking good. I planned on cooking the ribs at 235-240 as I usually do on my other grills. I loaded a full basket with royal oak and lit it in 3 places. I had the lower damper cracked about 3-4 mm at the widest and the upper vent 1/2 turn. After about 30 minutes, I was only up to about 160. I opened the lower damper about double what it had been and another full turn on the top. After about another 30 minutes, I was up to about 210. I opened the top another half turn and finally after about 1:45 from the beginning, I hit 235. I closed the top down to about half a turn open and it seemed to be staying. About half an hour later, I loaded the ribs and the temp dropped back to 210 again and stayed there. I started going through the process again and got it up to 240 where it seemed like it wanted to stay for about 2 hours. Then it jumped about 15 degrees around 4 hours into the cook. I wasn't too concerned and at this point, I was pretty much back to the settings where I started. It continued to rise a little and was about 270 when I took the last two racks off. I wanted to take a practice run after I finished to take it up to about 375. I opened the bottom vent fully open and opened the top vent as far as it would go; slightly less than 6 turns. I left it that way for about 45 minutes but 330 was as high as it would go. What say you?


-
I haven't tried the splitter yet. Wasn't exactly sure how it all fit together. I'll let him know about the rotisserie shaft. Looks like a trend.
-
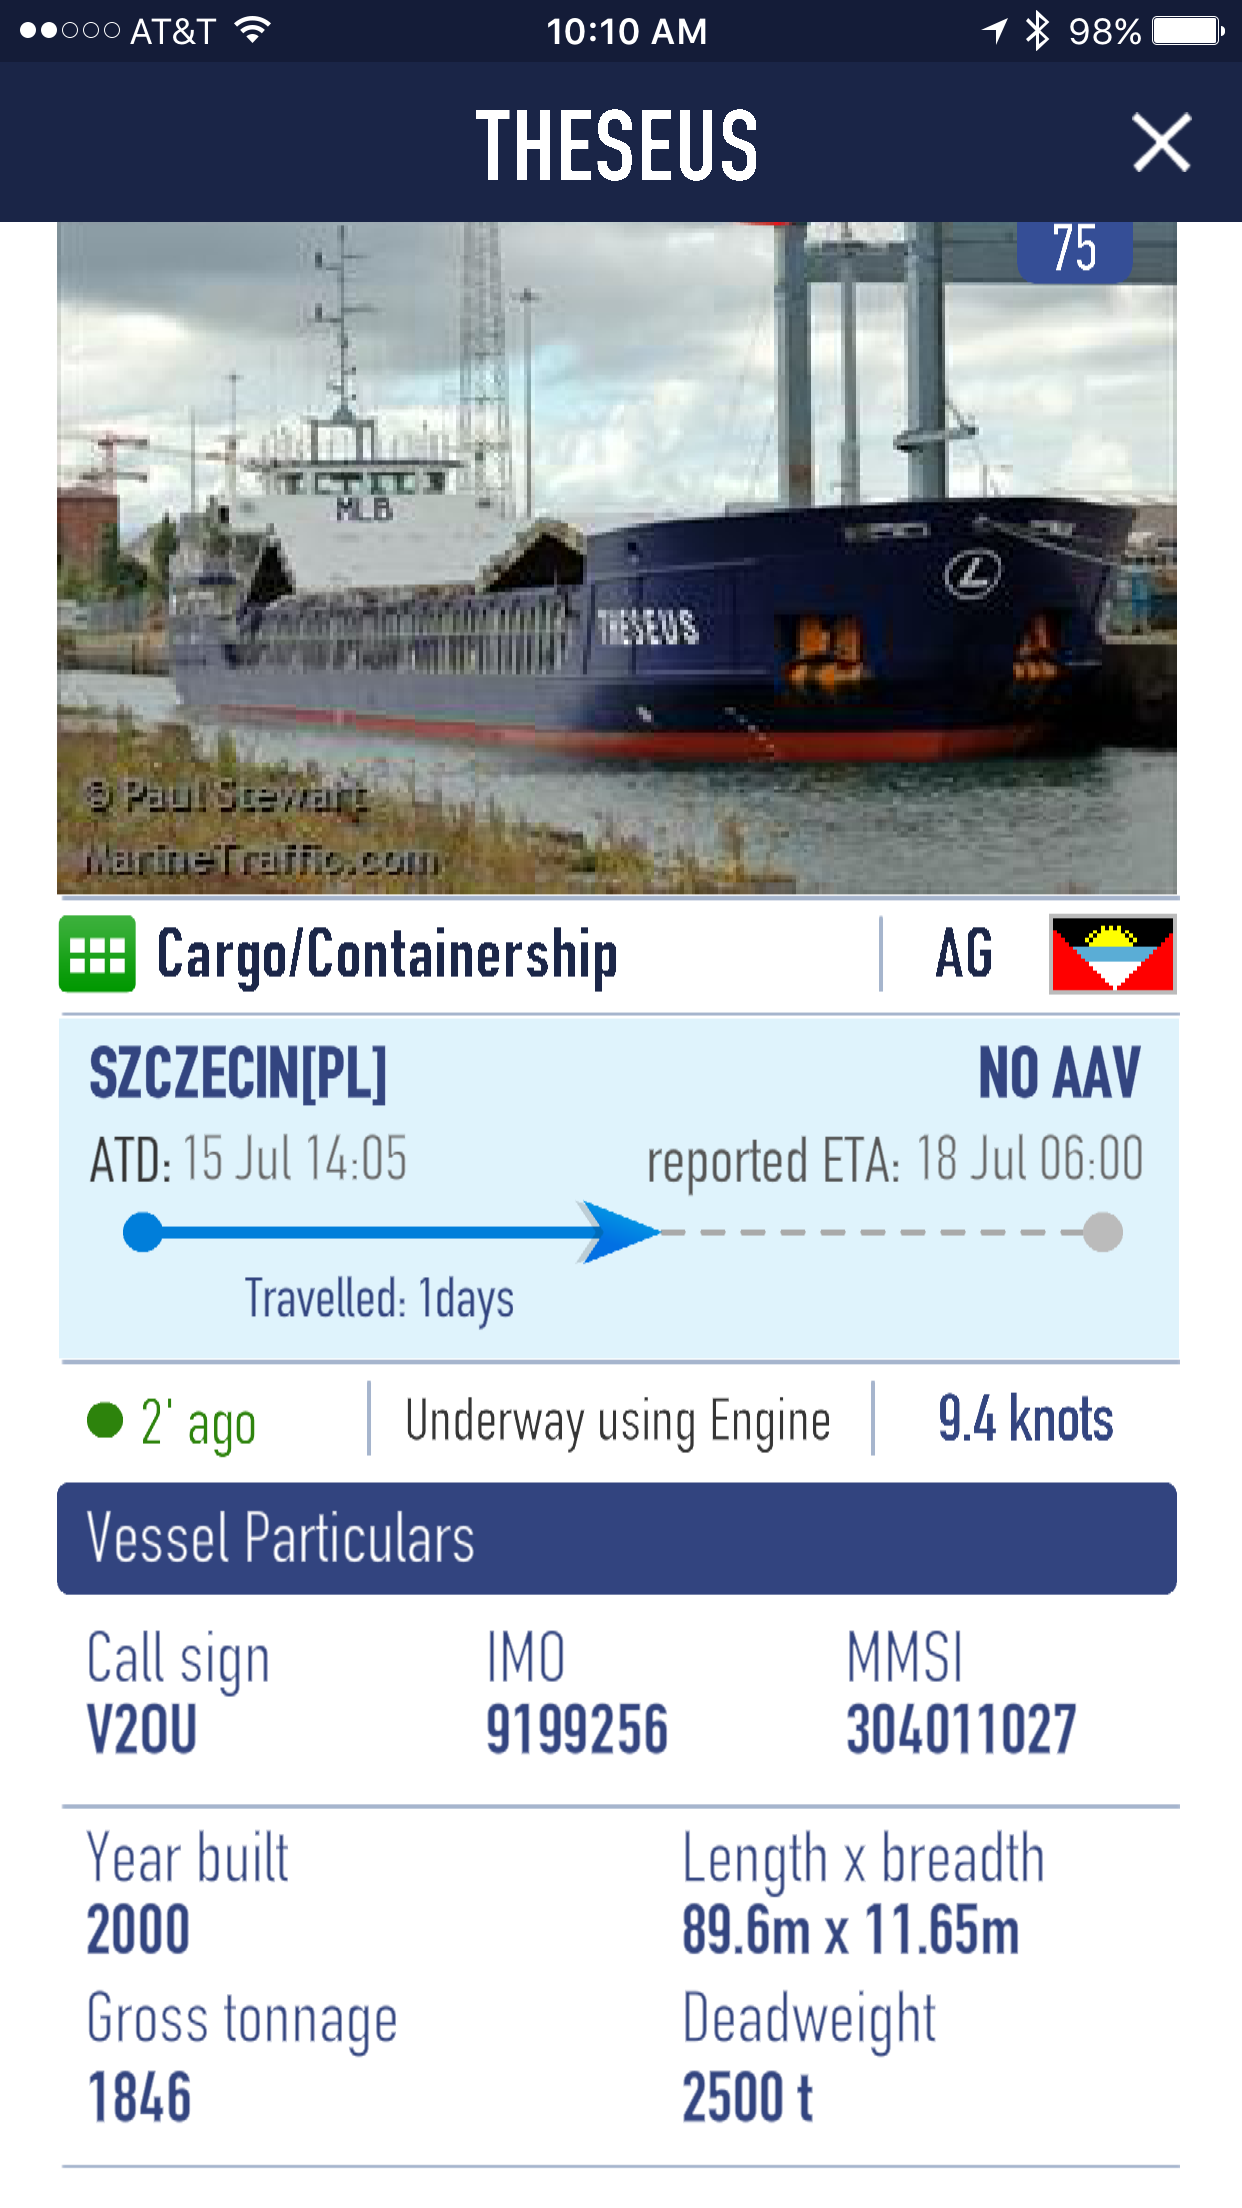
9.4 knots? Geez louise, can't this tub go any faster?

-
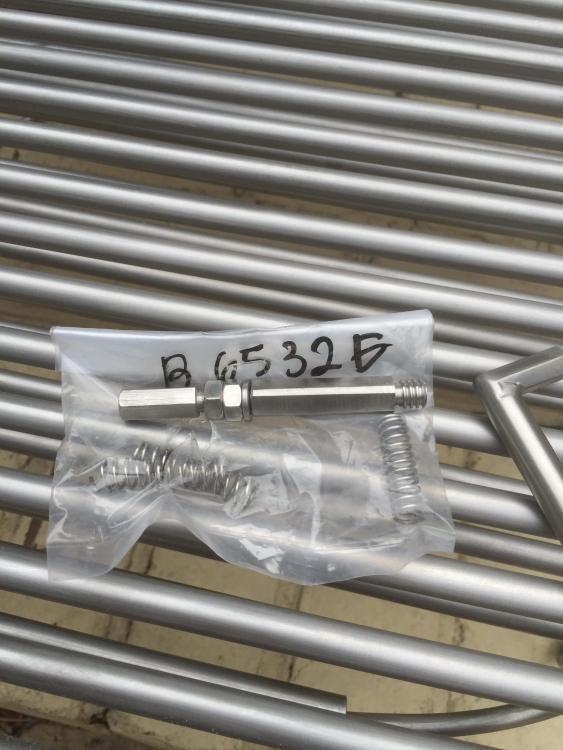
Also, in the bag with the shaft that goes into the motor, there are several springs. Are these extra?
-
I thought of that but figured I have to be overlooking something. The good news is the motor I ordered from one grill seems to be winding in the correct rotation. I spoke to them before ordering and they said they no longer make them especially for the kk but thought it would already work.
-
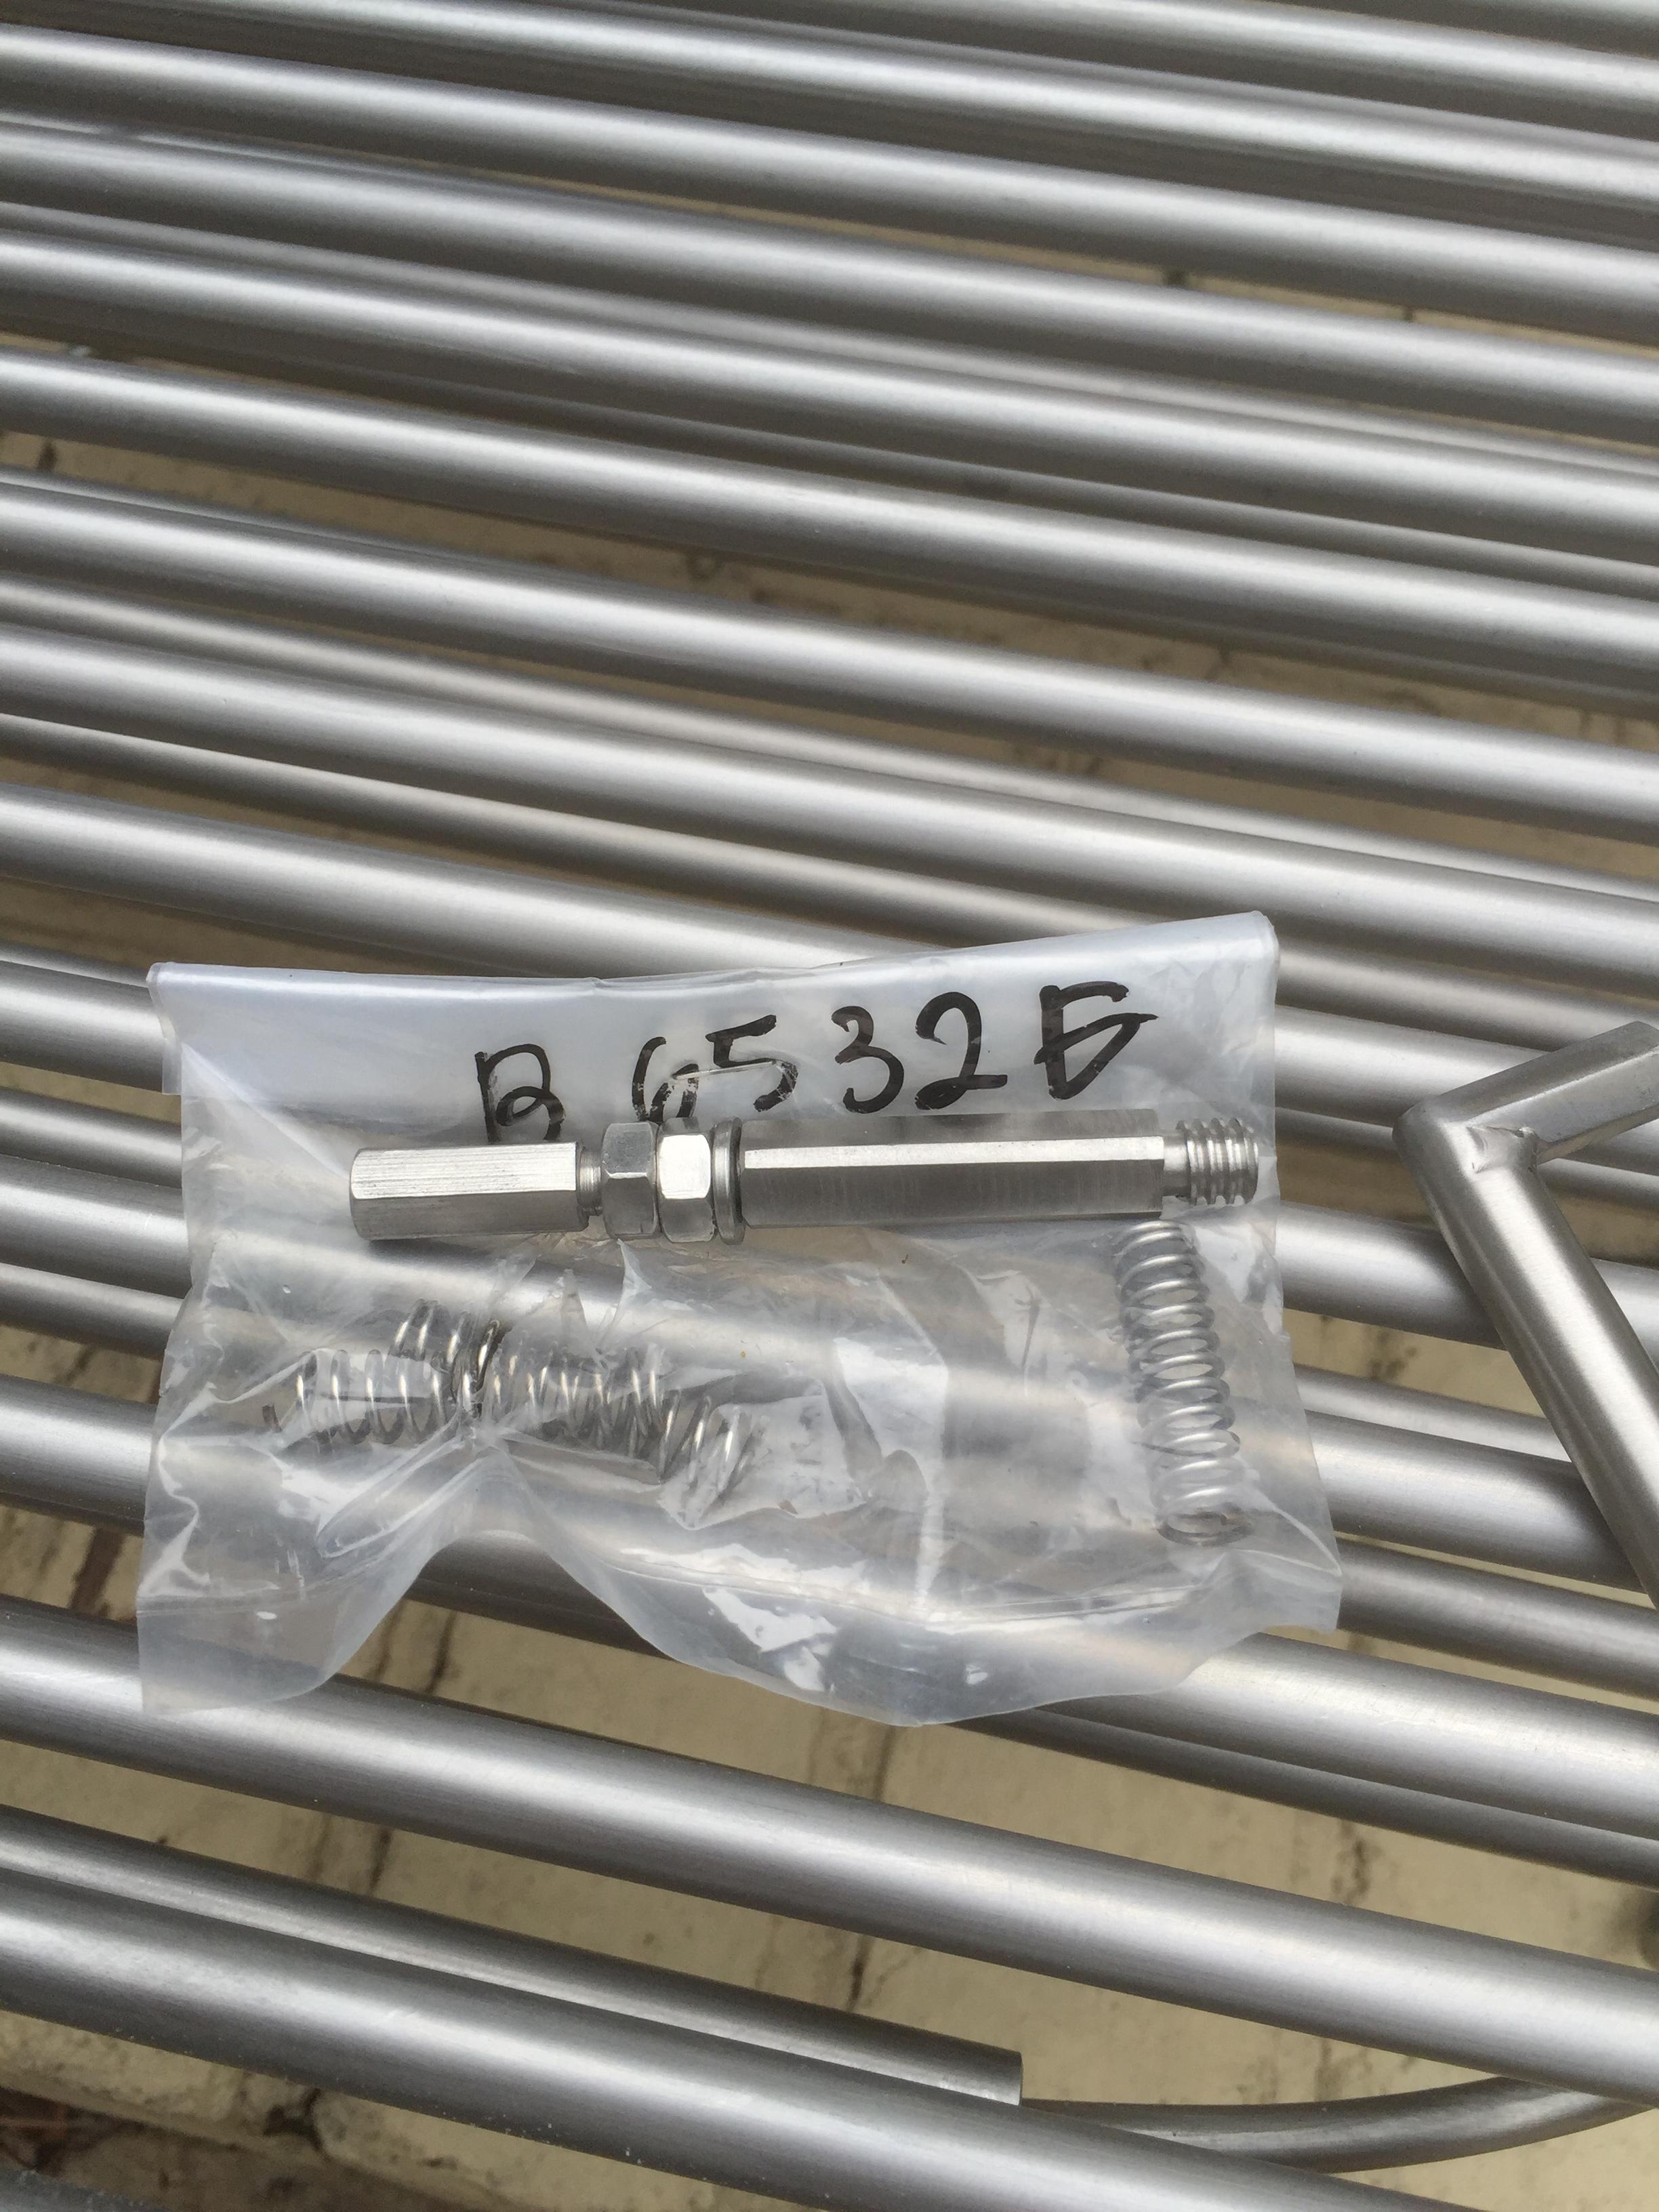
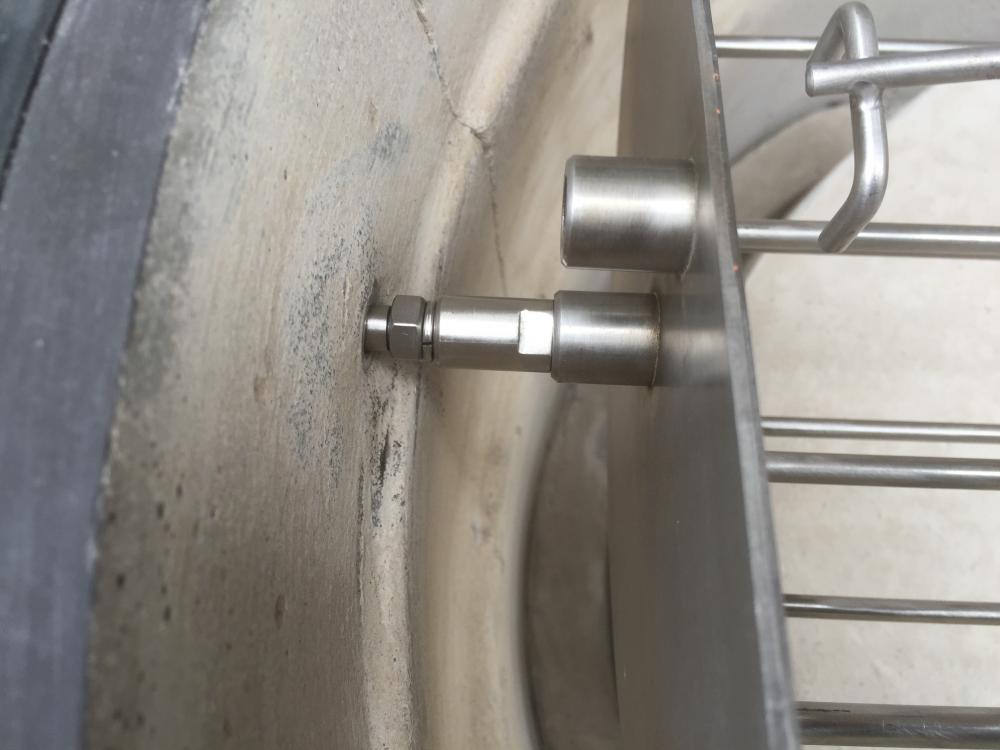
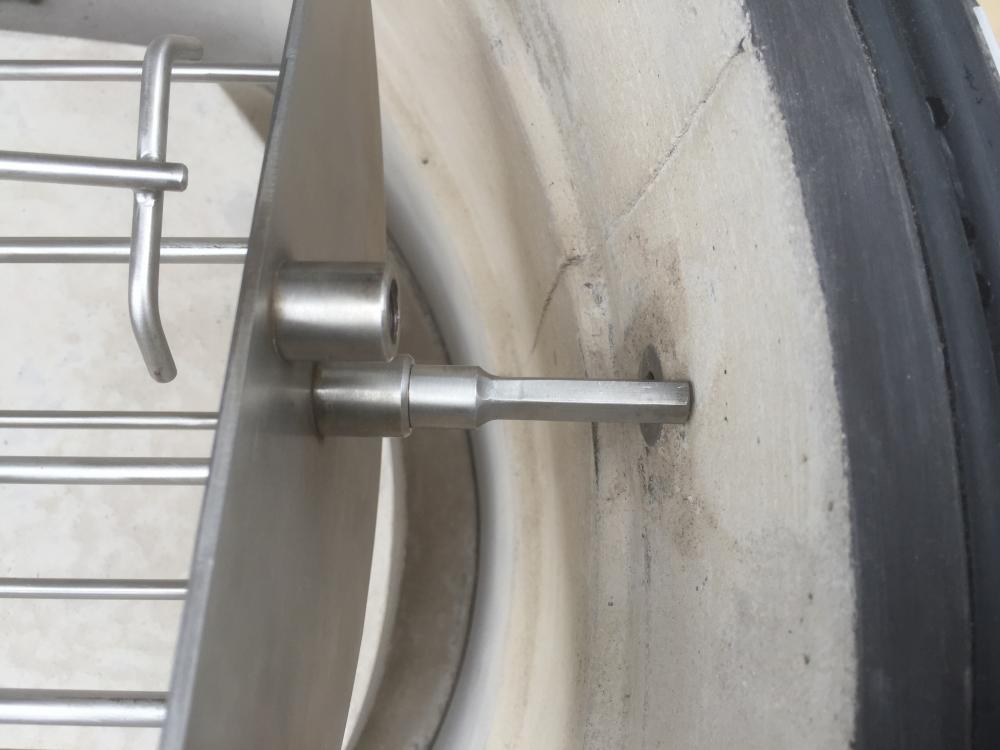
Question regarding the rotisserie: I screwed hardware into the sides of the basket and everything is tightened up snug. I am still at least 1/16" too long. Take a look at the attached pics to verify everything looks right The left side is pushed as far as possible into the spring assembly. I loosened the nut to make sure the end went as far as possible into the threaded insert and retightened.
-
In many ways, it is what I expected. I have read nearly every thread of the forum, watched the youtube videos, pored over the store website, and consumed just about everything kk I could read. So my expectations were high and they were met without a doubt. But there is a certain something that you get when up close to one that the pictures don't do justice. The quality of the stainless, the craftsmanship of the tiles and all the hardware, the feel of releasing the latch and smoothness of the lift. Those things exceeded my high expectations. And I haven't even cooked on it yet.
-
Fantastic meal and pics
-
Huli huli chicken, sous vide potato salad, and grilled wedge salad.
Steve M replied to Shuley's topic in KK Cooking
Wow, that all looks amazing. Never had the huli huli chicken before but now I want to try it. -
Looks really good Mackenzie. Liked the critters too.
-
Thanks guys!
-
Thanks, that is great to hear not only how much you are enjoying it, but how it compares to your previous cookers. I was intrigued from the get go and reading through the forum I was blown away by how much everyone loved their kk's.
-
Plenty of room; love to have you but it might cost you some cooking lessons
-
I'm way ahead of ya