Search the Community
Showing results for tags 'Pizza'.
-
I have a 23” kk. Just finished the curing process and want to make a pizza for my first cook. I have a pizza stone (which looks exactly like the heat deflector). Do I need to use the heat deflector when cooking the pie?
- 10 replies
-
- heat deflector
- pizza
-
(and 1 more)
Tagged with:
-
Thanks to Dennis and to all of you for your active postings that greatly helped me to move forward with what will be a great cooker for my family for generations! More to come as I get acclimated and when I get experience with the unit! I'll surely support the forum and try suggestions from you all and share my adventures! Dennis we had a thought that I'm not sure we finished on the stoker topic.... so anyone that feels like sharing their stoker experiences please reply or contact me :) Cheers Rob
-
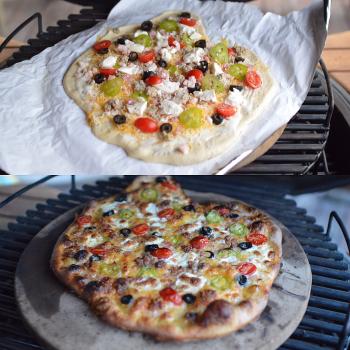
You know , not too bad , I ain't too disappointed , Got the SBB up to 500 and banged a few on , different toppings and all came out extremely acceptable, Nice crispy base off the Pizza stones . Game on loving the KK. will have another go soon, Looking forward to experimenting with these vents and the dough try get a thinner crispier one next time.
-
This is right up kamado users alley...Rotisserie and fire baked pizza!!!
-
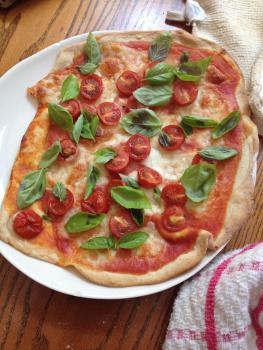
First kick at the KK with my favorite, traditional Diavola Napoletana pizza. I fell in love with it after visiting Di Matteo Pizzeria a couple of years ago in Naples... Basic, San Marzano tomatoes, Mozzarella di Buffala, Genoa picante, basil and olive oil... Bellissima!! I used a pizza stone heat soaked at 550.
- 16 replies
-
- 7
-

-
- pizza
- napoletana
-
(and 1 more)
Tagged with:
-
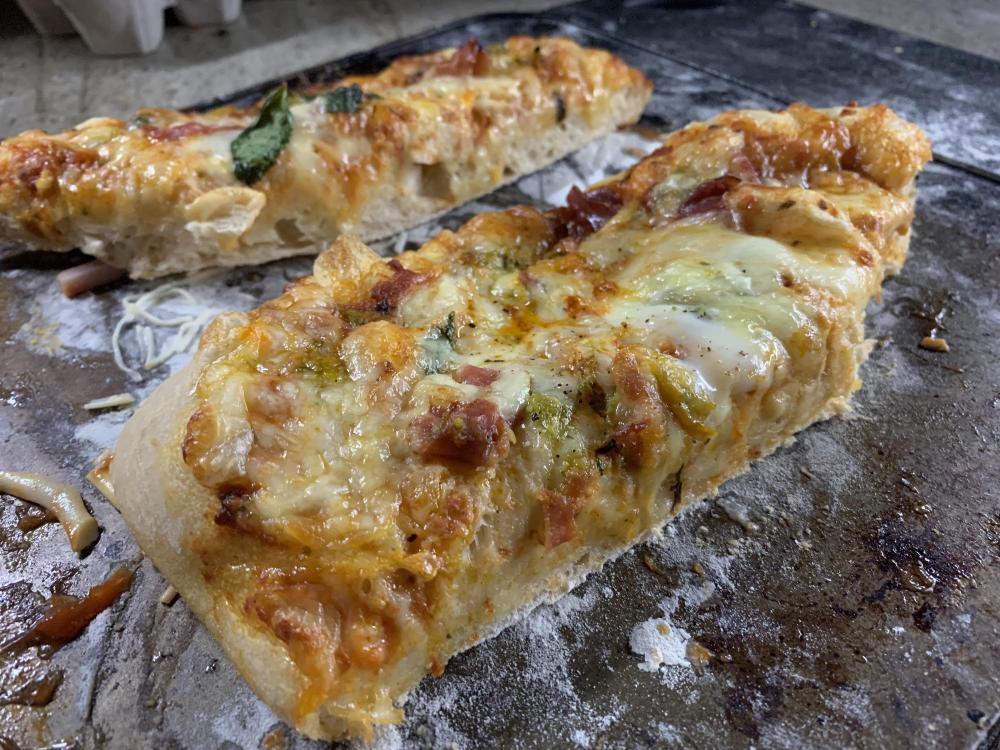
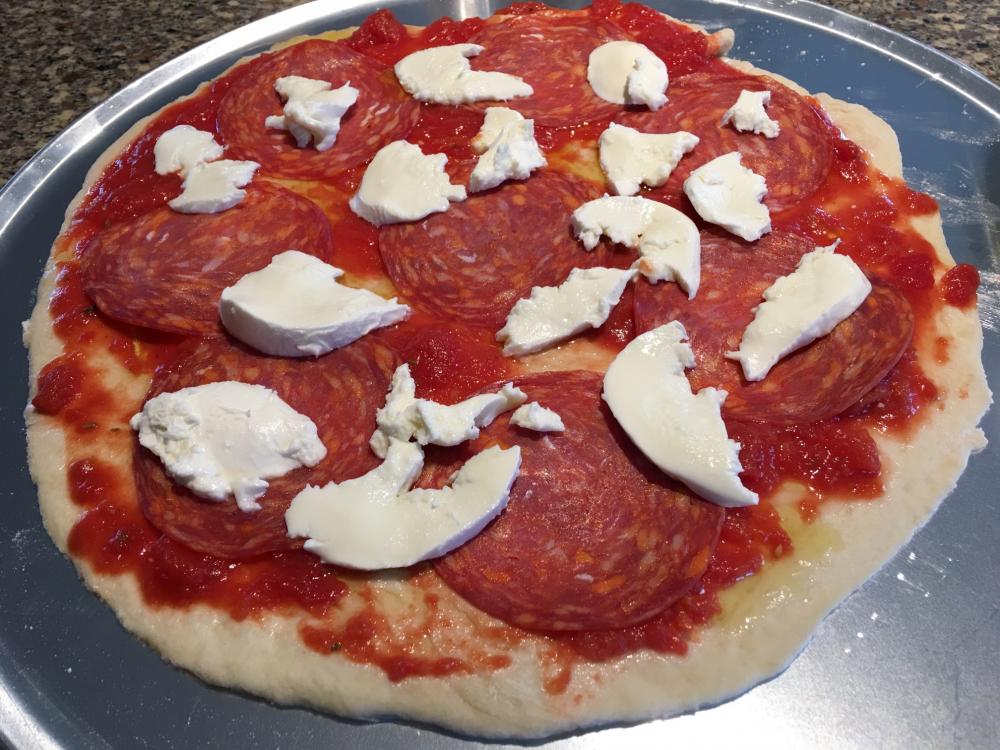
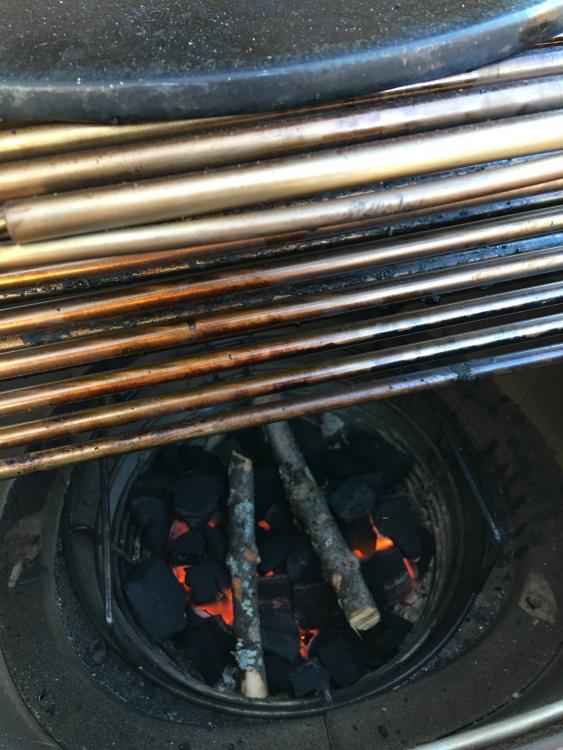
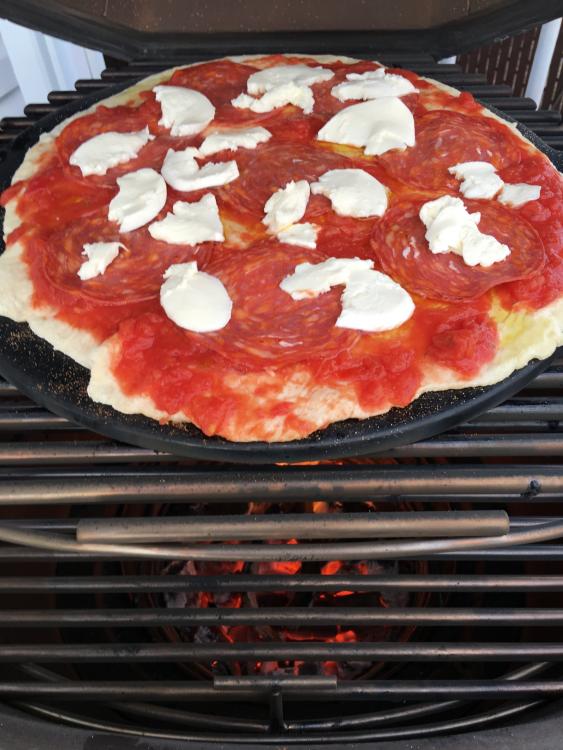
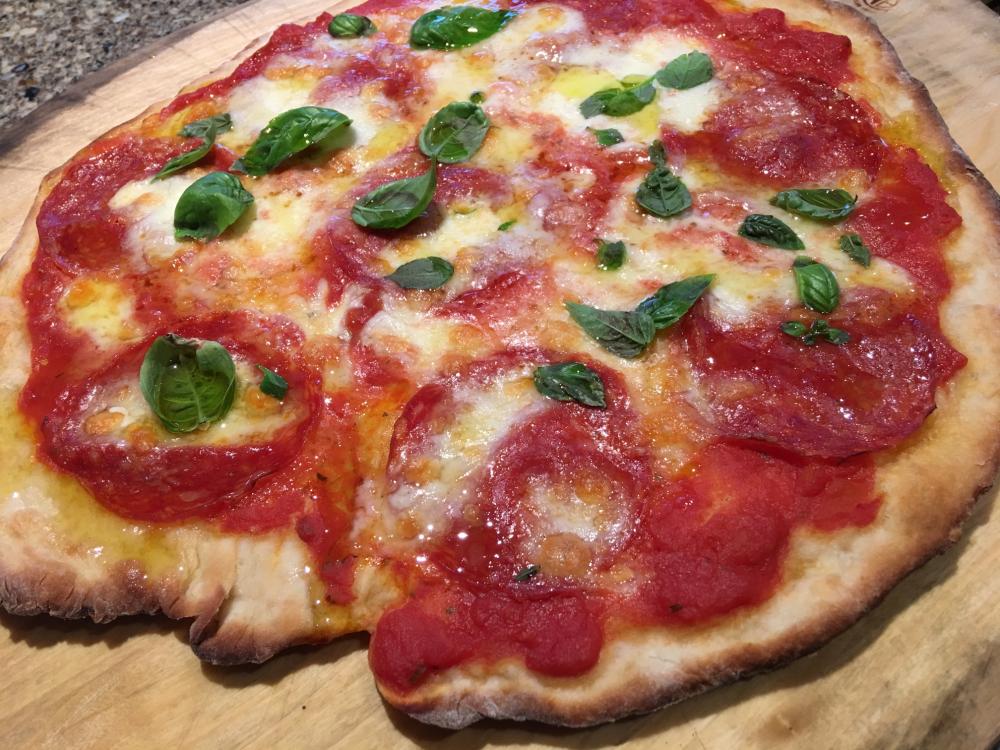
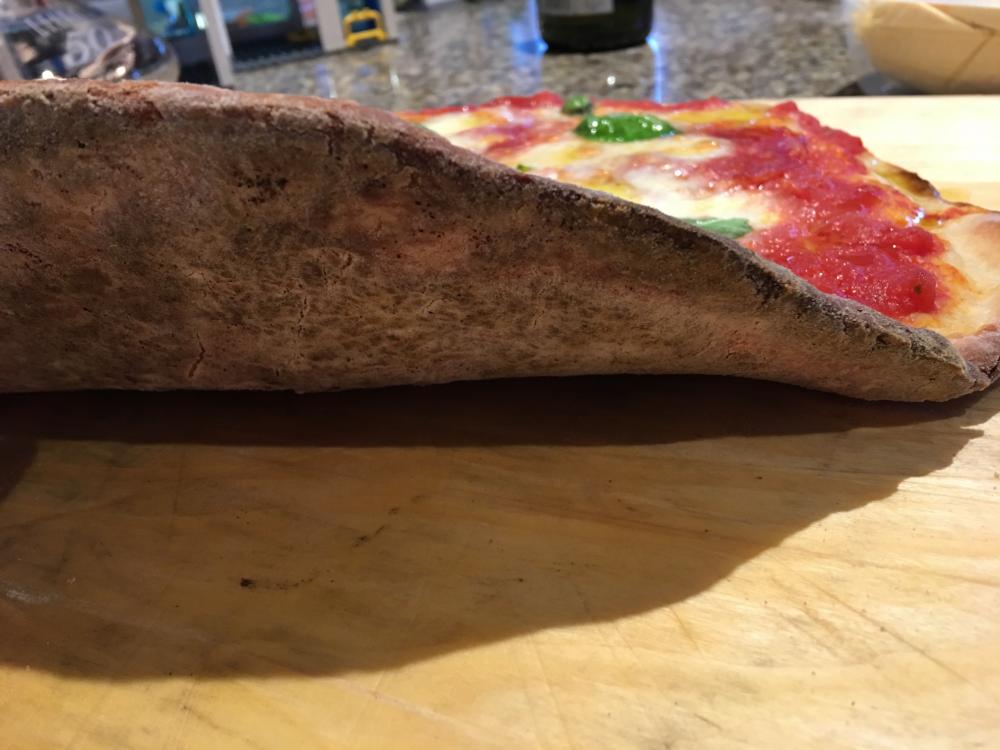
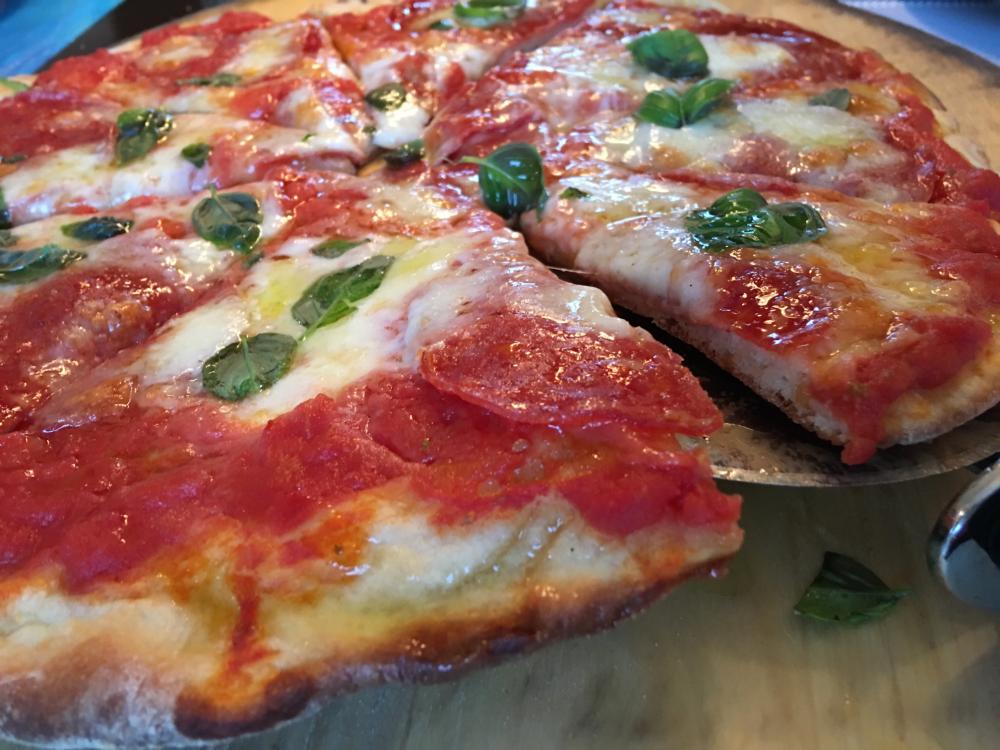
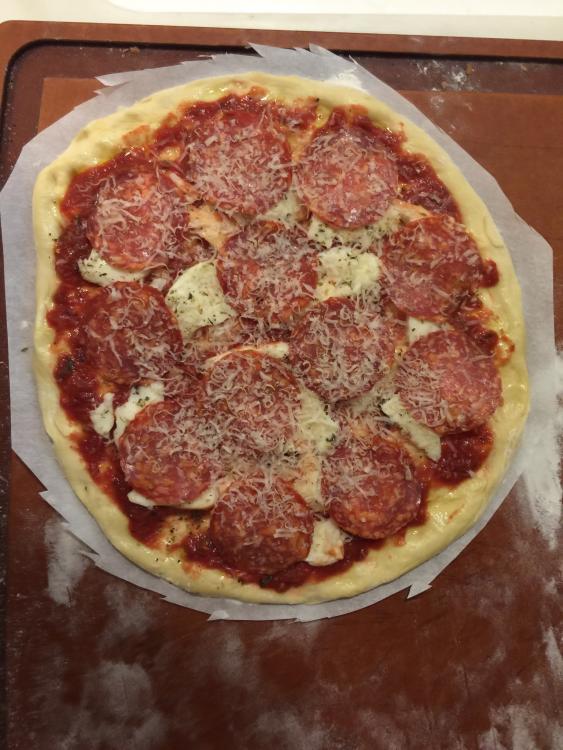
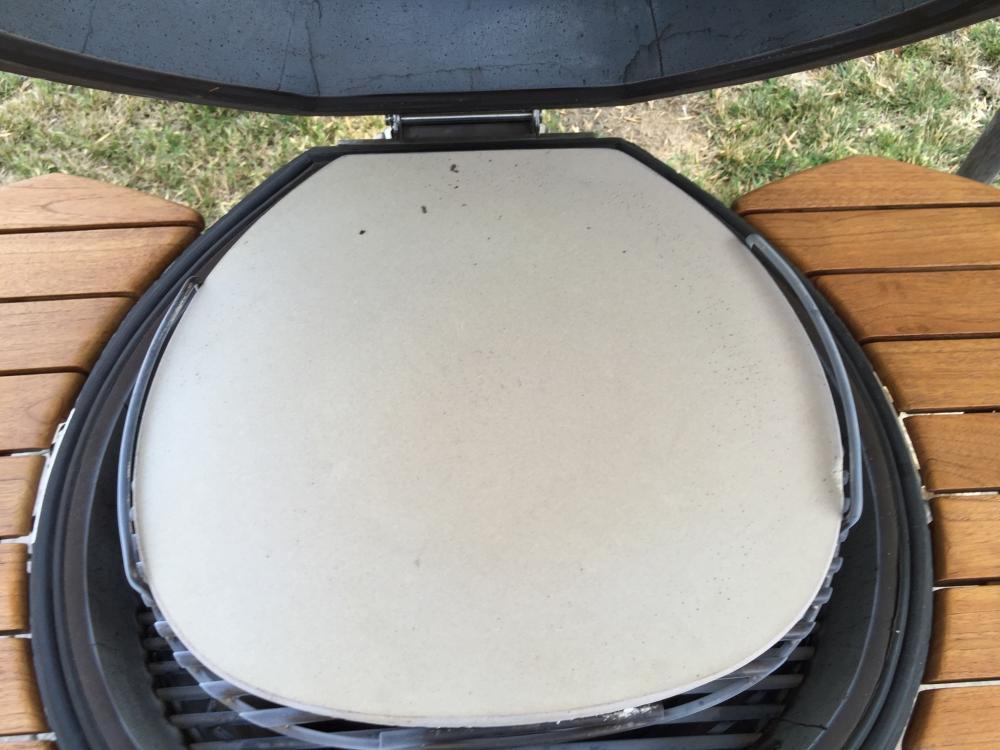
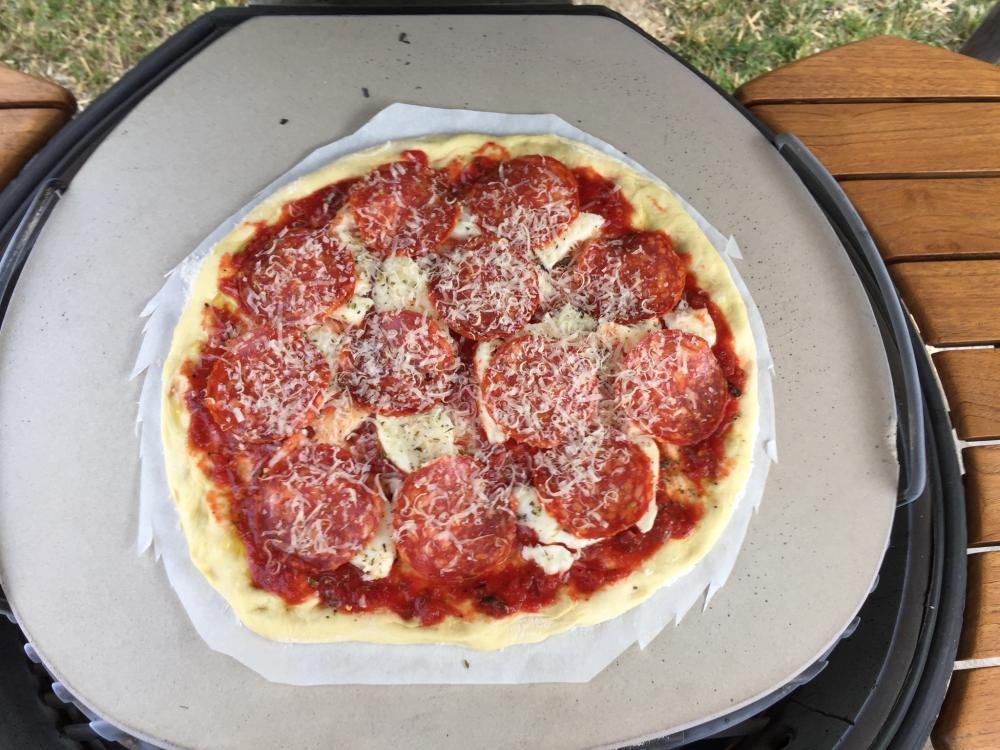
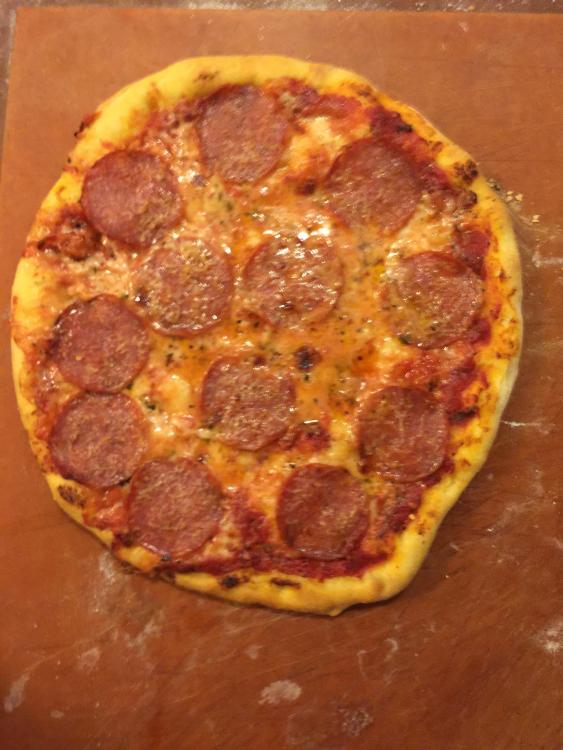
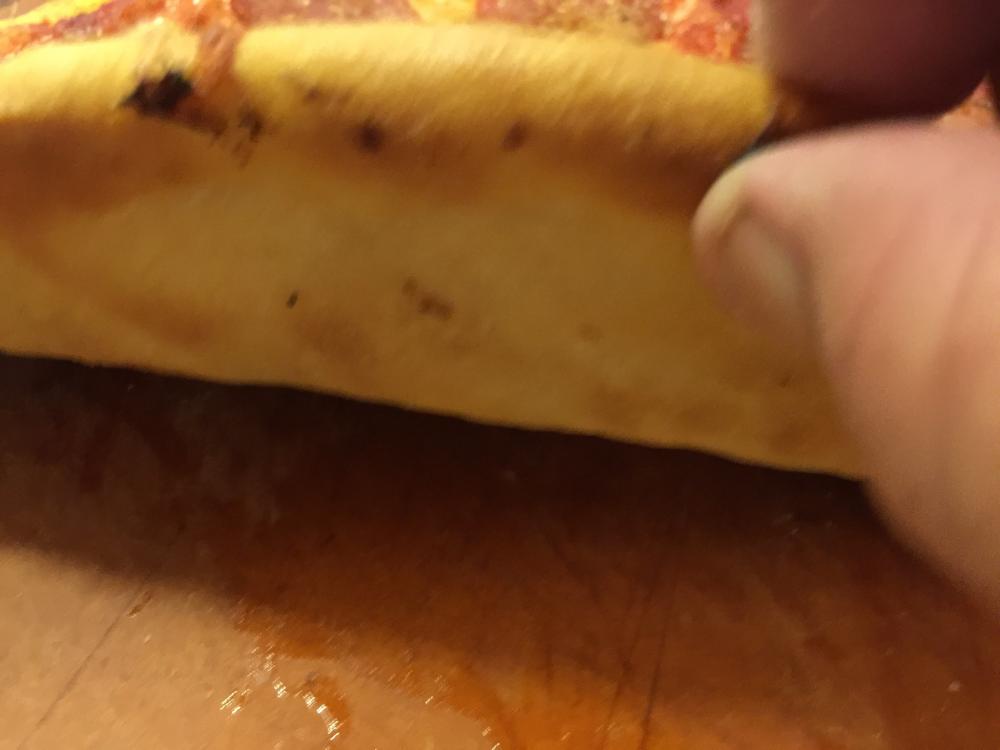
The following are pictures from Saturday which was my first cook of pizza on Pele. The next post will have my second cook from today, Sunday... The first cook was was just OK and I'm sure it was the way I started the fire and the fact that the fuel/fire was on the decline by the time I put the pizza on. I used fresh mozzarella on the first pizza cook and I found it made the top of the pizza just a bit too moist when combined with the grease rendered from the pepperoni. Lastly you will see no side shot of the cut pizza slices because I got too close to the edges and that prevented a nice crunchy puffed up crust on the outside rim. The taste was fine but from an overall perspective the pizza could've been better...Though what else are first attempts for, if not for learning?
-
After lurking in this forum for too long, trying to figure out how to best make this elusive pizza I present this recipe straight from my favourite flour mill, Anson Mills. here . I have amended this to what I do and use with tips etc. on the bottom. Original recipe here. All the pictures are there. Its the flour , it really is. Makes all the difference. 12 ounces (just over 2 cups) Anson Mills 00 Pizza Maker’s Flour, plus additional for shaping the dough 1 generous teaspoon fine sea salt or kosher ½ teaspoon instant yeast 10.3 ounces (about 1⅓ cups), cool spring or filtered water for the sauce: 1 teaspoon minced garlic 4 teaspoons good-quality olive oil 1½ cups and good Organic Strained Tomatoes or other pure strained tomato product. I use my home canned 'maters. Red pepper flakes Fine sea salt and freshly ground black pepper for the topping: Extra-virgin olive oil 1 (5-ounce) ball fresh buffalo mozzarella, cut or just tear it off. If you know where to get the Buffala, great, if not any fresh handmade will do, or you could try to make youself, its easy fun and for another post lol. 15 fresh basil leaves 1. Make the dough: Place the flour, salt, and yeast in a large mixing bowl and whisk well to combine. Make a well in the flour and pour the water into the well. Stir with a wooden spoon until the ingredients come together to form a wet dough, about 1 minute. When the dough has come together, begin kneading it by hand, using pulling and pushing motions to lift the dough up from the bowl and snap it back down (fig. 1.1). Continue kneading the dough in this fashion until it is smooth and elastic, 2 to 3 minutes. Scrape down the bowl and cover it with plastic wrap. Refrigerate overnight. 2. Proof the dough: Remove the dough from the refrigerator and let the bowl stand at room temperature until the dough loses its sluggish appearance and becomes lively and bubbly, 4 to 5 hours (fig. 2.1). Use a plastic scraper to scrape down the sides of the bowl and fold the dough over upon itself with a few light strokes. Cover the bowl and let the dough rest at room temperature for 30 minutes. Repeat the folding strokes and let rest for 15 minutes. Repeat folding once more and let rest for 15 minutes. 3. Make the sauce: While the dough is rising, in a small, heavy-bottomed saucepan over low heat, warm the garlic in the olive oil until fragrant, about 3 minutes. Add the tomatoes, bring to a simmer over medium heat, and then turn down the heat to maintain a light simmer and cook until the flavors come together, about 5 minutes. Do not reduce the mixture to a thick sauce. Season to taste with red pepper flakes, salt, and pepper. Remove from the heat and set aside. 4. About 1 hour before baking, Get your KK up to temp with your favourite rack position; up high in the dome. Place a pizza steel on the rack and heat the kk to 700 or there abouts degrees. Yes Pizza Steel or baking steel, no more need to worry about breaking stones , Steels are the new stone, get one they are awesome Steel here 5. Round the dough: Liberally flour a work surface or wooden dough board. Scrape the dough out of the bowl and onto the board (fig. 5.1). Toss a generous amount of flour on top of the dough (fig. 5.2) and round the dough by cupping both hands around the sides and dragging its bottom against the surface, using the dough’s stickiness to stretch and tighten it into a smooth, round ball sealed with a veil of flour (fig. 5.3 very important). Let the dough rest for 10 minutes. Use a metal bench knife to cut the dough into three 7-ounce pieces. Flour and round each piece (fig. 5.4). Let the dough pieces rest about 10 minutes. 6. Shape the dough: Working with one piece at a time, flatten the dough lightly with your fingertips (fig. 6.1). Sprinkle or, using a tea strainer, sift 1 tablespoon of semolina over the surface of a baker’s peel. Transfer the dough to the peel. Flour your hands and stretch the dough from the center out into a 10-inch round. If the dough sticks, gently lift an edge where it is sticking and sprinkle more semolina underneath, on the peel. Note that when you purchase this flour, you get a 4 ounce bag of this marvelous heritage semolina . 7. Drizzle the dough with olive oil and brush the oil across the dough’s surface. Use a clean pastry brush to brush any excess semolina off the peel. Spoon about ¼ cup of the tomato sauce over the dough and smooth lightly with the back of a spoon add the rest of your ingredients (fig. 7.1). Slide the pizza onto the pizza steel and close the KK quickly. Bake for 1 minutes. Open the KK and quickly slide your peel under the pie and check for doneness and rotate the pie, remove parchment if you used it, I do sometimes. close , hold your breath and guess how much longer to eat. 8. Using the pizza peel, remove the pizza from the KK and transfer it to a cutting board. Let cool for about 5 minutes, and then top with 5 fresh basil leaves. Cut the pizza and serve it right away. Sweep the semolina that remains scattered on the pizza steel into a bowl using long oven mitts and an old, clean cloth. Let the KK recover its temperature while you shape and sauce/cheese the next piece of dough. Bake the second pizza, and then repeat the process again to bake the third. I have never had ppl over to make more than one pie but the dough ages well and we end up eating pizza a few more times that week. Oh darn. The hi hydration of this dough and the hot steel make the crust fairly explode in a fabulously moist chewy airy crisp crust. ( phew! ) I am still working out the kinks timing wise but even the burnt crust was heavenly. If you want to delve into bread the way an Artisan baker does and not have your head hurt read Artisan Bread Making with Peter Reinhart or any of his books for that matter, making great bread and dough is so simple and strangely enough with the rediscovered, recovered? easy techniques of our grandparents, it tastes fantastic. Flour still matters and Glenn Roberts of Anson Mills grows and fresh mills some of the finest heritage grains on this continent. Not to be missed. I have used this recipe with Whole wheat flour called Supersprout flour from Lindley Mills here . All the whole wheat caveats apply but it makes the most wondrous pita, to die for WW chocolate chip cookies and a great wheat pizza crust . Only sold from KDL Foods in 25lb bags. Trust me, you will use it all, we seem to no problem and there are only 2 of us. But also cookies are fun to share. The only tip/trick I have to offer is always ALWAYS rehydrate your yeast in warm water before you pitch it in the flour. All yeast will benefit from this. Always use a scale, bread is science and if you want to recreate it weigh it. All dough will benefit from at least a 24 hr ferment. I am pretty sure there would be no such thing as gluten intolerant if we made and ate bread that was properly fermented. Enjoy ! Thanks to all of you who have taken the time to write about your KK adventures, I have learned a lot, if i wasnt so tired I would name you all but you know who you are S
-
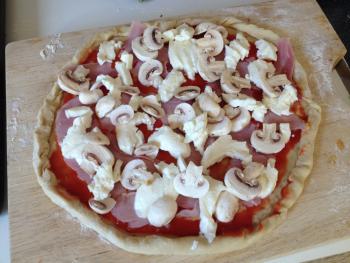
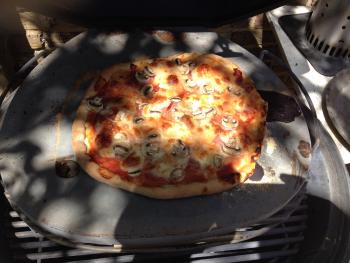
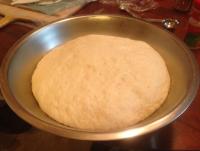
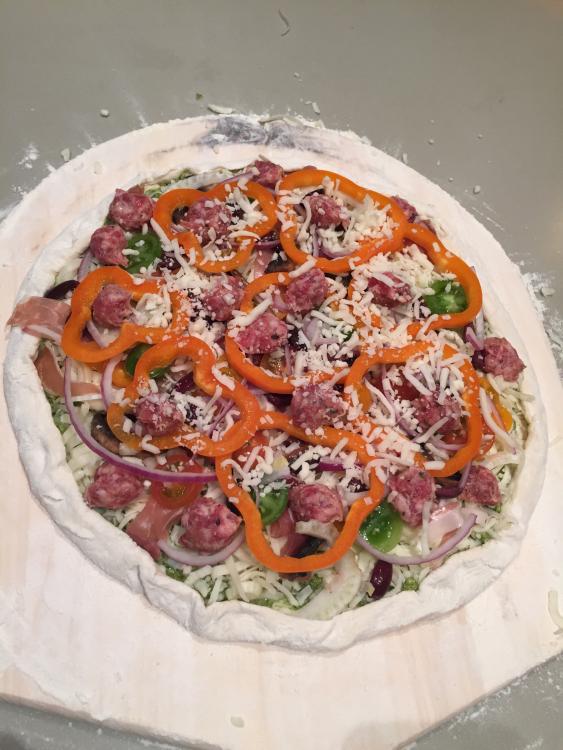
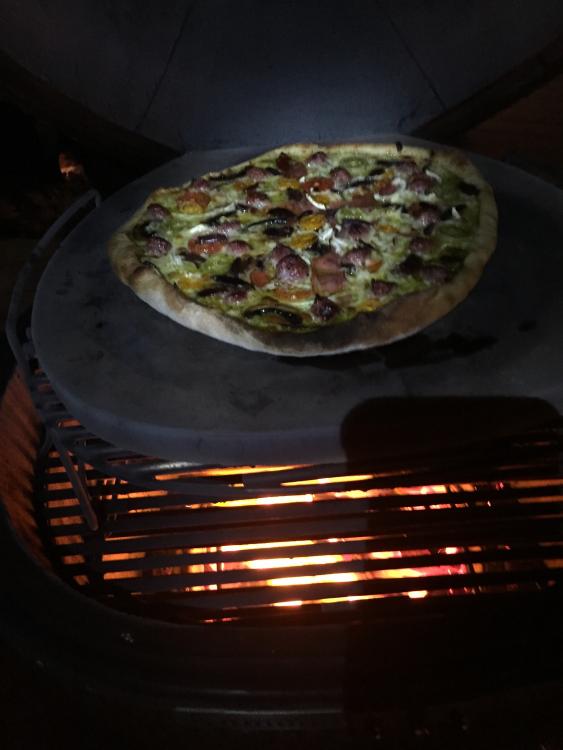
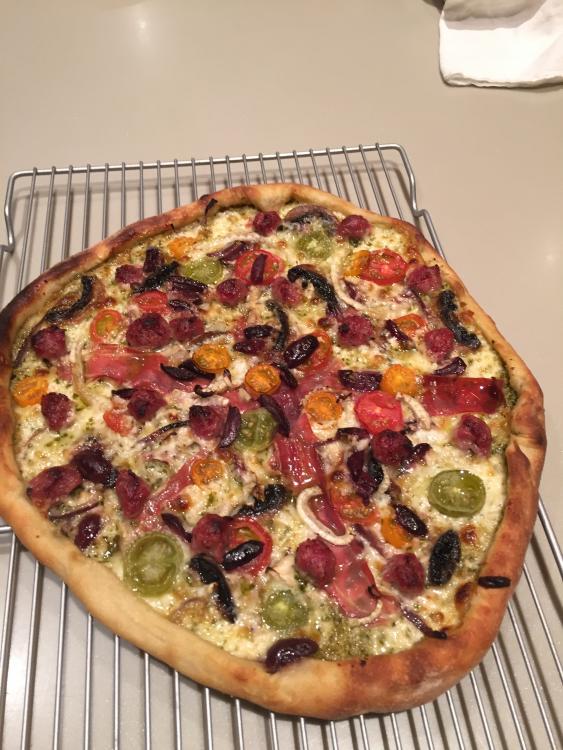
Hello fellow KK aflicted home cooks, I've been experimenting with Pizza using my sourdough starter as the base and am starting to get some rather good results, IMHO thought that I would share my technique and see what refinements others may have to offer. My sourdough starter has been 'alive' for about 10 years now. It is an excellent base for sour batard, baguettes and numerous other rustic breads so I thought "Why not make a pizza?" If you have access to a sourdough starter, my dough building recipe is as follows, yield is about 3 pizza's with a medium thin crust. These are not Napolitano style pizzas, those I have yet to attempt due to difficultly getting the pizza to slide off my peel with the amount of ingredients I like to put on them. So think 'thin crust' pizza here. for the Dough Combine these ingredients in a bowl and mix/knead into a dough ball and knead it until it has formed a good gluten structure and looks Silky (2 minutes on medium speed in a kitchenmaid mixer with a dough hook is about right for me): 8 oz. Sourdough starter at (166% hydration) Add 9 oz. fresh water 18 oz (by weight) bread flour 1/3 oz Olive oil Let the dough rest for about an hour, then knead in (by hand) about 3/8 oz. of salt (use good salt like Pink Himalayan Salt). Salt inhibits the gluten formation of the dough, so it is best to let the gluten form without salt and then knead in after the dough fully hydrates by sitting for the mentioned hour. If you don't have an hour 30 minutes is fine. Once the salt is kneaded in, form a ball and place into a Stainless steel bowl to rise. Depending on how vigorous your starter is and the temperature of your environment, you will then wait till the dough doubles. Then you can portion into smaller balls of dough ( i used 12 oz. per pizza crust) to complete their rise (again doubling) before you form your crusts. I roll mine out on a floured wooden peel to about 14" in diameter, roughly 1/8" thick. Obviously it is easier to make the dough a day before. In this case after you knead in the salt, you can put the dough ball into an oiled Stainless steel bowl, cover with plastic wrap and then place it into your refrigerator. Then when you get up in the morning, you can take the amount of dough you want to use for tonight's bake, form a ball and let it come up to temperature and rise. It will rise a surprising amount in the refrigerator overnight believe it or not. You can hold this dough in the refrigerator for up to a week and it just gets better with age. At some point you will find that the dough is fully risen in the fridge and you must then use it, but it takes a long time and the sourness of the dough increases as it "ferment's" under refrigeration. KK preheating regimen is as follows: Fill charcoal basket and light in 3 locations equidistant from each other. Use the upper grate with the sear grate with pizza stone on top, (longer legs bearing on the upper grate so the pizza stone is way up in the lid dome. This keeps the shorter handles upward facing and the stone rides at about that height. open from draft and rear clean out door so lots of air is flowing. Dome lid is screwed open about 3 revolutions allowing for free flowing draft. It takes my KK, a 23 OTB about 90 minutes to heatsoak the stone to 400- 425 degrees. I have found that any temp of 450 will cook the crust faster than the toppings resulting in too much char for my taste. If you have fewer toppings you can use a thinner crust (Napolitano style) and cook at higher temperature resulting in a cracker like crust, but I've not yet achieved consistency with this style of pizza. To build my favorite pizza I use the following: Pesto for the sauce lightly coating the area of crust to be topped. then I add Fontina and mozzerella cheeses, Sliced Mushrooms, sliced red onion, sliced fennel bulb, slice kalamata olives, thin strips of prosciutto, small balls of Mild Italian sausage, rings of Bell pepper and that is about it. once toppings are in place, I roll the edges to keep the sauce and cheese from running off the edges (about 13" in diameter now) and take the wooden peel with the pizza to the KK at 425 degrees. I use a steel peel to make sure that the crust is adequately loosened from he wooden peel then place the wooden peel on the stone and gentle shake the pizza off the wooden peel using the steel peel to help it along onto the stone. It generally takes about 7 minutes to really set and hold shape, then I use the steel peel to rotate the most cooked side of the pizza to the area where the pizza is least cooked, this keep the pizza cooking evenly. I am basically rotating the pizza on the stone to balance out the browning of the crust. A raw pizza, cooking pizza and some results are attached below. I think they are the best Pizza's I've ever had, but I know there is always room for improvement. Let me know if you have any tips or tricks that I can try to improve the results. I assure you that the crust is better than most folks can imagine! Buon Appetito!
- 8 replies
-
- 2
-

-
- pizza stone
- pizza
-
(and 1 more)
Tagged with:
-
I seem to always have pizza on the brain. After many years of burned bottoms and raw tops, I think I finally have this thing dialed with some semblance of consistency. 3 weeks ago, the misses and I began embracing a lo-carb "lifestyle". So for now, and for a while, I can only daydream of cooks like this, savor the memories, and plan for future indulgences.
-
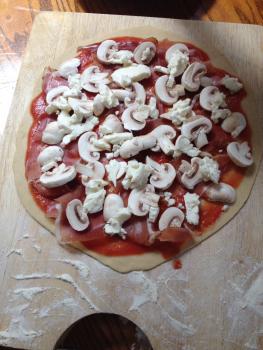
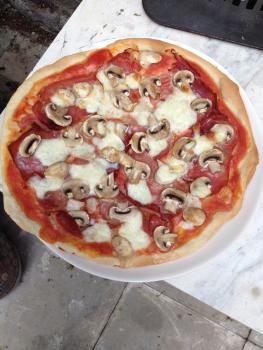
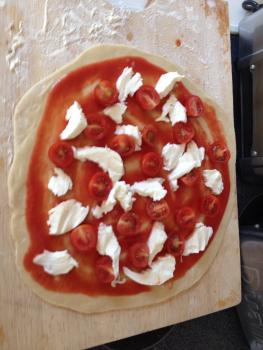
Thought I would share some pizza pics. Last couple of times I cooked pizza they were rolled directly onto the stone. Although that works ok (provided you allow it to stand for a few mins to let the base cook off the stone) you can't do multiple pizzas. So today I tried my new pizza peel out. I had a couple of failures where I rolled the dough onto baking trays and then couldn't peel (ended up doing them in the oven) but I did manage to work out a technique. The first of the 3 pizzas is prosciutto ham and mushroom. Next up is tomato and mozzarella. Final one is plain ham and mushroom with edge turned over to give I more structural integrity! If anyone has any good tips for the peel let me know. I found flour on a wooden chopping board and a peel to push it off worked well
-
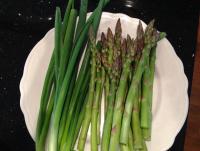
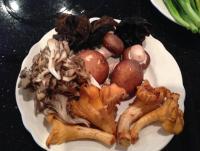
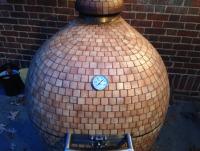
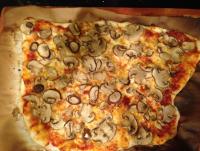
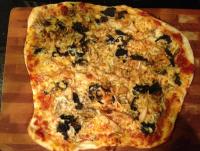
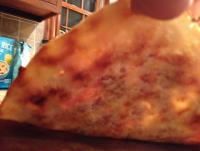
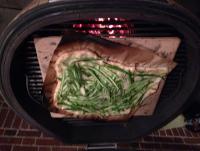
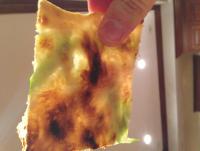
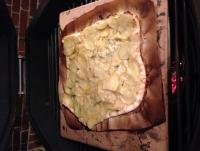
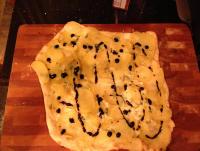
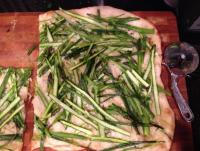
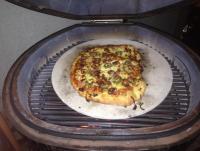
Tried my tested pizza recipe on the KK today. I have been making pizza like this for years. Ultra thin crust, minimal toppings. Crust comes out chewy and firm but not like a cracker. It does not flake or break yet has a nice crunch to it, like the exterior of a hot-off-the-oil french fry. I used to make this in the oven at 550 with a pizza stone. It was a hit with everyone. Today was the first time I made it on the KK. Dough is a roman dough recipe that uses typo 00 flour and a small bit (1 oz) of semolina flour. The semolina is the key that gives it that special texture and allows it to be stretched ultrathin without tearing. It requires a lot of kneading in the kitchenaid and a long rest time to allow full development of gluten. For those interested, happy to share the recipe. Started the KK with a full charcoal basket and let it heat soak around 500 for about 2 hours and then slowly ramped to 550. Put my old pizza stone in it and after heat soaking, baked each pizza in the KK for 6 minutes. My stone is thinner than the one that Dennis offers. I thought it would sub well, but now I'm thinking it's thinness is probably suboptimal as it imparts a bit more direct heat. Overall though, these pizza's were much better on the KK. The dough turned out better than my oven and the pizza's cooked faster - not surprised as the entire KK is a giant pizza stone. Made 4 pizzas: 1) Plain ol' mushroom (for the kids) 2) wild mushroom (chantrelle and a few others) 3) shaved asparagus and scallion - this is my best pizza - shave the asparagus and thinly slice the scallions lengthwise and let them marinade with a tablespoon of white truffle oil for a couple hours. dough, guyere cheese, and toppings - no pizza sauce. 4) potato - this is my second best pizza - dough, guyere cheese, rosemary, potatoes thinly sliced. when finished out of the oven, drizzle balsamic glaze (concentrated balsamic vinegar). Brush the edge of the crust with a little bit of olive oil before baking. The edge of the crust ends up being awesome. Because these are thin and light, you can eat a lot without noticing. There's only 4 of us, but we made a big dent in these. Onto the pics. These are some of the ingredients: The KK, heat soaked: The plain mushroom pizza: The wild mushroom pizza: This is soooo thin, you can see the light through it - but it holds its shape and doesn't flop: Here's a pic of the asparagus/scallion pizza on the KK: Here's another after a few slices disappeared: Ultra thin - holds is shape but can see light thru it: Potato pizza just about to come off the KK: Potato pizza with the balsamic glaze drizzled on:
-
Hi KKers! Last Friday evening I did PaPa Murphy's in the belly of TheBeast! Quick and simply and delicious. Here's the set-up ... baking stone (YEAH! That thing is HEAVY!) on the extended cooking grate over the main grate. No diffuser. Dome temp at 425F per PaPa Murphy's direction. I normally do pizza at higher temps, but PaPa Murphy's dough is literally engineered for 425F since most home overs don't get above 500F. Here are a couple of pics of the unbaked pies with a few extras from the refrigerator here at ChezChef: The first pie is thin crust the second is regular crust. Both pies were augmented with jalapeño andouille and spicy litallian sausage cooked on TheBeast and some more low moisture cheese. Here are pics of the two pies after their being cooked: The frist pie got too close to the edge of the KK baking stone and I was a minute or so late in pulling it, hence the burned edge. I wasn't about to let that happen on the second pie! Both crusts were crispy and the pies were delicious. For store-bought pizza, this was the best I've had in some time. Quick and easy peasy! The beverage of the evening was a relatively new ale from Shiner ... The Wild Hare. Very good tasting and I heartily recommend it!
-
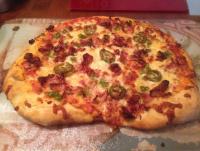
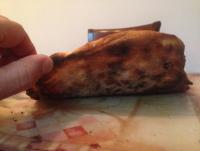
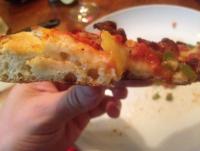
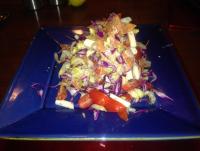
After a few years of testing various dough and sauce recipes, I have settled in on this combination for a happy medium between flavor, consistency, and easy of use with the dough. We host a lot of parties where we let our friends build and make their own pizzas. My favorite dough recipe, from Nancy Silverton at Pizzeria Mozza (Mario Batali's pizza joint), is too wet and sticky for your average weekend pizza warrior, so I've borrowed some of her ideas and mixed them in with my dough recipe. I've also provided a link to Nancy's chopped salad, which is a great compliment to the pizzas. Pizza Sauce (Enough For 6 or more medium pizzas) Ingredients •28-oz can of whole peeled tomatoes (preferably San Marzano, but plum tomatoes will also work) •1 tbsp. extra-virgin olive oil •1 tsp. dried basil •1 tsp garlic powder (or 2 cloves minced) •2 tsp onion powder (or 1/2 onion finely minced) •salt and pepper to taste Instructions To make the sauce, put all ingredients into the bowl of a food processor and pulse until slightly chunkier than puree. Note: I find an uncooked sauce provides a brighter more fresh taste. Dough (Makes 3 Medium Pizzas) Ingredients •1/2 cup warm water (105 to 115 degrees) •1 envelope (2 1/4 teaspoons) rapid-rise yeast •1 1/4 cups water at room temperature •2 tablespoons extra virgin olive oil •1 1/2 tablespoons honey •4 1/4 cups bread flour, plus more for dusting work surfaces and hands •1 1/2 teaspoons salt • Olive oil or nonstick cooking spray for oiling the bowl Instructions 1. Measure the warm water into a large liquid measuring cup that you can pour from later. Sprinkle in the yeast and let stand until the yeast dissolves and swells, about 5 minutes. Add the room-temperature water, oil , honey and stir to combine. 2. Place the flour and salt in the deep bowl of a standing mixer. With a paddle attachment, briefly combine the dry ingredients at low speed. Slowly add the liquid ingredients and continue to mix at low speed until a cohesive mass forms. Stop the mixer and replace the paddle with the dough hook. Knead until the dough is smooth and elastic, about 5 minutes. Form the dough into a ball, put it in a deep oiled bowl, cover with plastic wrap. Let rise until doubled in size, 1 1/2 to 2 hours. Cooker Instructions 1. Full basket of lump lit in several places 2. Pizza stone goes on main grate (grate closest to where lid meets base); no heat deflector, direct heat 3. Bottom vent open all the way; Top vent open 3/4 turn (may be slightly different on yours) 4. It will take about an hour to come up to temp; target temp 550F - 600F. Anything hotter and the top tends to cook faster than the base of the pizza and the cheese burns. Pulling It Together 1. Separate the dough into three equal pieces 2. Dust a clean surface with flour and press / hand stretch to about 12-14 inches; If the dough is hard to work with, you can cheat with a roller, but you won't get as many nice big air bubbles in your cooked dough (which I really like). 3. Generously (tons) dust a pizza peel with semolina four so that your dough will slide off easy onto the stone 4. Lay your dough on the peel, brush the outside inch of the crust with olive oil and sprinkle with kosher salt (don't skip this step, especially the salt, this really makes the crust something special) 5. Put your sauce down and spread to the olive oil rim, dress your pizza, top with cheese, cook until desired doneness, usually 3-5 minutes at 550F-600F. Comments: 1. We frequently have "BYOPT" parties where we provide the dough, sauce and cheese, and let guests bring their favorite pizza toppings. We then assist them to build their own pizza. We make enough batches of dough that everyone can make one of their own. 2. We usually setup one or two of those white folding banquet tables from Costco as the prep / work stations with all of the ingredients set out, and a large four dusted space to work, they clean up easy and give you a lot of room. 3. I would do a practice run at home a couple of times before having a party. You have to learn to work with the dough and get to a point where you are confident it won't stick to the peel. If it sticks, you end up making a mess and often a mess on the pizza stone that slows everything down as you have to wait for it to burn off / scrape the stone. 4. I cheat with a couple of these peels that are awesome once you learn how to use them, again, practice makes perfect: http://www.amazon.com/EXO-Super-Peel-X-tra-Set/dp/B002PFRXG2/ref=sr_1_3?s=kitchen&ie=UTF8&qid=1416051217&sr=1-3&keywords=pizza+peel Finally, we serve the pizza with this salad) which is awesome: http://smittenkitchen.com/blog/2014/06/nancys-chopped-salad/ We usually cheat and pick up some tiramisu for dessert from one of our favorite local Italian joints. If you feel like splurging on wine, pick up a bottle or two of Amarone. I love their cheaper / lighter Ripasso as well -- which is currently a daily drinker: http://www.tommasiwine.it/en/the-amarone/ Pictures The pictures below are from a recent cook. This pizza is actually a little thicker than I prefer, I must have grabbed too much dough. Remember that your pizza size is going to be limited by the size of your pizza peel. What happened here is I was too lazy to reduce the amount of dough to get a slightly thinner pizza, which I prefer. This pizza was still great.
- 4 replies
-
- 2
-

-
- Pizza
- Pizza Dough
-
(and 1 more)
Tagged with:




.thumb.jpg.ecfe4914522fceaeec29e4905d0c7564.jpg)
.thumb.jpg.fc64ba425837ff6f6aeea1d32927219f.jpg)
