remi
-
Posts
230 -
Joined
-
Last visited
-
Days Won
39
Content Type
Profiles
Forums
Events
Everything posted by remi
-
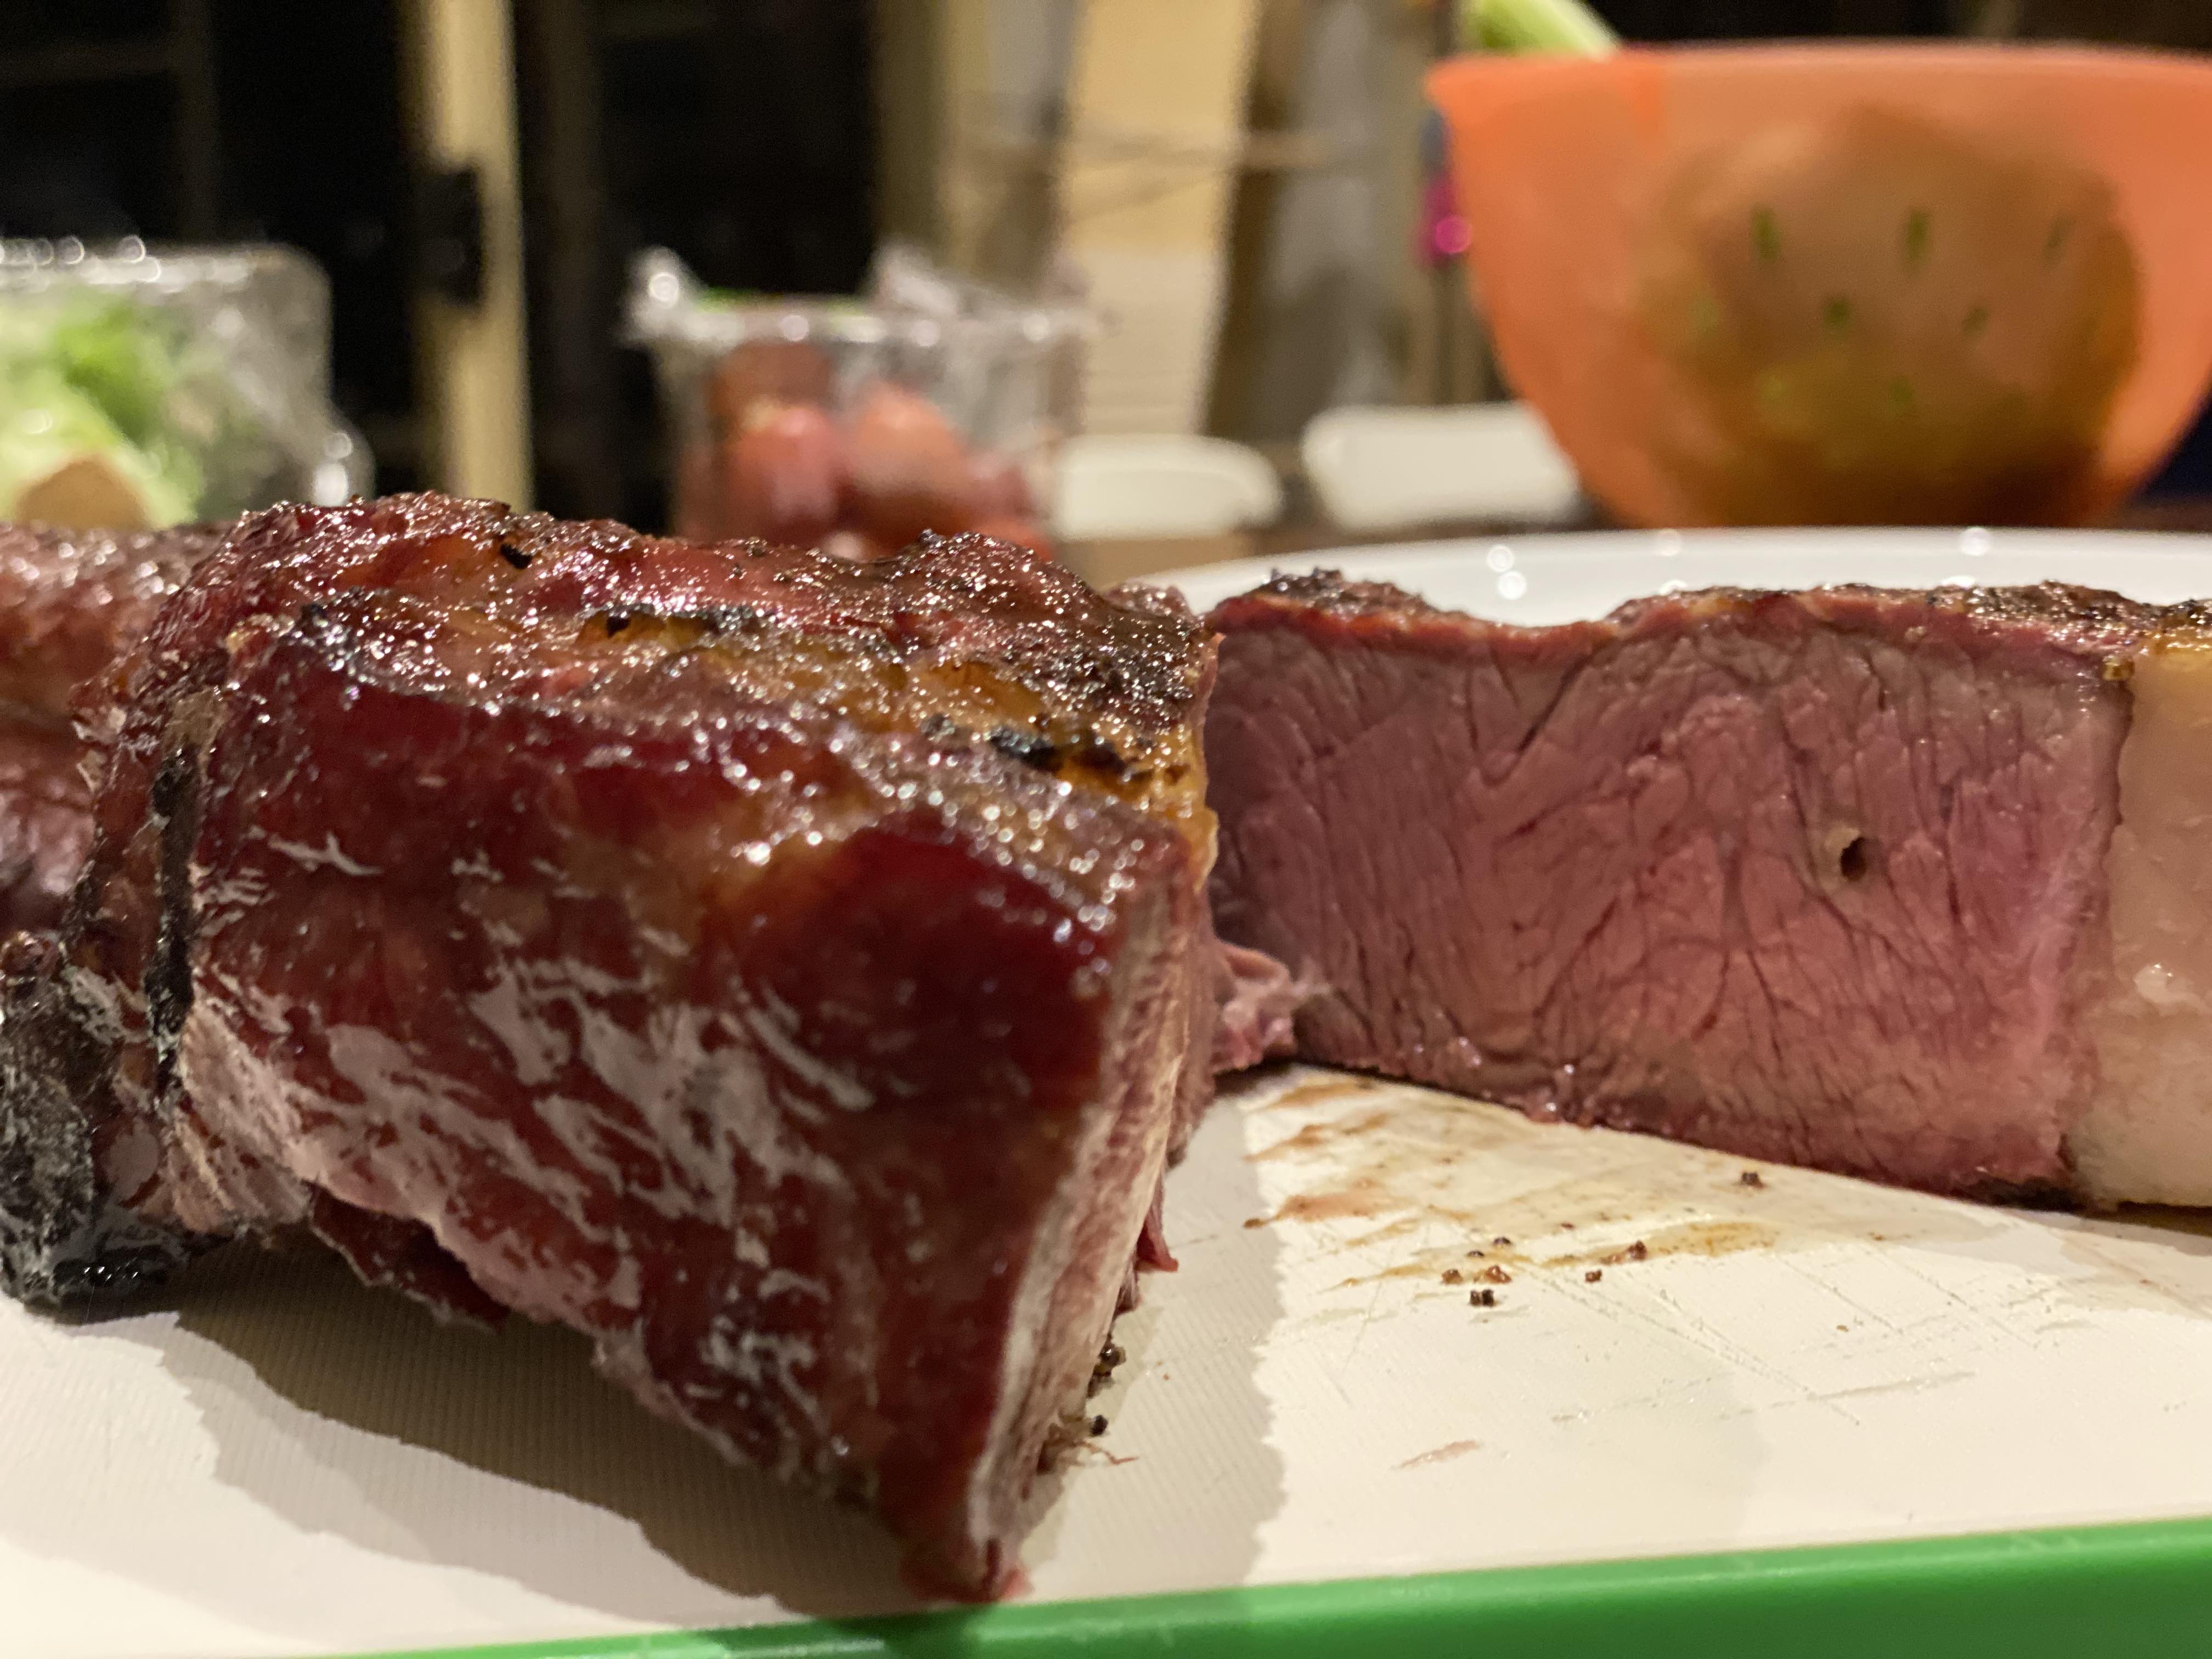
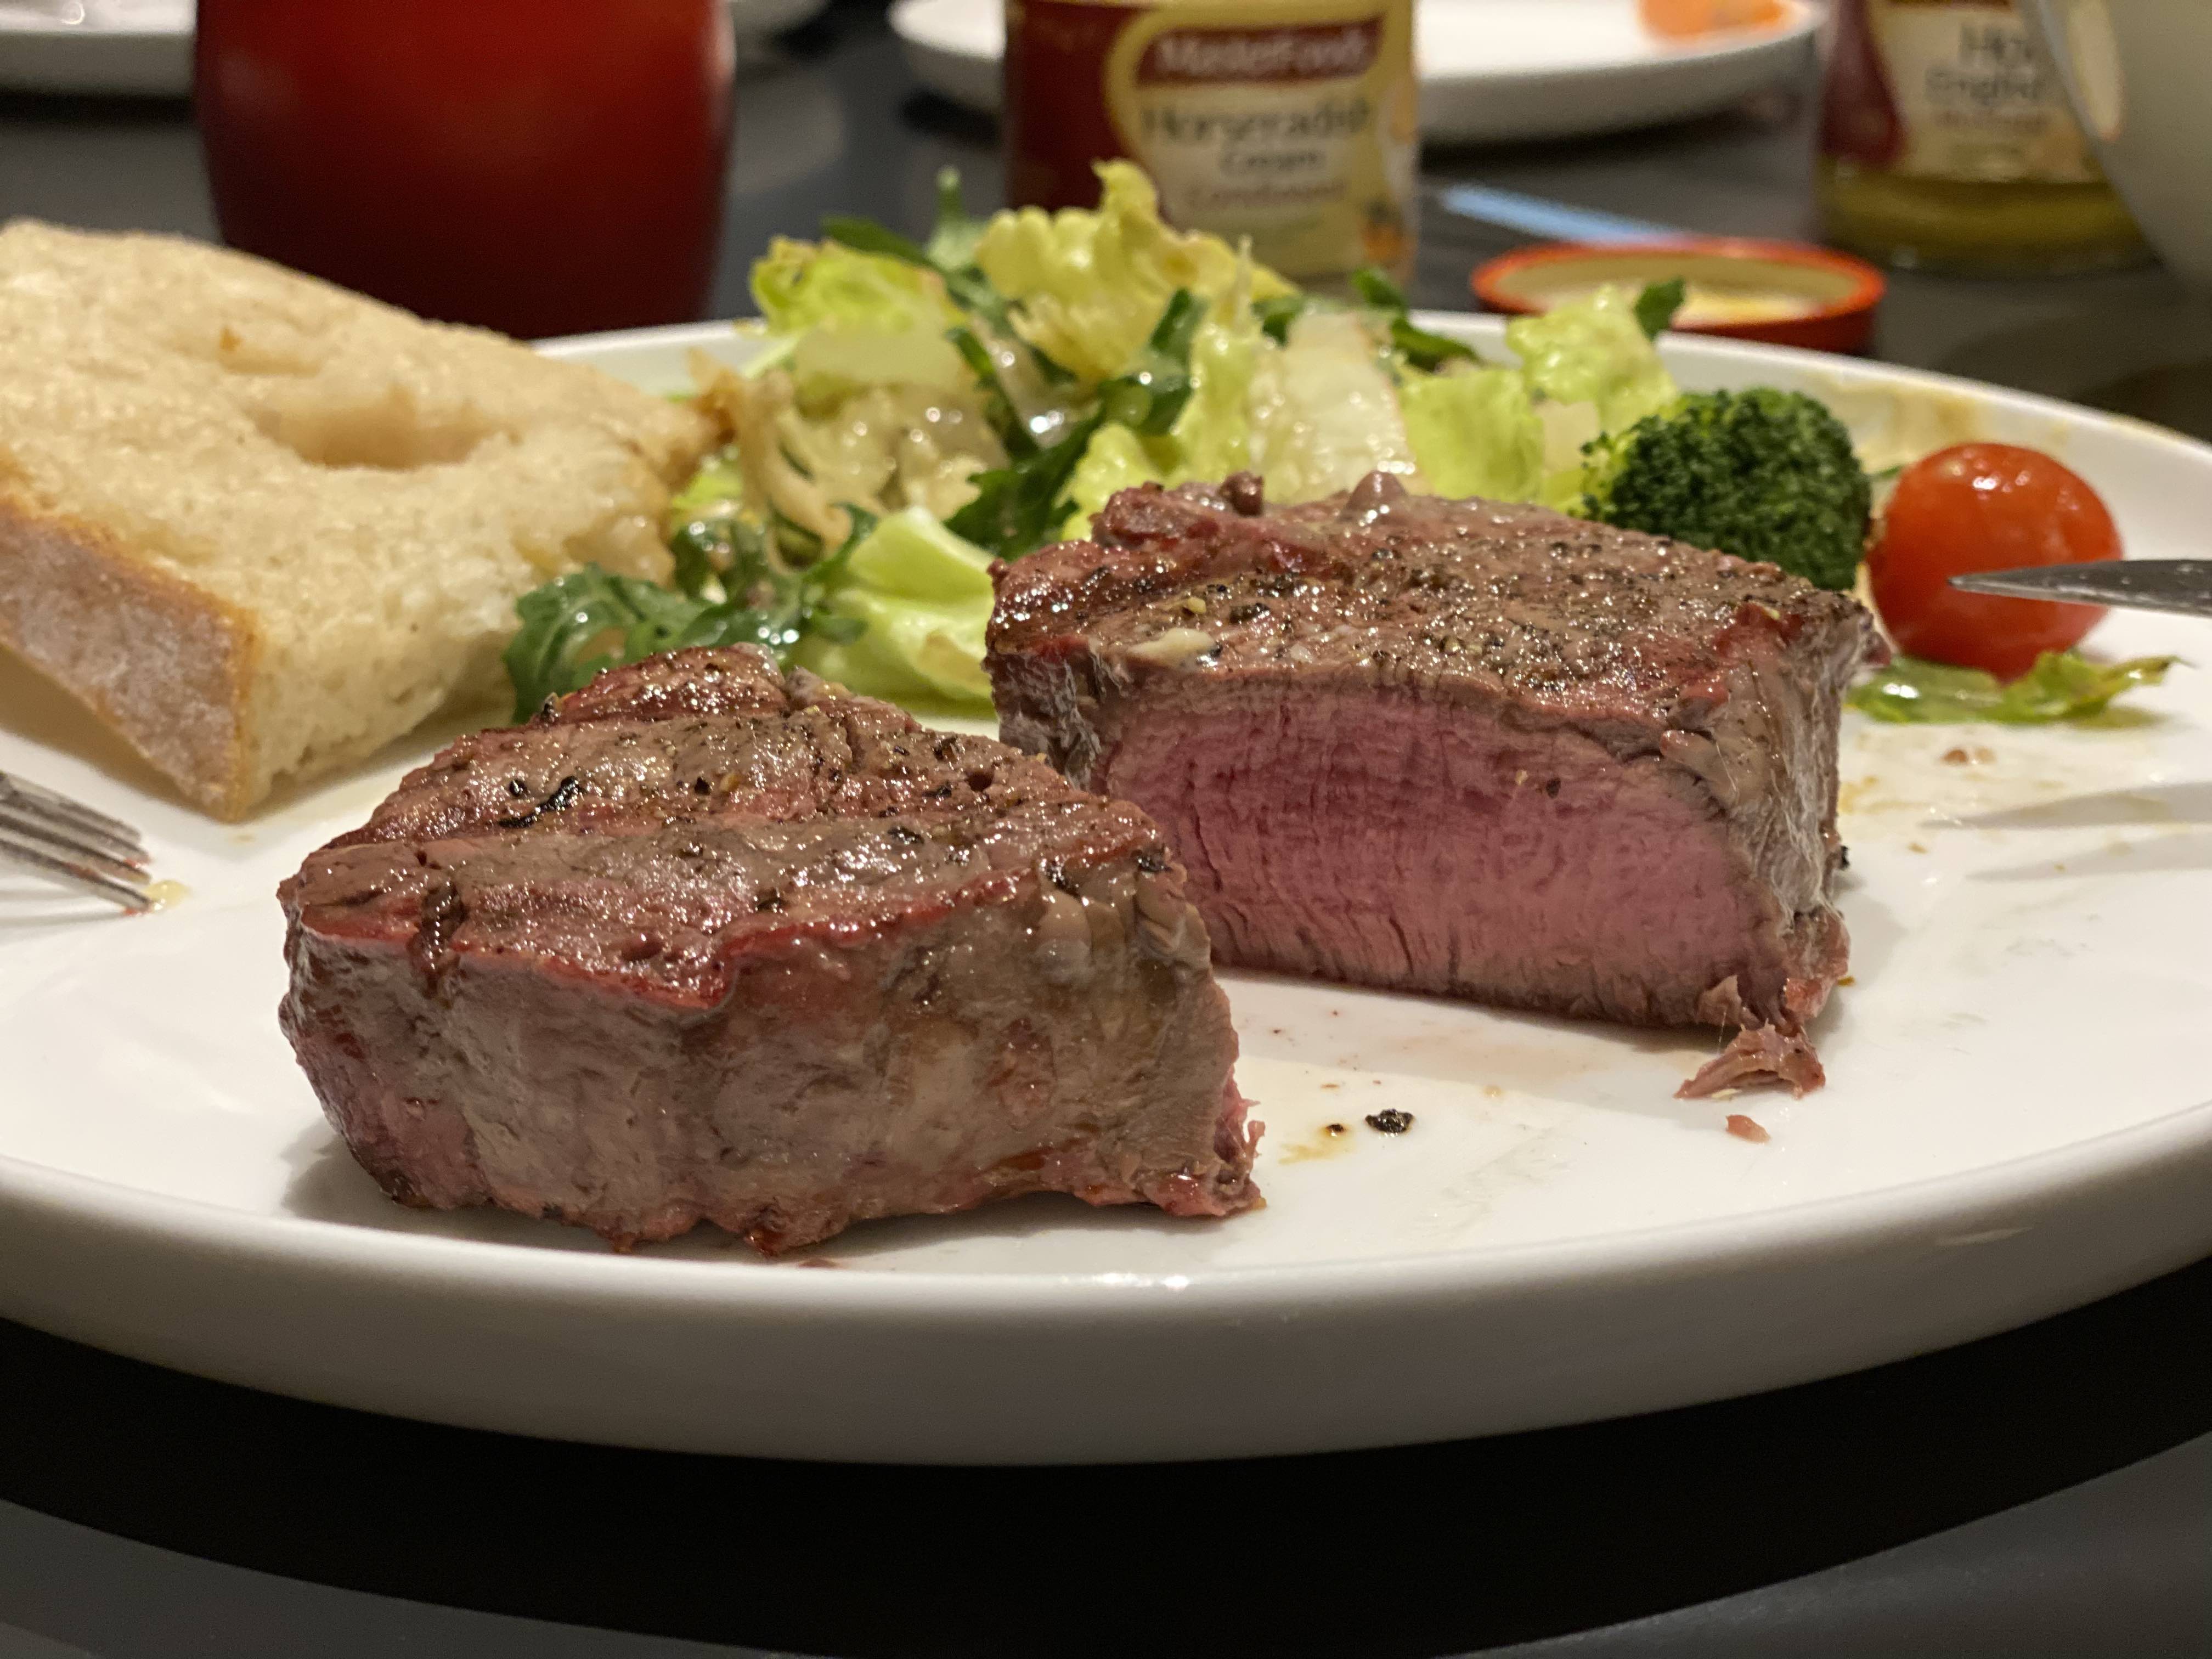
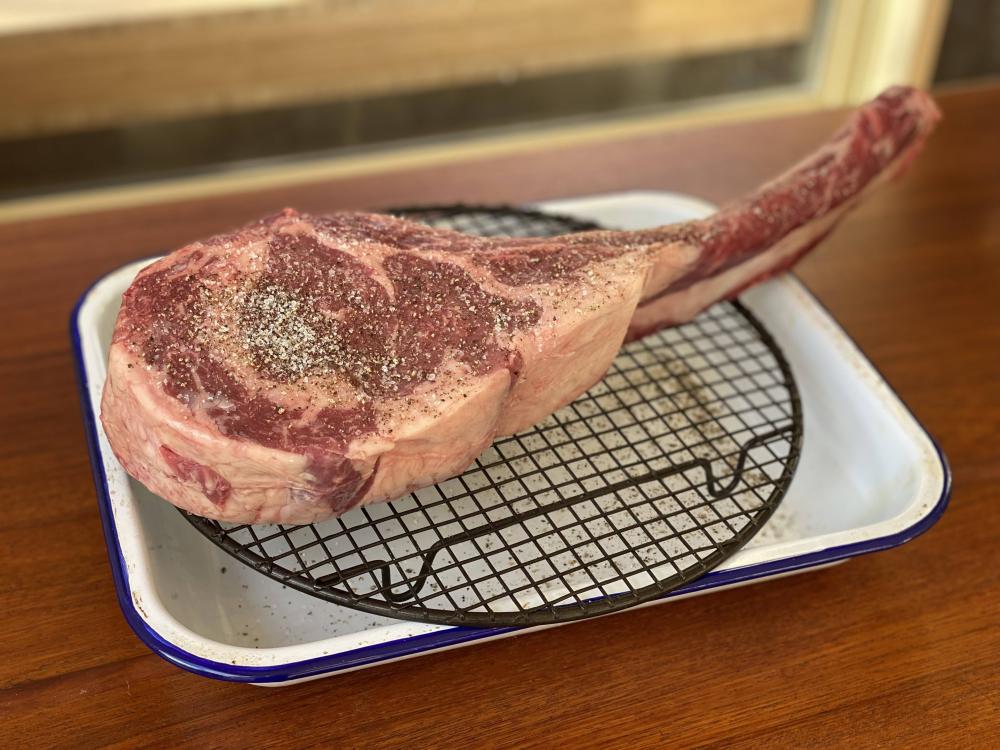
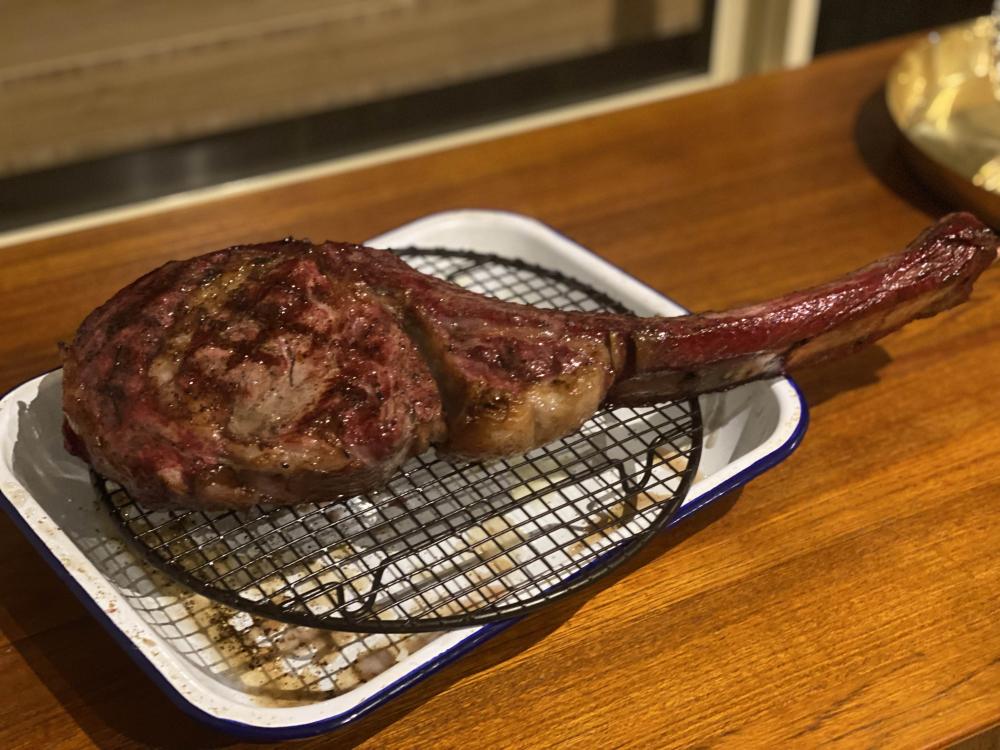
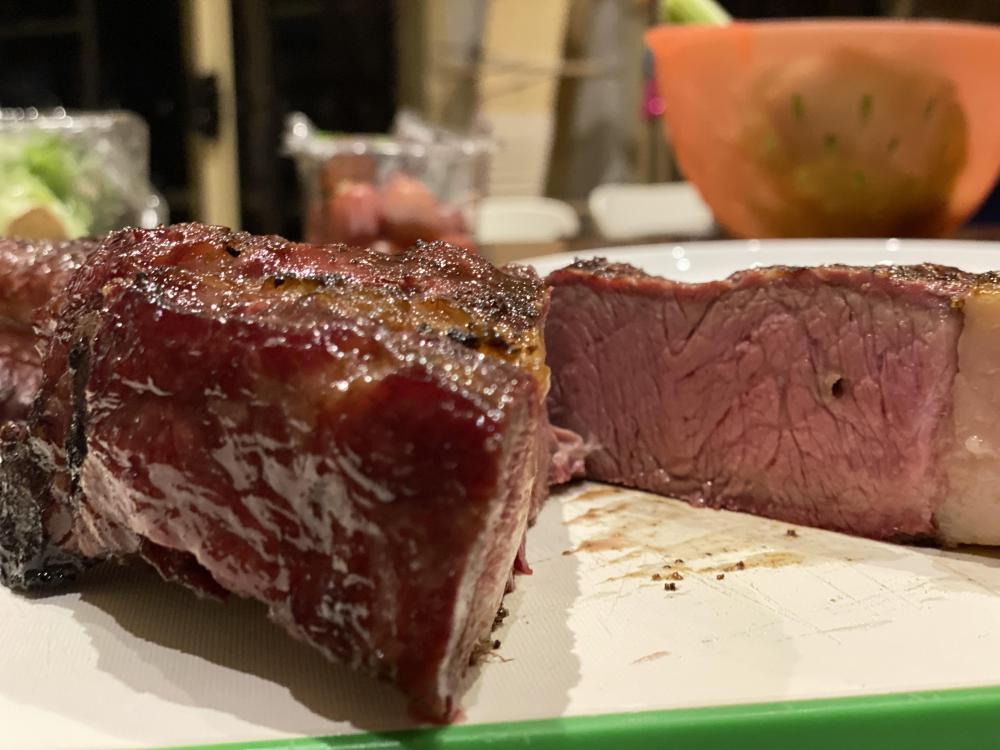
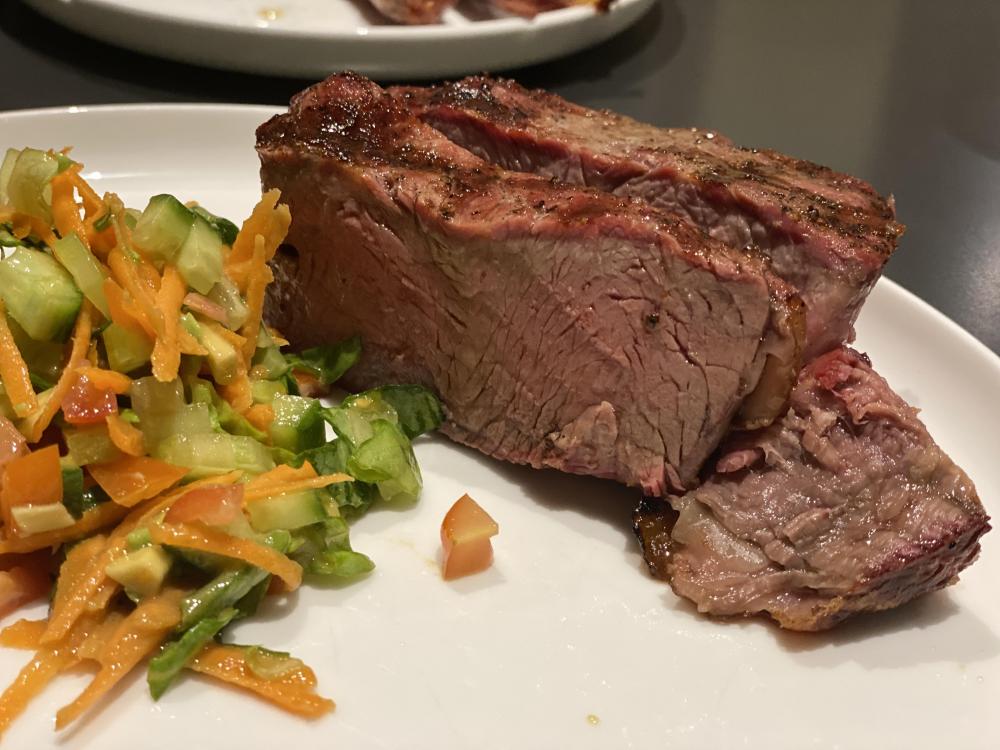
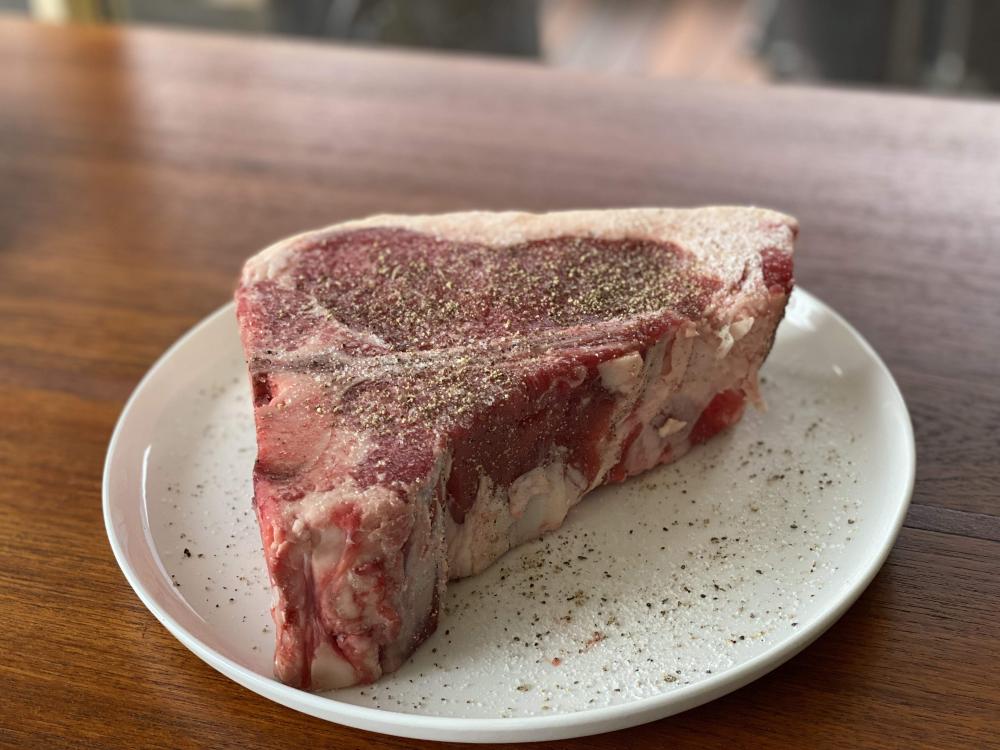
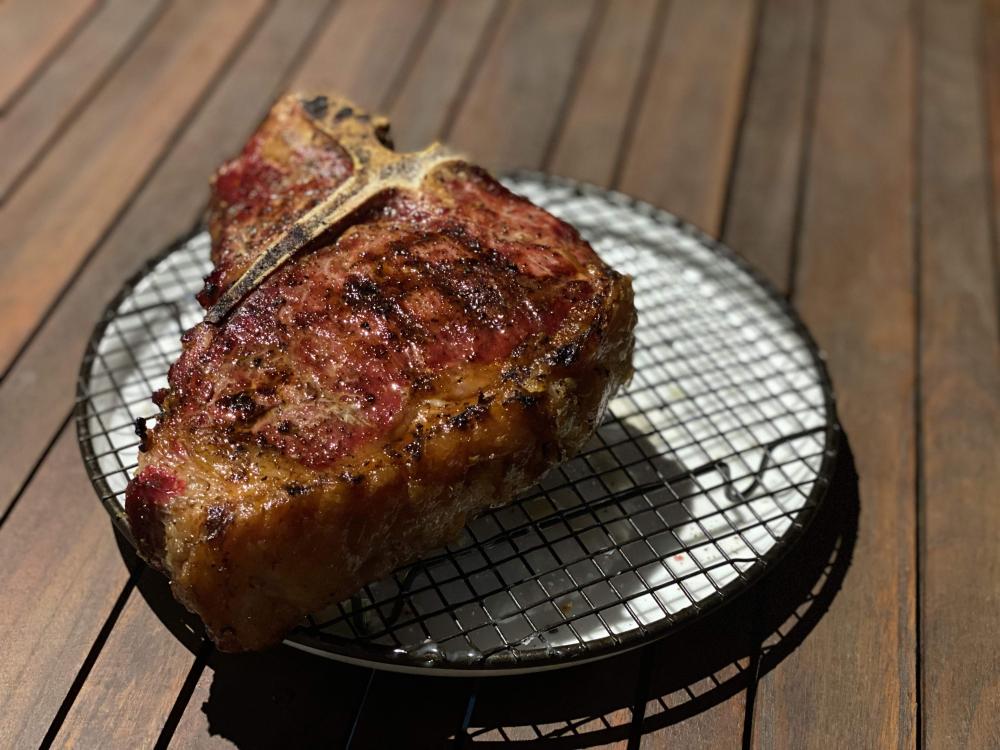
First crack at a Tomahawk steak here last night... around 1.3kg, quite a lot of fat in it so pushed it through to medium-rare prior to a reverse sear. Delicious!
-
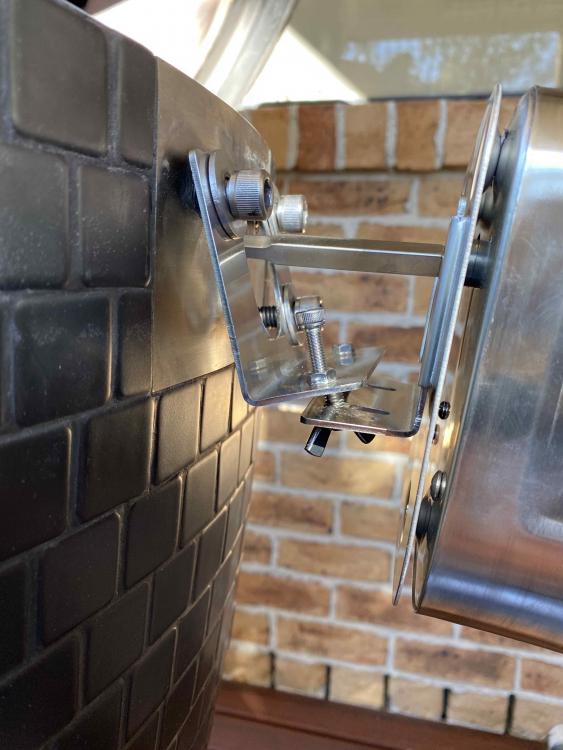
 Yes- I saw that. I'm just trying to get my head around why the shaft I had was supplied with the bracket I have; the motor end of the shaft protrudes so far beyond the bracket margin that it is inconceivable that any motor could fit- even a motor with the ability to receive that end of the shaft very deeply would be unable to as there is that rounded metal flange on the shaft only 10mm from the end. But clearly from the responses I've not screwed anything together the wrong way around, and will have to have at it with a hacksaw!
 -
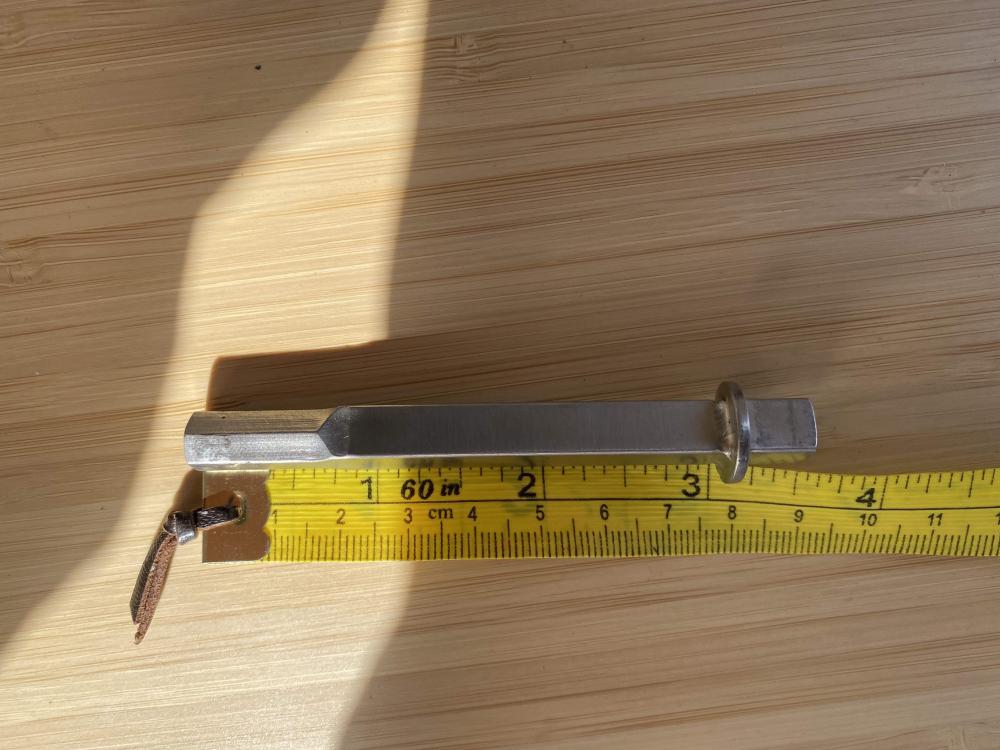
Here is mine- 3.5 inch, with a very short end stop on the motor end. Can't imagine how this would ever fit with the bracket as supplied. Bizarre.
-
Thanks- dark here outside now; appreciate the measurements. Will measure mine up tomorrow which should give a good idea of how much to lop off!
-
Ha- no, it turned well enough; but as you can see from the photo everything is literally hanging by a single end thread at weird angles. Checked it obsessively for the first while to ensure it didn't collapse- but very clearly it is not sitting together as intended...
-
Thanks- what has me confused though is that I can't for the life of me imagine how any motor would fit- without the motor, the shaft sticks well past the limits of the motor mount bracket if it is screwed down properly. I can't imagine any motor fitting unless there was a giant gap between the mount slots on the motor and the shaft inlet, when in practice the mount slots will always be pretty flush with the body of the motor.
-
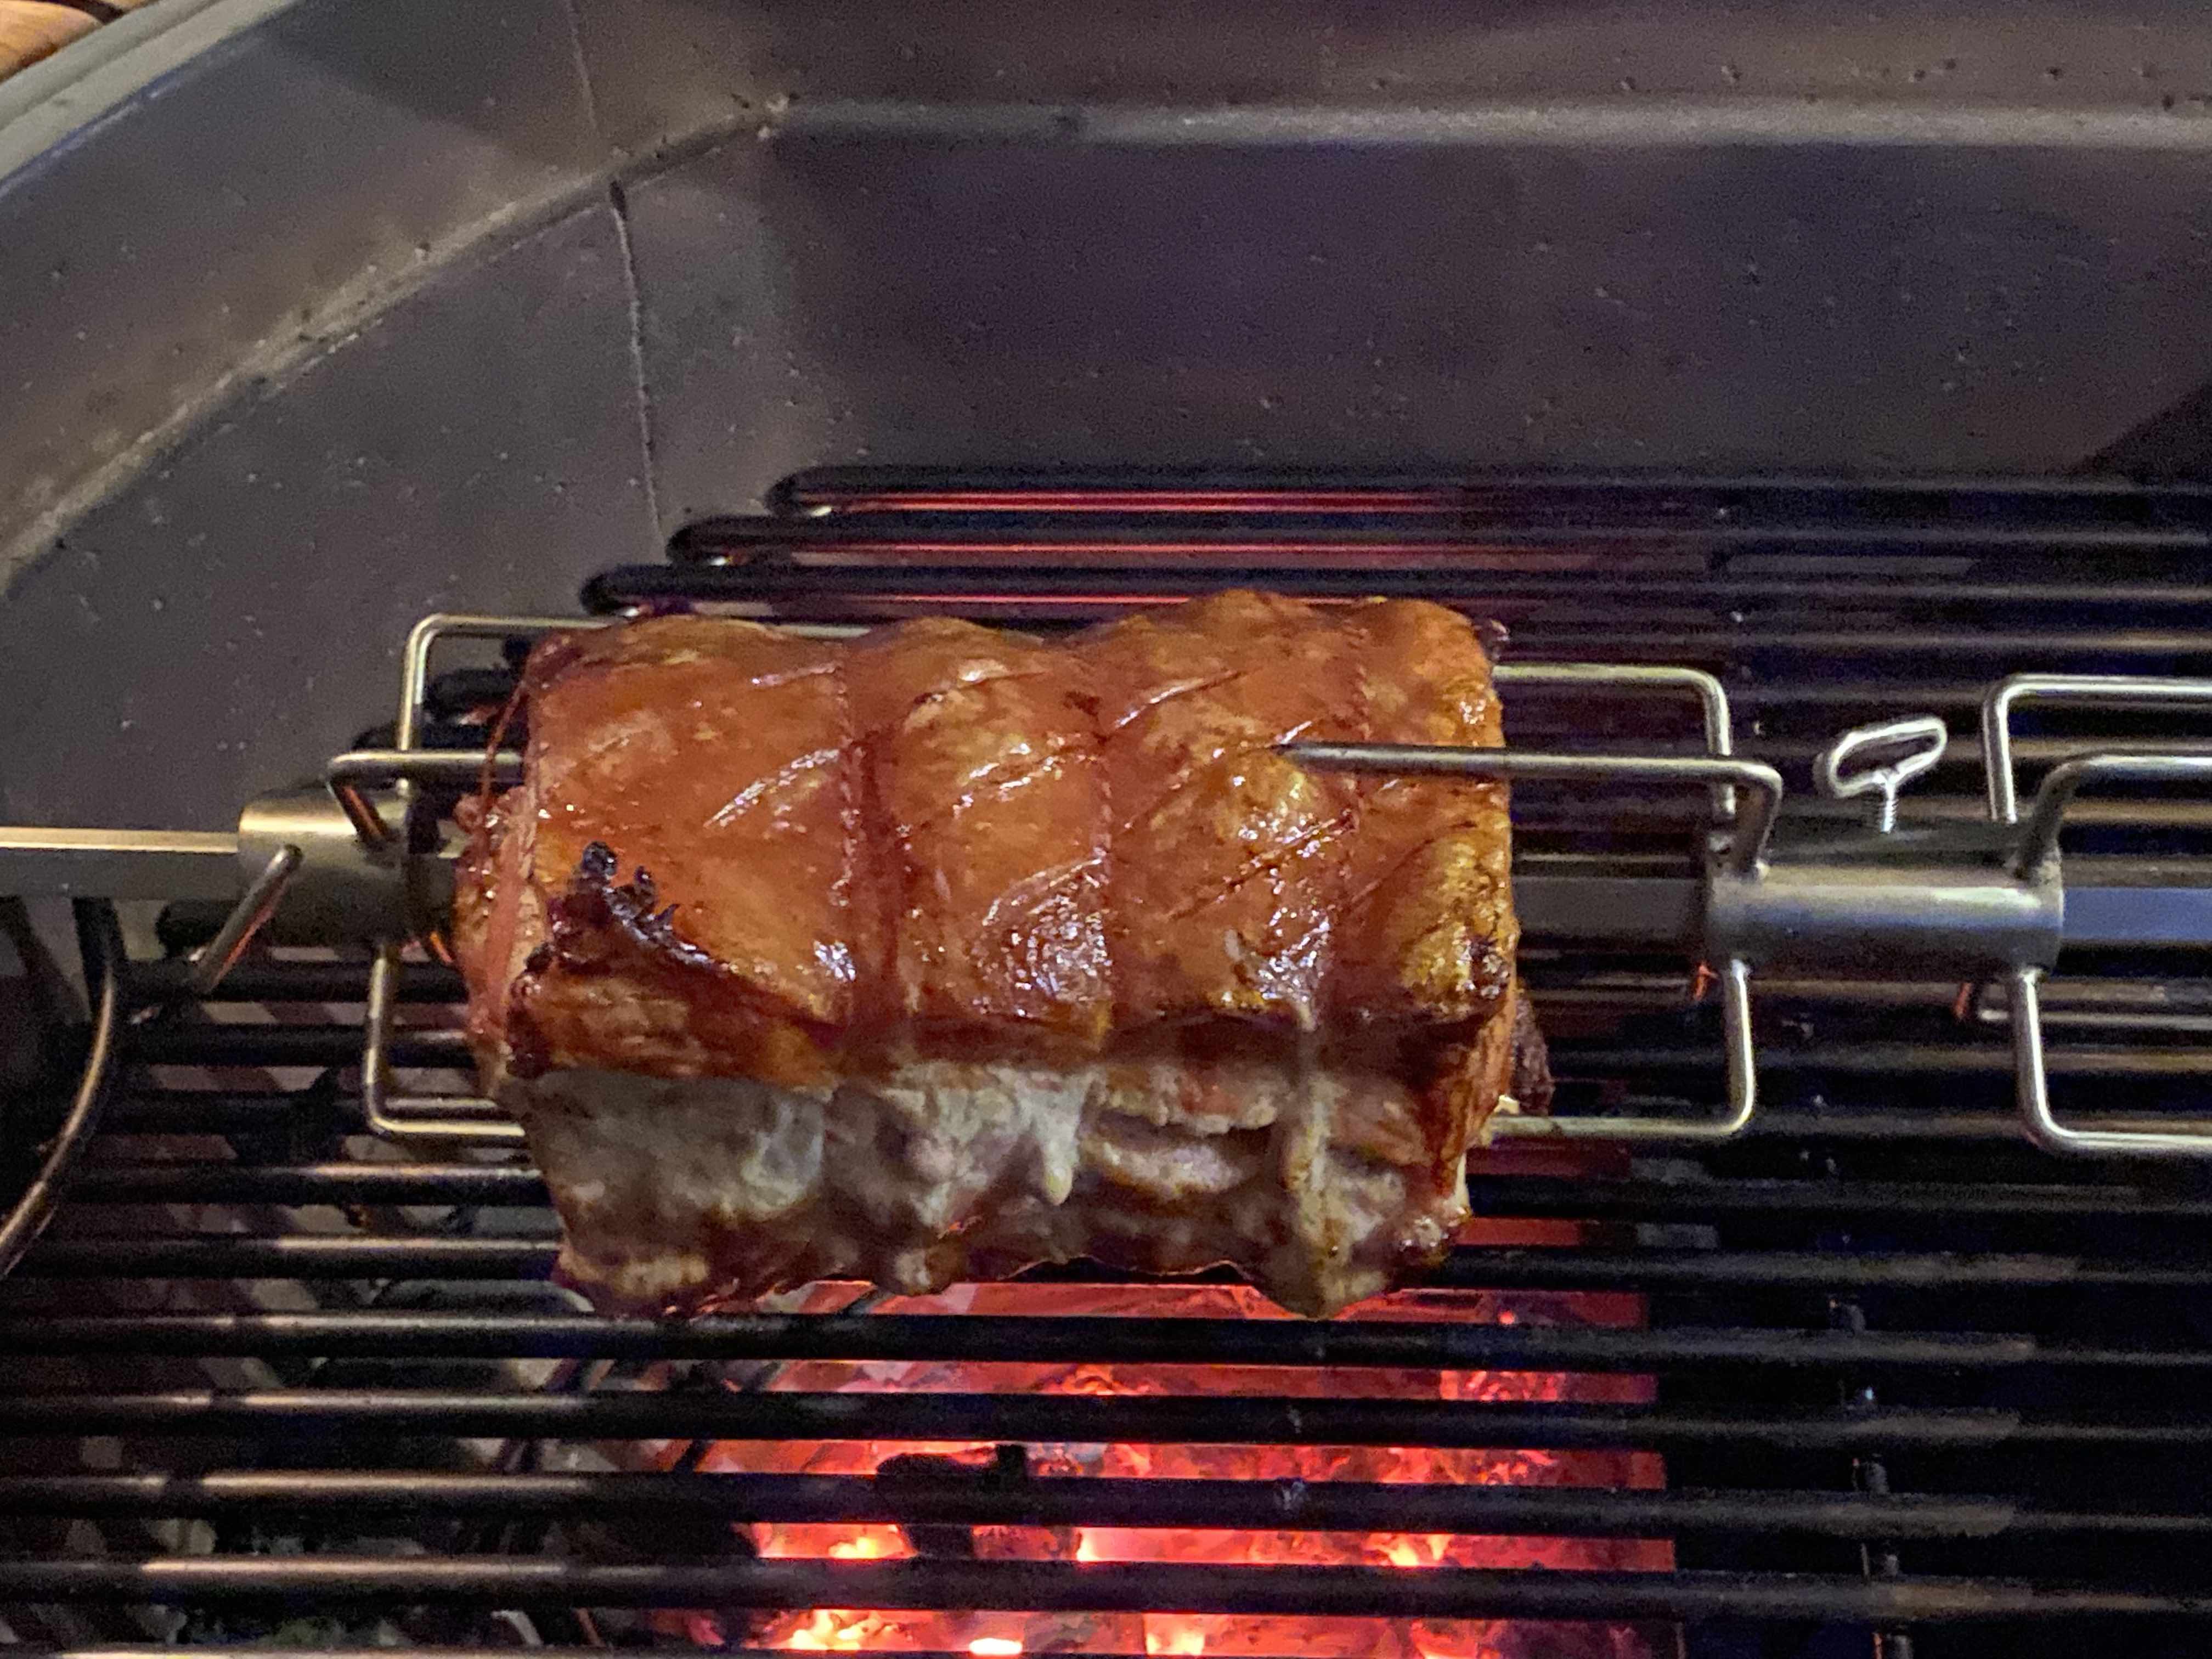
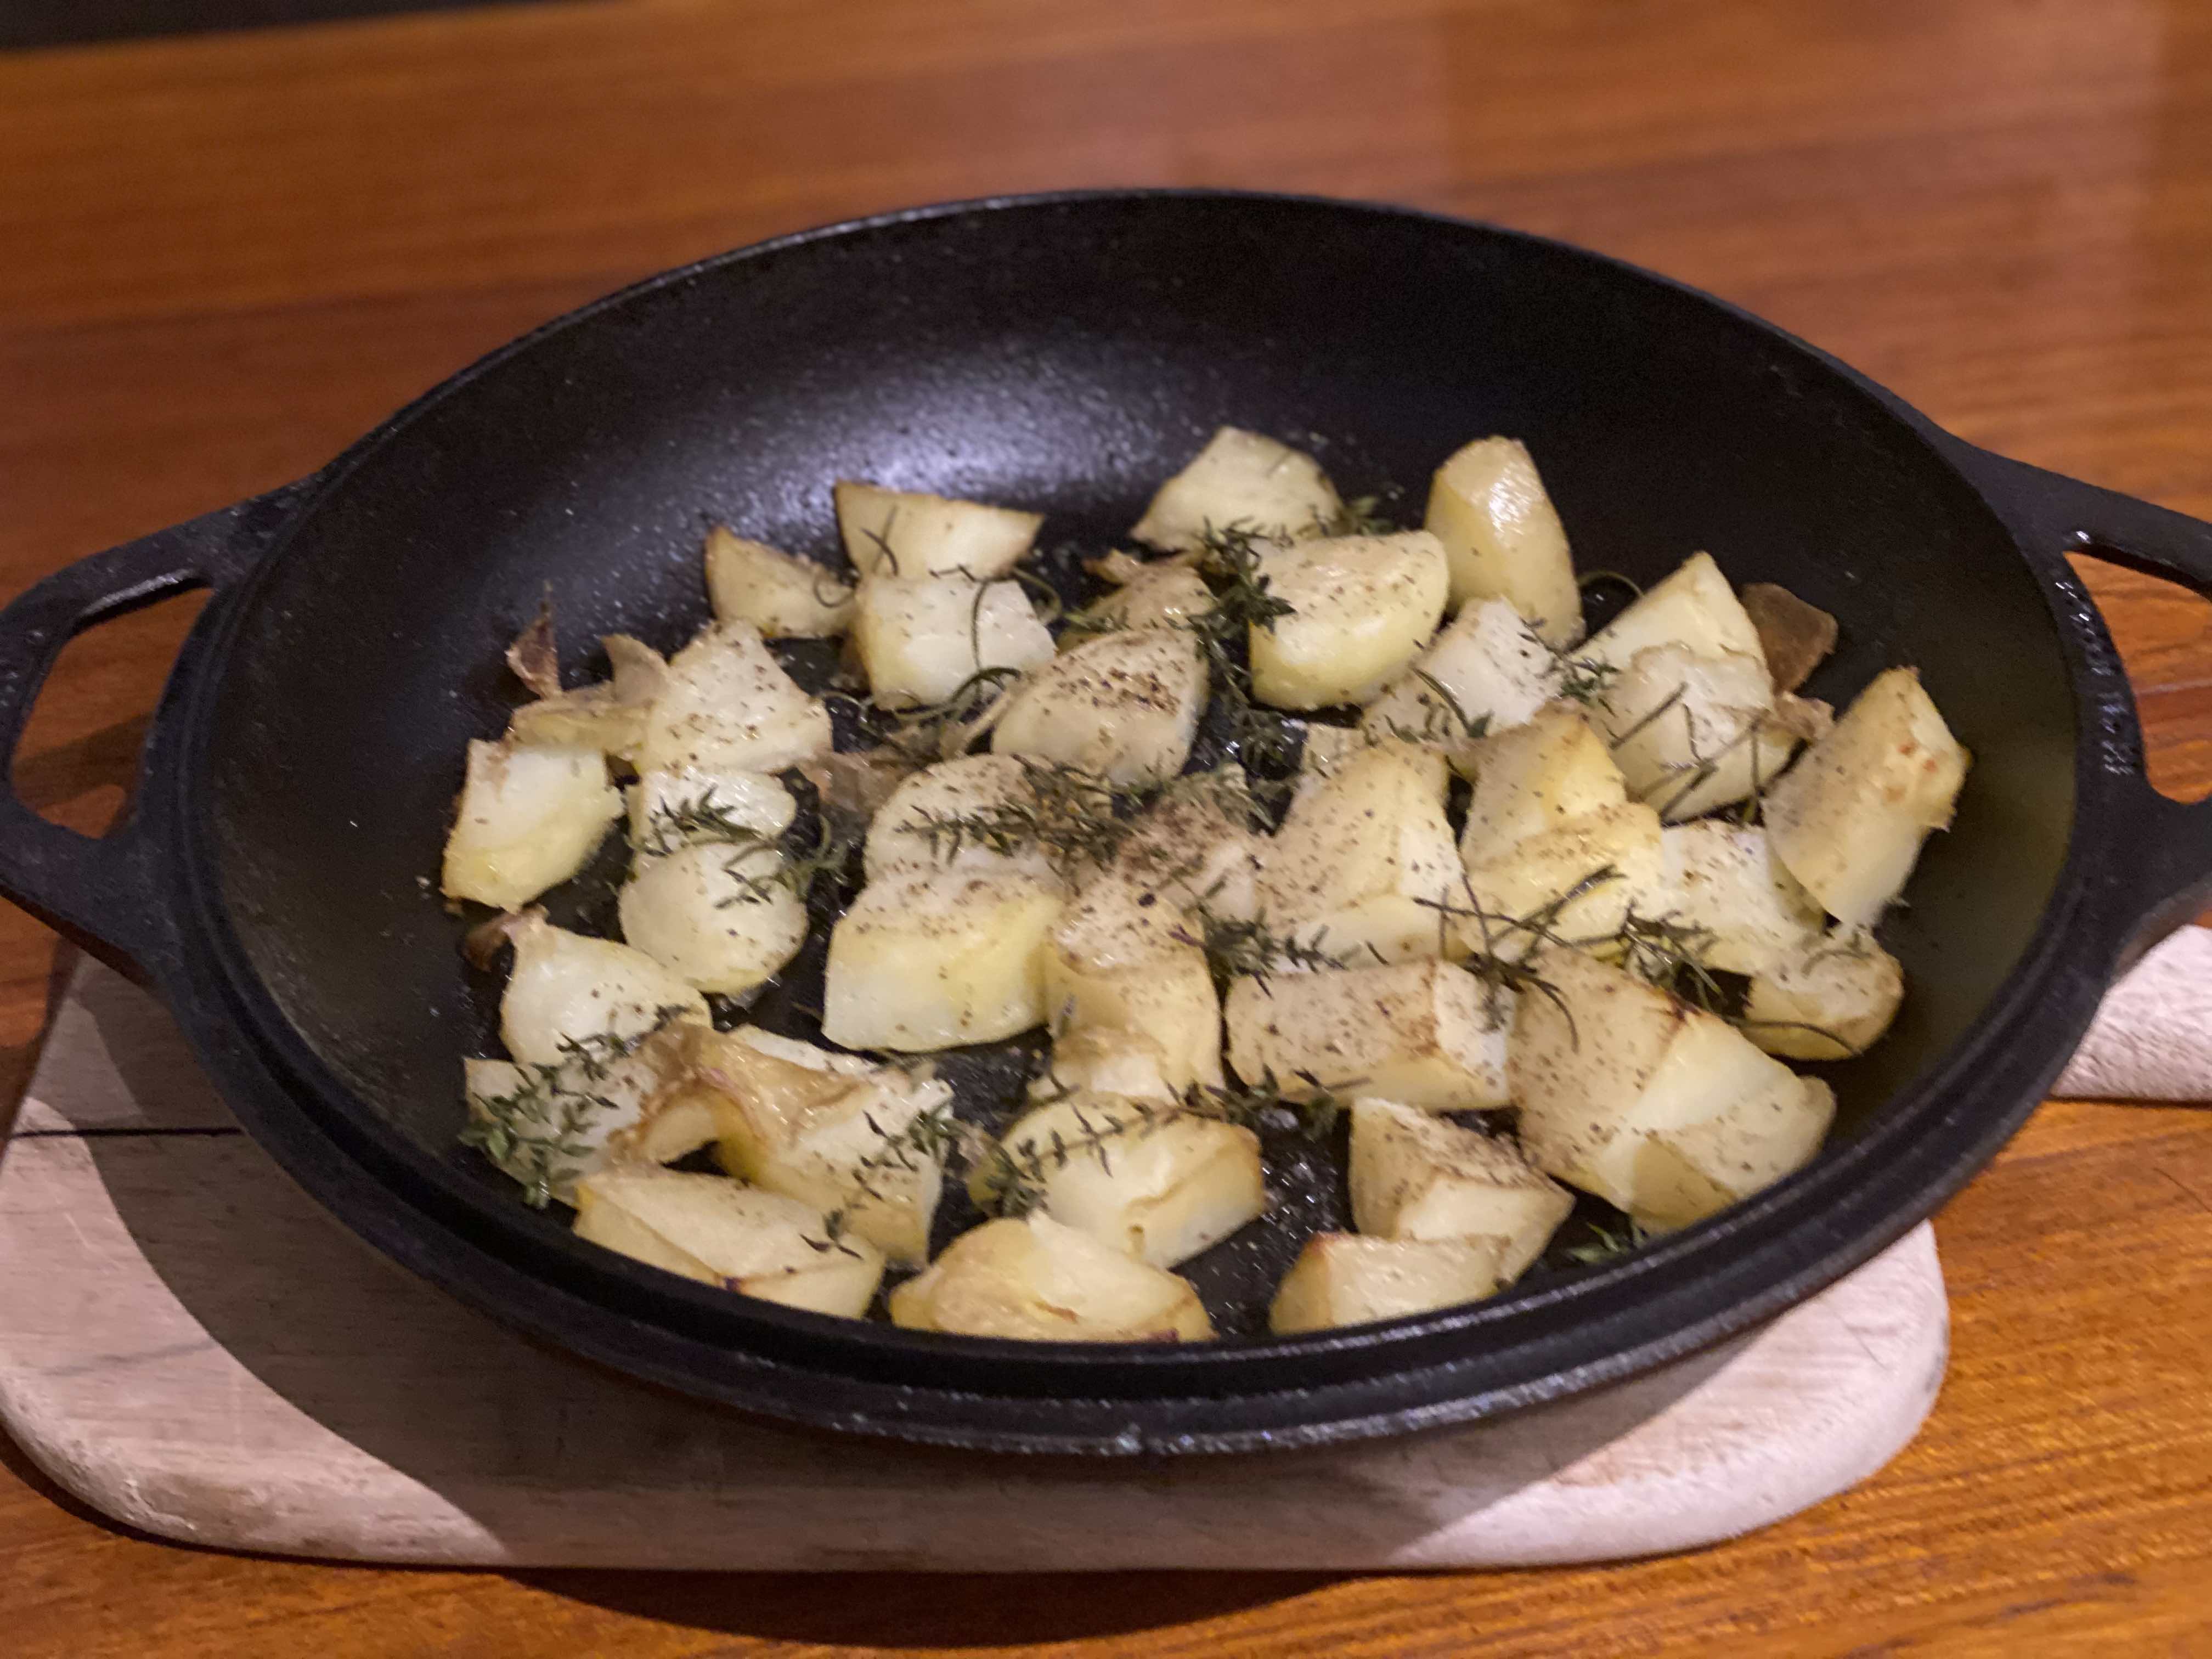
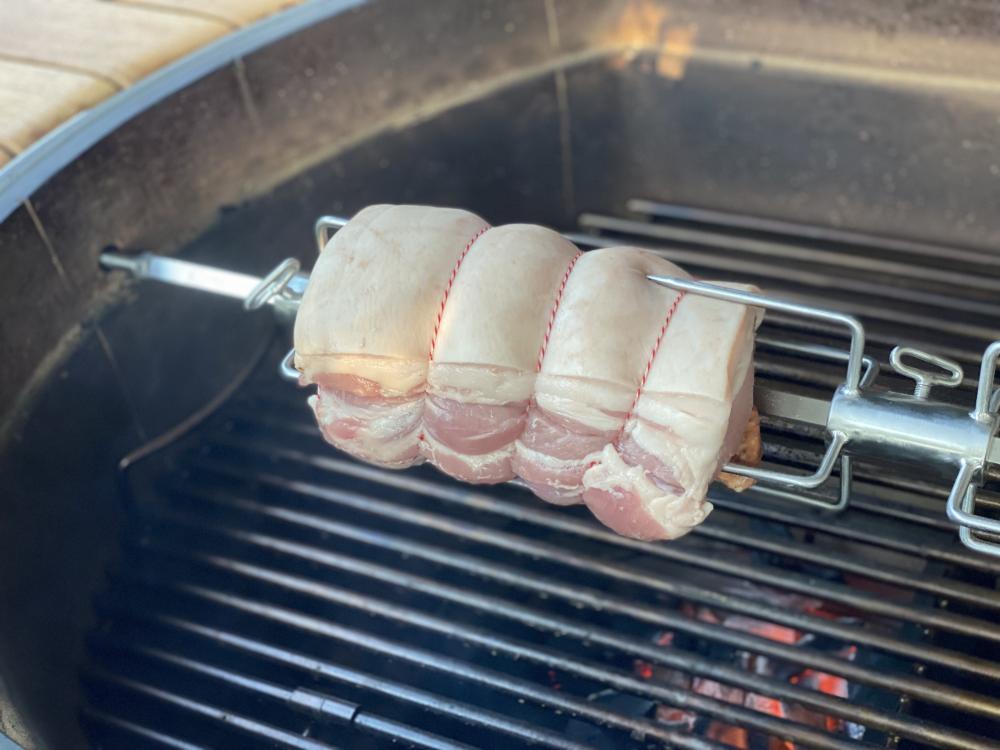
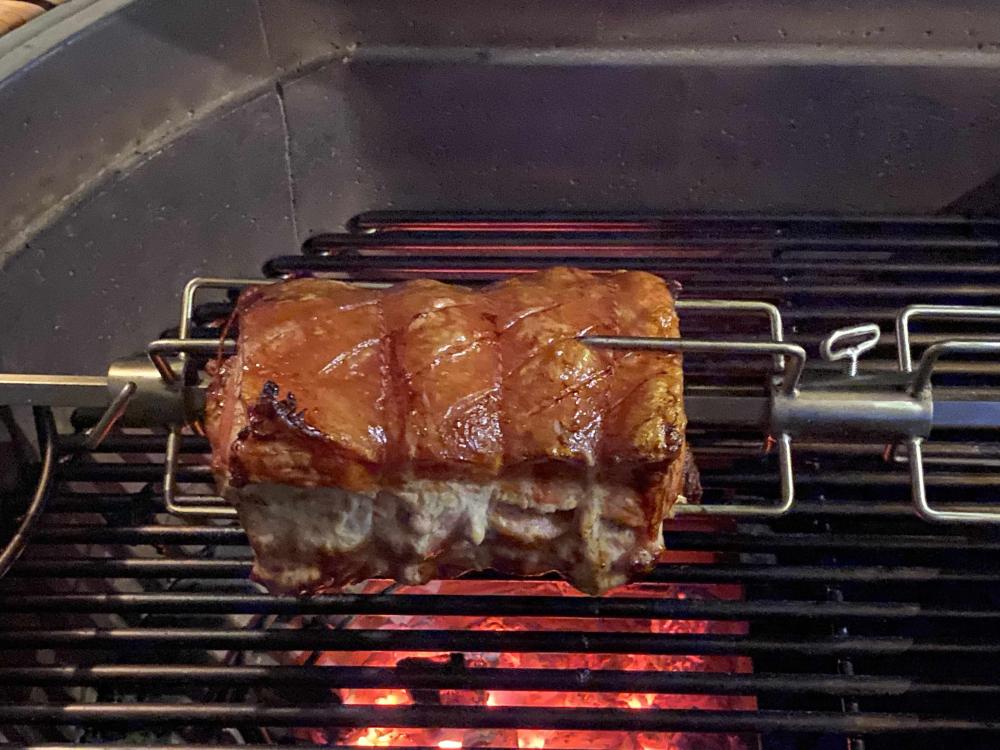
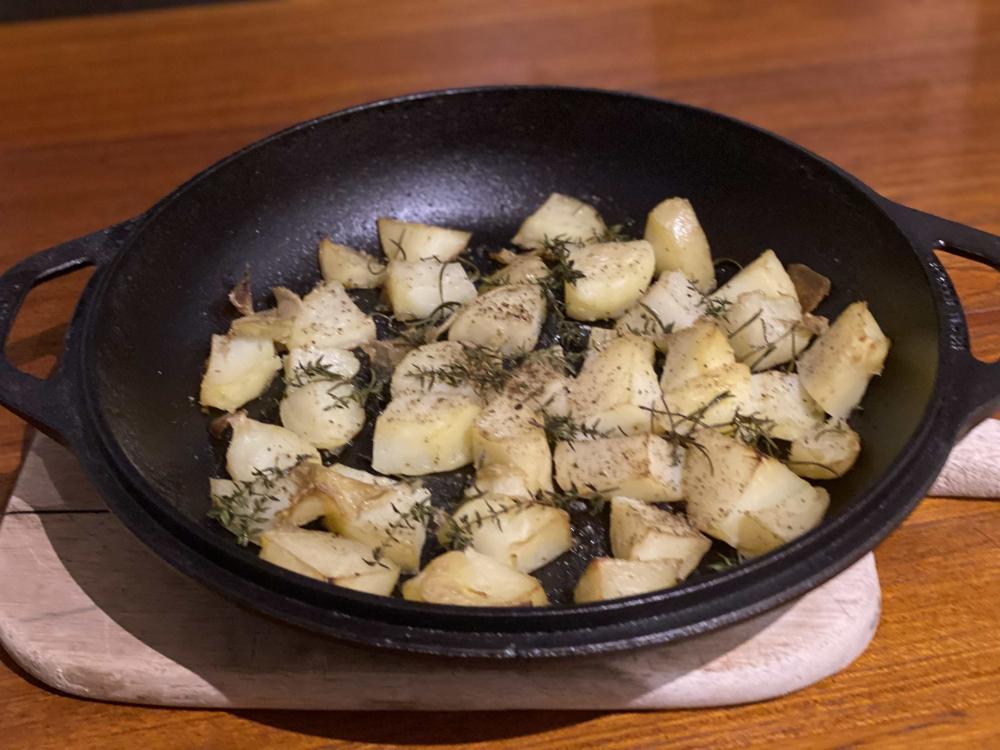
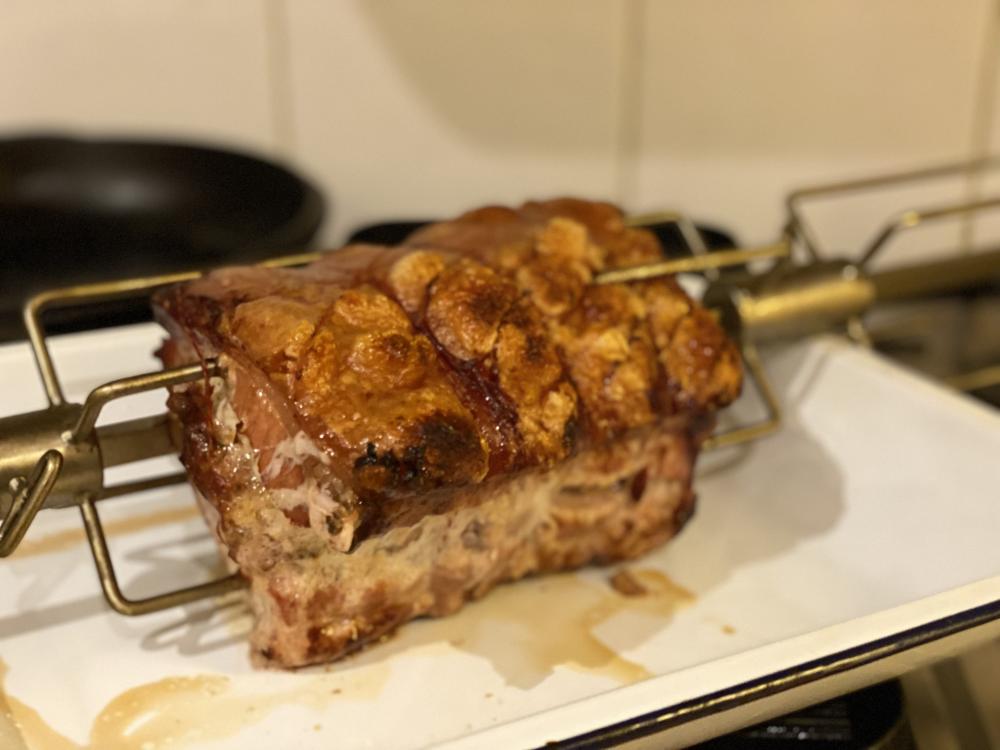
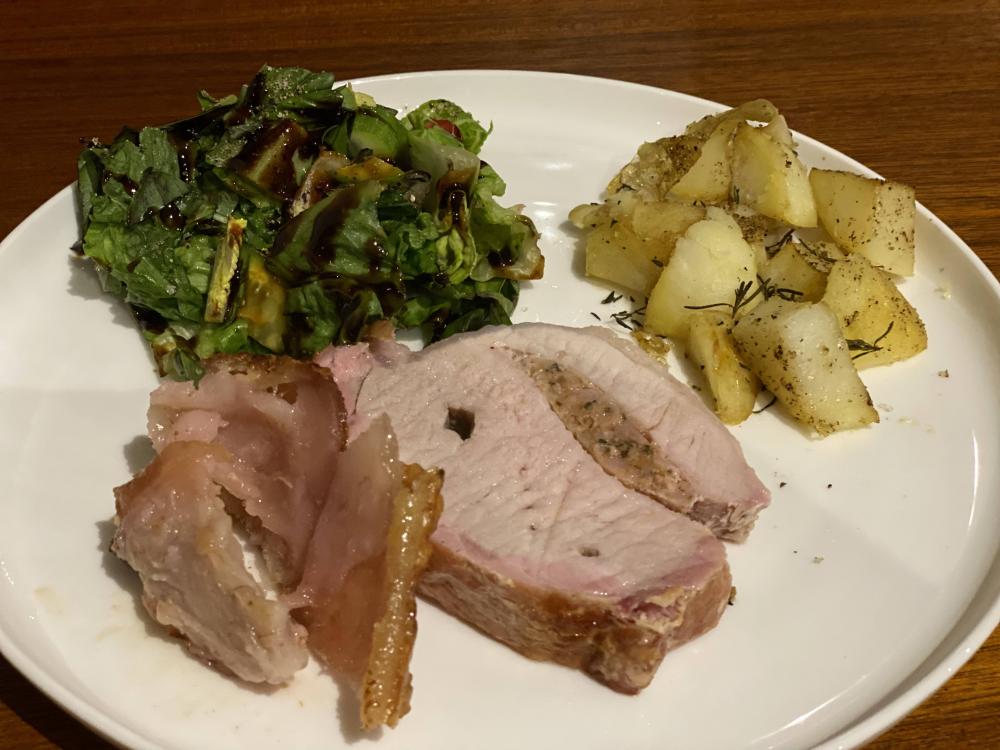
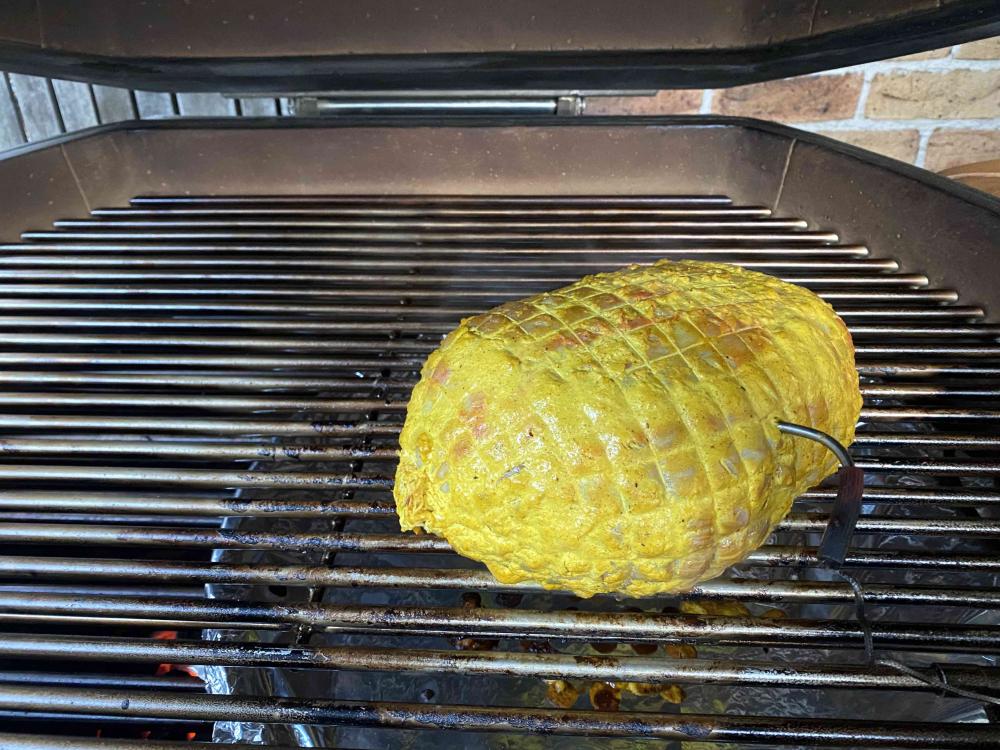
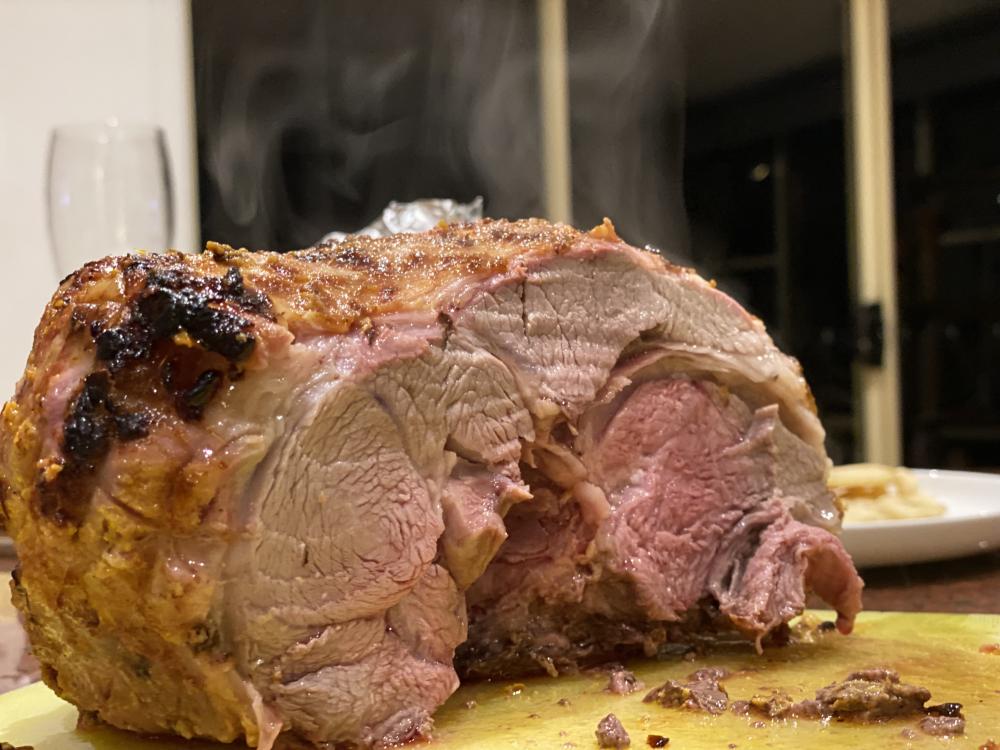
Despite some trouble with fitting the roti motor shaft (see my other post), I managed to knock out my first roti cook and my first porchetta. A bit smaller at 3.5lb (1.6kg)- cooked at 380-400F, direct first 25 min, 40min with drip tray, final 20min without. Superb crackling, and so juicy inside. Simple potatoes on the KK with thyme, rosemary truffle oil. Green salad. Happy days!!! Now to figure out the issue with my roti motor shaft.... IMG_2832.mov
-
Thanks for this great video- setting up for the first Roti cook today- but am a bit stuck with the fitment.... my supplied motor shaft seems too long; and I can only just get things to barely hang together (photo attached). Can't see what I've done that's any different than your video, but my motor shaft protrudes much to far to easily slot the motor on?
-
Looking great- out of interest why would you ever use a drip pan underneath a solid stone? To reduce the direct heat on the underside of the stone?
-
Thanks- those are great tips. I was figuring on a 70-80 minute cooking time, a bit like a Roti chook at this size.
-
That looks amazing- I've decided to give porchetta a try this weekend, but have purchased a considerably smaller one (1.5kg; 3-3.5lb). Was hoping to try my first Roti cook with it; should I aim for similar temp, but a bit less time? Trying to get my head around planning the cook....
-
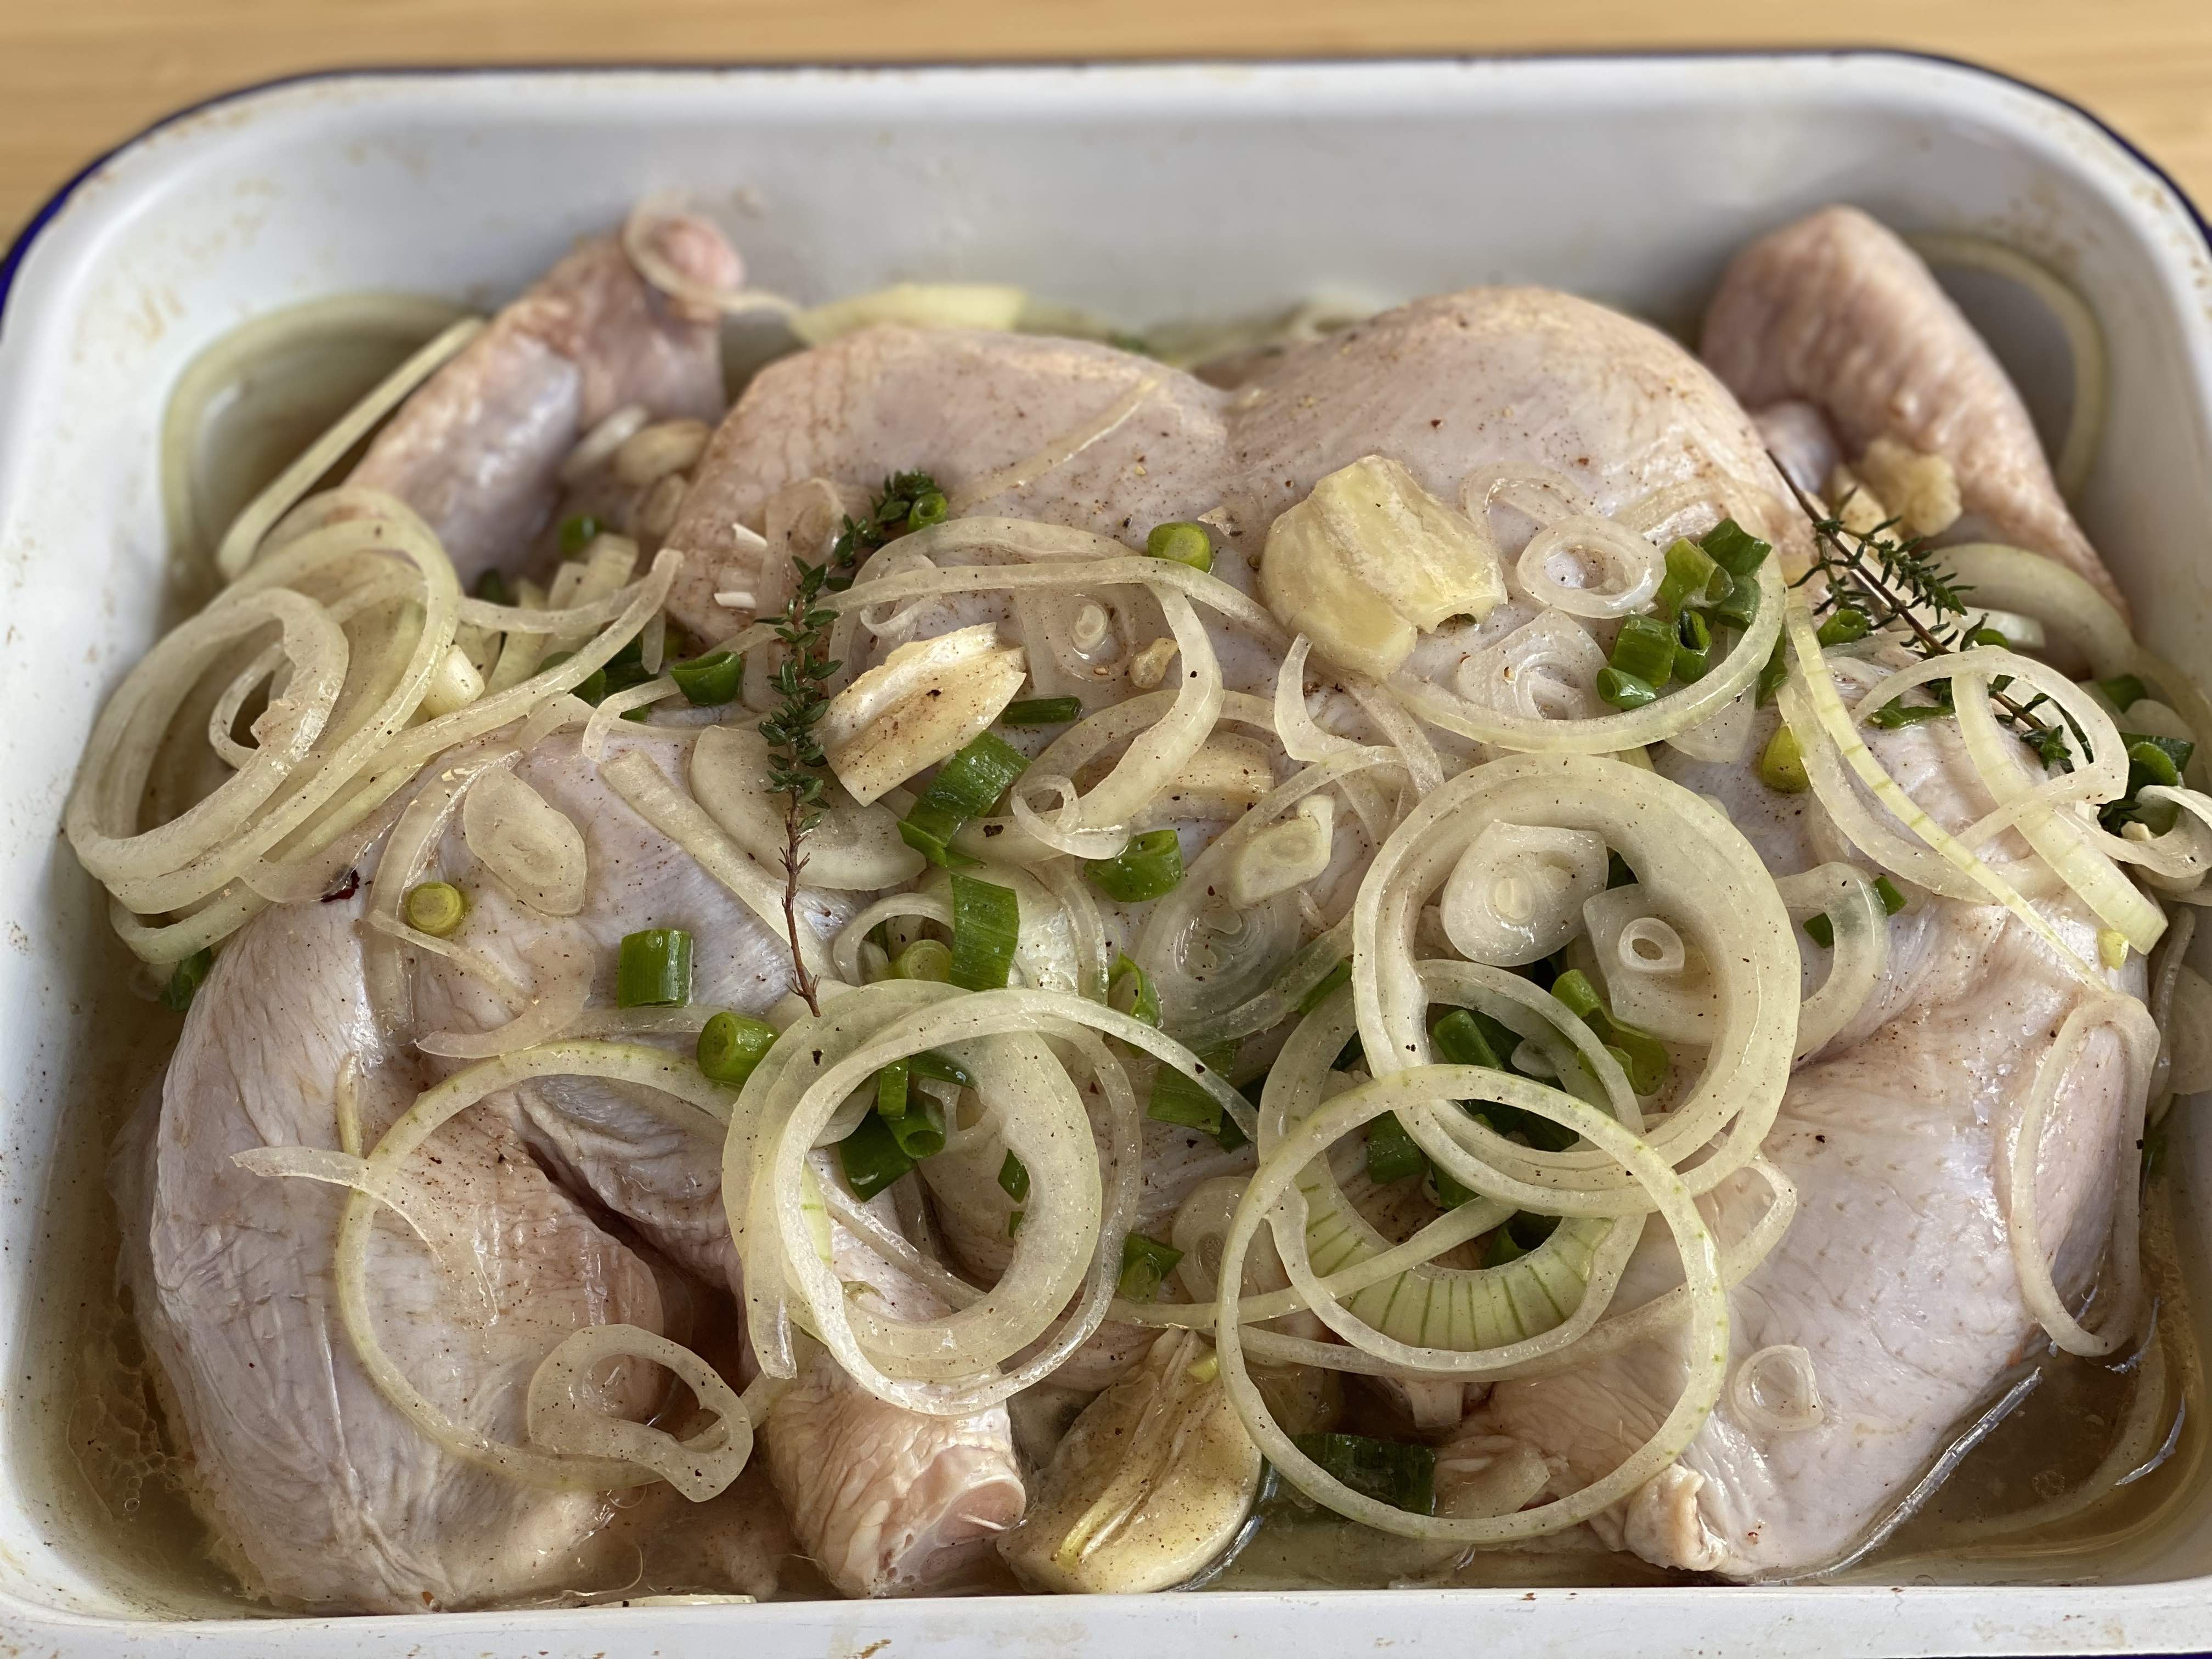
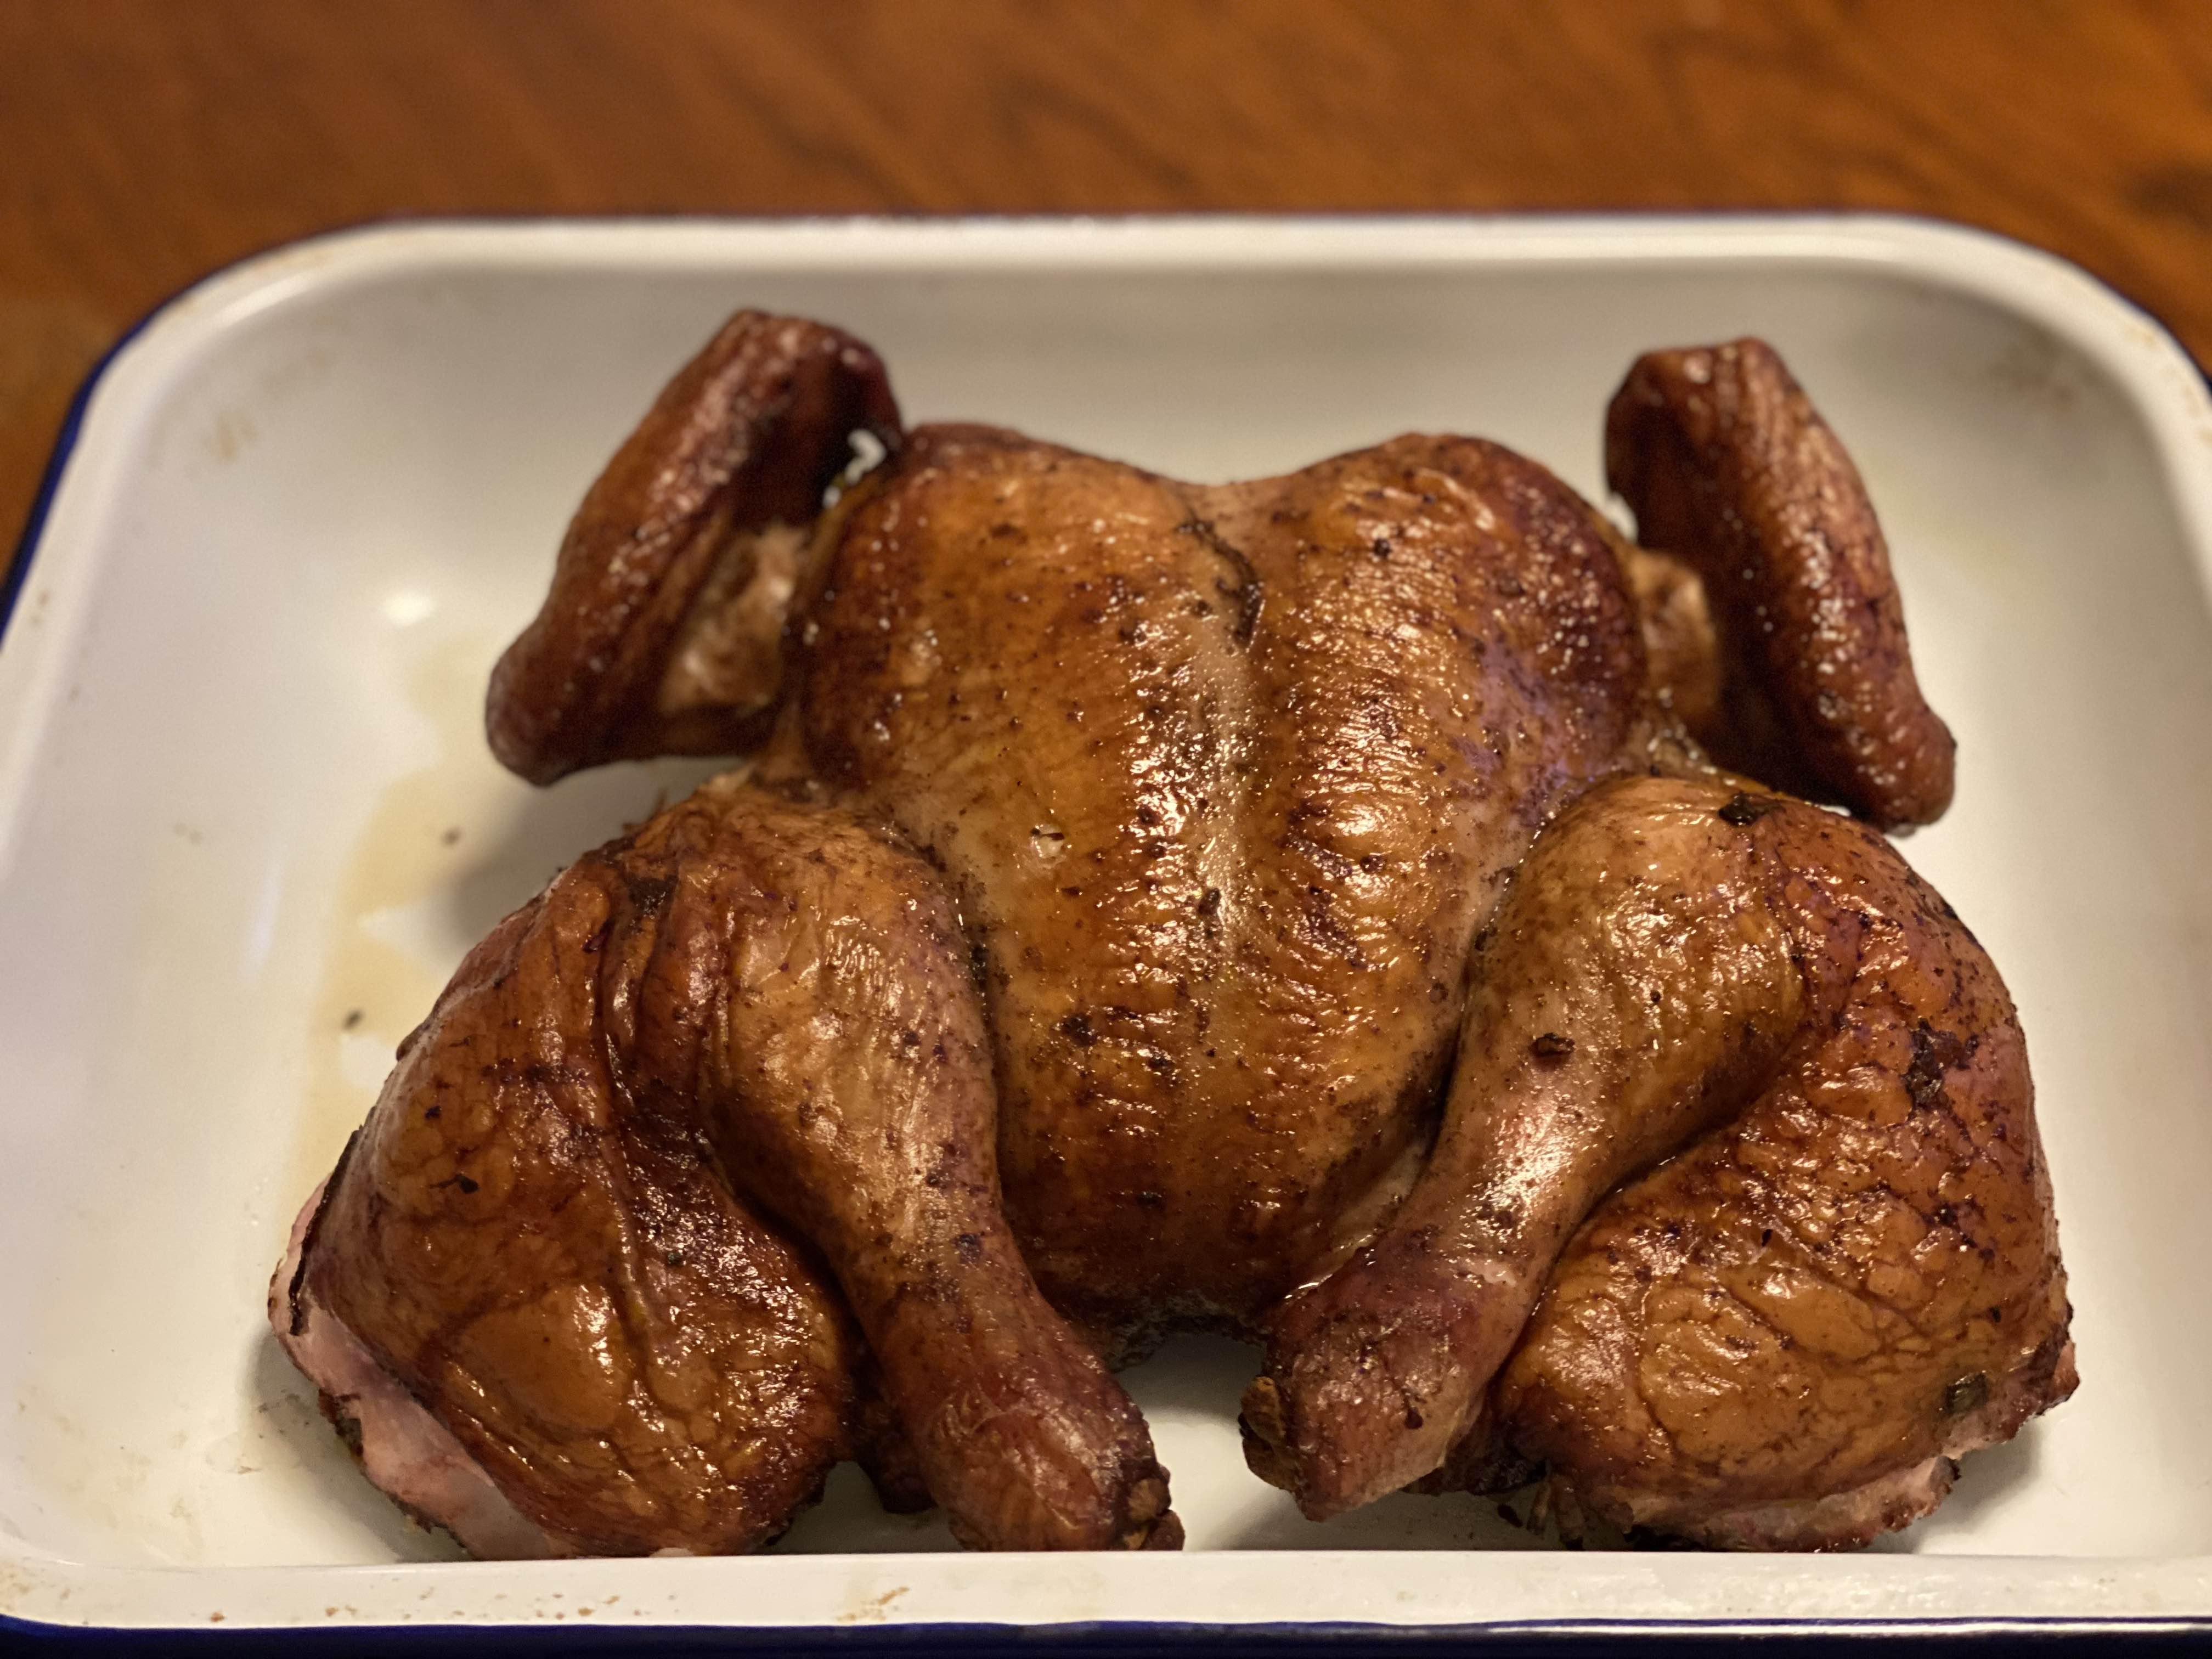
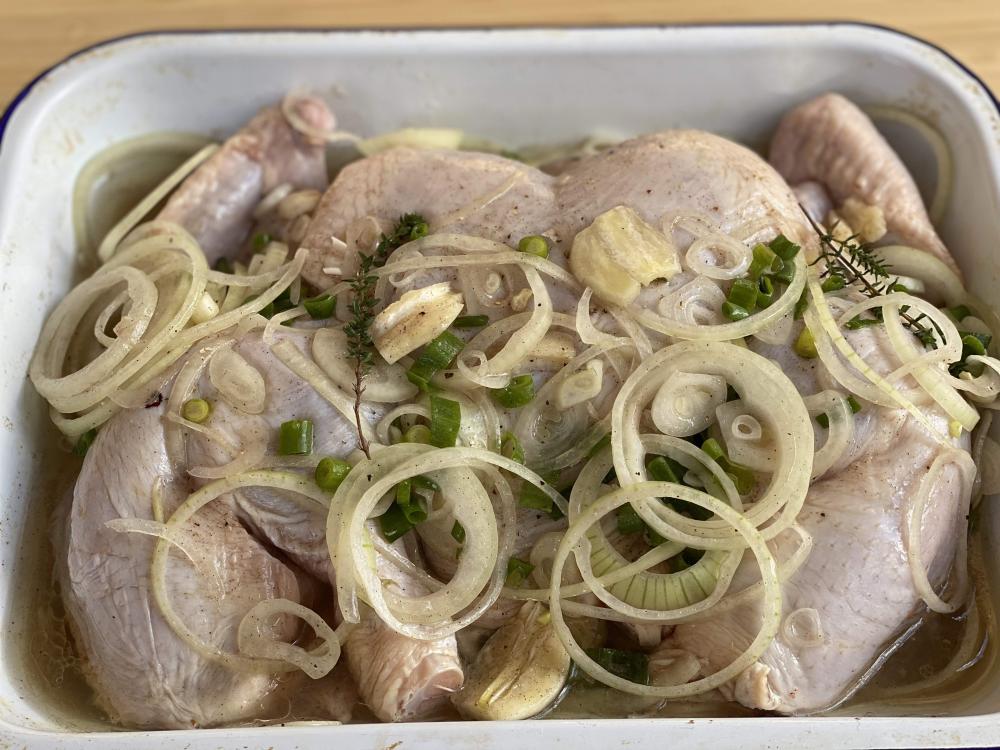
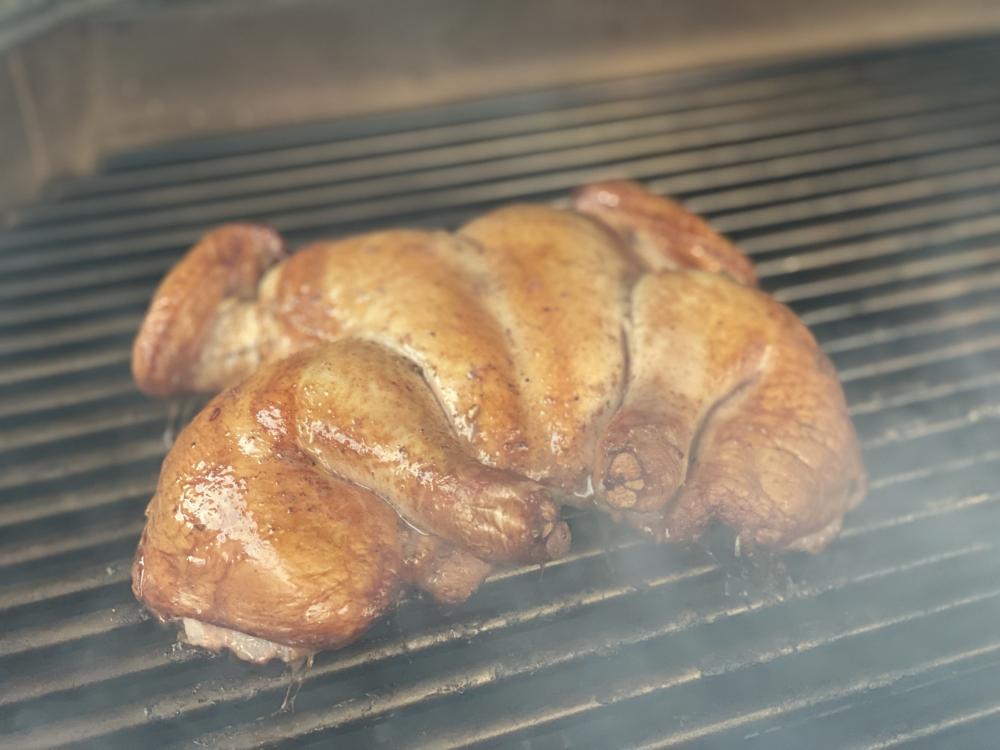
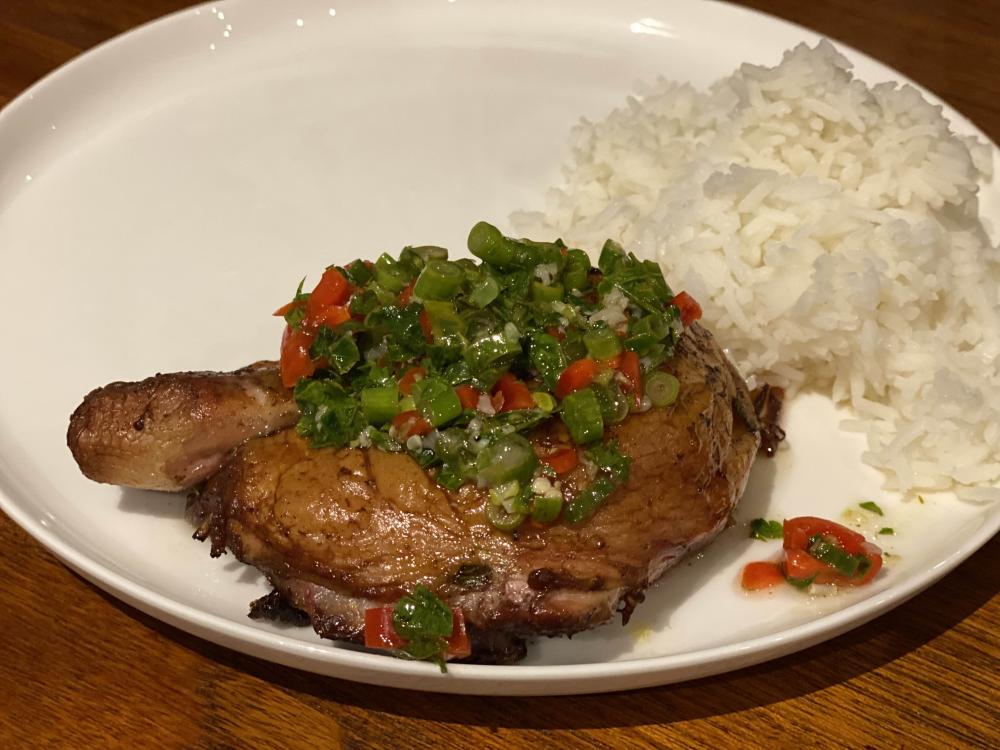
For Sunday dinner, first attempt at a spatchcocked chicken. Decided on the buccaneer chicken from Steve R's project smoke; couldn't track down sugarcane so smoked over peach chunks instead. 1hr 45min at 300F, no flipping, basted every 15min - super crisp skin. Superb.


-
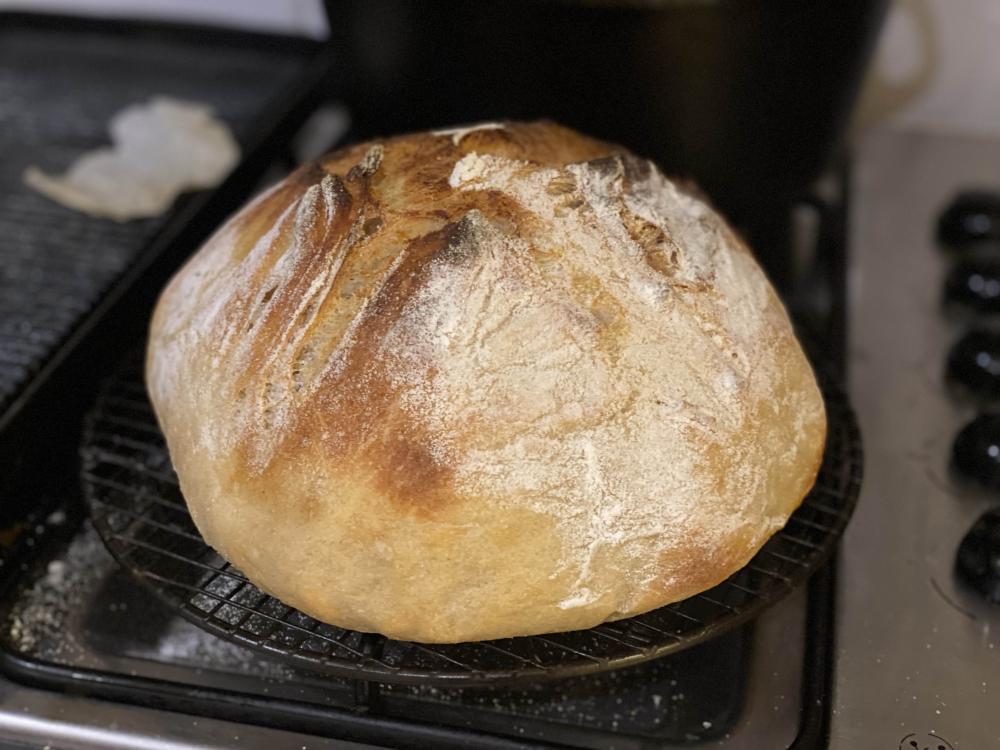
First time using my KK for simple grilling for a quick family dinner- sausages for the kids; scotch fillet steak for us with my home baked sourdough... sensational- even for basic grilling the results were perfect. The kids commented that the sausages were juicier with a crispy skin. Considering giving the KK a crack for the bread- but having got things well dialled-in in a cast iron dutch oven I'm not sure whether to bother?

-
Thanks all- so sounds like for the next attempt I'll be careful to clear out all old ash, and pay more attention to size and distribution of lump. Great tips.
-
Thanks- so would you remove/ disassemble the basket splitter when cooking pizza? I honestly thought 50% split with it filled up would have been sufficient. Still had leftover charcoal in there after the cooking session- despite being unable to nudge the temp any higher than 400…
-
Hi all, I've just done my second round of pizzas, which although yummy, were cooked at only 400F. I has this temp trouble last time as well. On this occasion, I was more aggressive with the weed burner, and lit multiple spots in the charcoal basket- top gasket wide open/ bottom vent wide open and pulled out. Had a roaring fire with flames shooting up from the coals (using the basket splitter in the 32" BB with the basket set at 50%). Within 15-20min I was approaching 400F, so decided to put in top grate/ pizza stone to give them a proper 1hr+ time to heat soak. But from that point on, despite the top and bottom staying wide open, I never got the dome temp above 400F. Pizzas took 15min+ to cook, so have no reason to believe the temp was any higher- but at this cooking time and temp, no great advantage over using my oven... So- what should I change next time? Do I need a full basket (no splitter) to achieve 500F with a pizza stone in a 32"BB? Or should I only put in the stone/ top grate once I'm already at 500F dome? Appreciate any tips Thanks Remi
-
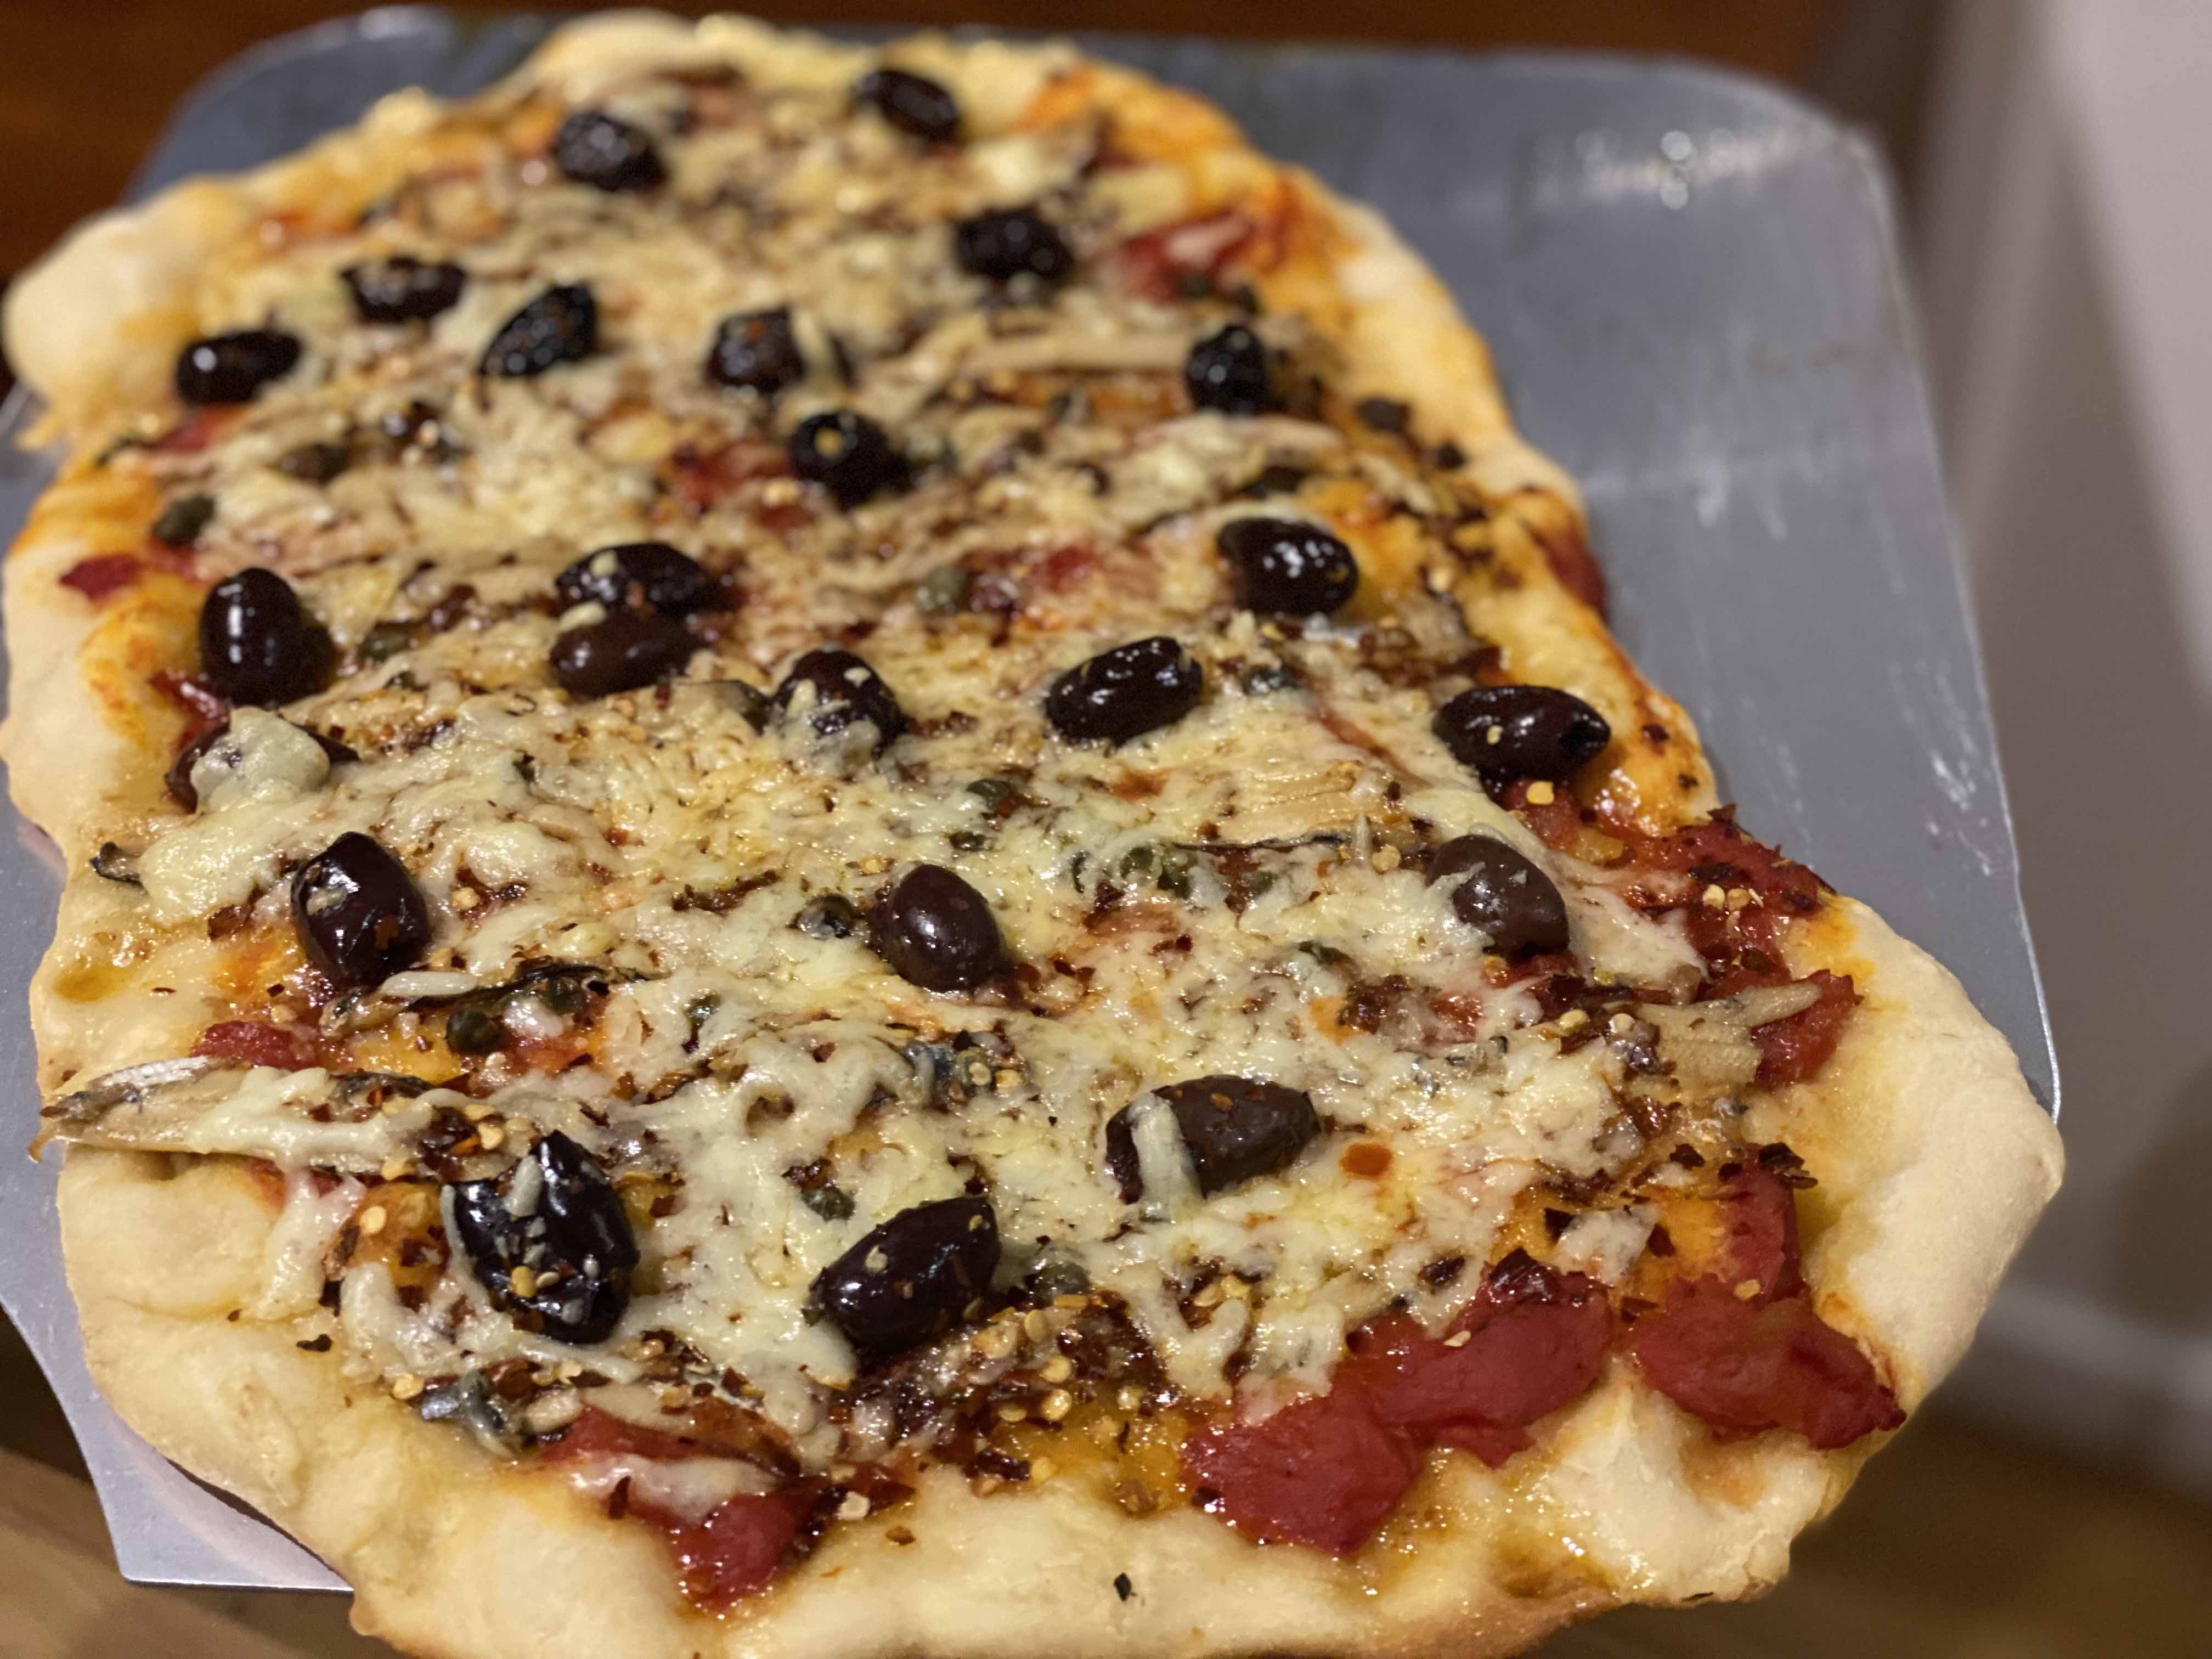
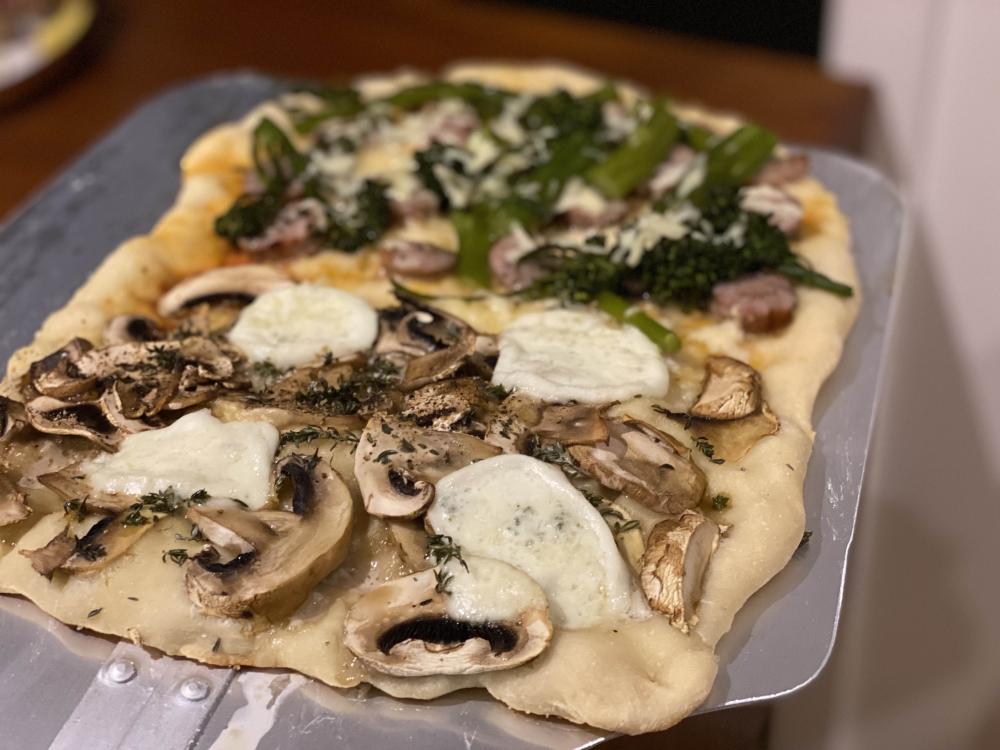
Pizzas here again for a Friday night- ham/ cheese for the kids; puttanesca with anchovy/olive/capers chilli; mushroom/thyme/garlic/fior di latte for us. Very yummy- but still having some trouble cranking the heat- will post a separate thread...


-
Sensational- what a great meal!
-
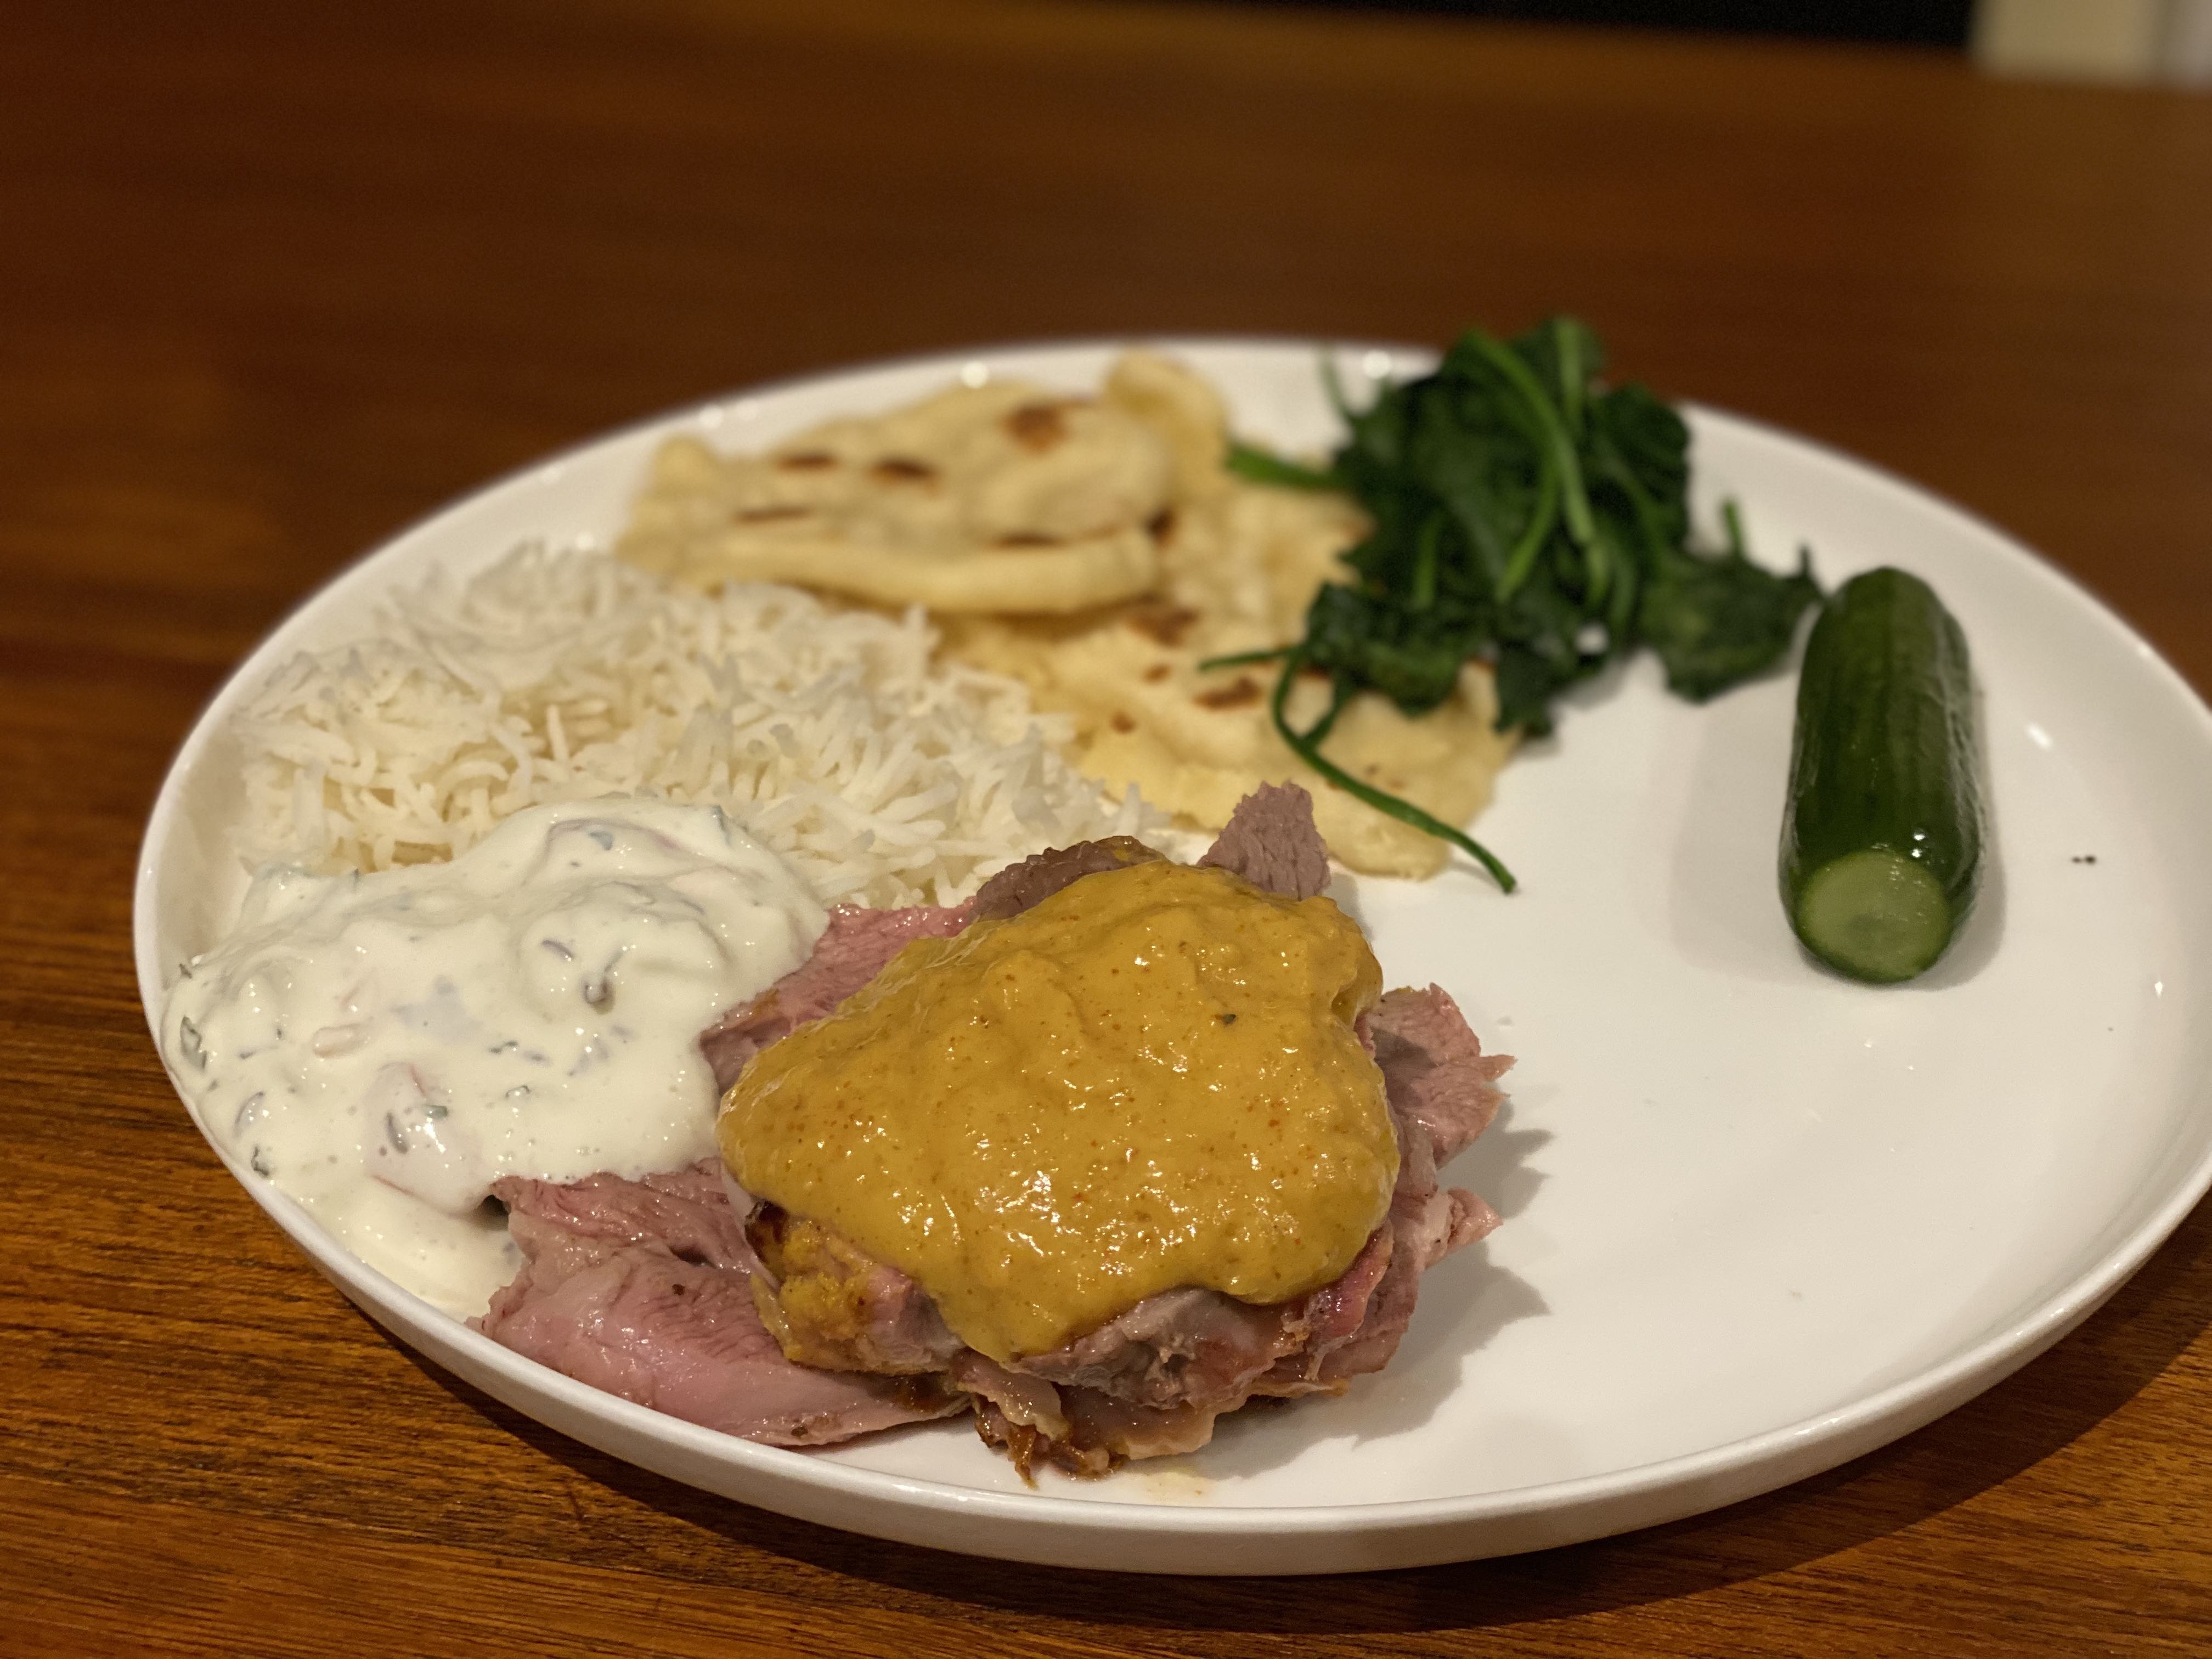
Keeping with my theme of trying something different each time; KK dinner number 5 was tandoori leg of lamb. Around 2.7kg. Took 2 hrs at 400F to get to medium rare. Served with raita, pickles, rice, homemade naan and mango hot sauce al la Steve R. Wife claims this one was the best yet- although the other 4 were mind-blowingly good. God I love this thing!


-
That crane shot is amazing- congrats!
-
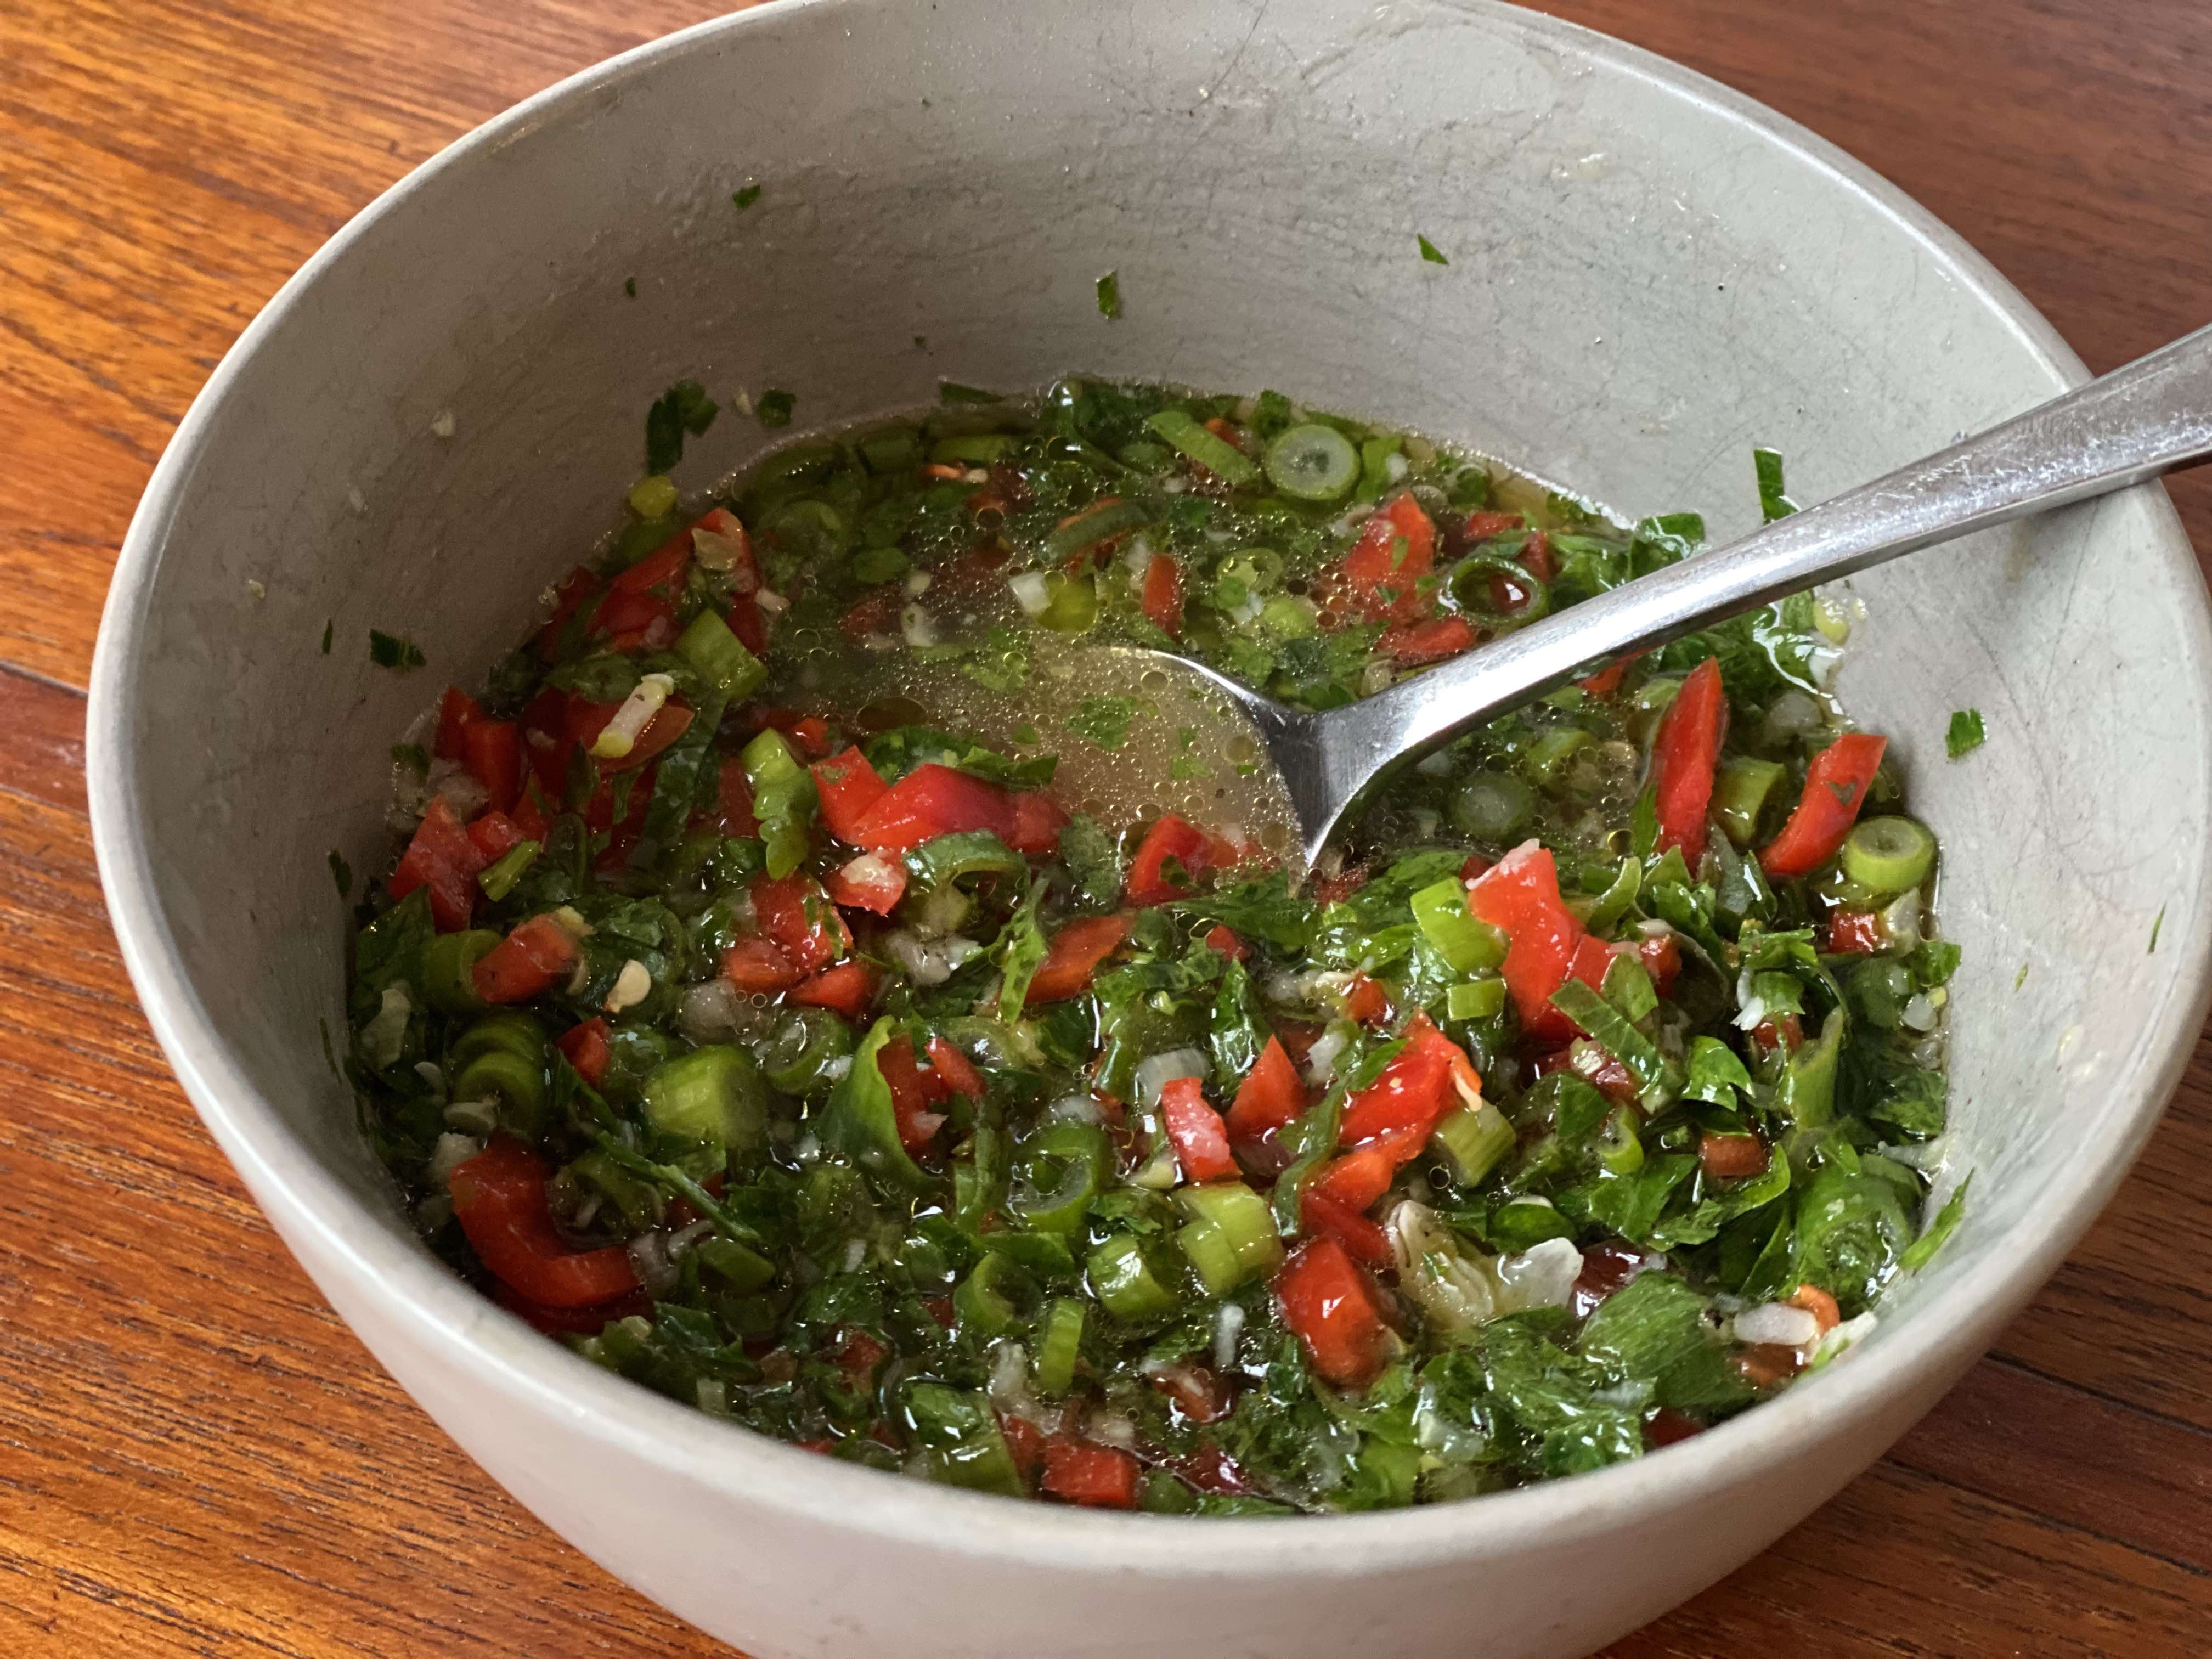
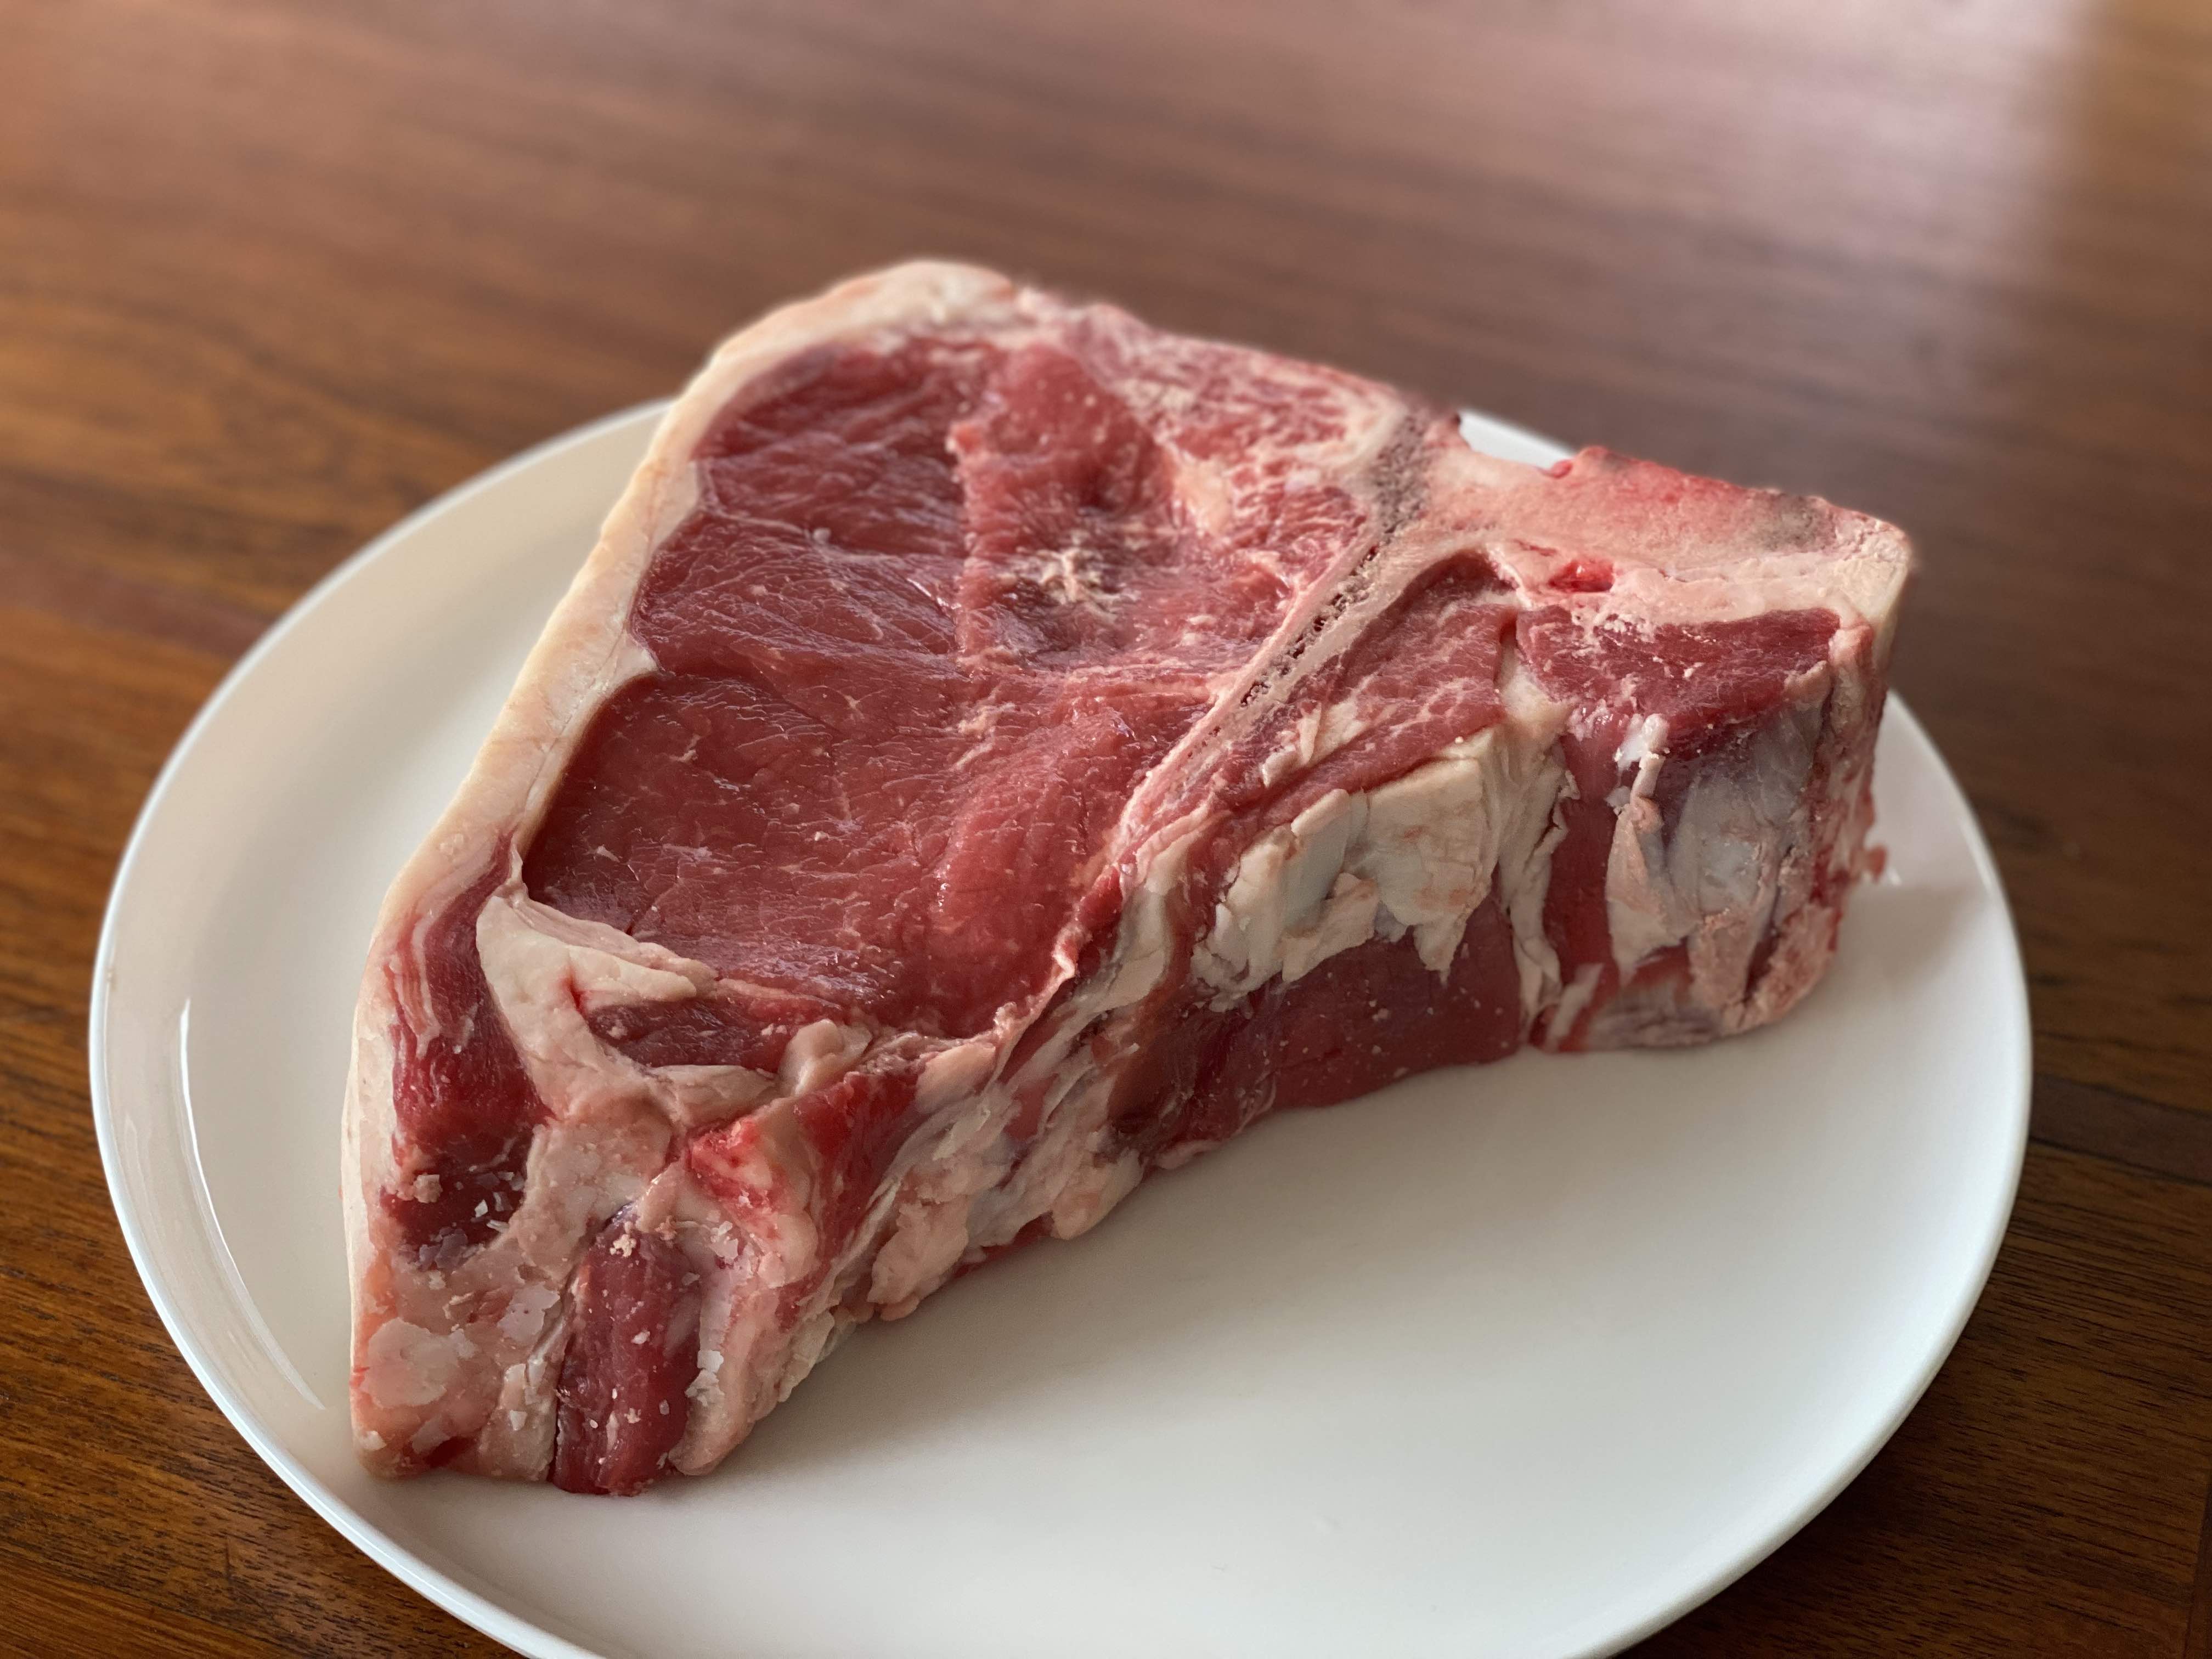
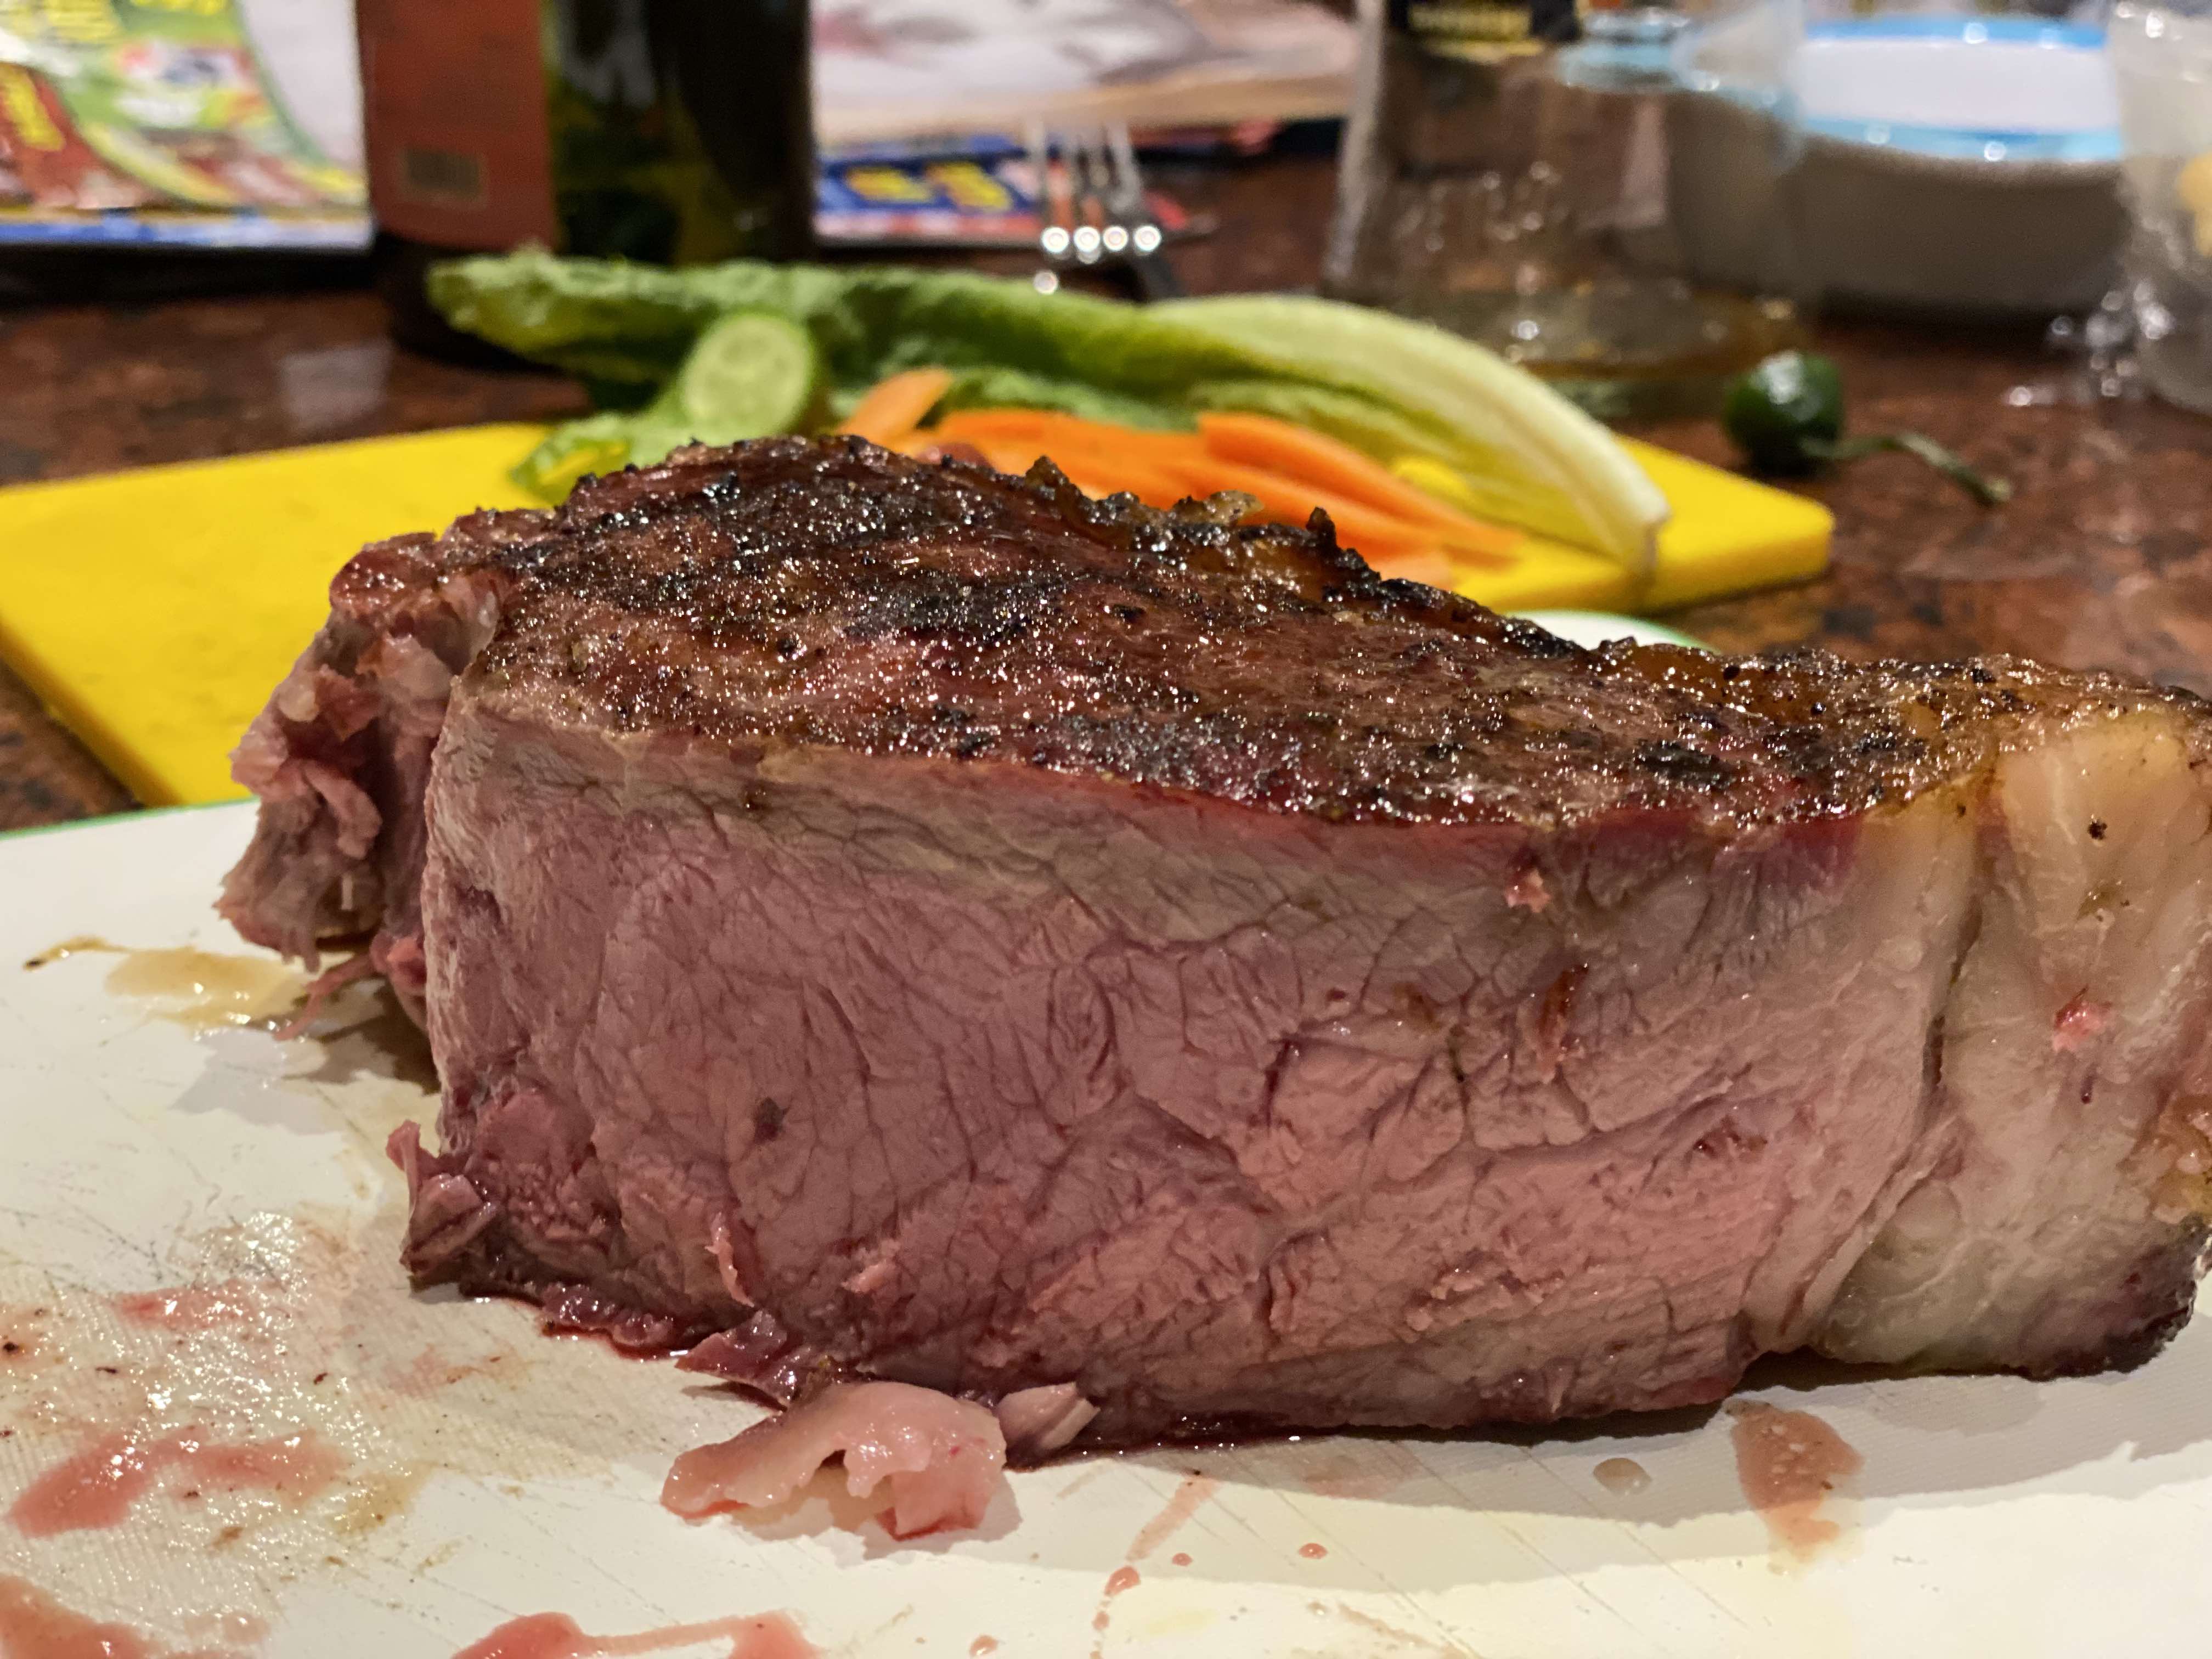
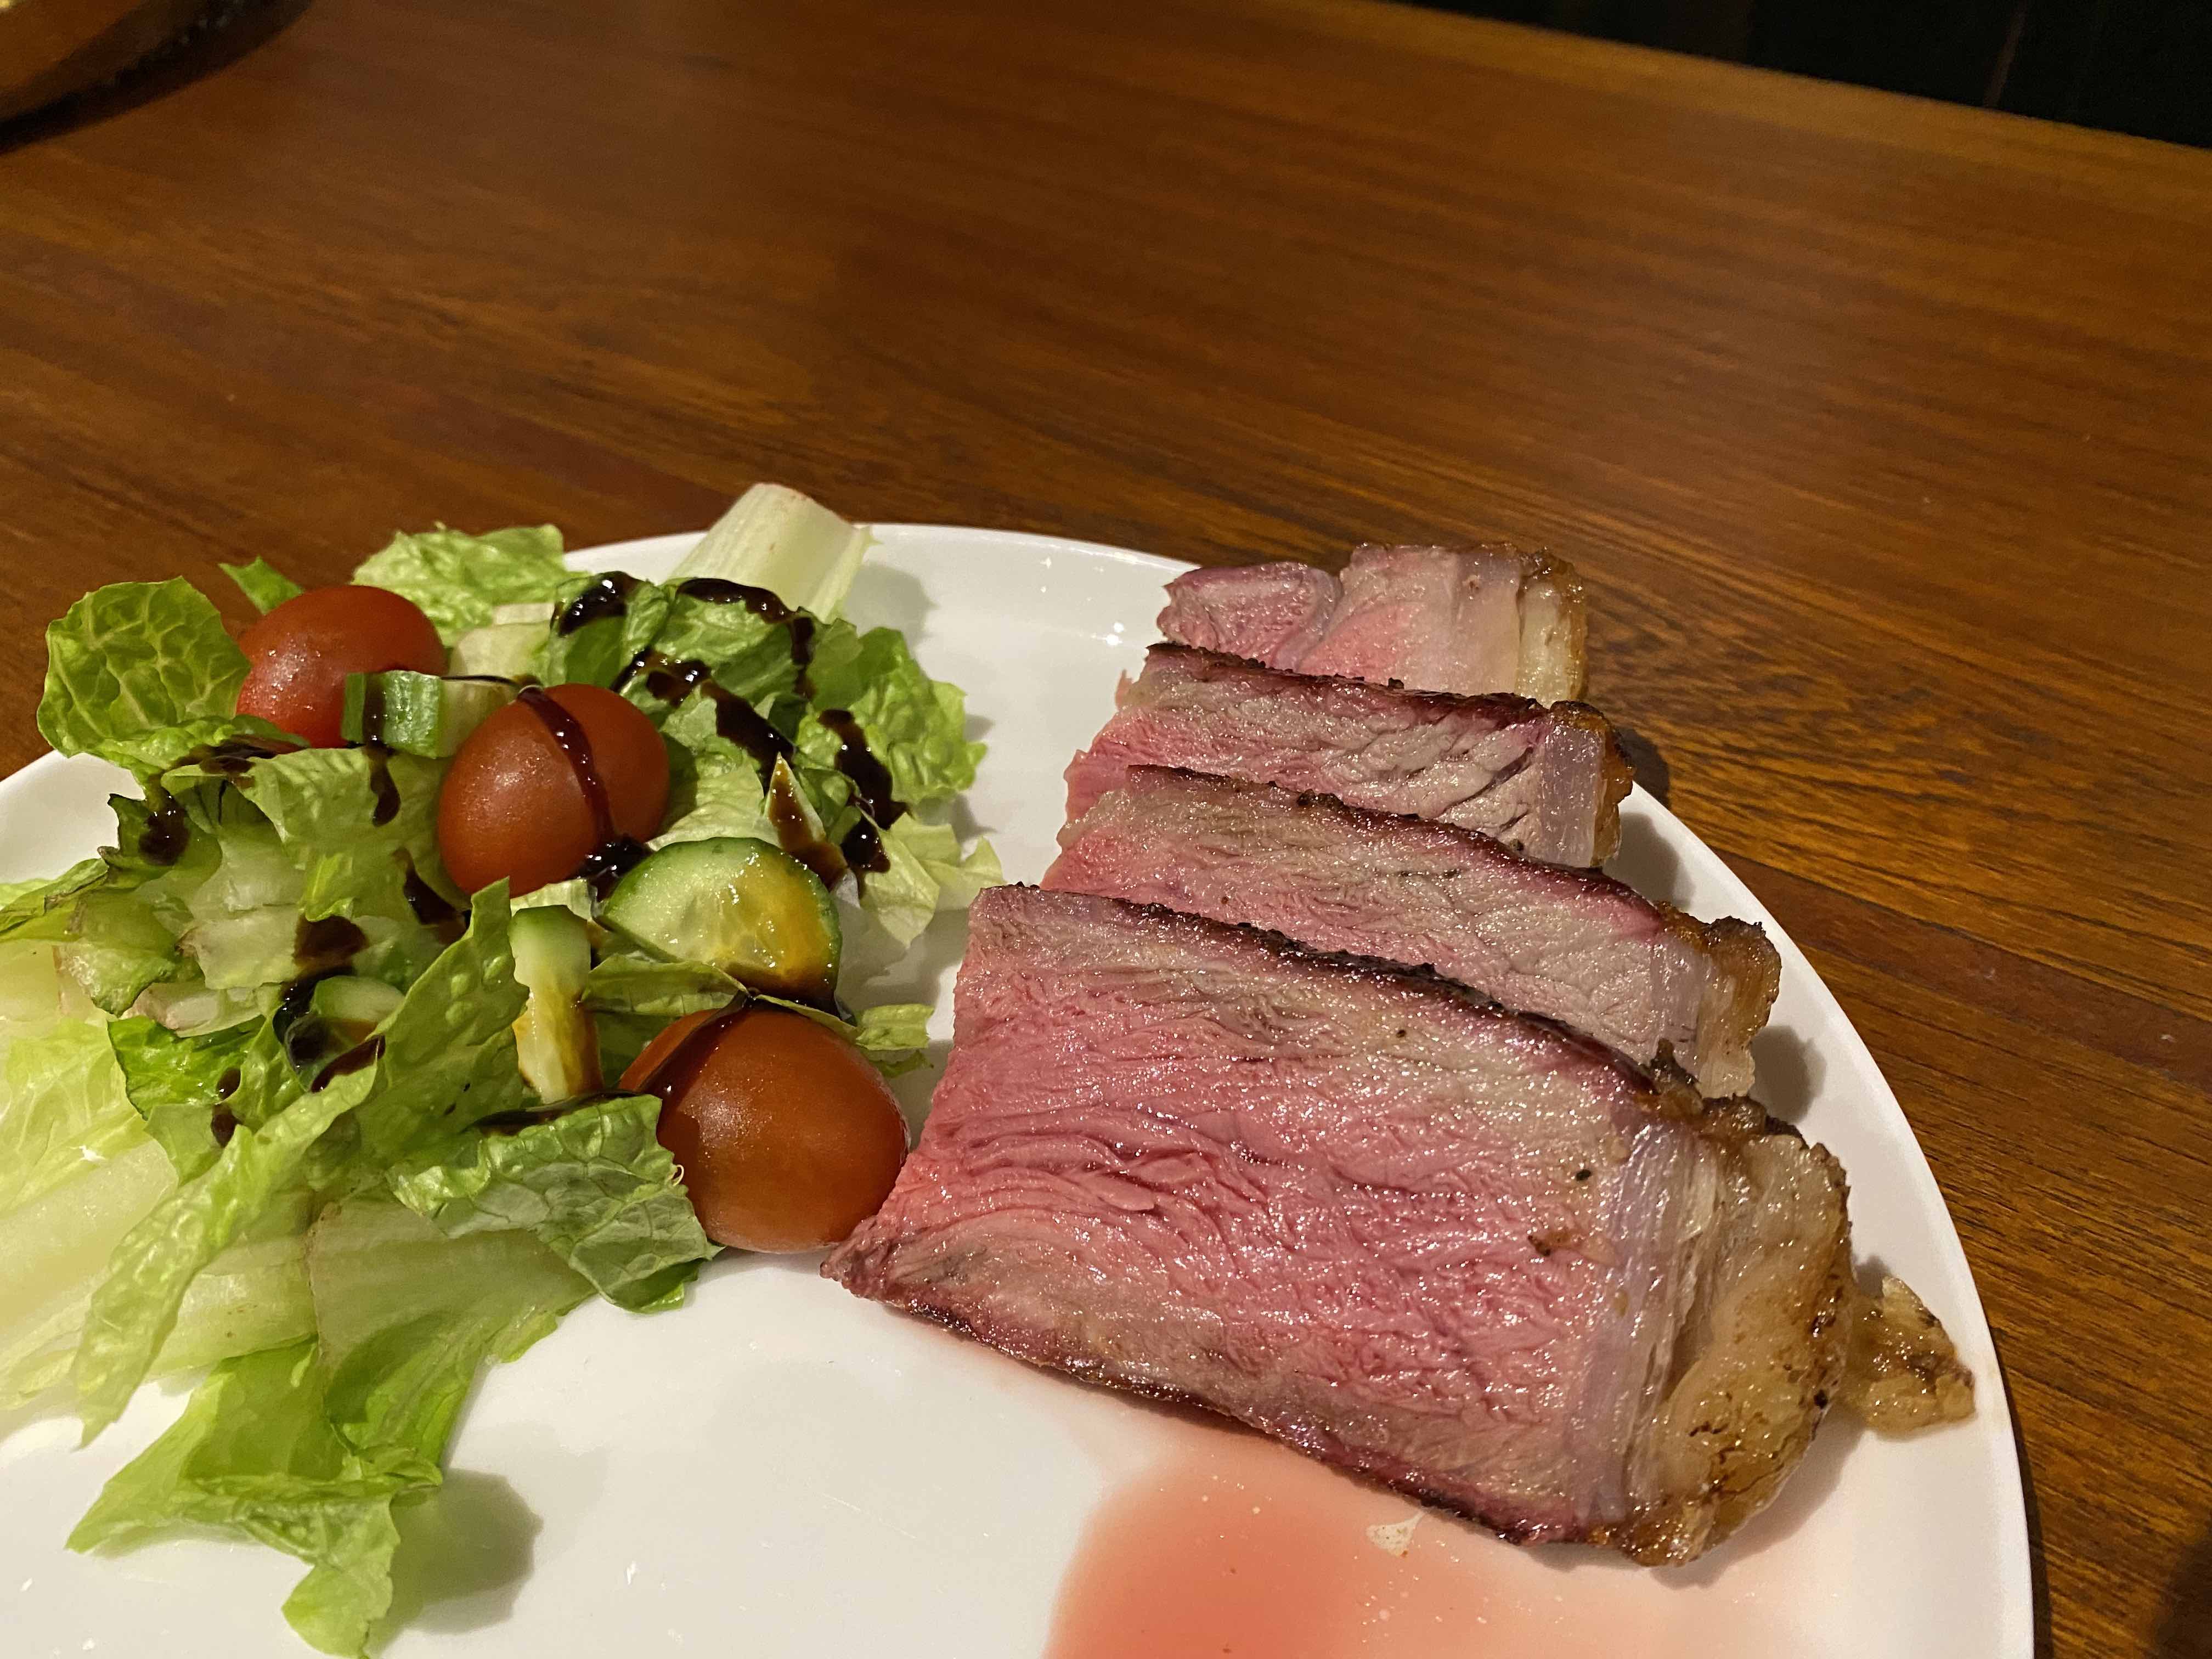
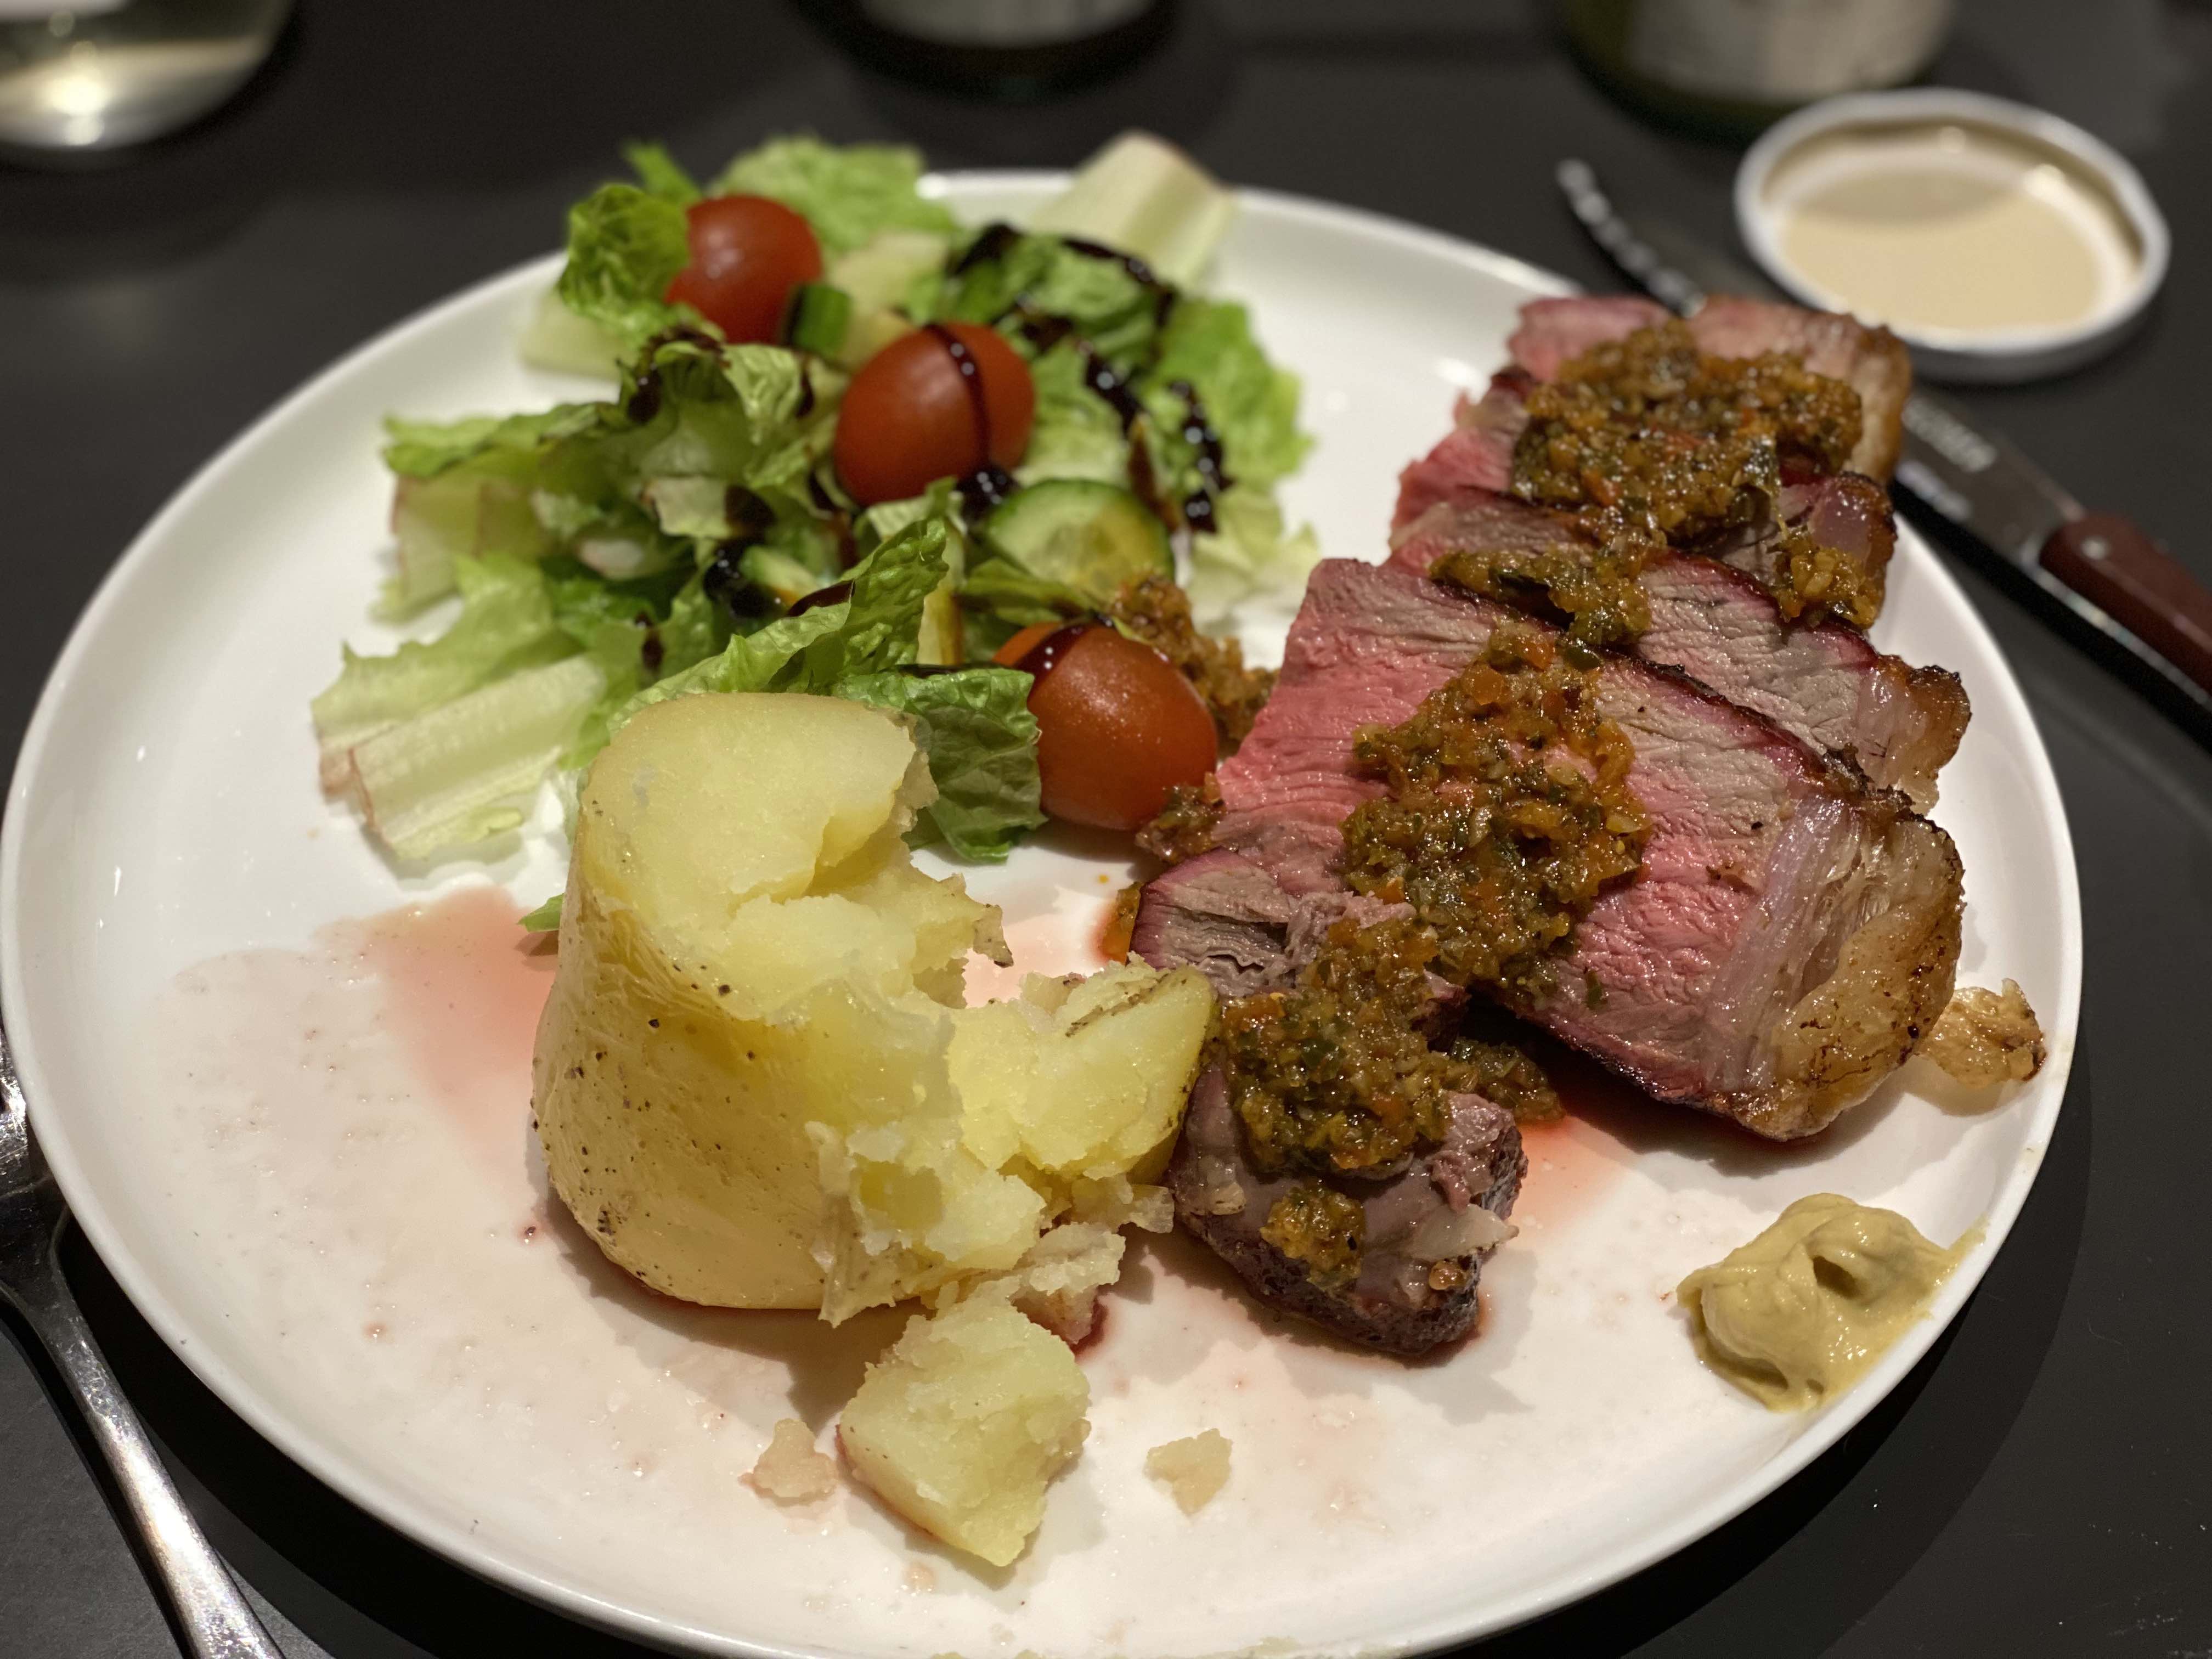
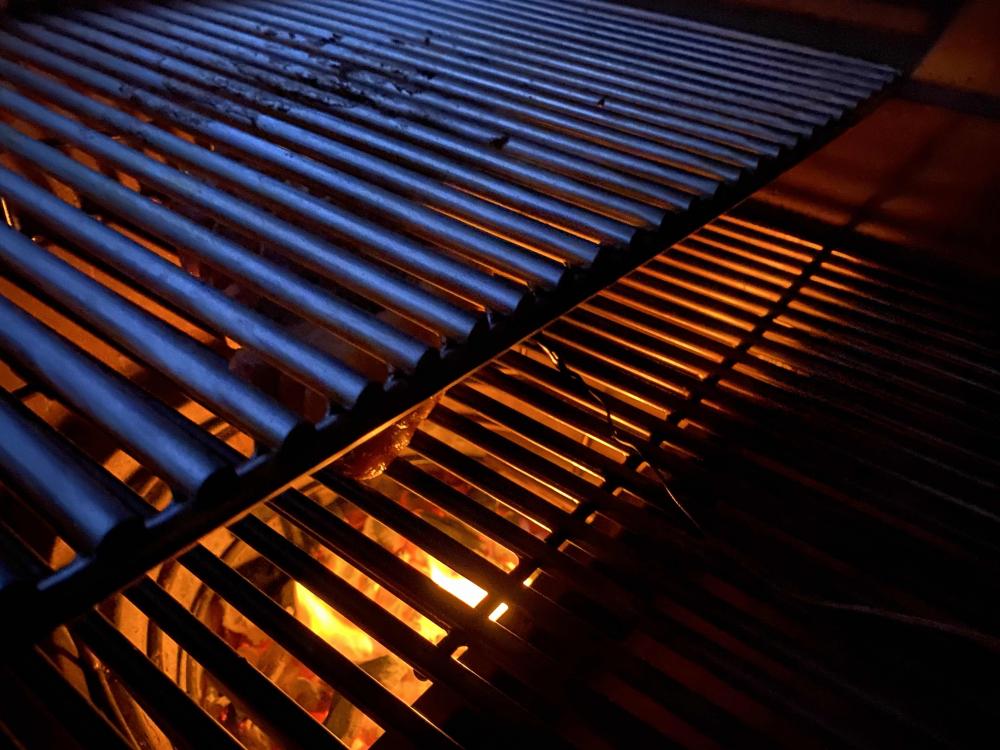
Tonight- Bistecca Fiorentina. My first attempt at a slow cooked reverse sear steak. Around 1.1kg. Simple salt and pepper seasoning. 225F for 1hr 40min until internal temp was just about 50C; cranked up the heat while the steak rested for 20min. 5min sear on each side (2min 30sec x4 with 90 degree rotations), 54C when I pulled it off. Few foil baked potatoes (in the KK for the whole cooking time), simple salad and chimichurri. Best steak I've ever made at home bar none- no contest. Flavour, crust, and even a smoke ring despite no wood chunks/ chips etc. I am amazed- four very different meals/ meats/ cooking styles thus far, and all of them ridiculously good....


-
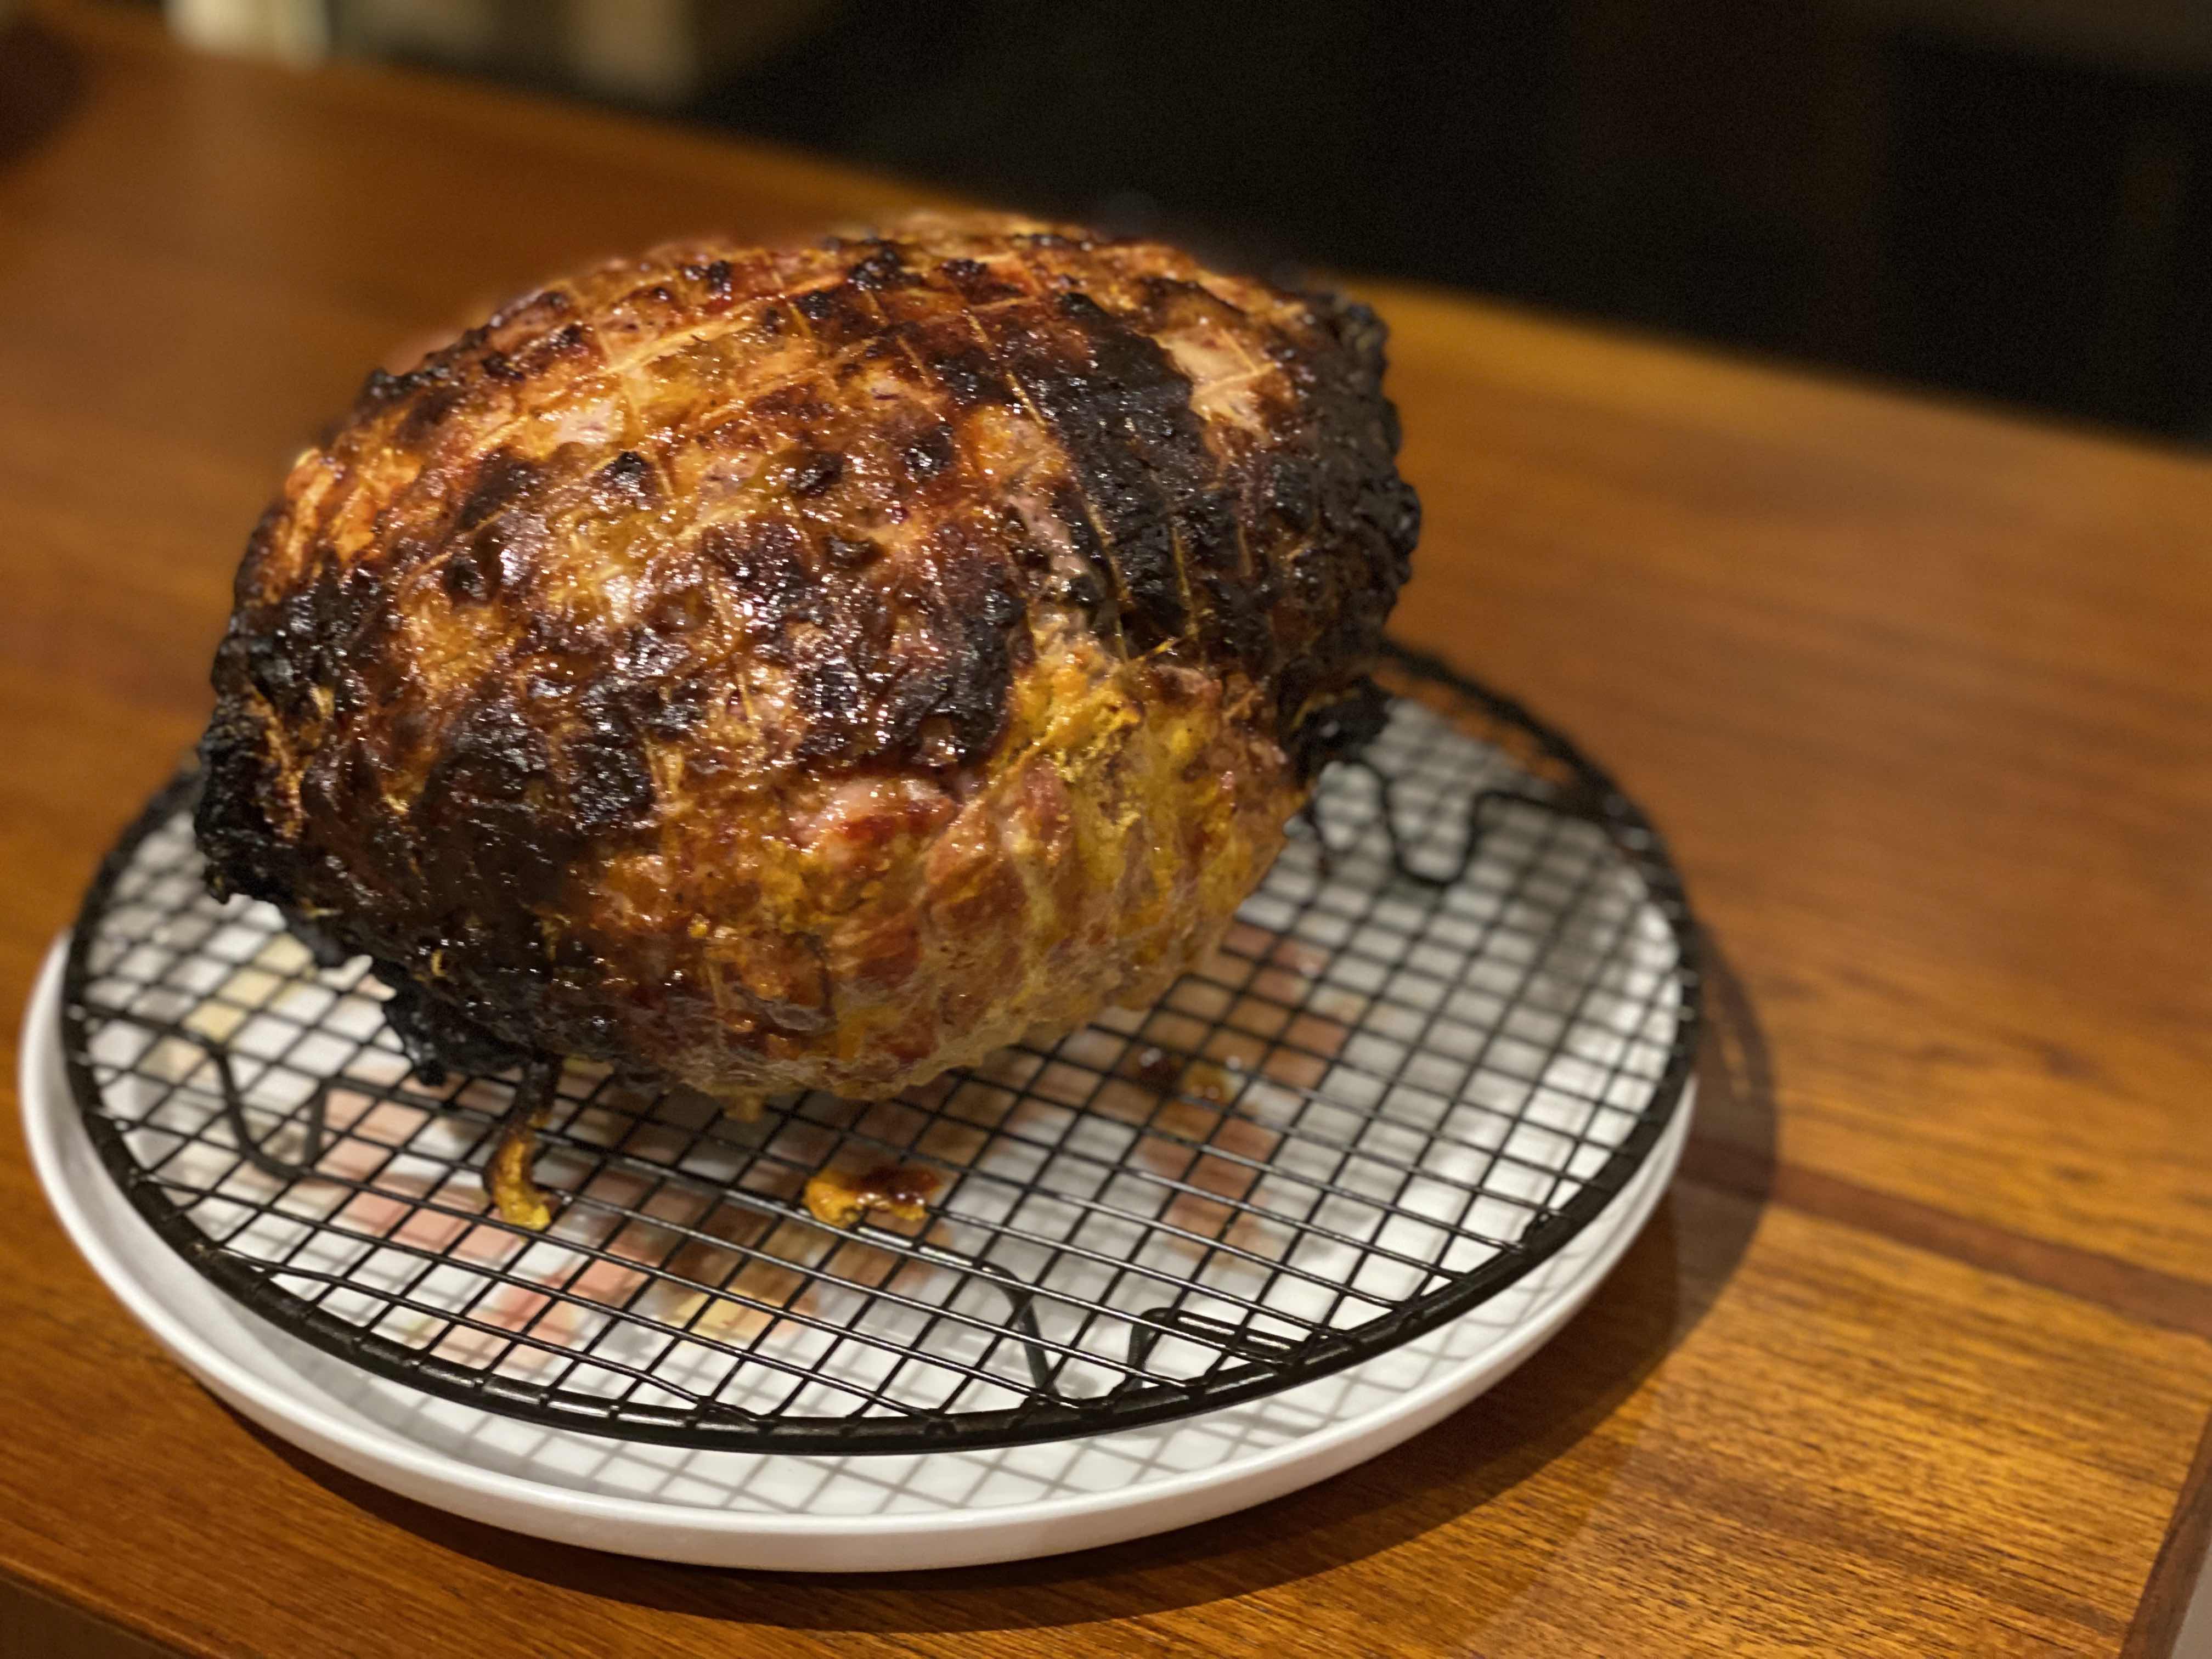
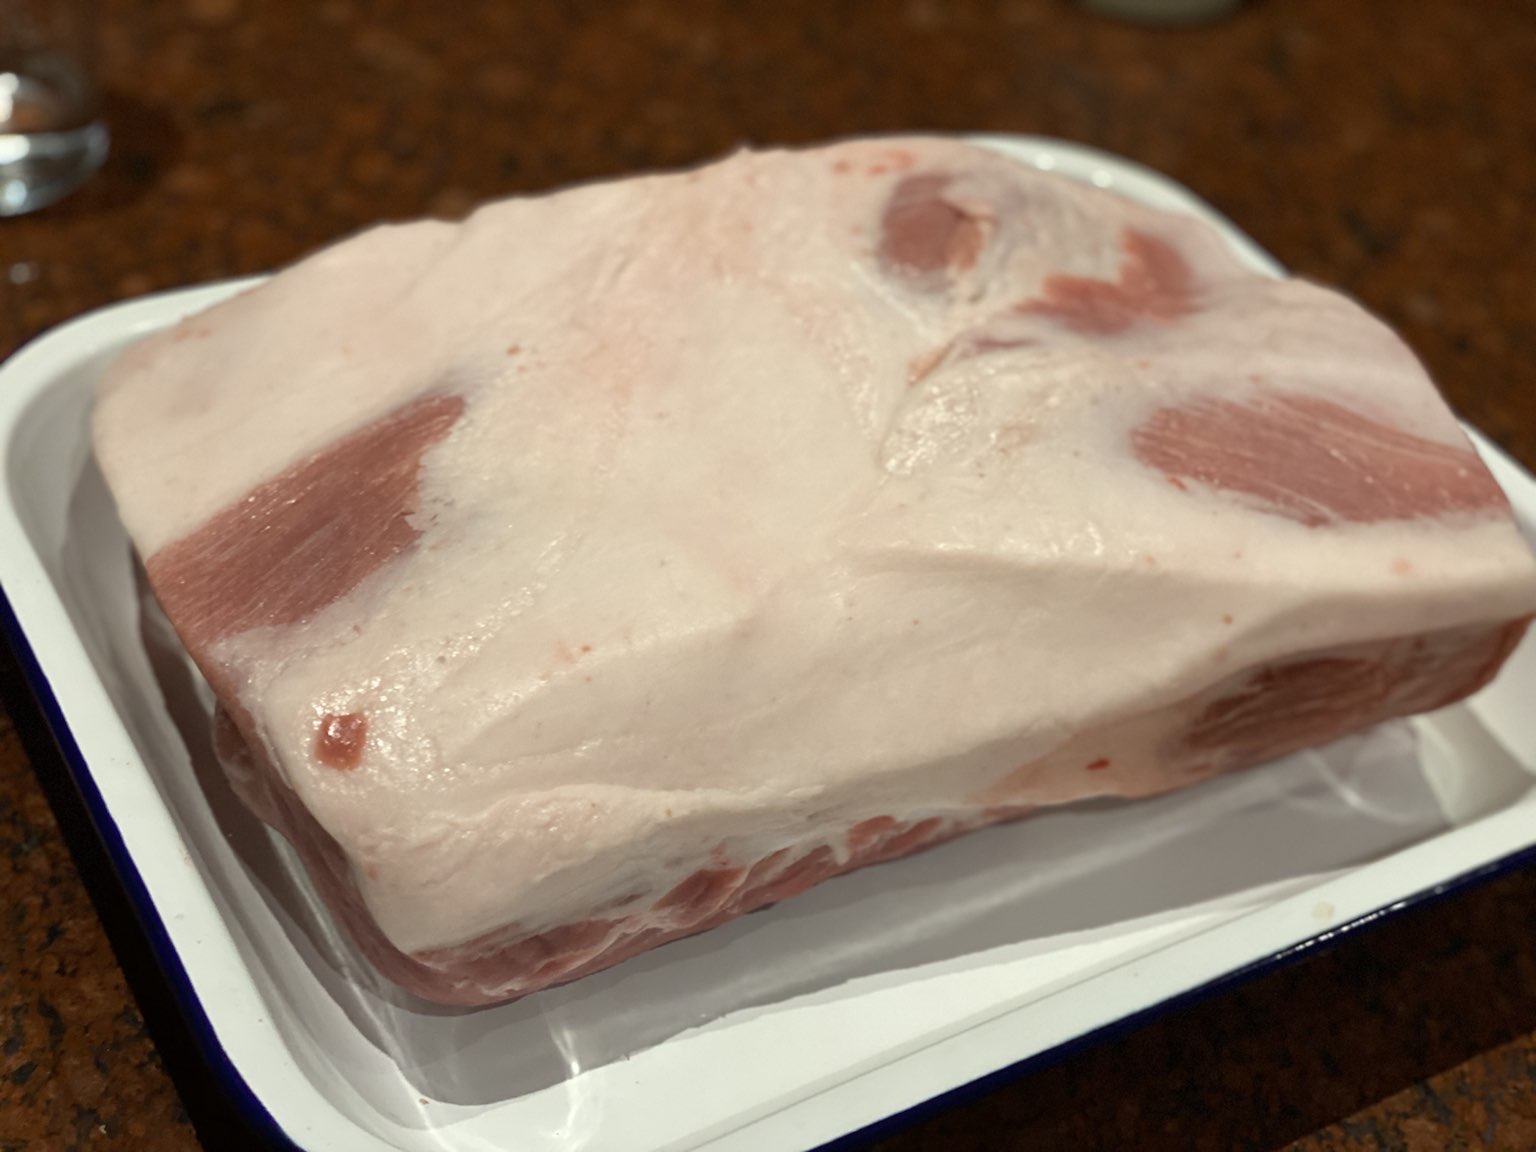
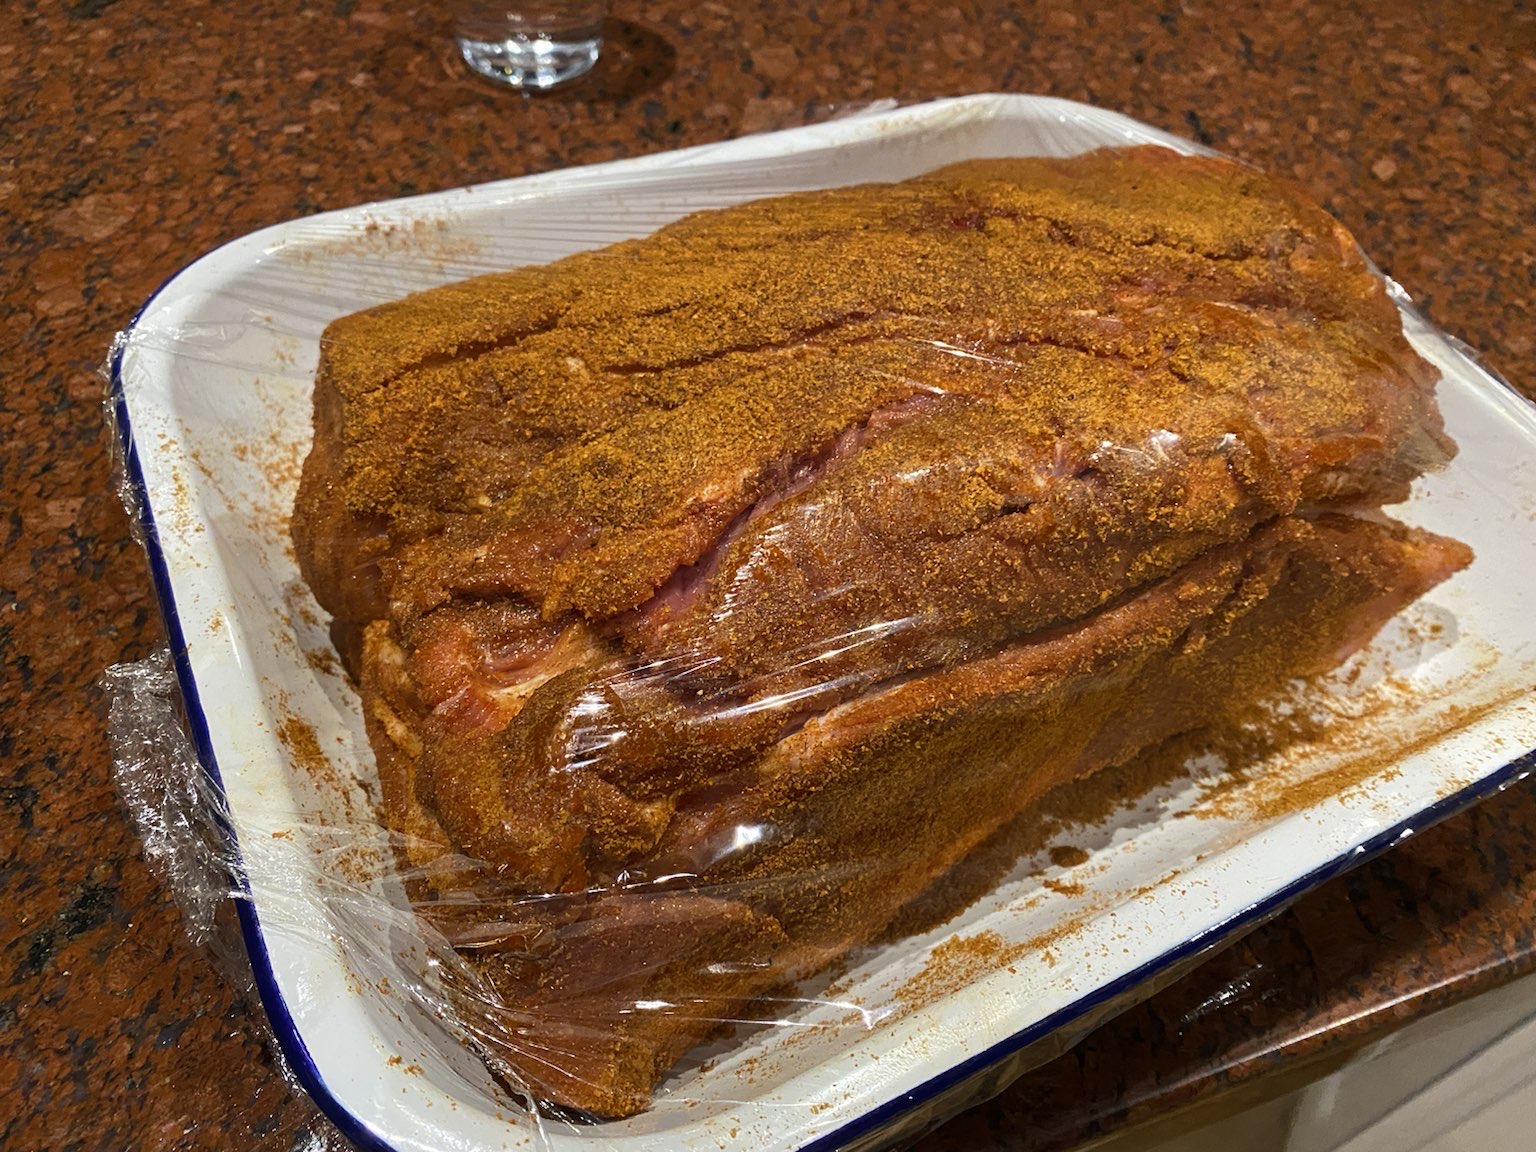
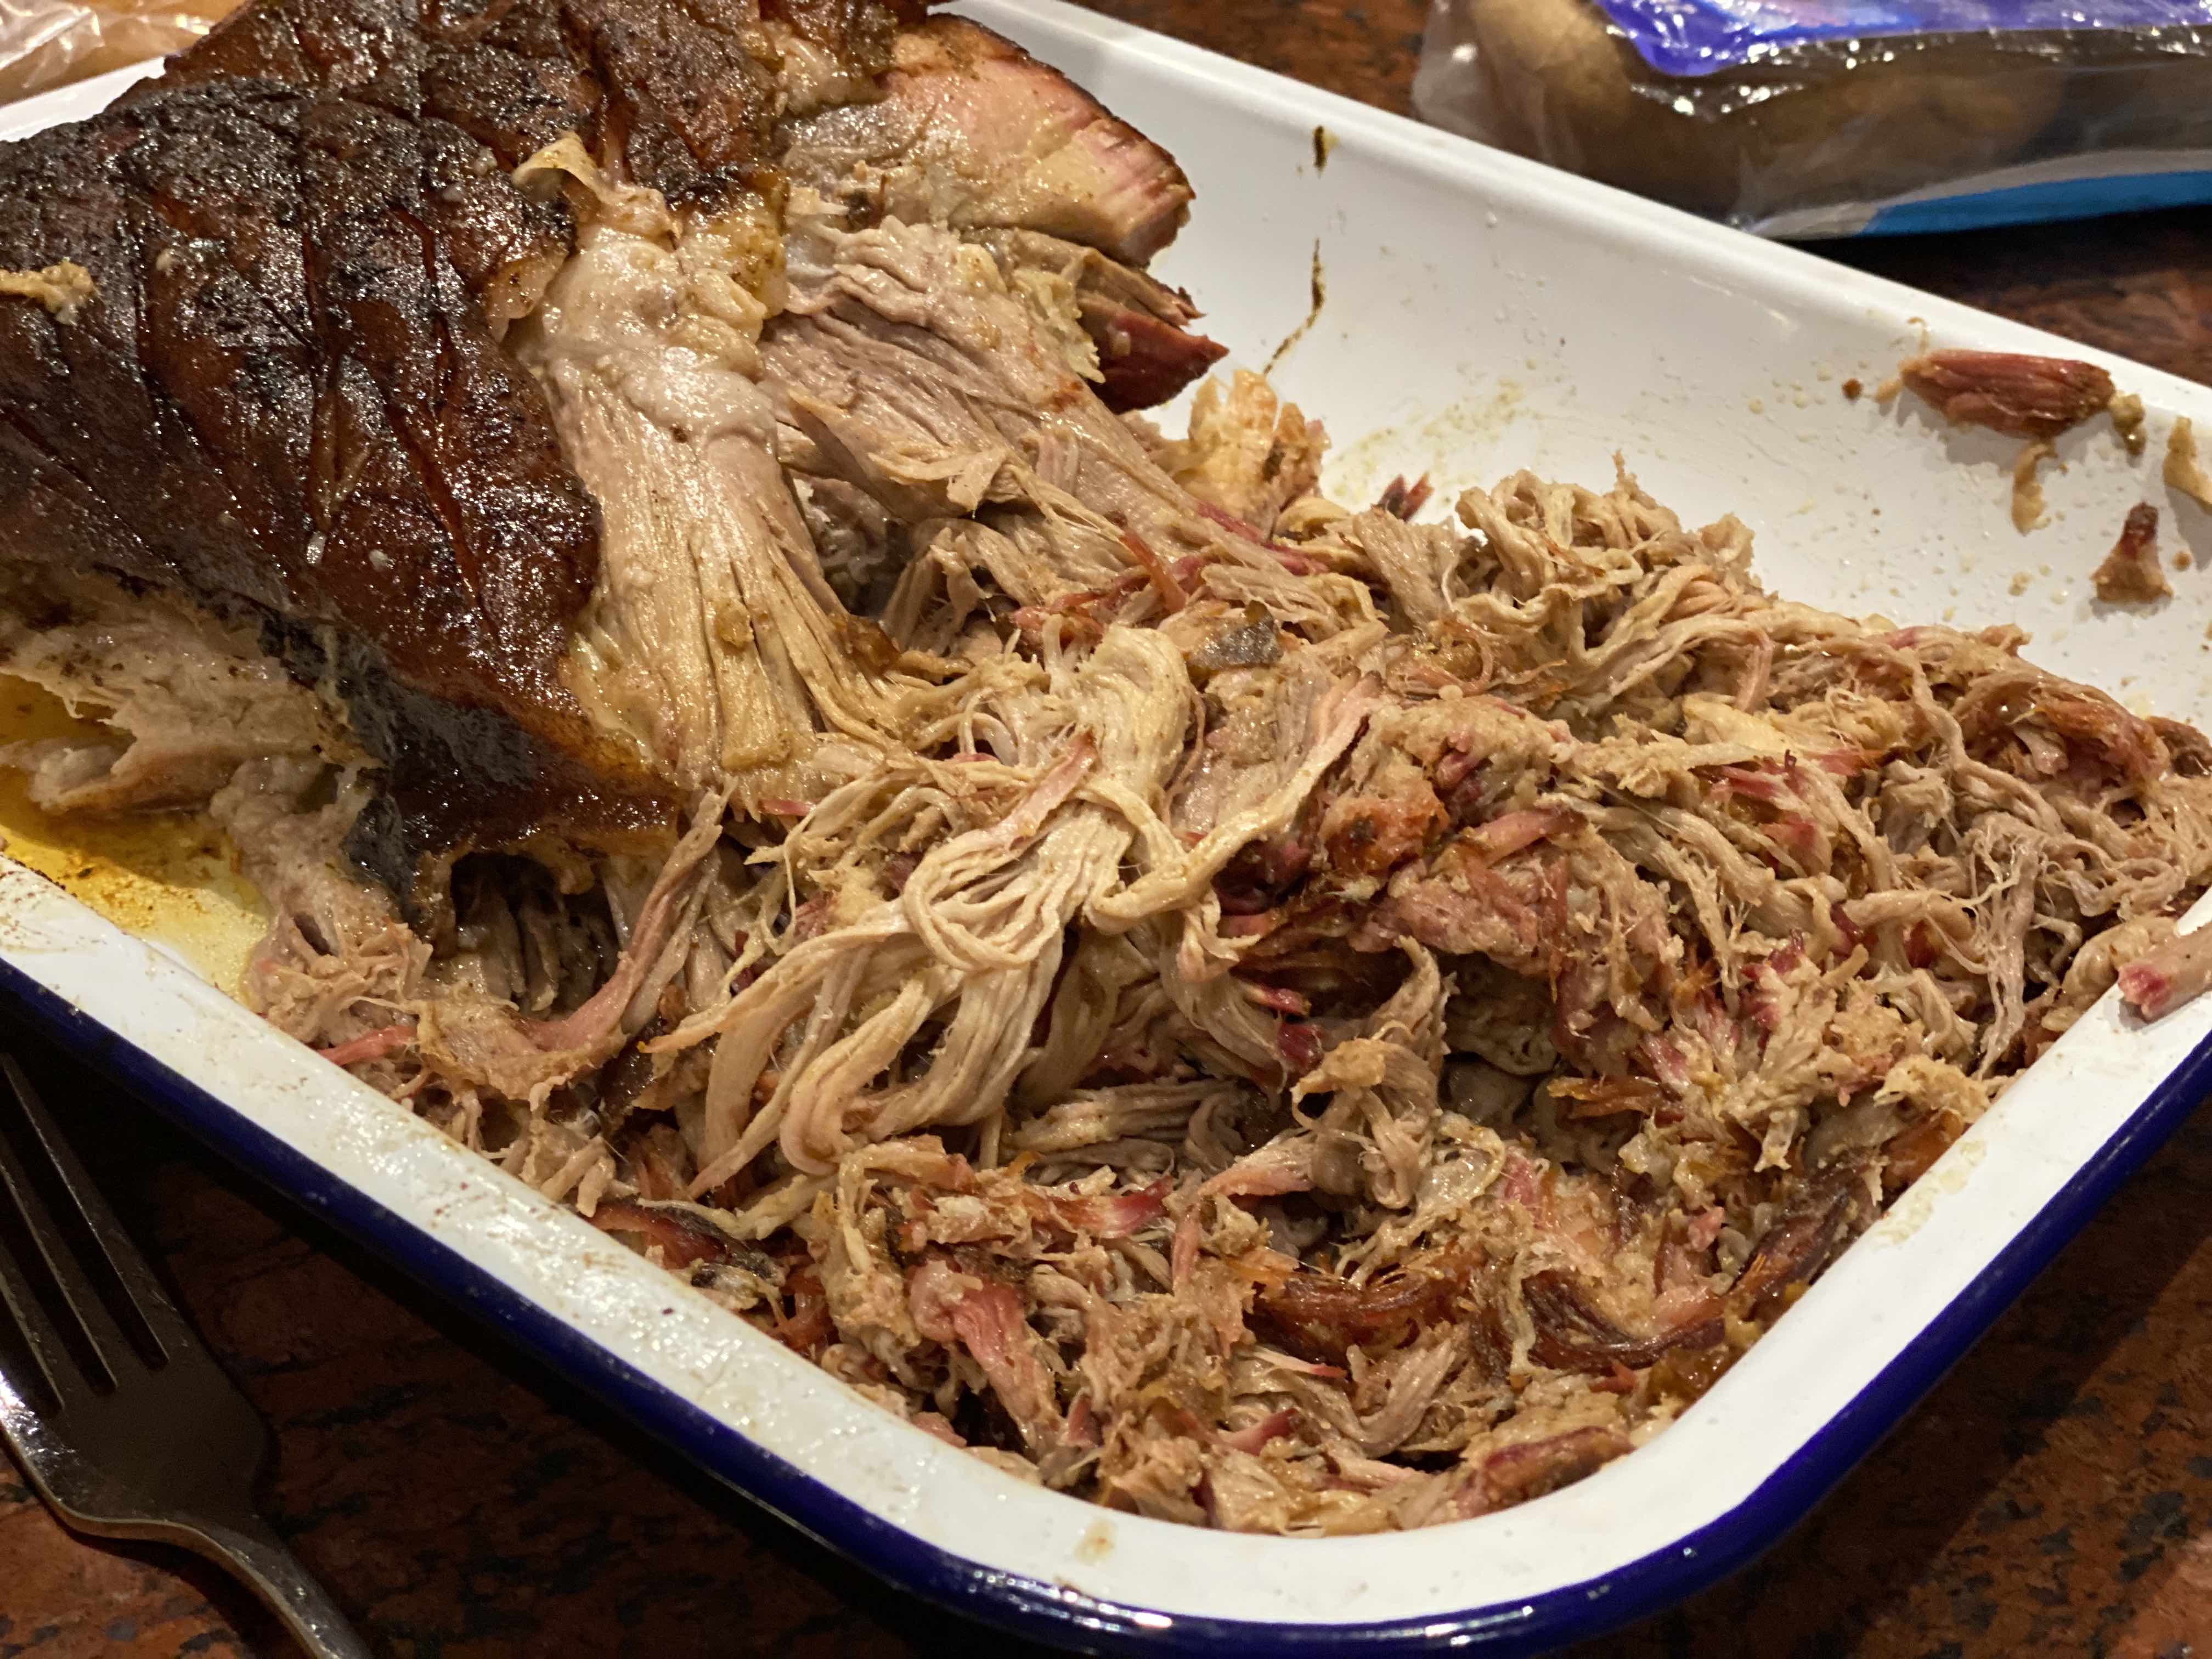
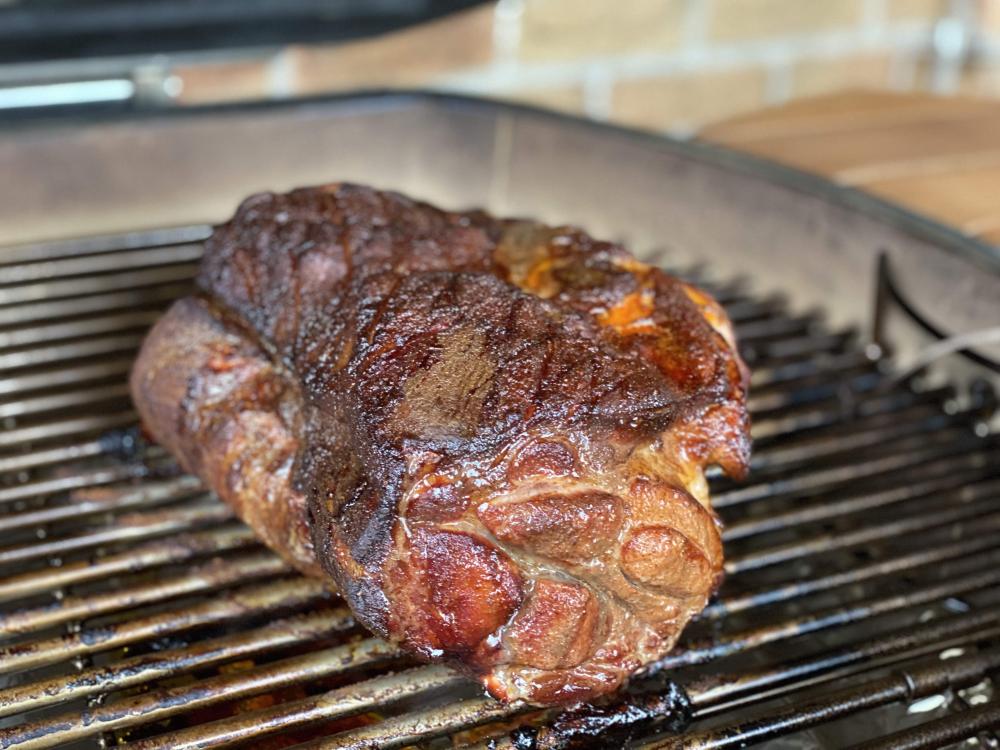
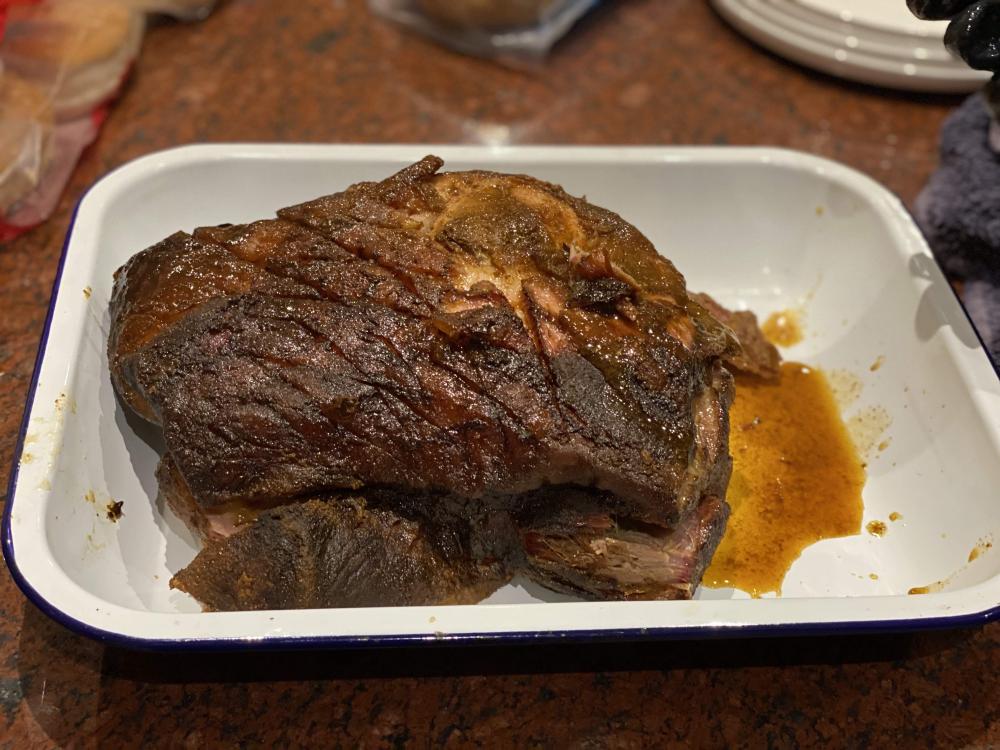
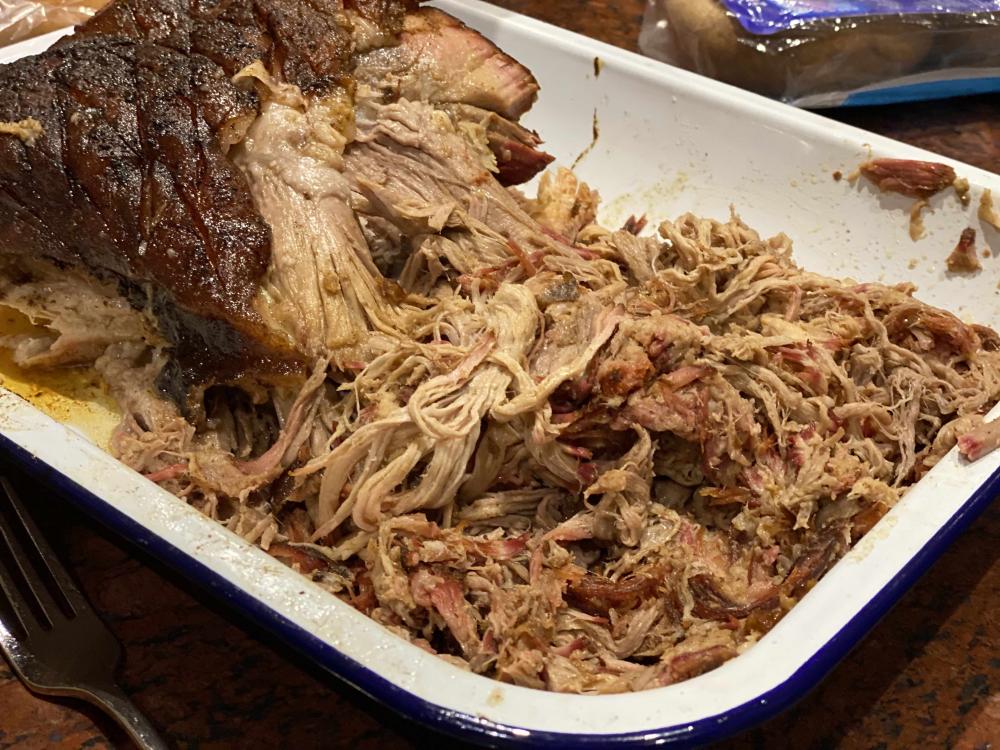
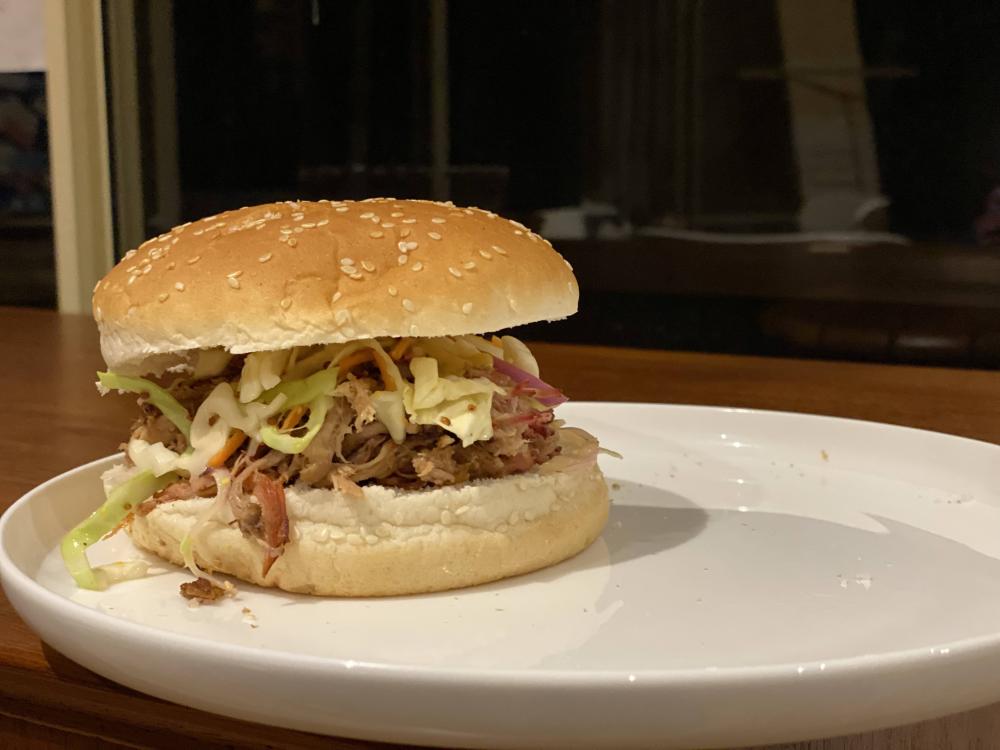
Today- first attempt at pork butt. Bone in; 4 Monkey's pork rub (and a little drink for me while preparing the butt); 9 hrs at 300F/150C. Some peach wood chunks. Served with simple coleslaw, Carolina Gold mustard based sauce and simple buns. Sublime- can't believe how good it was...


-
Amazing- Matte Black Tile for the win!
-
That sounds amazing. Love me some Marris Otter; TT Landlord clone is my next brew in the pipeline. If our government ever releases us again, I'll be keen to visit!