remi
-
Posts
230 -
Joined
-
Last visited
-
Days Won
39
Content Type
Profiles
Forums
Events
Everything posted by remi
-

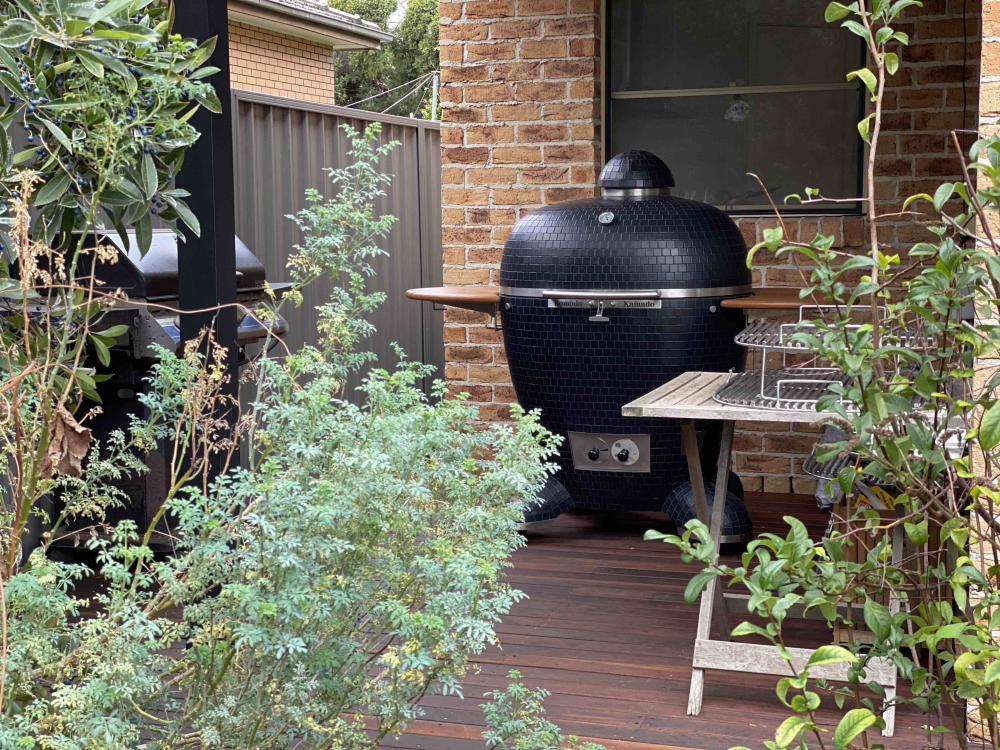
After over a decade of desire, I finally ordered my KK
remi replied to johnnymnemonic's topic in Forum Members
Oh so close... if only you'd gone for Matt Black Tile😉 -
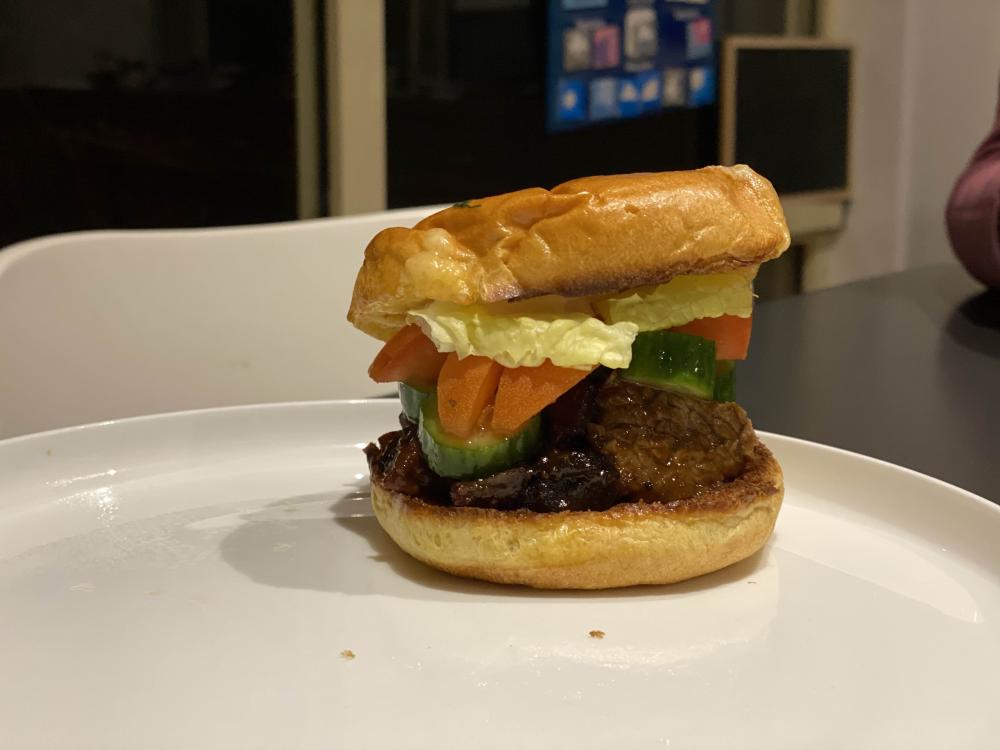
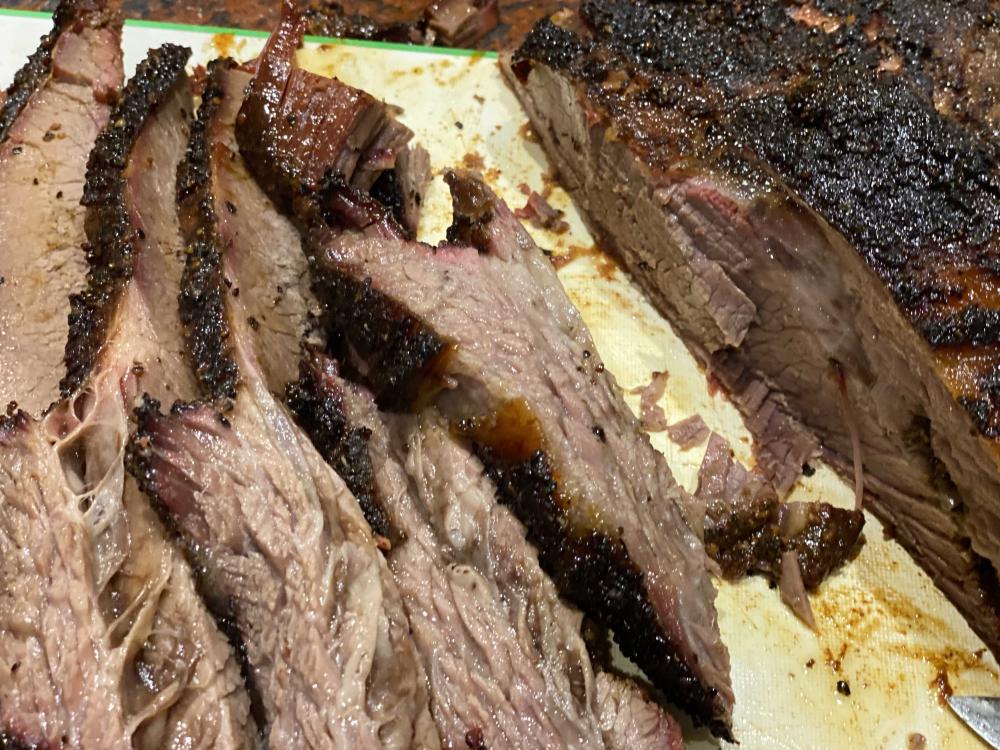
Tonight- brioche burgers with brisket burnt ends, BBQ sauce, home made dill pickle, bit of salad. Heaven.
-
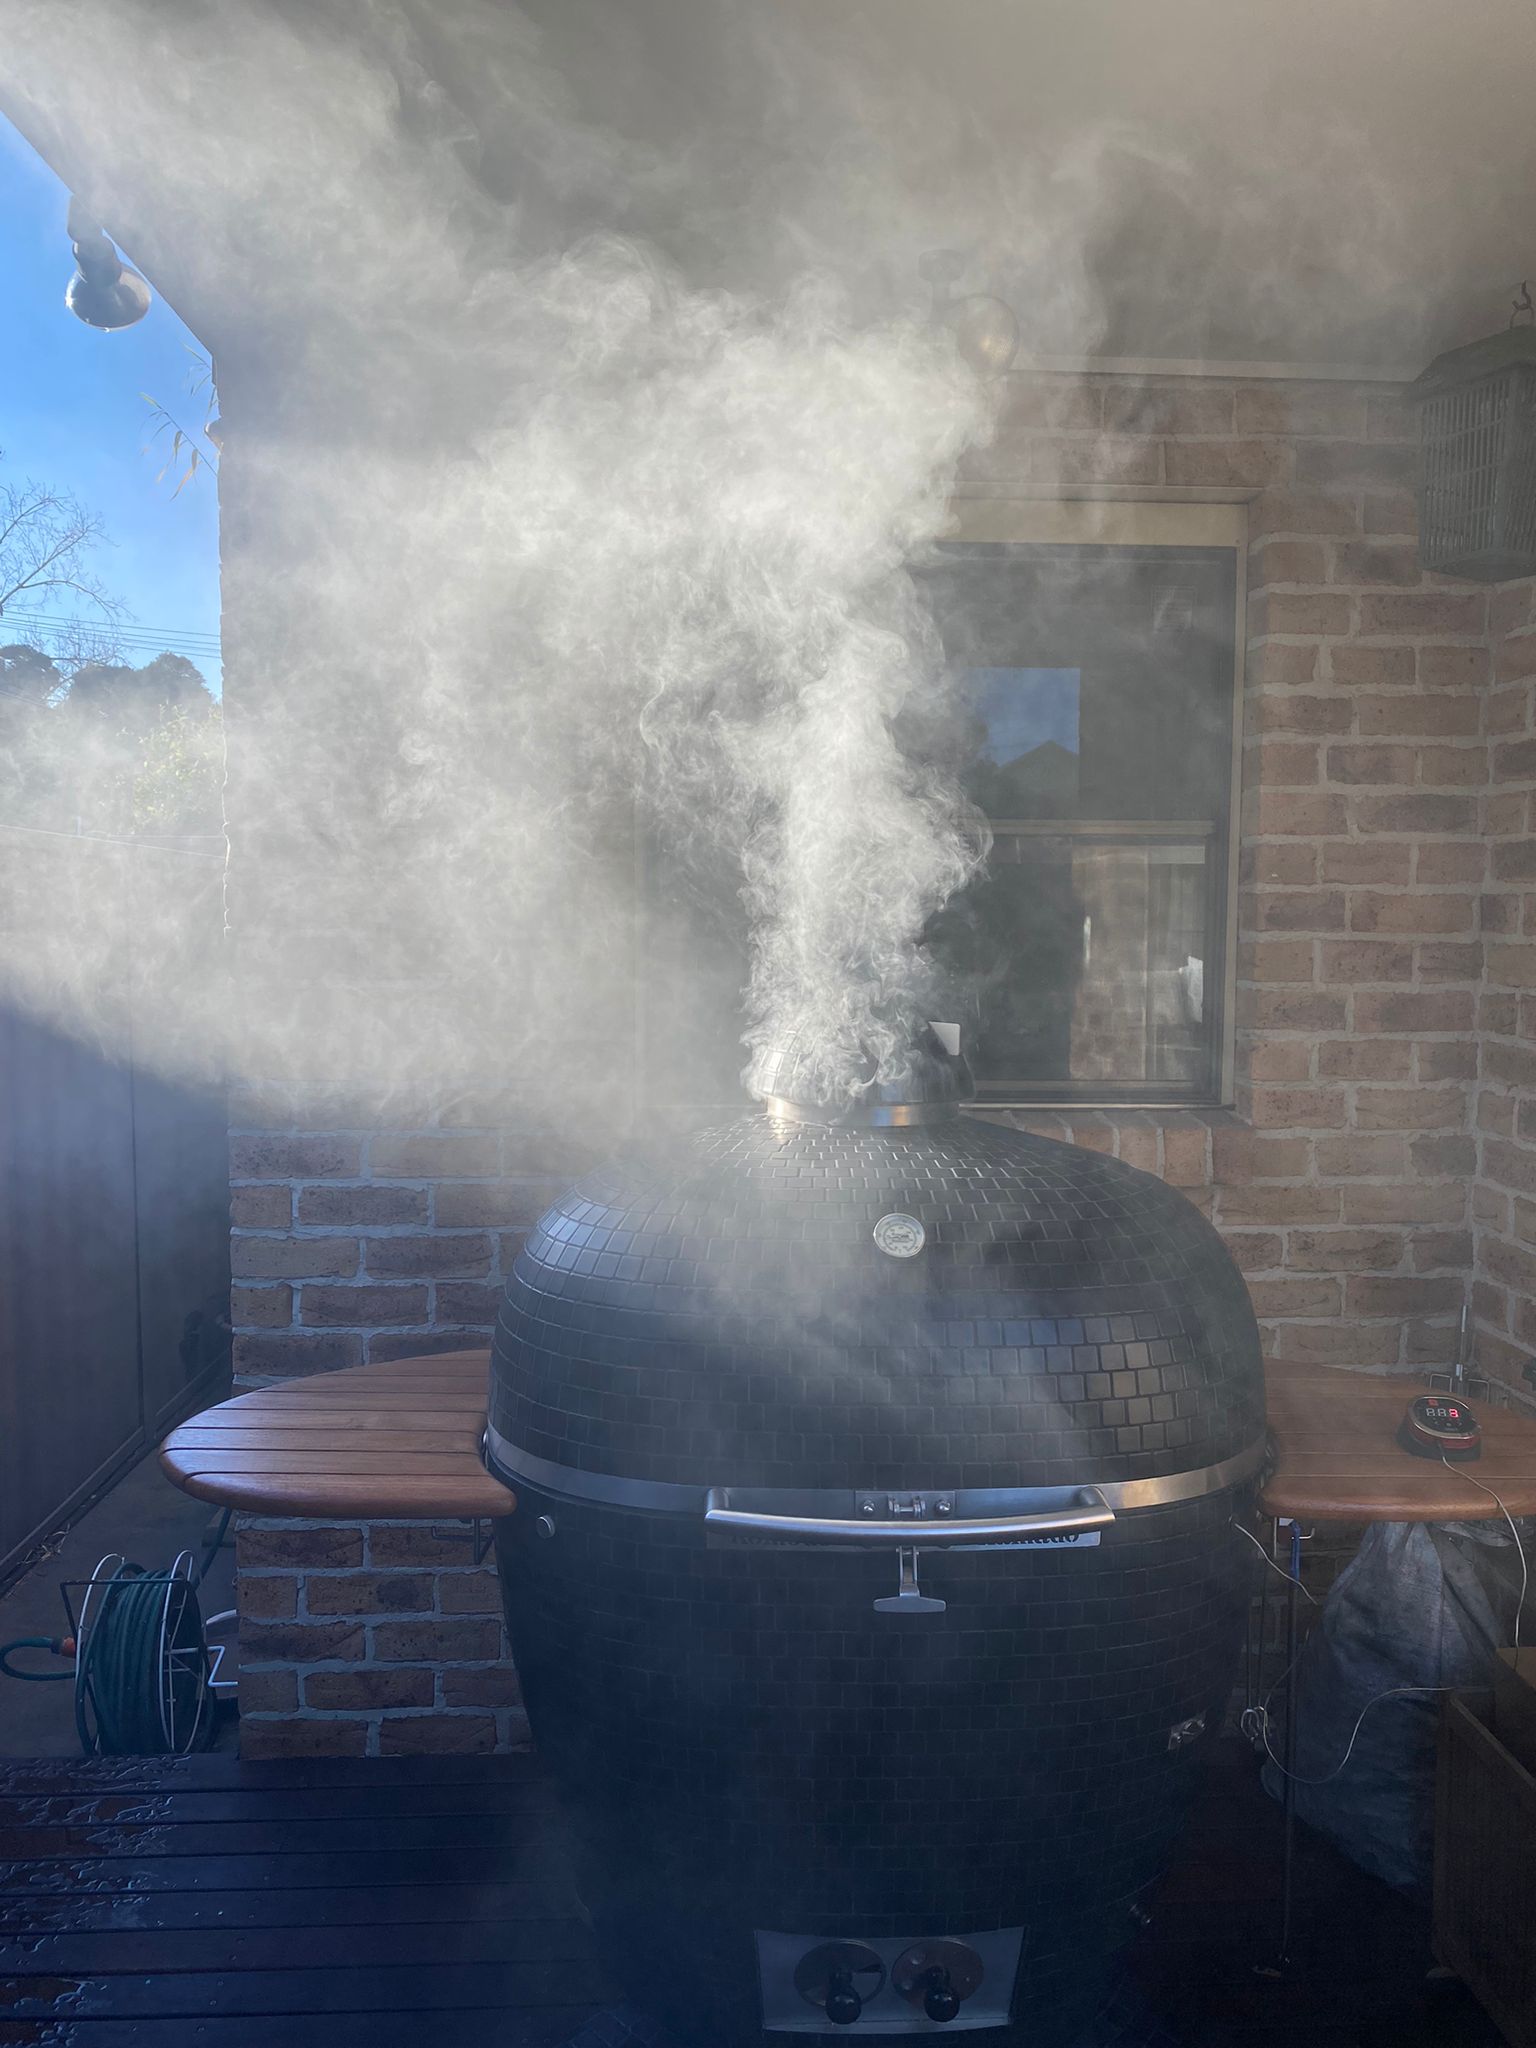
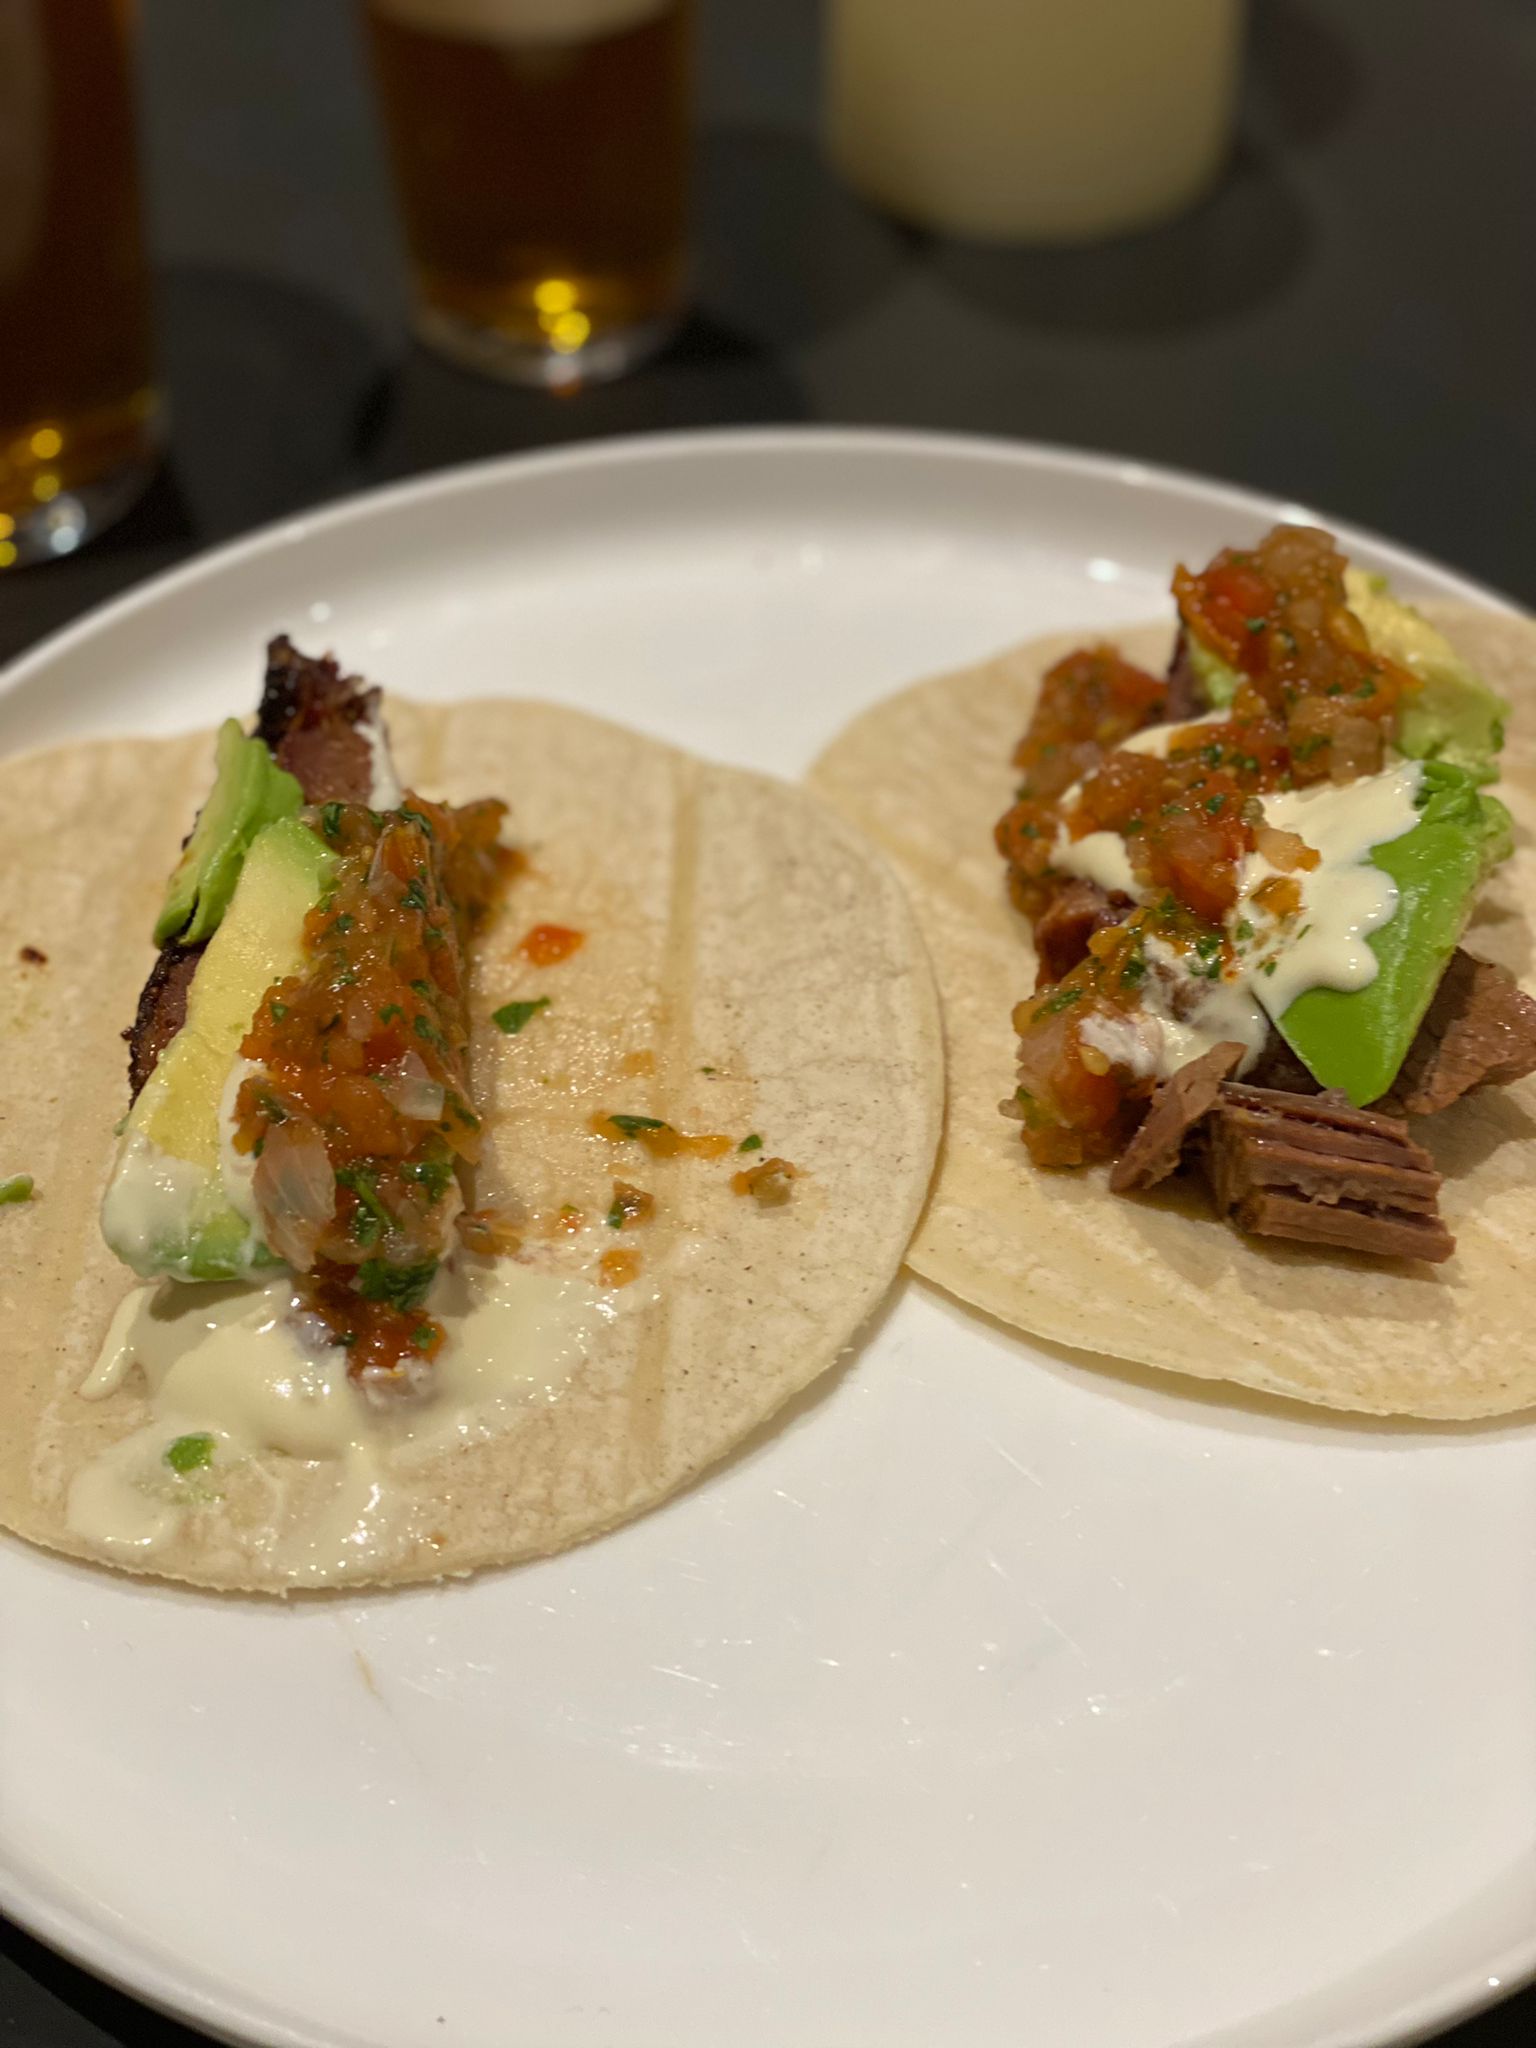
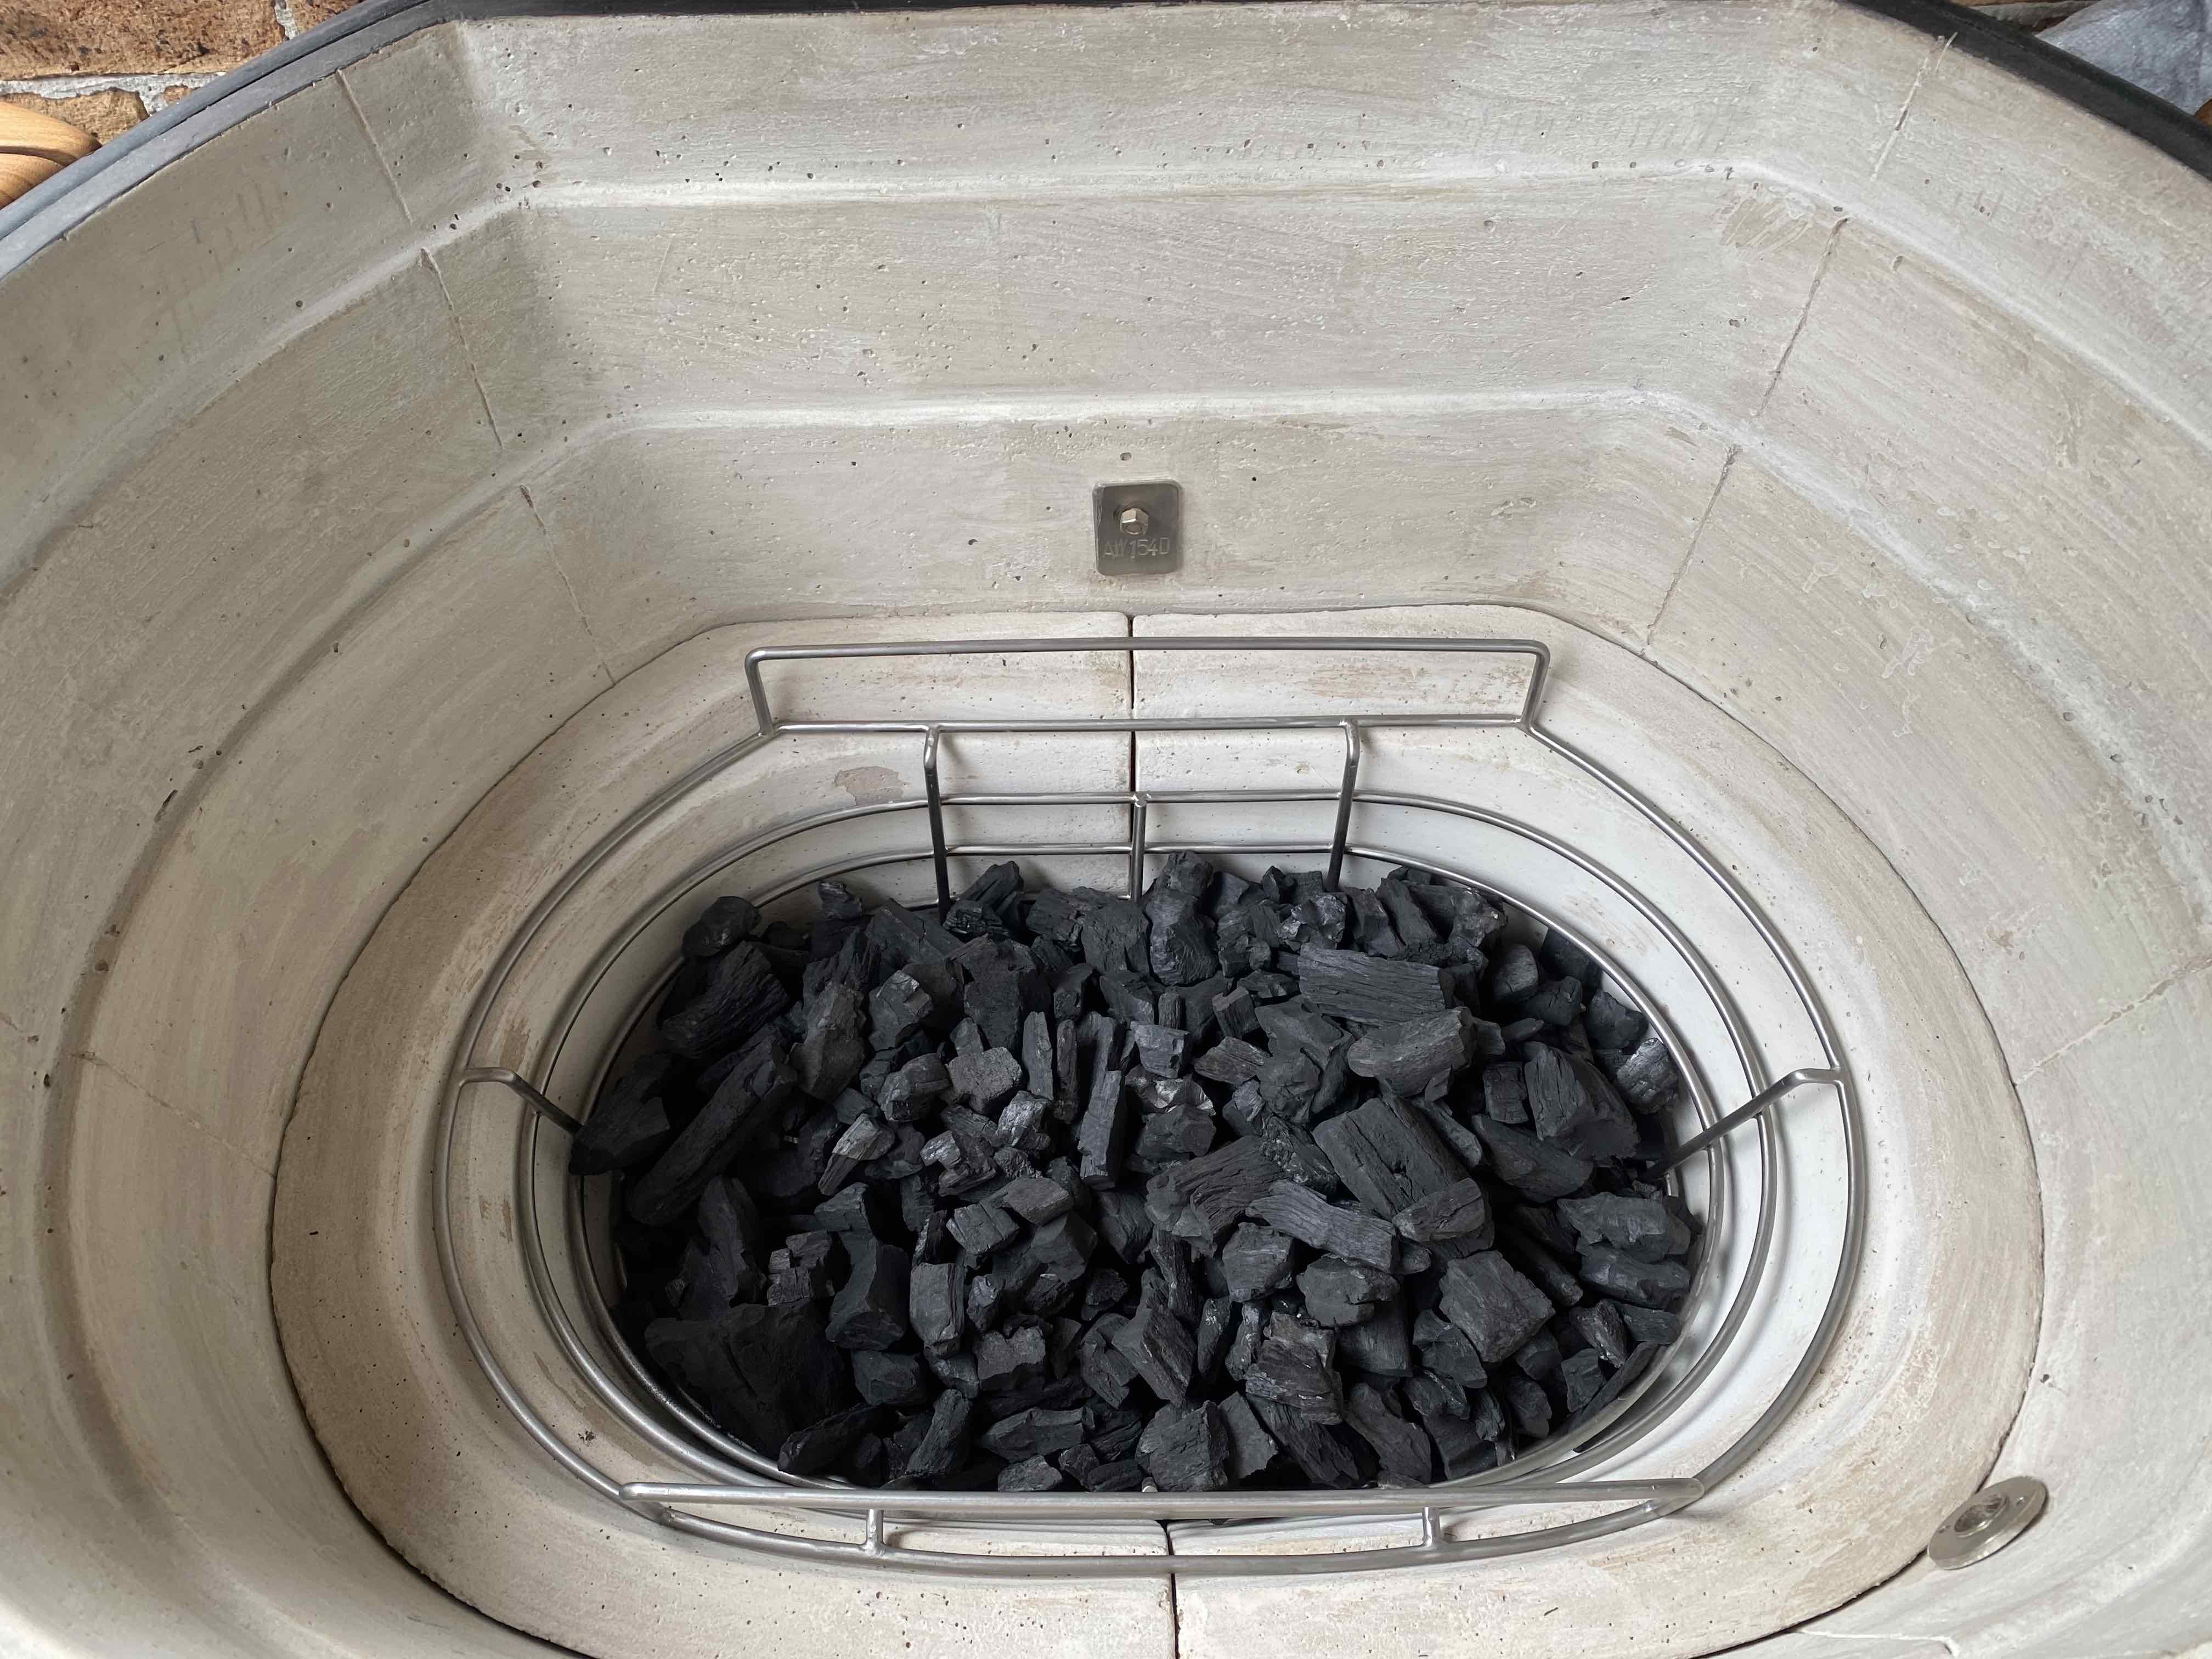
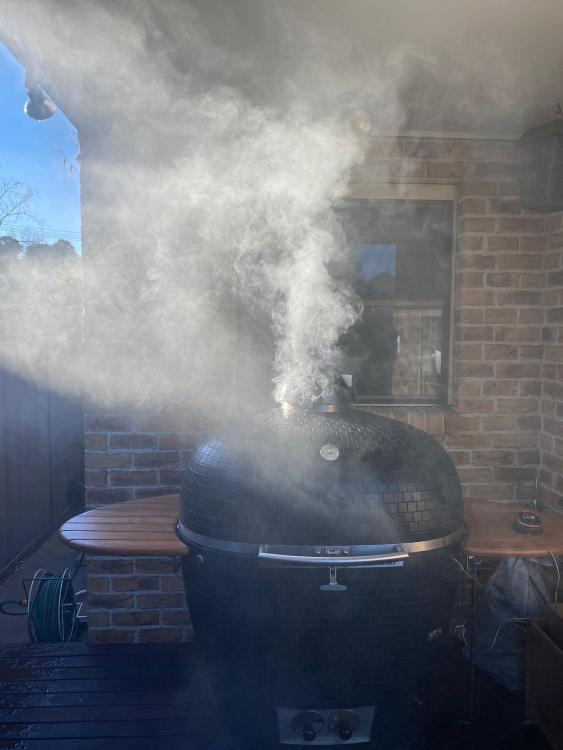
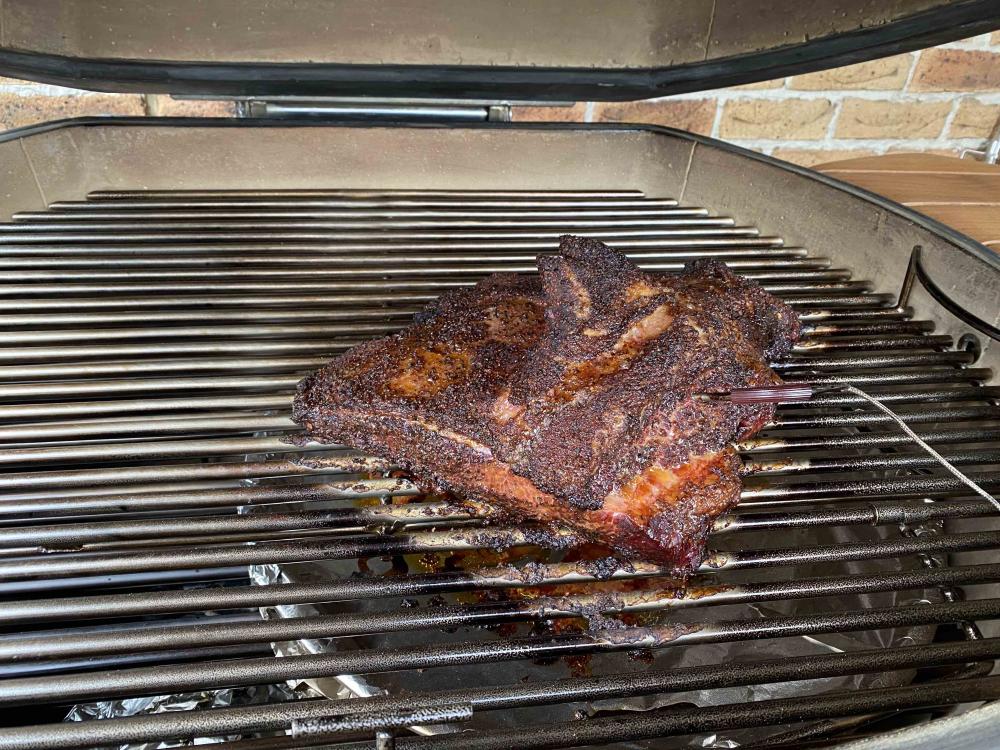
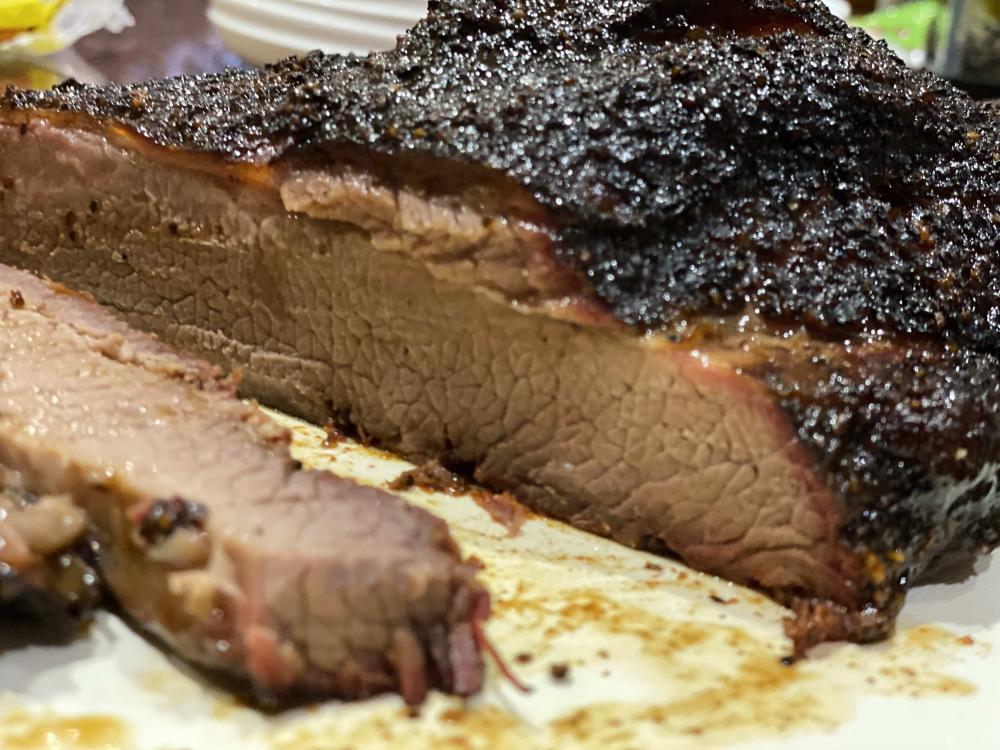
Well- had my first attempt at proper bbq today; and it was not exactly straightforward! Decided a brisket would be the way to go to properly christen my new 32" BB. Picked one up yesterday- on the small side at 2.7kg (6lb), and more point than flat. The wife convinced me not to go straight to an overnight session the first time before I knew what I was doing (wise woman), and given the smaller cut I planned on a hot/fast brisket instead at around 150c (300F). Very cold here this morning, and my first attempt at lighting a small piece of charcoal resulted in me coming to find the fire out completely 20min later- and I had only 40min until I needed to leave for work for a few hours... Got a bit more aggressive with the weed burner, still only lighting a small tennis ball size piece. Got the racks in, foil pouch with mesquite pellets, had covered the brisket with Meat Church Holy Cow. Set my top to where I had thought 300F roughly was based on my burn it- and left the wife in charge for a couple of hours. She checked on it diligently and sent photos of the dome temps, but within 30min it was clear that it needed to be throttled back majorly- as a result it was quite a hot/fast brisket; although it was at 300F to start with, much of the rest of time was spent at 350-400F. The smoke in the first hour was EPIC; lucky no neighbours called the fire department. I had only opened up 1/4 turn after just touching the gasket; but as mentioned previously I still have a full 1/4 turn of feeling gasket before I get to properly closed- so in reality I was probably 1/2 open or perhaps even a touch more. Live and learn. Total cooking time was 6.5hrs, wrapped at 170F/ 75C at around the 3.5hr mark. Rested 3hrs in cooler before slicing. Given the pace I had resigned myself to a tough overdone brisket. Couldn't have been more wrong- it was sooooo good. Tender, melt in the mouth, super smoky. Best bbq I've ever done that's for sure, and that in the context of largely stuffing it up! Served Project Smoke taco style for tonight given that I had the ingredients at home already. Perhaps brioche burgers tomorrow with burnt ends and a nice bbq sauce. Thanks for all the tips and advice. It's a great forum.

-
Amazing! And here I am stressed about my first brisket...
-
The other consideration I just thought of was the hot-cold smoker attachment. I imagine it would be better to have the indirect side on the right of the KK to be closer to the output of the smoker? So perhaps still with coals generally on the left, indirect side on the right- and if wanting to utilise two-zone cooking (for a reverse sear for example), then use the flipped over half main grate as suggested...
-
Thanks Tony- yes, I understand all of that. What was interesting was that after the stone was added in (even after being in there for 45min), I never got a dome reading above 400F. When I noted that first time around and pulled the stone back out just for interest, the temp rebounded from 400F to 500F dome very fast (barely a minute or two)- but then when stone was replaced I was down at 400F and stayed there for the rest of the cooking time even with top and bottom vents essentially wide open. So for next time around- it sounds like it may be better for the stone to be there from very early on in the heat up phase, such that it heat soaks at the same time as the KK. My only concern with that approach is that I had read posts from other users who found they were unable to get the KK up to 500F+ pizza temps if the stone was in place from the beginning.
-
Yeah- had the stone in there for 50min before putting the pizzas on...the dome temperature behaviour still has me a bit confused, but pizzas were great so no big issue that's for sure.
-
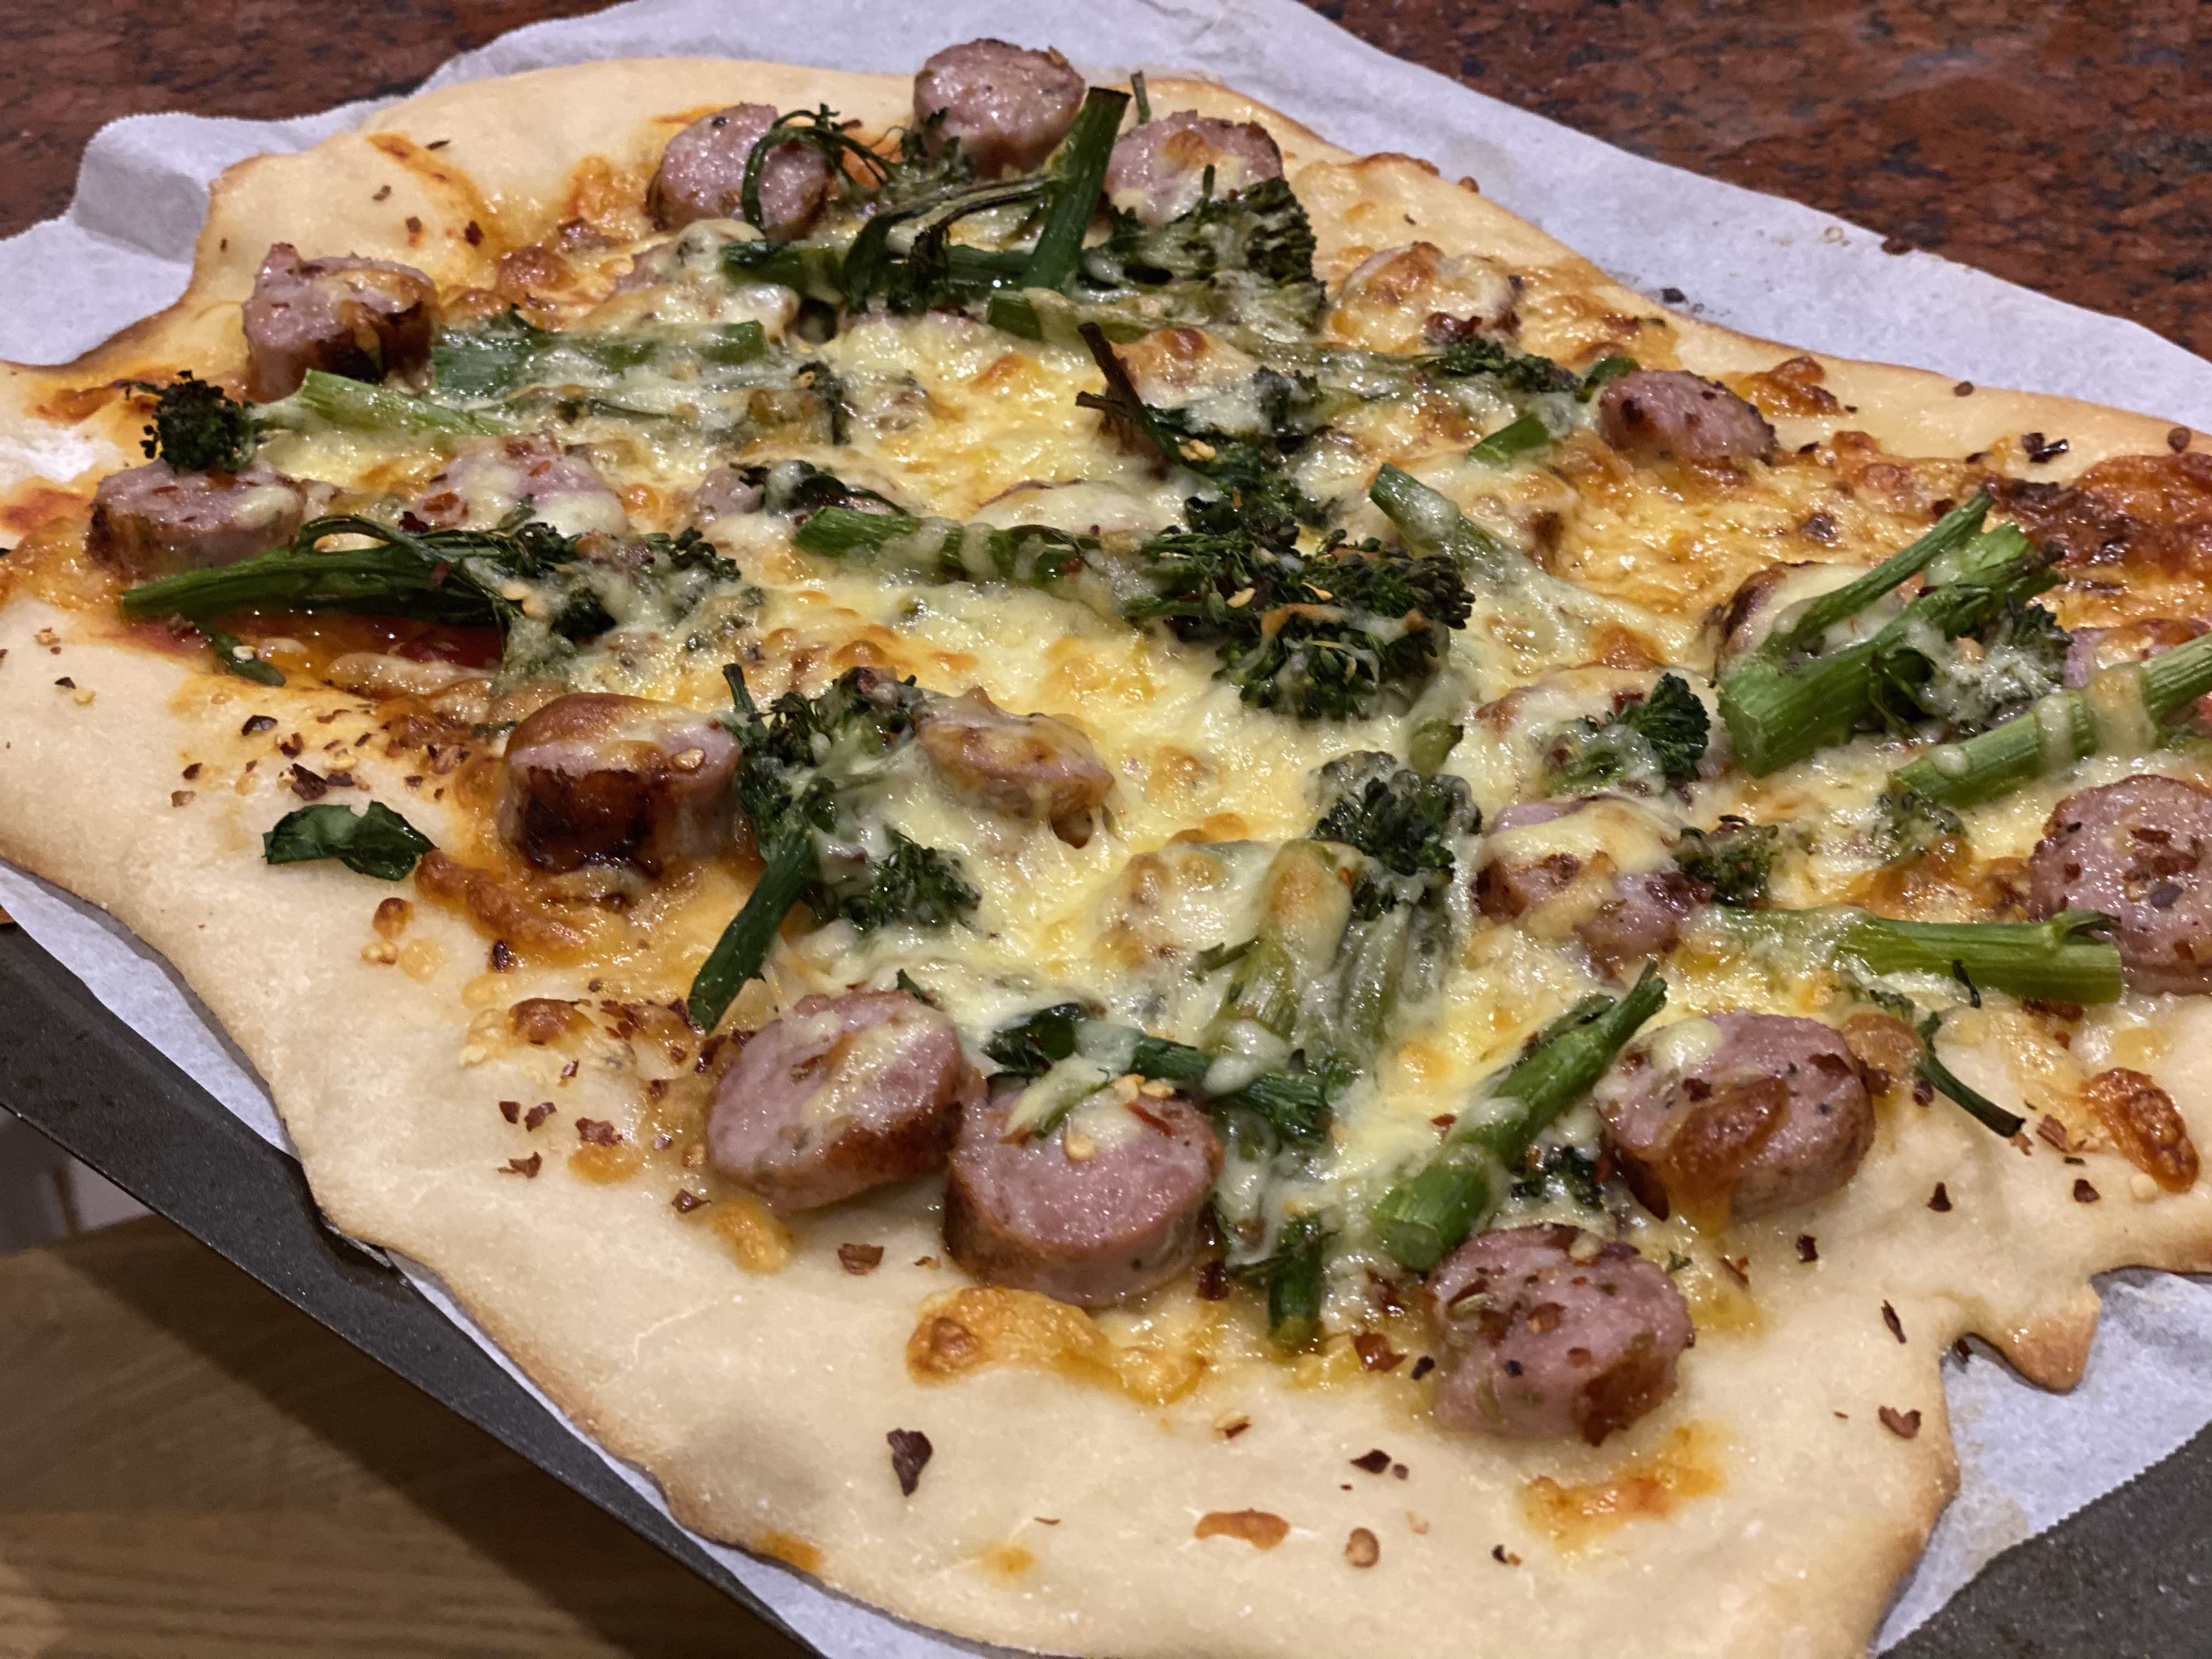
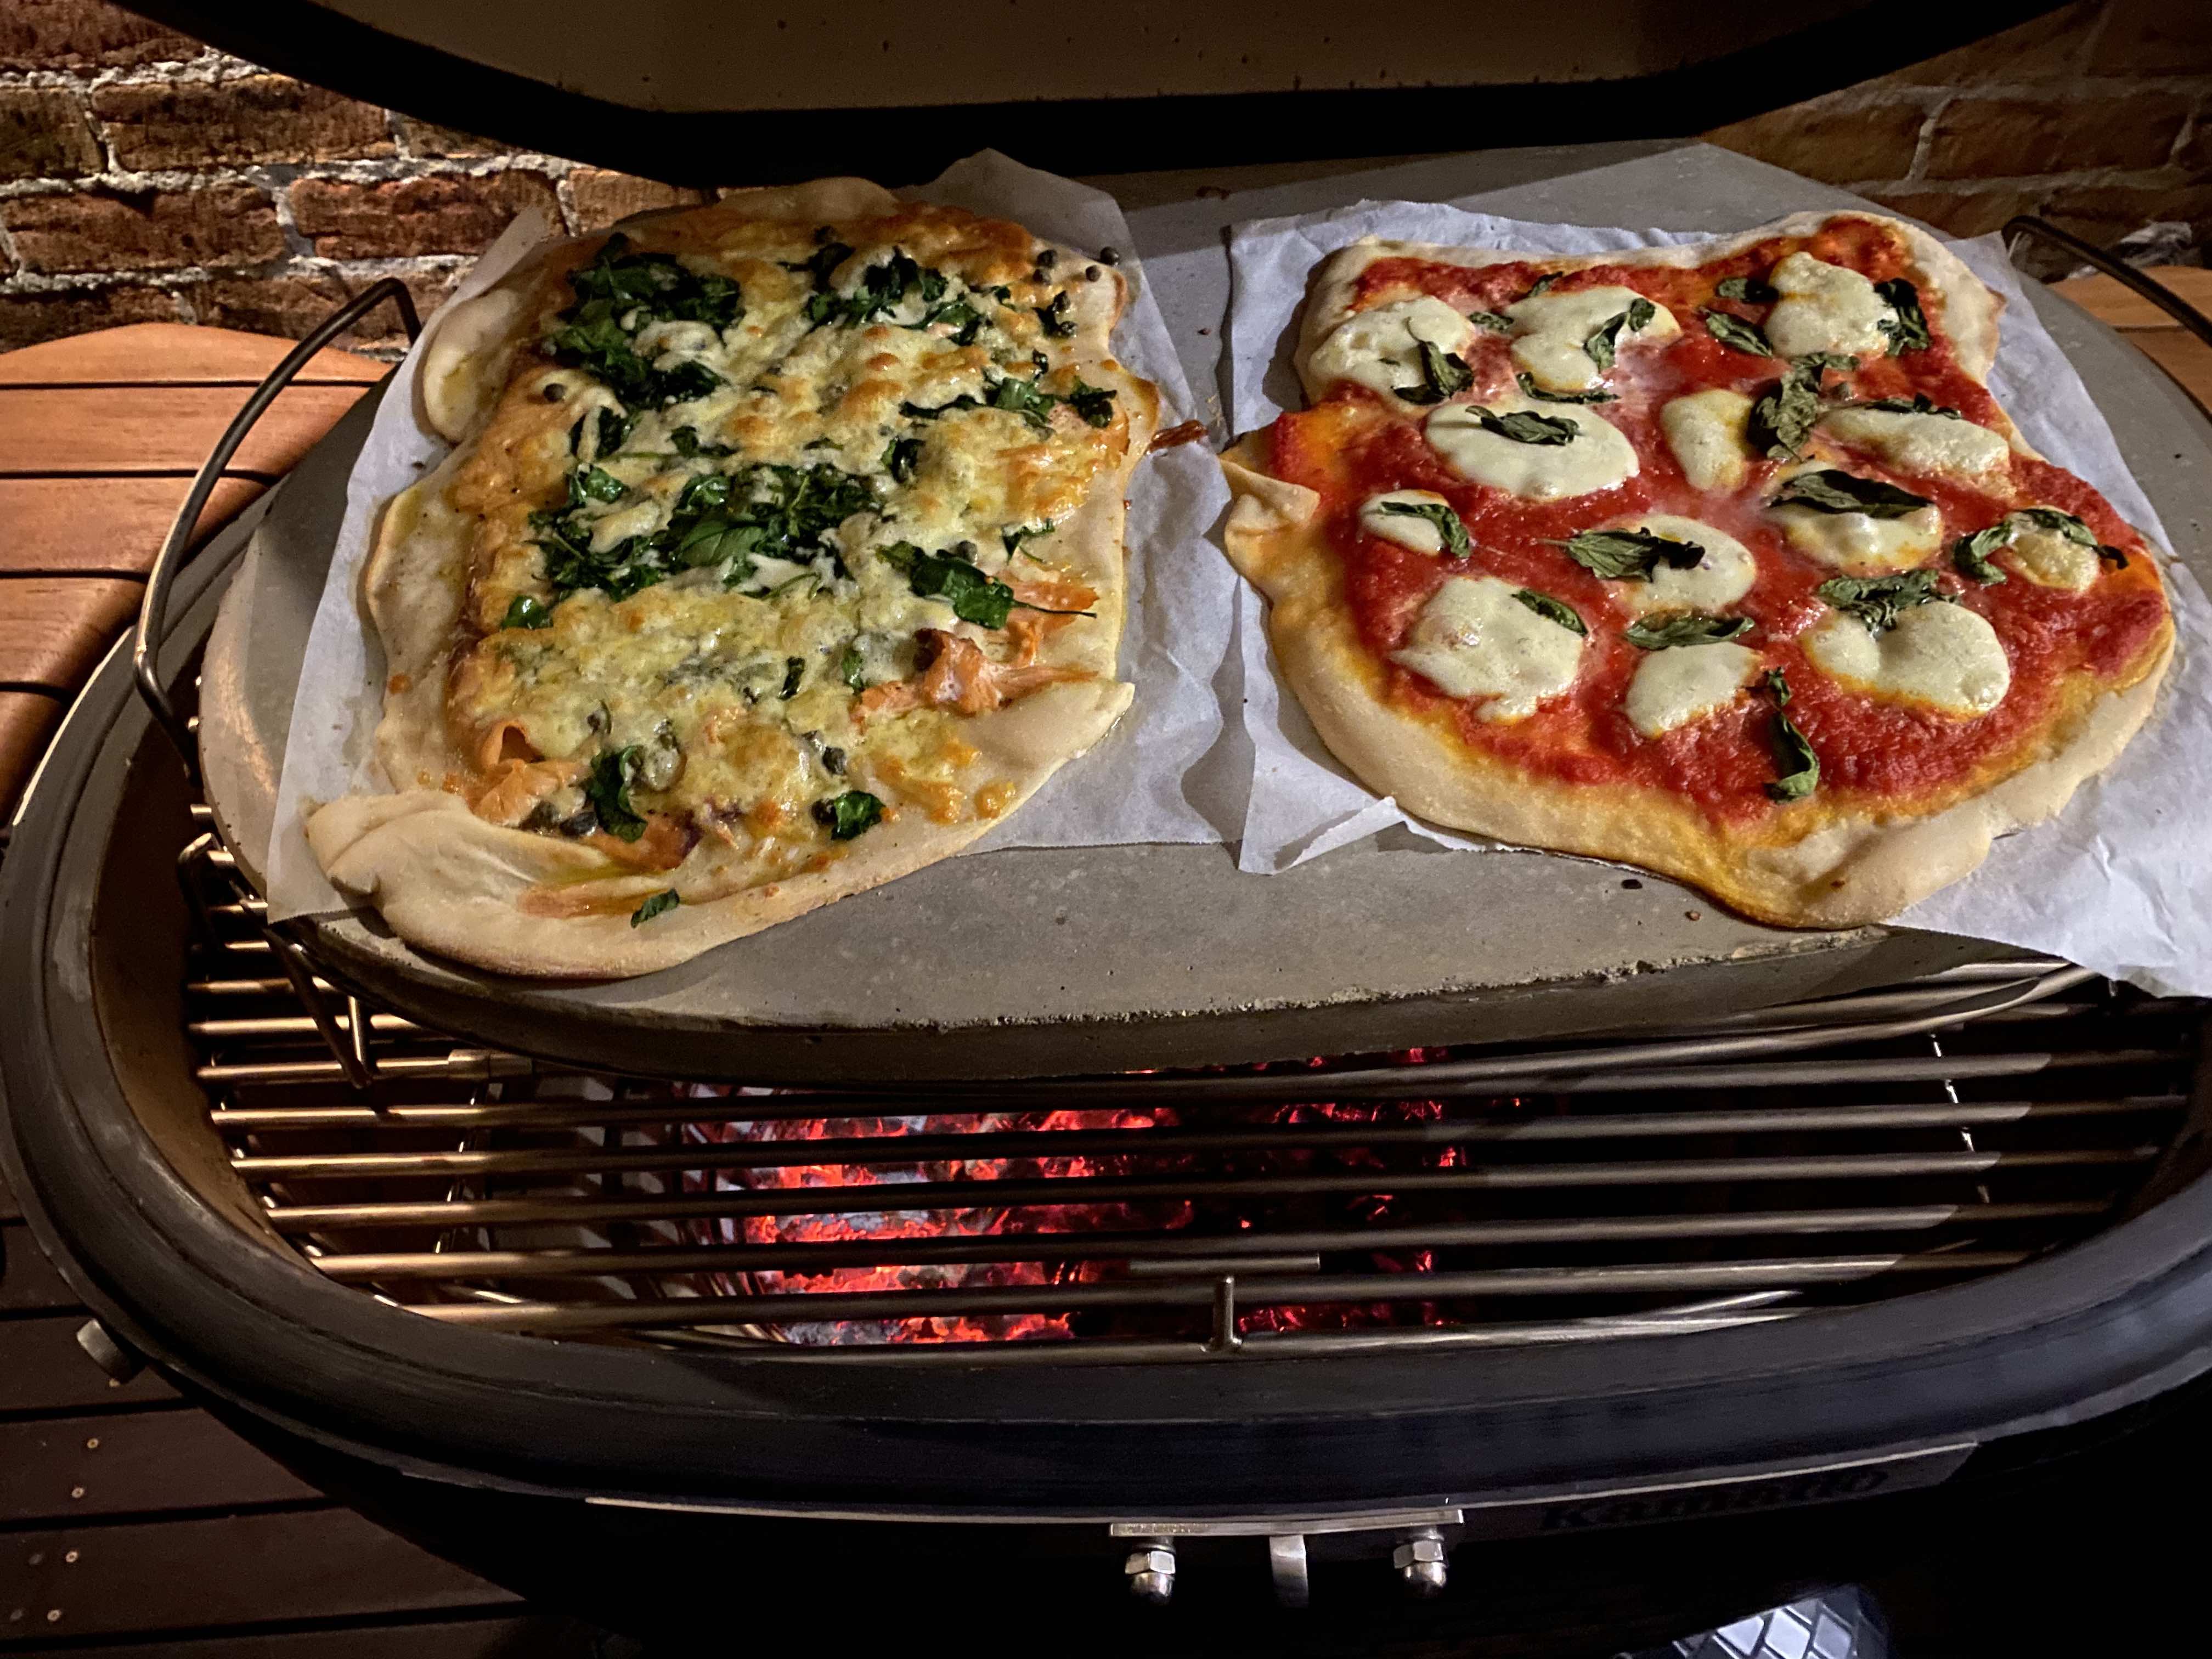
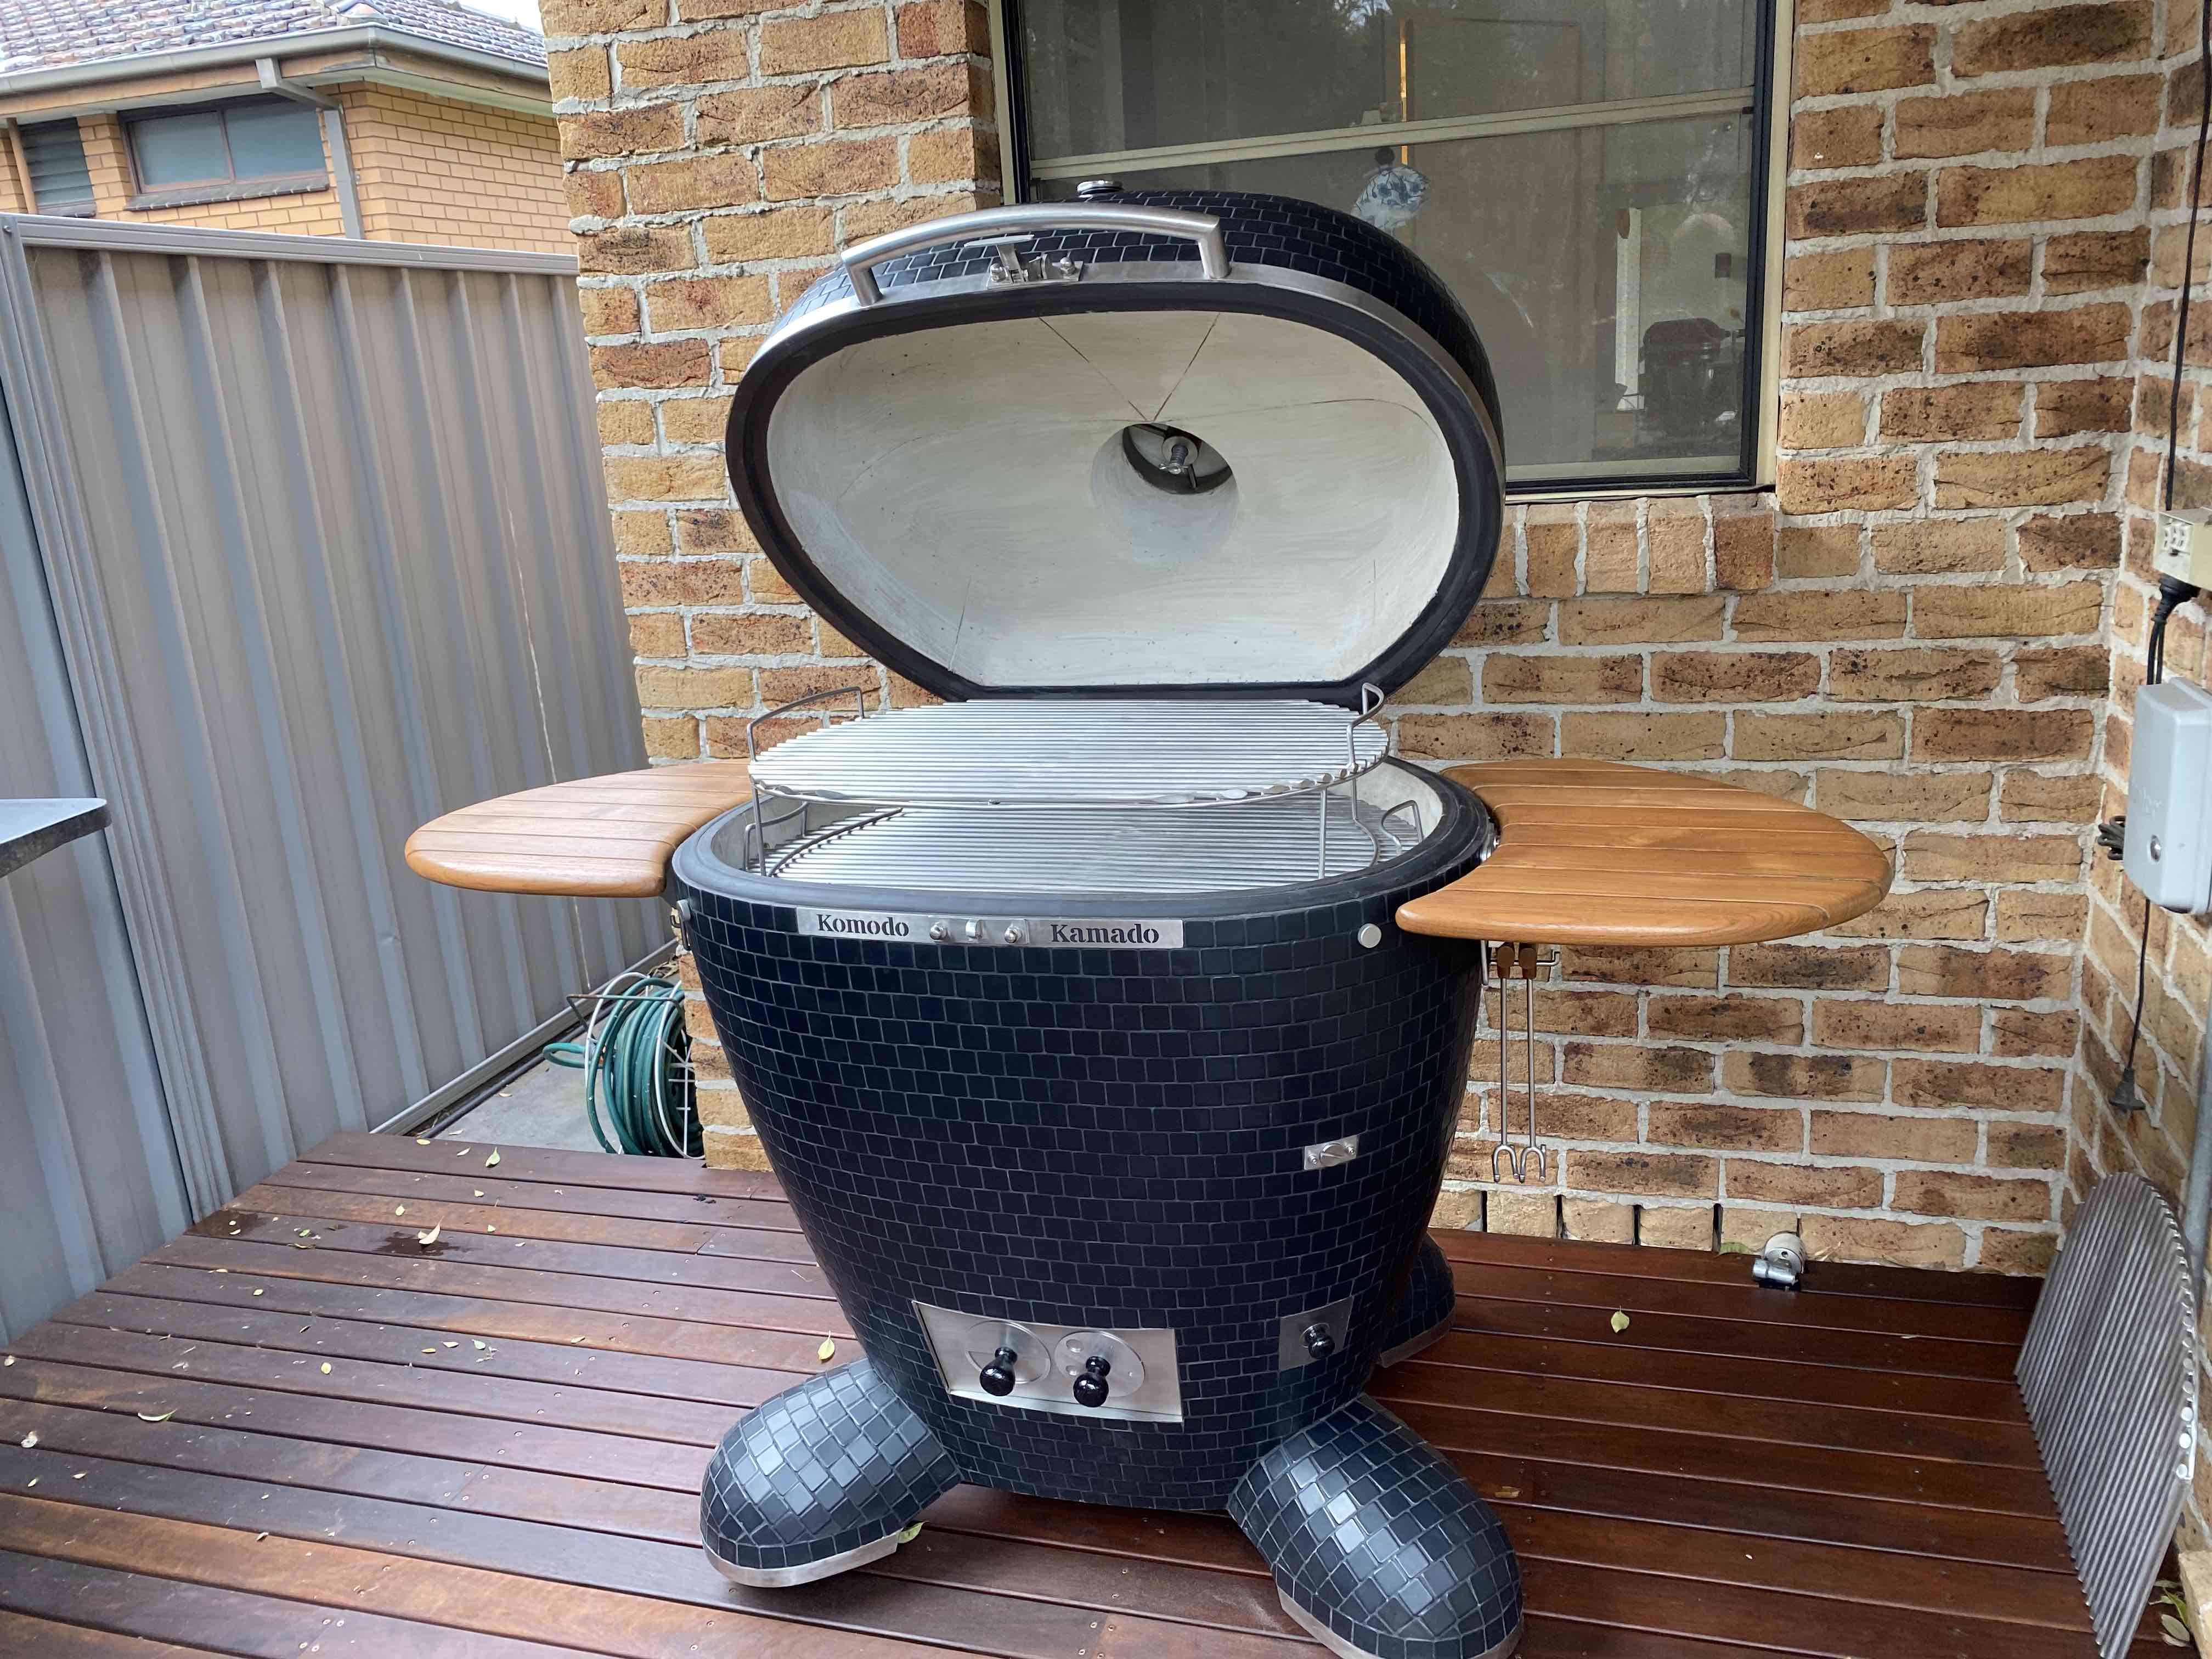
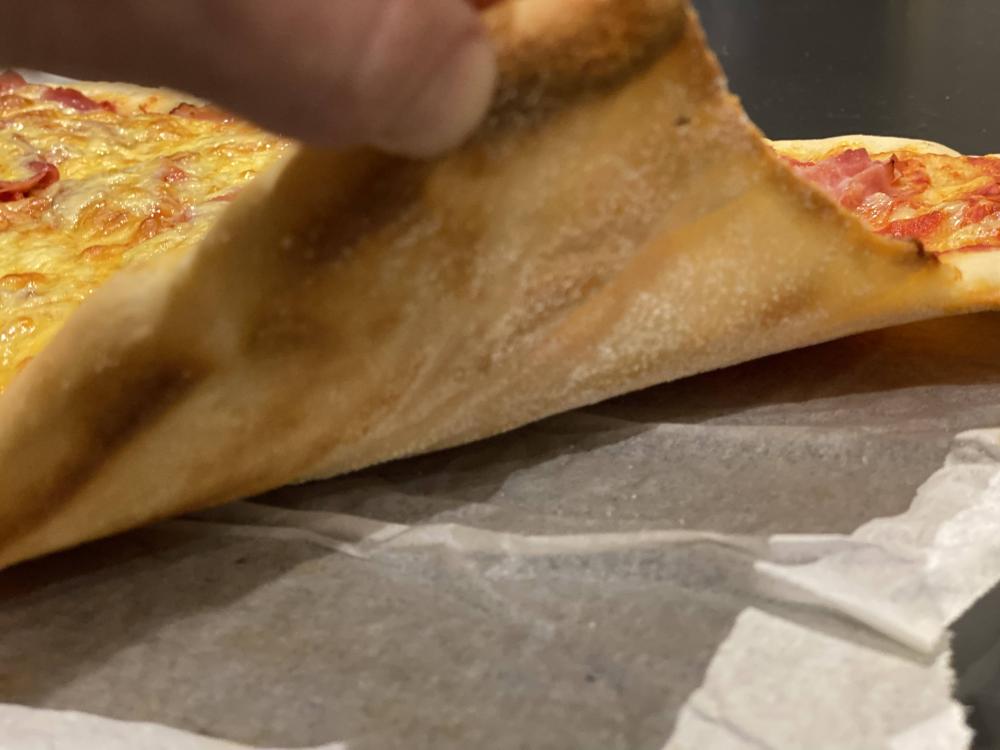
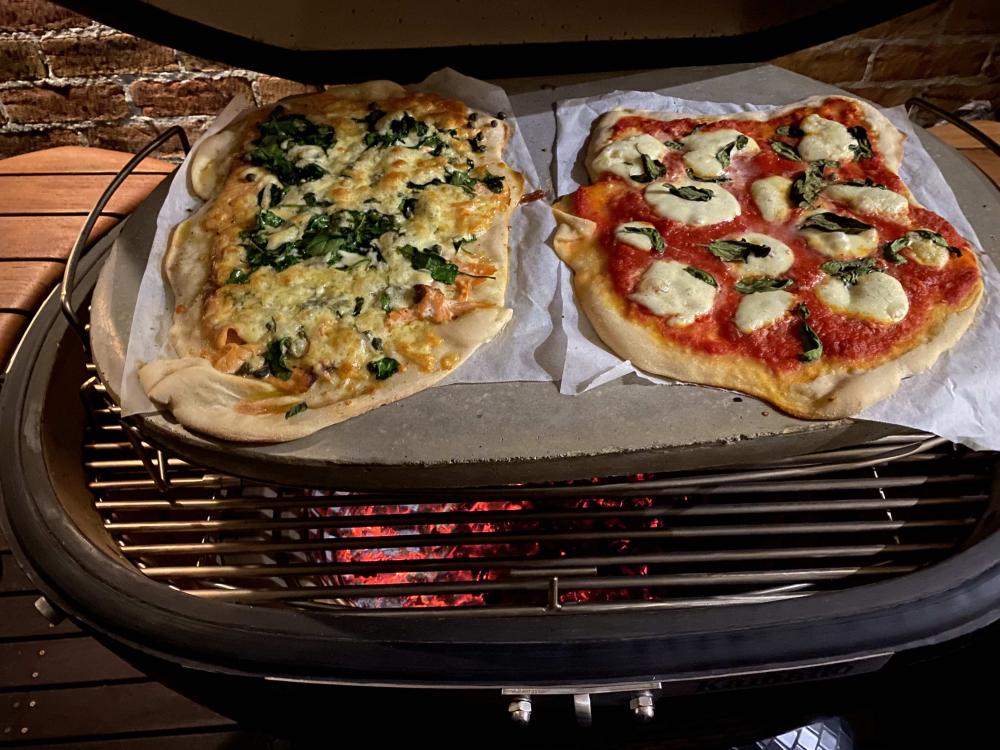
So- did a long burn in today, and maiden pizza to use the heat. Great success. A couple of questions arising from the day- 1. We talk of 'just off the gasket' for the top vent setting. I can feel the gasket friction for 90 degrees of turn from fully closed (but not over-tight) until I lose the feel of the gasket. So when people talk about 'a quarter turn open', are they generally referring to a 1/4 turn from fully closed, or a 1/4 turn from the point where you no longer feel any gasket friction at all. My sense was that this 90 degrees from fully closed position (just when I lose the friction) will be about right for my low and slow cooking. 2. I had the grill burning for around 9 hours, but as I had to go get the kids from school, I left it at around 400F prior to going for 500F for the 1-2 hour burn in. It would have sat at 400F a good couple of hours, so very well heat soaked- and when I got home, I put in the main and top grate and pizza stone and opened the top to 1.5 turns and the bottom a full 1/4 open (this setting had me shoot up to 500F previously)- but with the stone in place, it would not budge above 400F. I took the stone out- and within less than 5min was seeing >500F at the dome. Put the stone back in- 400F! Given how quickly it shot back up to 500F without the stone in place- am I right in thinking that the actual temp was closer to 500F all along, but shielding of the thermometer resulted in a falsely low reading? Certainly had solvent smell throughout... And the obligatory photos of the first dinner from the KK... Ham and cheese for the kids; pork/fennel sausage broccolini and chilli; salmon capers and spinach; and classic Margherita for us!


-
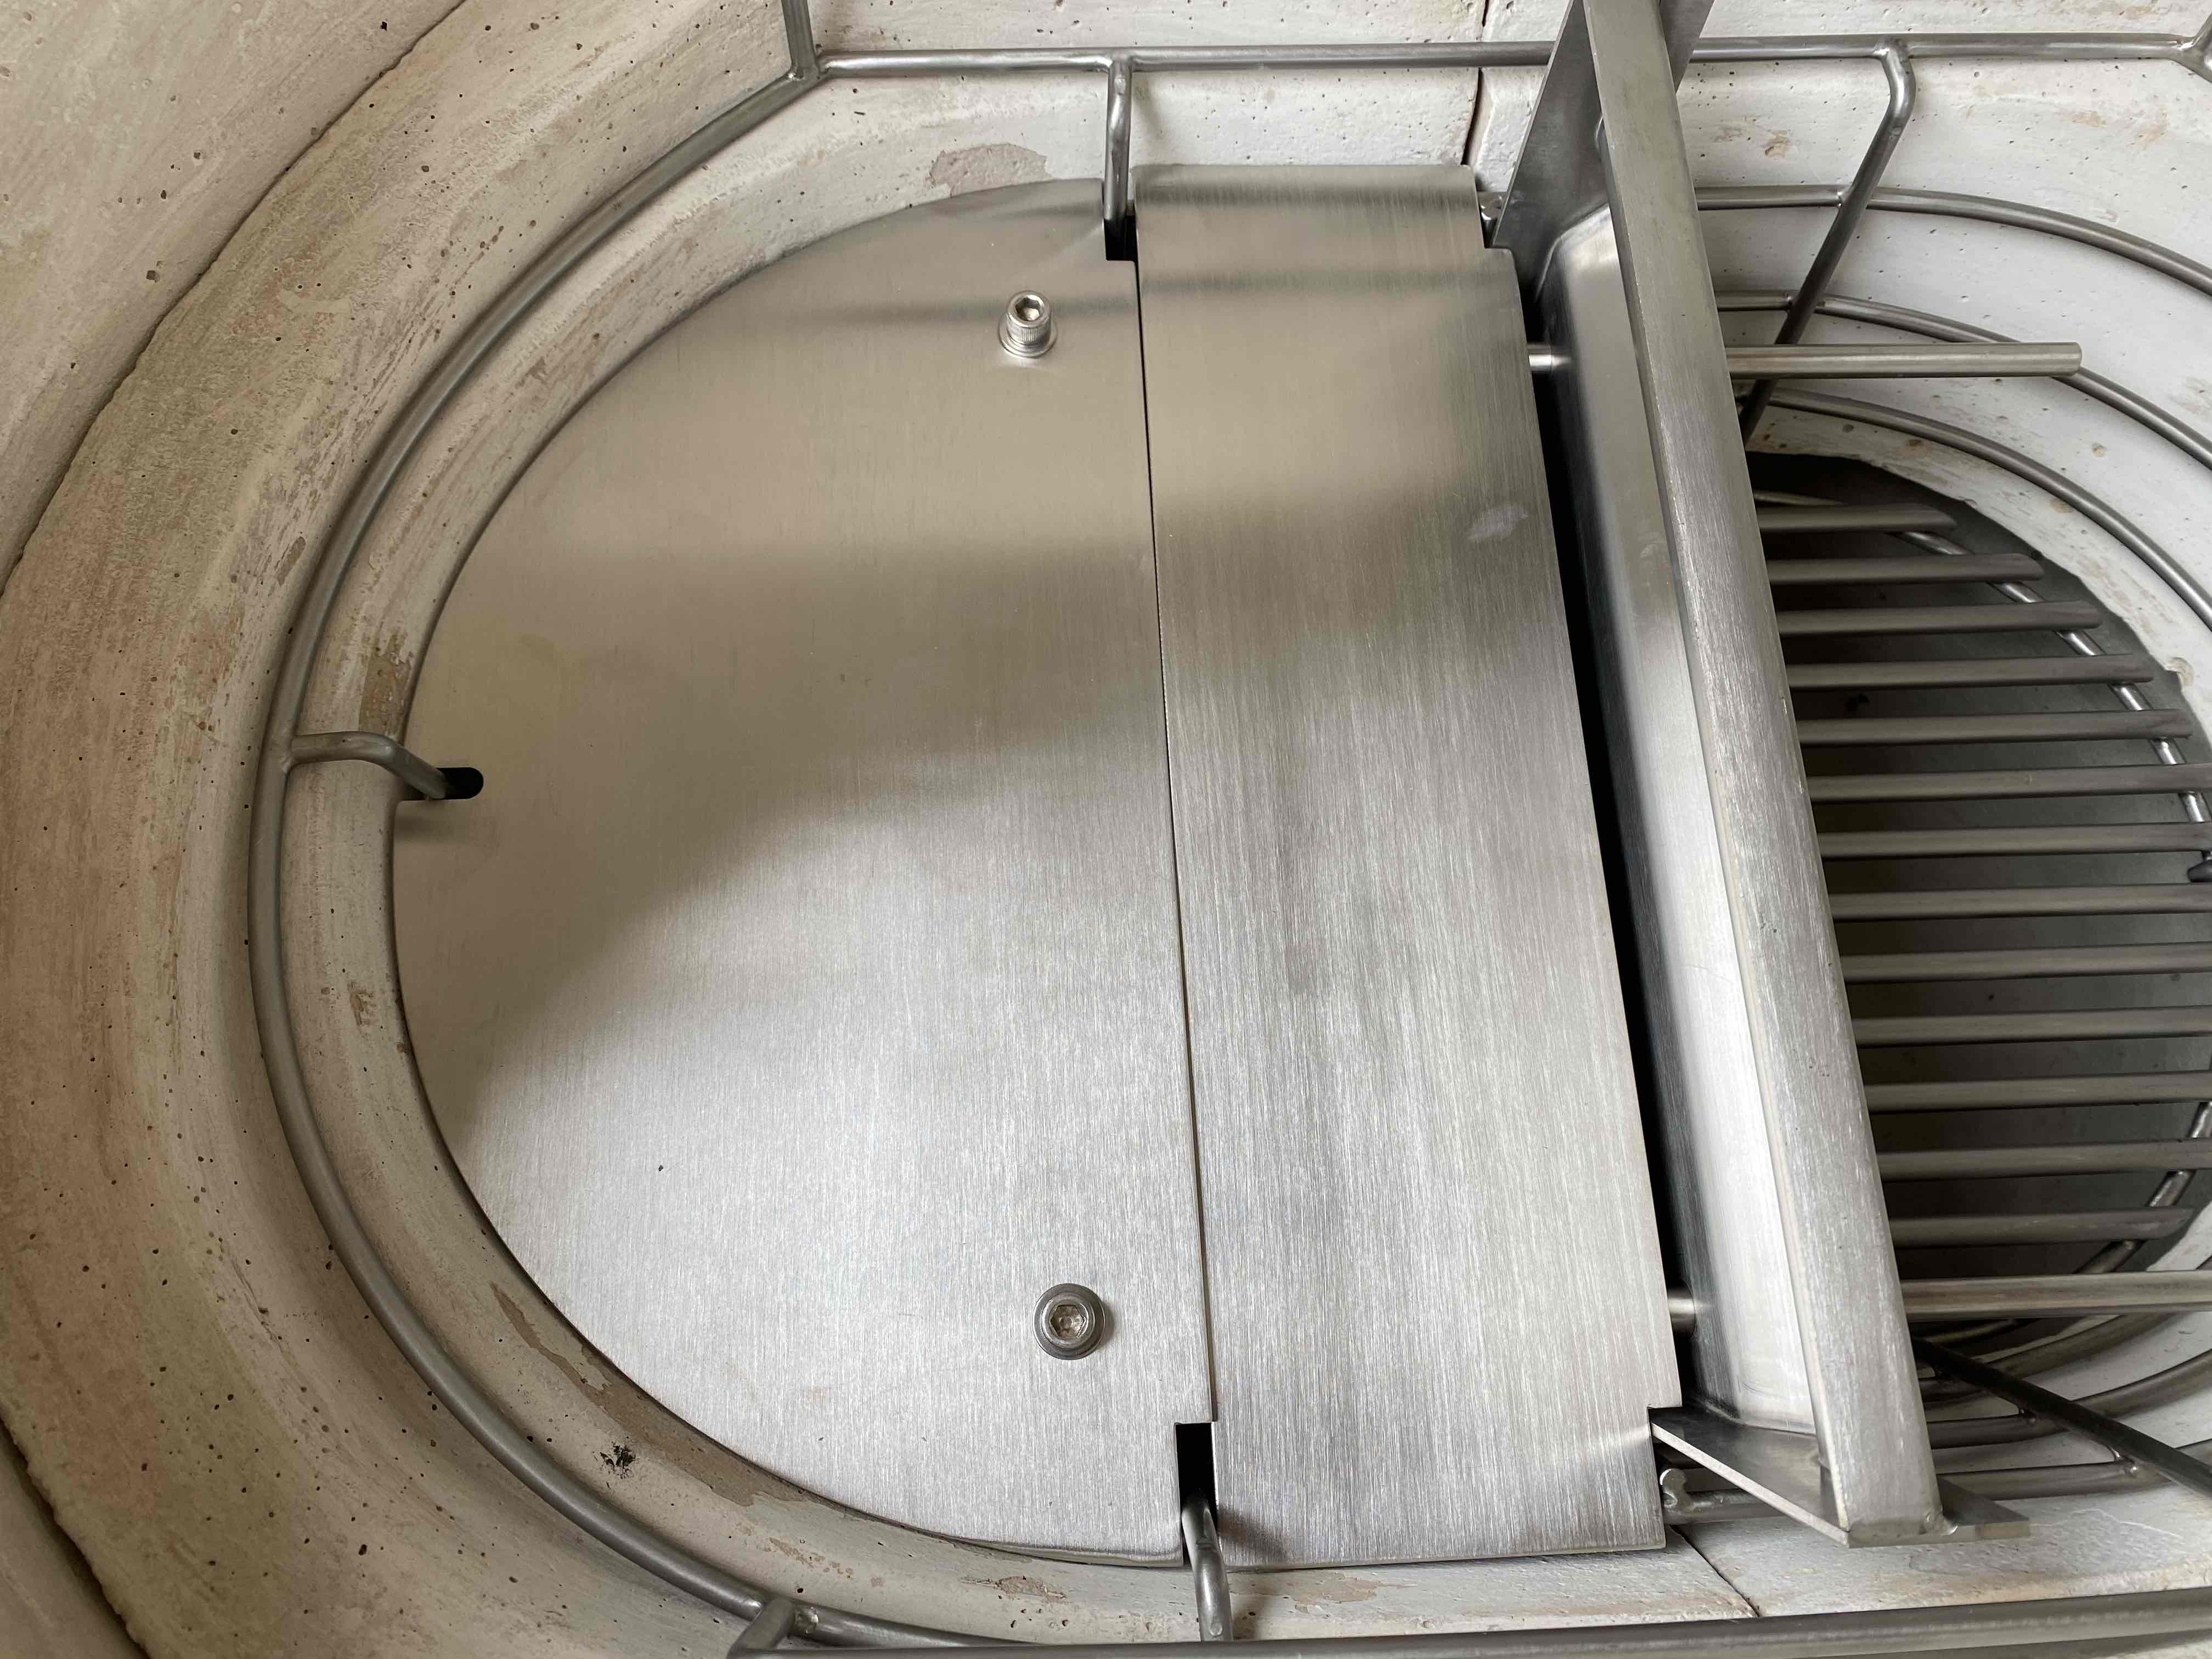
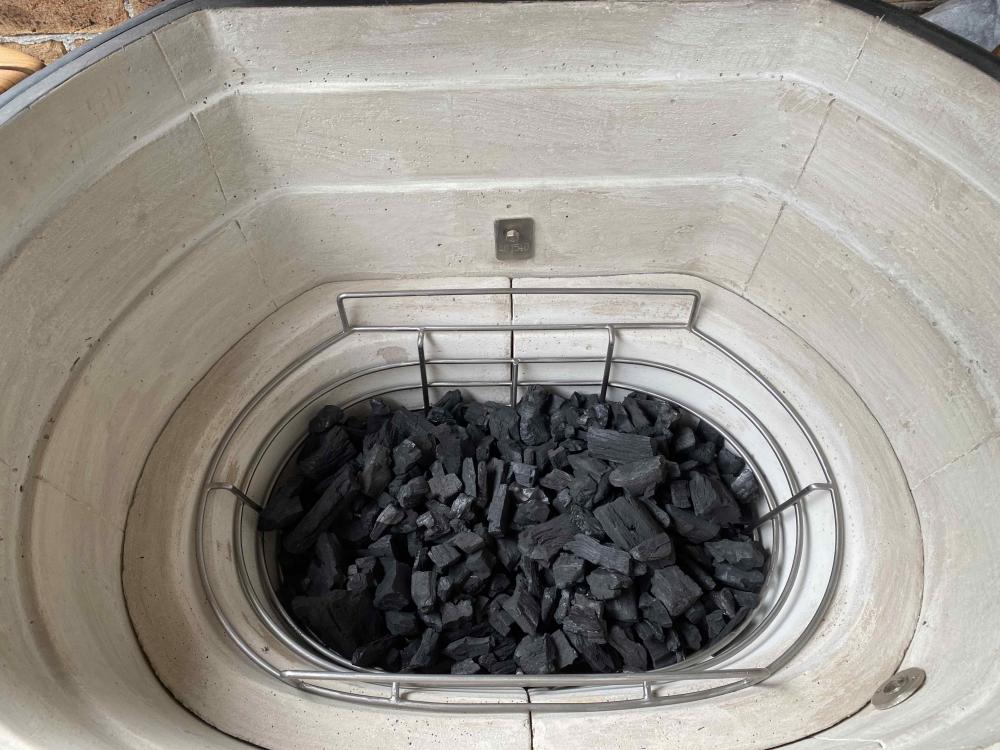
Thanks- yes, that's how I've arranged mine... wasn't sure whether the indents on the flat pieces should line up with the charcoal basket sides, or the edge of the vertical slider. Burn in commenced!

-
Thanks- yes, have seen that video- but as mentioned the pieces look different now. The vertical splitter wall is not a flat piece of steel, but scolloped in shape; and am trying to work out which way it is meant to face to lock in the splitter pieces most efficiently... I'll take a photo later.
-
Thanks guys- my splitter pieces are different from those in Dennis' 32" BB video- so just want to make sure I'm orienting them the right way... Waygu burgers sounding pretty good alimac!
-
Also- if anyone could clarify exactly which way the basket splitter pieces fit together (orientation of the vertical baffle scalloped side etc), I'd appreciate it. I can see how it generally goes together... but would appreciate nailing the details
-
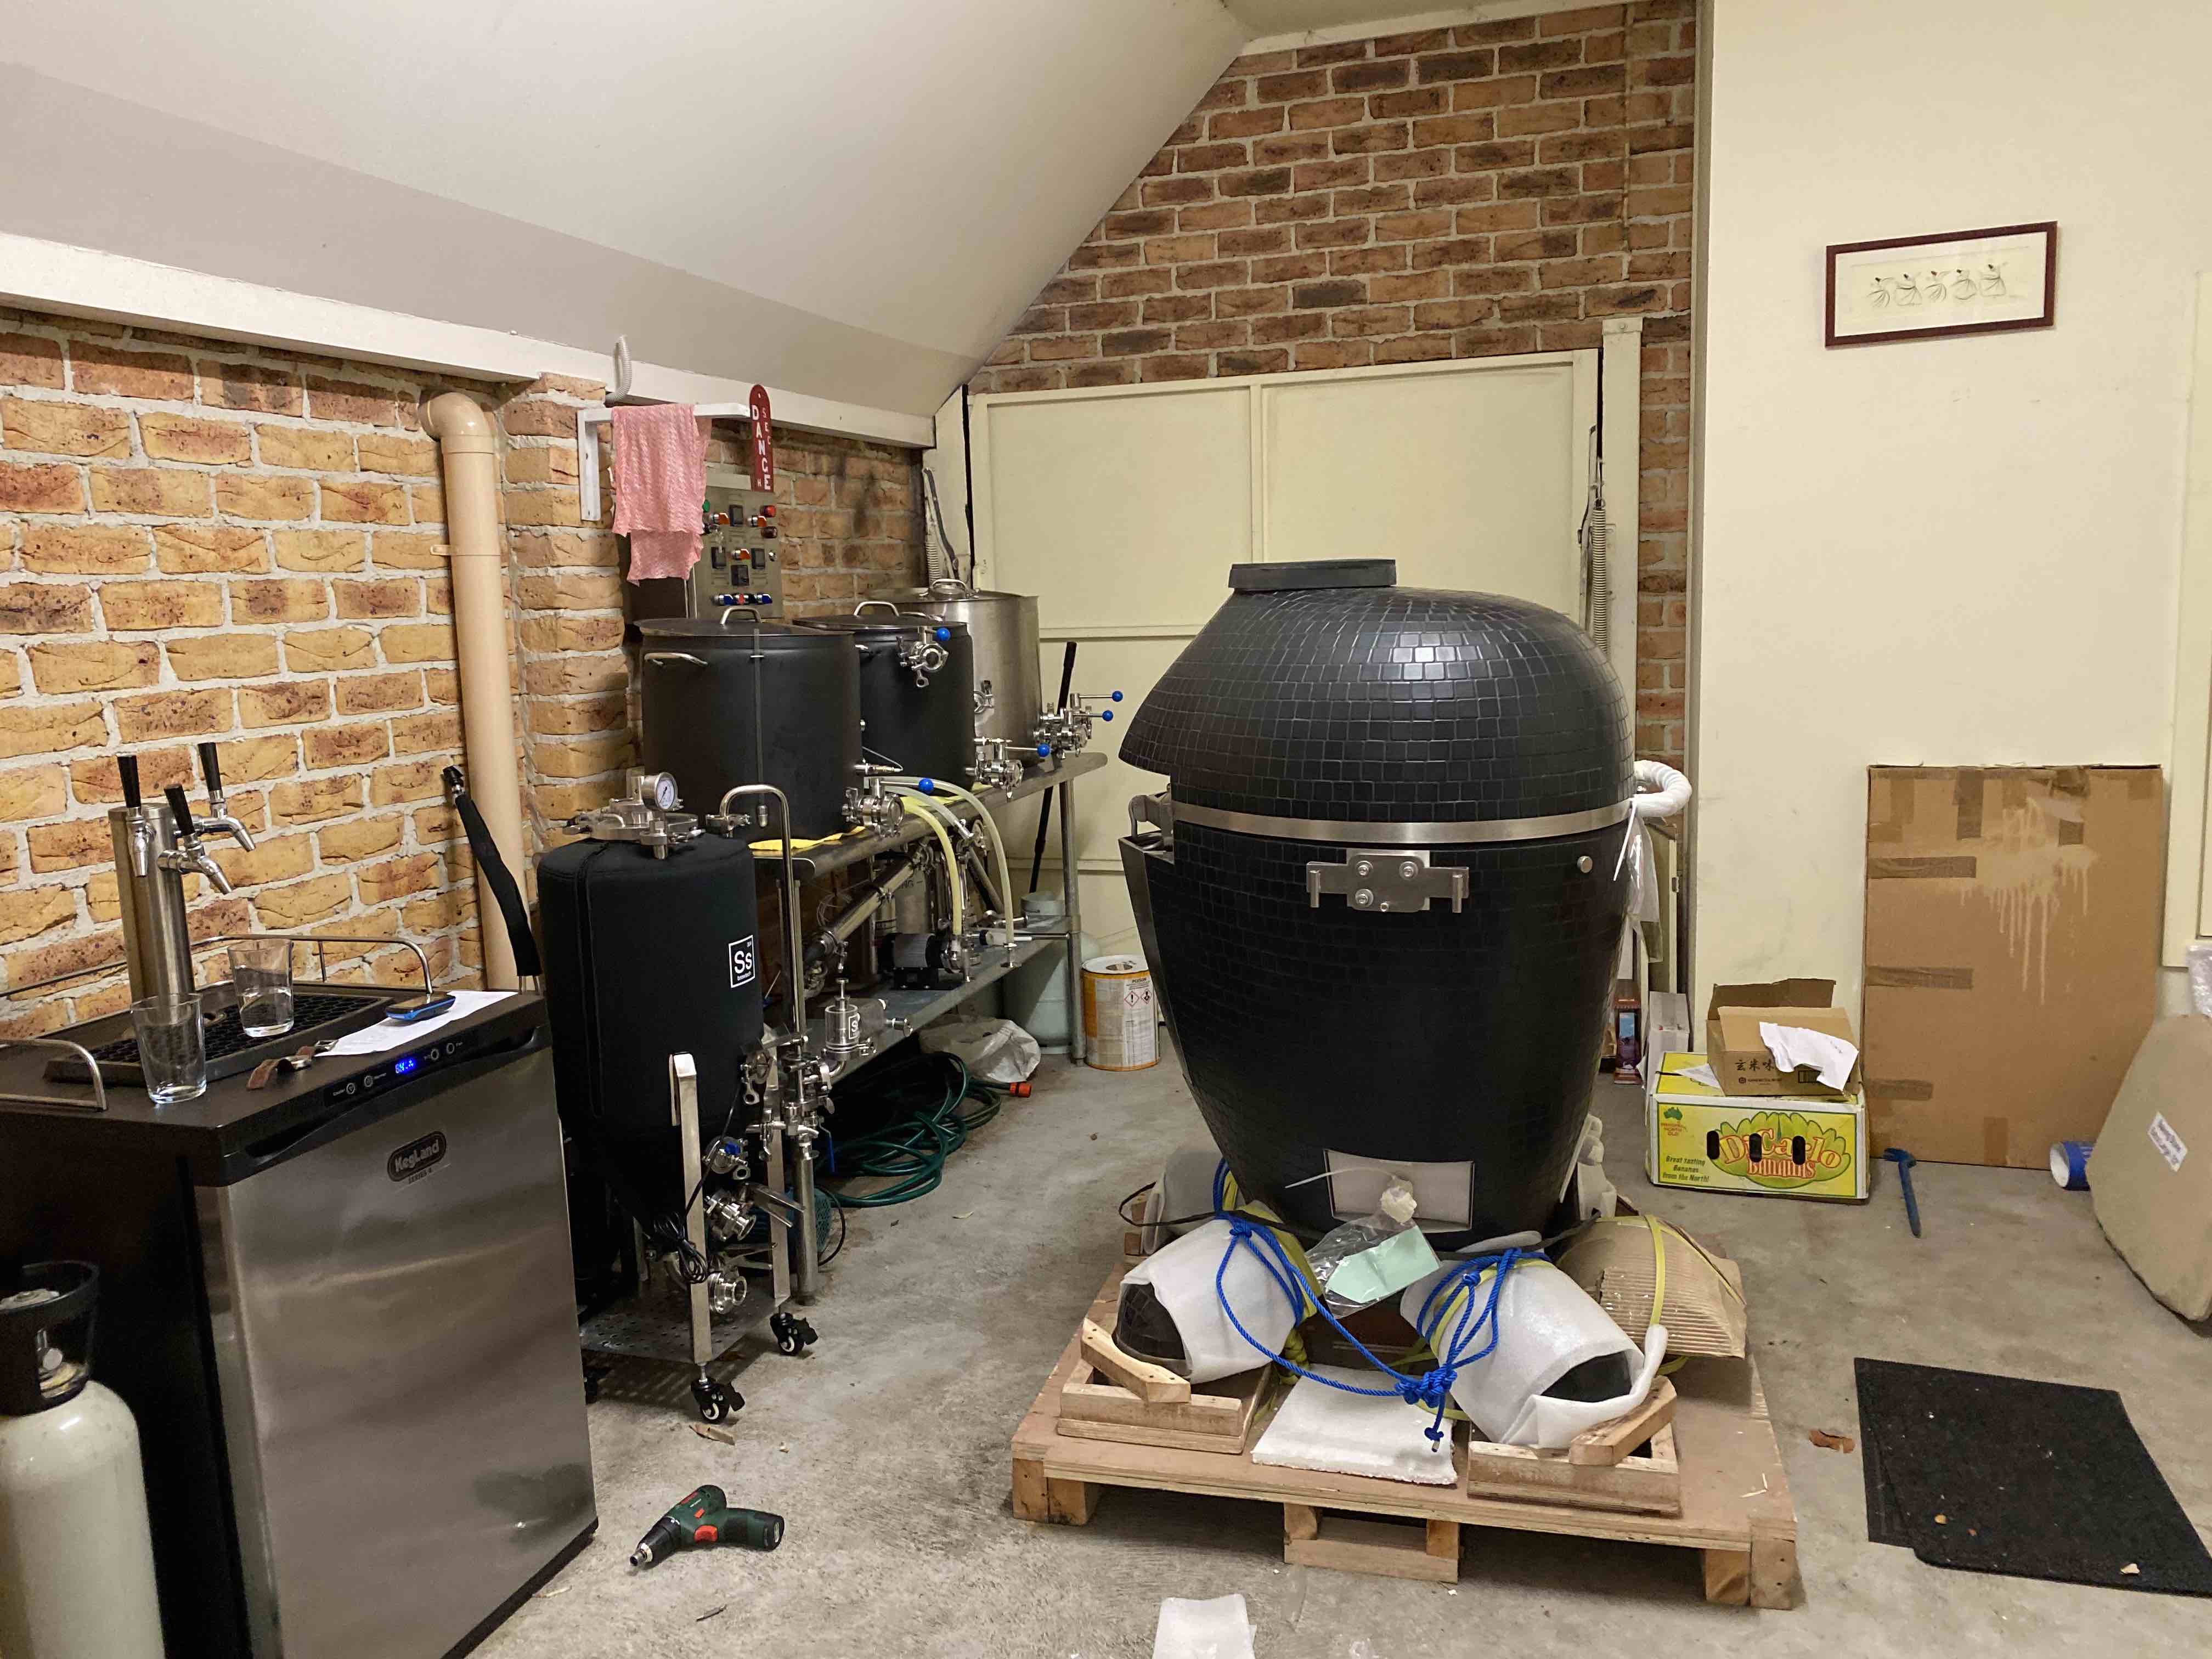
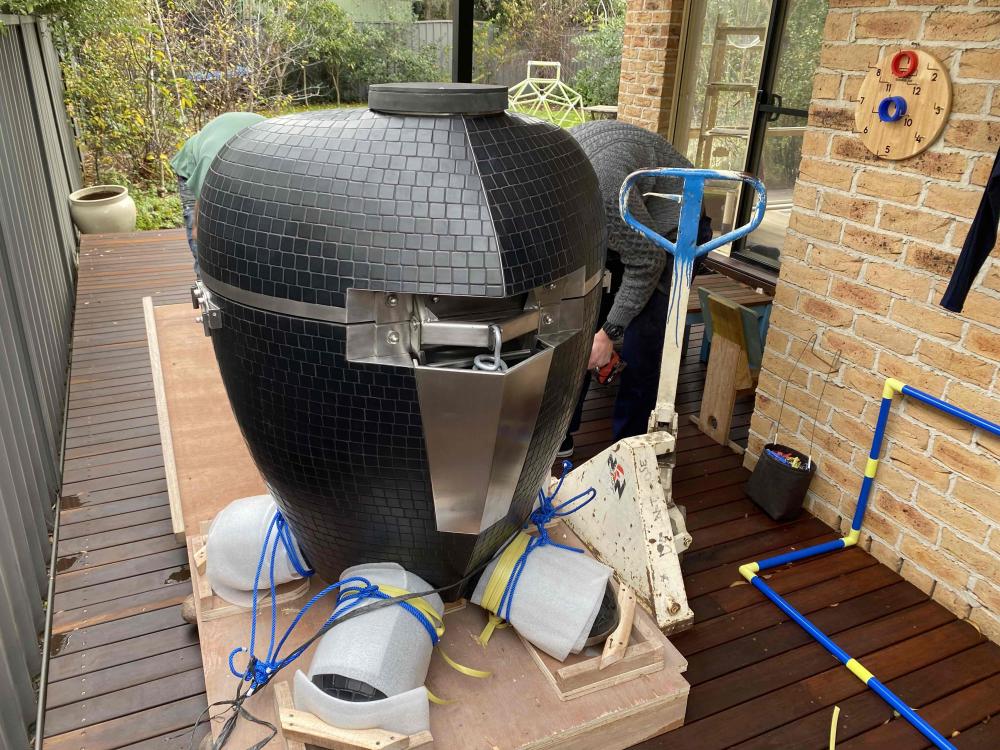
Yep- today was the day. Our builder came by with his sons- had it ramped up and off the base no troubles at all. Into position and all unpacked; bit late to contemplate cooking, but thinking about burn in and pizzas tomorrow...

-
Having had a better look- I now see that the little surrounds around the feet can be separated from the flat square that they sit on; I had thought it was all one piece, hence my question. Thanks Tony- yes, I'd gathered that the box underneath can be easily destroyed, but was confused about the feet pieces..
-
Progress... One thing I would be happy to have some clarification about (not clear from the manual or videos posted)- how do you remove the wooden supports that the 4 feet sit on? Manual says to crowbar them off, but as the KK's weight seems to be on them, I'm not sure how that is meant to work?


-
Yep- seen that one; condition report pretty dire though- reckon you would be deeply underwater with that example in no time at all!
-
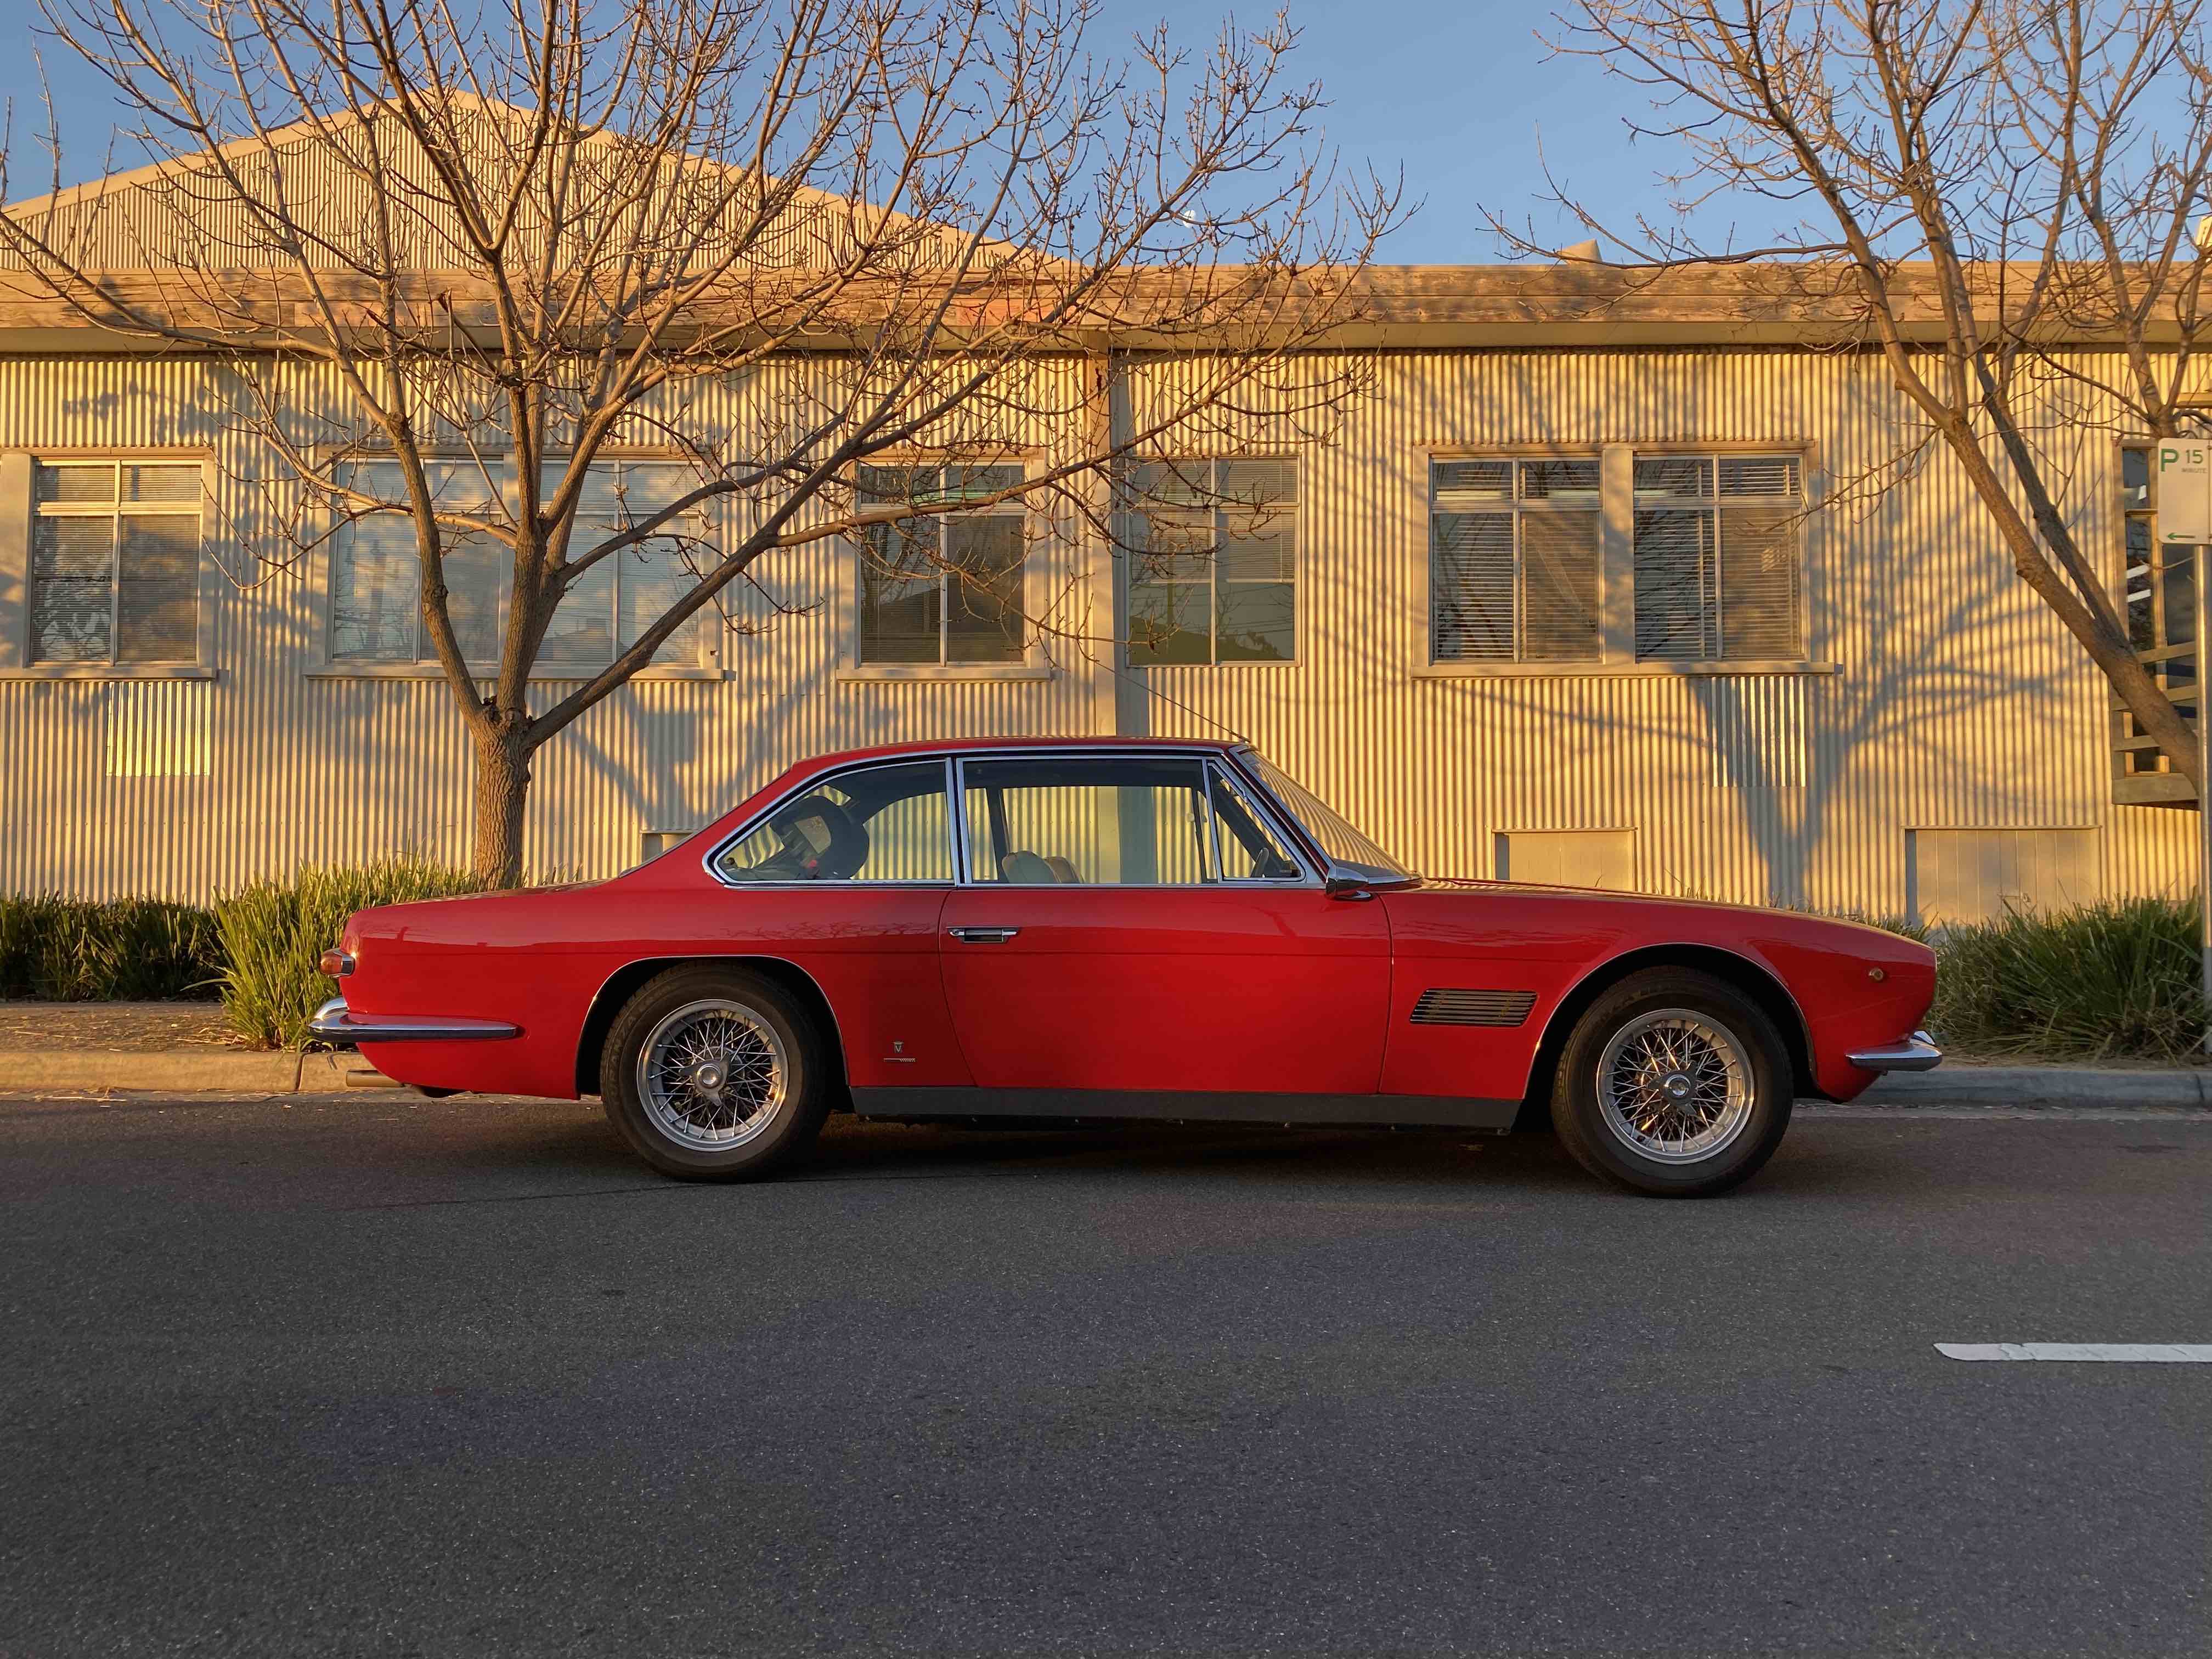
Well spotted. '67

-
Thanks- I'll see if the wife is able to assist with a lift off (plenty of ceiling clearance in the garage), and otherwise will take to it with the crowbar tonight!
-
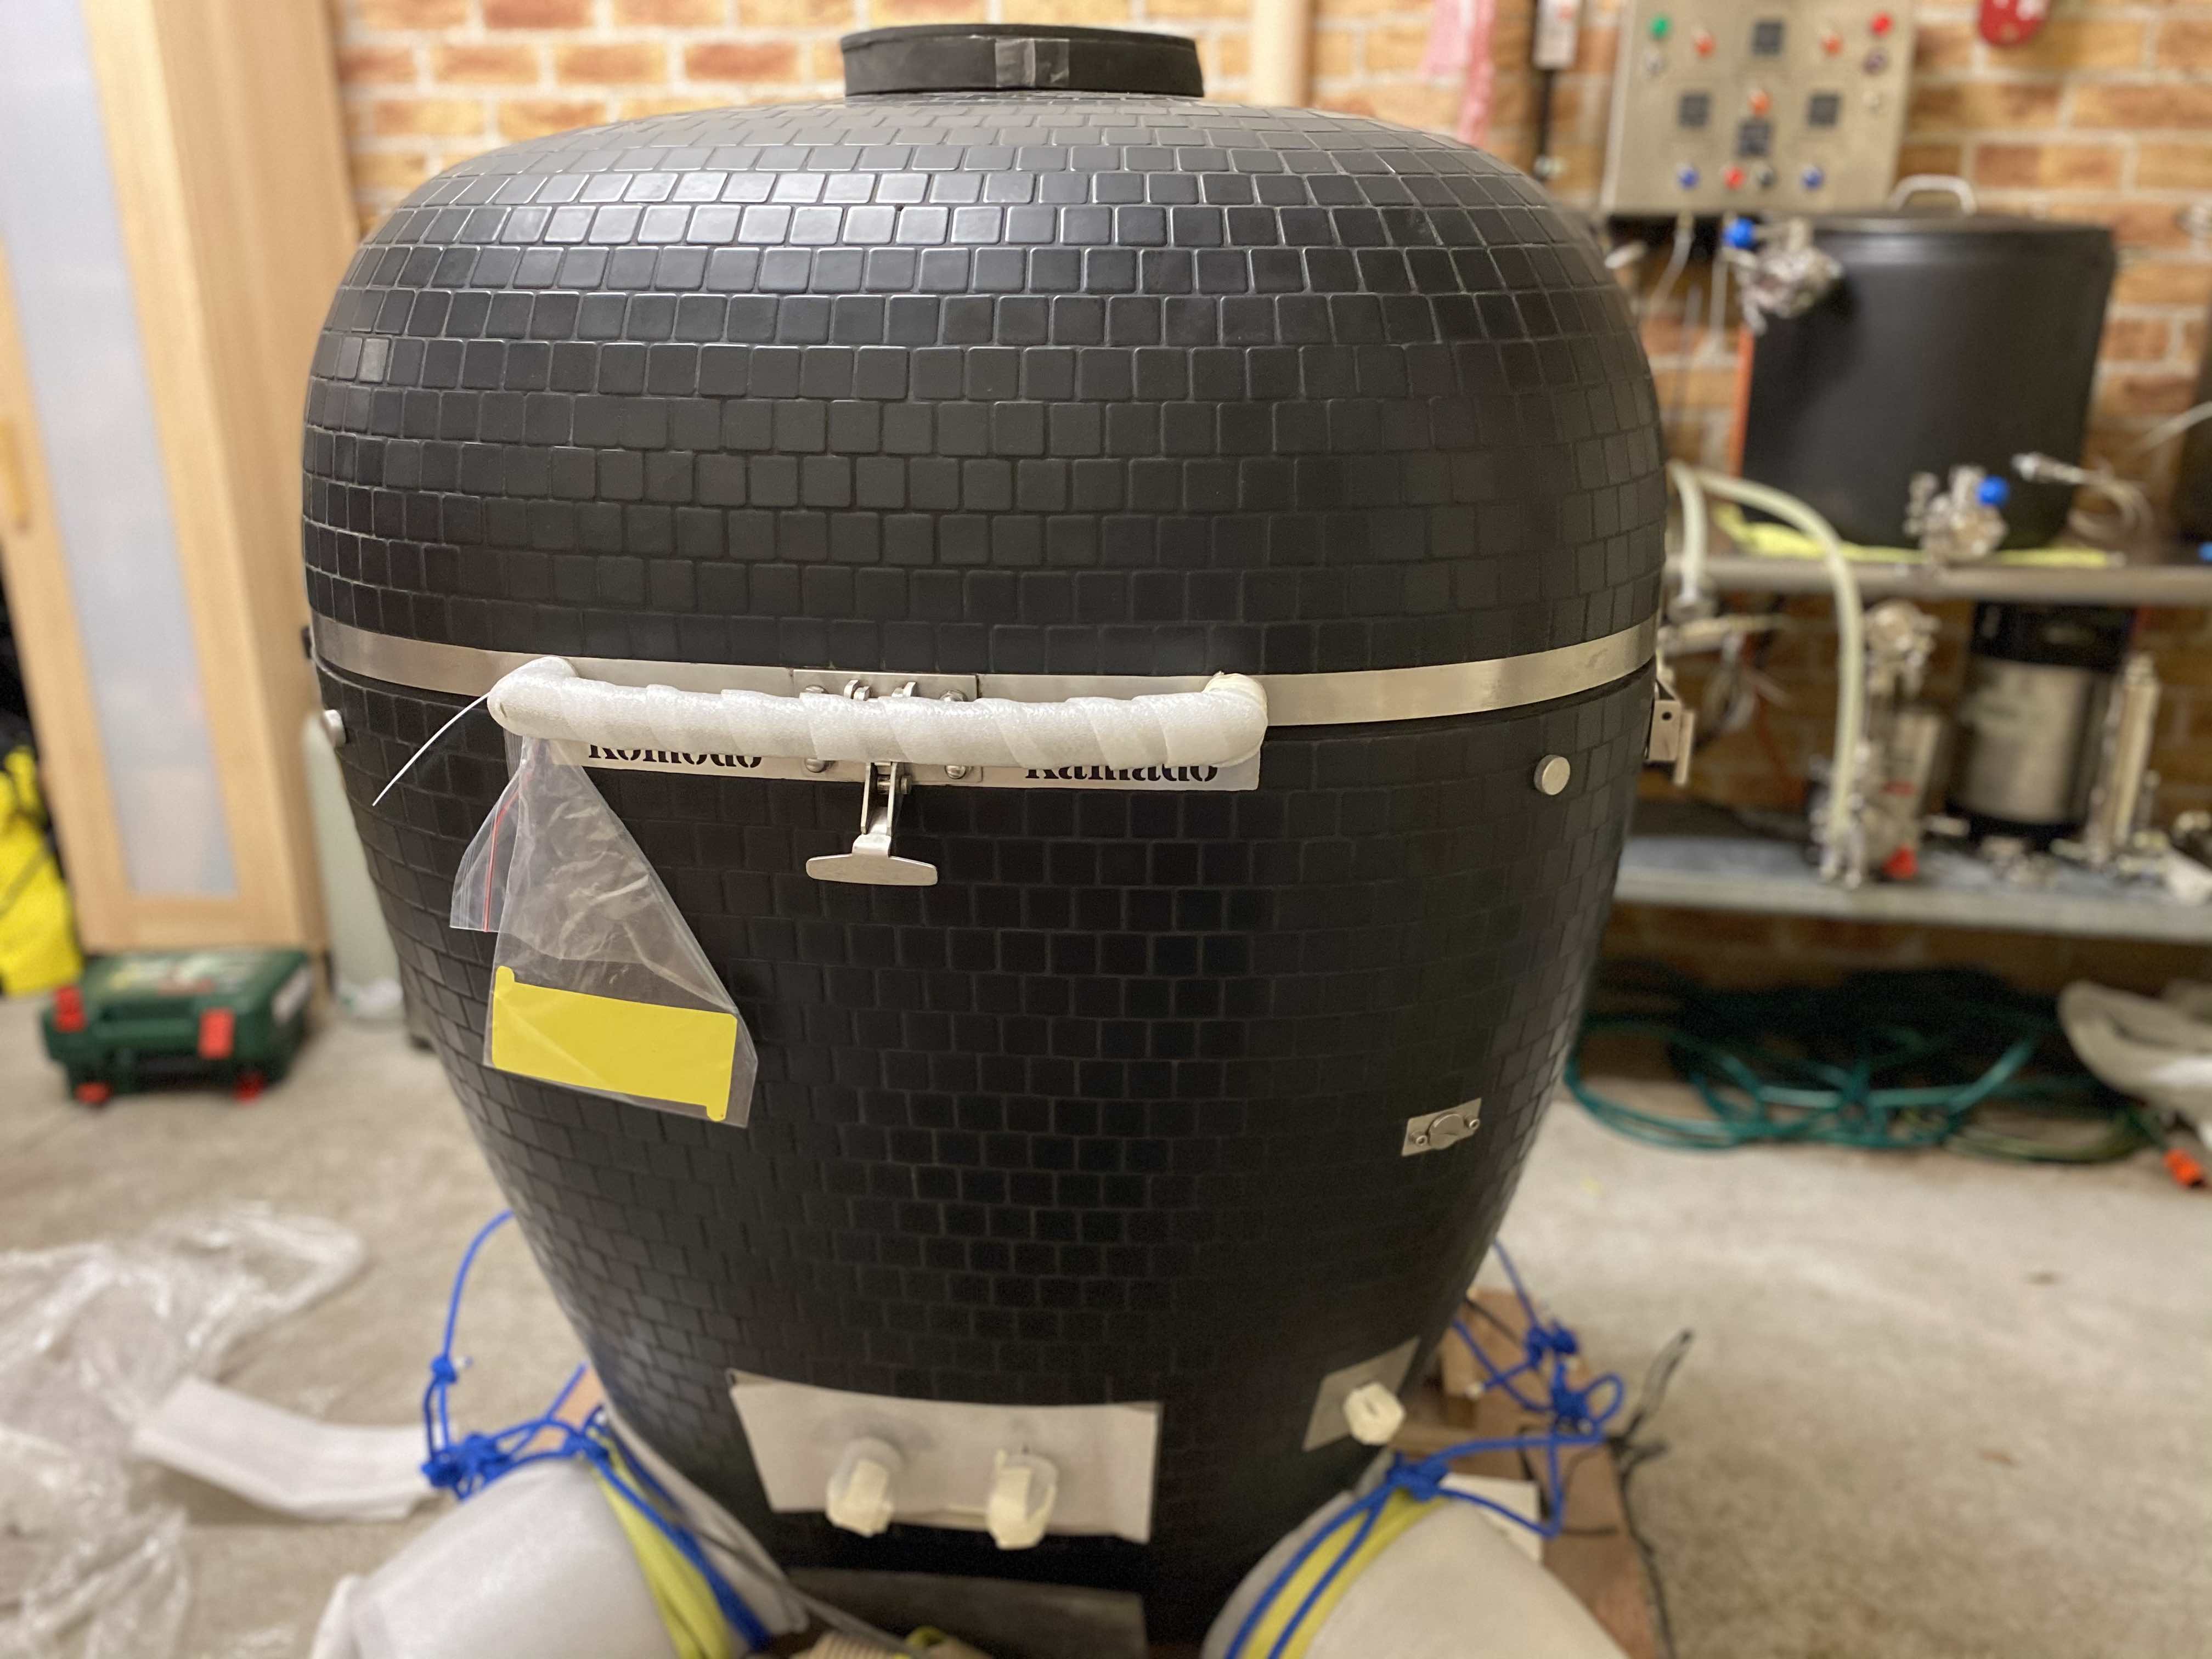
Yep- kids had a lot of fun ripping off all of the plastic and cardboard! Removed the ramp from the top- may try and take the crate off tonight; but the wife is quite small so not sure how much strength will be required to lift it up and over... If it seems to tricky, I may just crowbar one side off and tilt off instead. Lovely to get a good view of those sleek black tiles!
-
Hopefully find an hour or two in the evenings once kids are in bed to start taking off packaging and dismantling top of crate etc. over the next few nights. Builder going to pop by Friday afternoon/ Saturday morning to sure up/ check deck and help ramp it into place...
-
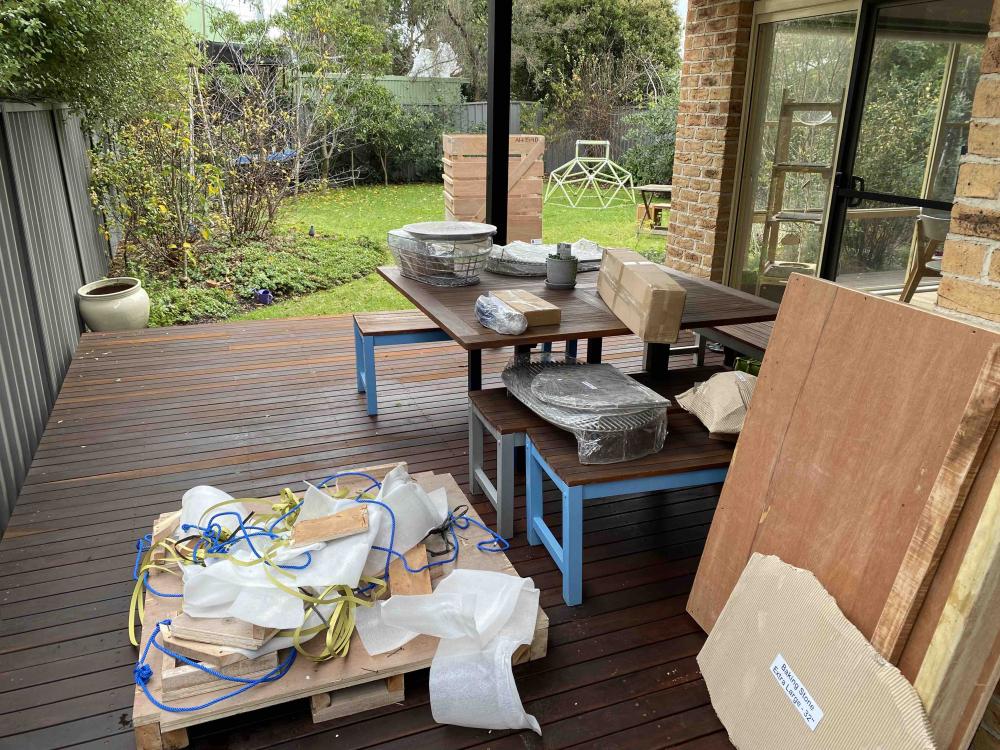
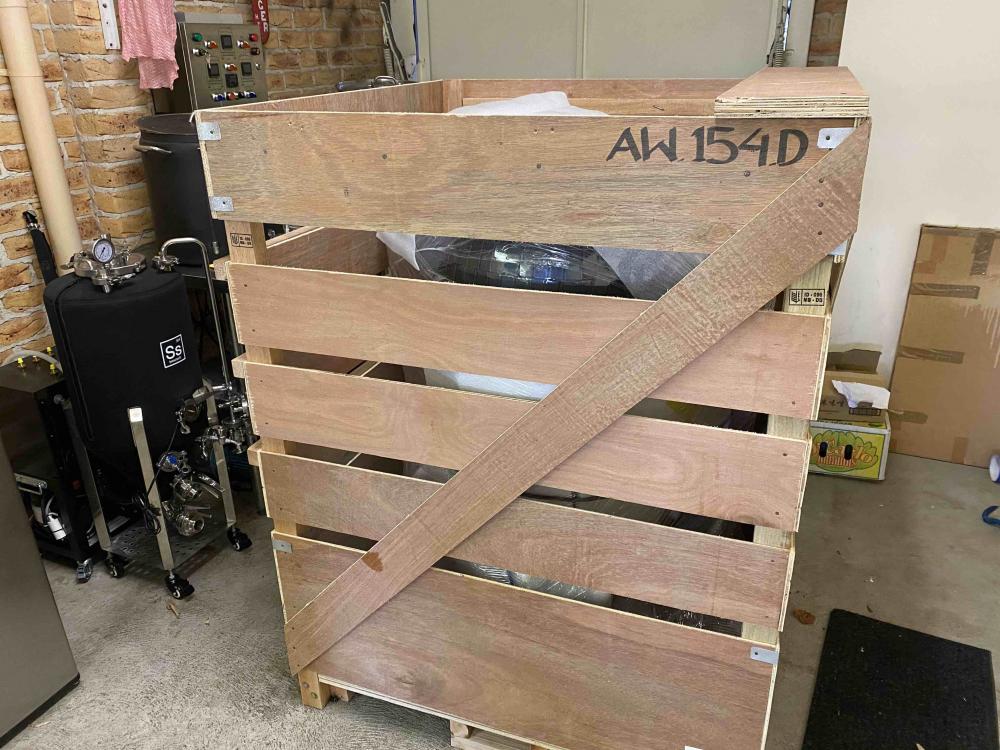
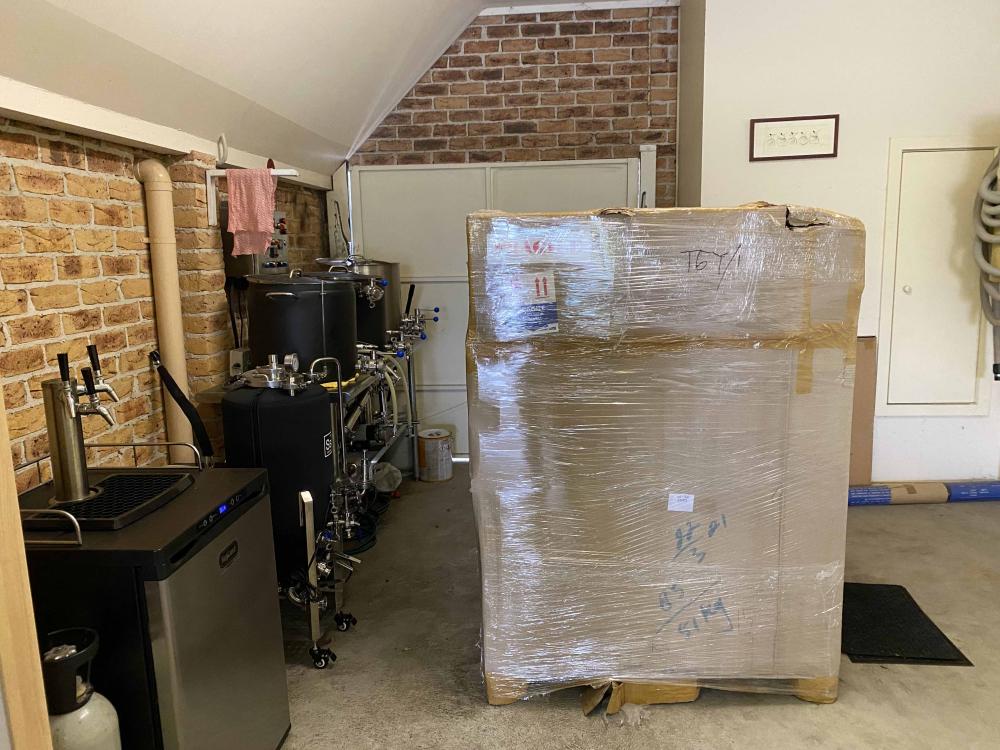
It's here! Although, as always- life is never simple; despite telling them I wouldn't be home between 11am-12pm- they of course came at 11:30am! So I was juggling being at the vet; pouring rain; home-schooling two kids during our current Melbourne lock-down; all while a delivery driver idled outside my driveway with a 600kg crate. Nevertheless- part 1 is a success. A big box in my garage...
-
Yep- tomorrow's the day. Then just need to confirm with my builder when he's free to come around (he's going to have a quick look at the deck area, and come armed with a couple of apprentices, some plywood and a pallet jack to get it up the 2 steps onto the deck). Hopefully it won't spend too many days blocking the garage in the interim! Meanwhile- I've ordered everything I need to be up and running by this weekend- lump charcoal, smoking wood chunks, smoking pellets for the hot/cold smoker, heat proof gloves, gas torch for lighting charcoal, pizza peel, some Lodge cast iron, pink butcher paper, and some rubs and sauces. That way- it is game on straight away!
-
Yep- I understand that well enough as well- but I would have thought that the factory burn in takes care of the solvents (irrespective of ongoing smell for a few cooks), and the main thing you do when you burn in at home is remove moisture from the refractory cement; hence Dennis' newer practice of plastic wrapping. But this potential of moisture to enter the material doesn't stop after the first few cooks (as we see on the forum in numerous examples of cracks and heavy lids etc). Hence my question- if you live in a humid area, and only do high temp cooks every so often- then presumably you are 'burning in' many times again in the future.
-
I have a general question. The burn-in process is well understood given all the explanations and informative posts. What I don't really understand is why you need to do it at all- given the likelihood that small cracks may develop over the years for various reasons (as we can see from multiple posts about repair tips/ lids getting heavy etc), isn't 'burn-in' then a constantly evolving process? In other words, over the years small amounts of venting may occur from time to time if the cement absorbs some humidity etc... so what is the point of doing an initial burn-in? I understand that the development of soot on the inside will provide some protection from moisture absorption, but presume that process will also develop with regular cooking temps as well?
-
This is exactly what I've been wondering, with the KK only days away. I guess the only painful/ messy bit is deciding which way to set up the splitter, as grates pop in and out with minimal fuss... So, right hand coals with more natural fit of the half grate for indirect ( vsmore arm over coals as I'm right handed), vs left hand coals and Tekobo's reversed half grate....hmmmm.