Leaderboard
Popular Content
Showing content with the highest reputation on 08/30/2016 in all areas
-
I have been thinking about doing gyros for several months, and lucky for me this challenge finally pushed me to do it! This made for an awesome dinner and I can tell you I will never crave a gyro from a restaurant again. Anyway I started with the gyro meat ingredients. I looked at a few recipes to get an idea of my seasonings but really just did what I felt like. Processed the onions then wrung them out with a towel. I could not believe the amount of liquid that they released. Then added the other ingredients. Processed then formed into a log and put in the fridge for several hours. Then I worked on the veggie marinade/Greek salad dressing. threw it all in the food processor.got out all my veggies (minus the hearts of romaine)chopped, skewered and poured the marinade on them. They went on the fridge and I rotated them every hour or so.then I got my ingredients for the Tzatziki sauce. I forgot to take an after picture. Then I finally got to the pita bread. I ended up mixing up recipies and so I didn't have everything in hand I needed and that changed the hydration, but I just did it by sight and it turned out super well! I realized I never took a picture of how much it rose....but it was a lot and really developed a lot of flavor too. A while later I lit koko Kamado and then prepped my salad. cut in half with salt and olive oil rubbed in. Then I got my meat on. put my dough into disks for a second rise. after just under an hour I put the lettuce and veggie skewers on. This was a tricky picture because I had the upper rack with stone heating for the pitas.took the meat off and let it rest.off came the lettuce.skewers stayed in for a bit as the grill got hotter. Took them off about 10 minutes later.cooked the pitas....these were soooooo much better than store bought. also they were very hard to transfer without stretching and making crazy shapes!while the last pitas were on, I started slicing the meat. You can see a smoke ring on this even after only an hour.then it was time to assemble. With Tzatziki, chili garlic sauce and some grilled veggies alongside a delicious grilled Greek salad.like I said....this was AMAZING. If you like lamb I highly recommend trying these at home!4 points
-
Very interesting day today in my quest for perfecting my temp control. Opened the top vent 3.5 turns and bottom vent opened half way and got to 375 in about 14 min. So I figured that I would see how I can monitor the theme a bit better. I turned the top vent down 2.5 turns and the bottom to 1/4 open. It staid at 375.... hmmm???? could Ckreef be onto something here? dialled the top vent down to 1/2 turn open and closed the bottom down to 1/8 and it lowered down to maybe 365 So closed the top to 1/8 open and left the bottom 1/8 open and it locked in at 350. Now everything that I have known is out the window.... I am seeing major fuel savings in my future if I can replicate this2 points
-
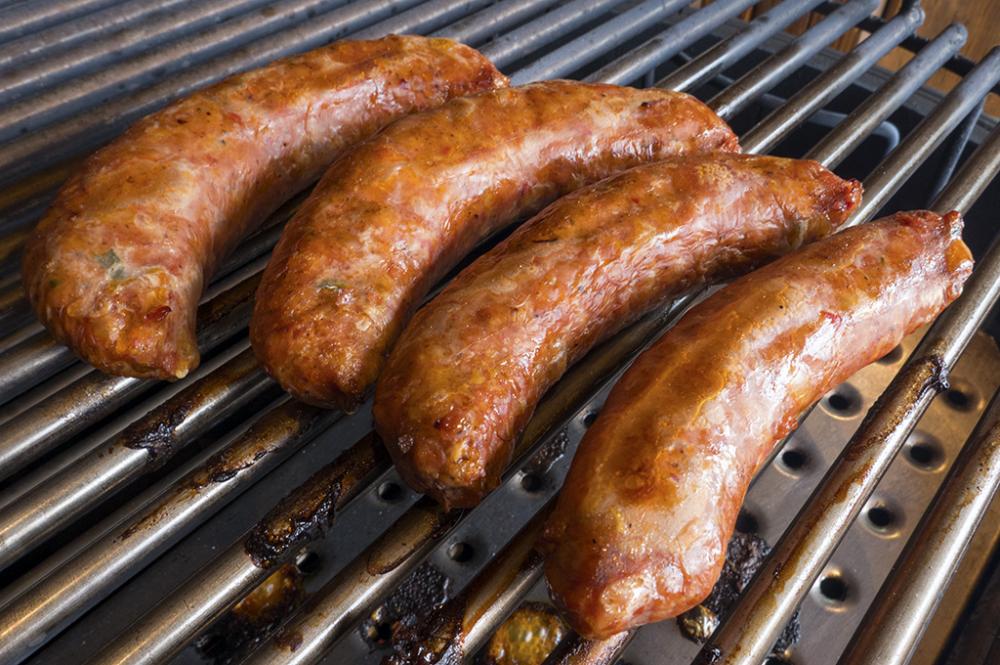
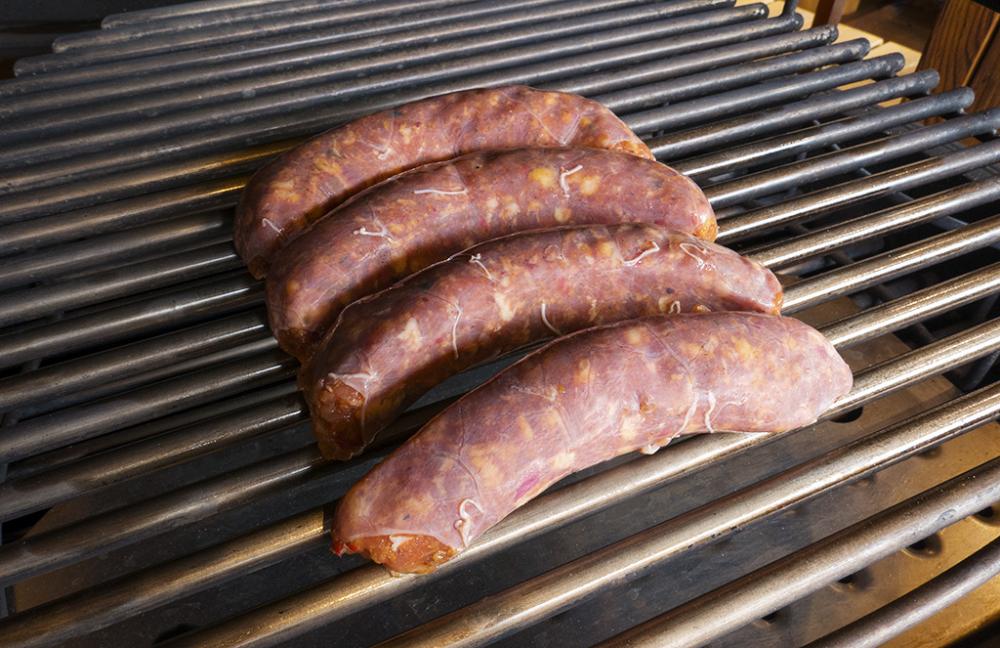
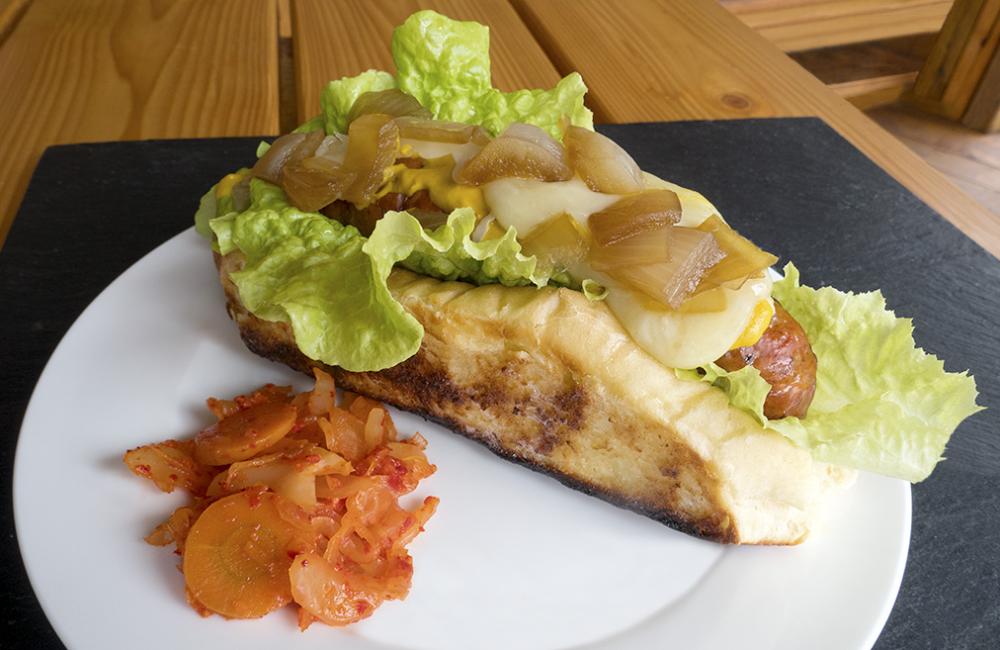
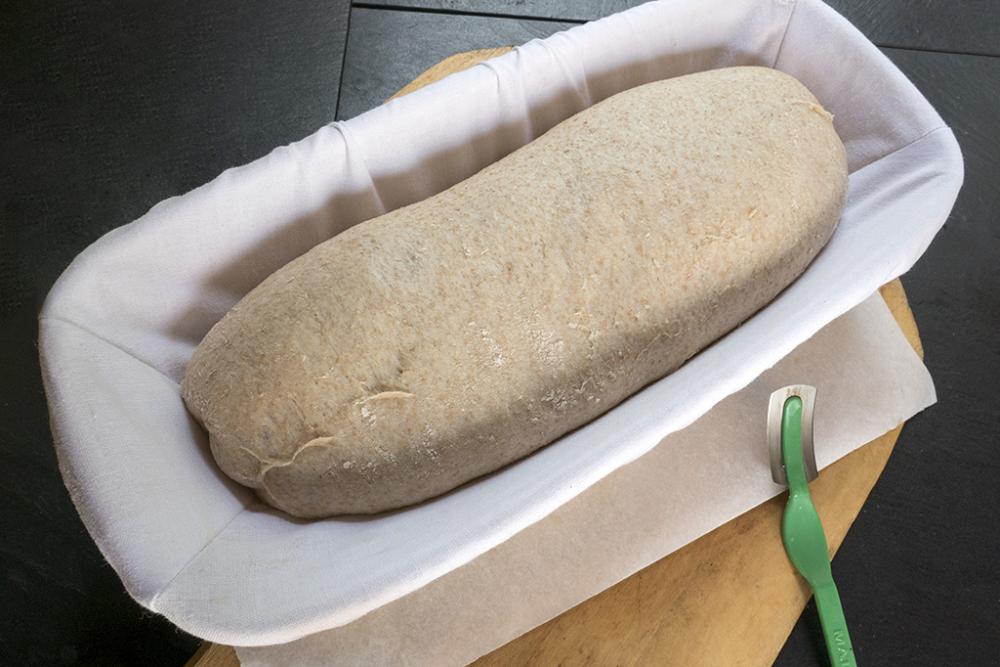
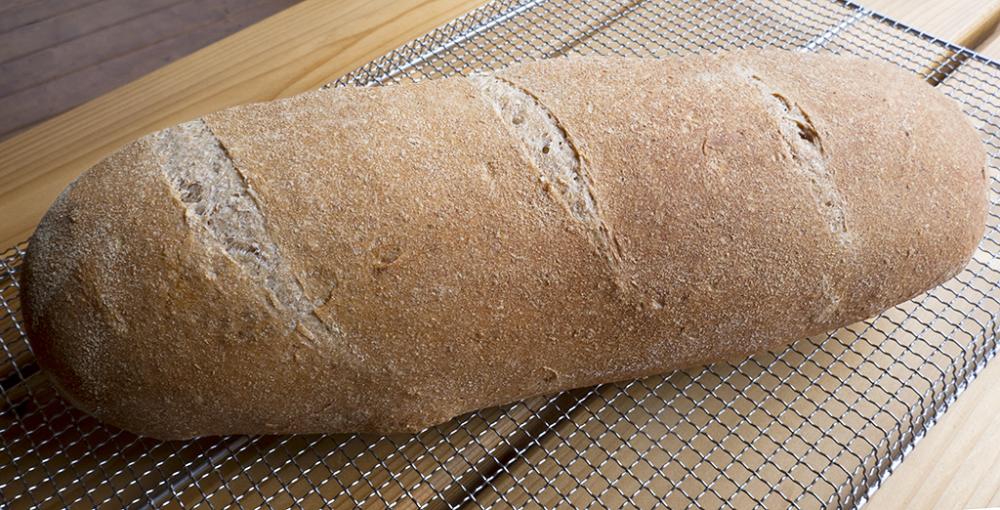
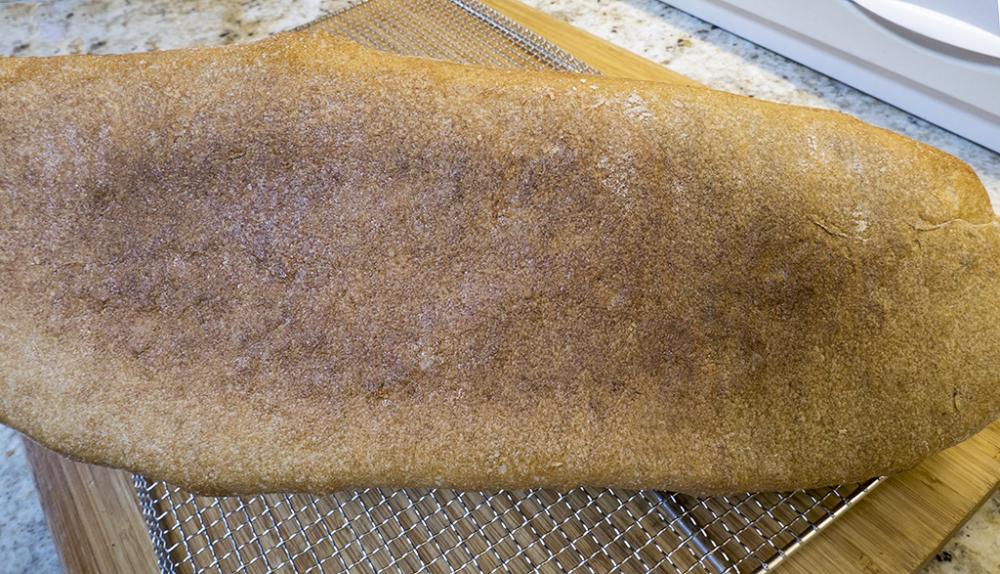
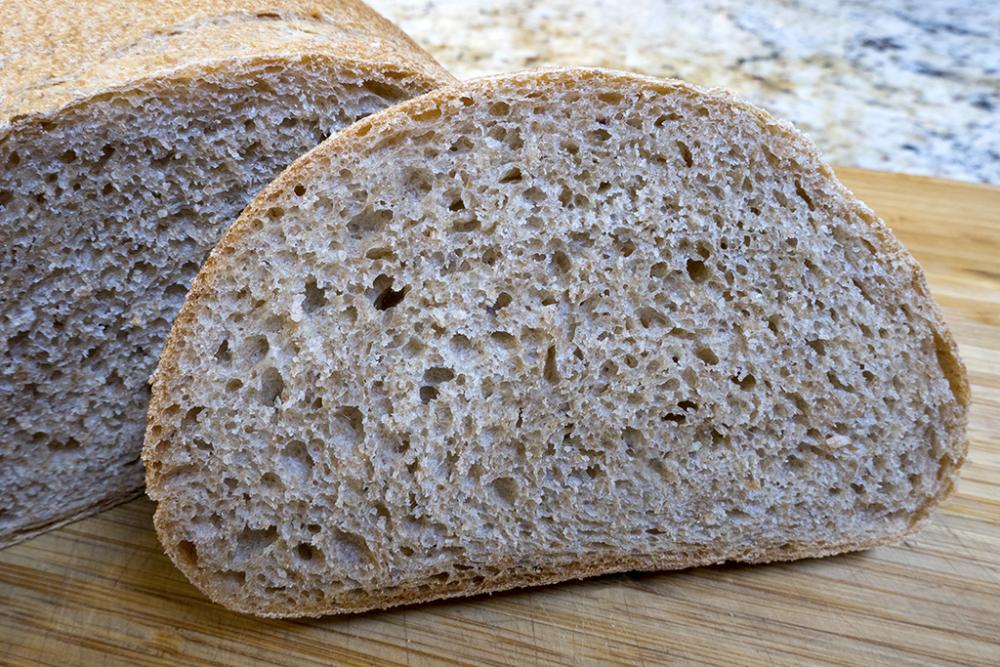
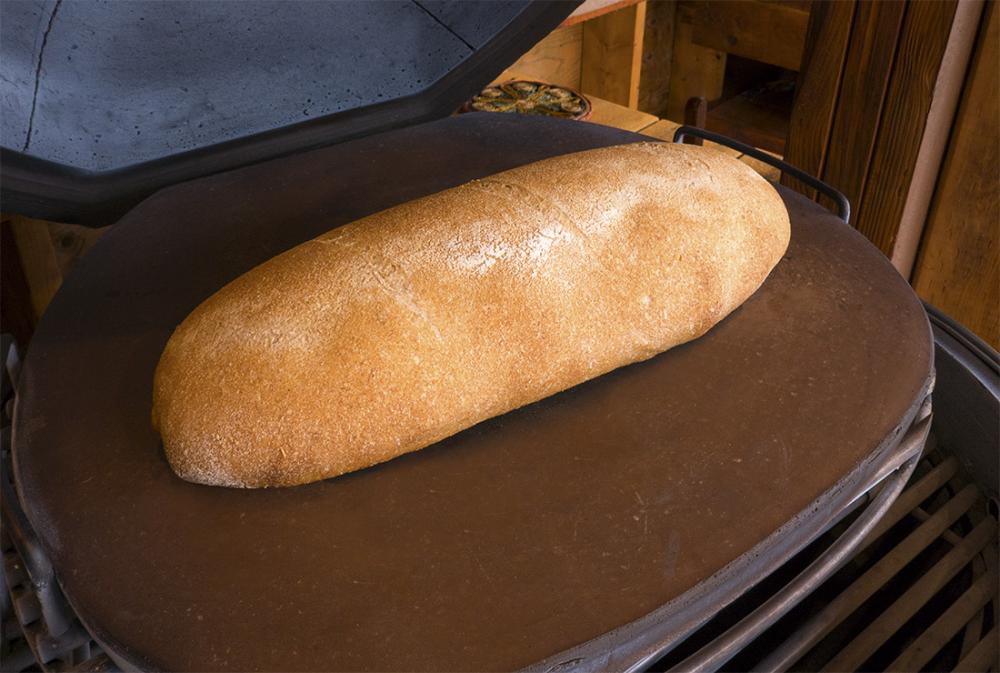
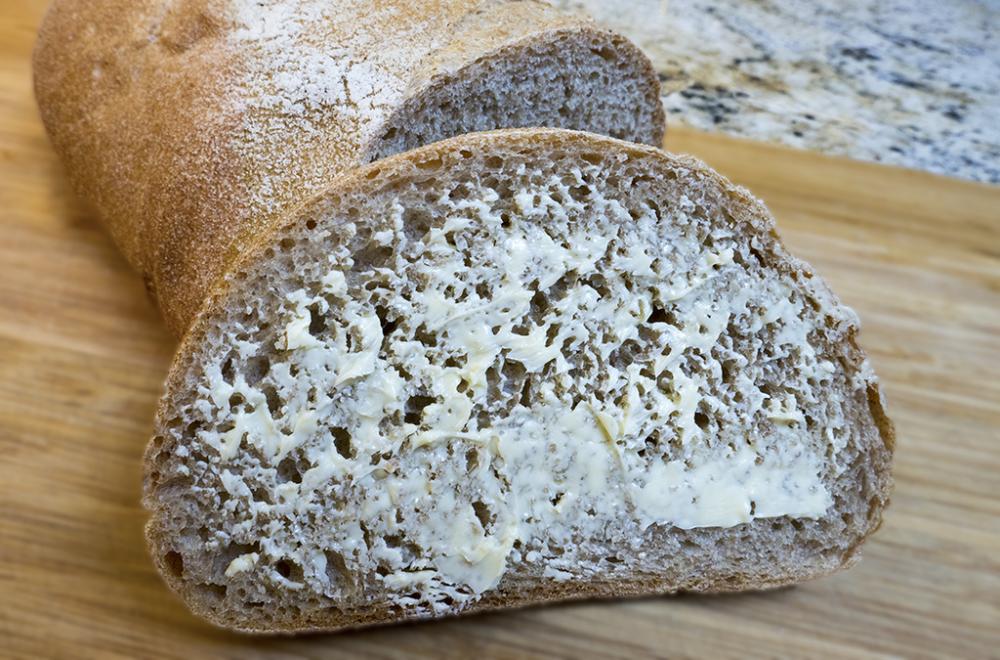
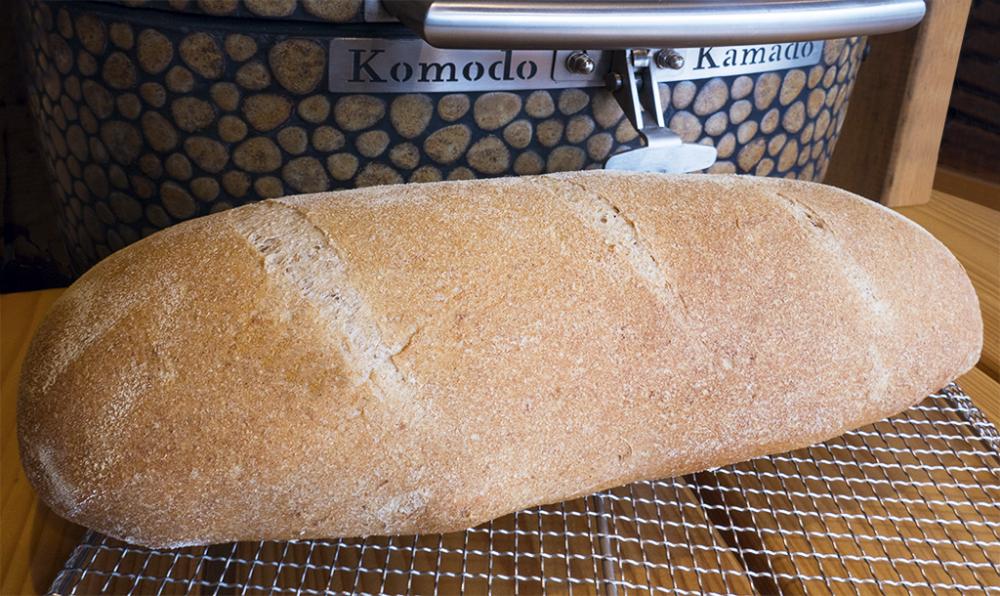
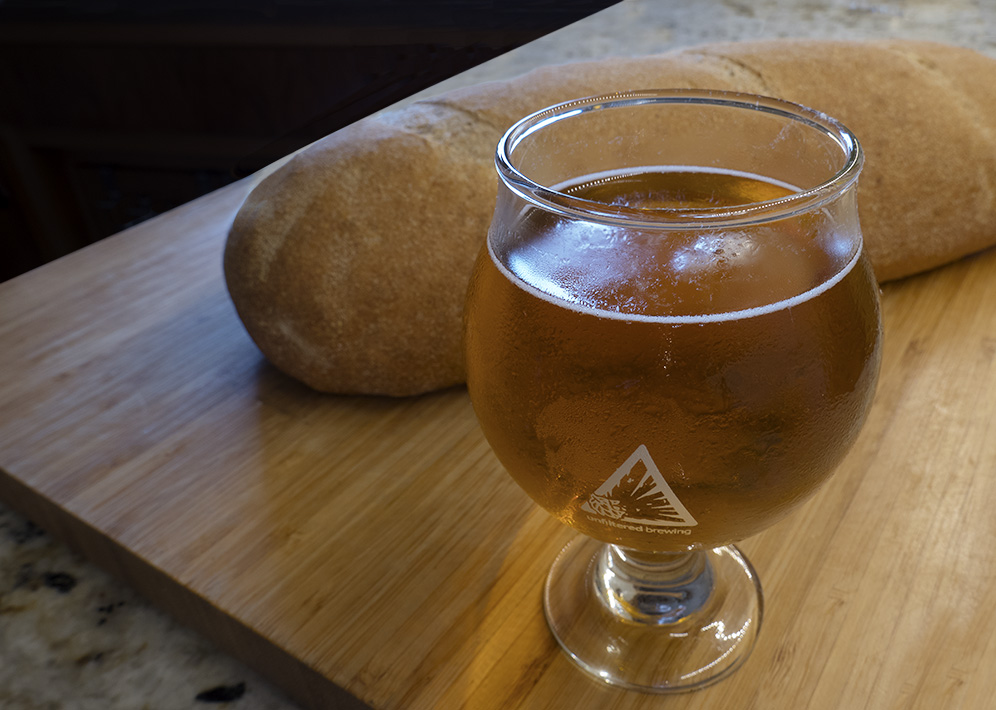
A friend brought me some sausages that were named for him, Nashbomb Sausages. There were so named because he brews the beer used in the making of these hot sausages. This was the first cook of the day and it was to be followed by bread baking. Plated. I put a little kimchi on the plate just because... While this was going on the bread was doing it's thing and was soon ready to bake at 450F . This is another loaf of Sygyzies' freshly milled flour bread. It is just ready for me to flip out and onto parchment paper and score. 20 mins at 450F and we have this- Here is the bottom of the loaf and you can see what a wonderful job the KK baking stone does.:) The lighting is a different colour as the pix was taken in the kitchen. The crumb. This very light and tasty bread. All buttered up, first slice. THANK YOU SYZYGIES for that wonderful recipe.1 point
-
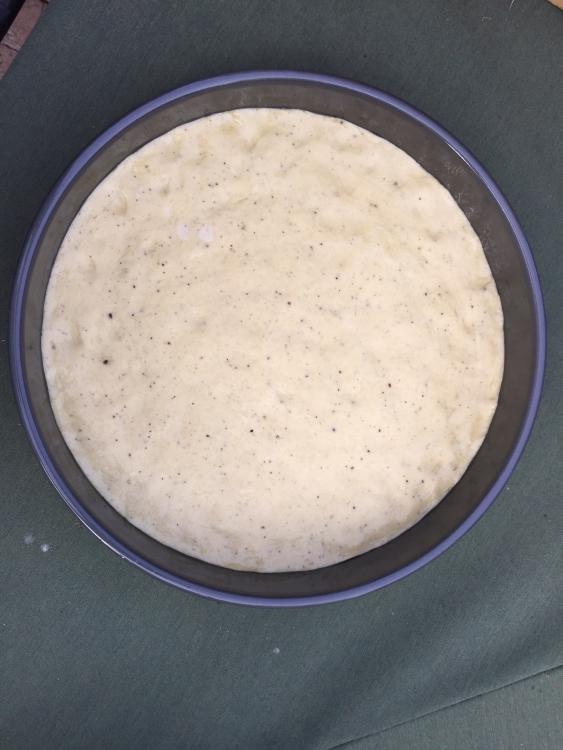
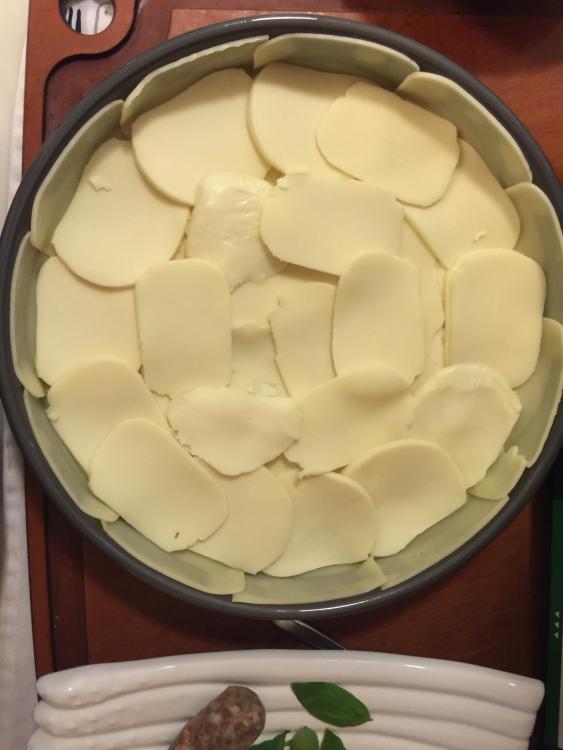
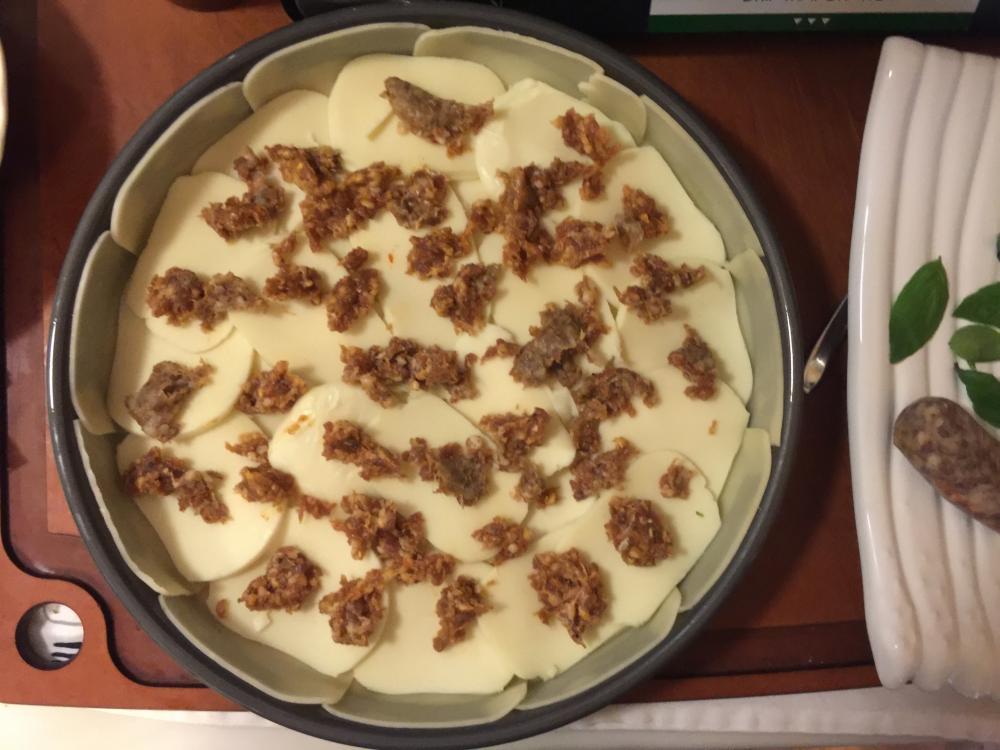
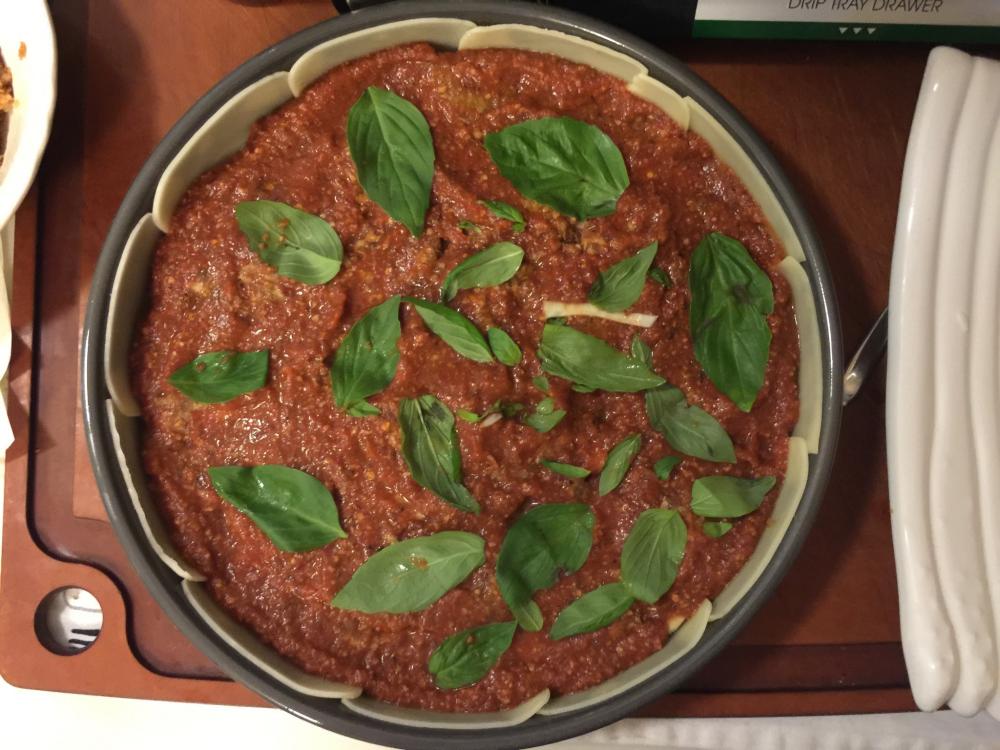
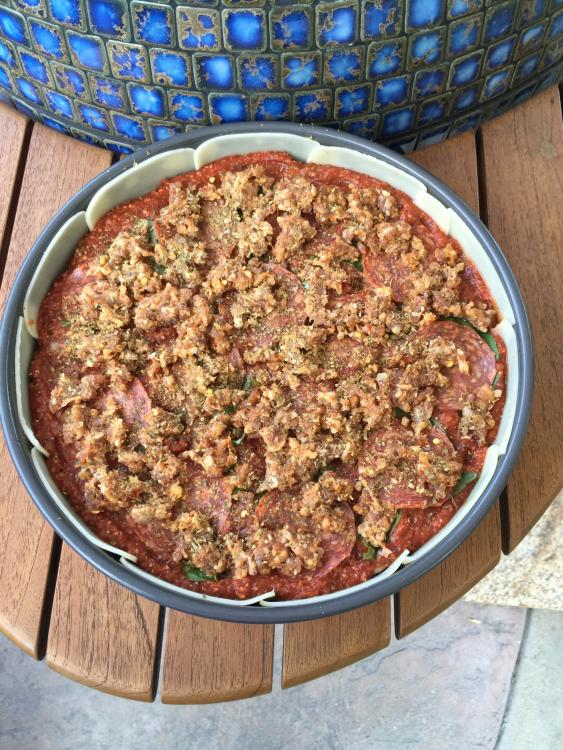
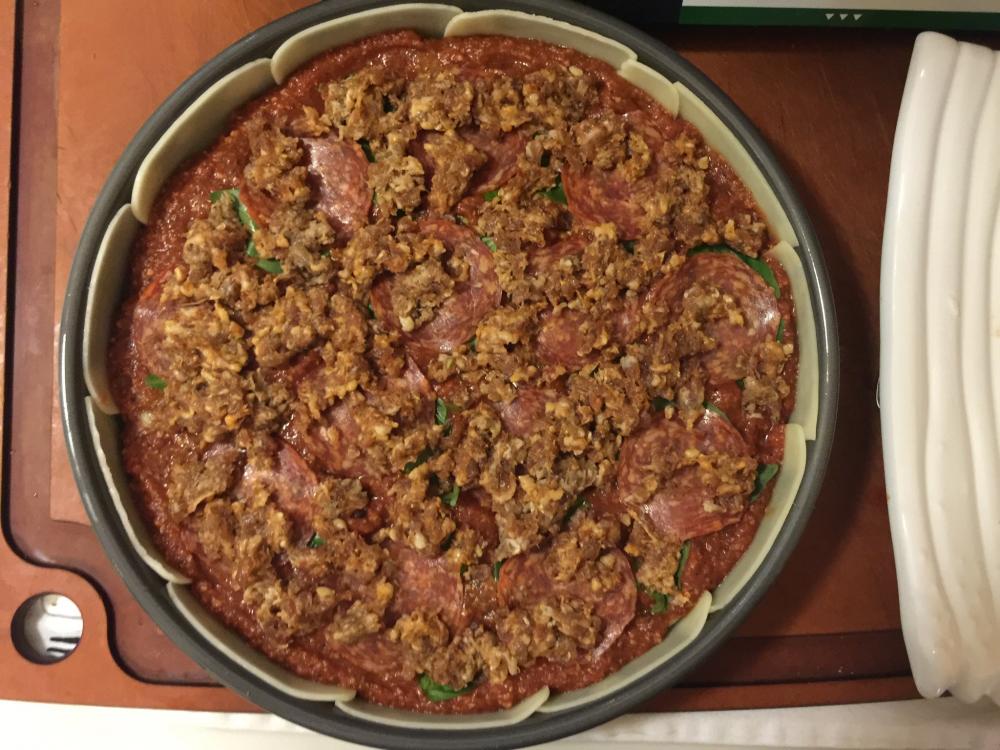
So here we are one week after my first deep dish cook and I am attempting DD#2 but instead of traditional deep dish, I'm going to make the Pequod version, from RealDeepDish.com. This was done in a 12" x 2" deep pan. The 'Quod version dough recipe is a bit different from the traditional dough recipe adding ground black pepper and a bit of sugar. Two other significant differences from a traditional deep dish is that you do not pull any dough up the side of the pan and instead of putting down all of the ingredients and topping with sauce, this is more of a traditional assembly with sauce going down on top of the cheese, before the other ingredients are added. The mozzarella cheese and sauce placed up the against the side of the dish will caramelize to form a crust. You will see from the pictures that I actually put some sausage on top of the mozzarella and l put down the sauce, before adding the rest of my ingredients. Finish cook and slice pictures will follow...1 point
-
Recovering fluid dynamicist here, although it's been a very long time since I worked as one. But when I did work as one it was related to combustion chambers of things that fly to great altitudes. Here goes: to hold a steady temp means you're at equilibrium. Energy in equals energy out. Energy in is coming from two sources: ambient air via the lower vent and that being released by combustion of fuel. Energy out is the hot air leaving the chamber and heat loss through the walls. Set the two equal to each other for equilibrium. Energy in air leaving the top vent + Energy lost through walls = Energy due to combustion + Energy of ambient air in. Any combination of settings that keeps that in balance will work. ckreef keeps the air leaving low and combustion energy low, thus saving fuel. Other settings work too, but are less efficient. Sorry for geeking out.1 point
-
Locked solid at 350 with 1/8 opening on top and bottom. Very interesting. It is like finding a sweet spot So for my next test, I will run my KK how I normally do to get it to temp. The dial it back once it is heat soaked again. Do it before fully heat soaked, I think that the temp will drop drastically. Heat soak is the key.1 point
-
Dennis is quite eloquent about the purpose of the basket splitter: Make sure all air passing through the KK passes directly through the charcoal. I'm also reminded of the design of cabin wood stoves like the Vigilant stove. If fuel savings is a primary goal, then one wants to let in enough oxygen to generate desired heat, with absolutely no more airflow than necessary. A rock and a hard place, for without airflow there's no new oxygen for the charcoal, but wasted airflow is expelling wasted heat. Using a BBQGuru for low and slow naturally adopts a conservation protocol. I hadn't thought explicitly about conservation for higher temps, but I'm surely thinking that way now that I'm hooked on KK coffee charcoal. A companion goal is moist meat. Excess airflow is unwanted drying. One gets the moistest meat with a full cooker, but for a given load, one also wants to minimize airflow. So, yes, thank you for directing our attention to this, and kudos for spelling out the protocol to achieve this. I've sort of been doing this unconsciously, but it always helps to actually think about it.1 point
-
1 point
-
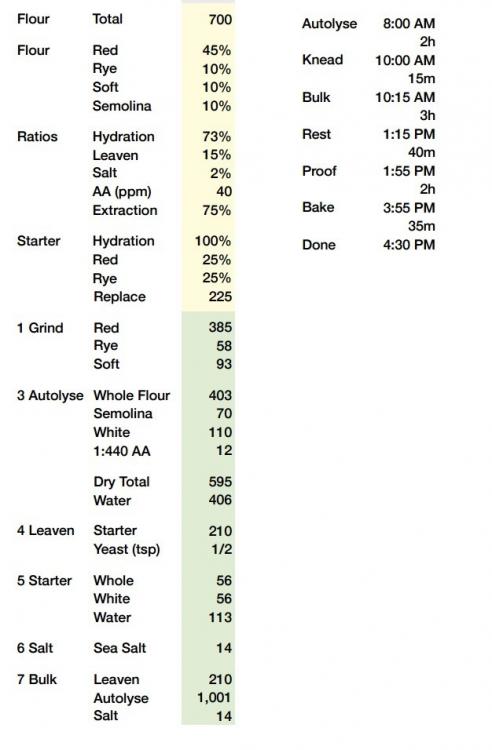
Sure thing HalfSmoke. Here is what syzygies posted- Here is my translation - Syzygies’ Home Ground Flour Bread 1. Grind: Red winter wheat 193g Rye 30g Soft wheat 47g Mix together. This called the Whole Flour. Ground separately and did two grinds of each ending with finest dot for grind and did not remove any bran. 2. Make Starter. Ground flour mix- 28g Regular White bread flour-28g Water- 56.5g 3. Leaven – Add 105g of the starter 1.2g bread yeast Mix and leave it on the counter for a few hours. If the room temperature is not warm enough heat a cup or so of water in the microwave to boiling and then set the Leaven in the warm microwave and it will be ready when called for in the recipe. 4. Autolyze – 202g of ground flour 35g of semolina 55g Regular Bread Flour 6g ascorbic acid dilution 203g water Mix and let stand for 2 hours. *** (1g A.A. to 20g of reg. flour, mix very well and the dilute this again, 1g of original dilution to 20g of flour, mix very well.) 5. Knead for 15 mins. It will be very sticky so keep hands lightly floured. 6. Bulk- mix together Leaven Autolyze Salt – 7g I used that Danish mixing tool. Rest for 40 mins. 7. Form loaf and proof @ 75F for 2 hours. I used the cloth lined basket to do the proof, roll onto parchment, score and then spray with water. 8. Bake in KK on stone @440 - 450F for 20 mins. Here is how to get the correct dilution for the Ascorbic Acid, this too is from Syzygies. He posted this on the forum. Ascorbic Acid for Bread The easiest workaround is to add on the order of 40 parts per million ascorbic acid, which has a marked effect on the dough. (This isn't far off from a person taking a typical pill, which is why I'm never doing that again!) One accomplishes this by mixing a 20:1 reduction with white flour, taking that mixture and making another 20:1 reduction to obtain a 440:1 dilution. (Check: (20+1)^2 = 441.) I used 15 grams of such a mixture in today's bread dough.1 point
-
Aussie, under the grate is what is called a false bottom for a chaffing dish. Purchased it at a restaurant supply shop. It provides some protection from the fire but also allows for some openness. I was heating my KK up for bread so I didn't want too much flame on my sausages as the temperature rose.1 point
-
@ HalfSmoke ---- I want to make a correction to my Translation bread recipe. It is one I used yesterday. 3. Leaven – Add 105g of the starter 1.2g bread yeast Mix and leave it on the counter for a few hours then put it in the fridge for overnight. Bring it out in the morning and place in warm microwave for a few more hours until it gets going. You could do this but I want to grind the flour the same day I use it. The fresher the better. so- Make your leaven the first thing in the morning and leave it in a warm place for a few hours. If need be put a glass of water in the microwave and heat it to boiling, then set the container with the leaven in the microwave. It will be ready when called for in the recipe.1 point
-
Tried this - OMG!!! Seriously good. So simple and yet, sooooo tasty! Instead of medallions, I cut the pork tenderloin into 3/8" thick strips and skewered them after 6 hours of marinade. I tweeked the recipe a bit - used limes vs lemons (what I had on hand), augmented the oregano with Penzey's Greek seasoning. Direct, on the lower grill @ 400F for about 15 minutes total - turned every 5 minutes. Served with homemade tzatziki sauce. Leftovers will be a nice lunch sandwich tomorrow!1 point
-
1 point
-
Welcome to the nerve wrecking world of low and slow First thing.... put that guru away for now. Learn you grill and trust it. That is the most important thing. For a 32" light it in the middle in one spot, open the bottom right dial to the smallest circle and the left damper open just a crack. I find doing this helps the fire in the 32 to burn evenly in the basket. If I just use the left side, my fire tends to only burn to the left. That is just for my 32 so may be different for you. Turn the top damper from closed to about 1/4 turn open, so the left ear will likely be facing the 6 o'clock position if that makes sense. Leave it there for an hour and you will be right around 225-250. Second step calm down and relax. It is just BBQ. Like most new hot tub owners, the tub water is suppose to last 3 to 4 months but new owners usually change water out after the first month.... The reason is simple, we play with the water too much to make it perfect and screw it up. Remember when you put food on the grill temps will drop. Leave the vents they will come back to temp again. Cook by feel not temp. We have challenges on other forums where you take your therm out and cook by look and feel. Ribs are simple as can be. Stick them on and let them go for four hours. At four hours grab them and do a bend test. If they pass sauce them for 30. If they fail, then leave them for 30 min. Repeat this for up to 6 hours for sides and 5 for backs. If you use no foil, I prefer spritzing the ribs every hour. 1/3 cup cider vinegar, 1/2 cup of apple juice. Spritz on the hour and magic!!! Over heating the KK sucks, but close the vents and it responds quickly. Sometimes I have to snuff the fire a bit but so be it..... worst case is I have to relight it You are going to be awesome... follow the basics and it will not steer you wrong. LEARN YOUR KK, SPEND THE TIME AND LEARN VENT SETTINGS TO REPLICATE HEAT TEMPS OVER AND OVER looks like a good meal overall and hopefully the jitters are over. Wait until I convince you to stop using a deflector stone for low and slow and just adding foil. Mind blowing!! Also, calibrate your thermometer you would be surprised how far off it may be1 point


