Leaderboard
Popular Content
Showing content with the highest reputation on 12/12/2016 in all areas
-
4 points
-
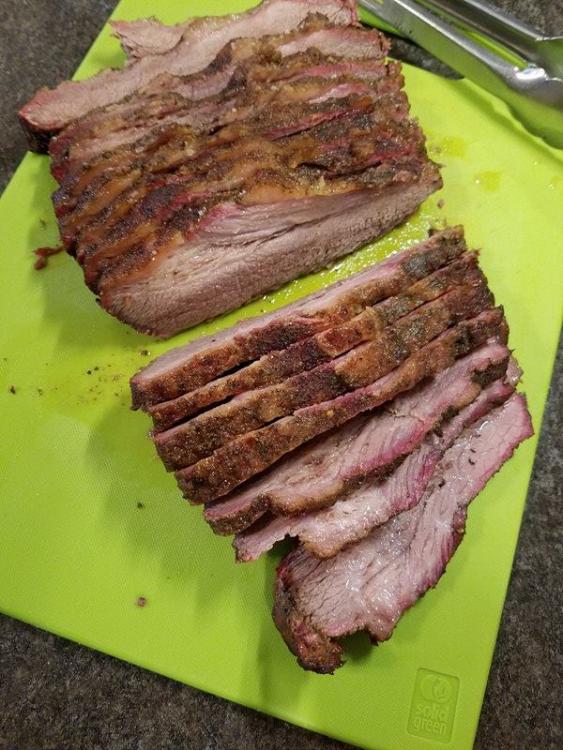
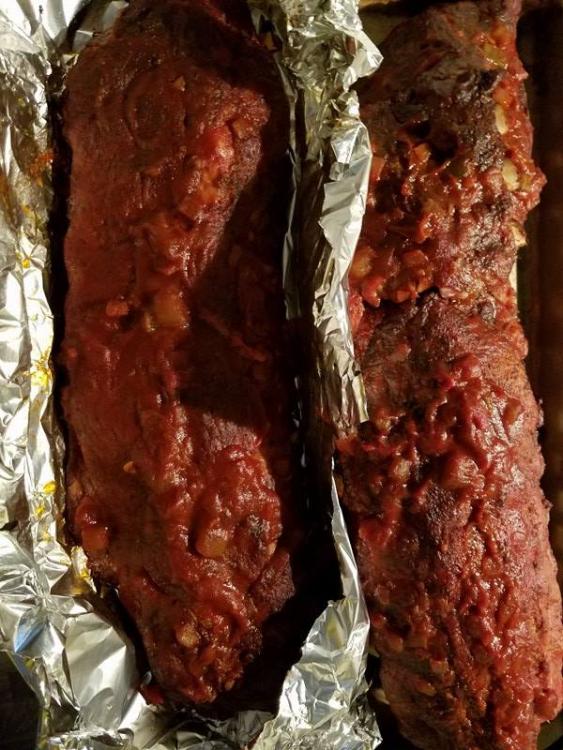
First pulled pork shoulder I've ever done and I know it won't be the last!! It was a 5.5kg shoulder including the picnic end but the upper shoulder looked weird... the butt looked really thin although the blade bone was in there... Set up the KK in the evening with a big piece of Hickory (didn't have an axe to split it!) Nestled in some coco char. lit a spot under each end of the wood and let it come up to temp while I prepped the meat. Rubbed with a paprika, brown sugar, garlic etc mix: Plan was for 225F but most of the cook was at around 235. The wood certainly made the temp more variable than usual - I want to get the cold smoker so I can use that to control smoke in future. Putting it to bed: Started the cook at midnight. The next morning I prepped a couple of racks of baby back ribs as we had some folks coming to celebrate SWMBO'S birthday and it looked like wed need more than just the pulled pork! That's a fair amount of meat but R2D2 wasn't even close to full: Guests were due at 1pm so I was lucky they got held up - didn't want to use foil but the stall was insane - hovered at 160F for four hours... had to wrap and even then it only hit my target 203F IT at 3pm after I put the heat up to 275 for an hour. Ribs came off first and kept everyone happy, including my friends 16month old daughter! (I always do a low salt rack for the little ones!) And then the pulling began: Pretty clean bones! It's was excellent! Made up a batch of "hogwash" courtesy of a recipe shared with me by Ken Walker, the owner of Bubba's Texas BBQ in Shanghai. I'm sworn to secrecy but it's a yellow mustard and apple cider vinegar based sauce and I love it so much I'm tempted to do shots of it! Here's the finished product: Sent from my SM-G935F using Tapatalk2 points
-
Thought I would do a spatchy have not done one in ages sort of become a rotisserie nut lolready to goI mixed up some of thiswith some dominator rub and a sash of paprikaput some under the skin then smeared the topI then gave both sides some dominator rubgot Ora up to 400 dee made up a potato bakeand ready to goon goes the bakethen the extender rack and the chook whilst that was chugging along I made up a ginger beer glaze chopped up the gingeradded the brown sugar and ginger beerand brought it to the boil to reduce check out the bark on the chook awesome ready to tent the bake turned out niceafter the restand plated with the glaze bake and some salad the Oakridge dominator rub really shined on the chook and the ginger beer glaze really topped it off Sent from my SM-P600 using Tapatalk2 points
-
2 points
-
Hi everyone, It's been a while since I've been on this forum. I've been using Smaug, but work has been crazy busy — so much so that I haven't had a chance to shoot photos or post. But things calmed down a little this past weekend, and I managed to take some photos of what I made. Some friends of ours were hosting a karaoke party, and my wife volunteered me to make some pulled pork. During the week, work was still nuts, so she went out to get the meat. I said, "Look for Boston Butts, or pork shoulders". She came back with two pork shoulder picnic roasts. When I unwrapped them, I found out that this was not the usual cut that I was used to in making pulled pork. It had the skin on, and the bones were different. But I didn't have much choice, as it was 1 AM, and I needed to get the cook started, as it was for the next day. I did a quick internet search on making pulled pork from a picnic roast cut, and for a second I considered doing one with the skin on, and the other with the skin off. But then I remembered something my wife told me once: Never experiment with a new method of cooking when bringing food to someone else's house. I decided to do both with the skin off. I also figured that with the amount of skin and fat that came off the first piece, the cooking times for the two picnic roasts would be quite different. I used my usual Aaron Franklin rub recipe. And the roasts went on Smaug at 2 AM. They wound up cooking for 15 hours, finishing up at about 5:30 PM. Temperature control was interesting with this cook. After starting the cook at 2 AM, I was up and checked on the grill at 7 AM. Smaug had settled in at about 180ºF. I opened the vents a crack, and the temperature settled in at 250ºF. Around 2 PM, the temperature started falling. I checked in on the charcoal, and it was almost all gone, so I refilled the charcoal basket. In an attempt to speed things up, I bumped the temperature up to 275ºF. I think the complicating factor for this cook was that the outside temperature was in the thirties, and the cooler incoming air made me go through the charcoal faster than usual, since the incoming air needed to be heated more than if it was summertime. My charcoal situation was also not optimal when I started, as I was using the last bits in the bag, which tend to be smaller, so they burn faster. The pork turned out really well. Our friends put away one of the shoulders pretty easily, and made a dent in the second one. And instead of having us take our leftovers back, they divided up the remainder of the second shoulder among themselves. That's never happened before. I was kind of sad about that, because I wanted to have pulled pork sandwiches the next day, but that gives me an excuse to make another pulled pork soon. [/url] [/url] The other thing I learned from this cook was how different this cut of pork is from a Boston butt. As you can see from the picture above, the bone is round, not like the flat bone that comes in a Boston butt. The bone in a Boston butt is the pig's shoulder blade. Based on the appearance of the bone, I think this cut is from the "upper arm" of the pig. The picnic shoulders took longer to cook than the Boston butts I've done in the past, even adjusting for weight, and my bet is that the increased size of the bone is part of it. The bark set up really well, but there was a few parts that I thought were a little too well done. I kind of expected this, since a Boston butt is nice and round and compact, whereas the picnic roast had some thinner parts that flopped away from the main part of the meat. Also, there's this one muscle where the fibers run all the way across the meat, and so when that got pulled, you got these strands of meat that were 8-9 inches long. They were good, but not as much fun to eat as the smaller chunks of pork. In the past, I've passed up on picnic roasts for a Boston butt, but I think I'll make some more of these now. Picnic roasts seem to be more available than Boston butts here in New Jersey, and they're noticeably cheaper. Besides, I want to try one with the skin on.1 point
-
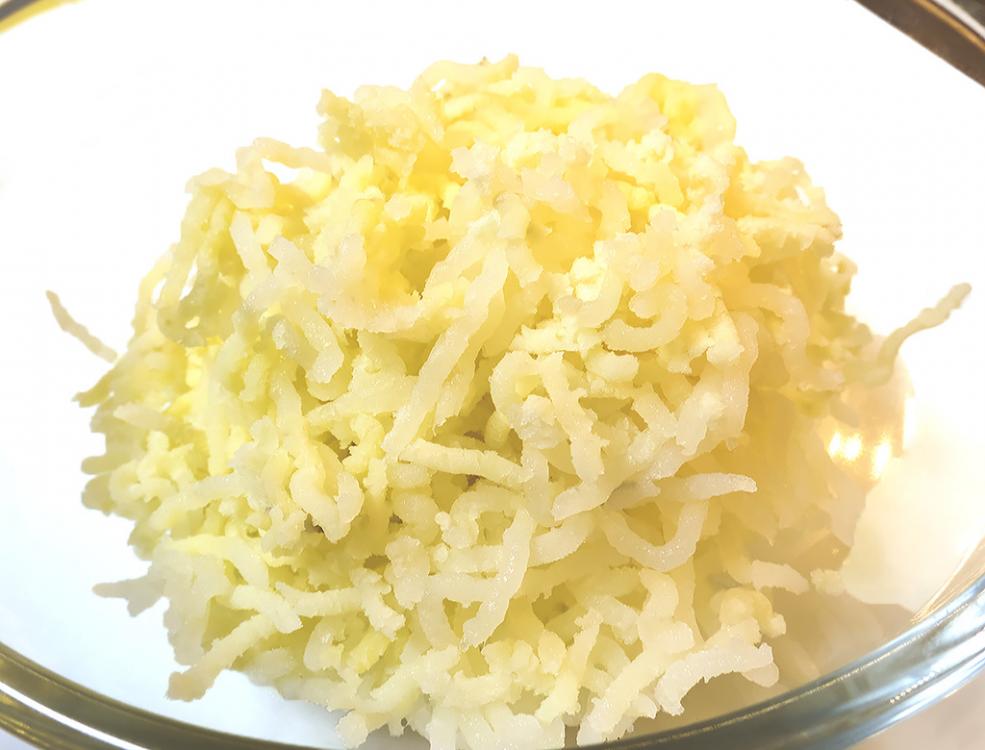
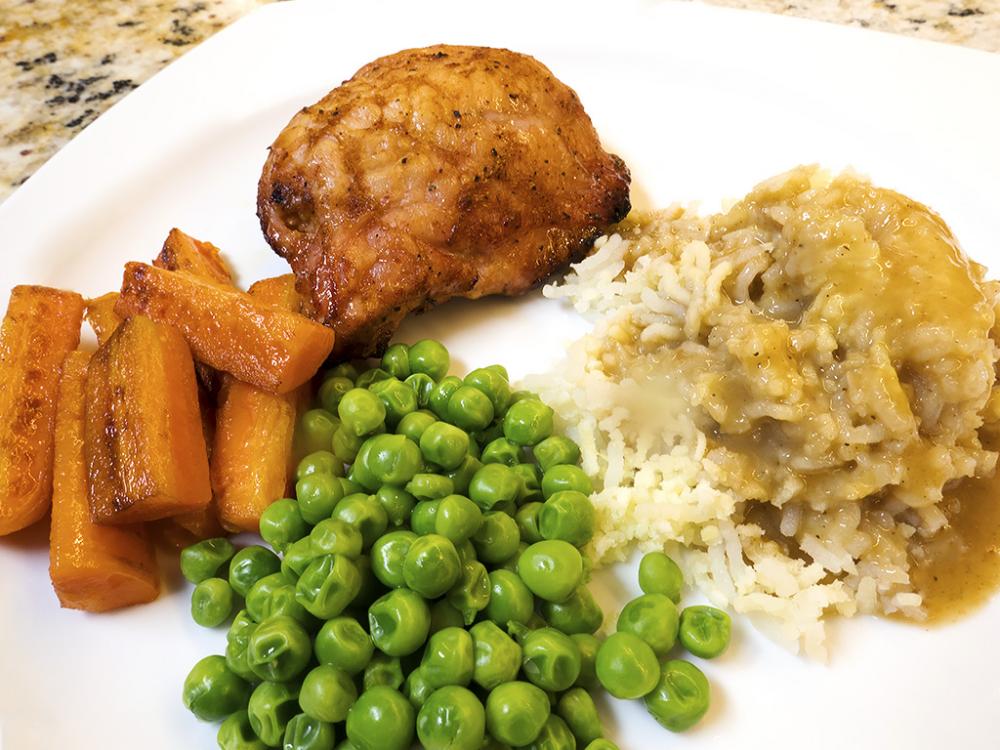
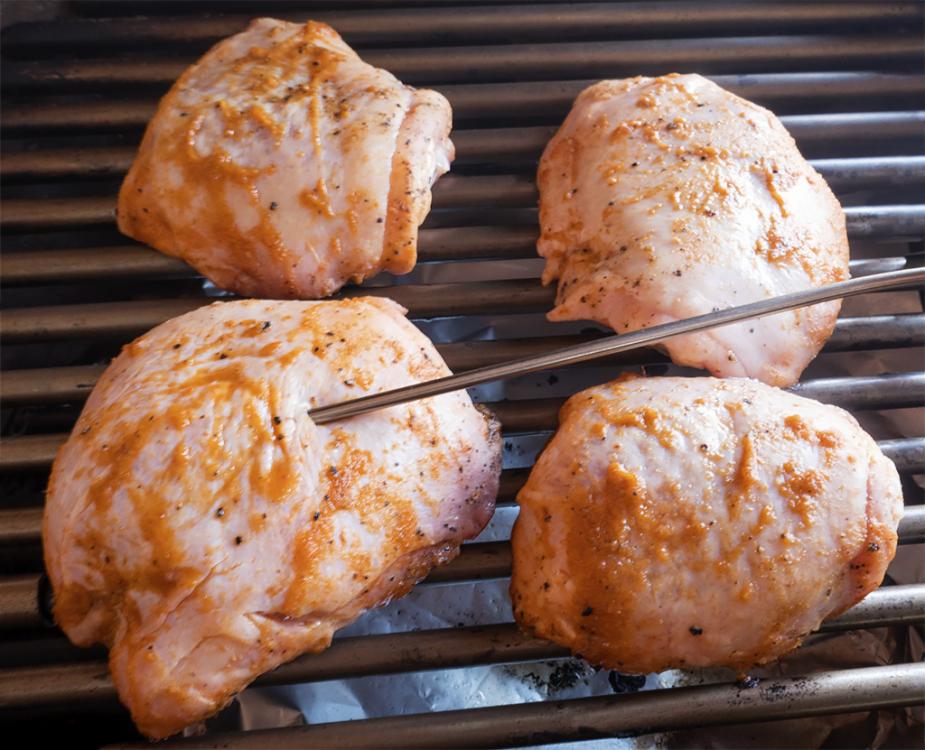
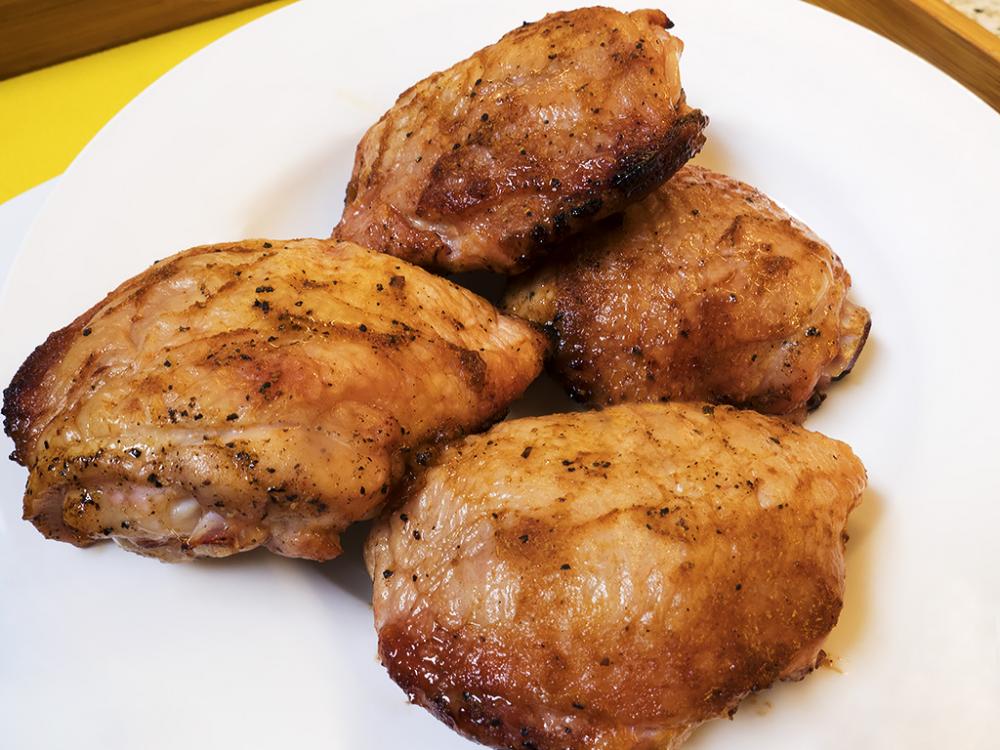
PCed the carrots and potatoes then put the potatoes through the ricer. Sprinkled thighs with granulated garlic and freshly ground black pepper, coated with Srirachi sauce then vacuumed for a few hours before putting on a 350F grill. Done, IT 180F. Plated with the veggies and chicken gravy. As always the chicken was extra moist, in fact, I had to go back and get another thigh it was so tasty.1 point
-
I finally completed my storage unit. I kept trying to design something that used horizontal shelving then ultimately decided that @wilburpan had already designed exactly what I needed - vertical storage. His original thread is here: http://komodokamadoforum.com/topic/6027-built-a-storage-unit-for-my-kk-grill-accessories/#comment-61206 I don't have 1/2 the tools, 1/3 of the patience, or 1/16 of the skills that Wilbur has, but I still managed to get this thing together without too many issues and, more importantly, I didn't even get a splinter! No closeup pictures of my joints, they aren't nearly as tidy as Wilbur's. I'd never done half lap joints before and I did these all with my table saw - it worked well enough. I got better as I went. If you were to look at all of the joints, you could easily piece together the timeline of my build. lol I'd also never ripped down a 2x8 into 2x4s. Doesn't seem like it would be, but it's very difficult to find 'half'. I don't have a planer, so I was stuck with my best attempt at 'half'. I probably should have cut a thin edge off of each side of the 8" width to give me non-rounded edges. Failing that, I should have made sure my flat edges were used in the best direction. I made a few relatively minor changes from Wilbur's design. I put in a 2x4 under the center of each of the platforms (perpendicular to the top boards) so that I could put heavy objects on and not worry about the top boards sagging. Not sure if it was at all necessary, especially on the bottom, but it made me feel better to include them. I also noticed way too late that my shelf frames are upside down from Wilbur's. The middle support should help with that mistake. The second change was that I pegged the lap joints on the dividers - drilled two 1/4" hols and drove in dowels. Again, likely not necessary at all but I'd never done that before and it seemed like a good opportunity to practice. Last, on the lower shelf, I notched out the outside edges of the frame and top boards so that the uprights weren't hanging outside of the top and bottom shelf. In other words, the unit is flush the whole way down both sides. If you look at Wilbur's, his uprights are 'outside' of the shelves. Not sure there is a difference either way structurally. It took me three weekends working on and off to get this built. The wood, screws, and sealer cost me about $60. And I only had to message Wilbur once for assistance! Loaded in here are: the lower/sear grate, deflector, rotisserie basket and motor (in the bin) and smoking CI pot. Not loaded are: the main grate (unlikely this will ever find it's way to this storage bin, but it would fit if I need it to), upper grate, and baking stone (all three of which were in the grill working on some calzones for dinner).1 point
-
1 point
-
Better late than never: Terrific job on your storage unit! It really looks great. That's pretty much true for everything. The more you practice something, the better you get at it. I remember the first time I made a dovetailed box with hand tools. Even over just those four joints, I got better with each one. When I was done, you could turn the box around and see the joints getting better as you turned it.1 point
-
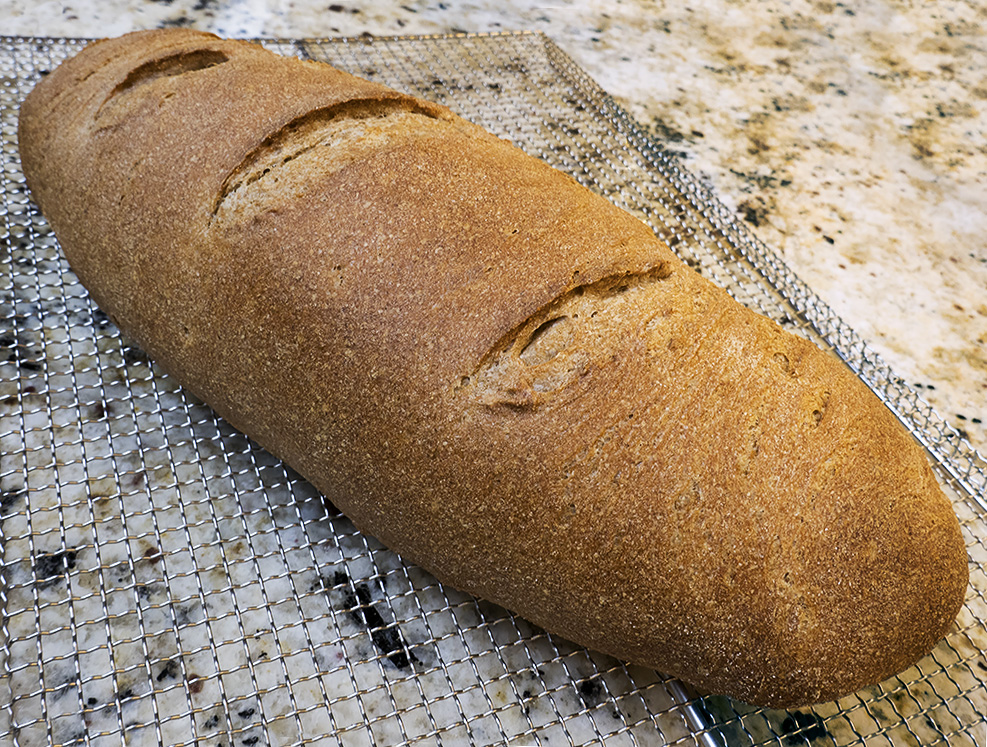
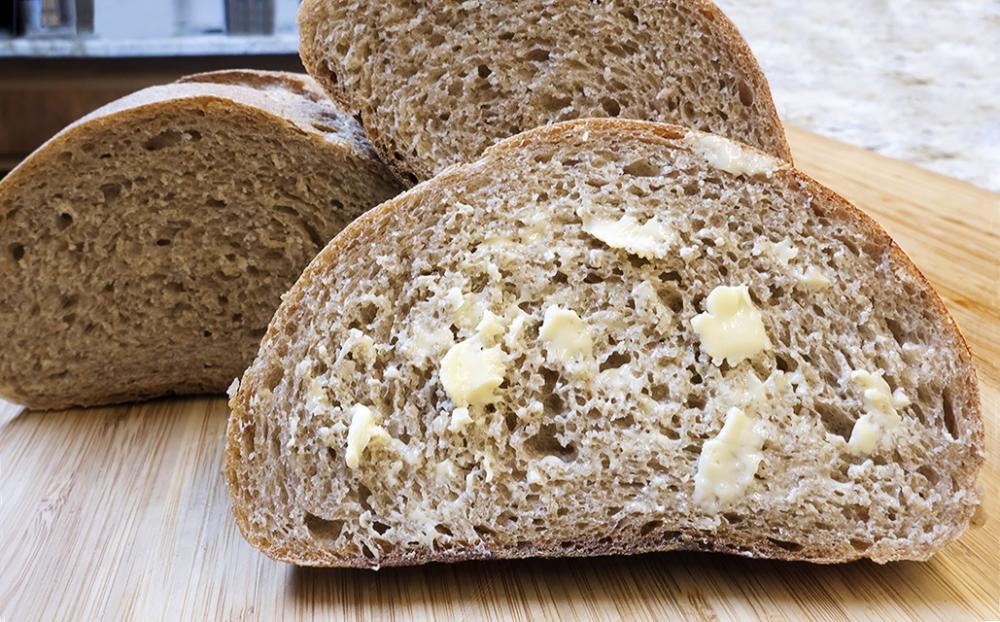
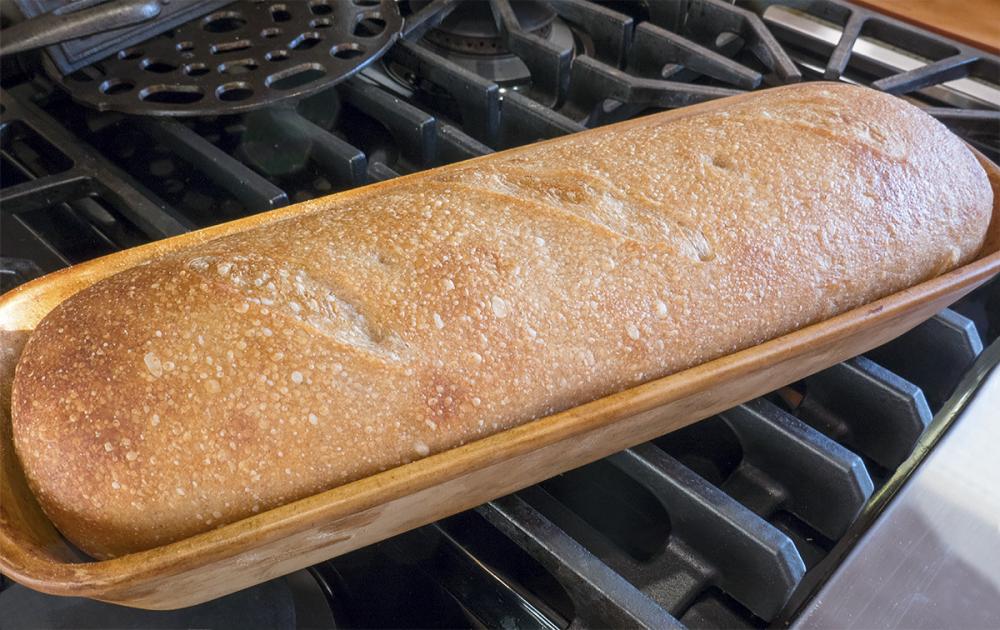
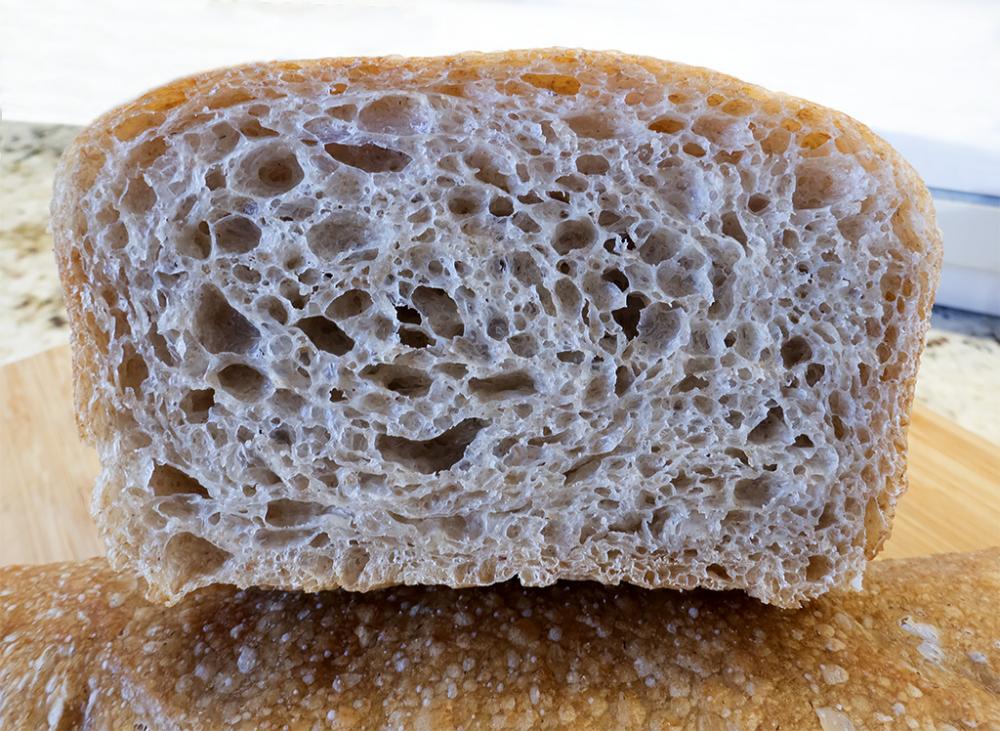
Syzygies, I checked out the link, very interesting, thanks. Then I went to a site where I have bought some wheat berries from in Canada. I suspect they buy their Red Fife from the same farm mentioned in your article. Sounds like I need to place and order if my local organic store doesn't carry it. Shipping will kill me, it's on the opposite coast of Canada from me. Here is a link to a very simple bread recipe Field Organics has posted on their web site. http://fieldstoneorganics.ca/products/organic-whole-grains/recipes/red-fife-bread.pdf1 point
-
1 point
-
Anything, of course, pressure treated and/or members of the ply/particle board family. I assume everyone already knows that but thought I better not assume :). From Stephen Raichlen: http://www.barbecuebible.com/board/viewtopic.php?t=138001 point
-
1 point
-
this one really doesn't make much sense to me to tell you the truth. The only thing that I can think of is that you are making more money or have a better following on youtube from using the other cookers. Heck, even Bobby told you to keep it and he would send you a free KJ anyways. I will be honest, you are going to regret selling this KK. You are never going to get what you want for it, people will nickel and dime you and you still need to contend with shipping. Why would anyone take the risk of shipping it and making arrangements to ship it from you when they can spend a bit more and get one delivered in a crate from the factory. I only say this because I too was about to buy one from someone locally. I just couldn't figure a way to avoid the risks of transporting a used one and paying all that money for something without a warranty. Good luck with everything, but honestly think about this one... Once its gone it is gone1 point


