Leaderboard
Popular Content
Showing content with the highest reputation on 03/09/2017 in all areas
-
5 points
-
4 points
-
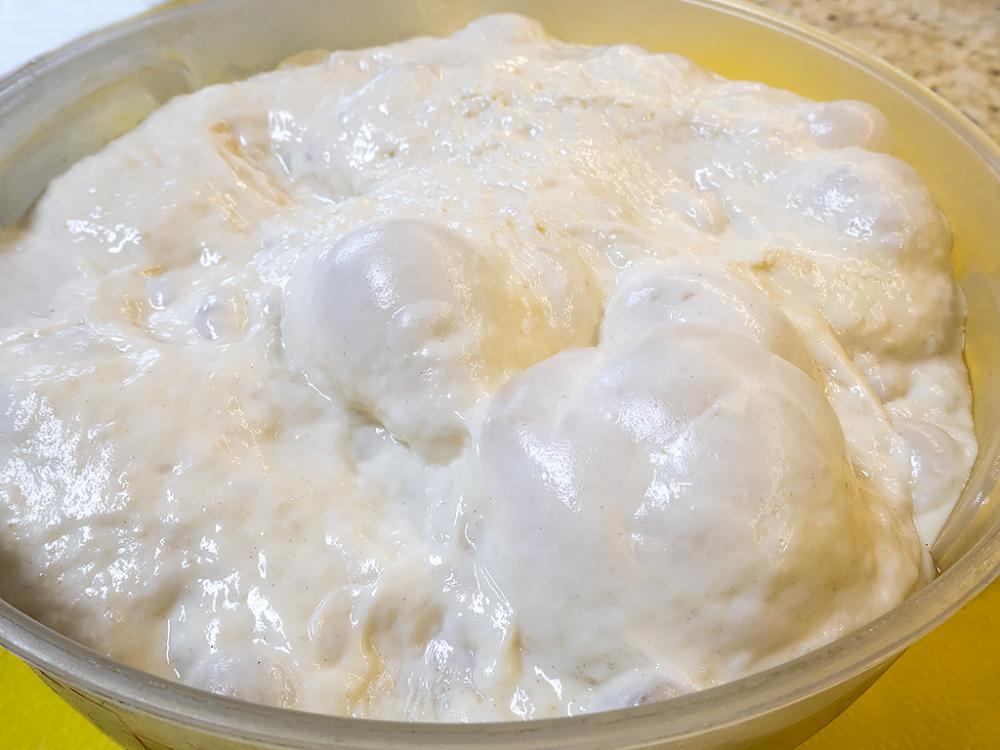
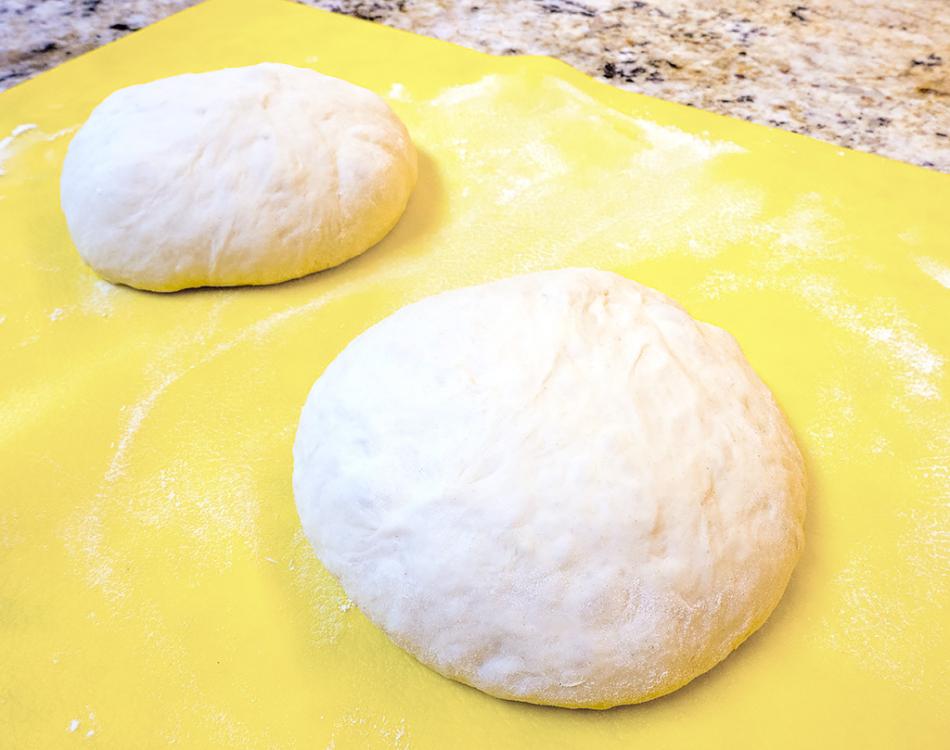
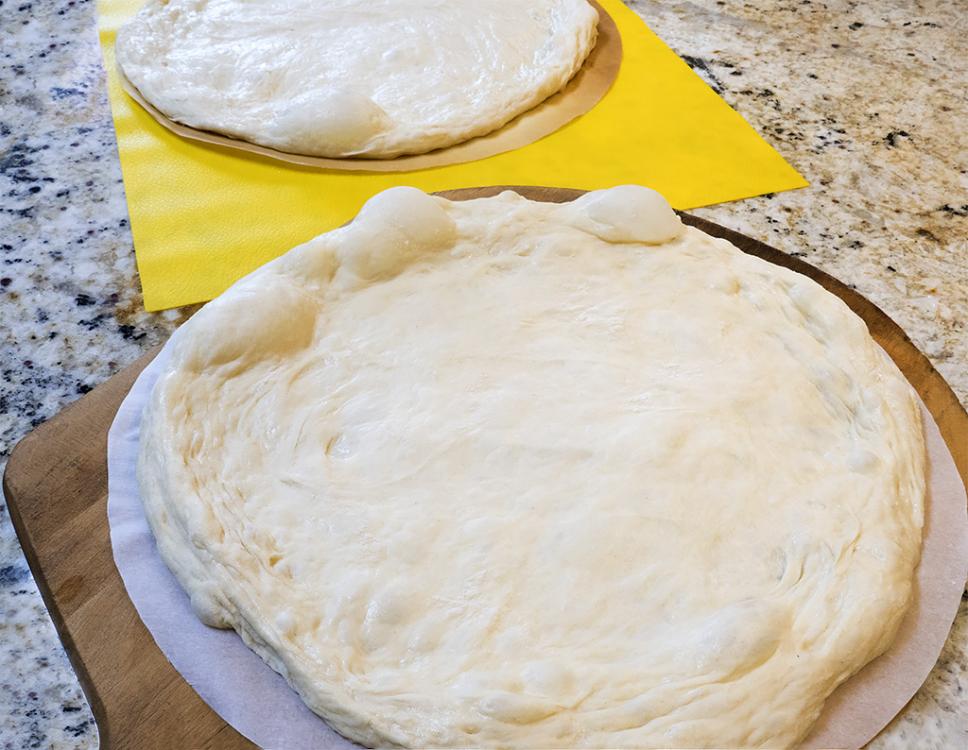
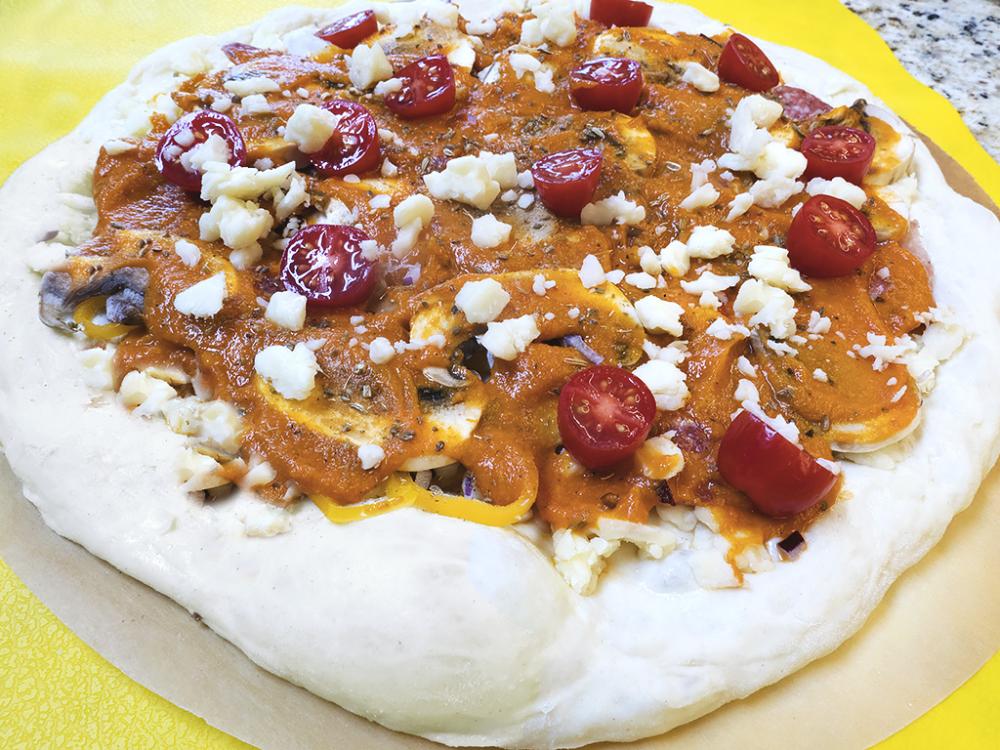
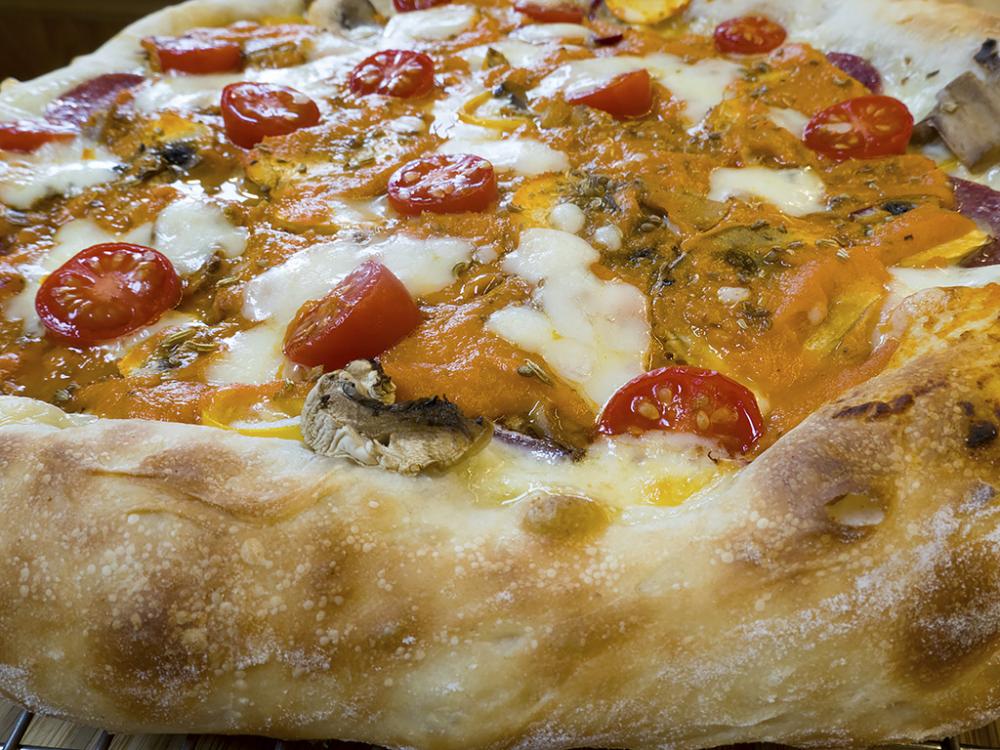
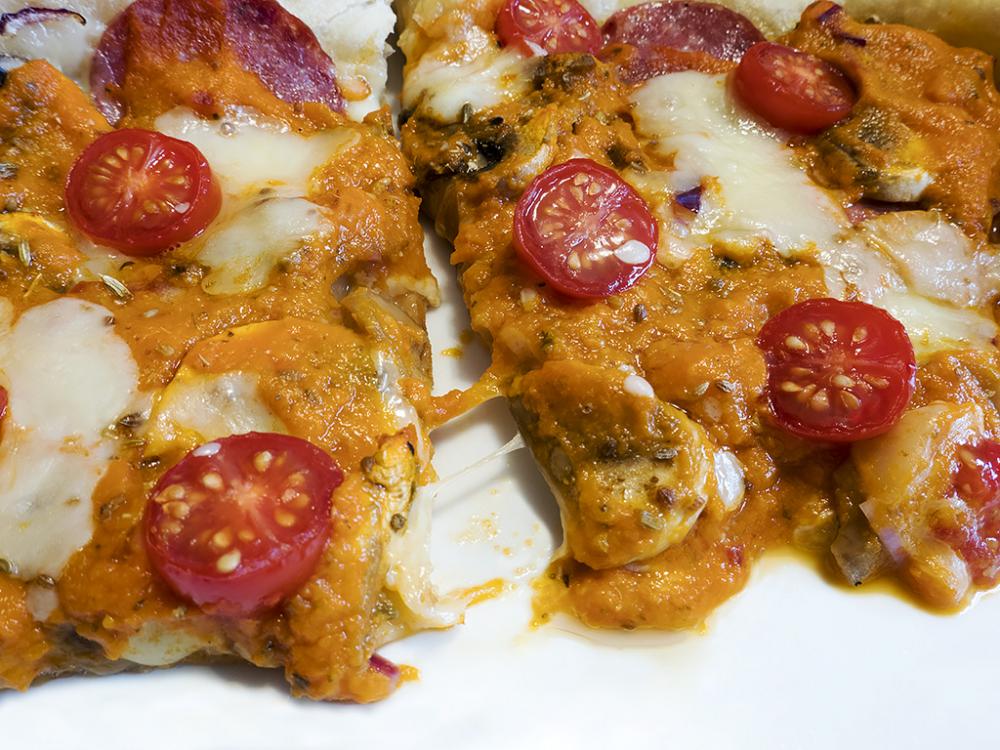
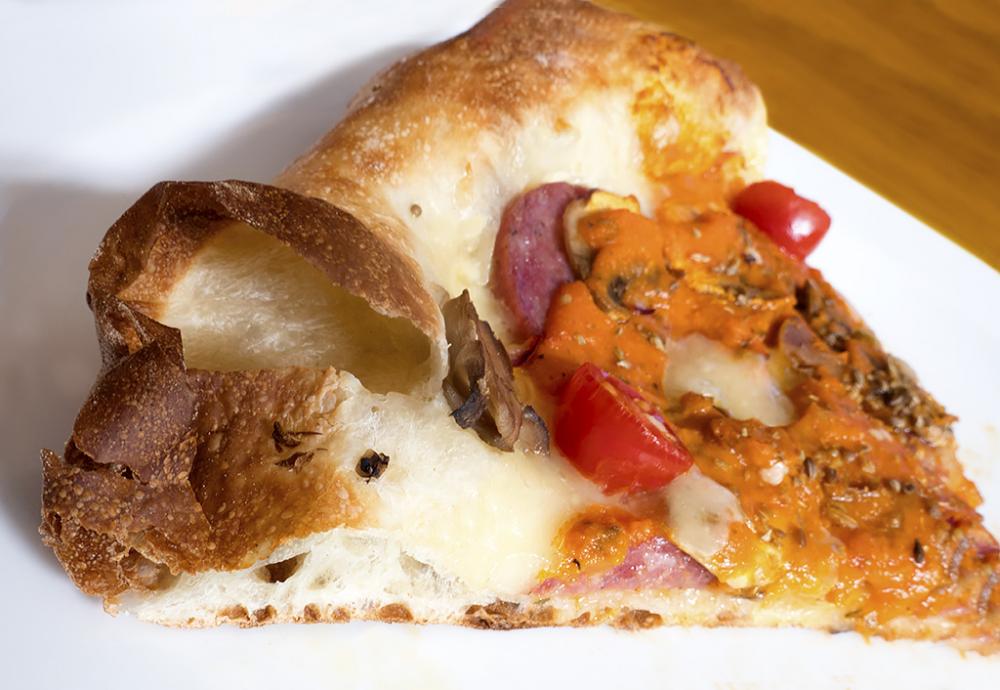
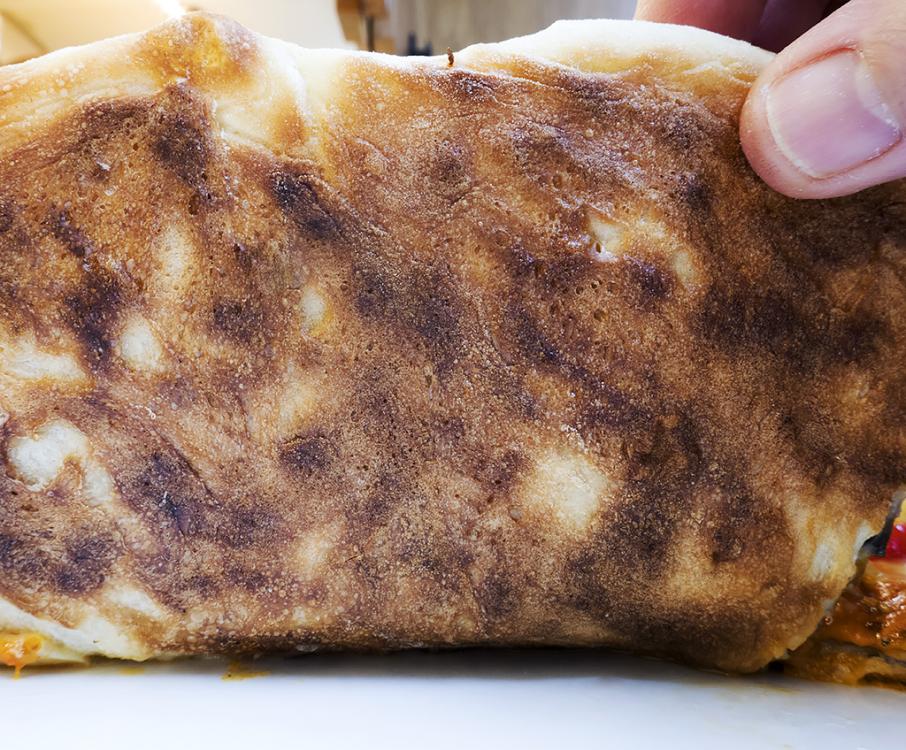
Started the dough on Sun. and it looks good to me. I just took it our of the fridge. Divided and balled, resting for 2 hours. Pulled into 2 X 12 inch pizzas. Loaded, cheese on the bottom, mushrooms, peppers, salami, onions, sauce, fennel and anise seeds, more cheese and cherry tomatoes. Baked at 475F on the Baking Steel for 7 mins. Sliced. Someone broke my bubble. ;( The bottom crust.3 points
-
3 points
-
3 points
-
2 points
-
You've obviously seen a cell phone bill here in the States! LOL Fees and taxes - one on top of the other. https://www.ispot.tv/ad/Ahxr/t-mobile-one-lemonade-stand2 points
-
When new ideas come in I generally put them into production immediately.2 points
-
2 points
-
2 points
-
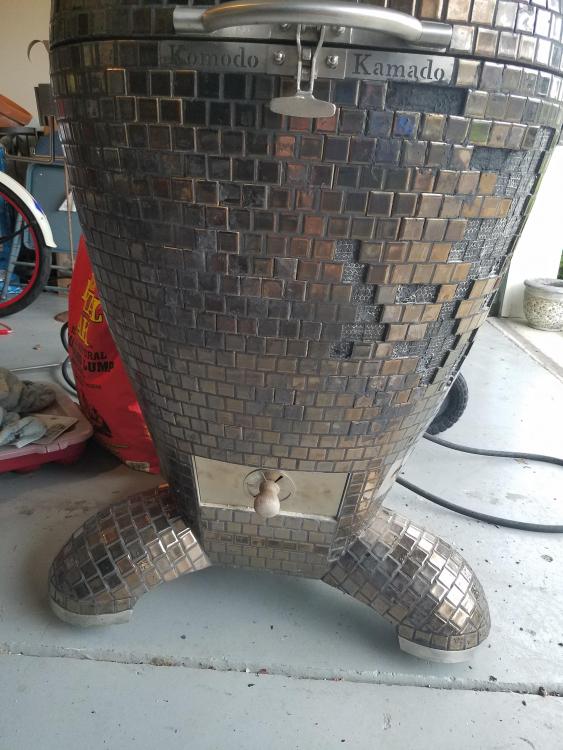
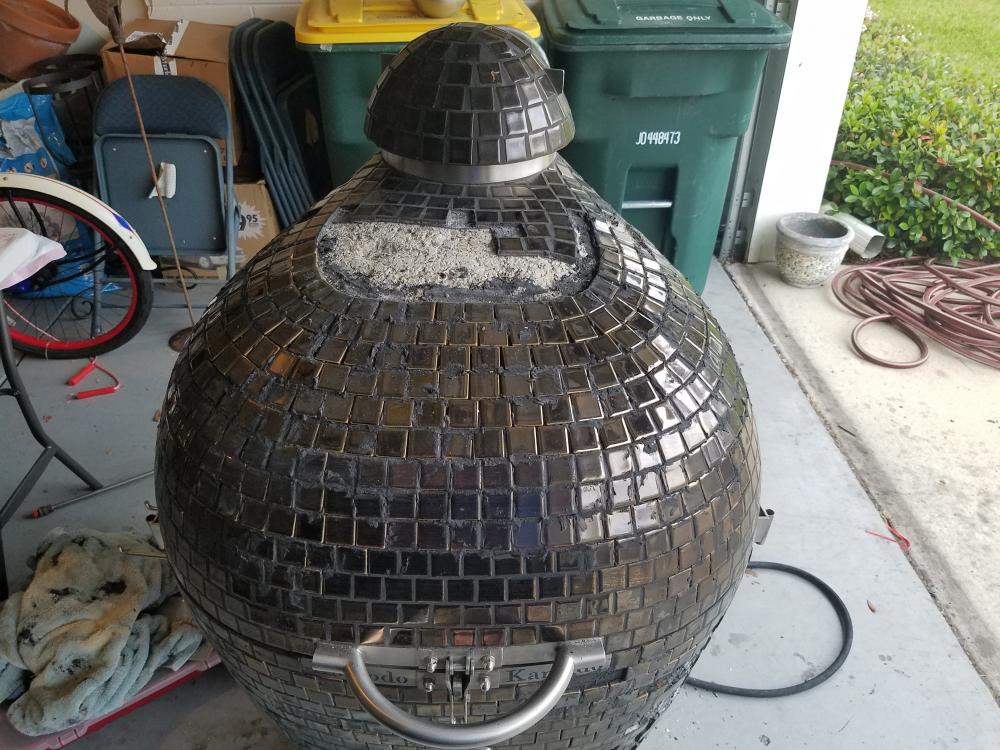
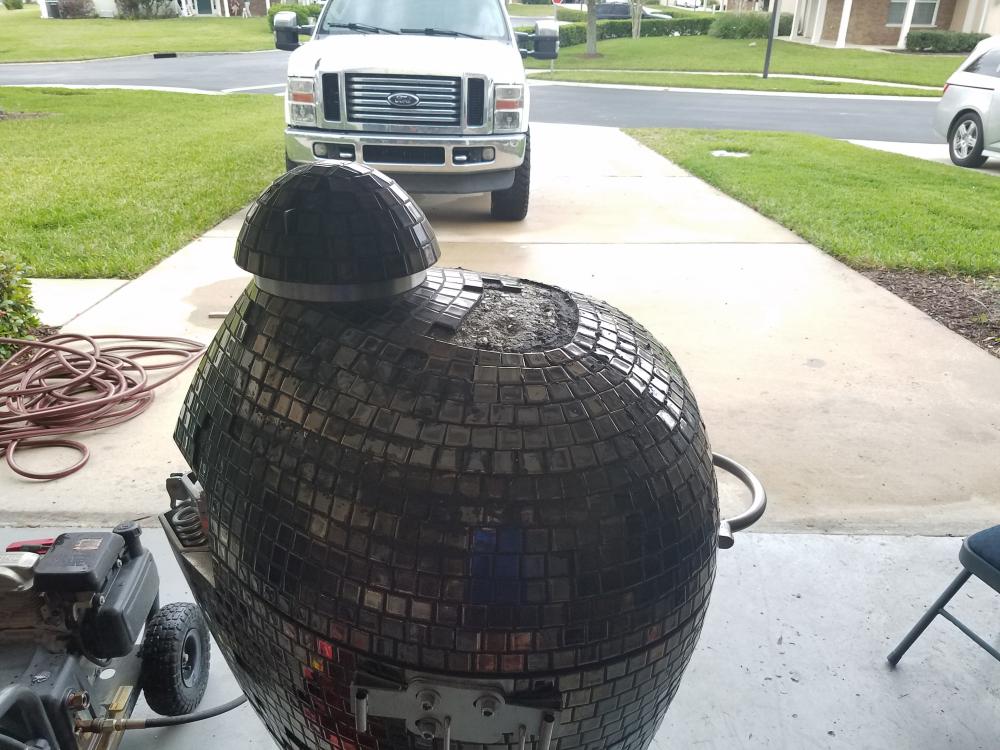
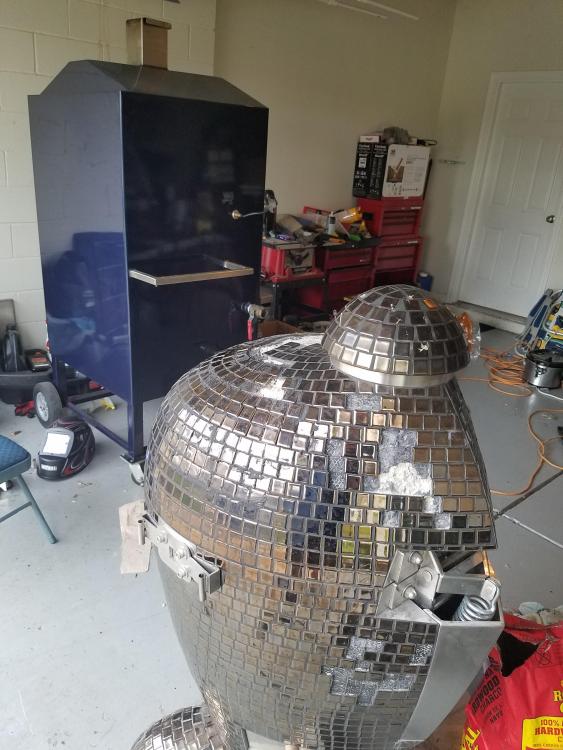
Thanks for the well wishes for the pup. Surgery went well and they removed the 3 tumors. Now just have to wait 5 days for the diagnosis on them. I was able to get a lot done today. I decided to start on the bottom as that had the fewest tiles that needed to be replaced and thought that would be the easiest section. I WAS WRONG. Some of the tiles are a little bigger than others so trying to fit them in between existing tiles was a major PIA. After spending a few hours on the bottom I decided to move to the top where everything became much easier. I filled in the areas where there were a few missing then just started lining them up. There is no way I can get it back to exact and tiles evenly spaced and looking like the original but unless you get down close to it you really cant tell. Problem was that even after the grout set some of the tiles were still loose and I loaded them down with grout. Because of this I decided to let it all dry for a day before trying to clean it up. May have to use an sos pad to clean off the tile before filling in the spaces or something that is rough that wont scratch the tile. Also when I started wrapping the tiles around toward the top I had a few areas where there was an empty row between old tile and new tile. The empty row was not big enough for a tile so had to use a dremel and grind down about 1/16" on a few tiles to get them to fit. I am pretty happy with progress. I know it will not look like a KK that is from factory but should be able to get it to a 9/10. Figuring my total cost in all the parts will be around $1200 I am ok with that. Any suggestions on tile clean up feel free to let me know.2 points
-
1 point
-
1 point
-
Cheated and Googled it. I don't recall watching the show though. So, I won't spoil it for others that were fans.1 point
-
1 point
-
DC motors are outstanding for producing lots of torque practically instantaneously! Ever ridden on the subway in San Francisco or Washington, DC? They get up to speed very quickly.1 point
-
1 point
-
Yes you did! I was so excited by the wingnuts I failed to notice the new heat shield.1 point
-
1 point
-
1 point
-
1 point
-
1 point
-
Ok. That settles it. I have to get some white sauce. Or maybe I can make some? Sent from my iPhone using Tapatalk1 point
-
Thanks, Keith, yes any talk about pizza always gets to me. I am a fan of pizza.1 point
-
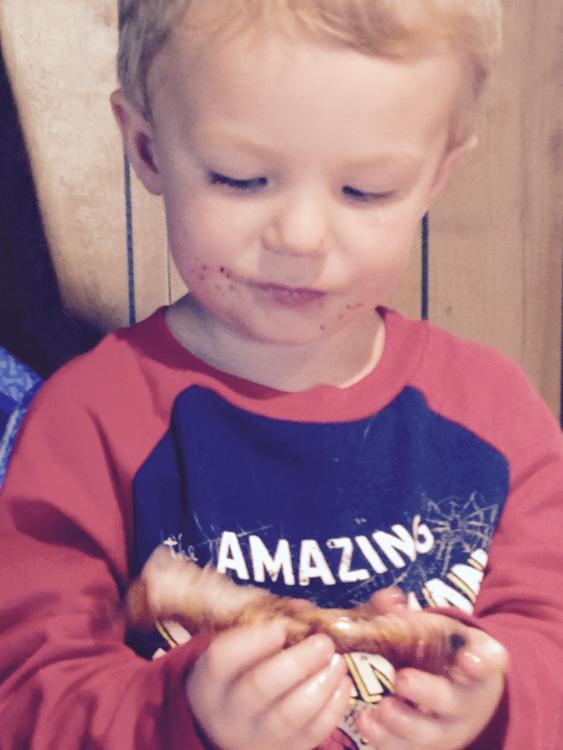
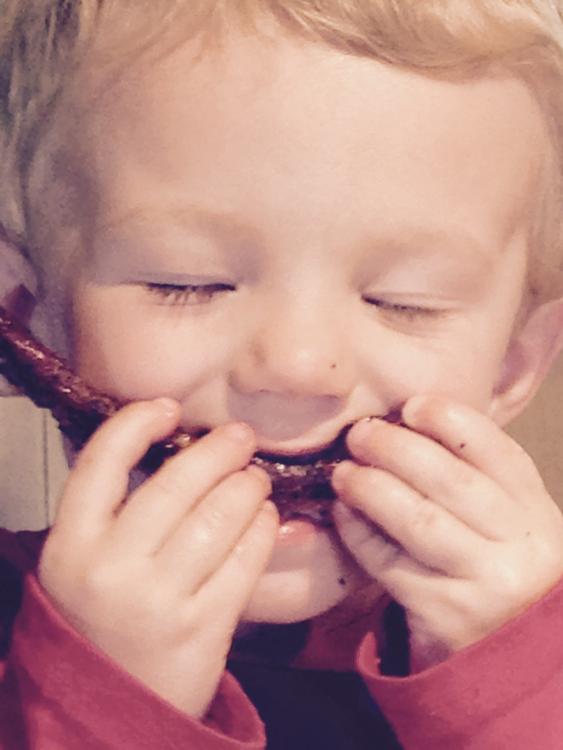
I see who's inheriting that KK, Paul! He's definitely a BBQ junkie. An IT of 160F might have been a tad low. I cooked my wild boar rack to 180F and they were a tad dry, so maybe the sweet spot is 170F??1 point
-
Plenty of time for the burn-in. You can do as many low & slow cooks (< 350F) as you want before having to do the burn-in. Get to know your KK before rushing headlong into the high temp range.1 point


