


wilburpan
-
Posts
781 -
Joined
-
Last visited
-
Days Won
28
Content Type
Profiles
Forums
Events
Posts posted by wilburpan
-
-
I've used the following techniques with varying degrees of success:
- Light a full basket of coco charcoal, install my deflector and wait for the KK to come up to temp. This seems to take a long time and also forces the KK to burn hotter longer to reach my target temp. I believe that so much heat is trapped by the deflector that by the time the dome temp gets where I want it, there is too much fire in the bottom of the cooker to properly maintain the cooking temp desired (200F?). I find myself fighting the temp for the balance of the cook.
When you say, “This seems to take a long time,†is that 30 minutes? An hour?
- Light a full basket of coco charcoal and leave all the deflector/drip pans, grills out of the cooker. Allow the cooker to come up to dome temp and stabilize for some period of time. Then open the KK lid and build the environment for the Low N Slow cook. This tends to give me a smaller burn in the bottom of the cooker and allows me to better regulate the cook temps for a longer period of time without overshooting. It takes a little while after the environment is installed in the cooker to return to temp, but not nearly as long as building a small fire and waiting for the temp to come up in an ambient temp KK.
I’m guessing that you think that your second method takes less time altogether that your first method. Is that right?
For me, what has helped more than anything else with stabilizing Smaug for low and slow cooks is to be patient. Based on experience, I know that when I have a final temp in the 200-225ºF range, the top vent is open about 1/8 of a turn, and the bottom vent is cracked open about 1/16â€. So when I am letting Smaug ramp up to that temperature, I’ll light the fire in one spot, and I have the top and bottom vents open a little bit more than those final settings: the top vent somewhere between 1/4-1/2 turns, and the bottom vent at 1/8†open.
Once I know that the fire is established, I’ll put in the heat deflector and grate. This is usually at the 15 minute mark. As the temperature approaches my final goal, I’ll set the top vent at 1/8 turn and close down the bottom vent to 1/16†open. This is usually at the 45 minute mark. I’ll let the grill continue to heat soak and settle in at the final temperature, and then put the meat in. Total time is about 1 hour or so.
That’s why I was asking what you meant by “This seems to take a long time.†The nature of maintaining a low temperature and the mass of a KK grill means that it takes longer to stabilize at a low temperature than setting up a KK grill for searing steaks. Last night I made some salmon, and I went from lighting to 600ºF in less than 15 minutes. But I know that if I make some ribs this weekend, it’s going to take an hour for Smaug to settle in at 225ºF. Once I learned that, it was much easier to get my low and slow setups going.
-
I think the best hotdog ever are Vienna Beef hotdogs. The Vienna Beef company dominates the Chicago hotdog scene, and you can get their hotdogs in stores, but I don’t think they distribute very far outside the Chicago area. There certainly aren’t any Vienna Beef hotdogs in any of the grocery stores here in New Jersey.
(I grew up in the Chicago area, so I may be a bit biased. But Vienna Beef hotdogs are really good. Nathan’s is close, but not as good.)
-
Right on! I hope you come back and share what you’re cooking on your new KK 21â€.
-
That’s an interesting product. In their FAQ section, they address the issue of how they expect the Meater to hold up to high temperatures.
For me, the two main downsides would be that the probe is almost 1/4†thick, which is a bigger hole than I would want in the food I’m making, and how much flexibility you have in placing the probe. All the action shots show the probe buried in the meat up to the black end part which is the ambient temperature sensor, and they mention that the main part of the probe is protected by the meat. The probe looks long enough that I don’t think I could bury it in an average sized chicken.
-
Thanks for the tips, Dennis. I’ll try using the drip pan more often. And I don’t do the burn off with every cook, even though I see that from the way I wrote my post it seems like I do.
As for the scraping, the paint scraper that I use has a fairly thin and flexible piece of steel on it. It’s more like a cheap spatula. I use it to get most of the gunk off, but I don’t get down to the bare surface of the deflector.
-
I live in CT, so it's going to be a long ride across the country.
When Smaug left the warehouse, it was a 6 day drive from LA to NJ. It will come sooner than you think.
-
Nothing wrong with a hotdog cook! Congrats on breaking in your new KK!
-
 1
1
-
-
I’m probably an outlier, but for my low and slows I’ll use the heat deflector stone, placed right on the bars of the charcoal basket, and I don’t use a drip pan. All kinds of gunk does accumulate on the stone, but I think that adds to the flavor, and I do clean the deflector afterwards. After the end of the cook, I’ll take out the deflector, open all the vents to get the fire ripping hot and clean off the grates. Then I’ll put the deflector top side down on the main grate, and burn the stuff that collected on it. Then I’ll take the deflector off, let it cool, and use a paint scraper to scrape off the now-burned gunk.
The reason I’ve been skipping the drip pan is that when I used to use the drip pan, the stuff that collected in it burned, and it was a pain to clean.
The meat goes on the main grate. If I need extra room, I’ll bring the top grate into play. If I ever did a cook that also required the bottom grate, I’ll need a new house, because that’s enough food for more people than my yard can handle.

How much food do you plan to make that would require the lower grate for a low and slow?
-
I’m not sure how well the single bottom pan would perform as a skillet. It’s essentially a solid sheet of stainless steel, which is not an ideal surface for cooking because it transfers heat relatively slowly. That’s why skillets are usually made of aluminum or copper — both of those metals conduct heat quickly, meaning that they are quick to heat up and quick to cool down.
There’s also the issue of potential hot spots, depending on how thick or thin the pan is. A sheet of metal thick enough to function as a drip pan may not be thick enough for a cooking surface.
Many high end pans have stainless steel as a cooking surface, but that’s for ease of cleaning and durability, not for cooking performance. In fact, you might say that the really good pans like All-Clad or copper cookware perform well despite having a stainless steel interior.
On the other hand, if the metal was thick enough and the surface was even enough, it may serve well as a griddle, once it got up to temperature.
-
Looks great! I love love love duck.
What temperature do you like to cook duck at?
-
Great looking ribs, Tony!
-
Nice burger! And ice cream, as well!
-
Looks great!
One more stupid question from the damn Yankee: I now know that cat head biscuits are named because of how they compare to, well, a cat’s head. Is serving it with maple syrup part of the cat head biscuit experience? Or can you put any topping/spread/butter/whatever on it?
I mainly ask because I remember Mrs Skreef saying that she would make the biscuits if Bosco sent her some maple syrup, so I thought that the maple syrup might be a required ingredient.
-
1
-
-
Yeah, but you're a way better cook than average. No biggie.
Robert
Oh, I know that. There are a lot of folks over on KG that have told me so, because using a KK grill couldn’t have had any impact on the low and slow cooks that I’ve done, even though I only started doing that sort of cook 11 months ago.
-
1
-
-
I love sourdough bread! Do you maintain your own starter?
-
Wilbur?!! You've never heard of cat head biscuits?
Robert
I am a damn Yankee, you know.
I do love biscuits. I’ve just never heard of cat head biscuits, at least not until this morning.
-
Ok, I have to ask. What’s a cat head?
-
Nice! Although I did do a double take when I saw the title of the post, as in “Why would you need a grill for sashimi?â€
-
Here’s the final result.
Money shot. I took off the top racks before I remembered to take a photo.
All four racks together. That extra piece of meat was the last of the brisket from last weekend. Yes, we still had leftovers even after a whole week.
Cut up.

They were delicious. I have to say, having Smaug has changed my approach to BBQ. I used to really like putting sauce on BBQ, whatever type it was. These days, I’m using a lot less sauce. Most of the ribs that I ate last night were without any sauce at all.
-
1
-
-
After cooking that 21 lb. brisket last weekend, I decided to make things a lot easier for myself today. Four racks of baby back ribs, sprinkled with homemade rub, into Smaug, who wanted to be at 210ºF today.

Now we wait, probably 5 hours or so.
I’ll check out the texture when our friends arrive, and maybe bump the temperature if needed.
-
Welcome to the KK forum, Jaxx!
I think that your idea of a KK 23†taking on the role of your Big Joe and a KK 19†replacing your Vision Classic is right on. Unless you want to go for twin KK 23â€s.
-
1
-
-
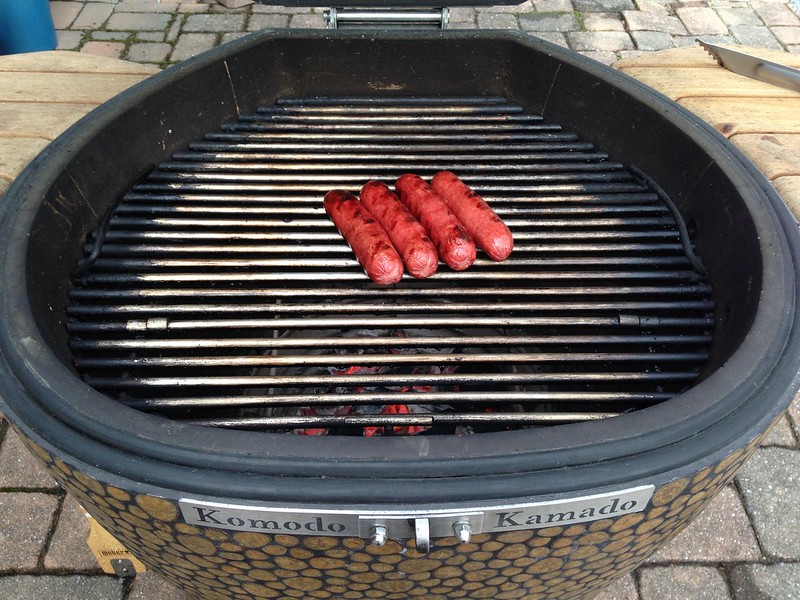
My folks are in town and my dad wants to cook hot dogs. He can't resist the humor of cooking the cheapest cut of meat on the worlds nicest charcoal grill. lol.
What’s wrong with using a KK grill for just a few hotdogs?
-
1
-
-
Looking good!
-
As for wilburpan's thread - I know my fuel efficiency comment did not help that thread along and for that I am sorry to have even posted that comment. There is a more detailed explanation why I felt the way I do about fuel efficiency in my case but I'm scared to post it on the Guru for fear the explanation would be read wrong and that thread would turn in yet another direction.
Don’t worry about that, ck. I posted the thread to talk about my experience with Smaug and what I thought made it different than if I had gotten a ceramic grill. The fuel efficiency is part of it.
The only thing I really don’t appreciate is using the phrase, “Bottom line is…â€, followed by a generalization that is supposed to be taken as fact just because someone said it was the bottom line, as a strategy for making one’s case.
The other awesome strategy is responding by posting a picture of a famous smart person with a quote.
Best way to Heat Soak for Low n Slow
in Techniques
Posted
I think you are right on in your analysis. For me, 1/4†open at the bottom vent would be too much for setting up a low and slow cook.
Gadgets are fun!
I do think it’s interesting that your DigiQ hits a target temp of 200ºF in a little over an hour, and that your top vent is at 1/8 turn. That’s exactly where my top vent is at for low and slow cooks, and it’s about the same time it takes me to hit 200ºF using analog controls.