.GIF.0c507fdd0aaa5c1cae84b6c43af405e7.GIF)
tony b
-
Posts
12,680 -
Joined
-
Last visited
-
Days Won
558
Content Type
Profiles
Forums
Events
Everything posted by tony b
-
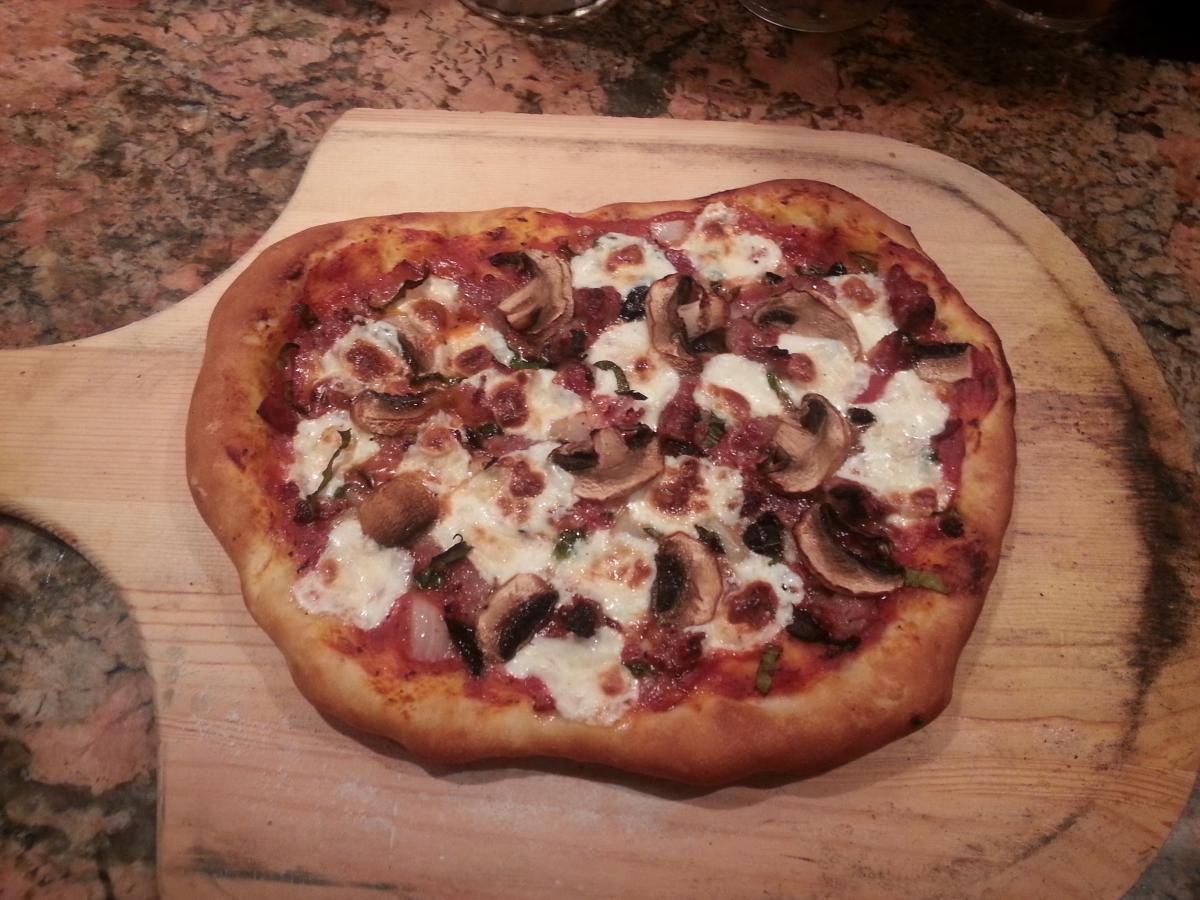
Thanks. Forgot to mention that I made the sauce for it, too. Simple - small can of tomato sauce, EVOO, Italian herbs, roasted garlic paste, a splash of red wine, and grated (canned) Parmesan/Romano blend. Heated in a sauce pan until just to simmer. Cooked for about 15 minutes.
-
Having owned a POSK, I was one of the lucky ones that got an early Indonesian made one. It lasted 8 years before it really started to have structural problems. The friend of mine that inherited my POSK tried to work with the new guys to get a replacement collar for the top hat spider (where it was severely cracked and eventually failed). But, while the guys were very sincere, they could just never deliver the product and my friend gave up on them. At least they didn't take his money upfront like RJ does.
-
On my "wish list" is to do a porchetta - http://www.epicurious.com/recipes/food/views/Porchetta-367138 I was supposed to get my pork belly w/skin on today, but the order didn't arrive at the butcher store. They said tomorrow (sounds kinda like "checks in the mail" - LOL!)
-
Was in the mood for pizza, so whipped up some dough and tossed her on the KK - pizza stone on the upper grill, no heat deflector, 600F in the dome, for 8 minutes. Pre-cooked sausage and bacon, with mushrooms, black olives (salt cured), and fresh onion, mozzarella pearls, and fresh basil. Ta -da! An "oh, by the way" - after I took the pizza off the stone and closed the lid, I heard a "tink". So, curiousity got the best of me, so I opened the KK back up to see that my stone had completely broken into two pieces. I guess the rush of cooler air hitting the 600F stone, cracked it. Please note that this was a thinner pizza stone, not the hefty one from Kamodo-Kamado. Just goes to prove that Dennis knows what the hell he's doing!!!

-
I've always sworn that they roast whole chickens better than any other cooking method!
-
Definitely! Having said that, I did prefer the chuck roast over the pot roast though. Local supermarket is having a sale right now on Angus Reserve chuck roasts, so I'm likely to stock up on them.
-
If it works for you, Doc, I might just have to try it sometime. Always looking for a new tricks.
-
Good luck with the experiment, Doc (haven't heard from you in a while?) Love my pressure cooker, just never thought of using it as a prequel to smoking. The challenge will to optimize the cooking time without making them mushy. I can tell immediately when ribs have been boiled - the texture is off. In most cooking, technique IS important. If you try to saute with too much oil in the pan, you're frying, not sauteing. The results will be different. Not necessarily bad, just different. If you're cooking your pork butts in a crock pot, with liquid smoke and a bottle of sauce, it might be tasty, just don't call it BBQ! Just saying!
-
Sistah, you do like you some rare meat!!!
-
Don't fret the bark. It looks just right. Welcome to the Fans of Pork Club!!
-
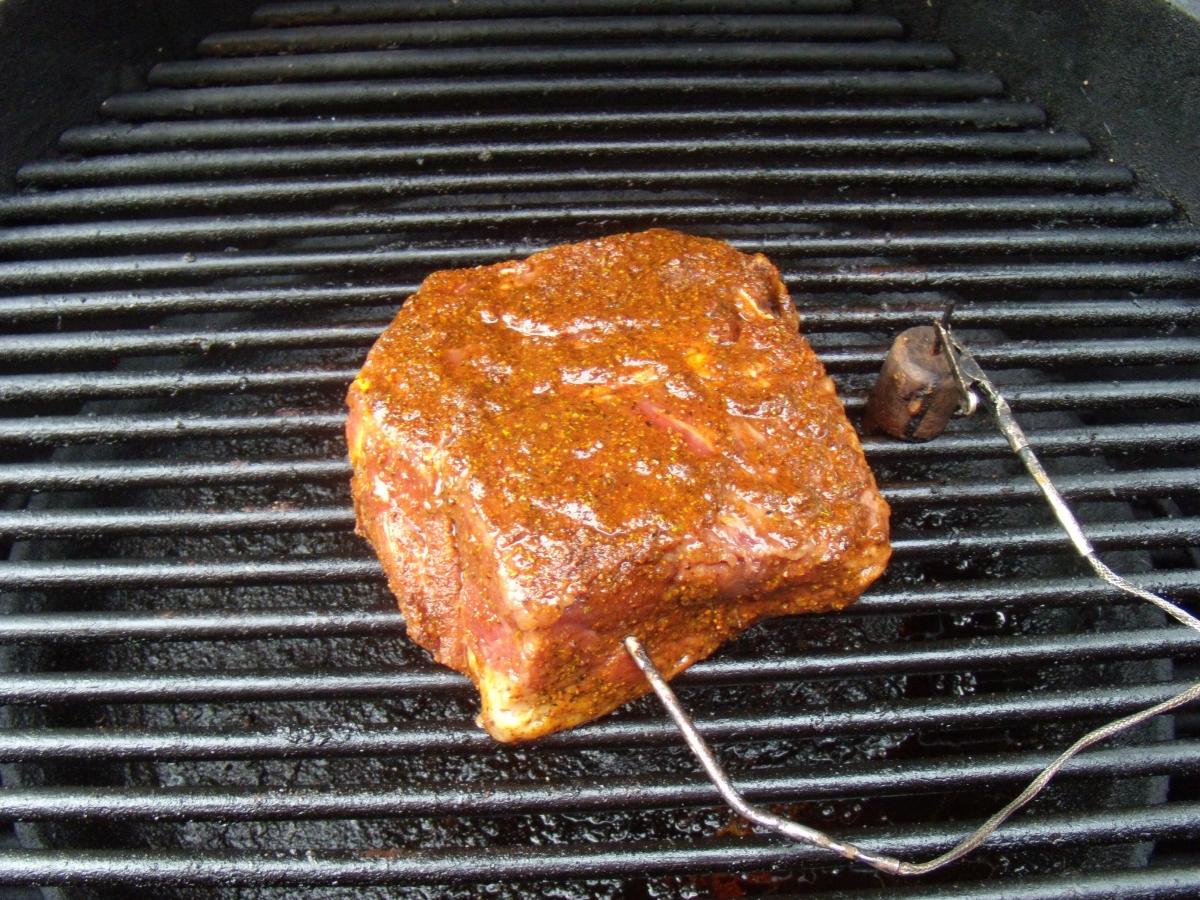
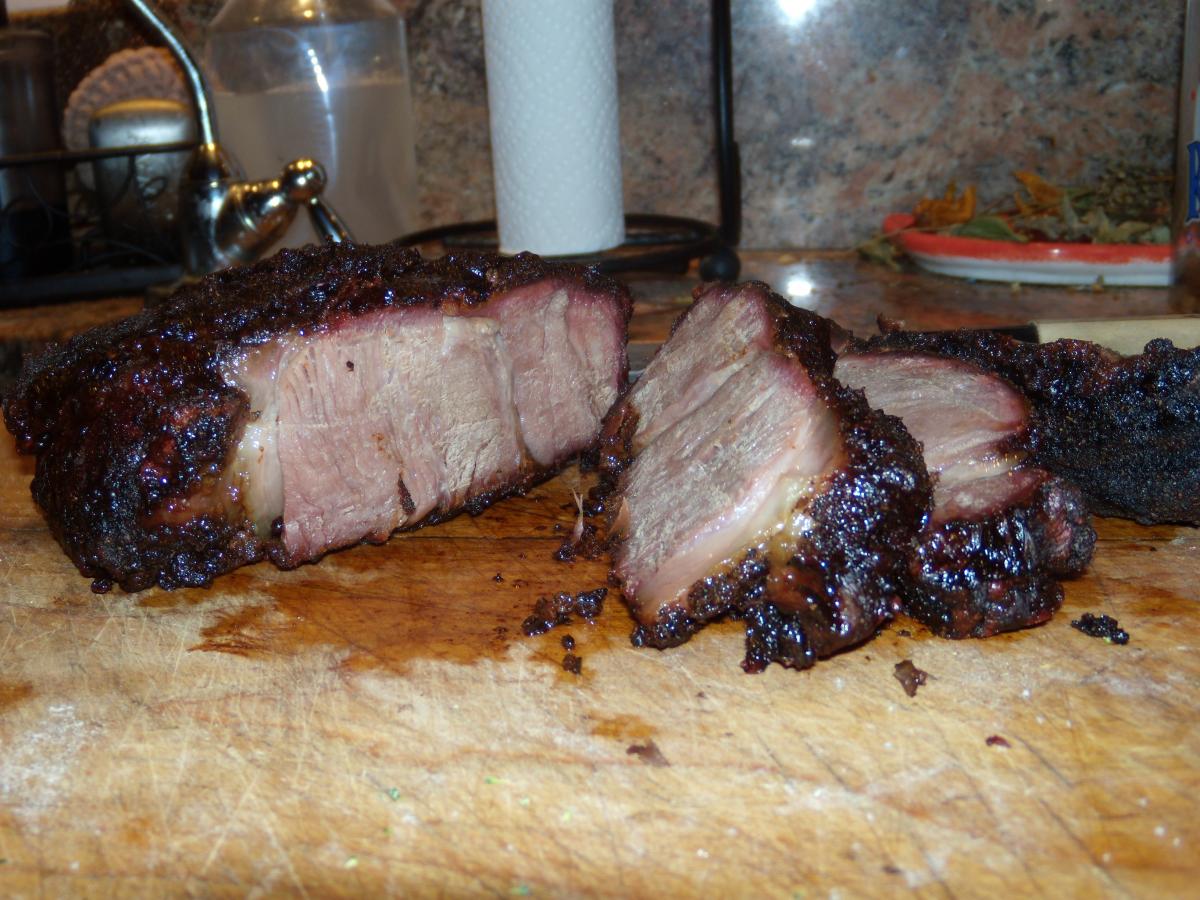
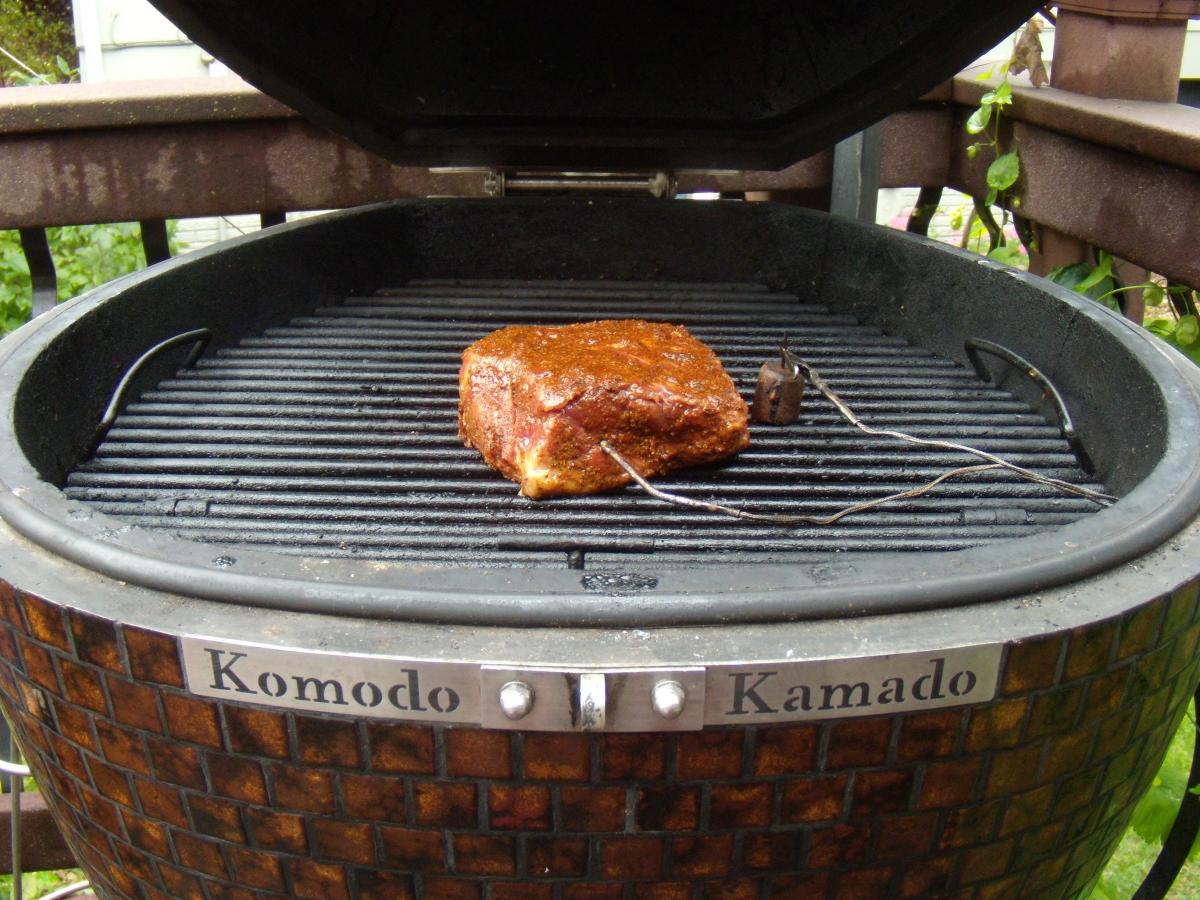
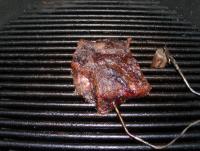
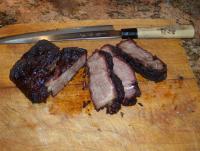
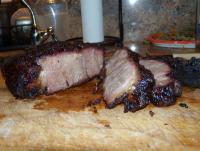
OK, adventures in beef cuts #2 was yesterday. This time it was a pot roast, about 2.5 lbs. Similar to the chuck roast cook, indirect @ 250F using the Guru. Smoking pot was hickory, red oak and mesquite. Roast was injected with Butcher's brisket injection and rubbed with OakRidge's Secret Weapon brisket rub, rested overnight. Pulled off the grill @ 200F internal (I was shooting for the same 210F as before, but it was taking forever to move a single degree and it had been on for 9 hours already). It didn't pull, but sliced easily and was very tender. Killer beef flavor again, but I might have had a touch too much rub on it - bold flavor! Here's the pix to prove it happened!


-
That's the best way to go. Susan convinced me a while back. It's less messy; just swap baskets.
-
If you don't have one, consider getting the split basket setup. Makes for very easy direct/indirect combo cooks. Use mine more than I thought I would when I ordered it. I bought it primarily for doing high temp steak sears, so I didn't have to burn up a lot of coals to reach high temps, but have expanded my repertoire to "classic" direct/indirect combo cooking as well. Steven Raichlen would be so proud - LOL!
-
Here's the thread, but Dennis is now making the baking stone in the shape of the KK. So GoFrogs is probably using the right one. http://komodokamado.com/forum/topic/4862-new-baking-stone-for-the-23-ultimate/
-
Yum, Yum! Love me some beef ribs!
-
Lots of thermal mass to cool down. Not surprised it was still warm the next morning after heating up that stone to 650F. Check to see how much coal you have left. If you burned up most of it, then you might have had a small air leak to keep the coals smoldering all night. Most likely not; that's just how efficient the KK is at holding heat! Great looking pies, BTW.
-
It won't take long for you to get the hang of it. Looks like you're well on your way! Good luck with the pizza.
-
Wasn't my first rodeo. I previously had moved my first kamado (POSK) through the house, too. That one was done without the ramp. 2 of us used a refrigerator dolly to hump the bottom half up the steps, one at a time! We almost died!! Hence, the ramp this time!
-
They look great! I won't buy frozen fries anymore. It's just too damned easy to make them properly.
-
Great looking chow, Susan! Need to break down and do some bacon myself. Want to do one with the skin on, also, so I can do a porchetta.
-
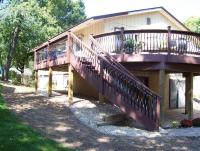
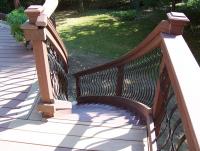
Tell me about it. I had to build a 7 ft ramp so I could bring it through the house (split foyer) from the garage, push/pull it up a flight of stairs (8 steps), traverse across the living room/dining room floor and out the side door in the kitchen onto my deck (without it tipping over going over the transom). Took 4 of us to get it up the ramp - 2 pulling on ropes/2 pushing from behind. Thank God it has wheels on it. Oh yeah, I took the lid off, too! 2 of my buddies carried it up the steps (no ramp) out to the deck. All-in-all, it went fairly quickly and smoothly. Oh, if you were wondering, "why didn't you just take it up the outside steps on the deck rather than some complicated maneuver through the house?" Here's why -

-
Got a second email from them with a 25% discount code (expires tomorrow), but you have to buy at least 4 boxes. Reluctant to pull that trigger based upon my previous experience. Here's the code if anyone wants to go for it - 4S3CYO5W6EWE
-
Well, tried it again yesterday. This time it was a big hunk of sirloin. Similar set up to the first try (above), except I didn't have anything going on the grill, so it was just straight up to 400+F in the dome. Red Oak chunk for flavor. Sear grate - 2 minutes per side, flipped 3 times, until I was happy with the crust (6-7 minutes total). This was a thicker cut of meat, so the interior temp was still cold (40F) and slightly frozen in spots, even though it was on the sear grate much longer. Put it up on the main grill on the direct side until the internal temp came up to 100F, then flipped it over and finished it out at 110F. Rested for about 5-7 minutes while I plated all the sides and poured another glass of merlot. Sliced it open, beautiful medium-rare and very uniform color throughout. Reminded me of doing it sous-vide. (Thought about taking a picture, but was too damned hungry at that point to go get the camera! LOL!) So, based on this cook, I might keep this one in the "tool box" for later use after all.
-
Gorgeous! Hang on, your about to go on the ride of a lifetime! Never cooked on a Broil King, but I can't image how it could compare to the KK!! Don't forget, you MUST post pics of the first (virgin) cook - forum tradition!!
-
Bringing this old thread back up. Has anyone recently bought the Forestlump charcoal? Got an email from them which triggered my inquiry. My previous experience with this charcoal was not a good one. I bought several boxes when it was on sale. While the charcoal burns well, smells good, and is easy to light, as noted in the Whiz's review, I just thought that there was too much wastage in each bag. My experience was very different from Whiz, in that at least 1/3 of the bag was unusable (dust/chips) and most of the pieces were small. Very few big pieces (1 or 2 in each bag) and the rest were medium. With this much unusable pieces, it wasn't a good value in my book. However, that said, the company said at the time that they were upgrading their packaging process, hence the sale on the back inventory. So, I was looking for recent feedback before ordering from them again.
.thumb.GIF.006d23b9323146d2dd9055f4e195bc2a.GIF)