Pequod
-
Posts
2,684 -
Joined
-
Last visited
-
Days Won
99
Content Type
Profiles
Forums
Events
Everything posted by Pequod
-
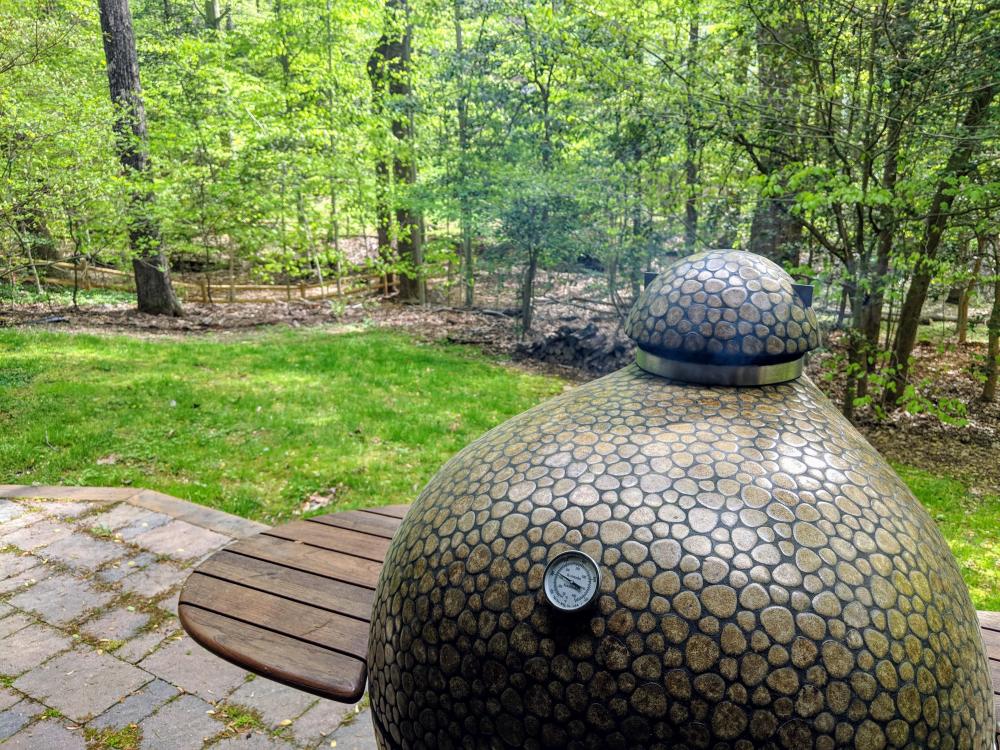
Yup, two. You mean, why not use one for the “roasting” and the other for sear? I could, although I’d normally just use the 32 for this cook since it is in a semi-permanent 2-zone configuration. Purpose on this cook was to test whether the 23 with warming grate and basket splitter could compare with my 32 in 2-zone configuration. Matched up reasonably well.
-
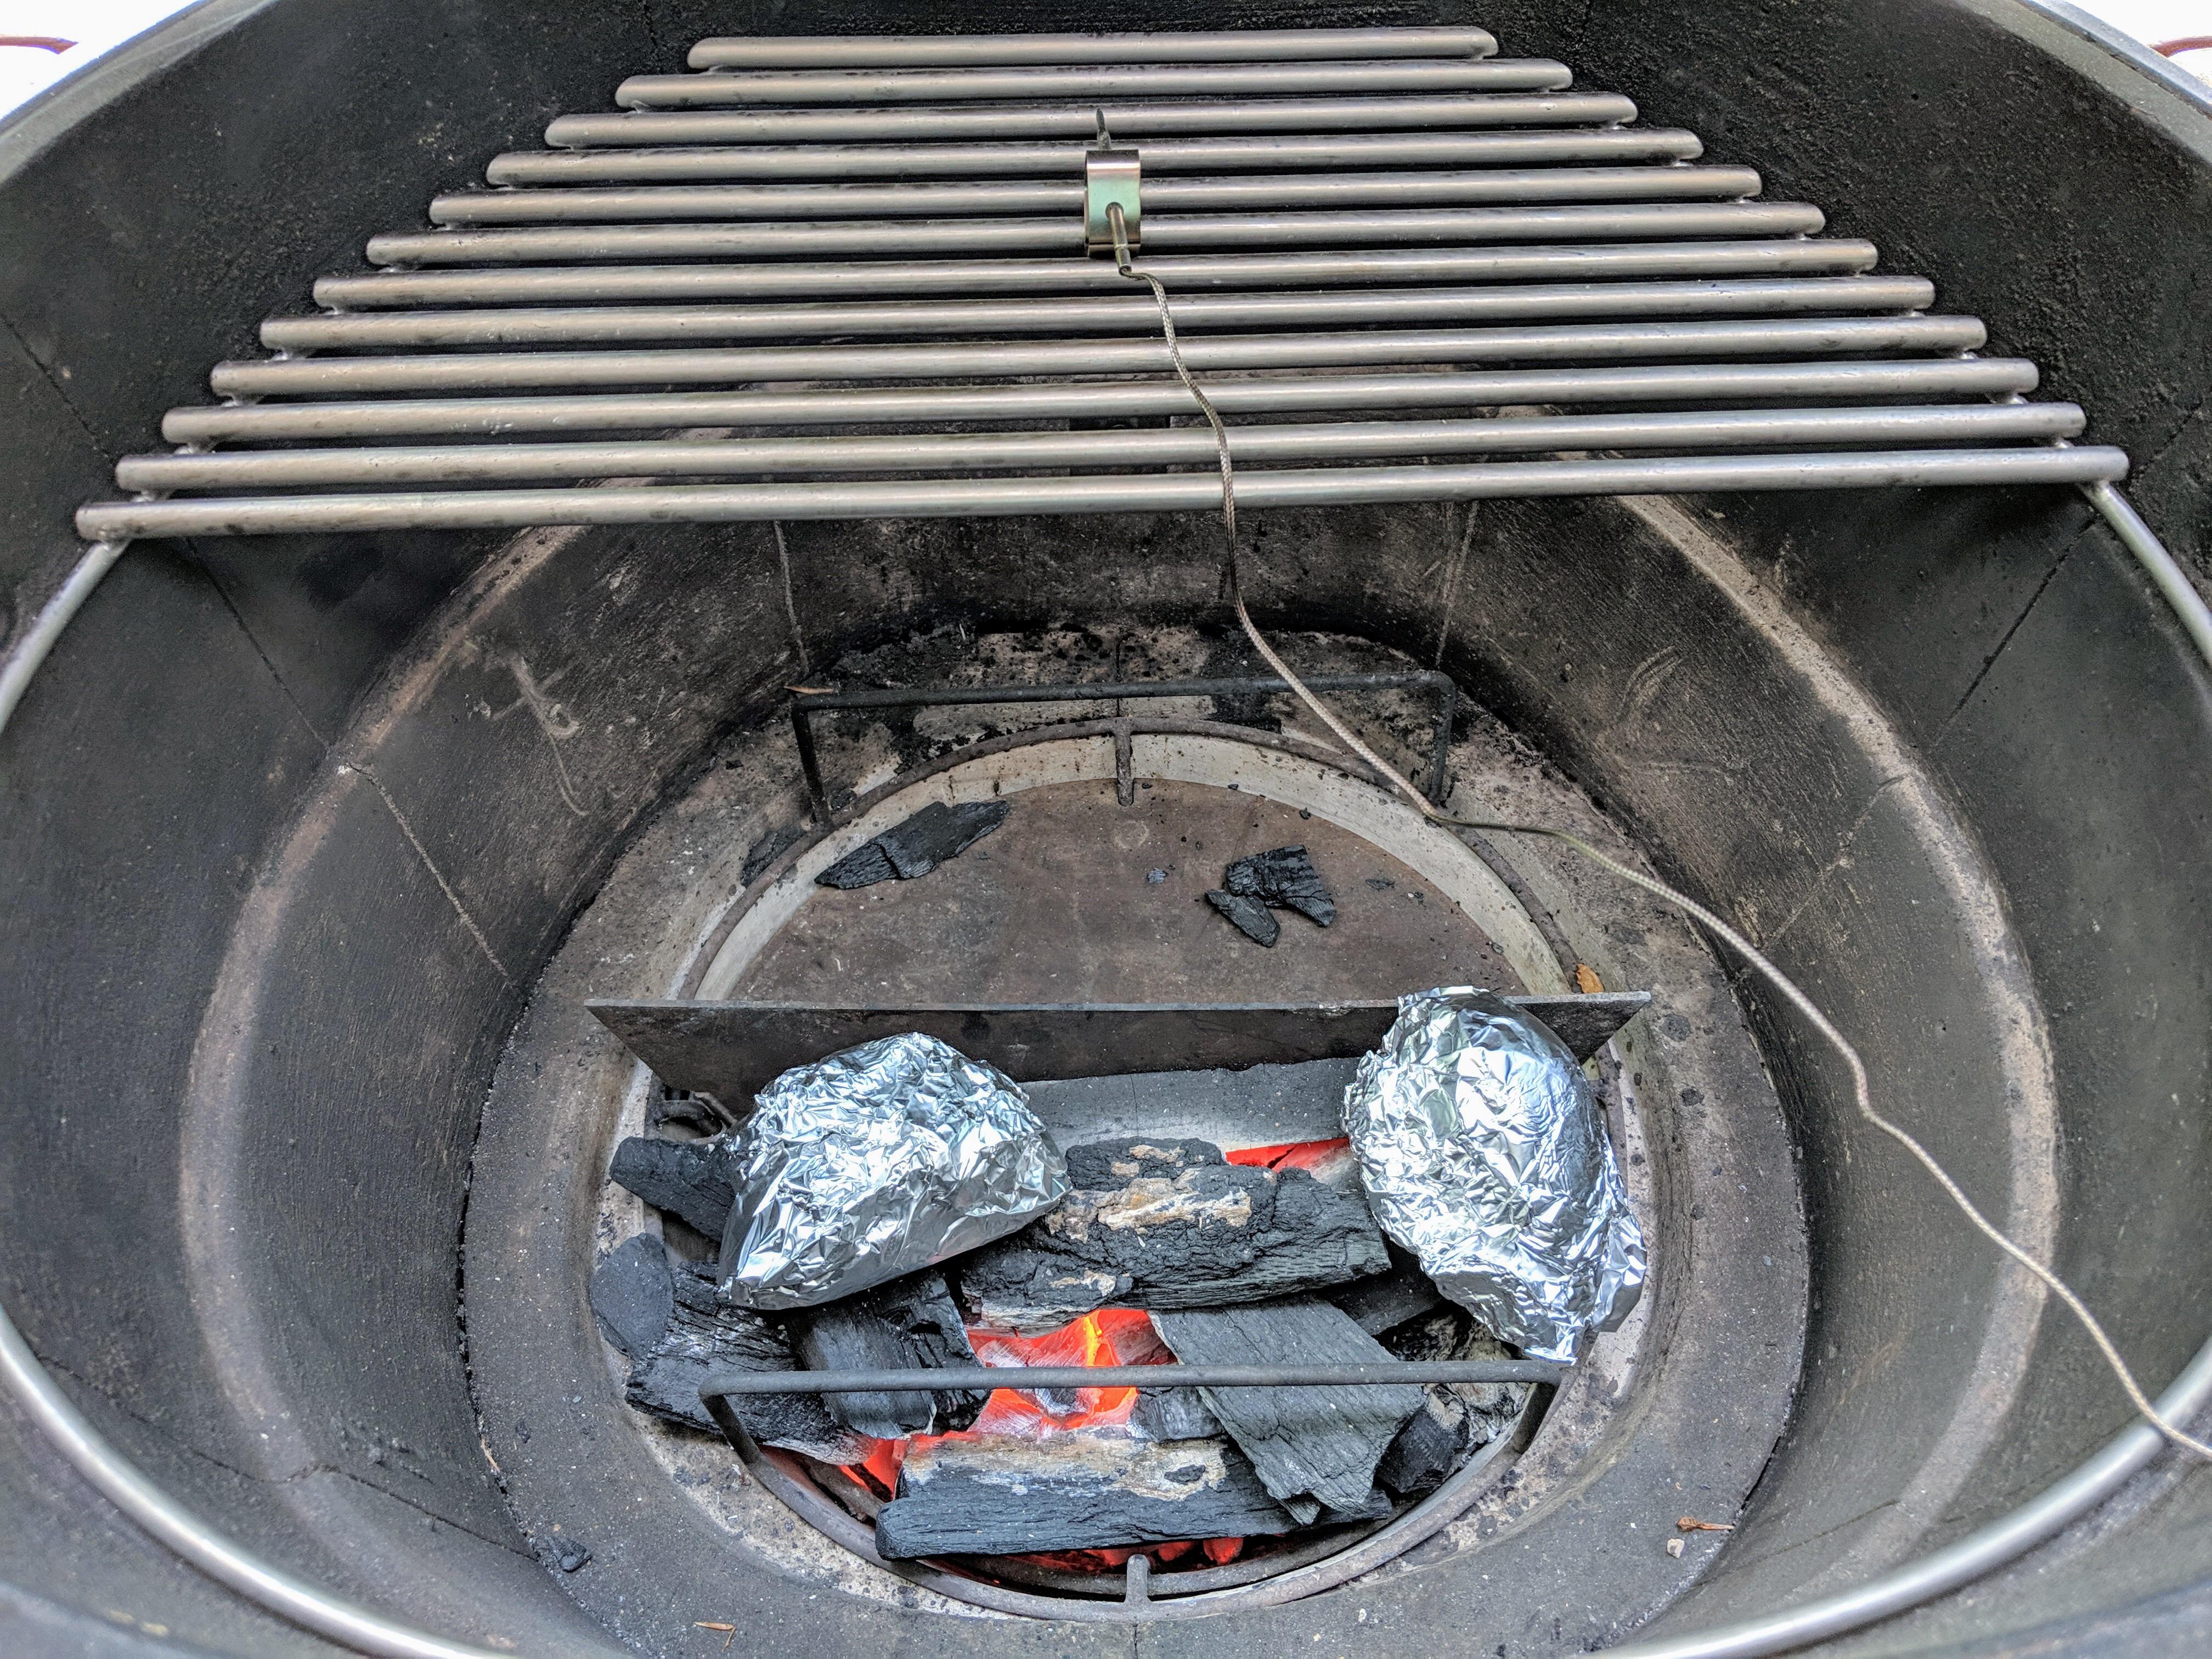
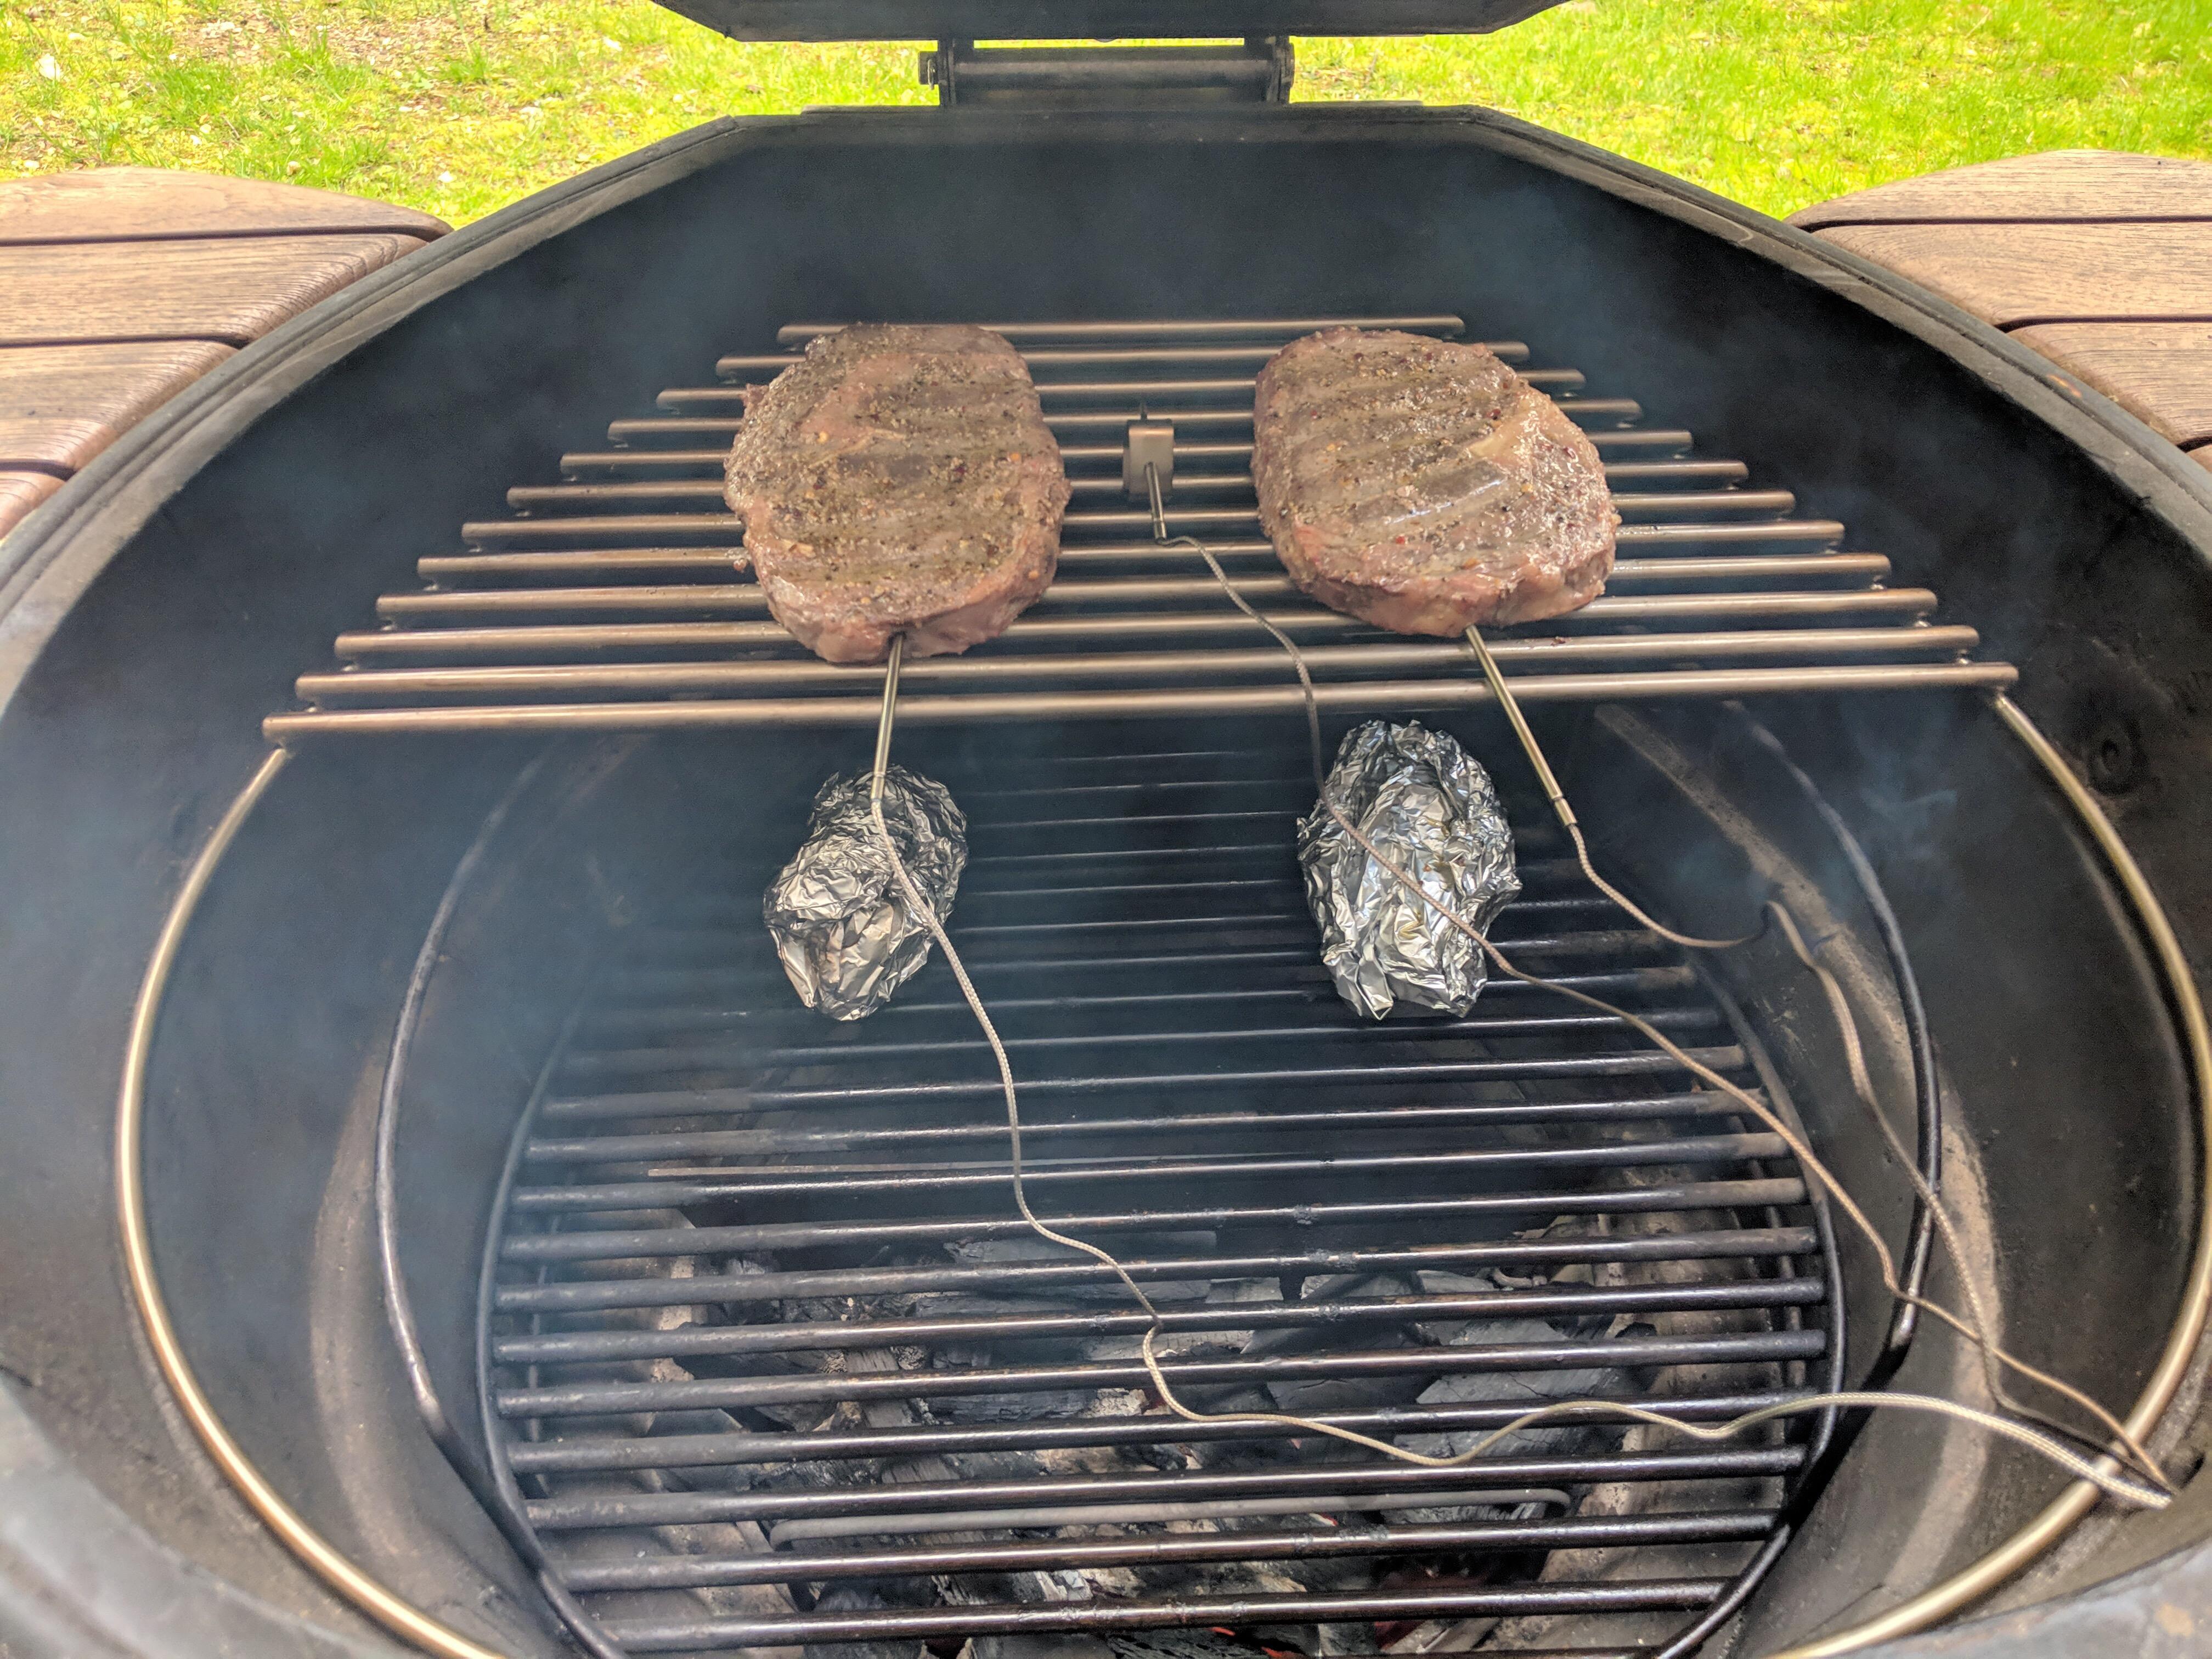
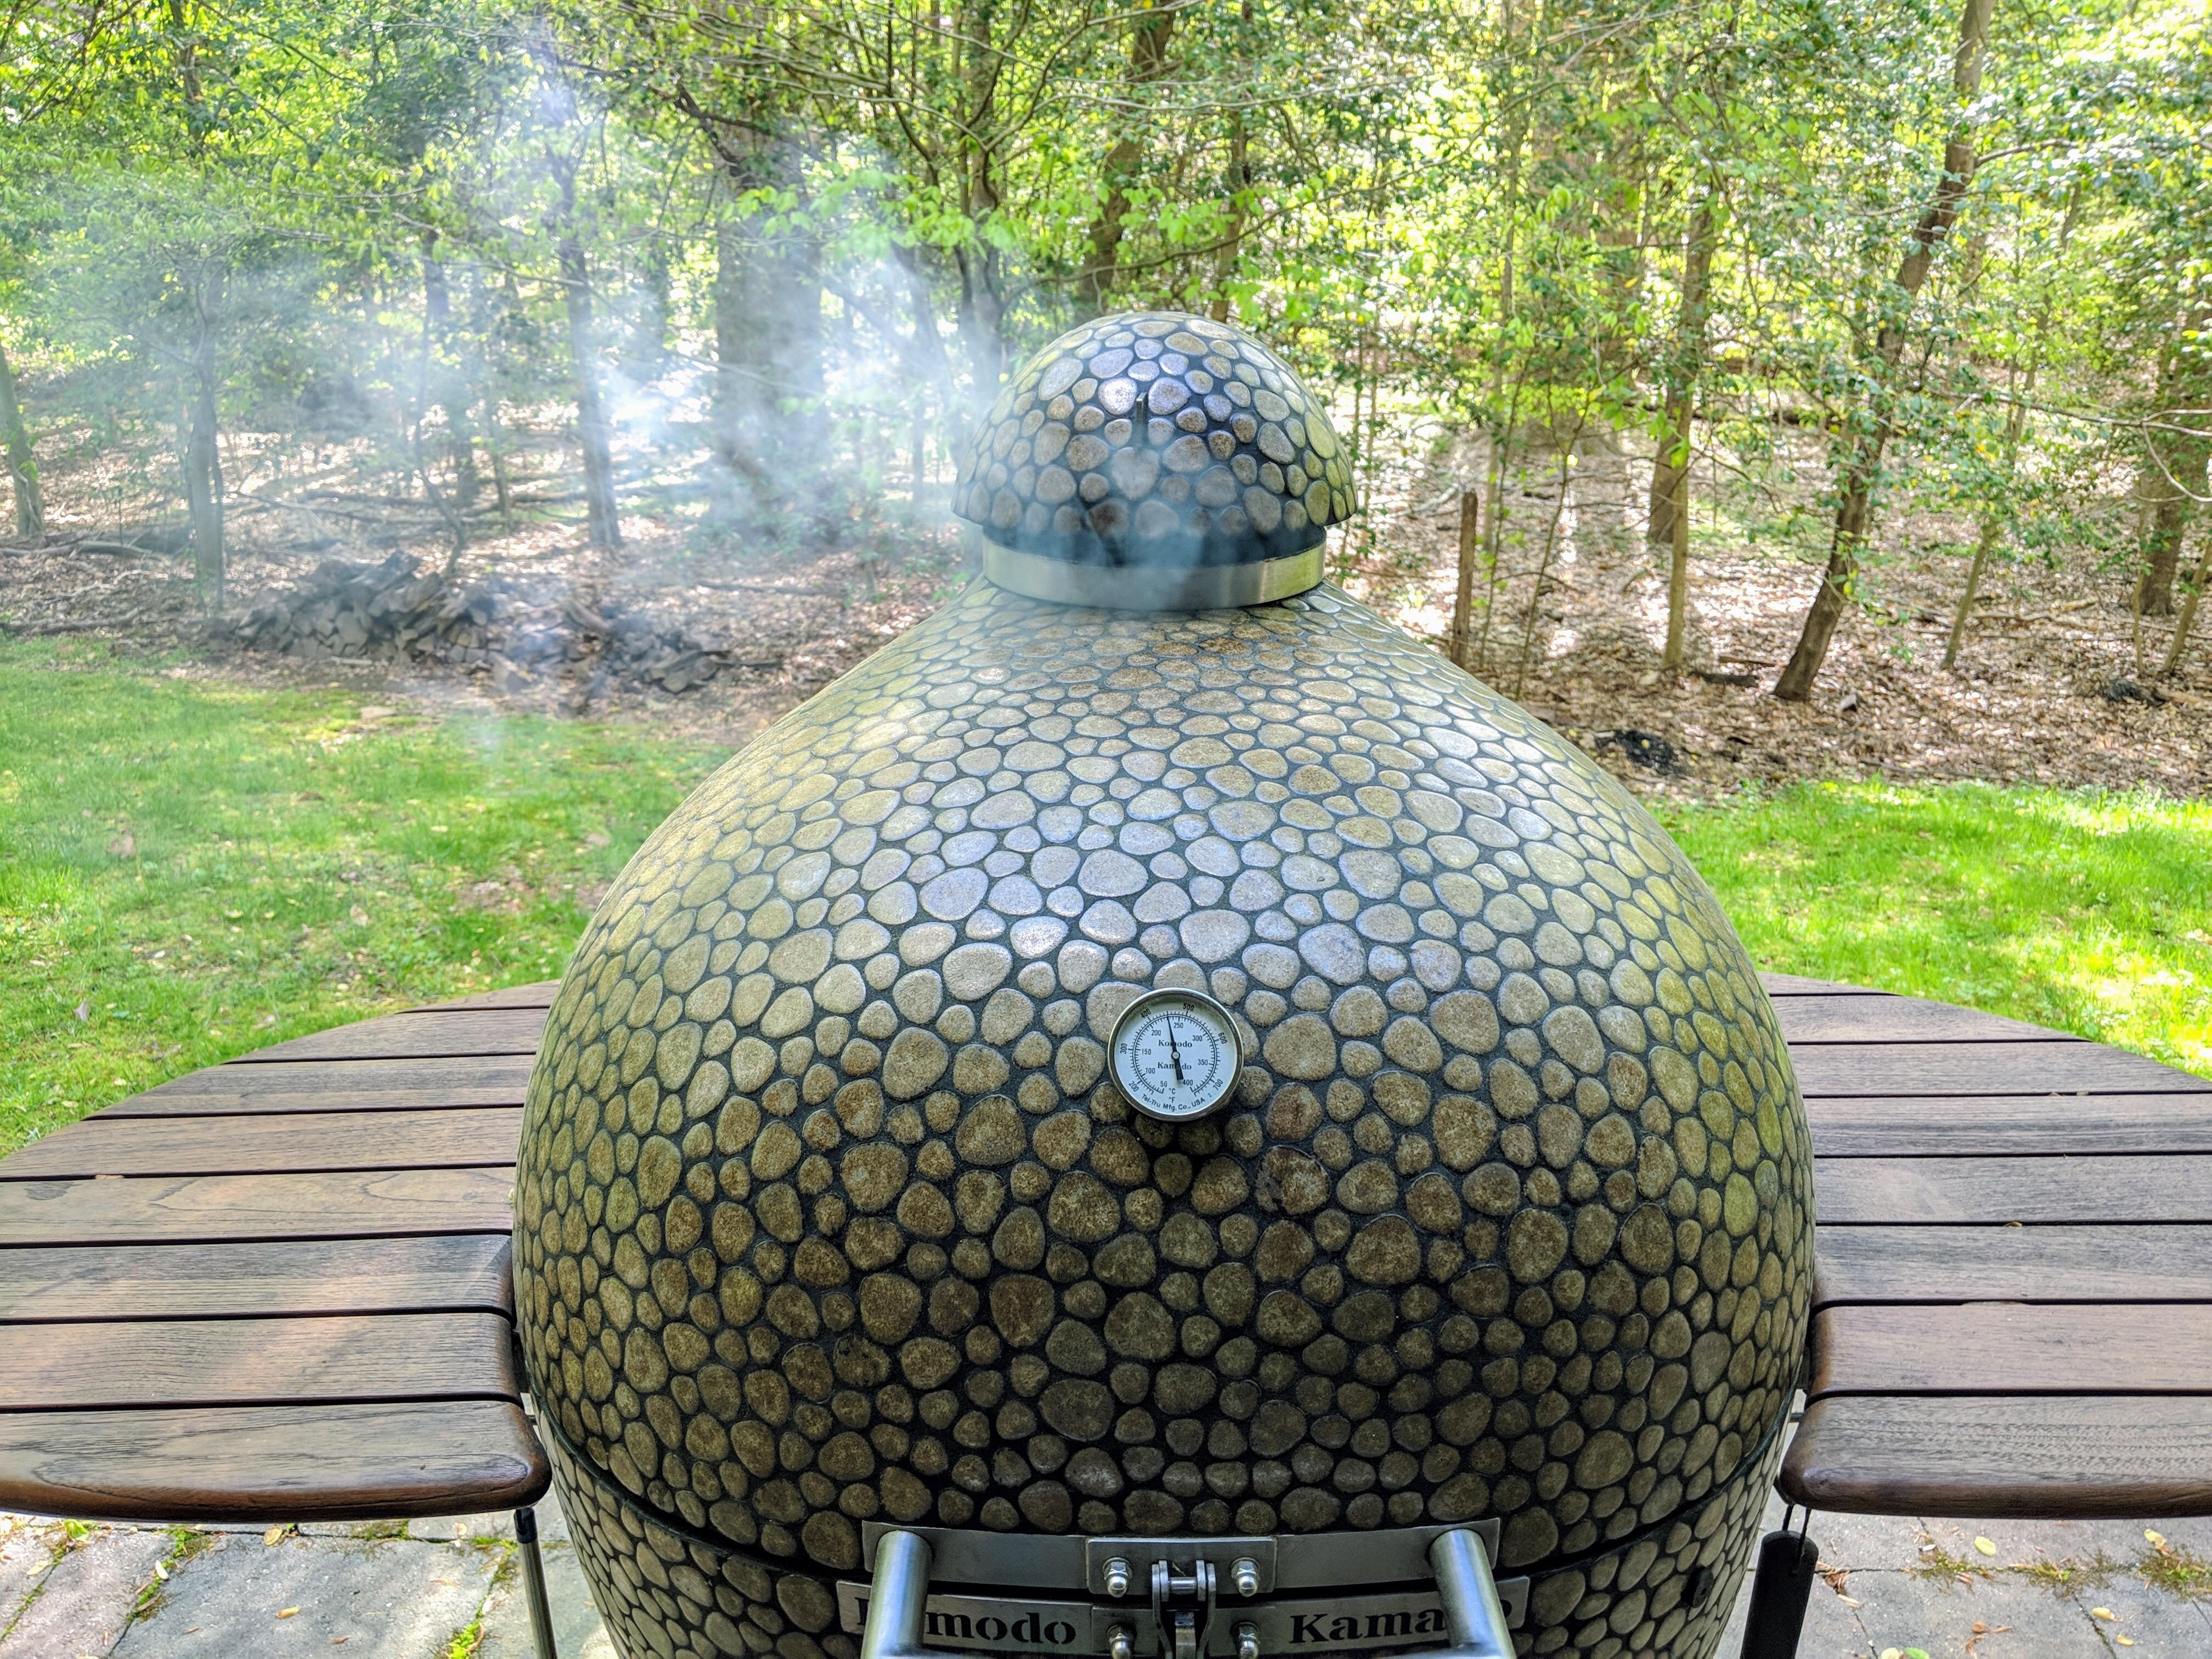
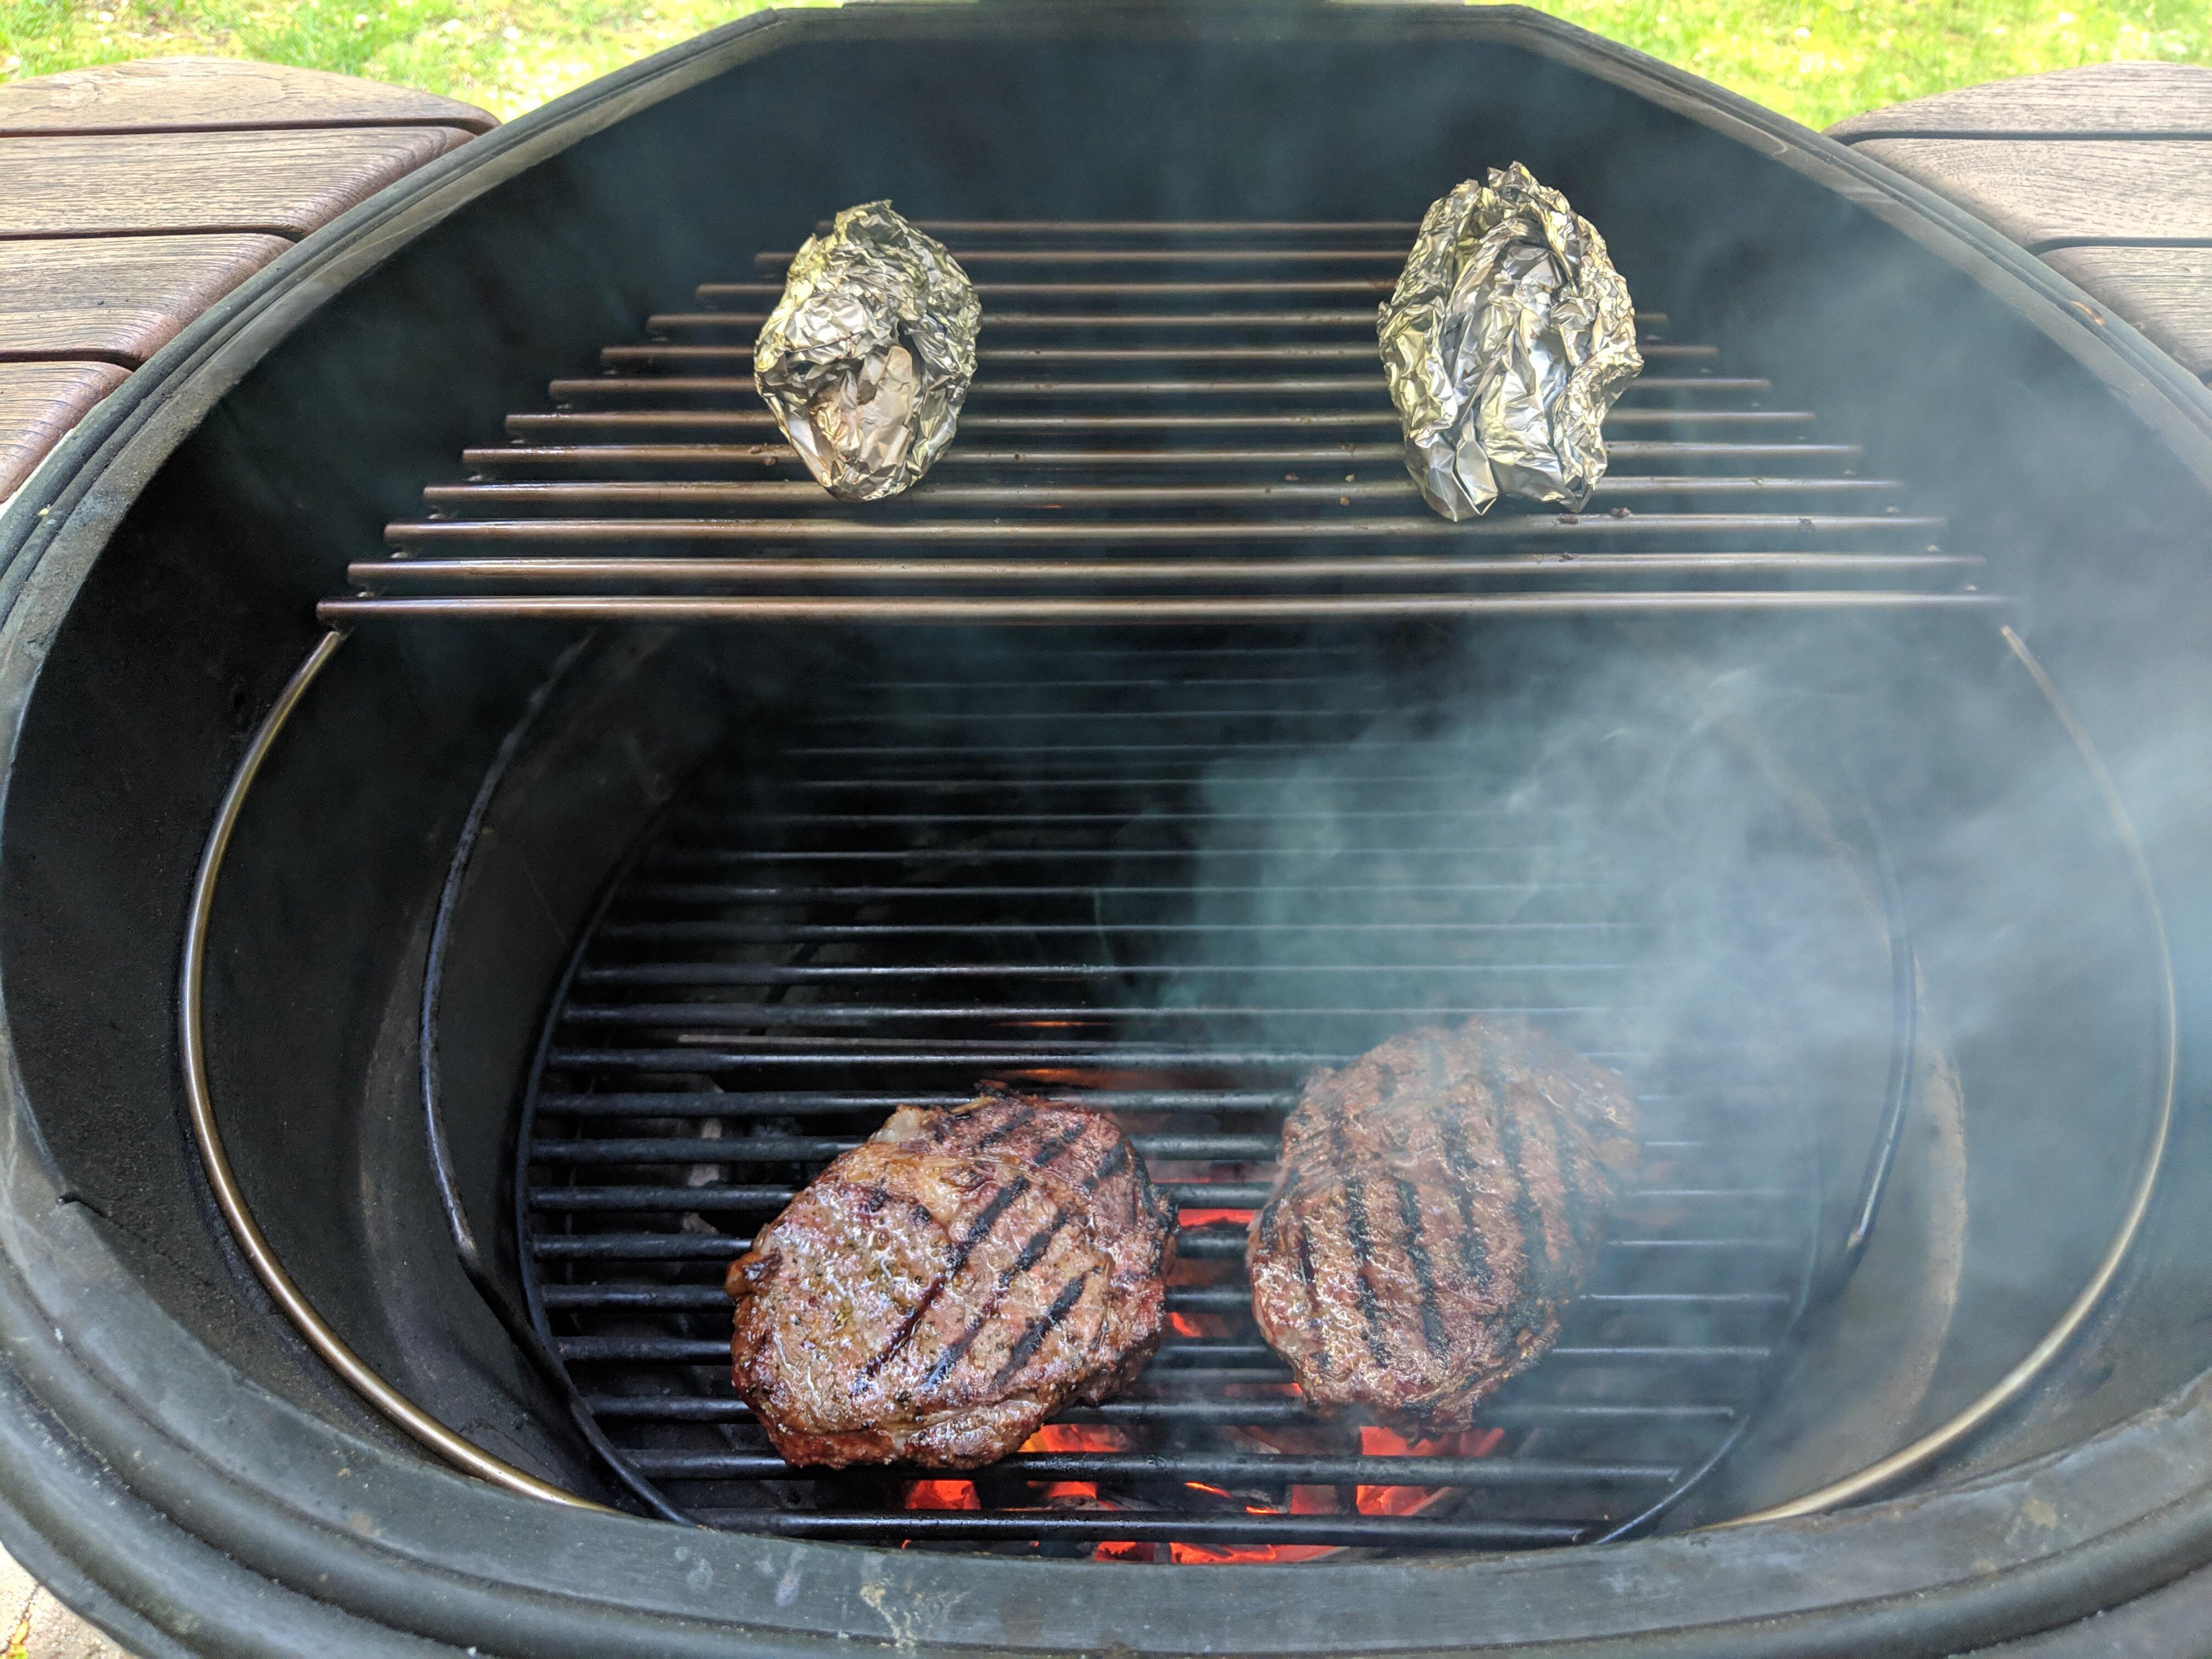
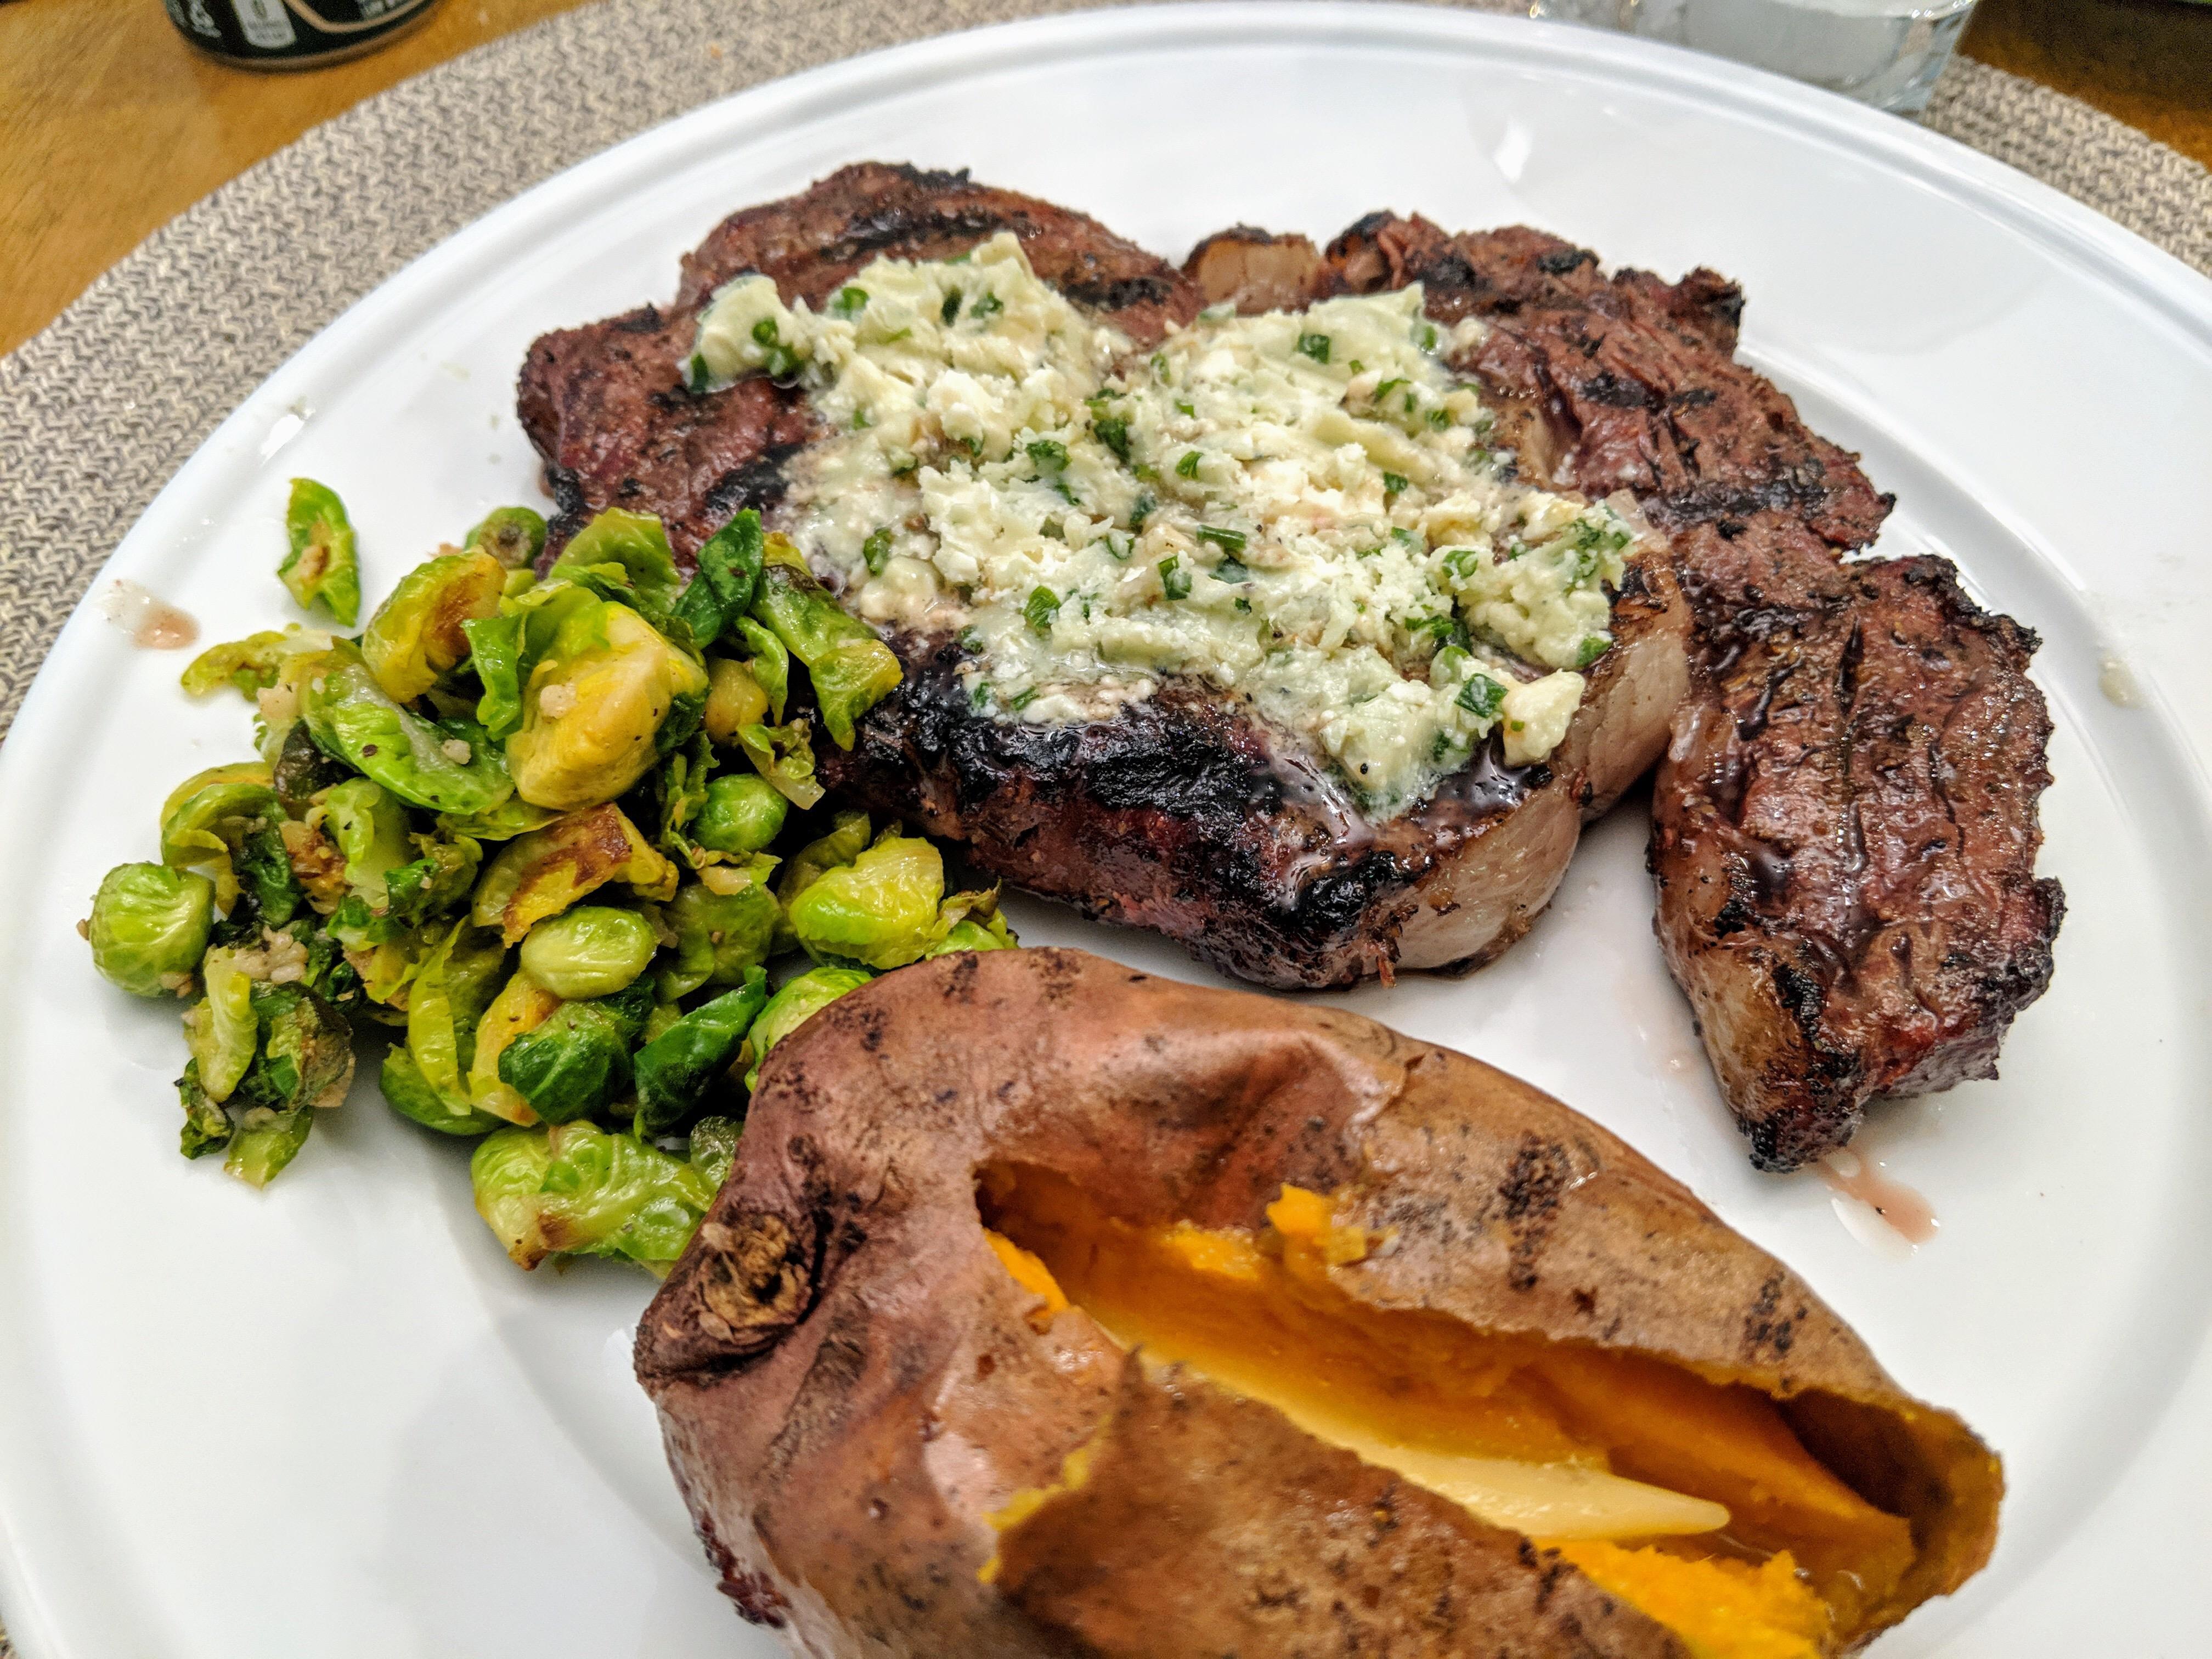
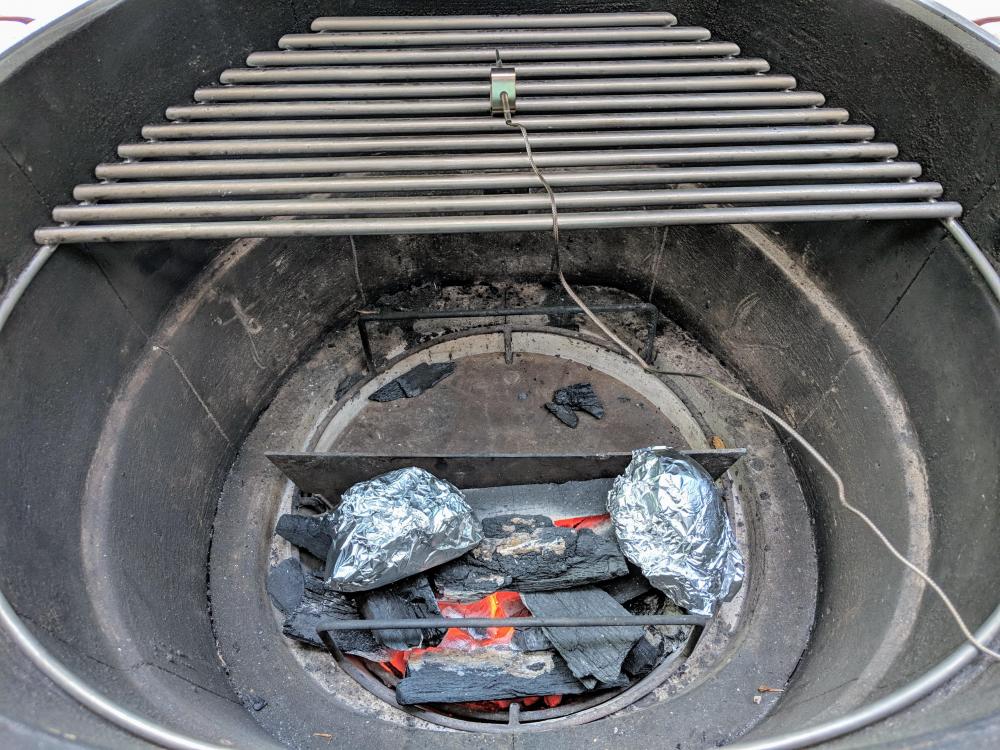
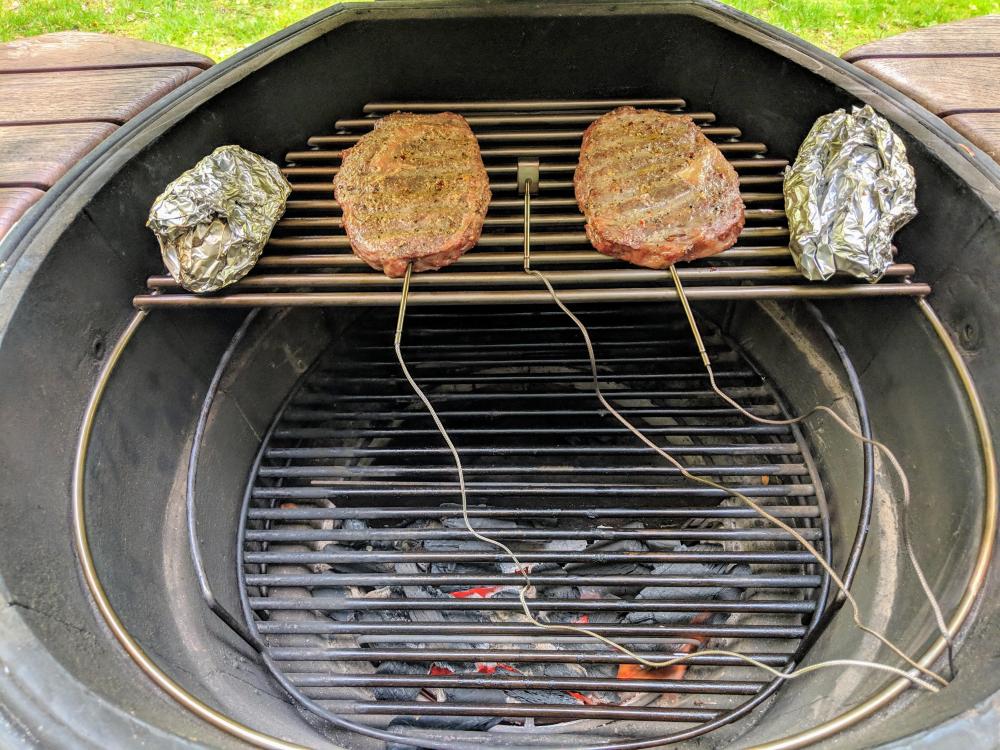
First use of the new warming grate for the 23. I wanted to put it through its paces to see if this new grate would turn the 23 into a true two zone machine similar to my 32 with its half main. Started with the basket splitter and the warming grate. Put some sweet potatoes directly on the coals while monitoring the temp on the indirect side with the warming grate. A bit later, I removed the warming grate, added a chunk of pecan, and inserted the sear grate. Put on some ribeyes for a reverse sear, starting them on the warming grate the same way I would use the half main in my 32. Moved the sweet potatoes to the rear of the lower grate to finish cooking. Just admiring the view on this fine spring day with a wee bit of thin blue pecan smoke. The ribeyes are almost up to temp. Plenty of room for them and the sweet potatoes while I cranked open the vents for the sear. Almost there... The big moment. Boom! Top with some blue cheese chive butter and a side of baby brussels. The verdict: This fancy new warming grate has brought one of the best features of the 32 to the 23. Super easy and flexible two-zone grilling. Highly recommend it for anyone on the fence about buying one of these things.


-
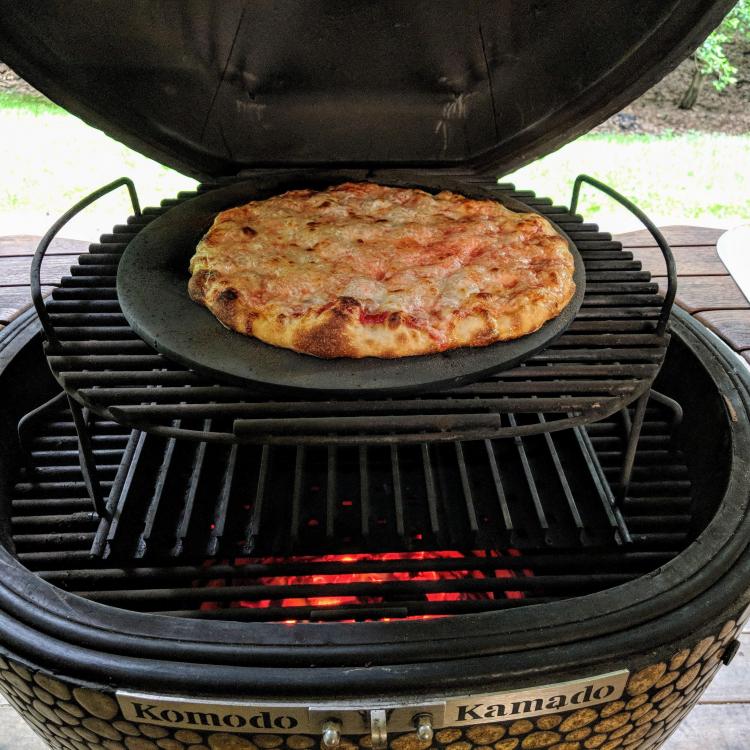
I run at 550 on my steel in the KK, but no higher. That’s for a dough I’d normally do at 650-750 on my Blackstone. If you’re using a typical elements of pizza recipe, with unmalted 00 flour and no oil or sugar, 550 should work for the bottom, but the top might be a bit “blond”. You might want to switch to a malted AP flour to get a bit of browning. The pizza in the pic above used a malted flour to get achieve the browning you see there.
-
Maybe on the main grate. Here’s the configuration I use:
-
Don’t know about these recipes in particular but I love using the baking steel in my KK. The one thing you need to do differently is make sure you have some kind of deflector below the baking steel or it will go nuclear. For example I use re-purposed GrillGrates, but you could use anything that provides a bit of a thermal cushion from the direct infrared.
-
The stall is much diminished for hot and fast cooks. Stall is due to evaporative cooling, so the higher the temp the faster the evaporation. At 225, expect a loooong stall. Butts and briskets I’ve done at 275-300 have very little if any stall. Haven’t done 350, but maybe I’ll give it a go.
-

She Wanted Me To Throw It On The Grill
Pequod replied to ckreef's topic in Jokes, Ribbin' & Misc Banter!
-
NEW 23" Ultimate - Main Rear Warming Grate
Pequod replied to DennisLinkletter's topic in KK Announcements
I got mine but haven’t used it yet as well. Concur with your planned use, which is why I got it. A mini version of my 32 with basket splitter and half main. Now available on the 23! -
...and Lane's Ancho Espresso!
-
All, You'll find the rub recipe here:
-
Yup...a good example of why I monitor formation of the flame front is...lighting binchotan. If I simply MAPP + Blow or use a Rutland square and then close the lid, I guarantee you I'll be disappointed. Now once it is lit, yeah...air flow dictates what it does. But the flame front is, to me, the important indicator of ignition and when to close the lid to send it on its thermal journey to equilibrium stoichiometry. Again...no rocket science here, but I could tell you stories of igniting rocket motors that are kinda fun...
-
At equilibrium, all of the above is true -- stoichiometry being what it is. The process of startup isn't equilibrium. It is all about establishing a flame front in your charcoal, which once established will grow or recede to match the airflow. The process of MAPP + Blower is to establish the flame front. Then we close the lid and let the vents/vacuum effect do its thing. With starter squares, it takes about 5-10 minutes to establish the flame front. Could that be done with lid closed? Sure, but I'm typically spending that time putting grates in, tables on, running thermal cables through the polder port, etc. And I typically want to see whether the starters have established the flame front I want -- just like we do with MAPP + Blower. By the time I've done all that and the starters have established the flame front, I do exactly what we do with a MAPP + Blower -- close the lid and let the vents work toward equilibrium stoichiometry. No rocket science involved (although I have software for that if there was) -- Establish the flame front you want, close the lid.
-
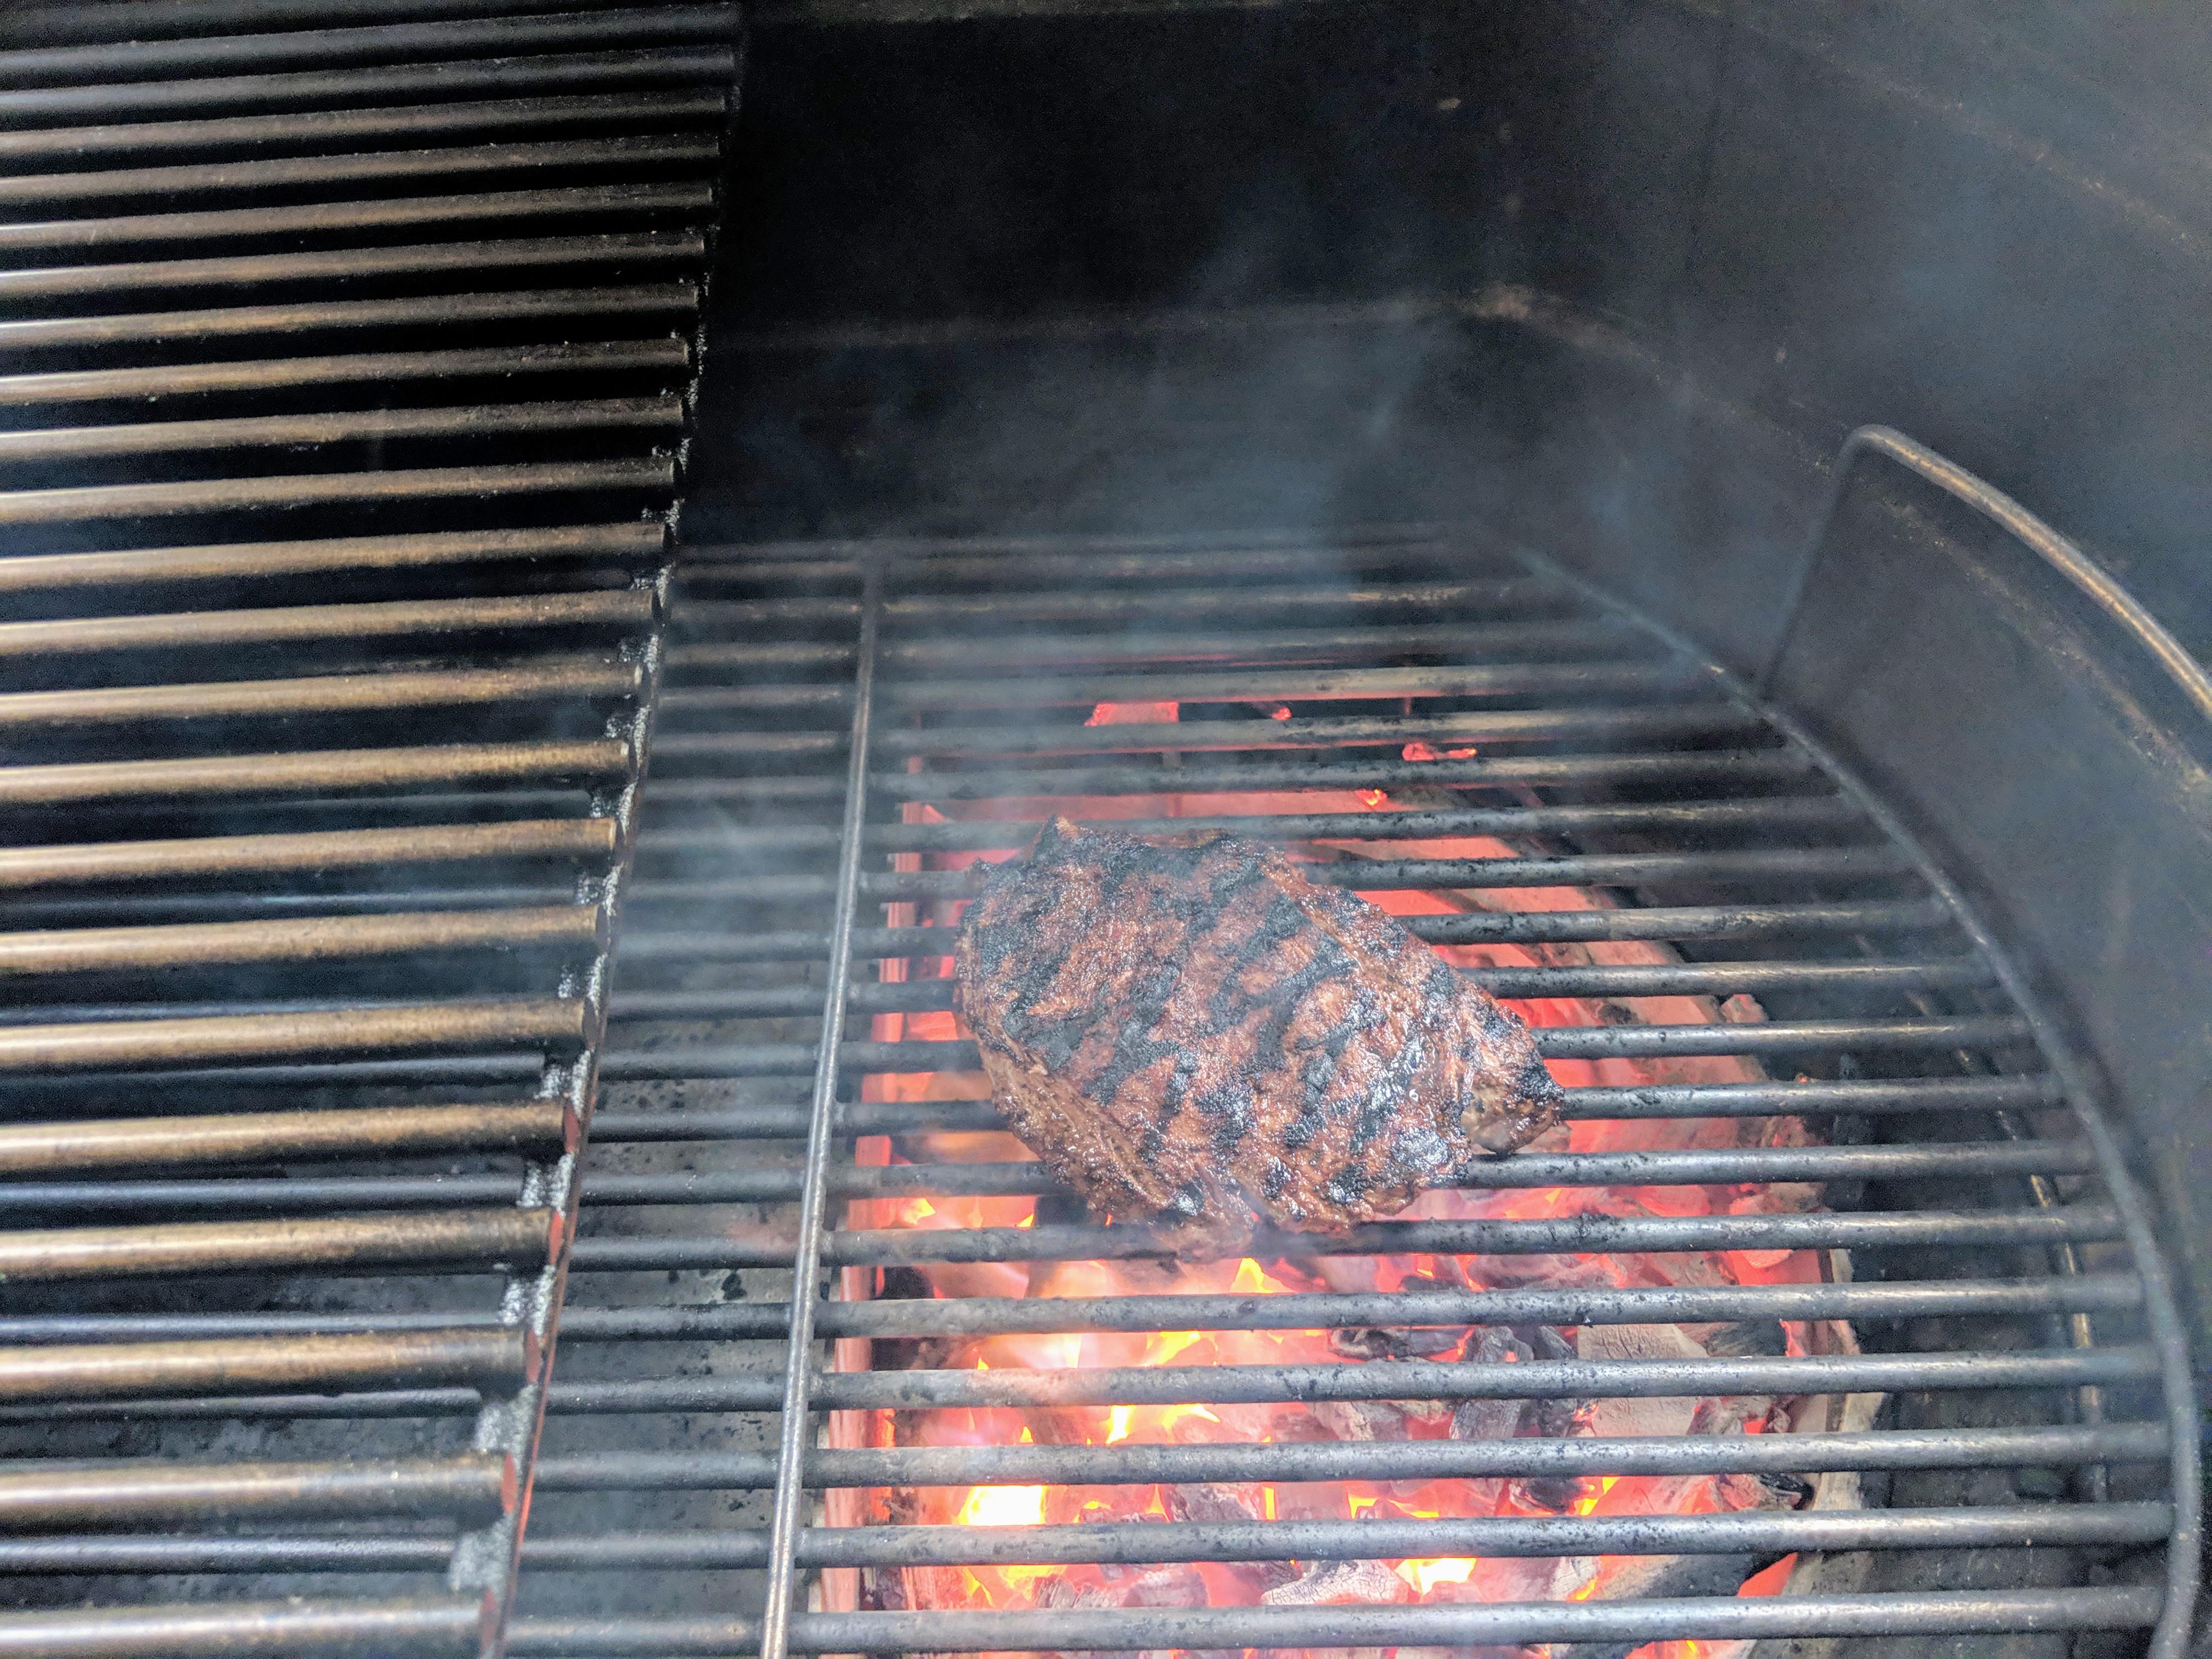
Here's a pic of the two zone in action. Note the half main on the left. Once I got enough char on, I moved the steak to the half main and closed the lid for about 5 minutes. With a reverse sear, you start on the cool side until you get to the right internal temp, then flash it over the coals to sear. This configuration also works for low and slow. I'll keep the temp down in the 250-300 range and put the meat on the half main. No need to reconfigure anything.

-
My basket splitter is almost always in place in the 50% position. Why? https://amazingribs.com/more-technique-and-science/grill-and-smoker-setup-and-firing/how-control-temperature-indirect With this setup I have a direct zone and an indirect zone. I'll often have the half-main grate positioned on the indirect side, and a lower (usually the sear grate) on the direct side. It's the perfect configuration for 90% of what I do. Only time I'll remove the splitter and go full basket is if I need more of a direct zone for some reason...but that's pretty rare. In fact, I have both sides of the splitter filled with charcoal, and just cover the side I don't want to use. One side is full of coco-char for low/slow cooks. The other side is full of regular ol' lump (Fogo or similar).
-
I don't think there's a right or wrong way on this one. Main point is to have an oxygen rich environment early on before restricting the oxygen via the vents. Lid closed with vents wide open are the same thing as lid open for a bit in my book. That said, my 32 is definitely more thermally agile than my 23, and I started my procedure outlined above on the 23. What I mean is...I could definitely close the lid after lighting on the 32, open all vents wide, and it will get there very quickly. But on my 23, if I close the lid after lighting, I generally need to pull the front vent panel out and/or remove the guru plug to amp up the flow. I hate pulling the front panel because I don't always reseat it fully sealed when I push it back in. Would rather leave it alone. Hence...lid up for a bit works for me.
-
For me it depends on my lighting method: MAPP Torch and Blower: Light as many spots as I need with a MAPP torch. Use my Milwaukee variable speed blower to stoke those spots until they are at least fist size and can generate a flame (not just smoldering coals). Wait 5-10 minutes, then close the lid and set the vents. Rutland Starter Squares: Light as many as I need. Keep the lid open until they burn out (typically 10 minutes). Close lid and set the vents.
-
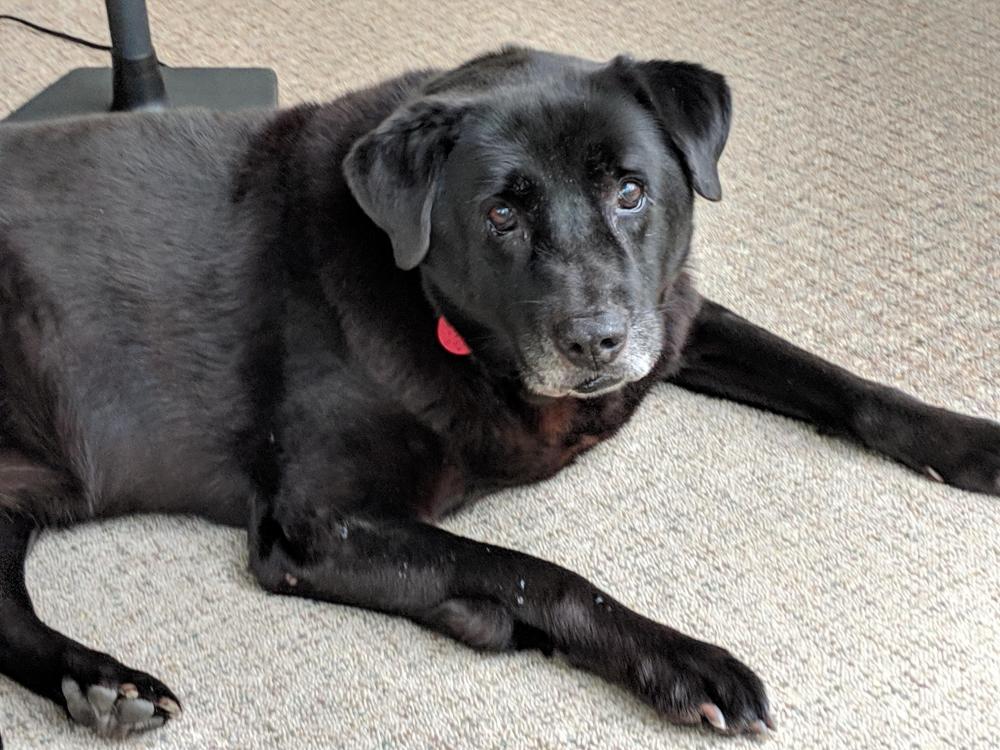
This is the second senior we’ve adopted through Lab Rescue. Kodi crossed the rainbow bridge almost exactly 1 year ago. Took some time to find Buck, but he’s already become my buddy. Follows me everywhere. Here we are, bringing our boy home: His name was “Puck”, but we didn’t like it, so he’s now “Buck”. He’ll never notice the change.
-
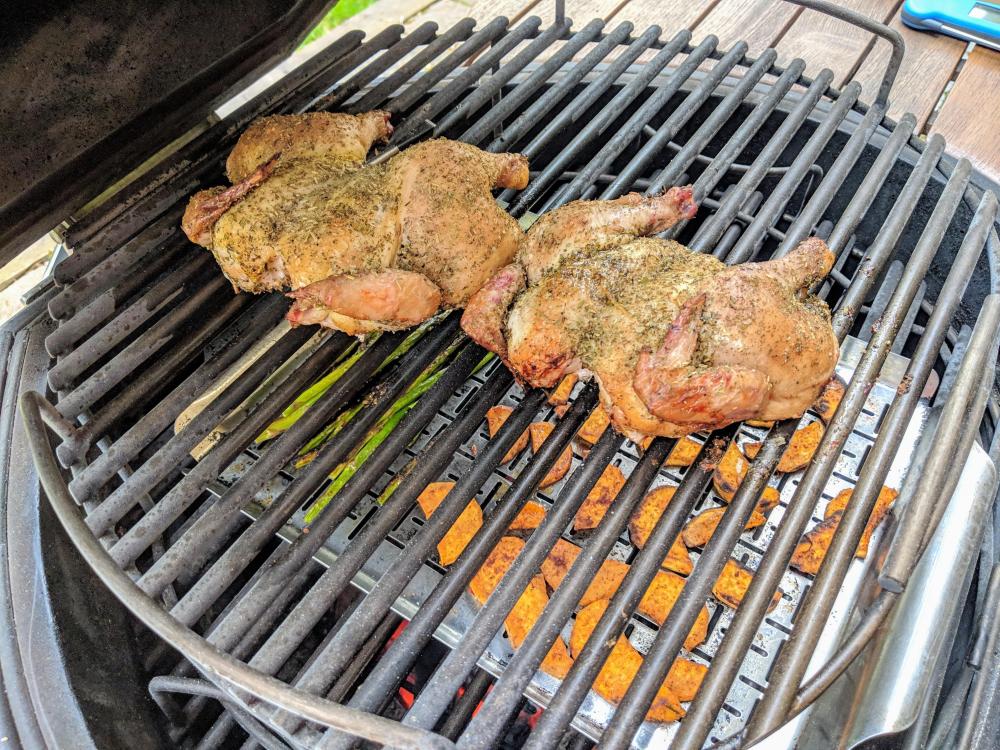
Some roadkill mini-chooks over a pan of harissa’d sweet taters and asparagus. The minis were dry brined and seasoned with Meathead’s Simon and Fargunkle rub. ...and this is our new old dog, Buck. Just because. We adopted him today.
-
That’s only because it was!
-
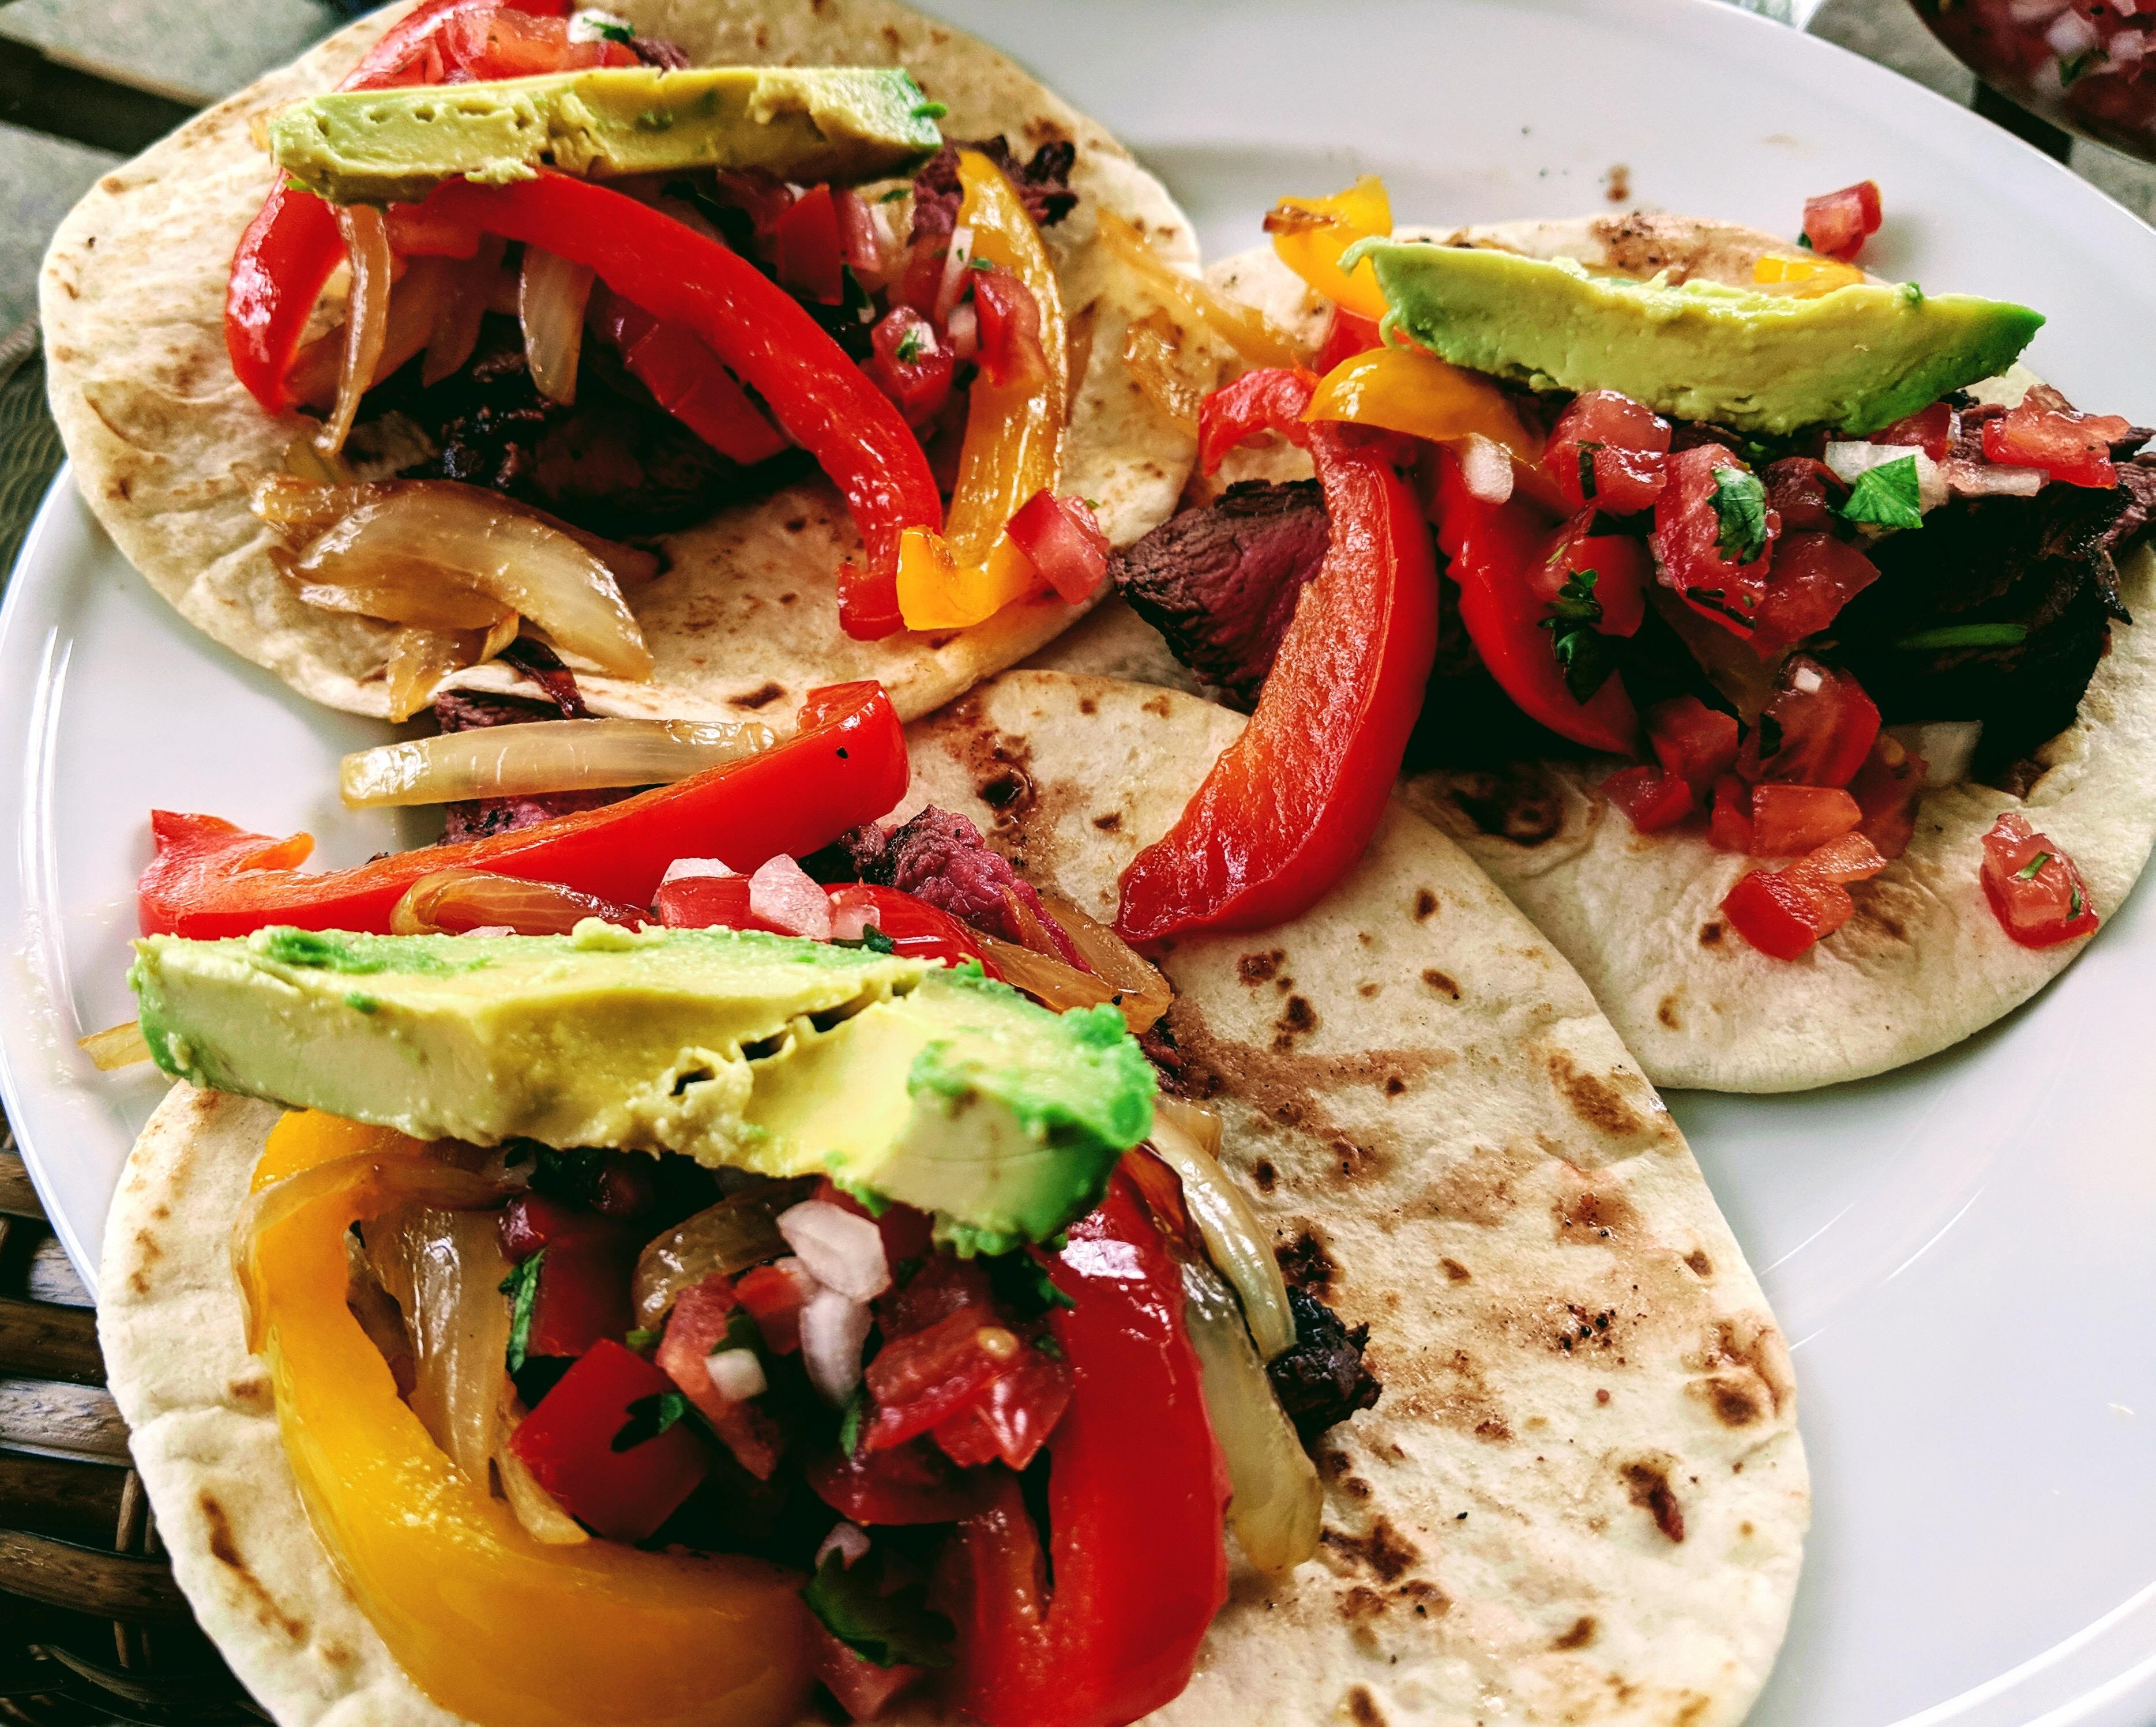
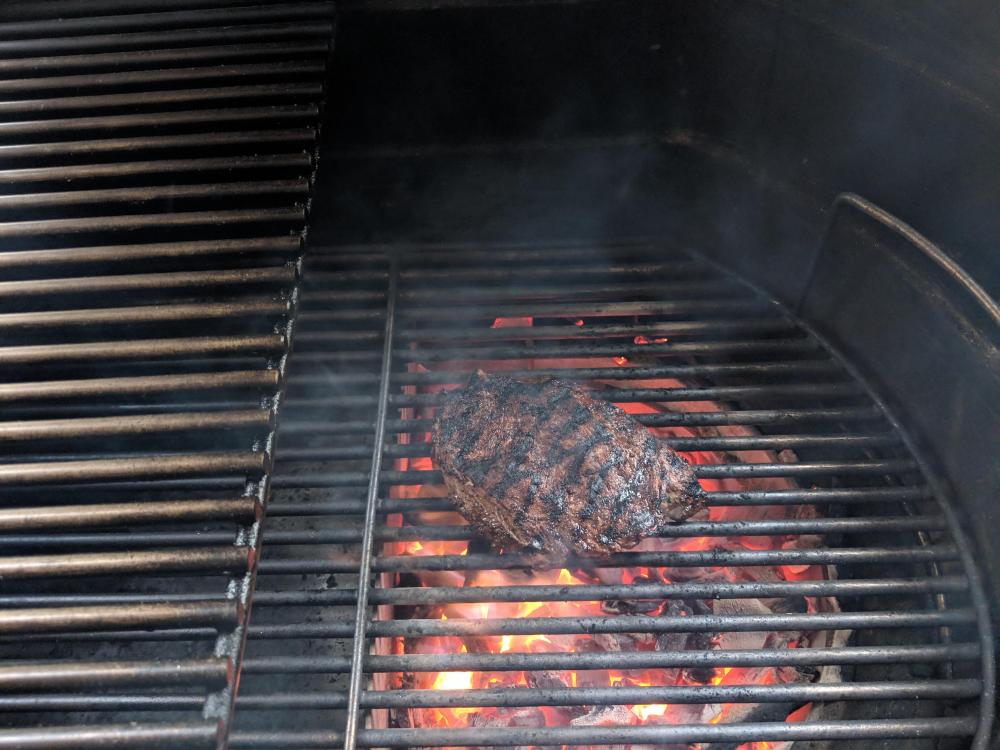
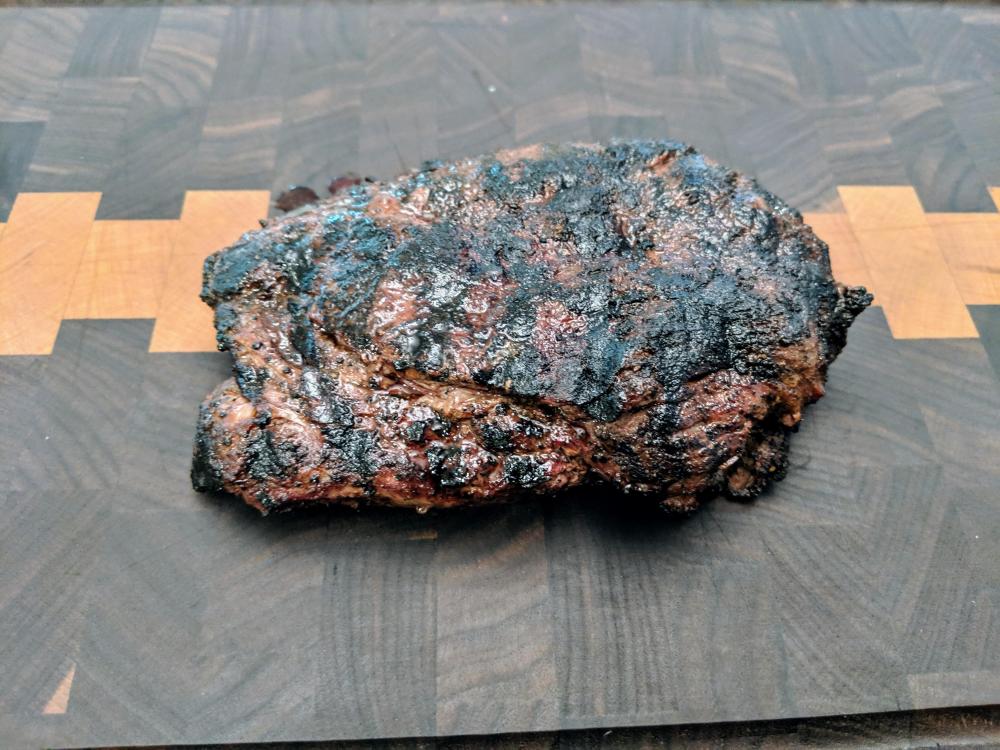
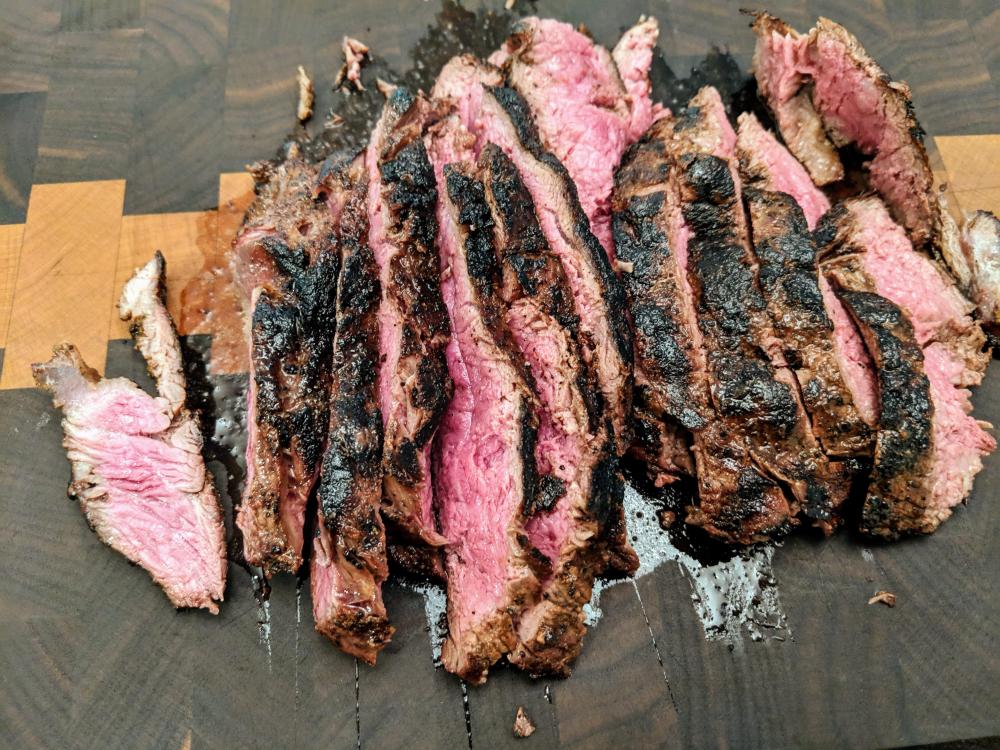
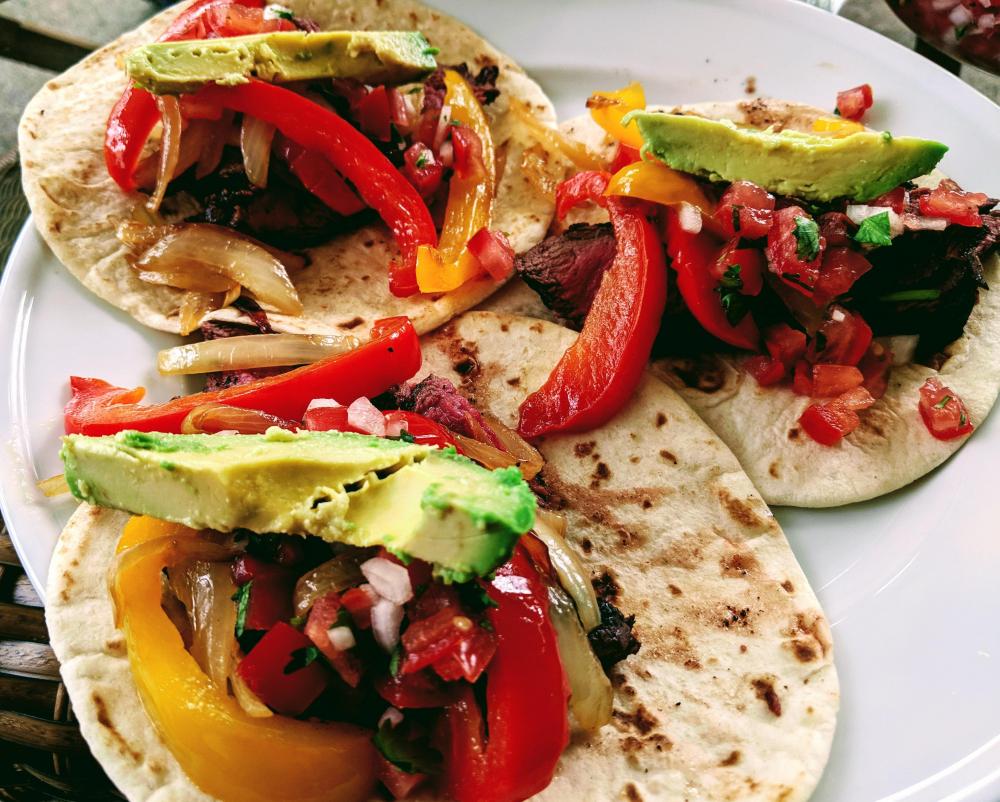
Had a tenderloin tip in my freezer from a whole packer I had butchered up, so today was the day. Pounded it flat’ish, seasoned with Lane’s Ancho Espresso rub, and rubbed in a bit of olive oil all over. Cooking it like flank steak, so into the belly of the beast — my KK Big Bad 32. Pulled on the rare side of medium rare and resting. Ain’t she a beaut? Lawd have mercy! Going weak in the knees looking at that. Griddled some onions and peppers, made a quick pick de gallo, and a slice of fresh avocado. There were no survivors...
-
Lots of Problems Lately
Pequod replied to tony b's topic in Forum Suggestions, Issues and Enhancements
Done. -
Looks like the chassis for a quad-copter. Motors, rotors, Raspberry Pi, and a whisper of artificial intelligence and we're good to go.
-
Looks like a great first cook. A bit confused by your configuration as the pic shows the ribs on the Middle grate, not the main. You mean you foiled the very lowest grate just above the coal bed? And cooked on the middle grate? I would typically leave the lower grate out, put a layer of foil just large enough to provide a deflection zone for the ribs on the middle, and cook on the main. No issues with airflow in that configuration.
-
CoConut Shell Charcoal - Light in the tunnel...
Pequod replied to DennisLinkletter's topic in KK Announcements
I still have quite a bit from my original 23 purchase, but I know there are others in VA if you extend your reach a bit. @Steve M is down around Norfolk. @John A and @Keith B are both around Richmond (I think). -
Wow! $89 grinder to Niche Zero. Go big or go home! Mine says shipping in April.