-
Posts
2,682 -
Joined
-
Last visited
-
Days Won
98
Content Type
Profiles
Forums
Events
Everything posted by Pequod
-
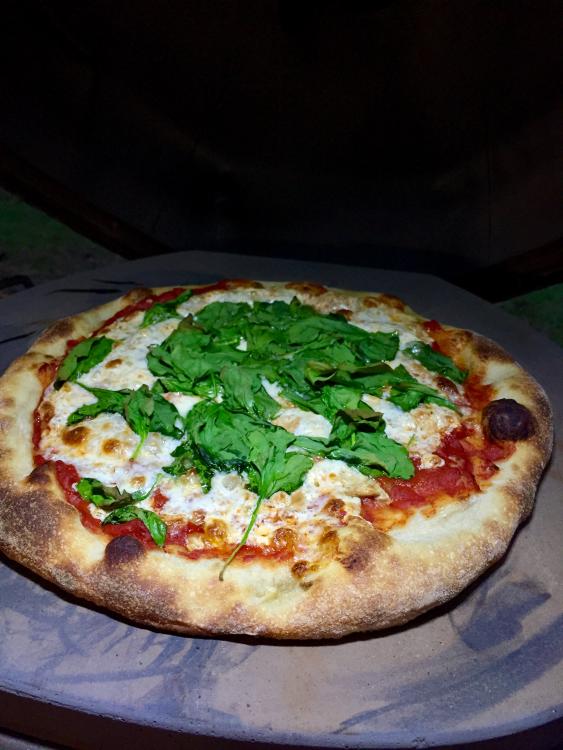
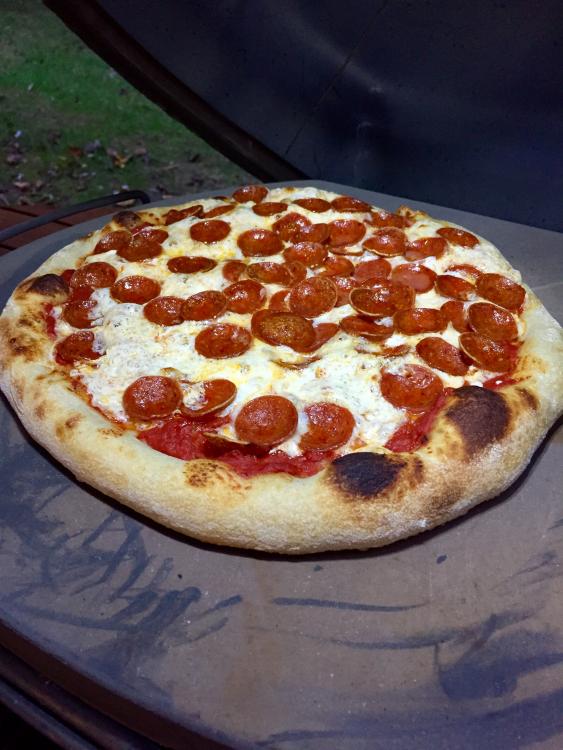
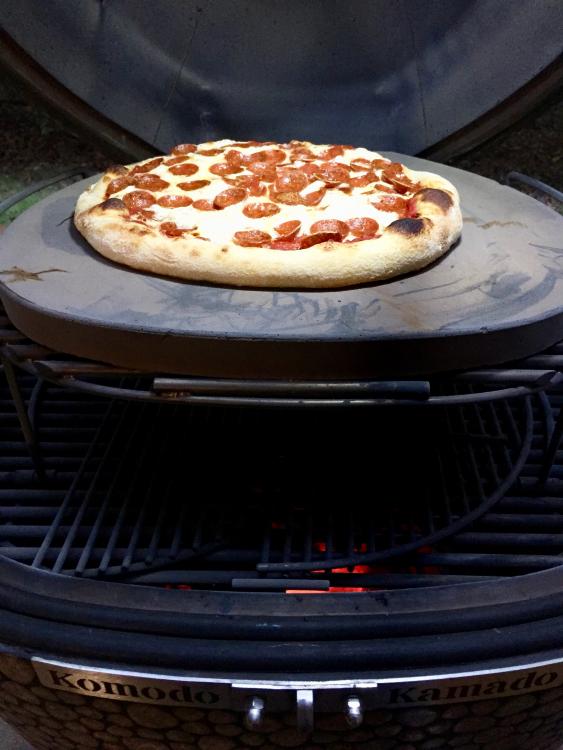
It really is awesome. The KK does a better job than most at browning the top at the same rate as the bottom.
-
Looking good. My family loves Dominator.
-
I feel so inadequate with my PID'd Gaggia Classic now...
-
That would be me! So thanks! My 16 year old daughter is the family photographer and photo editor of her school newspaper. Have always wanted to get a good camera, but so far the iPhone has been it.
-
Bagged it. Thanks for the heads up.
-
Yes, that's exactly how it works. Lift the front flap, slide in the ice, close lid. Watch the steam for the next 10 minutes. Works great, and super simple!
-
The flexibility to do multiple, arbitrarily shaped loaves was what first drew my interest to this technique. I'd seen the steam technique in Bouchon Bakery, and this method is an easily implementable adaptation to the KK, putting the KK with Steam Pot (...needs a name like "Smoke Pot" to roll off the tongue) on par with commercial ovens. In my opinion, there's really not much point to using a CI Dutch oven on a Kamado for bread since it's sitting in the Dutch oven most of the time anyway. So the next step up the bread baking ladder is a steam oven, and the KK turns out to work great for that. A rung or two higher up that ladder lies a home grain mill, but not quite to that point...yet... Just estimating, but I'd expect an additional roll of chain and 50% more ice would be sufficient for a BB 32" (future note to self).
-
Happy birthday! You don't look nearly as crazy as I'd expected...
-
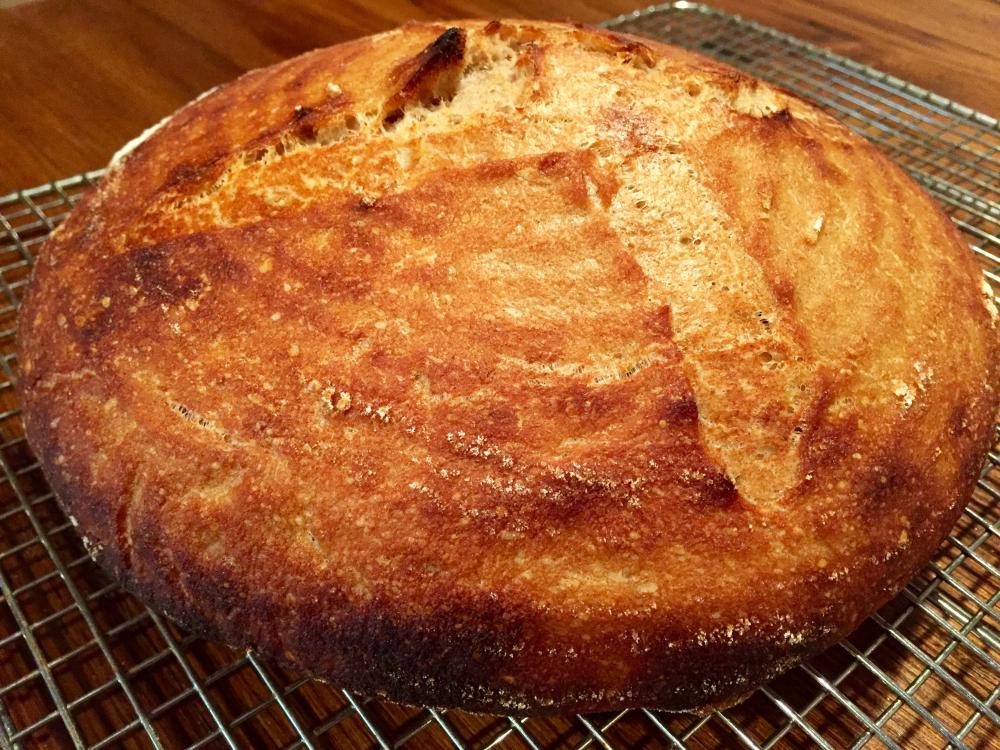
Yeah, saw Syzygies flirt with that idea in his thread as well and I may give it a go at some point. I was pretty surprised and pleased by the 10 minutes I got out of just 350g of ice, though. Can't believe I forgot that this time! Here's another shot from an earlier loaf.
-
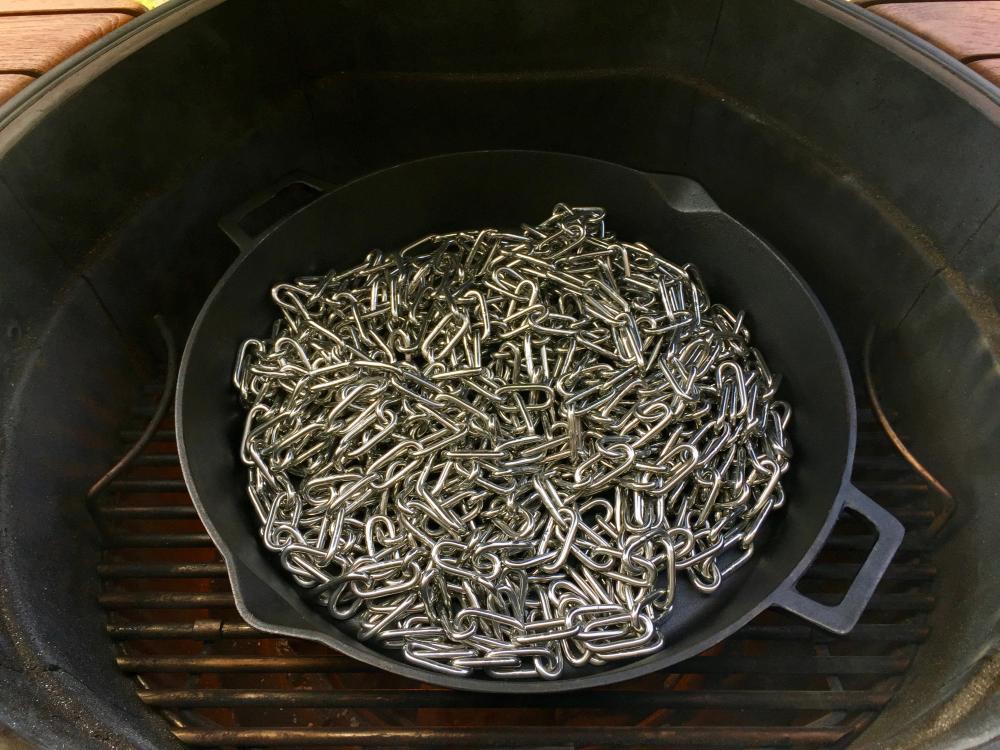
Experimenting today with the technique posted by @Syzygies for generating steam in the KK for bread baking. Specifically, heat soaking with a 16" cast iron skillet with two spools of heavy chain (total weight around 30 lbs), and then introducing 350g of ice to generate steam in the initial stages of bread baking. Doing this with a sourdough boule -- 78% hydration with 30% whole wheat flour (bread flour for the rest). Here is the pan with chains on the lower rack: Closed down the vents a bit to keep the steam trapped. 350g of ice generated steam for a solid 10+ minutes. The finished product. I like the look of the crust -- comparable to what I'd expect in a CI Dutch Oven.
-
Look down and live!
- 1 reply
-
- 1
-

-
Wow! That IS incredible. This I've got to try!
-
He means nothing at all. No foil anywhere. Just pizza stone on upper grate.
-
That's what I said too. When I first signed on here -- July I think it was -- I figured it would take until next Spring to get my first KK. Took delivery in August. Like @cschaaf, I don't really spend money on myself other than cooking gear, so wife came around pretty quickly once she realized that was the truth. Once she uttered the immortal words, "you deserve it," I had my order in within 24 hours!
-
That's some powerful peyote. Are we to that point already?
-
Say what?
-
Great point! I'll start with the 42 when I'm ready to order my 32 in the spring.
-
Welcome! Glad to see you wandered over here from the guru. A fine and serious question, and one I had to work myself earlier this year. In my case I had purchased my first Kamado - a KJ Classic - in May as a replacement for a really old gasser that finally failed. I already had other smokers - a WSM and an insulated cabinet - and so put the KJ through the paces early on to test the vaunted Kamado versatility. It passed the test, so I suggested to my wife that we ditch everything else and go full Kamado. I'd already been drooling over KK's by then, @bosco suggested I wander over here, and Rob @5698k Jedi mind tricked me to the point where resistance was futile (to mix sci fi universes). In all seriousness, of all the Kamados I'd seen, only the Big Bad 32 had the capacity to replace my insulated cabinet. Wife initially resisted another Grill purchase so soon after the KJ, but I pointed out the logic of buying one set of grills that will last us forever, instead of buying a new one every few years or so. In the long run it is cheaper. Even so, wife wasn't up for me "full Bosco" all at once (23, 32, AND cabinet), so we started with the 23 to see if the KK claims were for real. See my pinned KK vs insulated cabinet thread in the cooking section for the answer to that one. Suffice to say that wife is now fully onboard.
-
Hmmm...thanks. Looks a tad tight.
-
Yup. Now that @FotonDrv has access to the Owner's area, look up my thread titled "Mischief Managed" there to see an example of this.
-
Haven't done pulled beef in awhile. Looking at yours has me thinking I need to fix that.
-
The standard cover doesn't allow room for the teak side tables and must be customized. I keep the roti bracket installed at all times, which precludes side table storage on the KK (on the right side). Does the standard cover clear the roti bracket okay? Guessing the answer is yes, but thought I'd confirm.
-
Very nice! The more I see of your 16, the more I want one. Two 16's equals a 32, right?
-
Yes, sounds like a good plan. Just make sure it comes down even on all sides so you aren't compressing one spot of the lip before the others. You should email Dennis to get him to upgrade you to "Owner" on this forum.
-
I Zapp the MAPP from above then use my BBQ Dragon to stoke it a bit. The number of spots I light is proportional to the temp I'm shooting for. One spot for low n slow, 3-4 for higher temps, 2 with the basket splitter. No idea on the propane burner, so no comment on that.


