Leaderboard
Popular Content
Showing content with the highest reputation on 10/24/2016 in all areas
-
66% Hydration overnight pre-ferment loaf using around 7-8 grams of my starter. Just bread flour in this one. What my daughter asked for. Great oven spring -- busted it's own seam outside of my scoring: That's about the color I'm looking for. Let's pull it. Cooling: Came out great! That's the crumb I was hoping for: I need to bake more bread.4 points
-
Pulled the collar off at 202* earlier, wrapped and put in a cooler while we went and carved pumpkins. The couple bites I did get were fantastic. The smoke pot produces awesome smoke rings by the way. Sent from my iPhone using Tapatalk Pro3 points
-
I've been wanting to do pizza on the KK for a while now but owning a 32" it's hard to justify the insane full requirements for just one pizza. So a little tipsy on Saturday late afternoon I decided to do pizza on Sunday - bought flour and yeast and followed Ckreef's no knead recipie. Made enough dough for 12 pizzas so woke up the next morning and started sending out invites. I'm stunned by how well the KK handled pizzas easily 2 at a time and at less than 10 mins a pie I could have done commercial volumes. Certainly a great excuse for a party: "bring beer and pizza toppings" I said, and my friends and neighbours obliged! Photos are a little iffy due to the volume of beer provided...2 points
-
She had exploratory surgery 13 months ago, was found to be inoperable, and is still alive! Penny and I just thank God for each day we have with Lily. We figure it's God's grace and pressure cooker chicken. BTW that's Dixie in the picture, not Lily...2 points
-
2 points
-
1 point
-
1 point
-
I could not post this the other day for some reason... What was supposed to be an easy weeknight dinner became a 2 and a half plus hour affair. So good....and yet the next time i do this it should be on a weekend!1 point
-
Got so close I had to wipe glaze off my iPhone. Hope she's happy.1 point
-
hmmm, I have a couple in the freezer I need to eat. Looks like a great recipe1 point
-
Listen to your daughter about your pics - she's spot on! The close-up is fabulous! Nice looking tenderloins, too.1 point
-
1 point
-
1 point
-
1 point
-
Bruce, a starter is the first step to great bread. It is a commitment to caring and feeding. Here's what Breadhead posted over at Amazing Ribs to get me going: In a cereal bowl put in 50 grams of bread flour and 50 grams of Whole Wheat flour. Add 100 grams of water. Stir it with a spoon. When you're done stirring wet your thumb and index finger of the hand the spoon is not in with water. Put the dough stuck to the spoon back in the bowl. Seal the bowl with plastic wrap. Leave it out on your kitchen counter. In 3 or 4 days your starter will start producing bubbles to the point it will look like your old starter did when it was active. It's faking you out though. It's not ready to use yet. Dump out 100 grams and feed it 25 grams of bread flour, 25 grams of WW flour and 50 grams of water. Stir it up, cover it up with plastic wrap and leave it on your counter top. At this point it will go dormant and the inexperienced person will think their attempt at making a sourdough starter has failed. What is happening is the 2 different types of bacteria in your culture have quit doing what they are supposed to do because they are battling each other for position inside the culture. They quit eating and digesting flour and water so... There will be no more bubbles during this part of the process and you will think this starter has failed. It's important from the first time you dumped and fed your starter you do the exact same dump and feed every 24 hours from that day on, even though there is no, zero, zilch activity in your starter. After about 6 or 7 days of being dormant you will wake up one morning, look at your new starter and it will be fully bloomed. You will smile and think, woohoo, I did it! But, it's probably still not ready to make dough with just yet, close though. Dump and feed it 2 more days just like before. This is how you test your starter to determine if it is ready to levin dough with. Fill up a water glass with water. Get a teaspoon and wet it with water. Scoop a teaspoon of your starter out of the cereal bowl and dump it in the water glass... If it floats it ready to use to make pizza dough or a loaf of sourdough bread with. If it sinks, it's not active enough to use yet. I'm keeping the size of this culture very small during this process because you're going to dump out and waste to much flour if we did this on a bigger scale. After the culture becomes strong, healthy and happy, if you want to make it larger just feed it a bigger quantity of flour and water, 100, 200 or 300 grams of flour and water and in less than 24 hours that quantity of starter will pass the float test. Always feed your starter equal amounts of flour and water... That means your starter will be a 100% hydration starter. Bakers like 100% starters because it makes it easy for them to mix with their other ingredients knowing that the starter is exactly 50% flour and 50% water. That way they can scale a dough recipe up or down without using a calculator. The starter you will have at this point will not be very tangy, it will be very mild. There is a way to manipulate your starter so it will become very tangy. Let me know if you want to do that and I'll walk you through it. It's that easy and it's almost fail proof... Give it a try.1 point
-
I use neck /collar when I have done pulled pork nice cook mate looks terrific Outback Kamado Bar and Grill[emoji621]1 point
-
1 point
-
1 point
-
1 point
-
1 point
-
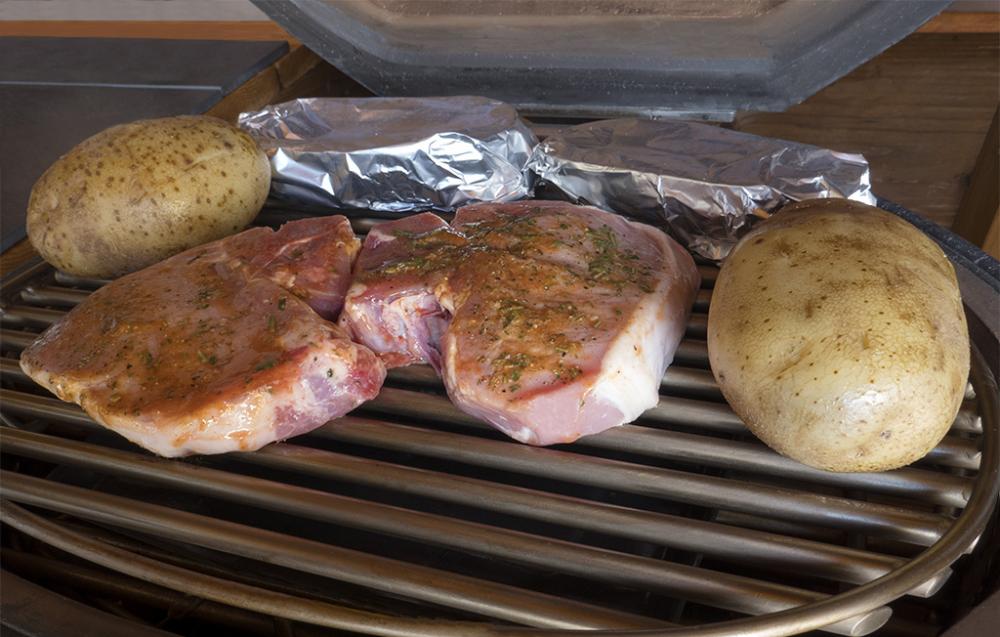
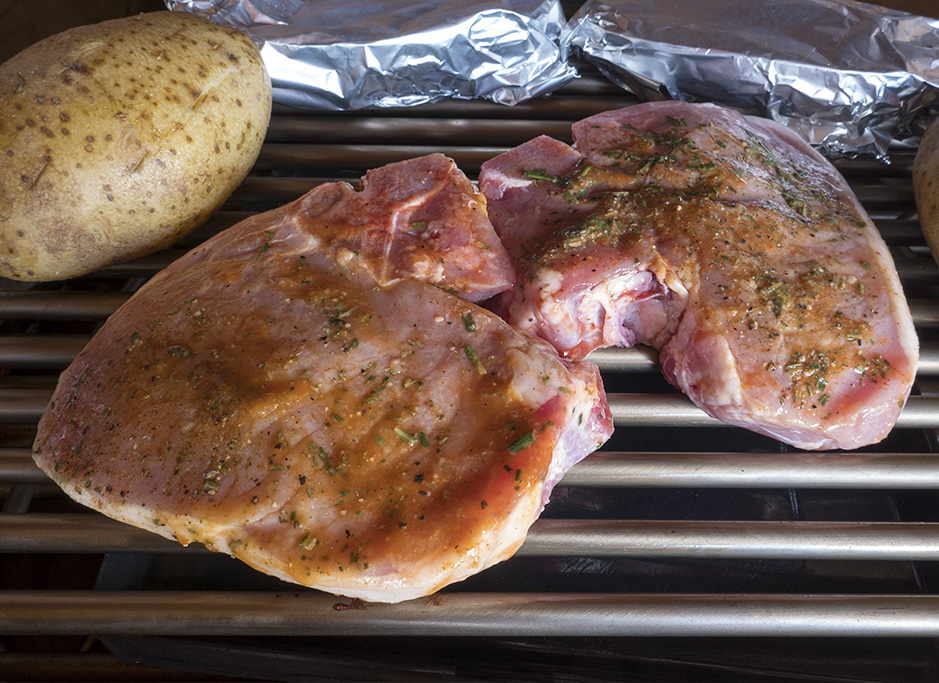
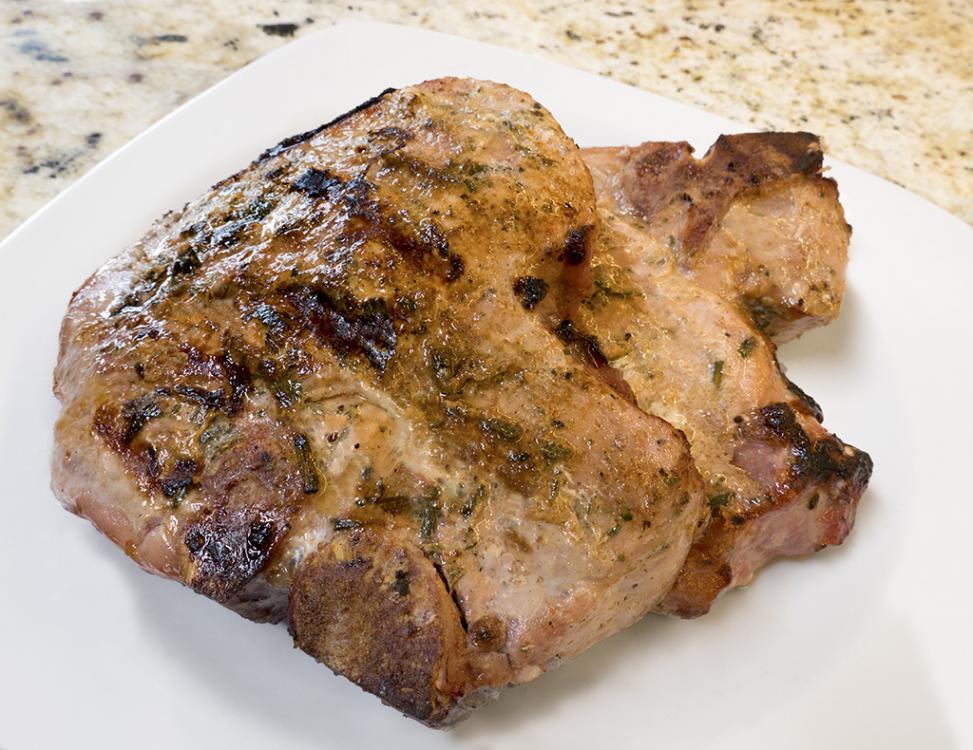
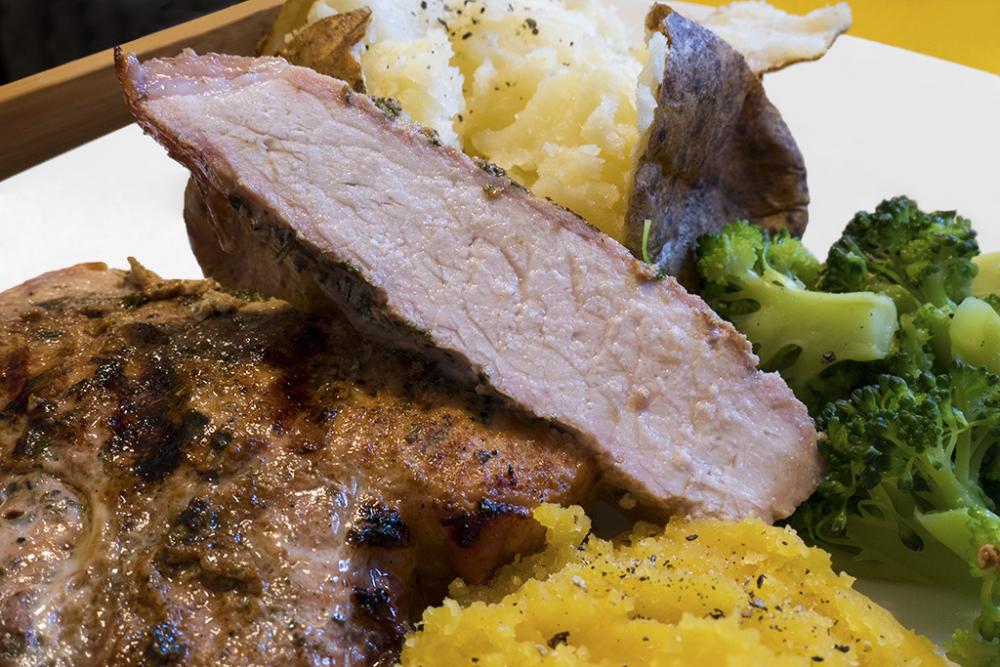
Nice looking pork! I love Oakridge Secret Weapon. Have also used Dizzy Dust. If you want to try something a bit different sometime, Simply Marvelous Spicy Apple is a nice twist.1 point
-
1 point
-
LOL - my family is used to eating late. Start it when you first get home. That way when it's late it's only a little late. Every once in a while we eat early.1 point
-
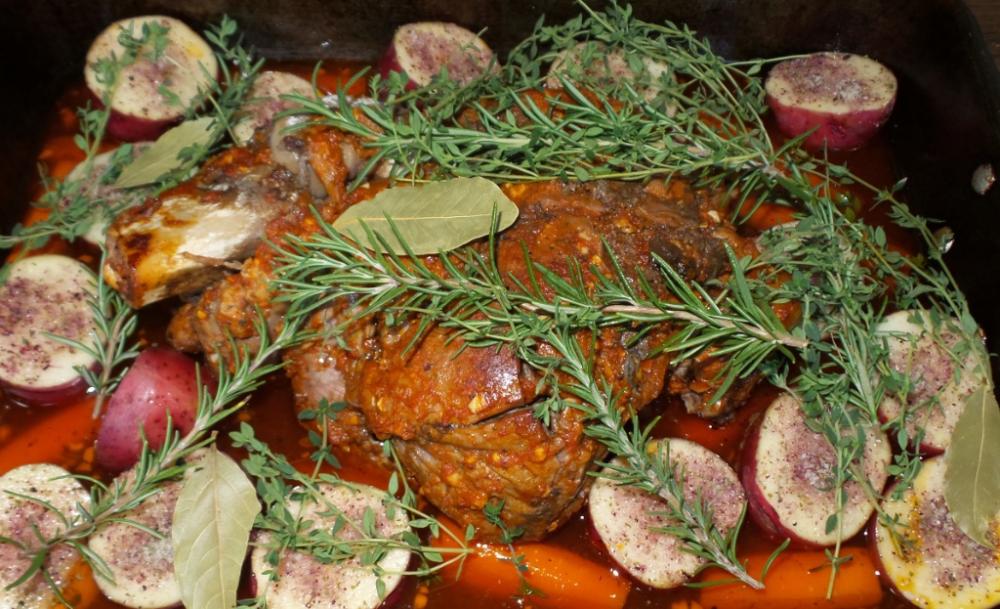
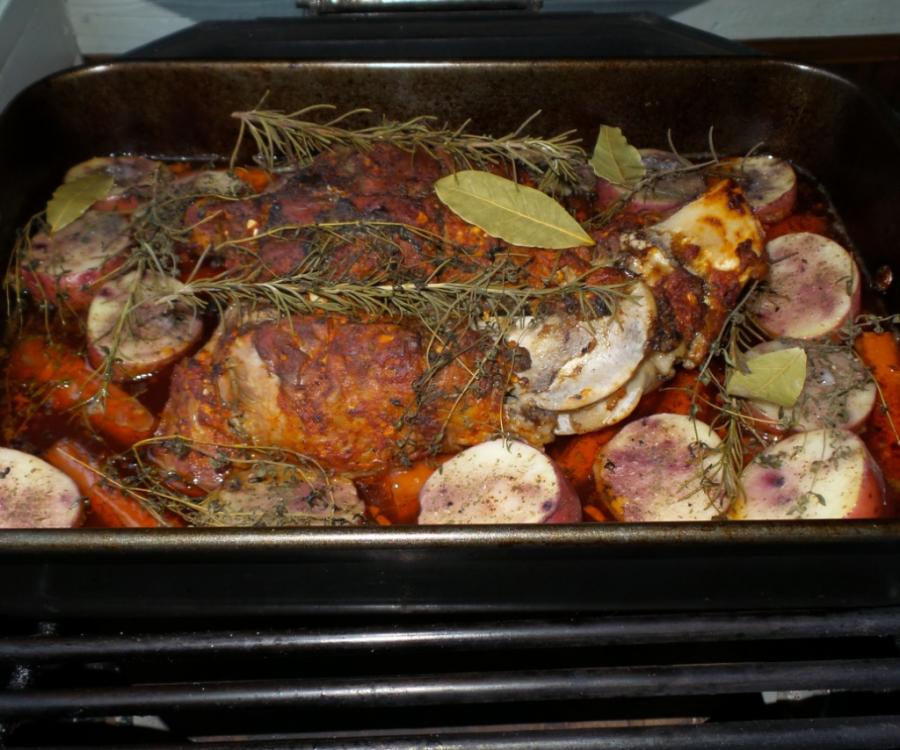
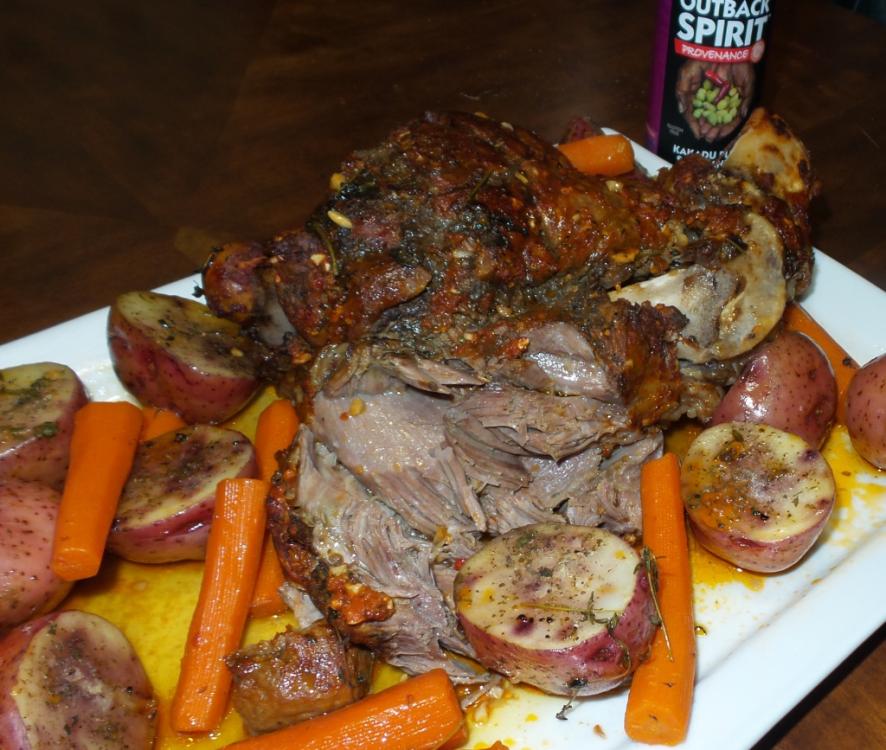
At the 2 1/2 hour mark I added some carrots. At the 3 1/2 hour mark I removed the parchment paper, added some red potatoes cut in half with a sprinkle of Tasmanian Pepper Salt along with Rosemary, Thyme and Bay leaves. Covered again with foil then back on. At 4 hours I removed the foil. Pulled at 4 1/2 hours. Dang it @Aussie Ora I've never cooked a leg of lamb before and you definitely guided me in the right direction. That was a spectacular meal. Lamb was fall off the bone tender and juicy. Didn't even need the plum sauce - it tasted great as is. Given a choice I think I would go pulled lamb over pork any day. There is enough inner fat and connective tissue that the next time I want to try cooking it as a traditional American low-n-slow BBQ meat.1 point
-
Well the 270 sold over the weekend. It lives in Ohio now. Patio is now clear for another KK...in February. I mean it this time. Lol!1 point
-
1 point
-
Love the way yall pick the next seasoning to try. We go thru different waysto pic thru assortments. . It's nice to be able to do that. . Makes ever meal something to look forward to .1 point
-
Plenty of cyotes where I work. So many they actually have an open season. No tag needed, 365 days a year, shoot on sight. I've actually seen a cyote spring out of the high grass, grab a baby racoon, run across the road with it hanging out of its mouth and disappear into the woods. Wouldn't have done that with a full grown racoon but the couple babies crossing the road was an easy target.1 point
-
It can be hard to get pintos flavorful. I tried this and it came out VERY tasty. 2 cups pinto beans 7 ounce can mild green chiles 10 ounce can Rotel Original Diced Tomatos and Green Chiles 1 cup (more or less) diced onions Salt Ground Comino (Cumin) Place the beans and just enough water to cover them in a pressure cooker. Cook for one minute under pressure and allow to depressurize naturally. This replaces an overnight soak. Remove the beans from the vessel and set them aside. Brown the onions in the pressure cooker on the browning function. Use some oil or butter if you like. Return the beans to the vessel, put in the green chiles and the Rotel. Add enough water to cover the beans by about one inch. Beans need a lot of salt. Put in as much as you like. I use a shitload of comino because I like it, put in as much as you like. The comino gives it a Mexican flavor. Pressure cook for 20 minutes and allow to depressurize naturally. Enjoy those beans! The next time you make it adjust the salt and comino if you didn't like how it came out. I would have used some salt pork or bacon but didn't have any on hand and these came out great nonetheless. Use some pork if you like. These are as good as any beans I have ever had at any Mexican restaurant, anywhere anytime.1 point


