
Leaderboard


Popular Content
Showing content with the highest reputation on 05/28/2017 in all areas
-
Tonight, somehow the sausages came out better than normal. A year in and my KK still surprises me!3 points
-
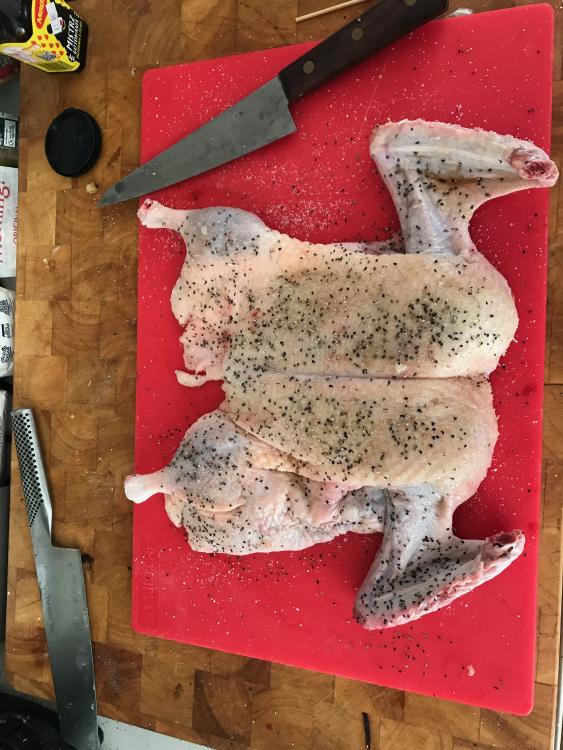
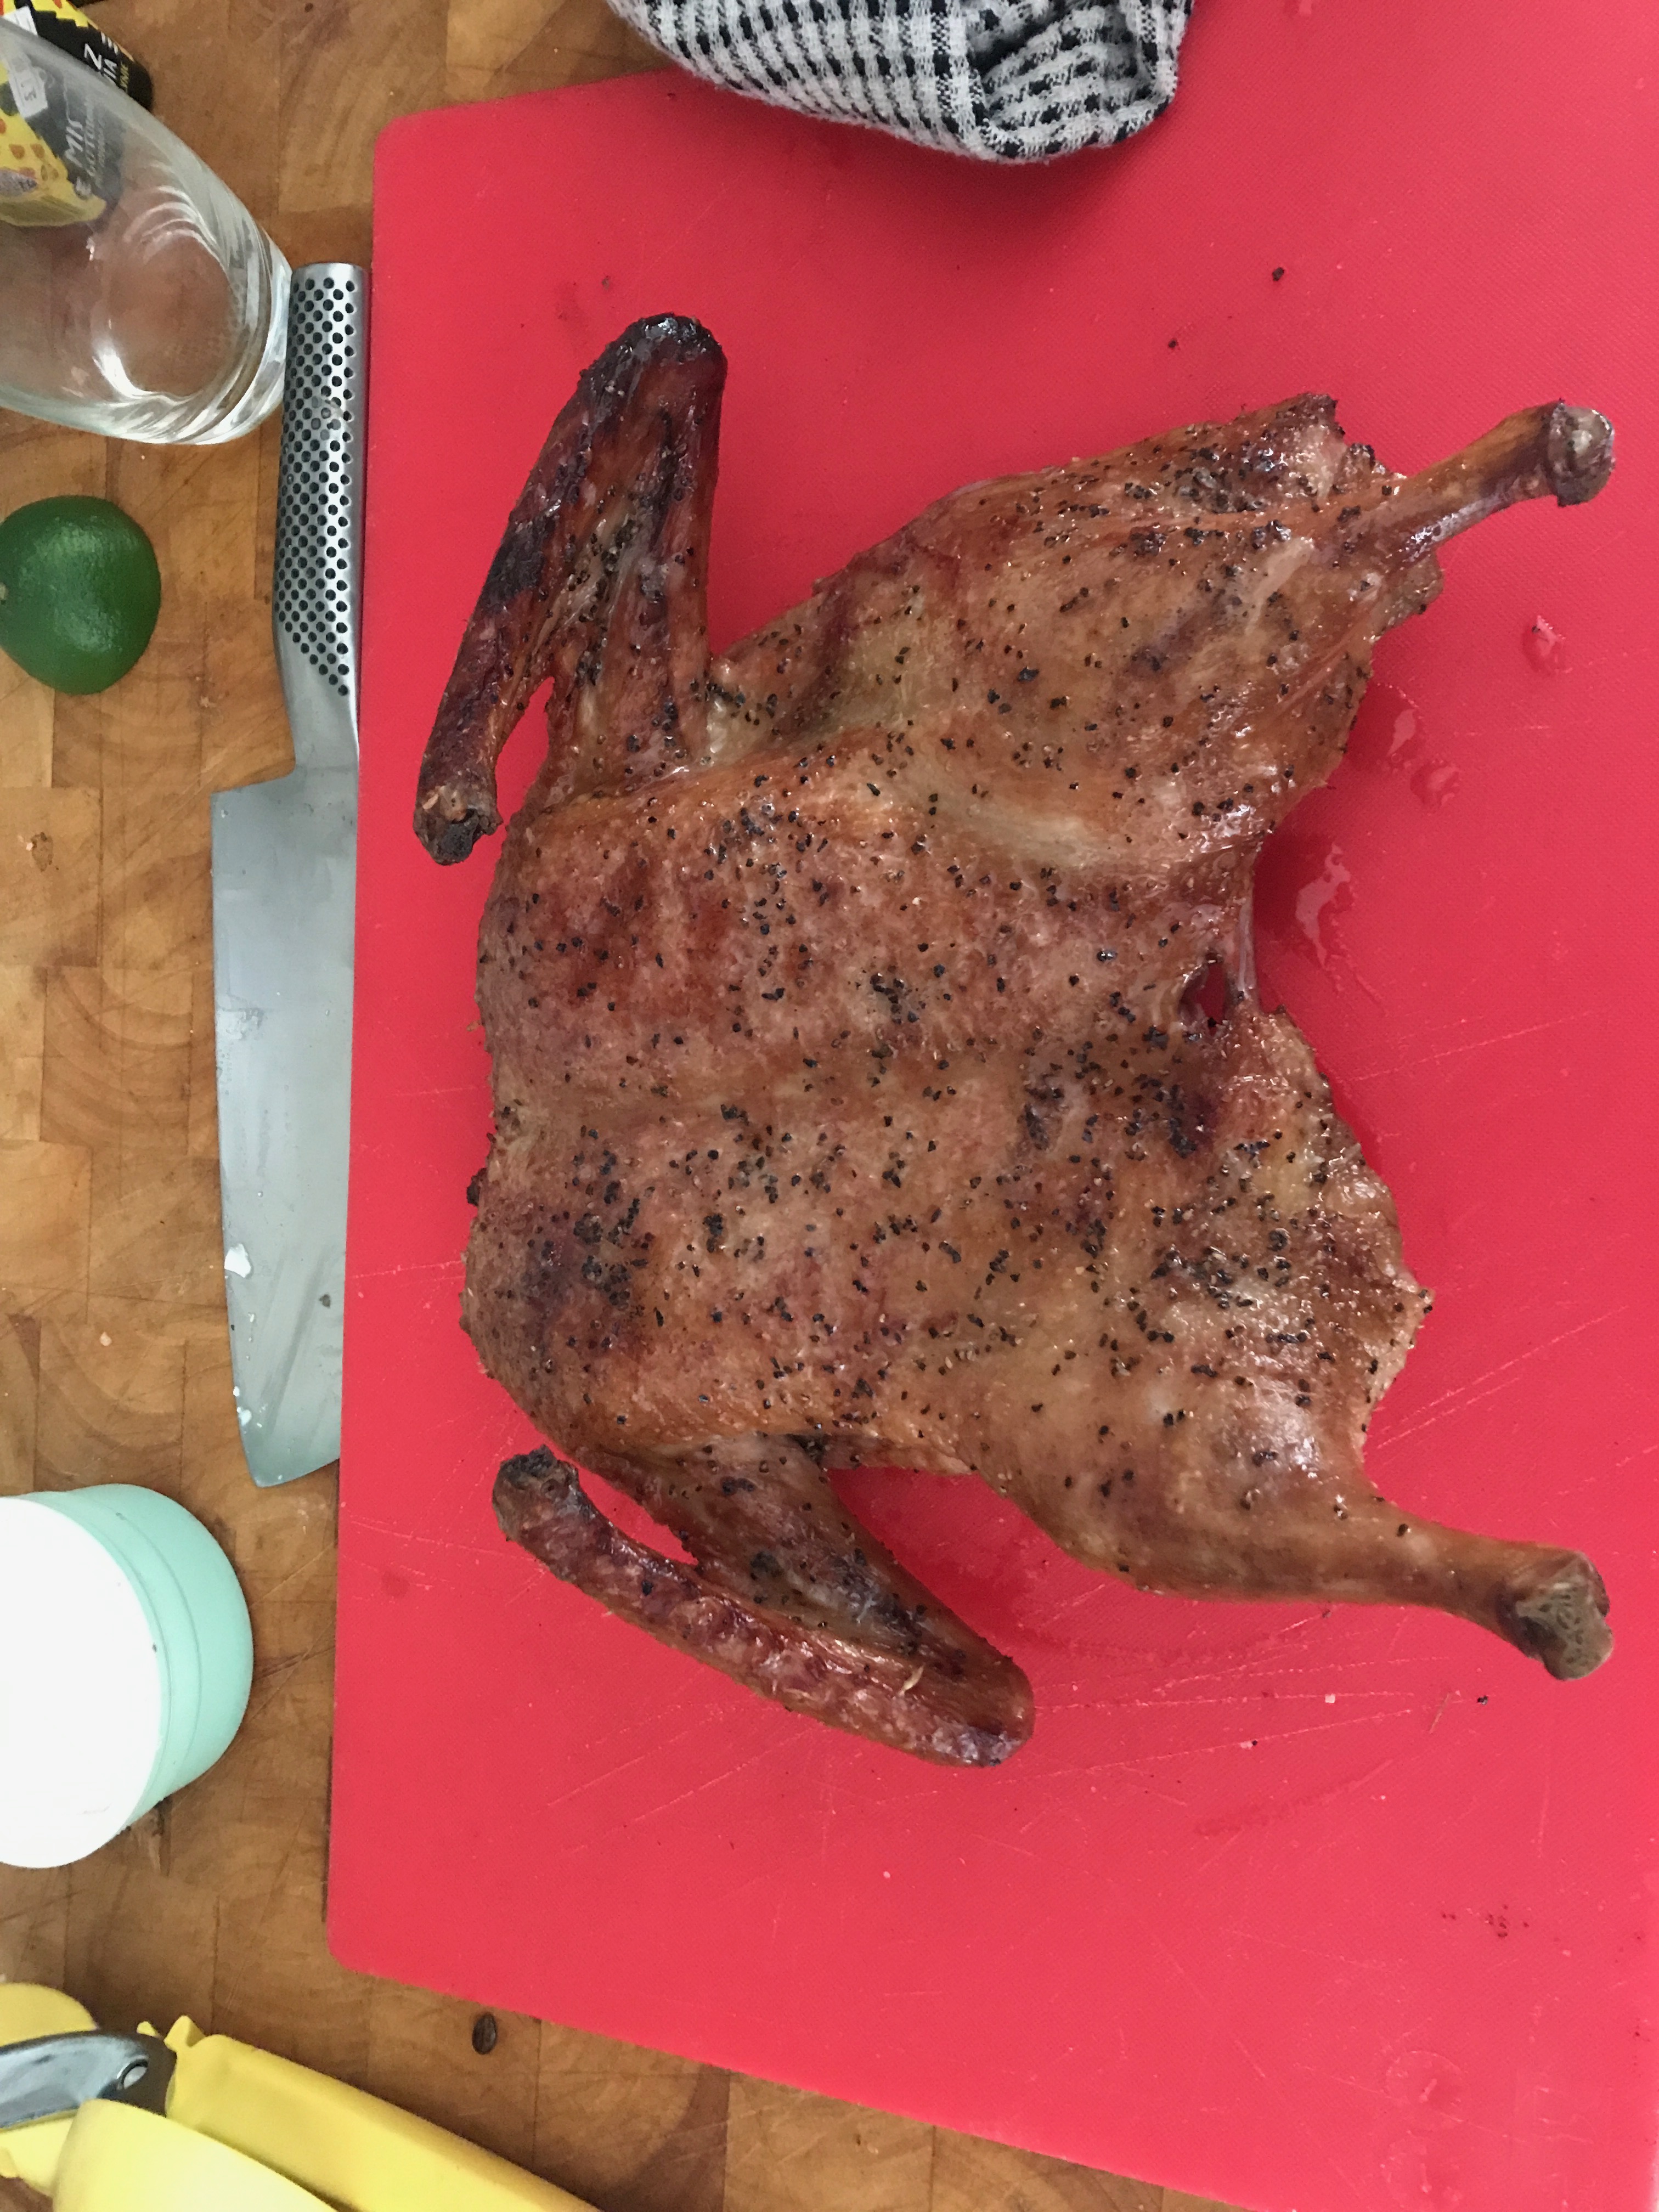
Been very warm in the UK for the past few days, and with my wife away in Africa for a week, the little man and I can cook all the fun things that she's not mad about. In this case, duck. Spatchcocked and smoke-roasted at 300-325 for 100 minutes, couple of chunks of wood (one cherry, one oak). Pulled it at 60C in the breast - a nice sort of medium, still very juicy but most of the pink gone. Served it with a watermelon salad with mint & feta. Great early-summer meal... and of course, it started to rain as soon as we sat down!
 2 points
 -
From PitmasterX Check out Pitmaster X on Facebook !!! SUPER EASY TANDOORI CHICKEN !!! Total cooking time: 2 hours 10 minutes Preparation time 0 hours 50 minutes Cooking time 1 hours 20 minutes Suggested tools USA: Poultry stand - http://amzn.to/2lwtXIs Ingredients: Chicken - 2 whole Greek Yoghurt - 1/2 litre Garlic paste - 2 tablespoons Ginger paste - 2 tablespoons Tumeric powder - 2 tablespoons Smoked paprika powder - 2 tablespoons Salt - 2 tablespoons Mustard oil - 4 tablespoons How To: (can also be done in the oven) 02h10m - Mix the yoghurt with the spices and rub it on the chicken 02h00m start up your barbecue and set it to smoke at 160C / 320F 01h20m - place the chicken on a poultry stand and over indirect heat. 01h10m - Smoke the chicken until the core temperature is around 75C / 167F. 00h10m - Let the chicken rest 00h00m - Enjoy!!2 points
-
Mid 70s but it's unseasonably cool today. We started red graduation practice on Friday and I know this is going to be the one where I cry. I had a really great group this year!!2 points
-
Pauli, might be joining us, Shuley. Just wait until she tastes the things she cooks on the KK.2 points
-
Fairly certain I did!!2 points
-
As for grill grates - you don't want to clean them like new. The goal is to form a non stick pantina like you would with CI.2 points
-
Yeah, I wouldn't want to try to get between @Shuley or @MacKenzie and their kk's2 points
-
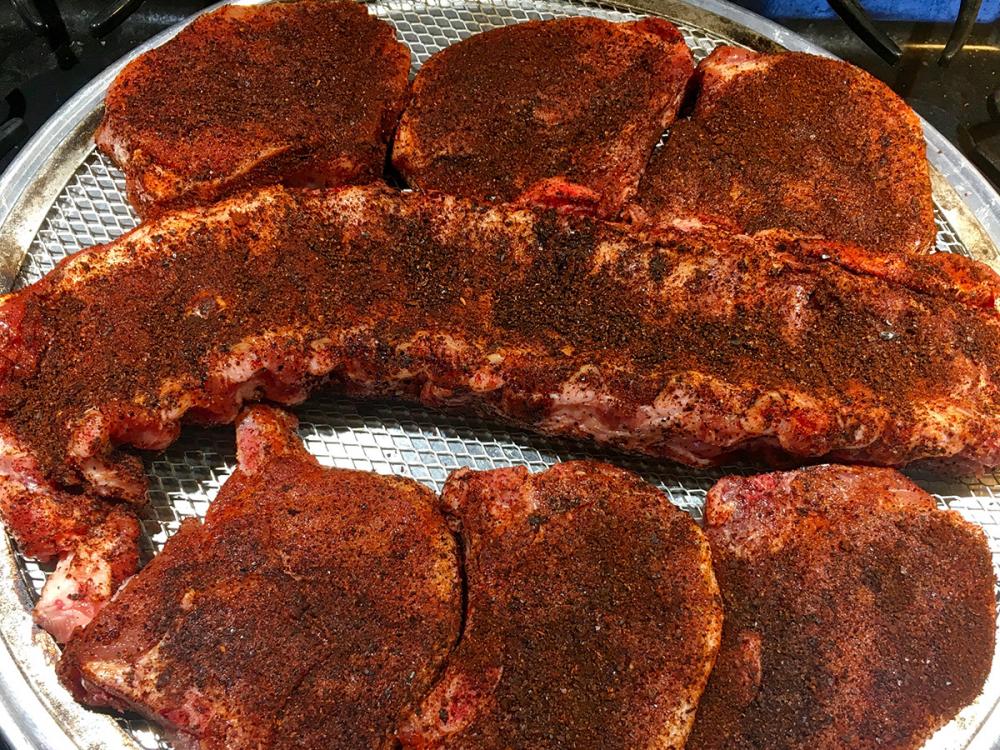
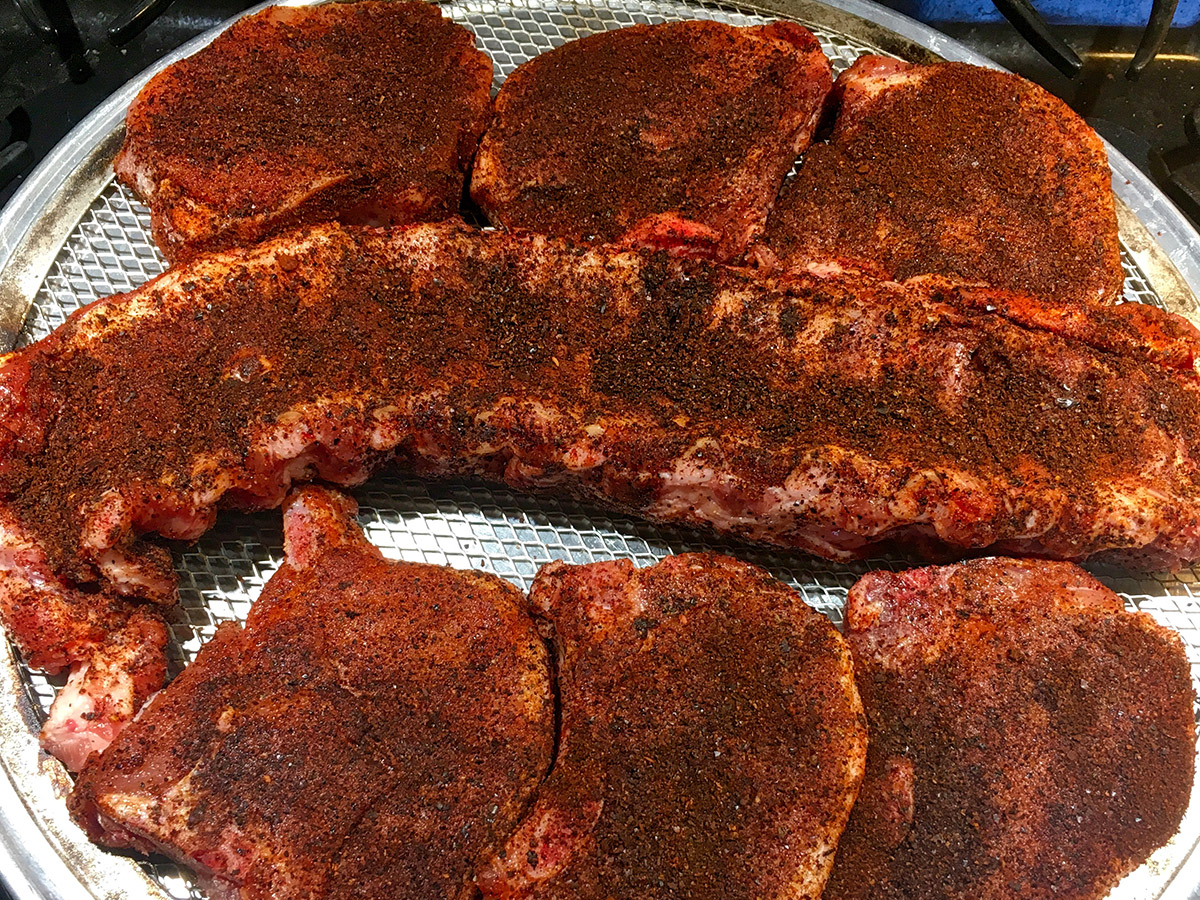
It's been a while since I've posted a cook. Here's grilled shrimps and scallops with pasta and pesto and grilled asparagus. No action shots, but here's the final product. So that covers the surf part. Here's the turf and turf. I was volunteered by my wife to make brisket for a friend's BBQ yesterday. Then I heard that they were going to cook ribs. I volunteered to smoke the ribs, because (1) it's really no extra trouble for Smaug to cook two things instead of one for a low and slow cook, and (B) I'm being selfish: I know I can make better ribs than my friends. The brisket was pretty straightforward. My wife picked up a 13 lb. brisket from our local butcher. I've found that one thing that makes brisket cooks more predictable is to keep the size of the brisket as constant as possible. I've been making sure that any brisket I make is around 12 lbs., and I try to stay within 10-15 lbs. overall. The rub was a 50/50 mix of salt and pepper. I set up Smaug, who decided that he wanted to be at 200ºF. The brisket went on at 9:30 PM Friday night. The goal was to have the brisket ready for lunch on Saturday, so I guessed about 15 hours of cook time. Early Saturday morning I prepped the ribs, using the Aaron Franklin rub method, except that I add brown sugar in for ribs. I planned to give the ribs about 6 hours of cook time before lunch. This is what the brisket looked like at that point (9 hours cook time so far). I decided to put the ribs on the lower rack. That's not the usual position for smoking ribs on a KK (or any other kamado grill), but I knew from experience that KK grills are so well insulated that the internal temperature is very even across all the racks. I wanted to keep the brisket flavor straight up beef, salt, and pepper, and I figured that the ribs might benefit from beef fat dripping on them. And then I put the main rack with the brisket back in position. I checked the internal temperature, and at the 14 hour mark the brisket seemed to be in the stall, at 165ºF. But it seemed like it was done, because it was probe tender everywhere I stuck the thermometer probe. Here's the money shot. I decided that probe tender beat internal temperature, and I was afraid of overcooking the flat, since it was considerably thinner than the point compared to other briskets I've cooked. So I took the brisket out, and checked on the ribs. By the bend test, they were not quite done, so I set them on the main grate to finish off. They were ready to go after another 40 minutes. Here's the rib money shot. And here's how they turned out. Brisket. Ribs. So here's my question. I've usually gone for a final IT of 195ºF or so for brisket, and it has been really good. But I think this brisket is the best one I've done so far, by a considerable amount. My theory is that Smaug really did sit in the 200-210ºF range for this cook, and there's something about cooking in this lower range that allows the brisket to get probe tender without getting to a 195ºF IT. My other theory is that when I trim a whole packer brisket prior to cooking, I get pretty aggressive about excavating that big pocket of fat on both sides of the point end. I take out so much of it that it's like the point is being held together by a narrow band of tissue in the center. (I don't have a picture of me doing this, so I hope that explanation made sense.) I haven't seen anyone else do this in the trimming stage of a brisket cook, not even Aaron Franklin. Maybe some of you all do this, and just don't mention it. I think that getting rid of all this extra fat could change the cooking dynamic compared to a typical brisket cook. The next time I'm making a brisket, I'll be checking probe tenderness more aggressively. Any thoughts on this would be appreciated.1 point
-
Looks interesting . Flatbread Recipe: Manakish Zaatar PRINT RECIPE Manakish Zaatar Makes 8 (7 to 8-inch flatbreads) Flatbread 1 cup lukewarm water 1/2 teaspoon sugar 1 (1/4-ounce package) active dry yeast (about 2 1/4 teaspoons) 3 cups unbleached all-purpose flour, plus more for dusting 1 teaspoon salt 2 tablespoons extra virgin olive oil, plus more for greasing Zaatar topping* 1/4 cup ground sumac 3 tablespoons dried thyme 3 tablespoons dried oregano 2 tablespoons toasted sesame seeds 1 teaspoon coarse salt 1/2 cup extra virgin olive oil *Can substitute 3/4 cup pre-made zaatar blend for the sumac, thyme, oregano, and sesame seeds. Combine the water, sugar, and yeast, and let it stand for about 10 minutes until foamy. Meanwhile, combine the flour and salt in a large bowl. Add the olive oil and work it in with your fingers. Make a well in the center, add the yeast and water mixture, and stir to form a soft dough. Turn the dough out onto a lightly floured surface and knead for about 10 minutes until smooth and elastic. Form it into a ball and place it in a lightly oiled bowl. Cover the bowl with a damp cloth or plastic wrap and leave the dough to rise in a warm, draught-free place for about 1 hour until it doubles in size. Preheat oven to 400°F. Place a baking stone or baking sheet in the oven as it heats. Knead the dough briefly and divide it into 8 balls. Place the balls on a lightly oiled baking sheet, cover with a damp cloth or plastic wrap, and let stand for about 15 minutes. Meanwhile, combine the zaatar topping ingredients in a small bowl. On a lightly floured surface, flatten each ball of dough and roll it into a circle 1/8-inch thick and about 7-8 inches in diameter. Press each circlele with your fingertips to make little indentations for the topping to rest in. Spread 1 heaping tablespoon of zaatar topping over each round, leaving a 1/2-inch border around the edges. Bake until lightly browned and crisp, about 8 minutes. Depending on the size of your oven and baking stone or baking sheet(s), you may need to do several batches. Serve warm right away or else cool on racks.1 point
-
I just put on a pre-rubbed try tip. And I'm trying my smoking pot for the first time. Haven't taken any pictures yet but I'll take some when it when it's done. And then as we celebrate this memorial day I think a moment of silence for all of our fallen heroes would be appropriate.1 point
-
That was an awesome first cook!1 point
-
That was so fascinating I had to share it with my hubby and he thanked me lol!1 point
-
Wow those look amazing. I don't think I have ever attempted cooking scallops other than just high heat searing.1 point
-
That is the same one1 point
-
I'll be smoking some pork chops and Catalan sausages for Creole Gumbo. Overnight "dry-brine" (rub to us) as advocated by Justin Smillie's Slow Fires.
 1 point
 -
Not unless heavily armed and armored!1 point
-
EVERYTHING! I'm partial to pairing it with ribs or pulled pork. Typically with a good homemade coleslaw (vinegar based dressing to avoid having too much mayo going on!) For brisket, it's drunken beans and coleslaw (this time with mayo dressing.) Since we're sharing, here's my go-to slaw recipe (it's from the old POSK Forum, many years ago, and I still make it all the time!) I use Napa or Savoy cabbage. I like the texture and sweetness it gives to the slaw. Rinse off a head of Napa or Savoy cabbage, removing the outer leaves and discarding. Wrap it tightly and slice into about 1/4 inch thick ribbons. For the dressing: 3/4 cup mayonnaise (Duke's is the best!) 2T Balsamic Vinegar 1T Rice wine vinegar 1/2 tsp Colemans dry mustard 1T Sesame seed oil 1/2 tsp white pepper 1T white sugar 2-3 cloves of garlic smashed and chopped Whisk it all together in a large bowl. Add chopped cabbage by the hand full while stirring to incorporate it all together. I also add a spice mixture called Zatar. It is popular in the middle east. The main ingredients of Zatar are thyme, roasted sesame and sumac. Zatar adds a different flavor to the slaw that no one can figure out. It goes really well with the pulled pork though.1 point
-
Yes a bugger to clean but I really like my grill grates. For grilled food it evenly distributes the heat over the entire grill so there are no hot spots. Also when cooking burgers and whatnot prevents all the grease from dripping down in the KK.1 point
-
I like marinating mine in Frank's Red Hot Sauce overnight in a vacuum sealed bag. Cook direct on the grill @350F until IT is 165F.1 point


.thumb.GIF.006d23b9323146d2dd9055f4e195bc2a.GIF)