Leaderboard


Popular Content
Showing content with the highest reputation on 09/12/2018 in all areas
-
Thanks mate, I’m still amazed every time I cook on it! Absolutely sensational Kamado! Everyone that’s seen it absolutely loves it. We had a couple of guys come round to quote on some shutters last week, when one of them spotted it he couldn’t believe it, couldn’t stop talking about it, I heard him say to the other guy he was with “I’m gonna tell Matty I’ve seen one in the flesh, he’ll be spewing” haha3 points
-
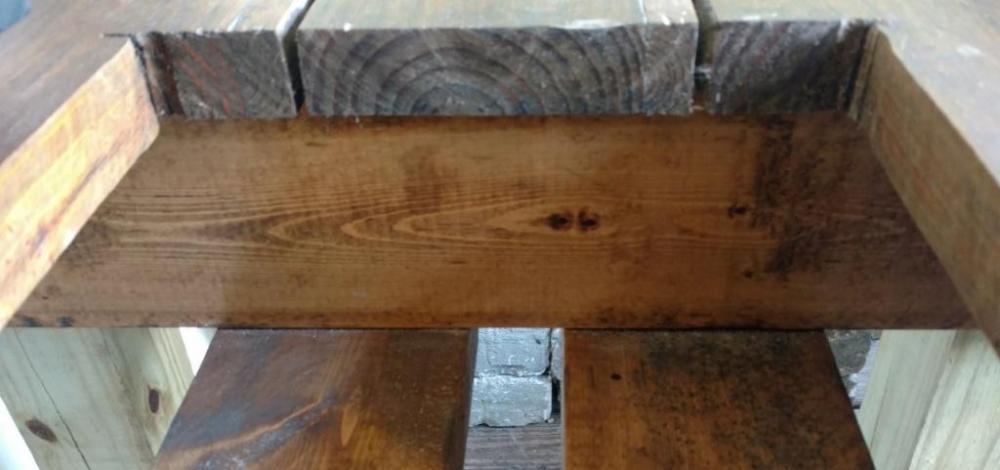
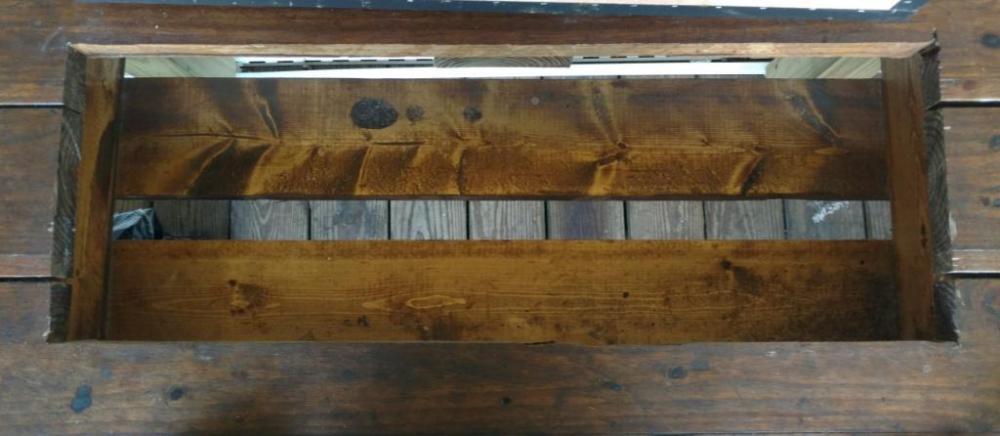
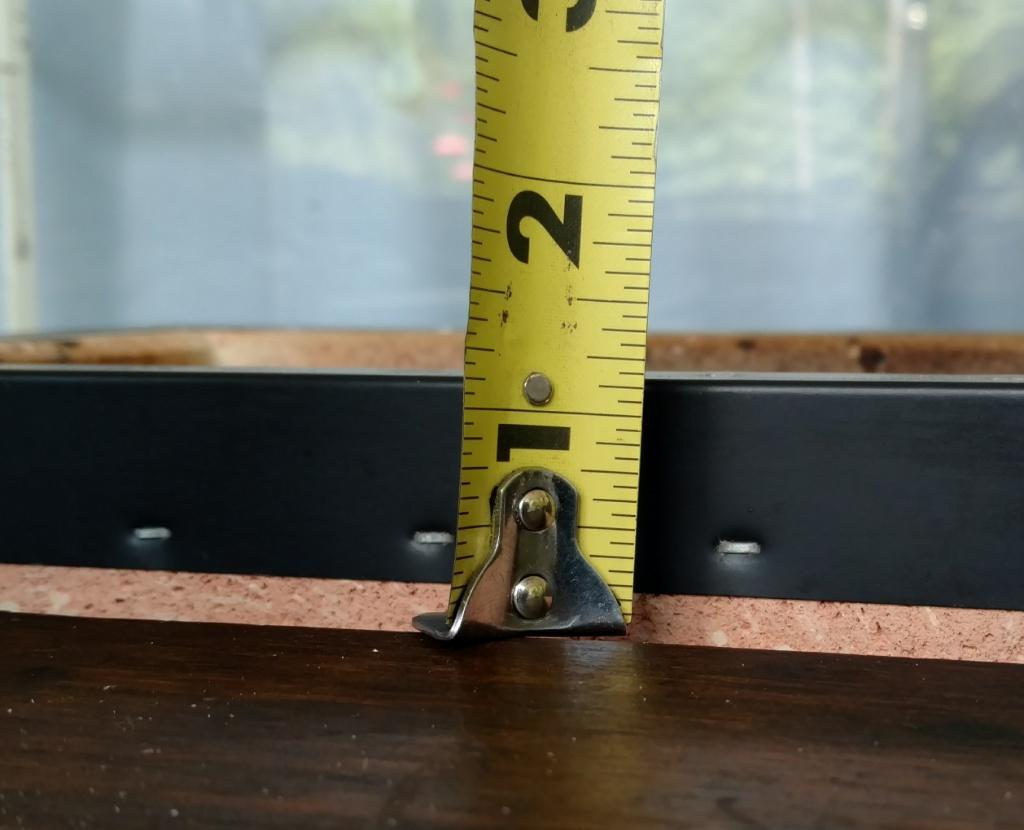
@MacKenzie the pictures you wanted. My table is made out of 2x6's and I had this table long before I had the Konro. The cutout hole itself gives about 1 1/2" of clearance on all sides. That was a little too much and if I did it again I would only have 3/4"-1" clearance on all sides. Just make sure you account for the handles on the ends. Installing it the way I did left the Konro sitting just shy of 1 1/4" above the table. For me that was the perfect height. After making the cutout I installed 2x6's on each end on the underside of the table. I then used two 2x6's to span the length with a gap in the middle. The gap was mainly to give me more width on those boards so any ash that falls out the vent falls on the 2x6's not on the floor. Obviously you don't want to box in the long sides because you want to be able to reach under there and change the vents although I basically run mine with the vents wide open. As a disclaimer: I'm not a carpenter. I have enough skills and tools to get by but that's about it. My goal eventually is to get the hole lined in SS and have a SS top that slips down over the Konro. Currently I have a cardboard top which works but looks like crap.

 2 points
 -
I use a MAPP torch to light a spot on the top of the charcoal, then use an air blower to stoke it to make sure its going well.2 points
-
Chicken thighs rubbed with mad hunky hot whang rub, glazed with Lillie Q Carolina sauce!2 points
-
Here is a blower that several of us use (I already have their battery system for other tools): Milwaukee M18 Blower Kit I'm not that far off on most physical intuitions, but I was surprised by this: Once a fire is started, a minute with a blower is far more effective than another minute with a MAPP torch.1 point
-
Definitely a show piece .when I sold my kj classic they spotted Ora Outback kamado Bar and Grill1 point
-
Brrr I can't stand the cold give me the sun anyday Outback kamado Bar and Grill1 point
-
Totally agree, the basket splitter is awesome, so glad I got that, I’ve cooked chicken thighs the last couple of nights and it’s awesome to be able to start them on the indirect side then flick them across to direct finish them off and get a bit of char on them! Give me a shout when you’re down this way and come round for a beer!1 point
-
Looks so tasty Outback kamado Bar and Grill1 point
-
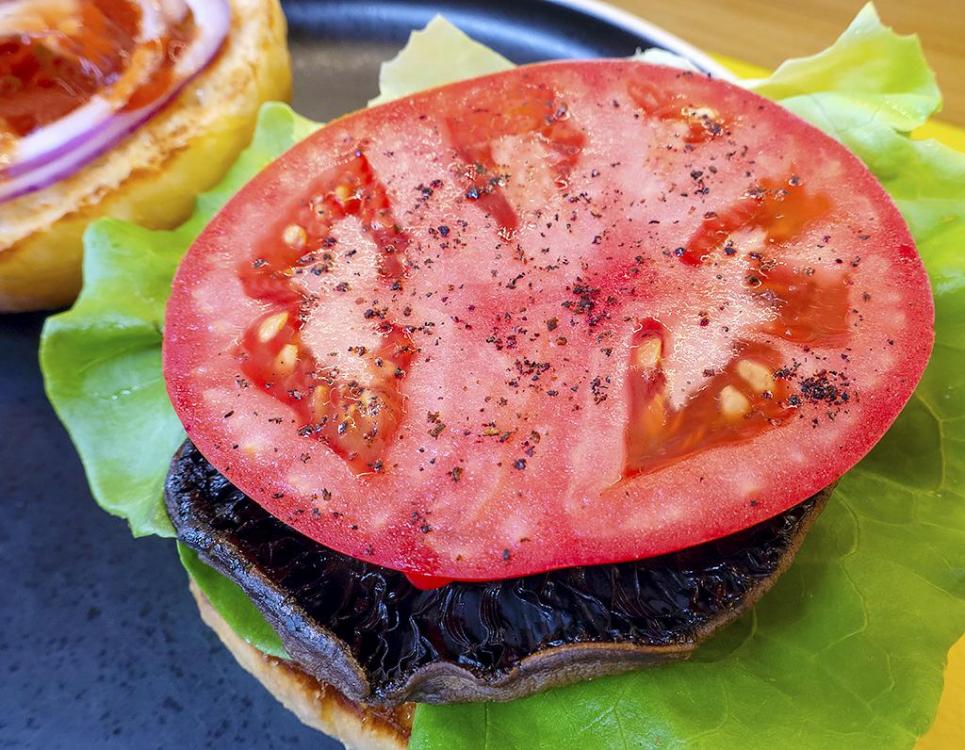
I'd fight you for that burger Mac lol looks so scrumptious Outback kamado Bar and Grill1 point
-
I do same the same: 1. Fill the basket, no matter how small the cook. 2. Use a MAPP torch to light usually one spot on top of the lump. 3. Use a blower to get the fire going nicely. Doesn't take very long at all and the fire always starts.1 point
-
Most people fill the fire basket full of lump then start one (or sometimes) multiple areas of the lump in the fire basket. How you light the lump is personal preference. I use a MAPP torch but a starter cube or alcohol soaked cotton ball will also work. Low-n-slow you only want one very small area of lump lit to start with. For high heat grilling or baking some people would use a chimney starter but I never do.1 point
-
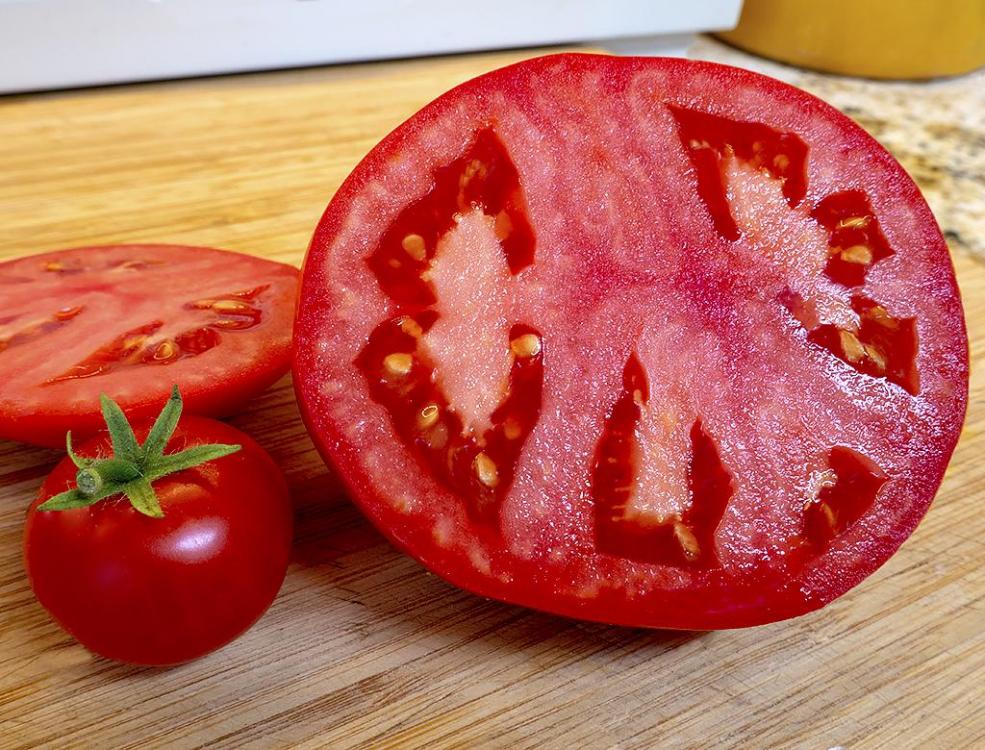
Thanks, Tony but you won't believe this we had a frost Sun. night and the bird baths were frozen over. When I went out to feed the critters the temp was 31F There was frost damage but mostly just the tops were burned so they are still going. I'm surprised that so much escaped damage. There should be more tomatoes before we get that killer frost and everything goes even when covered. This year we only had 2 months without frost, July and Aug.1 point
-
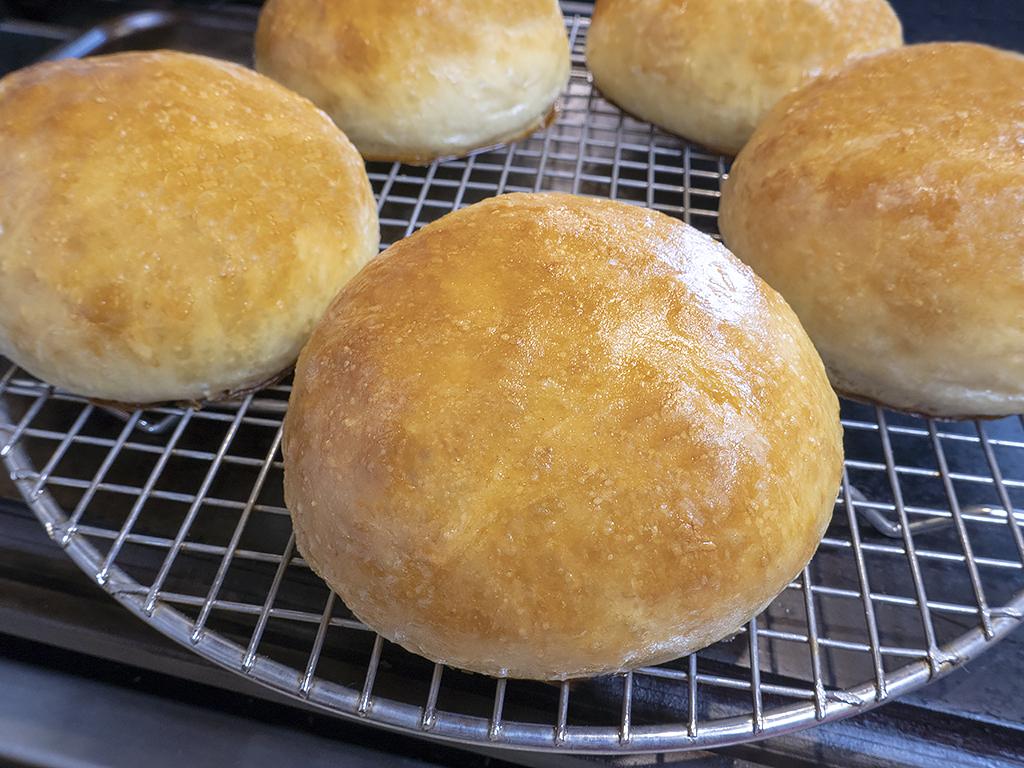
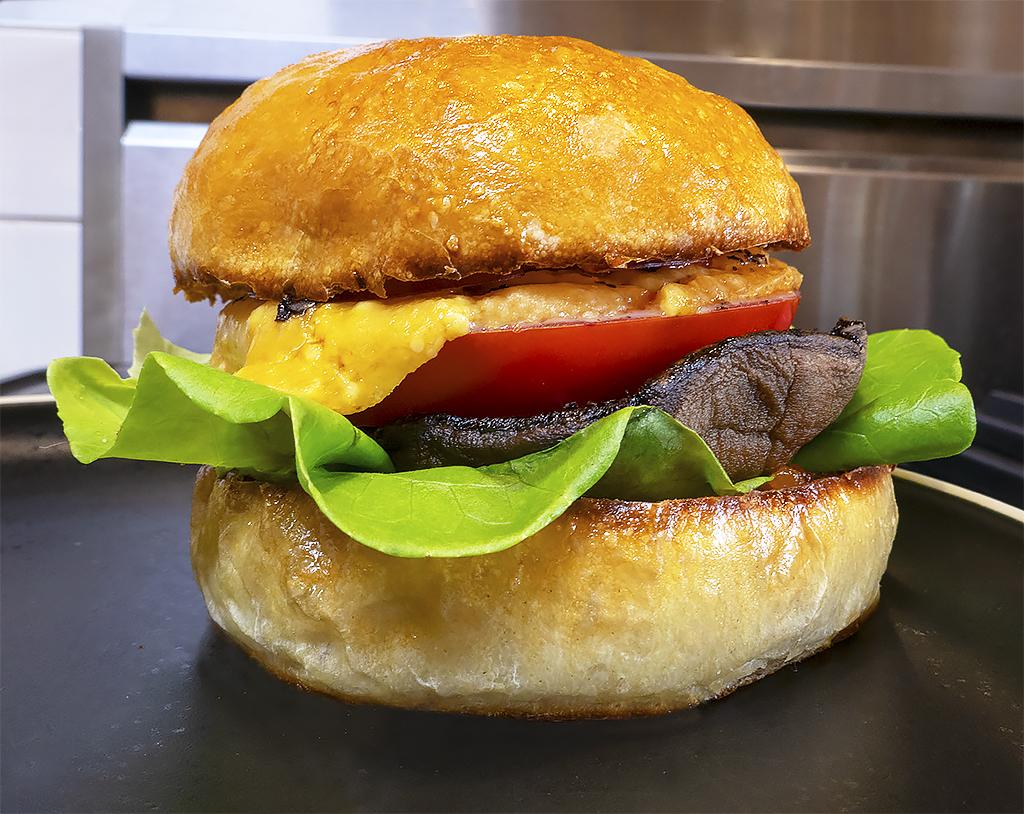
I picked my first regular sized tomato today and thought it would be great on a burger, a portabella mushroom burger with smoked Gouda cheese. First I needed to make some buns. Loading the bun.


 1 point
 -
Awesome chicken mate! I’m regretting not getting the roti for the bb321 point
-
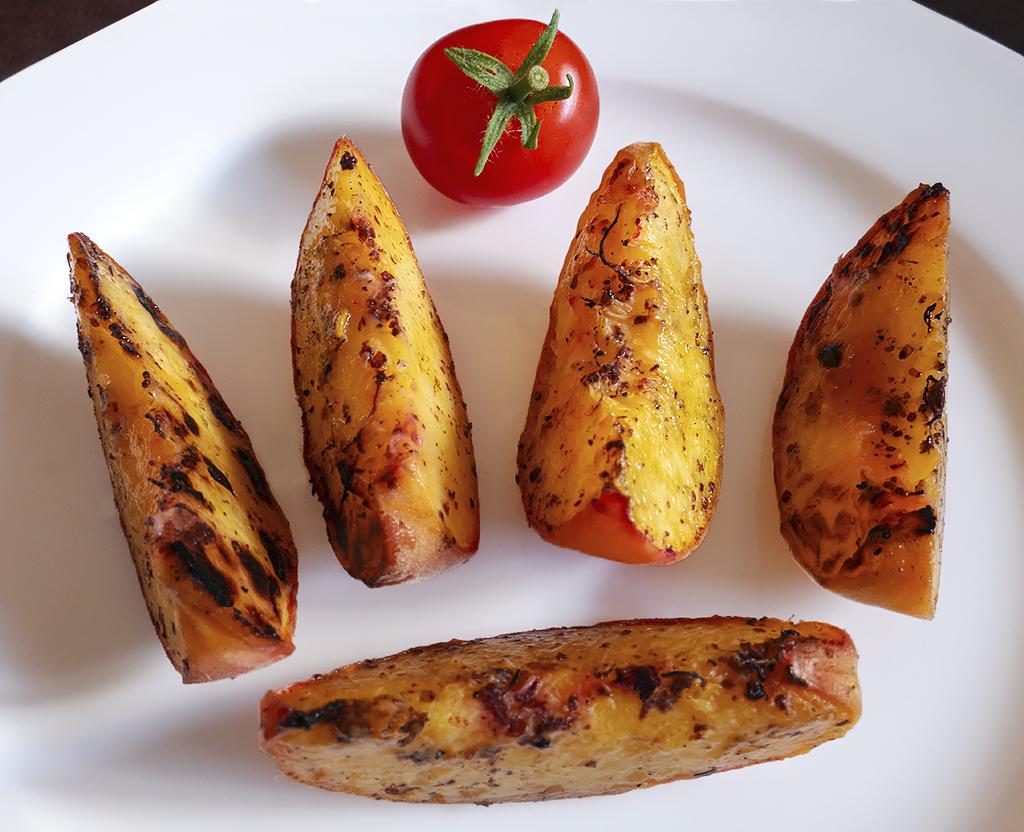
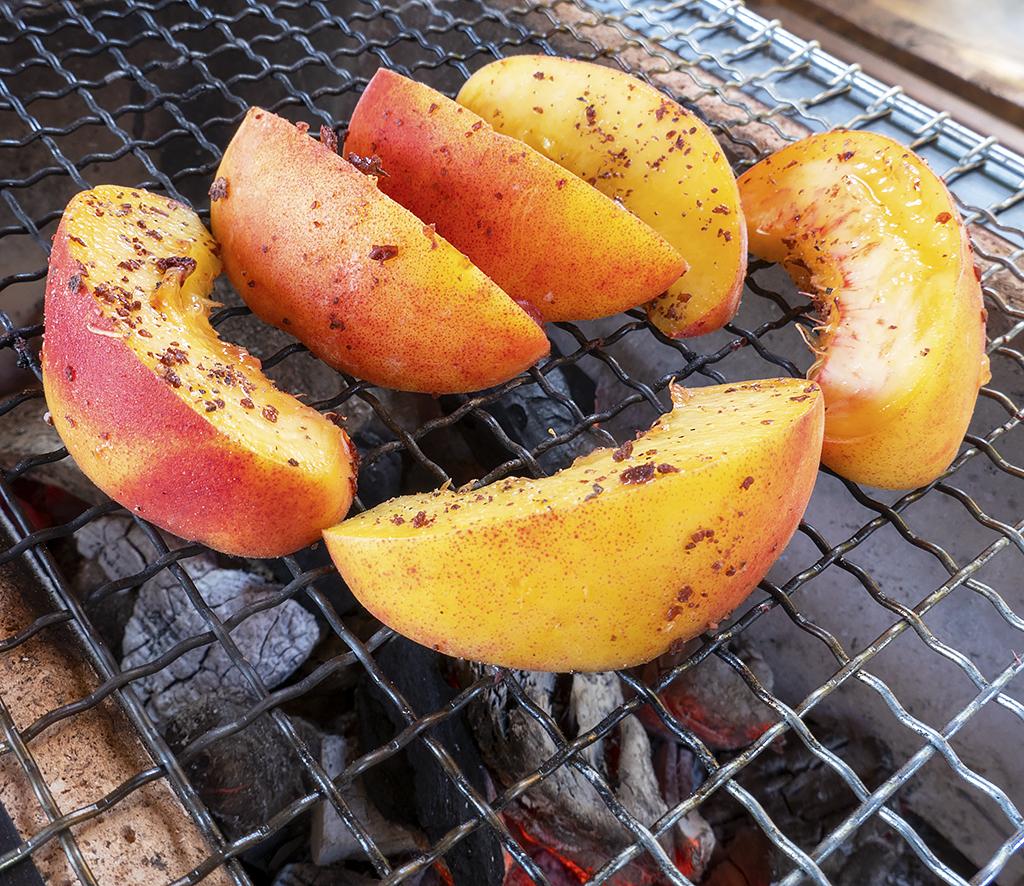
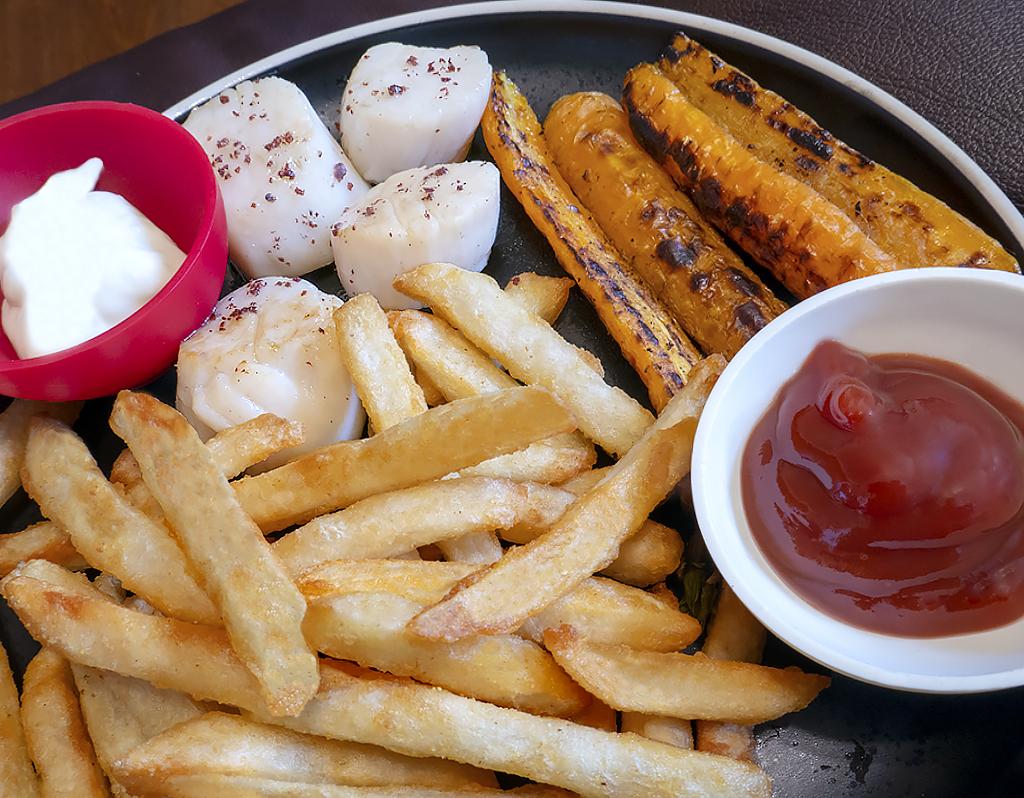
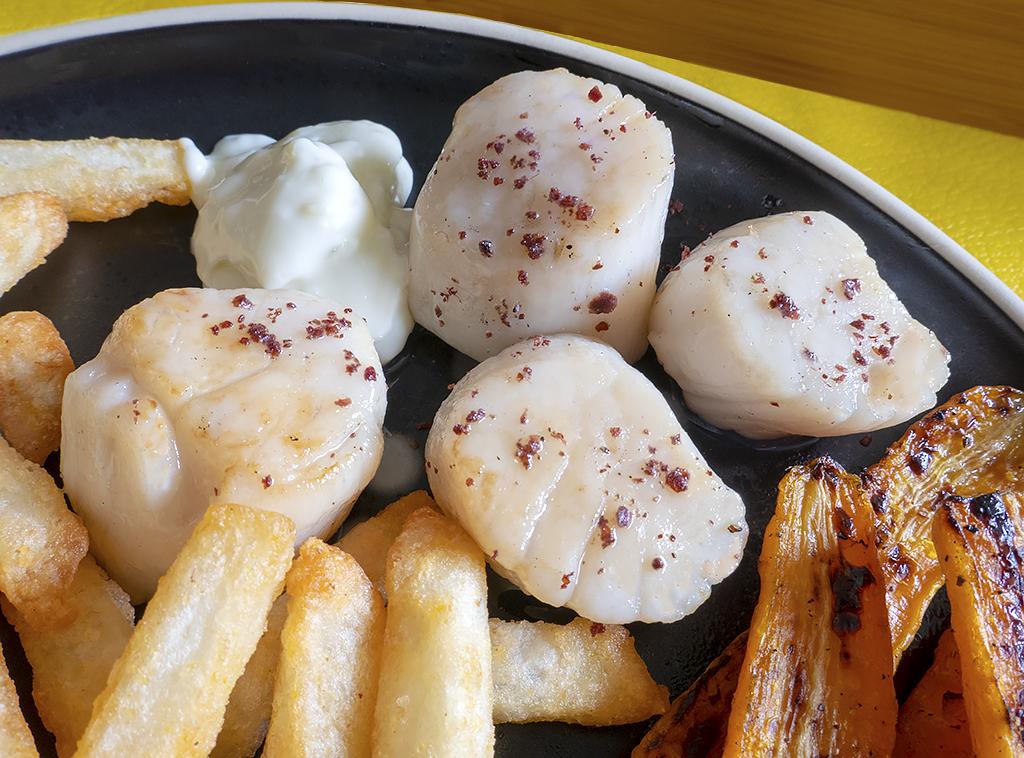
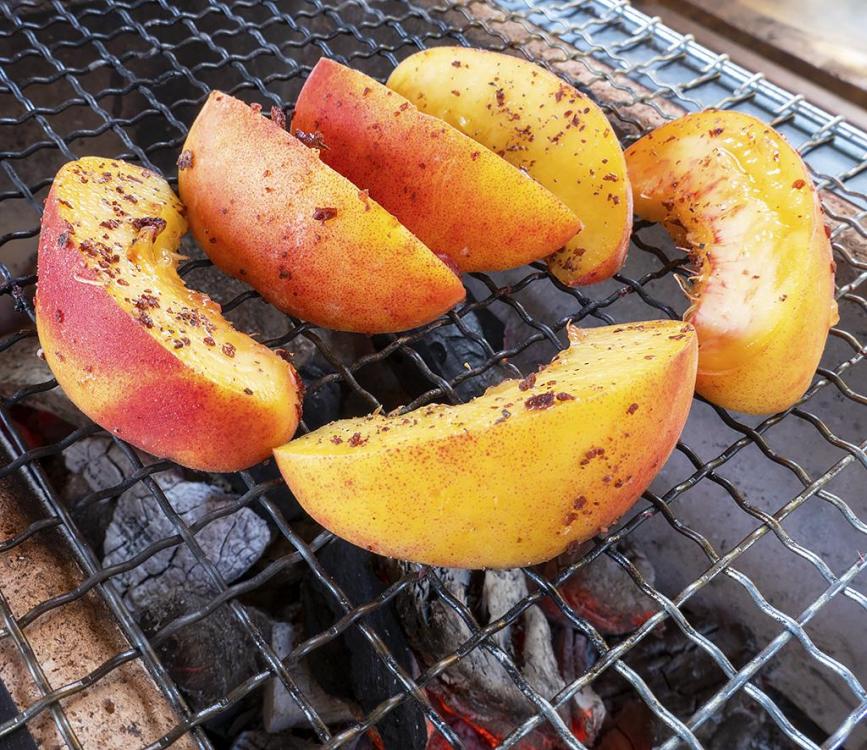
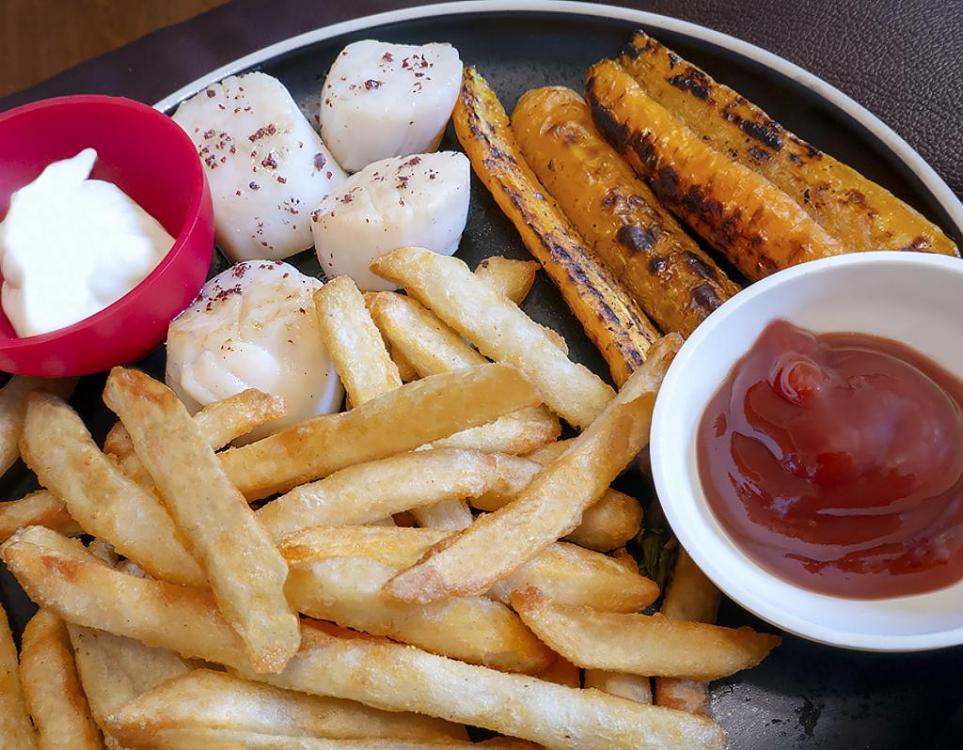
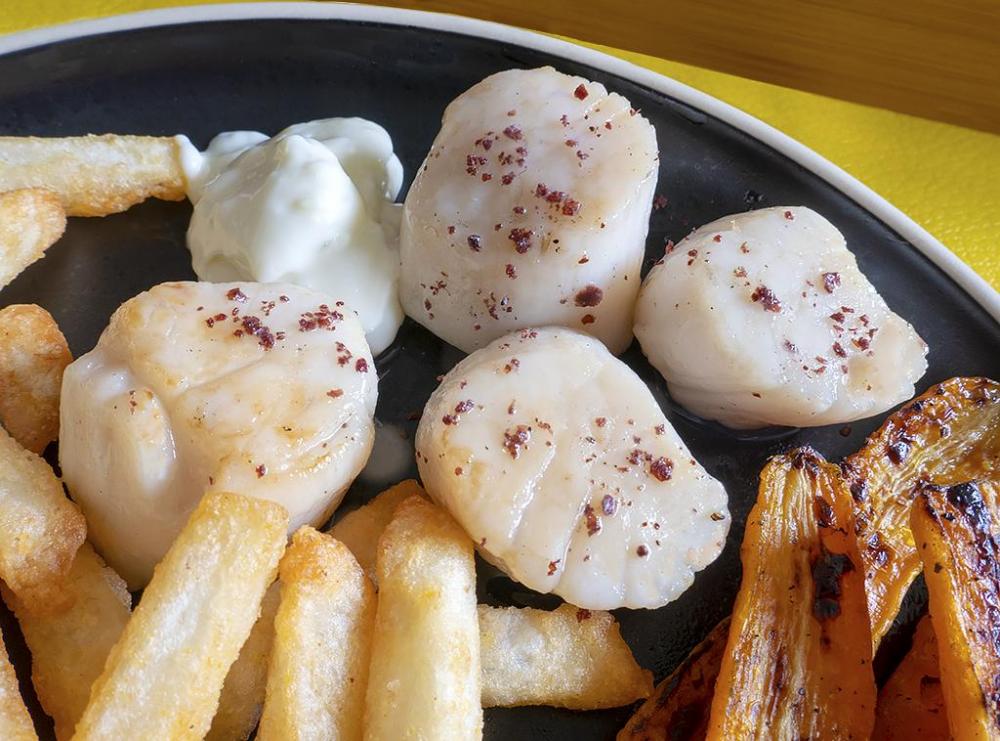
The plan was to sous vide the scallops then sear on the Konro grill trying to get a crispy finish. Also going to use the Konro to roast some carrots and peach slices. Sprinkled on sumac and Zanzibar pepper. I messed up on the scallops and the searing, not enough fire by the time I was doing this. However they still tasted just fine but would have benefited from searing. The scallops were done sous vide and I just needed to sear them but...


 1 point
 -
Aussie looks delicious1 point
-
Aussie, the chicken looks great.1 point
-
Aussie, every time I see a roti chicken I want to do one, this is no exception.1 point
-
Add more garlic and butter!!!1 point
-
The meal looked good all around and I love grilled peaches and scallops. Just not sure SV'ing scallops would add any benefit. Scallops are one of those thing that only takes a couple of minutes minutes at high heat to be done. Without SV'ing and just seared over high heat by the time a scallop gets the proper color it's done on the inside. Next time just trust your cooking skills and sear them until done.1 point
-
I can only get the U5/6 every so often. This summer Fresh Market has had them all summer and only $12.99 per lb. I usually go for the colossal. They're still big enough to stuff. Interestingly last summer small lobster Tails were on sale the entire summer $5 per tail (we ate a lot of lobster tails). This summer $7-$8 per tail.1 point
-
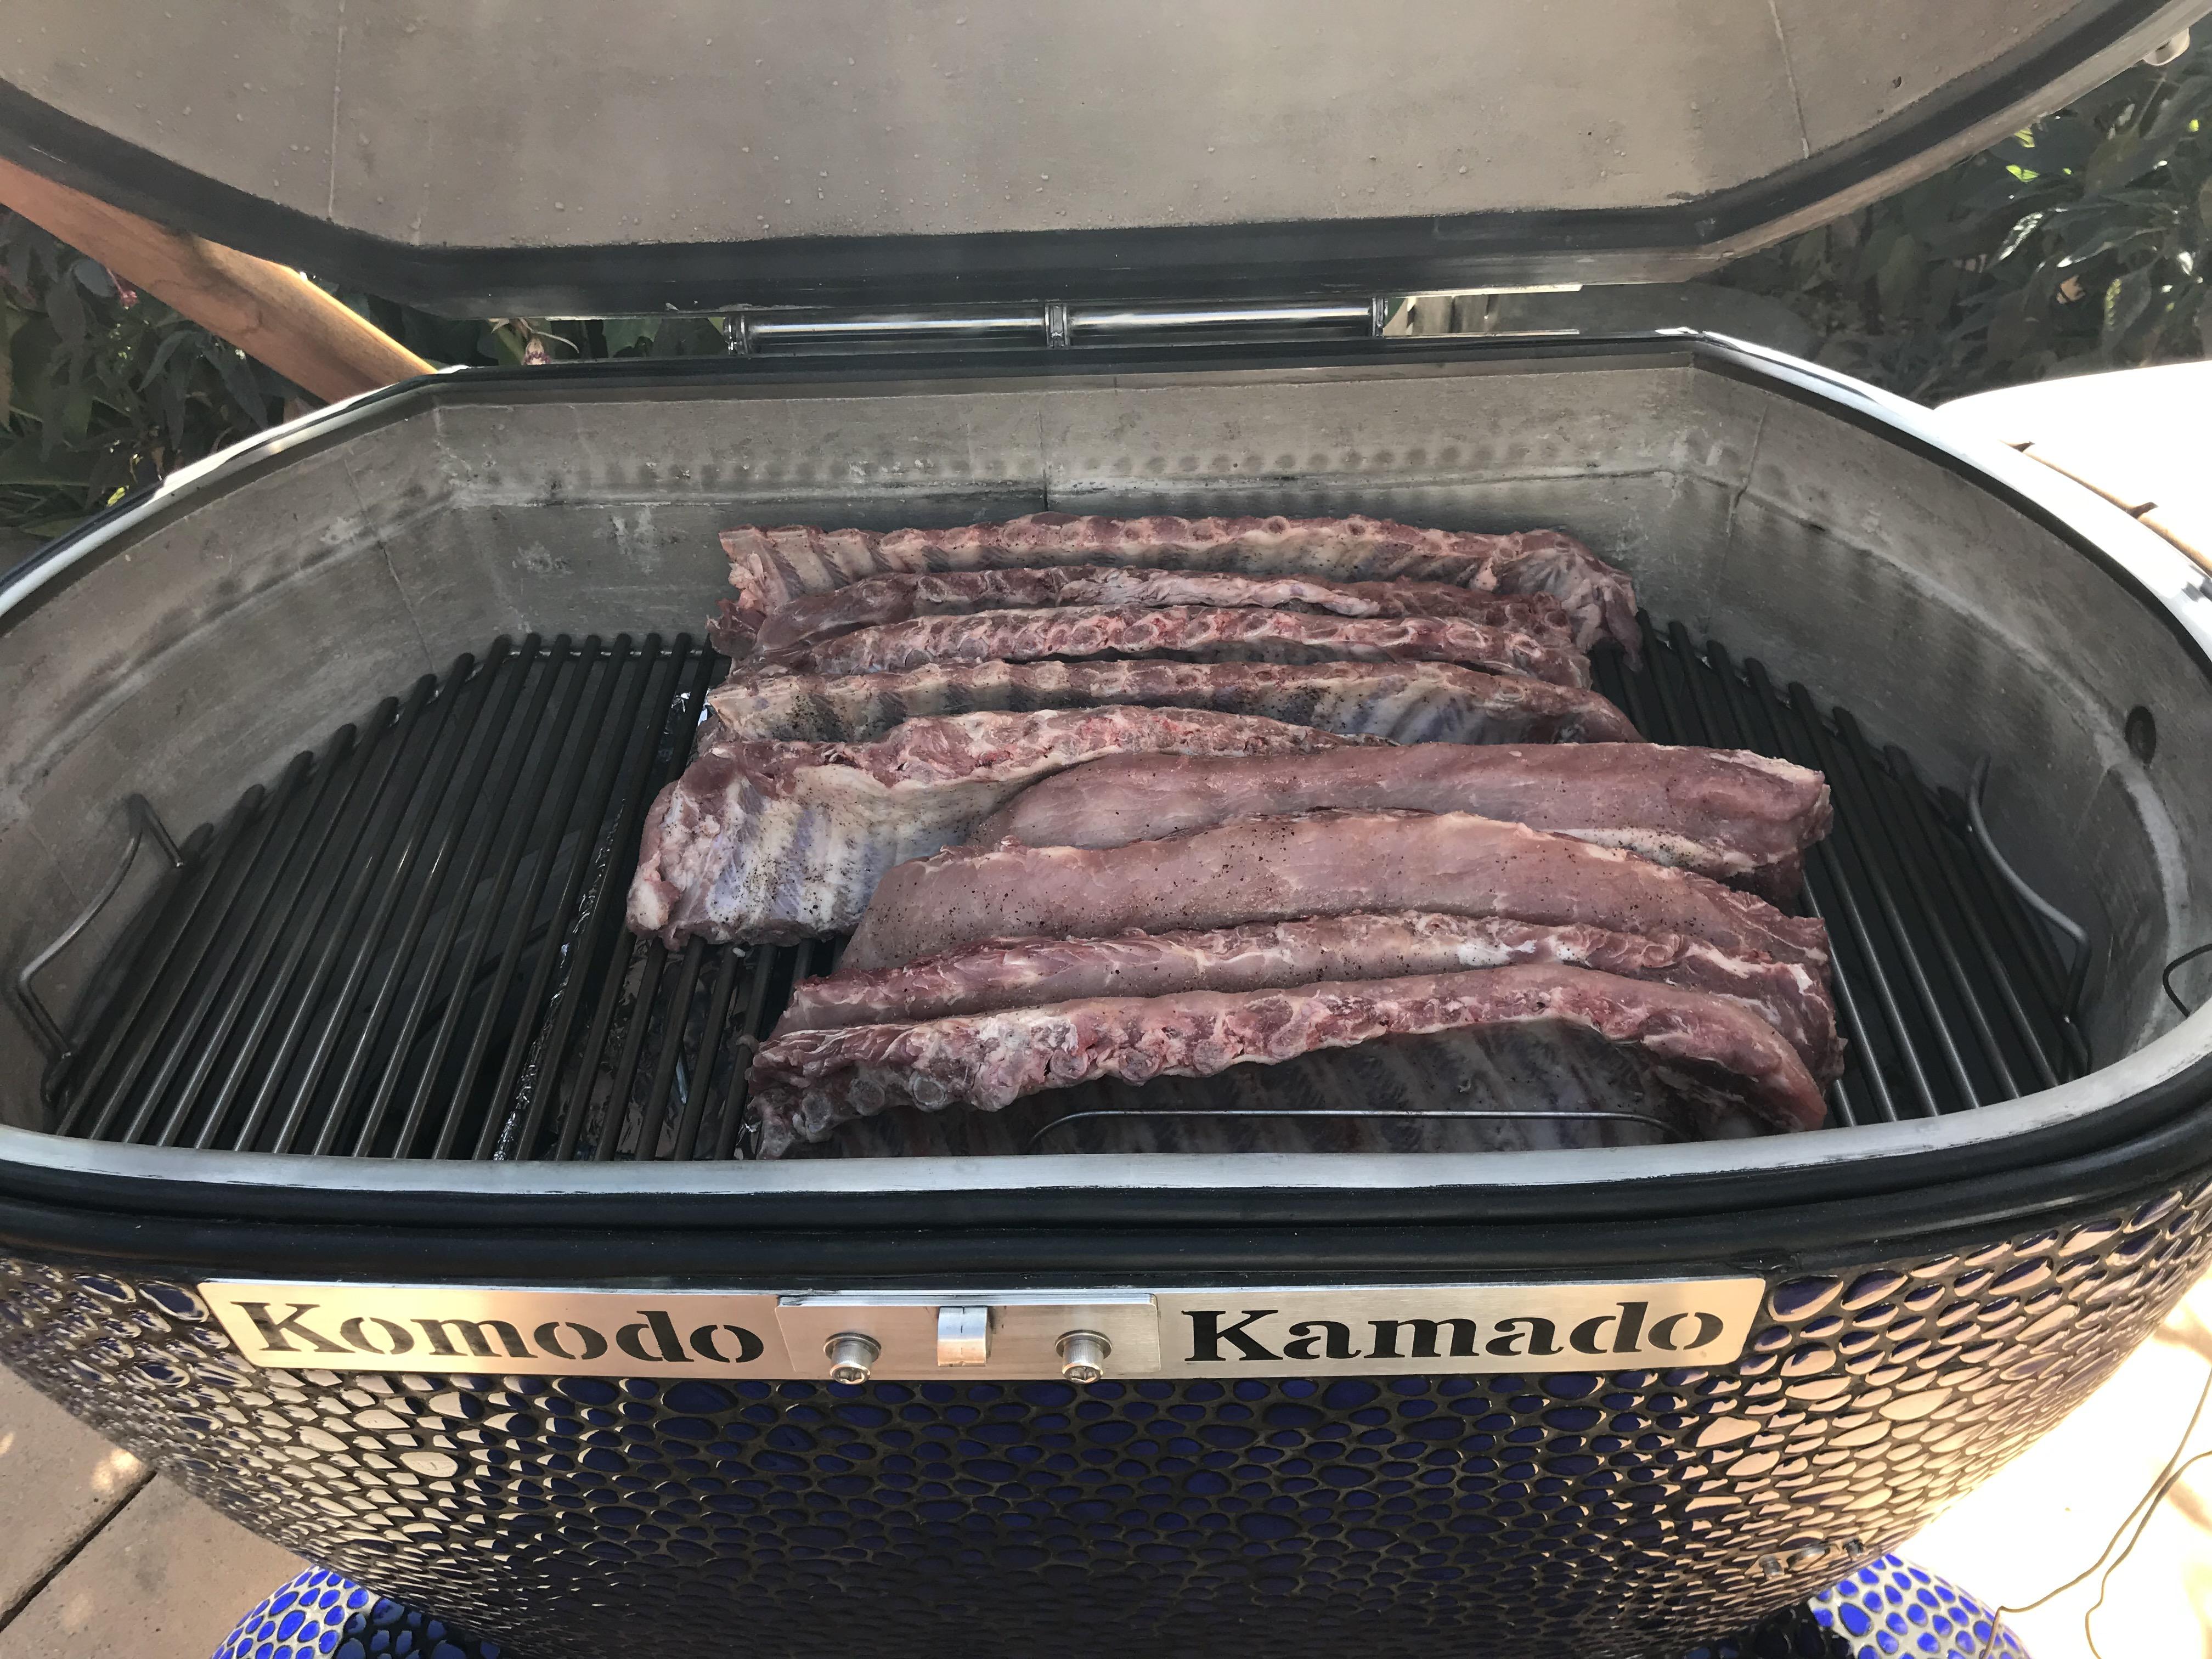
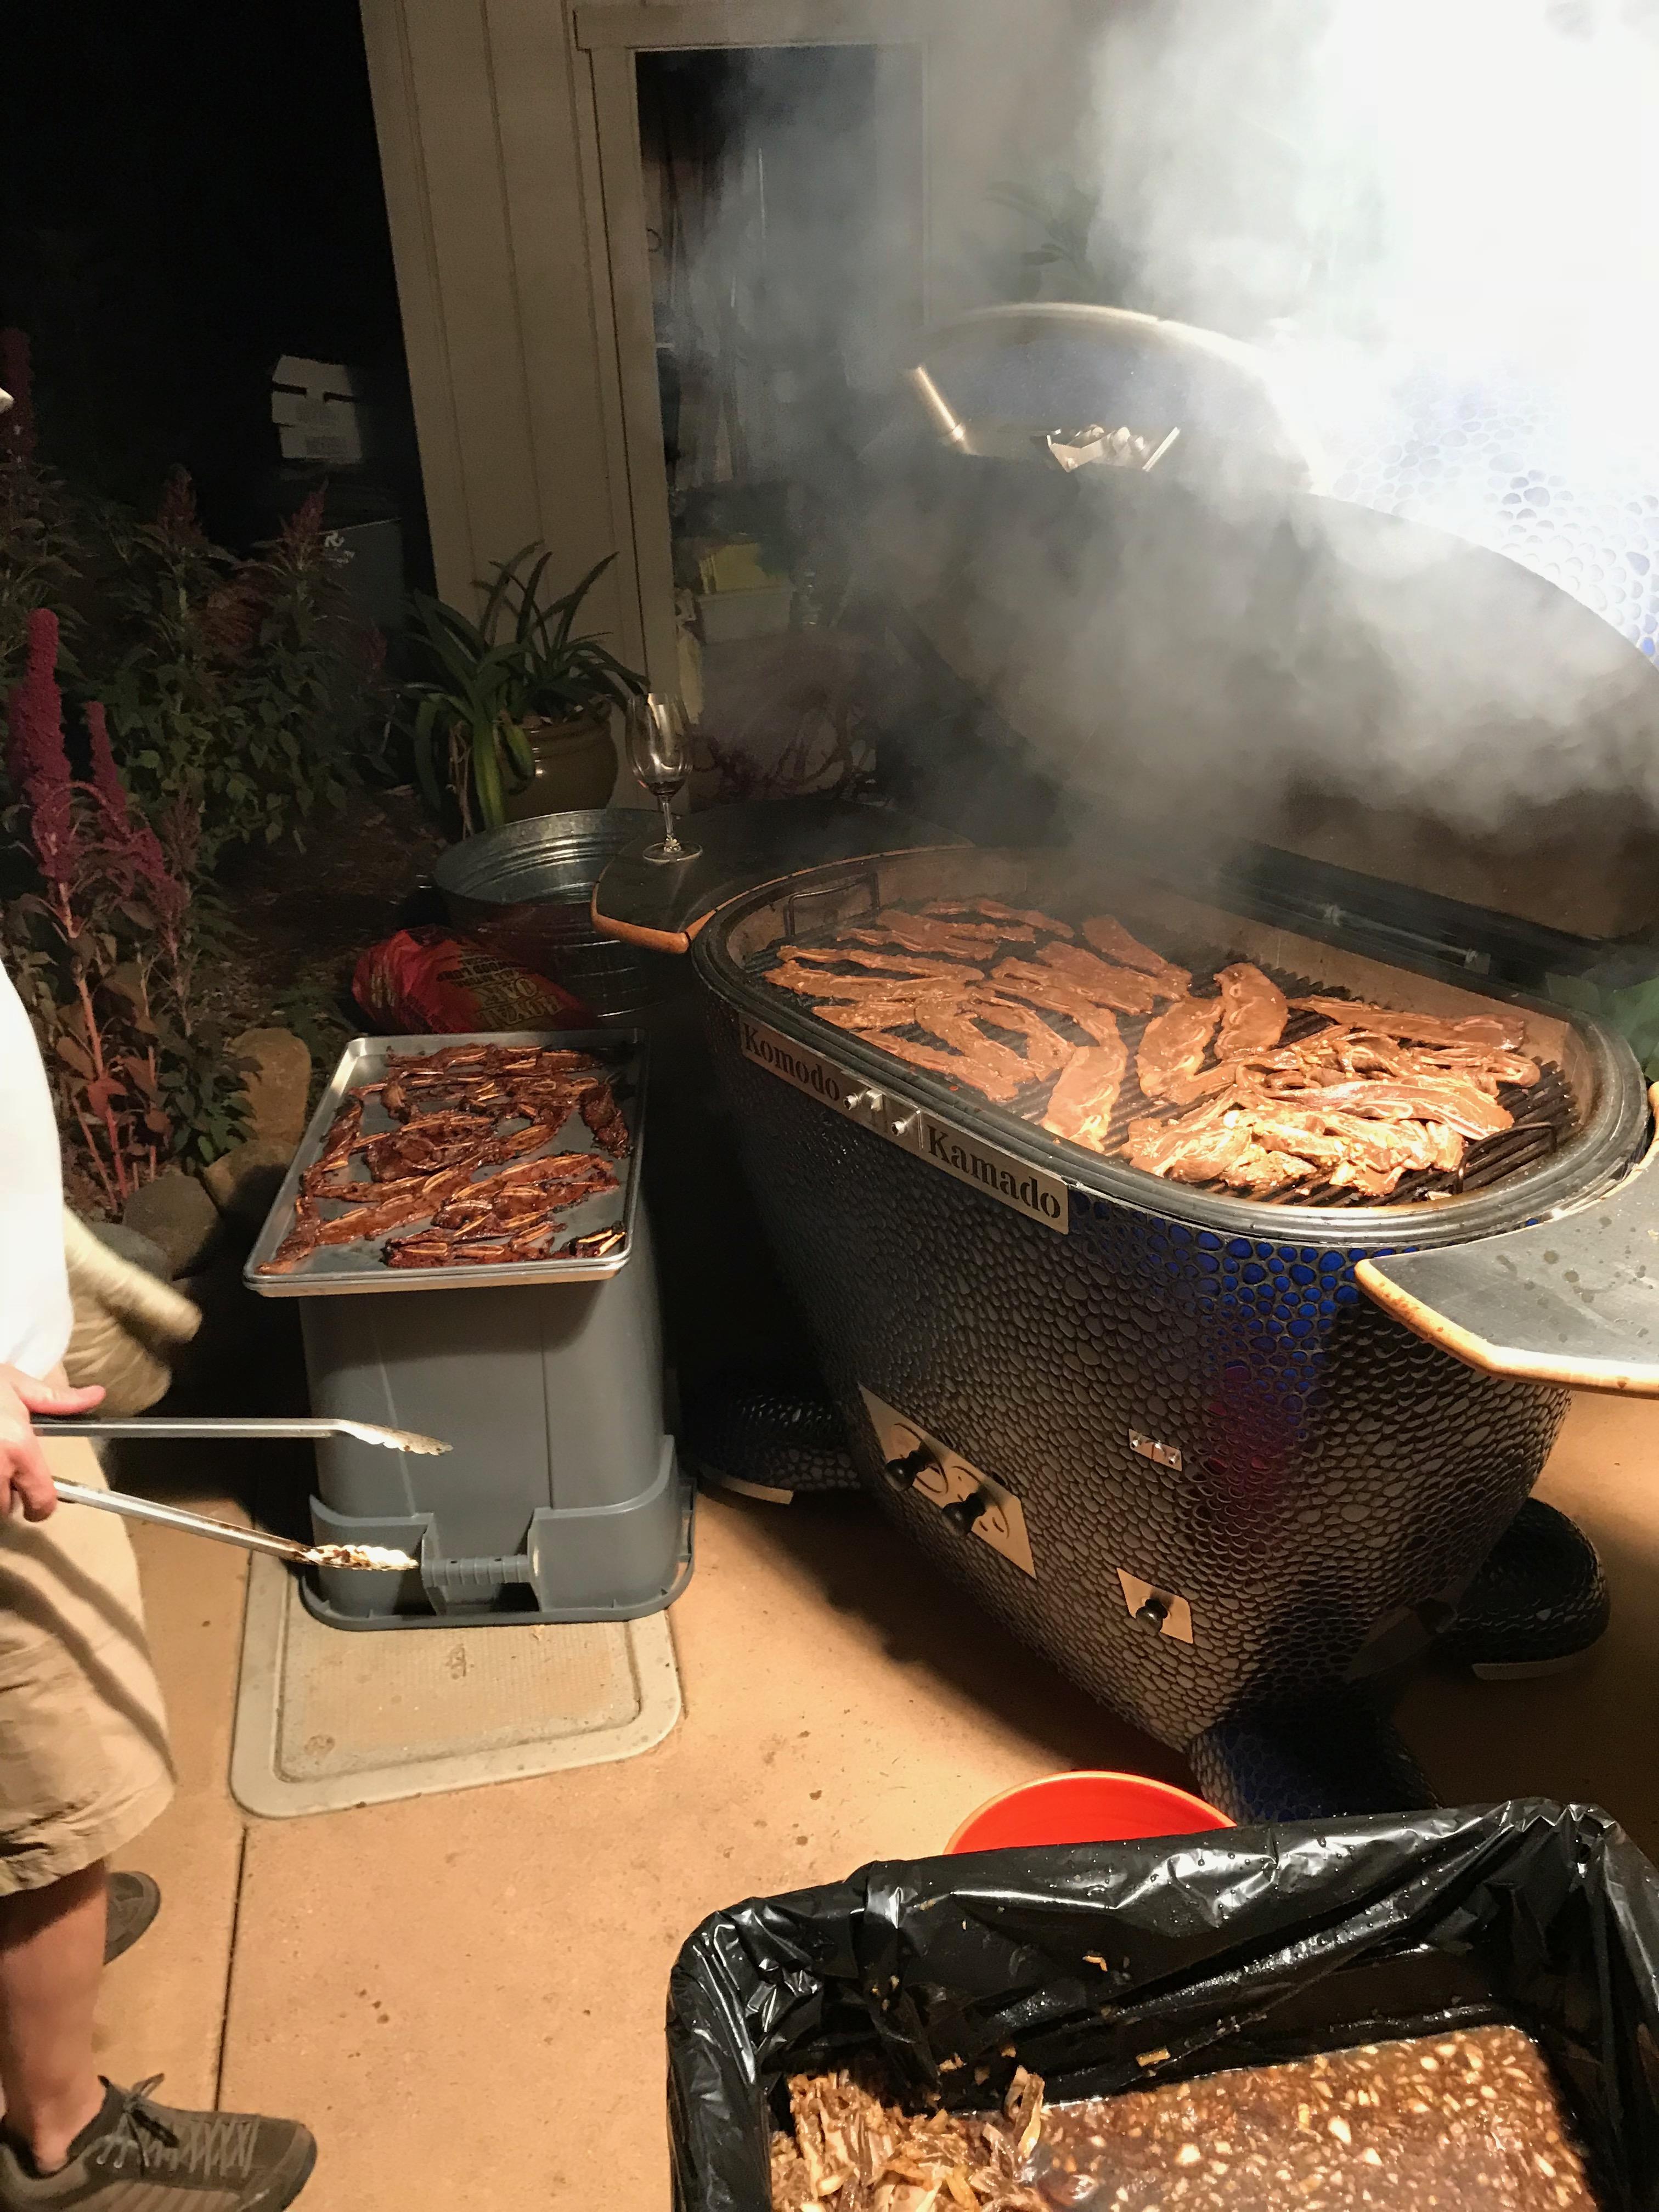
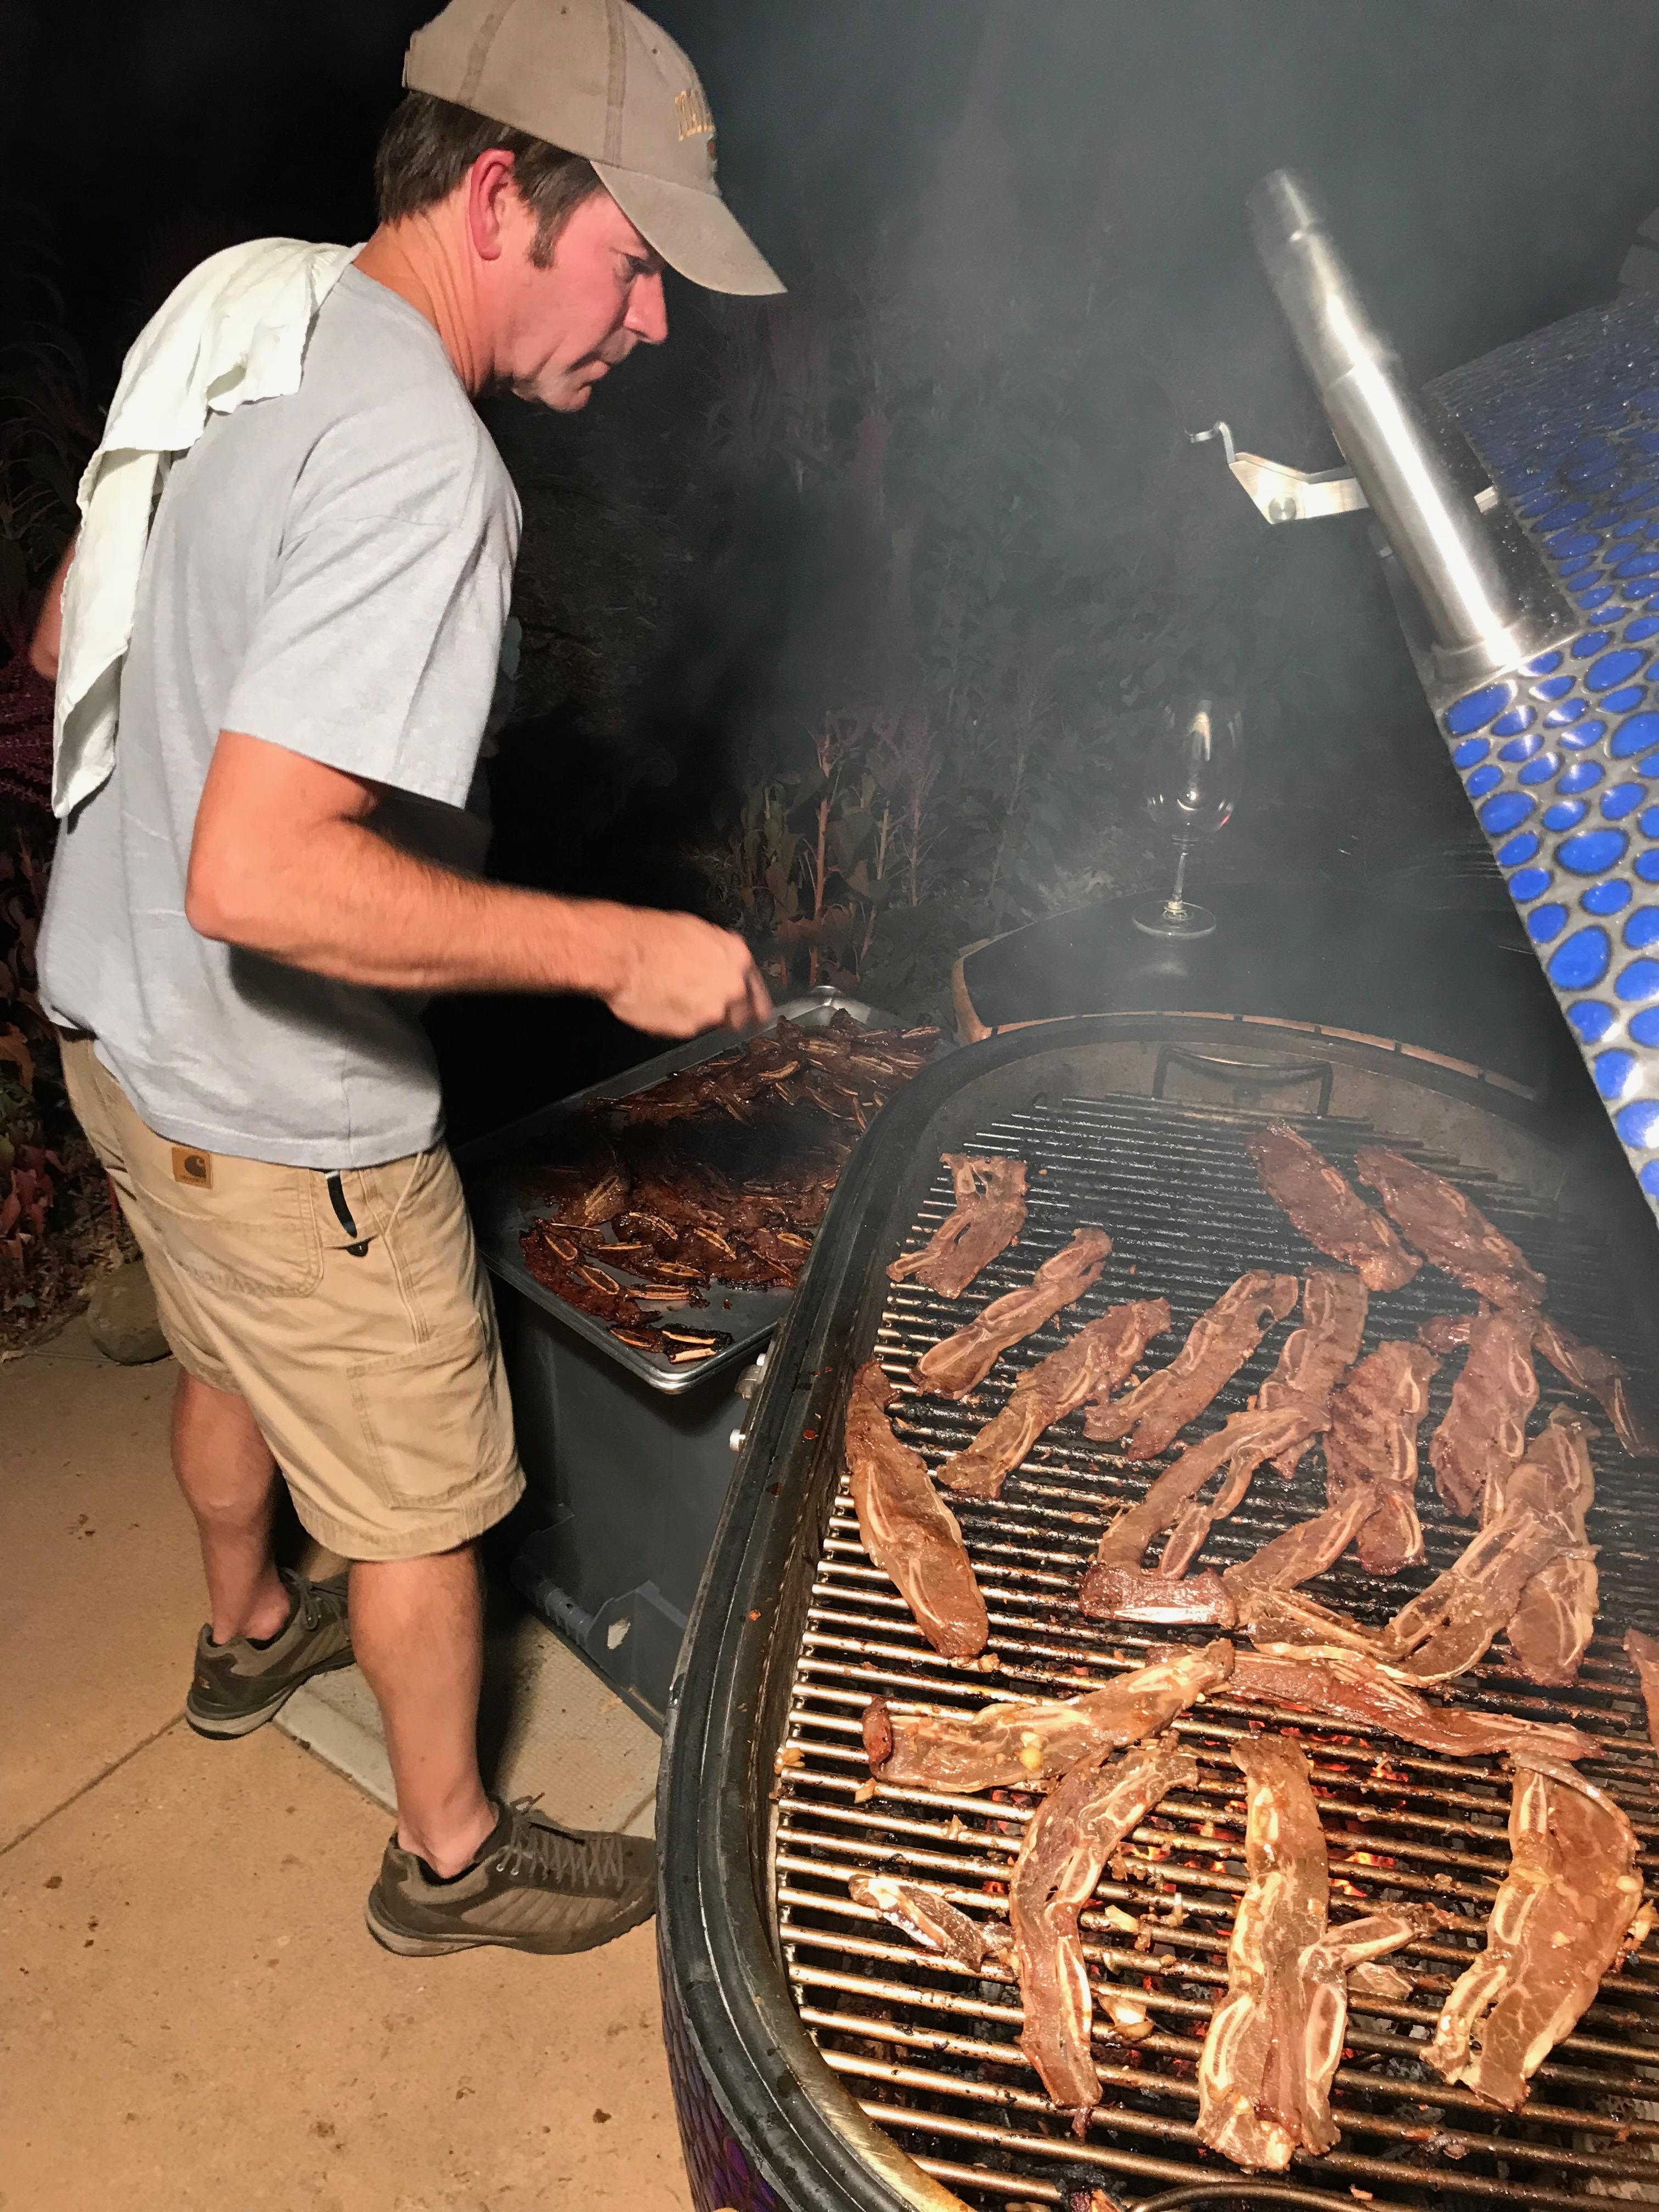
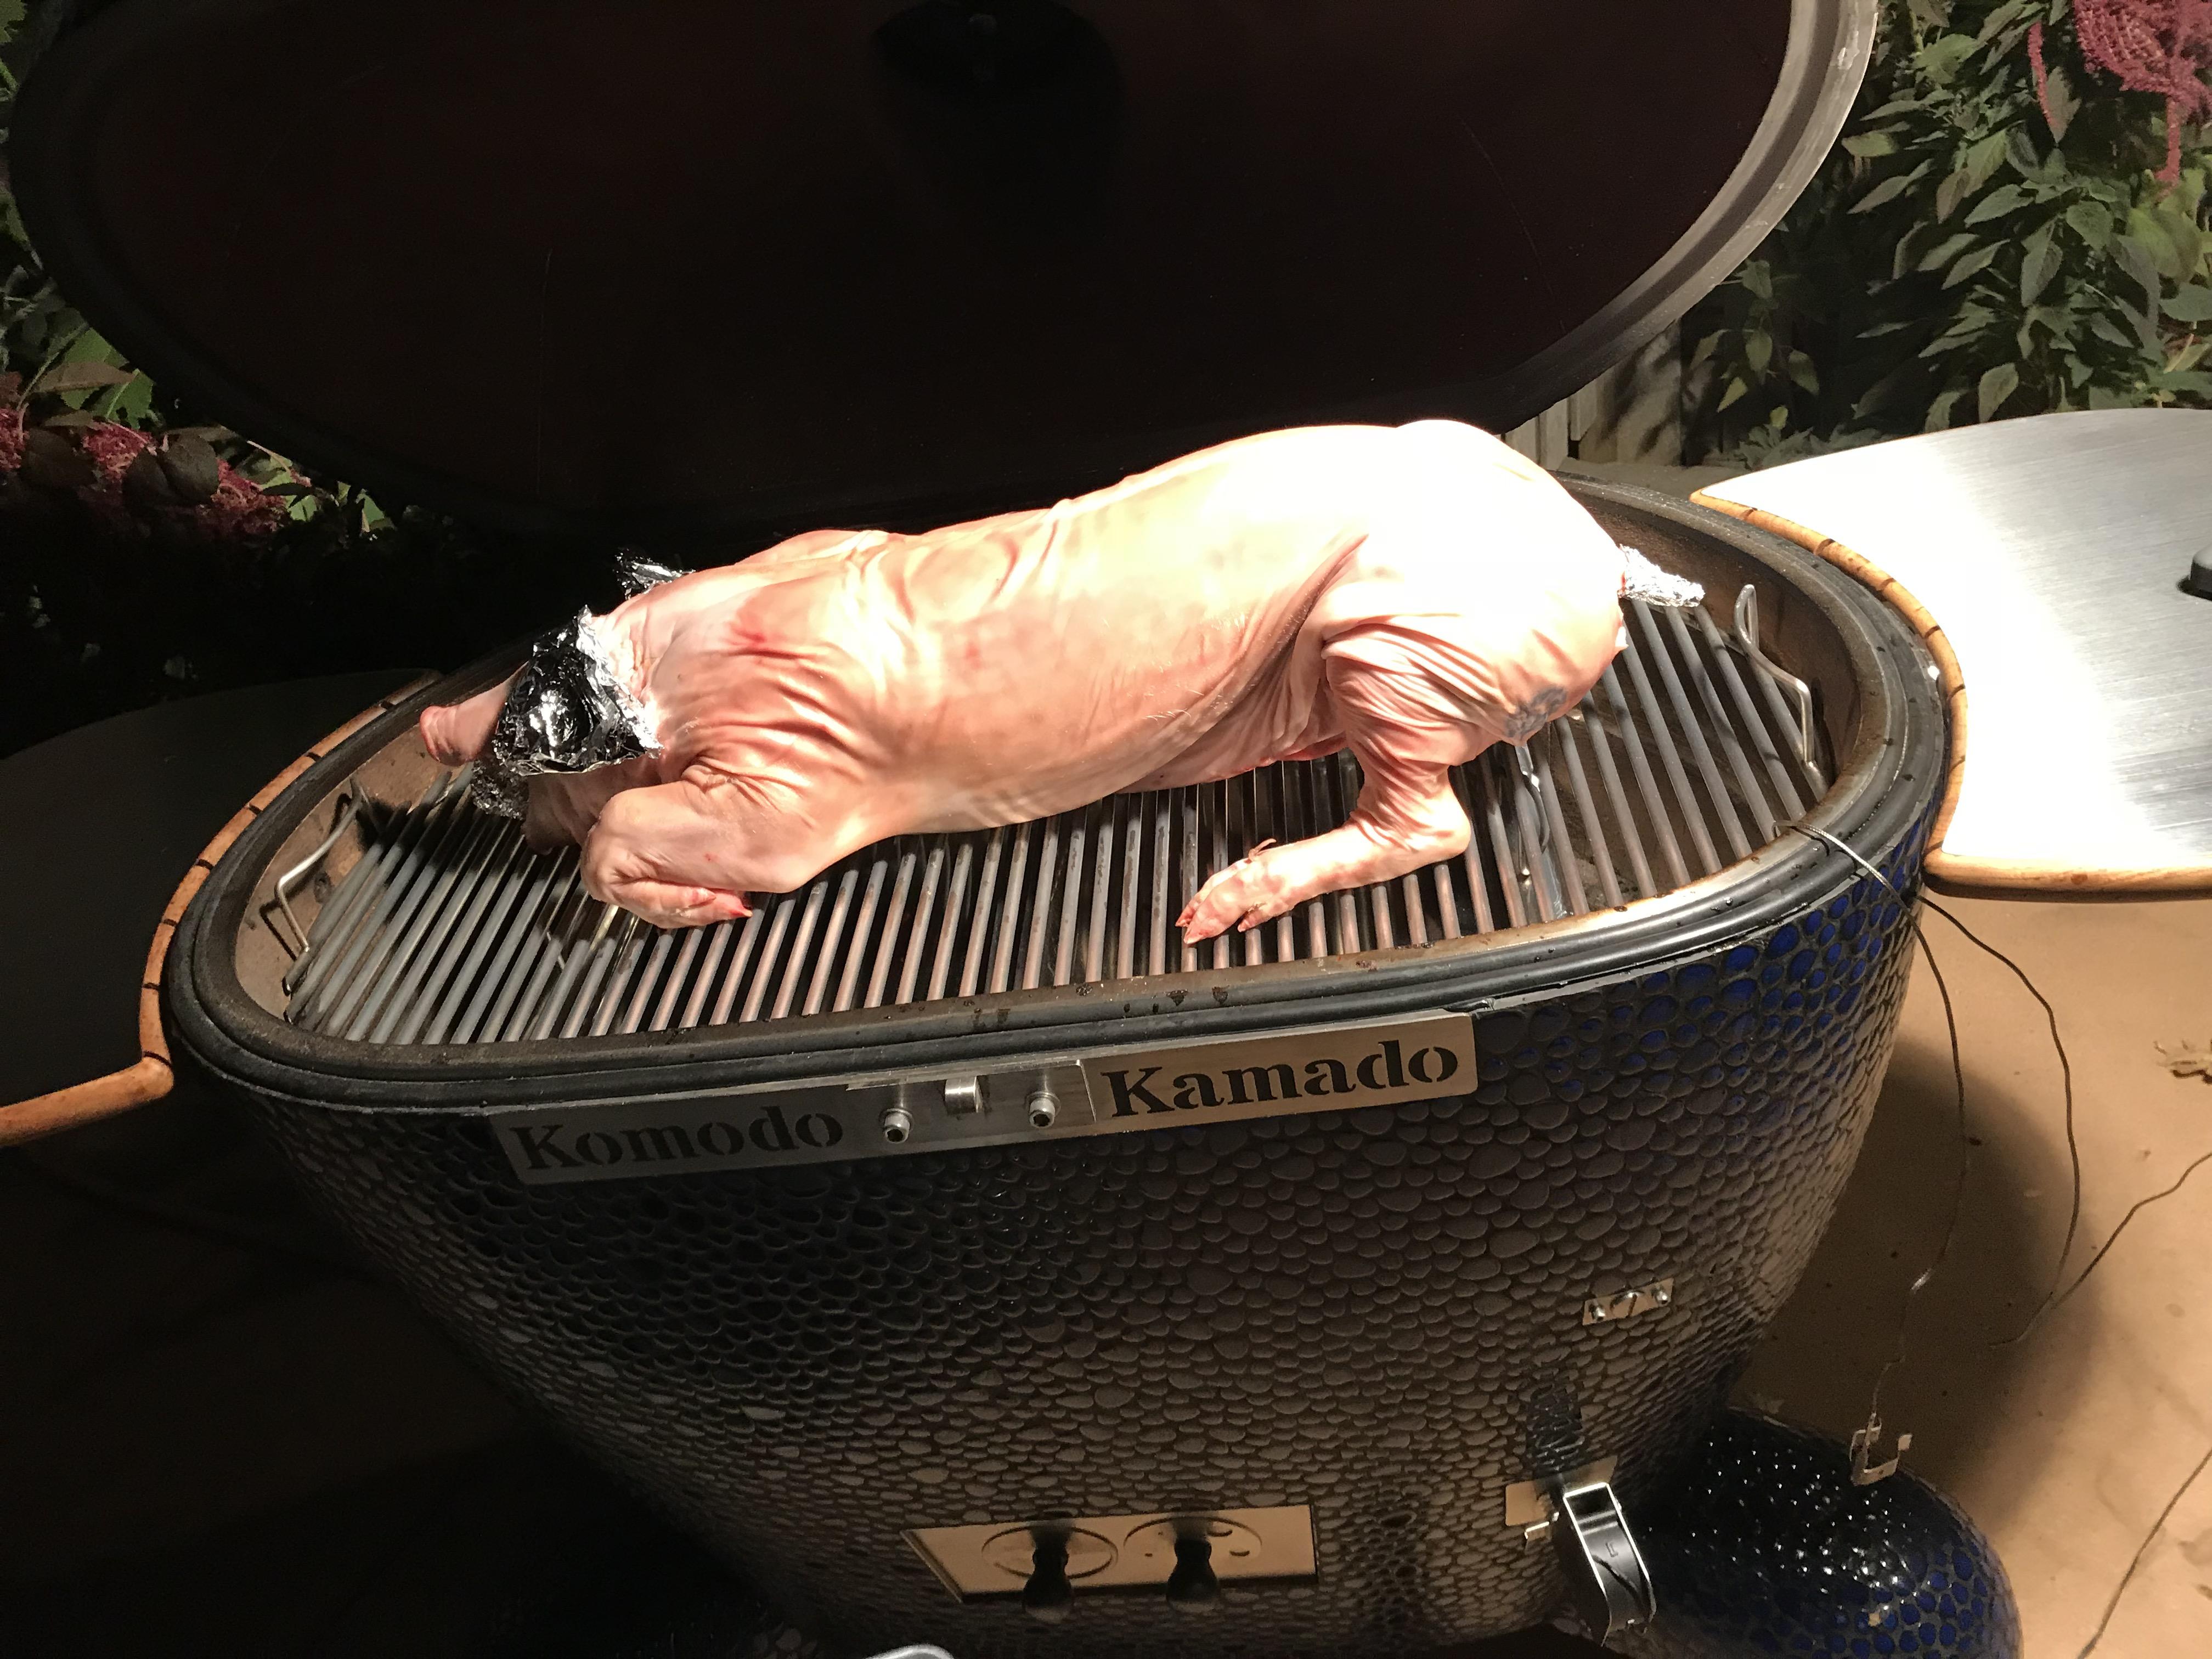
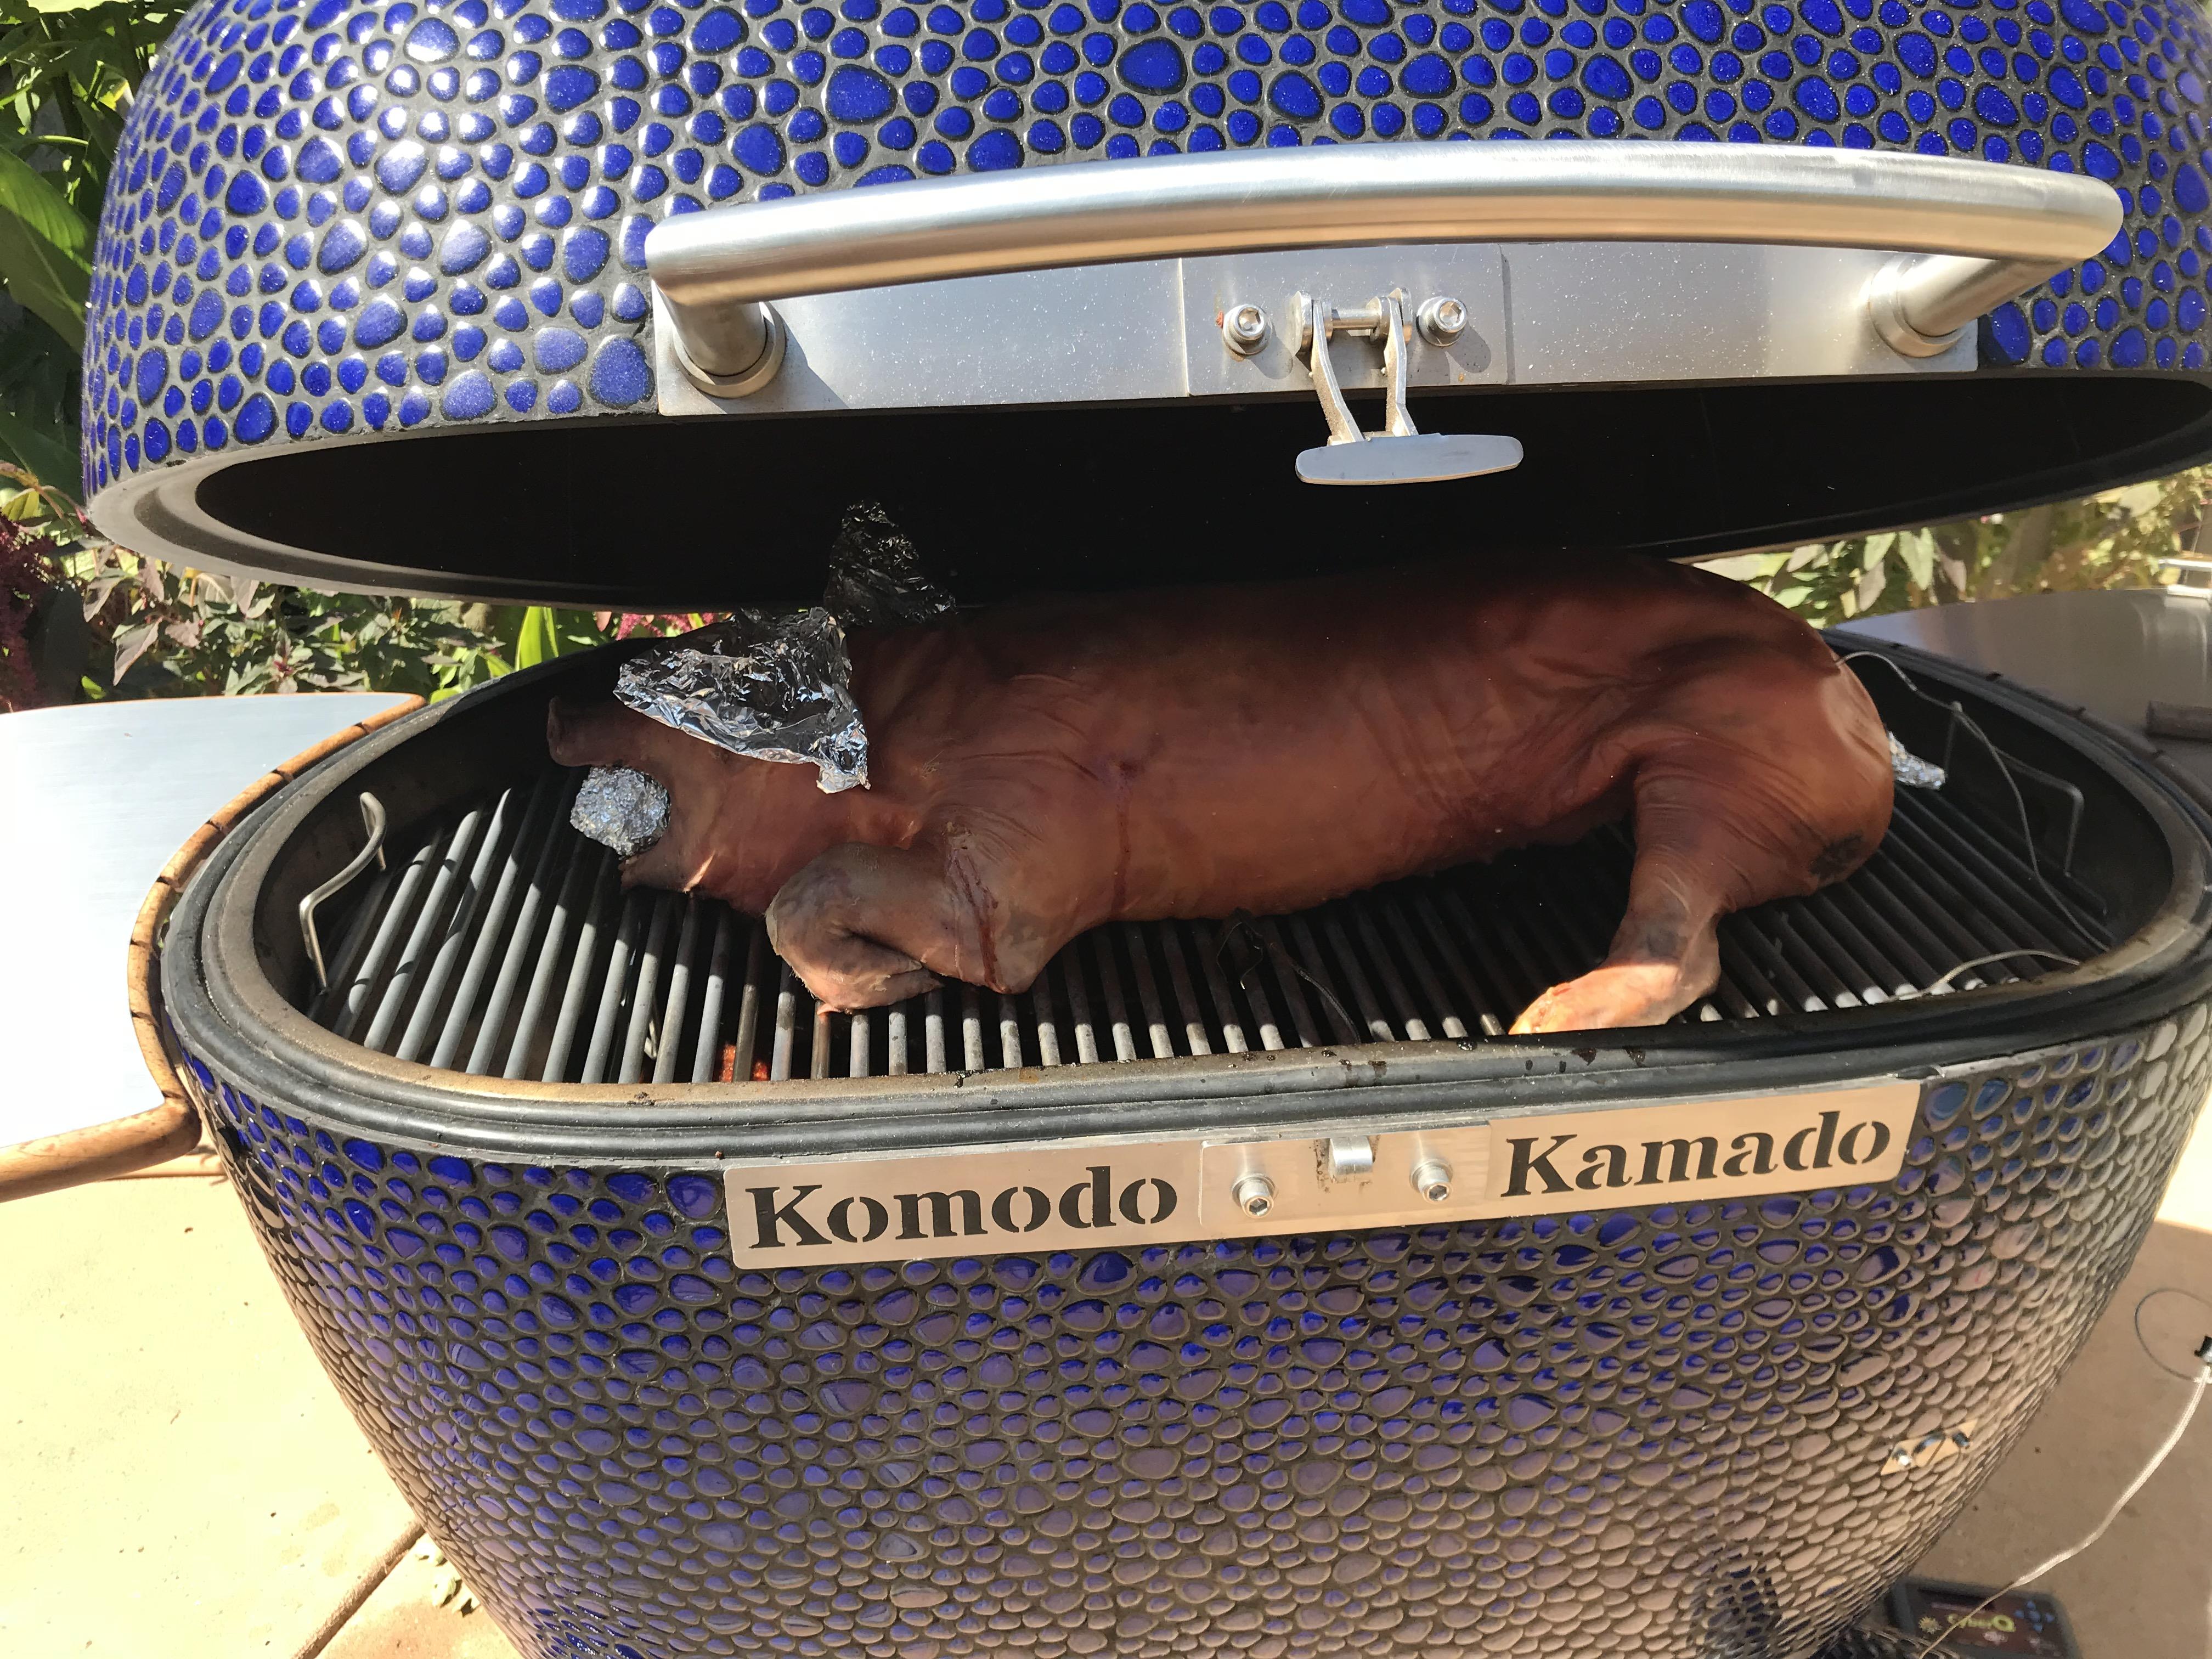
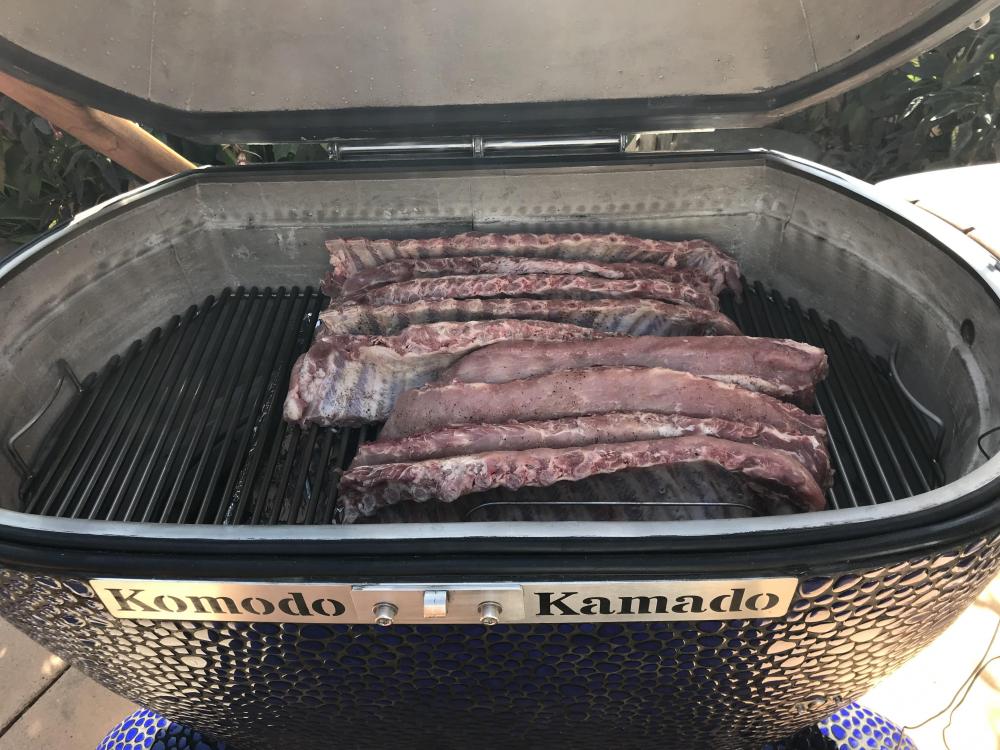
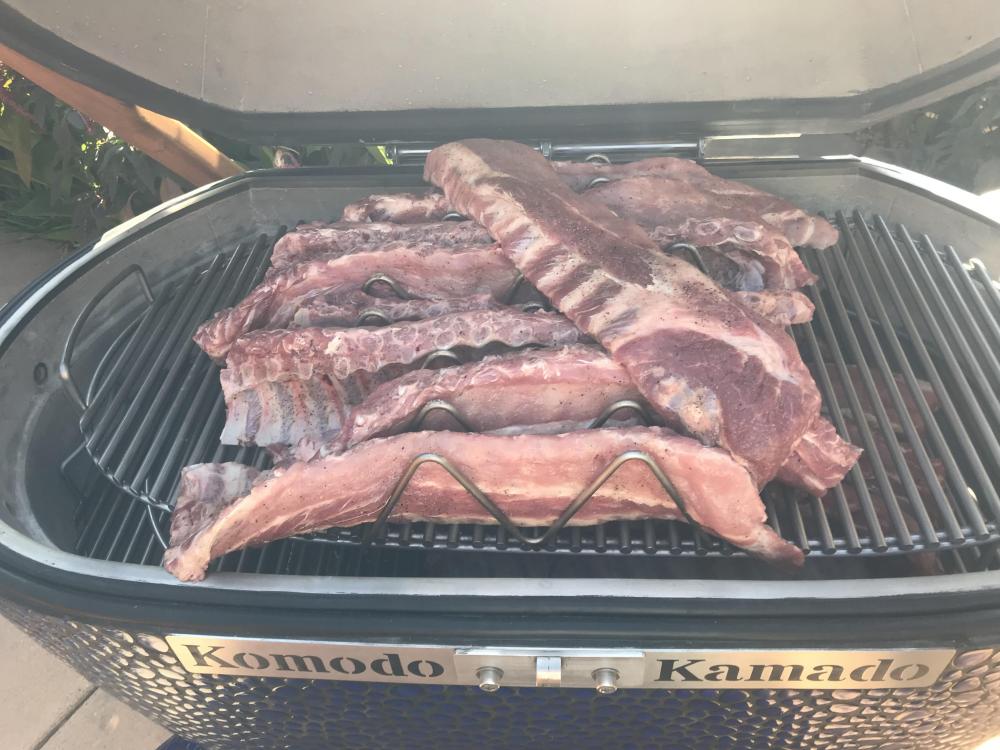
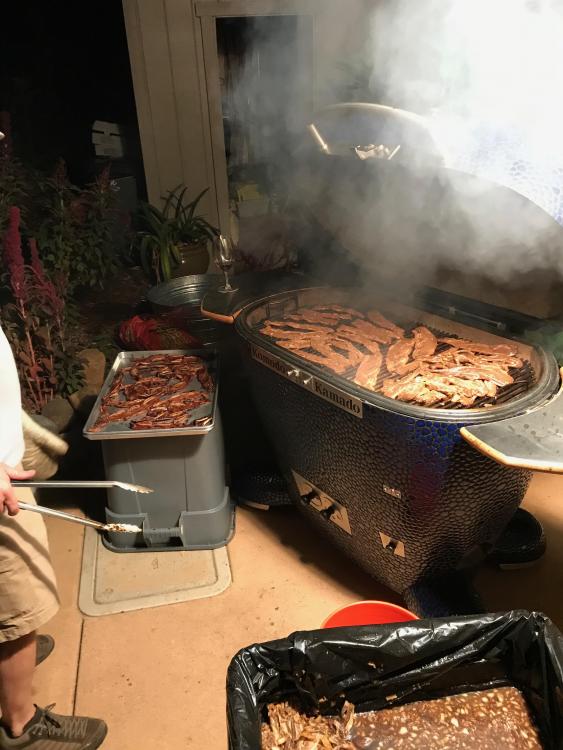
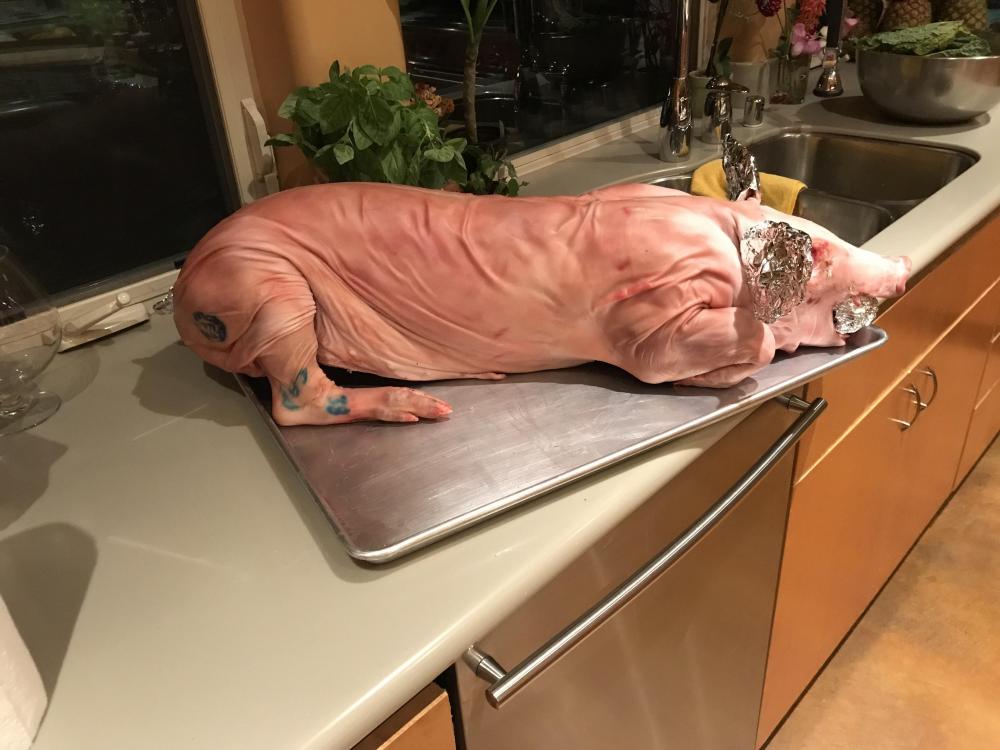
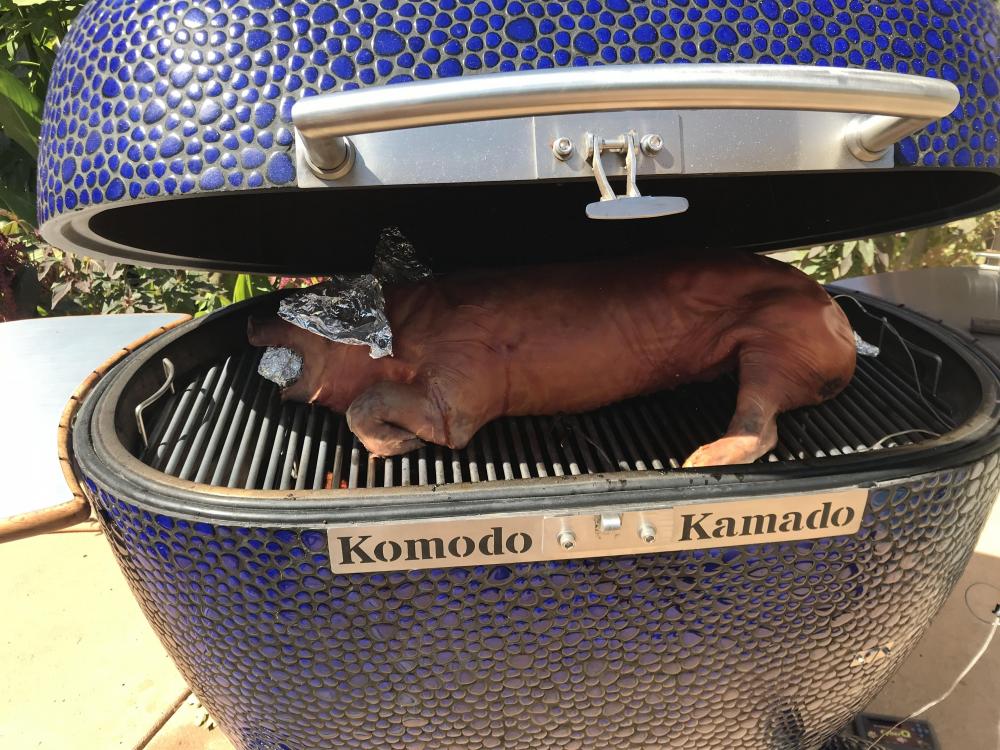
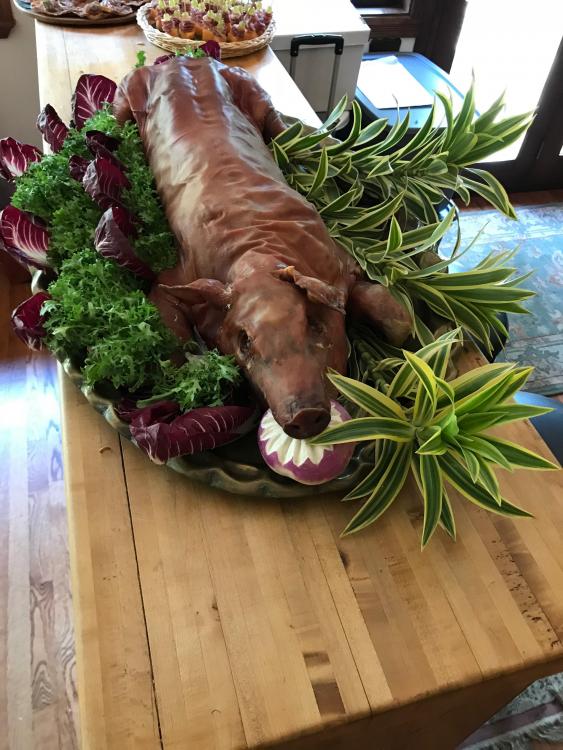
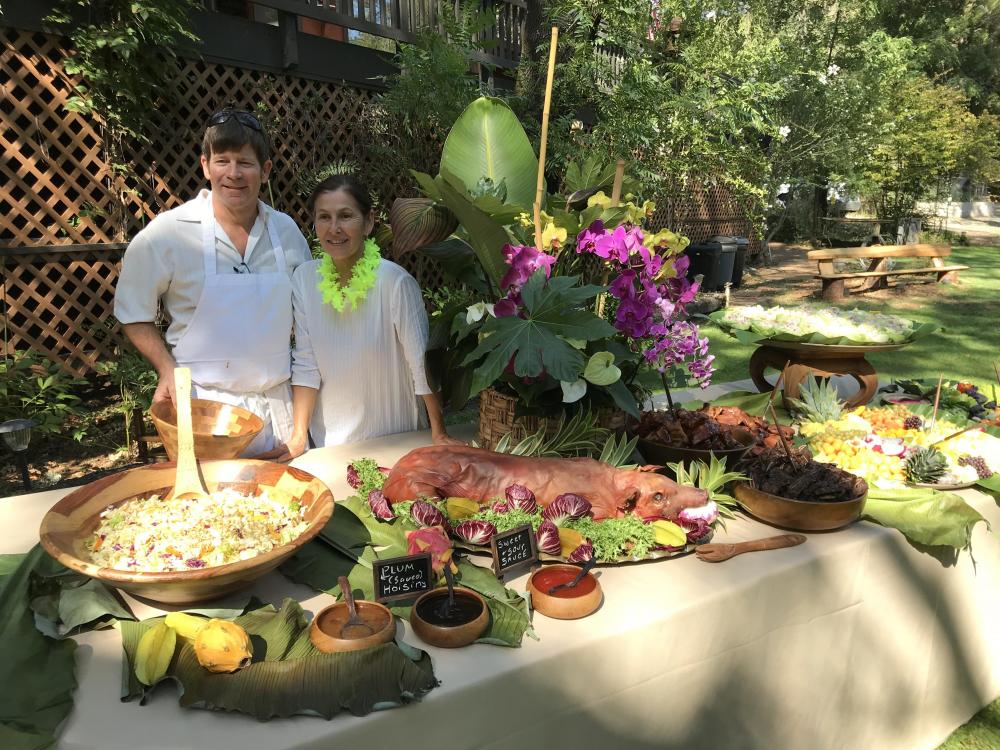
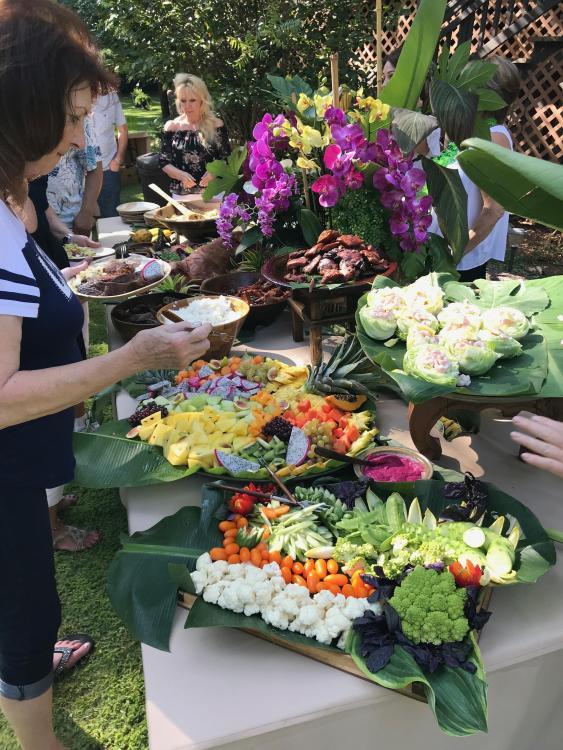
Thank you for all the congratulations and positive comments! I did mention that I would be cooking a pig on the 42 for a wedding reception Luau on Saturday. After recovering from the job I can now share a comments and pictures along with the sequence of my first 4 cooks. I will say that Soy and sugar can make for a very messy cleanup, which I did not enjoy performing. So here goes: Monday: KK retrieved, a very good day! Tuesday: 18 Racks of Baby Backs. No time for pics after I got it started so just 1 below. I shot for the DENNIS BOOK OF WORLD RECORDS... mistakenly thinking I could easily cook 18 Racks of Baby Backs simultaneously. I miscalculated and placed the first 9 racks on the lower grate, the additional 9 racks on the Upper Grate (not the main grate). Charcoal basket splitter was at about 20% capacity with Coco Char. I don't recommend this configuration! What I should have done was: Light the coco char in the center of the basket, place a couple of heat deflectors covered with foil with attendant drip pans, then used the main grate and upper grate for the cook. I also would recommend splitting the cook into 2 sessions 4 rack on on grate and 5 on the other. This would improve the airflow and browning/bark on the rib racks. I survived the cook, took almost 8 hours, and I had to add coco char, and rotate the ribs between grates to get the desired results. Lots more work that I wanted to do, and a horrendous amount of cleanup. Wednesday: 40 lbs of Korean Beef Spareribs This was a cook that blew my mind! After I spent a whole work day cooking baby backs, I was afraid I would find myself spending another long night working this ribs through their cooking process. Not so! I received the cross-cut short Ribs (Korean style doesn't separate the individual ribs but rather cross cuts through the bones, my ribs were only 1/4" thick) on Monday and marinated them in traditional Brown Sugar Rub, Soy, garlic, onion, ginger and diced asian pears overnight. I loaded the basket with hardwood lump charcoal and lit in 4 placed across the bottom of the cooker, closed the lid and heat soaked to 325. Took about an hour to get to operating temperature. Then I opened up and started laying on the ribs from left to right. by the time I go the ribs laid out, it was time to flip. So I flipped, then started retrieving. About an hour later, I was done! Great results, but a very crusty set of stainless to deal with, burnt on marinade was a real pain to clean! One note, because the cook went so fast, I had to leave the top open, this allowed tons of airflow to the coals and when I was done and closed the lid, my temp soared to 550 degrees at shut down. This caused the grill to start off-gassing for a short while so I had to babysit the KK for a couple more hours pressing down the tiles as a few started to bubble from beneath. No big deal as the hardwood charcoal was basically consumed during the cook, so I didn't have a long session before cooling took me below the level of gassing off. Thursday: 60 lbs of Teriyaki Chicken thighs Pretty much the same as the Korean ribs. Went quick (less than an hour)! Surface area of the main grate is amazing to work with. Same lengthy cleanup though. Almost 2 hours of scrubbing grates after a full overnight soak. did not get any photos of the chicken cook. Friday: Took the day off, went and got the pig. Not a big pig, just 45 lbs. it was to be more of a center piece than the main course per the client. I had to deliver the pig by 1PM on Saturday and didn't really know what to expect from a heat soak and cook time perspective to on Friday night at about 8pm, I assembled the cook. 16 lbs of coco char in the center of the charcoal basket, no splitter installed, and lit the coals for a low n slow. I then installed supports and 2 center head deflectors covered in foil to keep them clean, placed the two drip pans on top of the deflectors and installed the main grate. I used my digit Wifi to keep the temp at 225 and let her go all night long. I got up a 4:30 AM and prepped the pig with just some salt and pepper in the cavity, a few herbs as well. I foiled the tail and ears to prevent them from over browning and stuff a ball of foil in the pigs mouth to enable placement of garnish after the cook. Put the pig in place on the grate and monitored till internal hindquarter reached 180 degrees, then I cranked up the heat to 325 to finish of the cook! at 1PM I pulled the pig at 192 degrees. That said my 16lbs of coco char burned for 17 hours and still had plenty left! A buddy and I used a couple of pitchforks to lift of the pig and serve at the wedding. Everything went very well and I will remember this week my whole life! What fun cooking with such a great and versatile tool! I was concerned that As Porky Pig would say: "th, th, th, thaat's all Folks.. !!!!


 1 point
 -
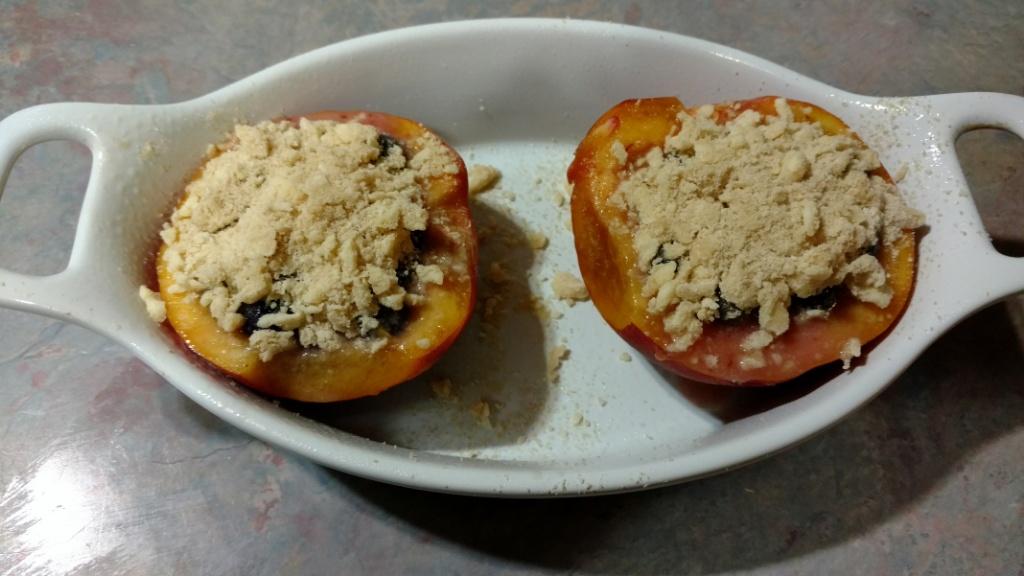
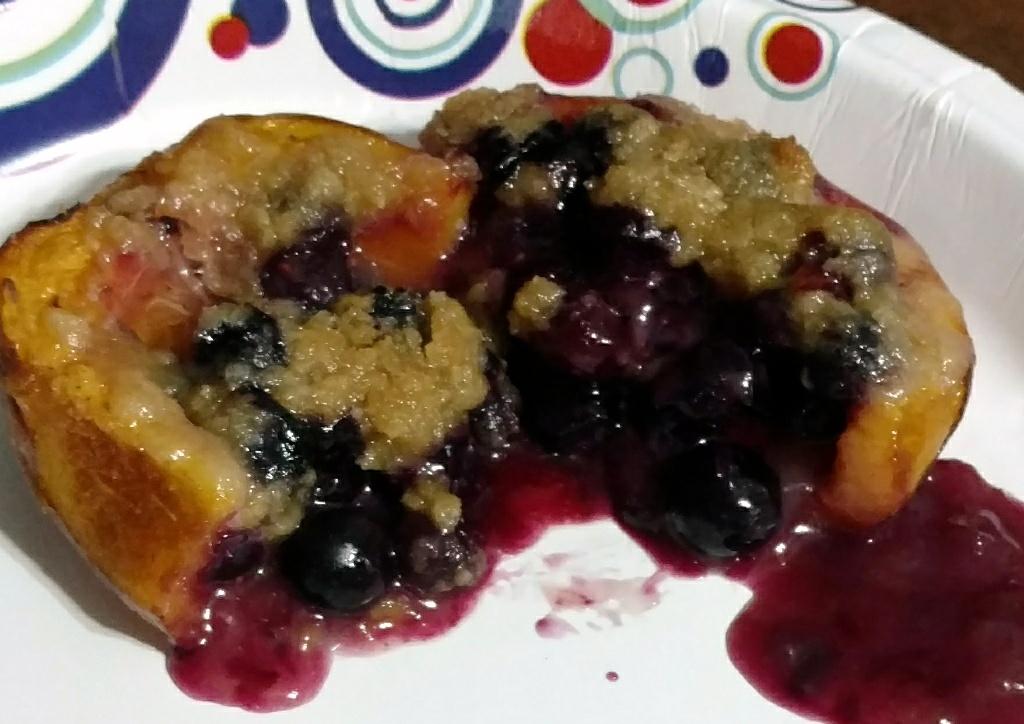
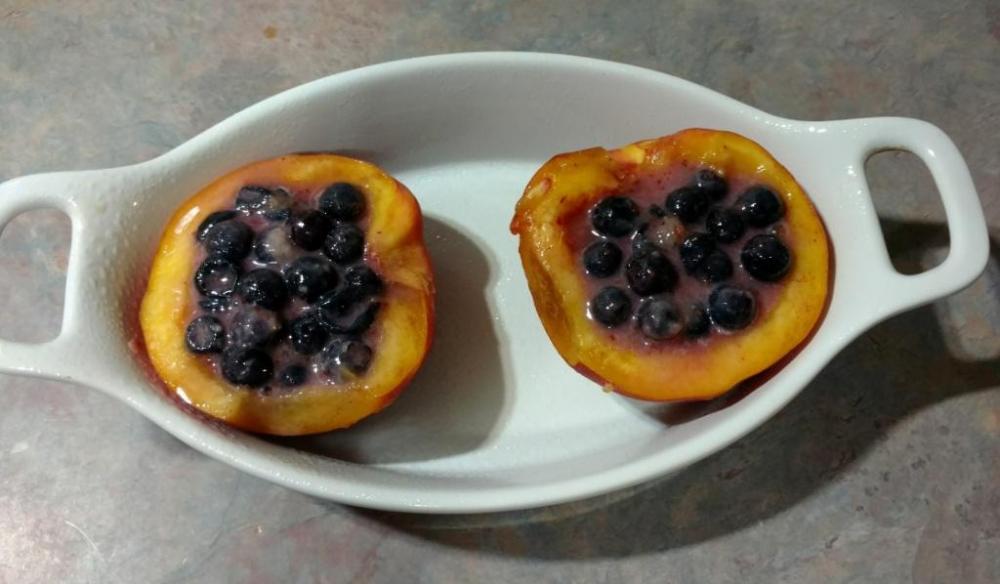
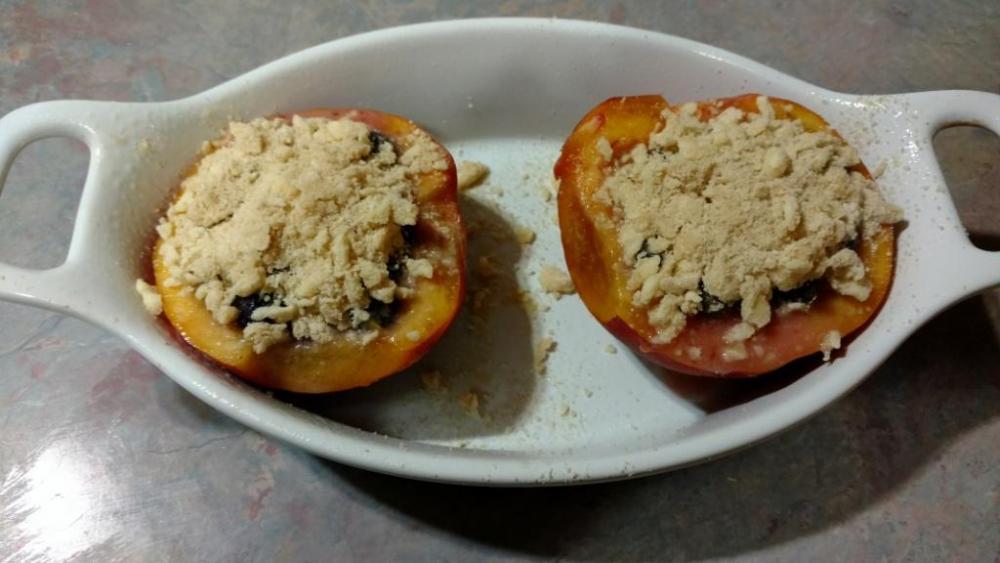
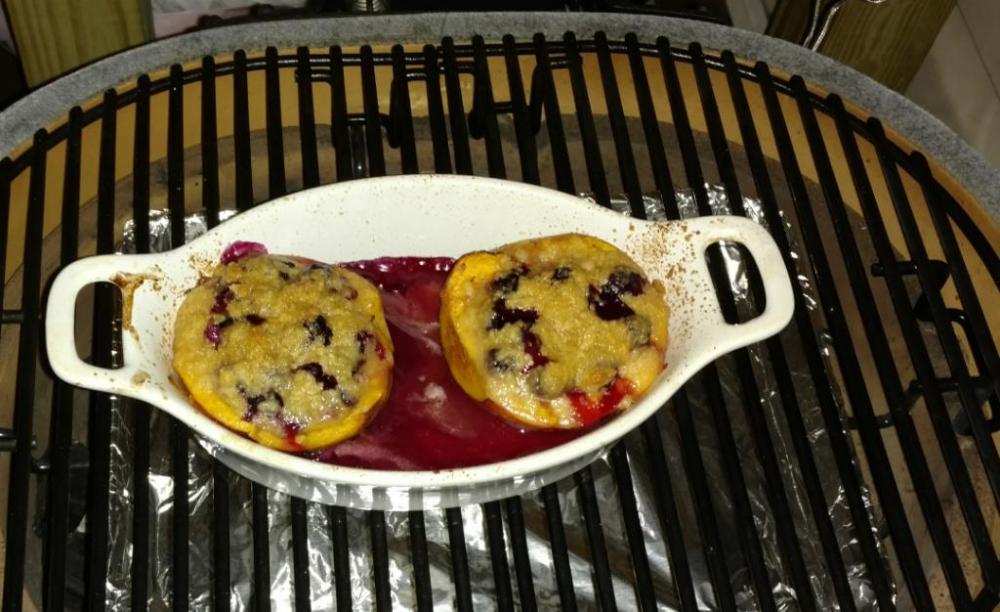
Yesterday at work an idea started to form. Took a quick mental inventory of what I had at home: Large ripe peach - check Frozen blueberries I picked this spring - check Blueberry pie recipe - check Crumble topping recipe - check With all the components at home an idea was born. Let's see what I can do with this. I started by cutting a peach in half and scooping out some of the flesh (chef's snack). Filled it with homemade Blueberry pie filling and topped with a crumble topping. Baked it indirect at 400* for about 40 minutes. Let cool for about 10 minutes then served. I always thought my cheesecake stuffed peaches was the best. This was way better, took stuffed peaches to a whole other level. Really simple procedure. Hardest part was scaling it down for one peach. Maybe this weekend I'll post a full recipe with my two stuffed peaches recipes combined into one post.
 1 point
 -
That looks great.1 point


.thumb.GIF.006d23b9323146d2dd9055f4e195bc2a.GIF)