Leaderboard
.thumb.GIF.006d23b9323146d2dd9055f4e195bc2a.GIF)


Popular Content
Showing content with the highest reputation on 01/02/2023 in all areas
-
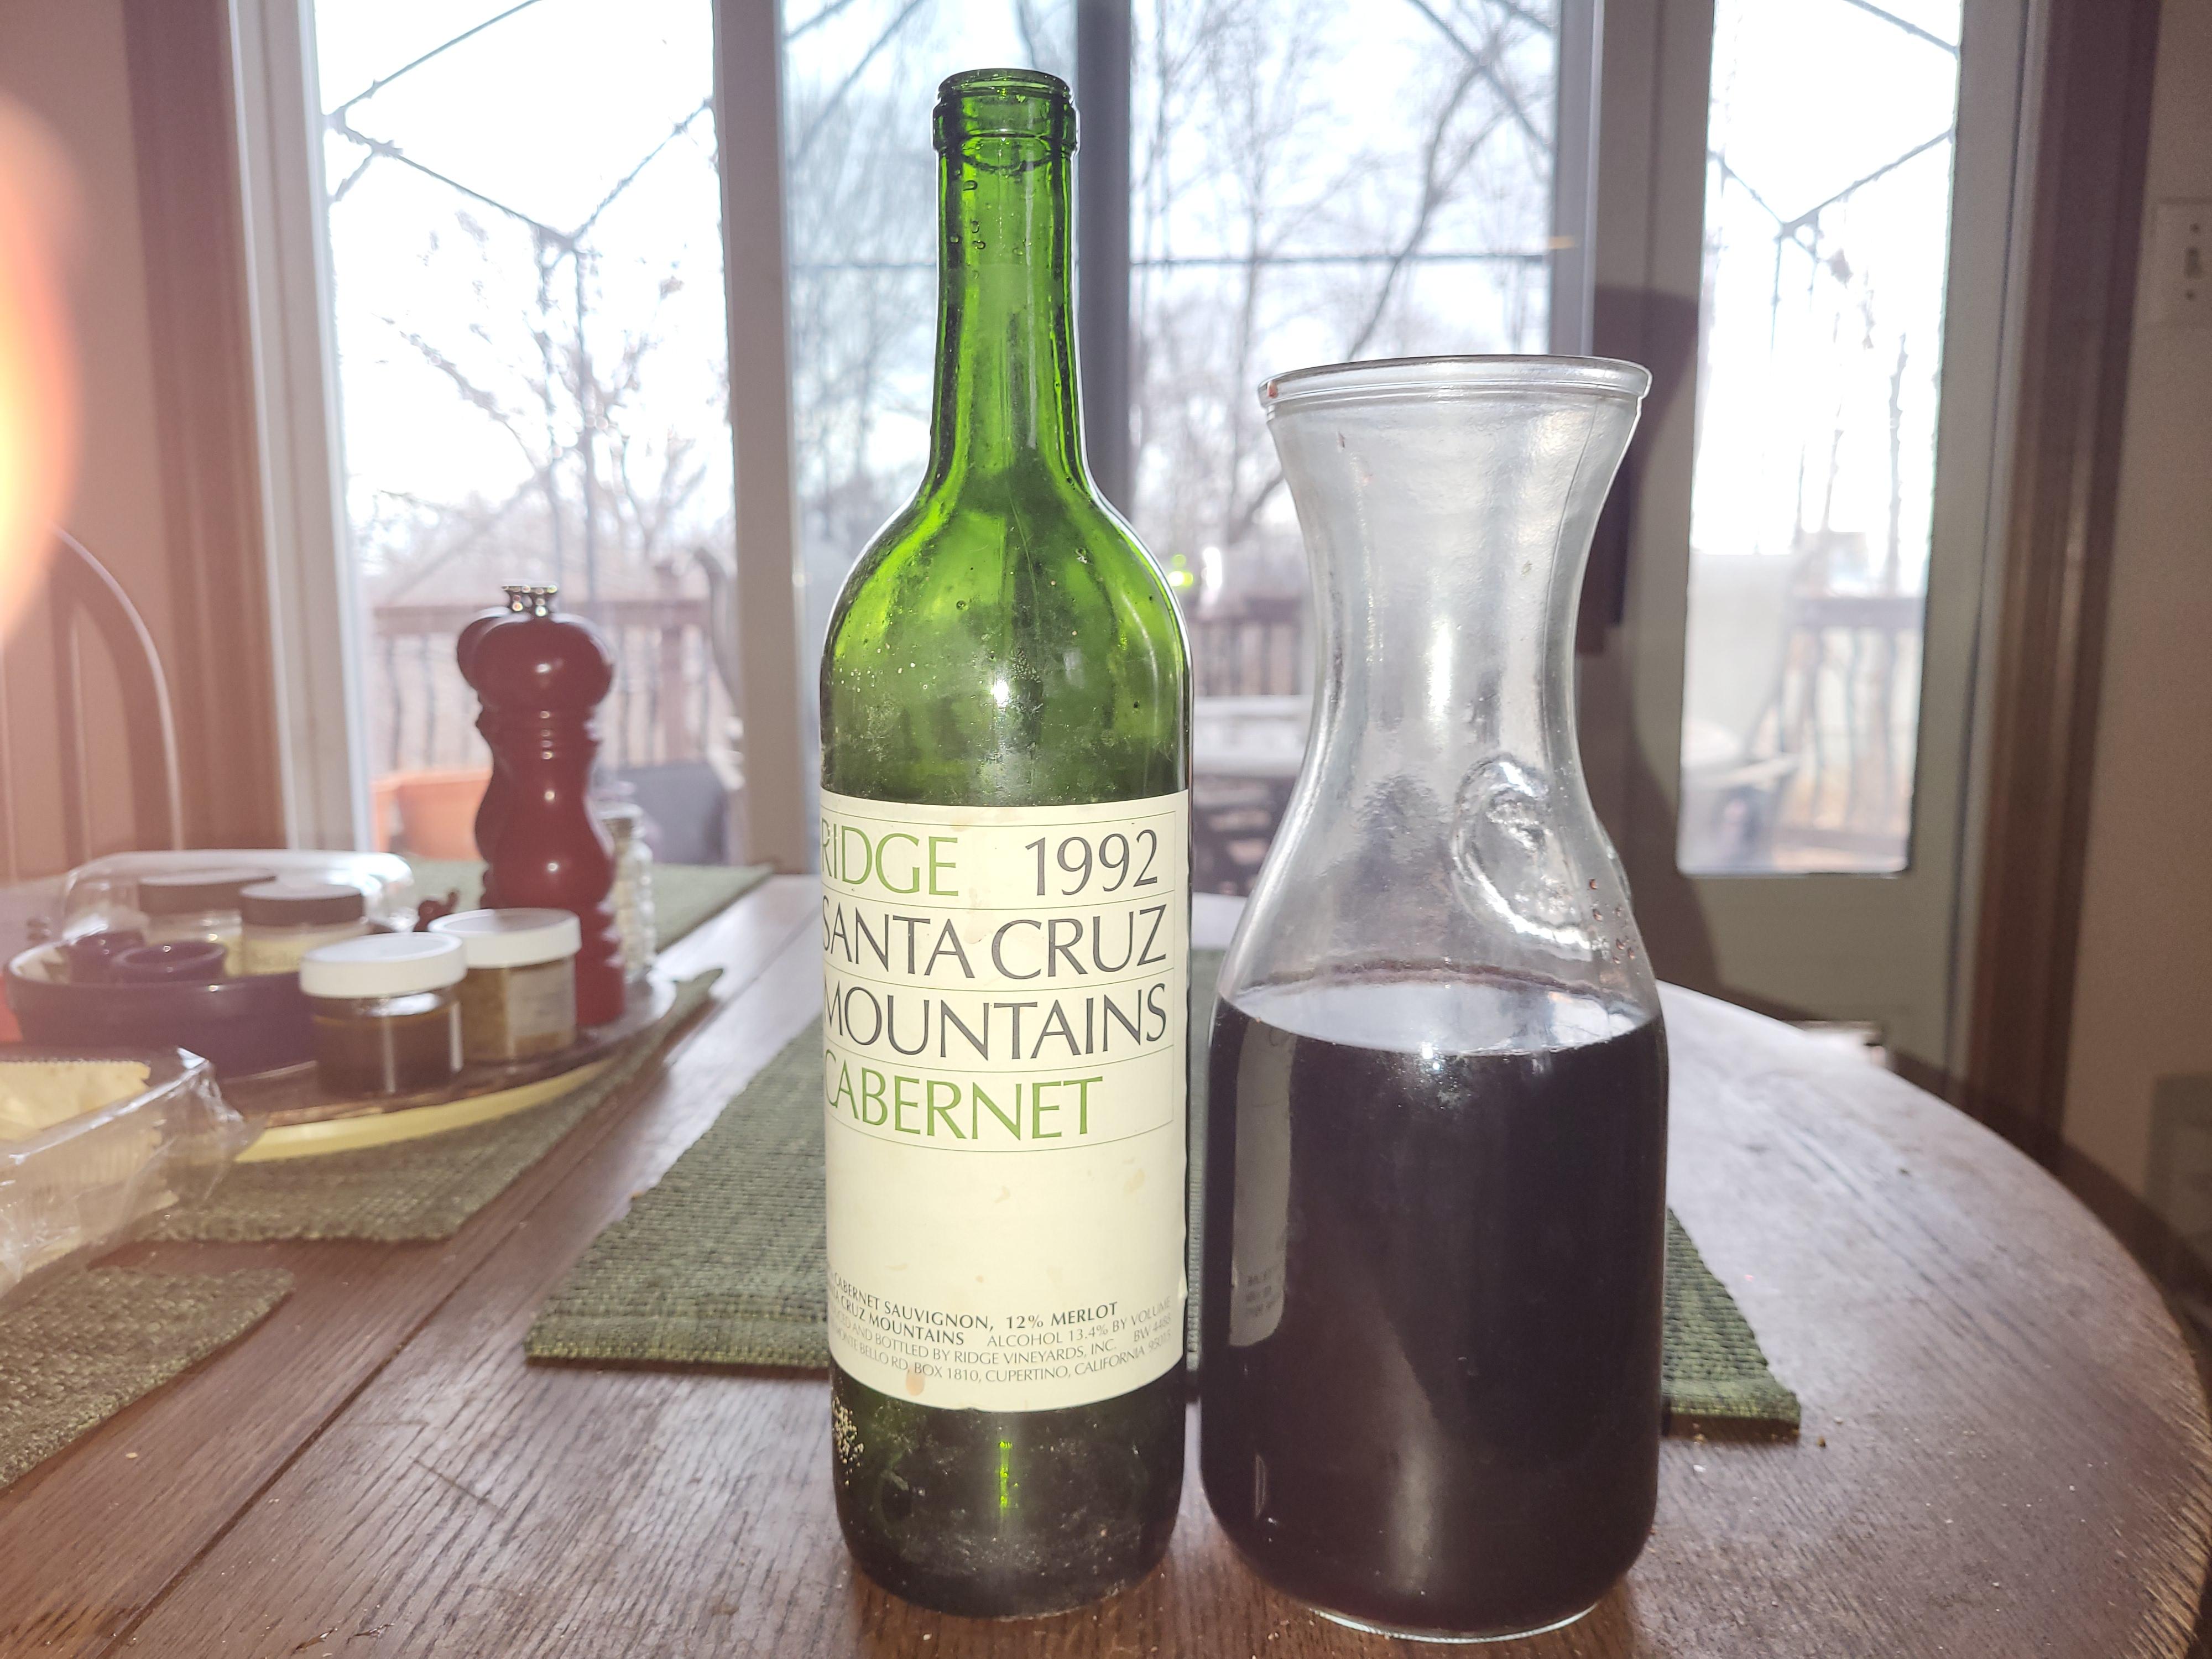
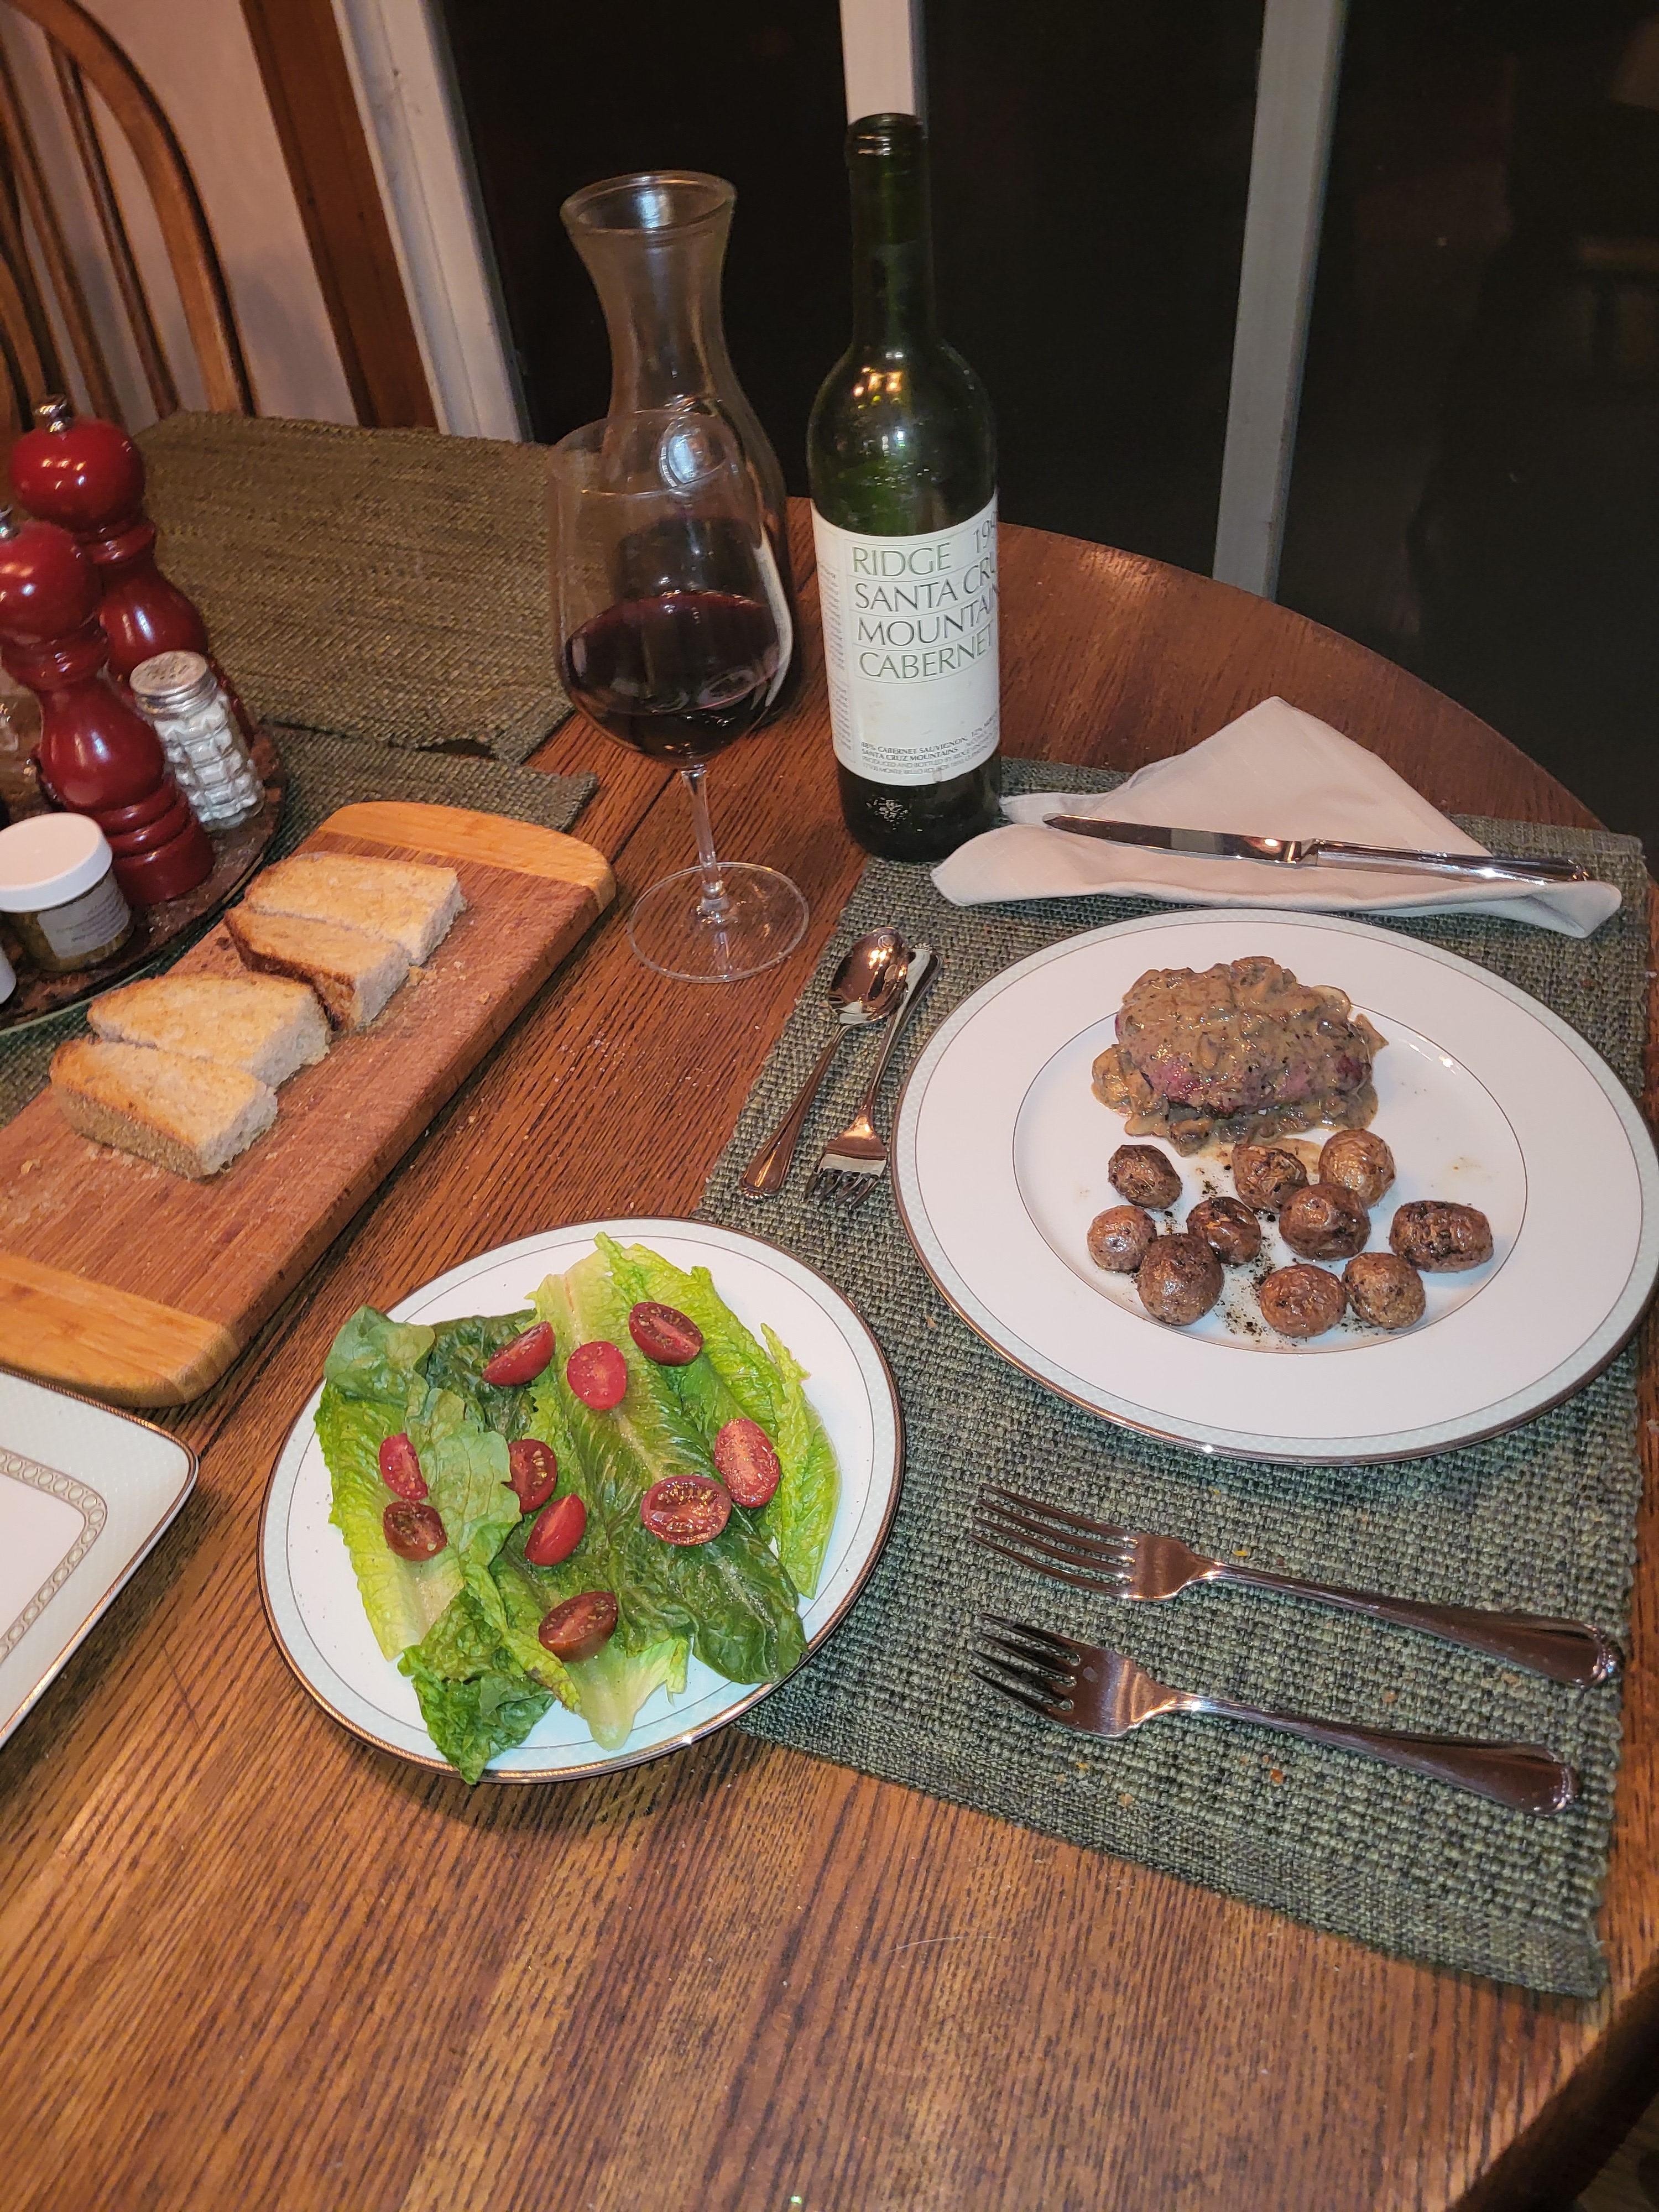
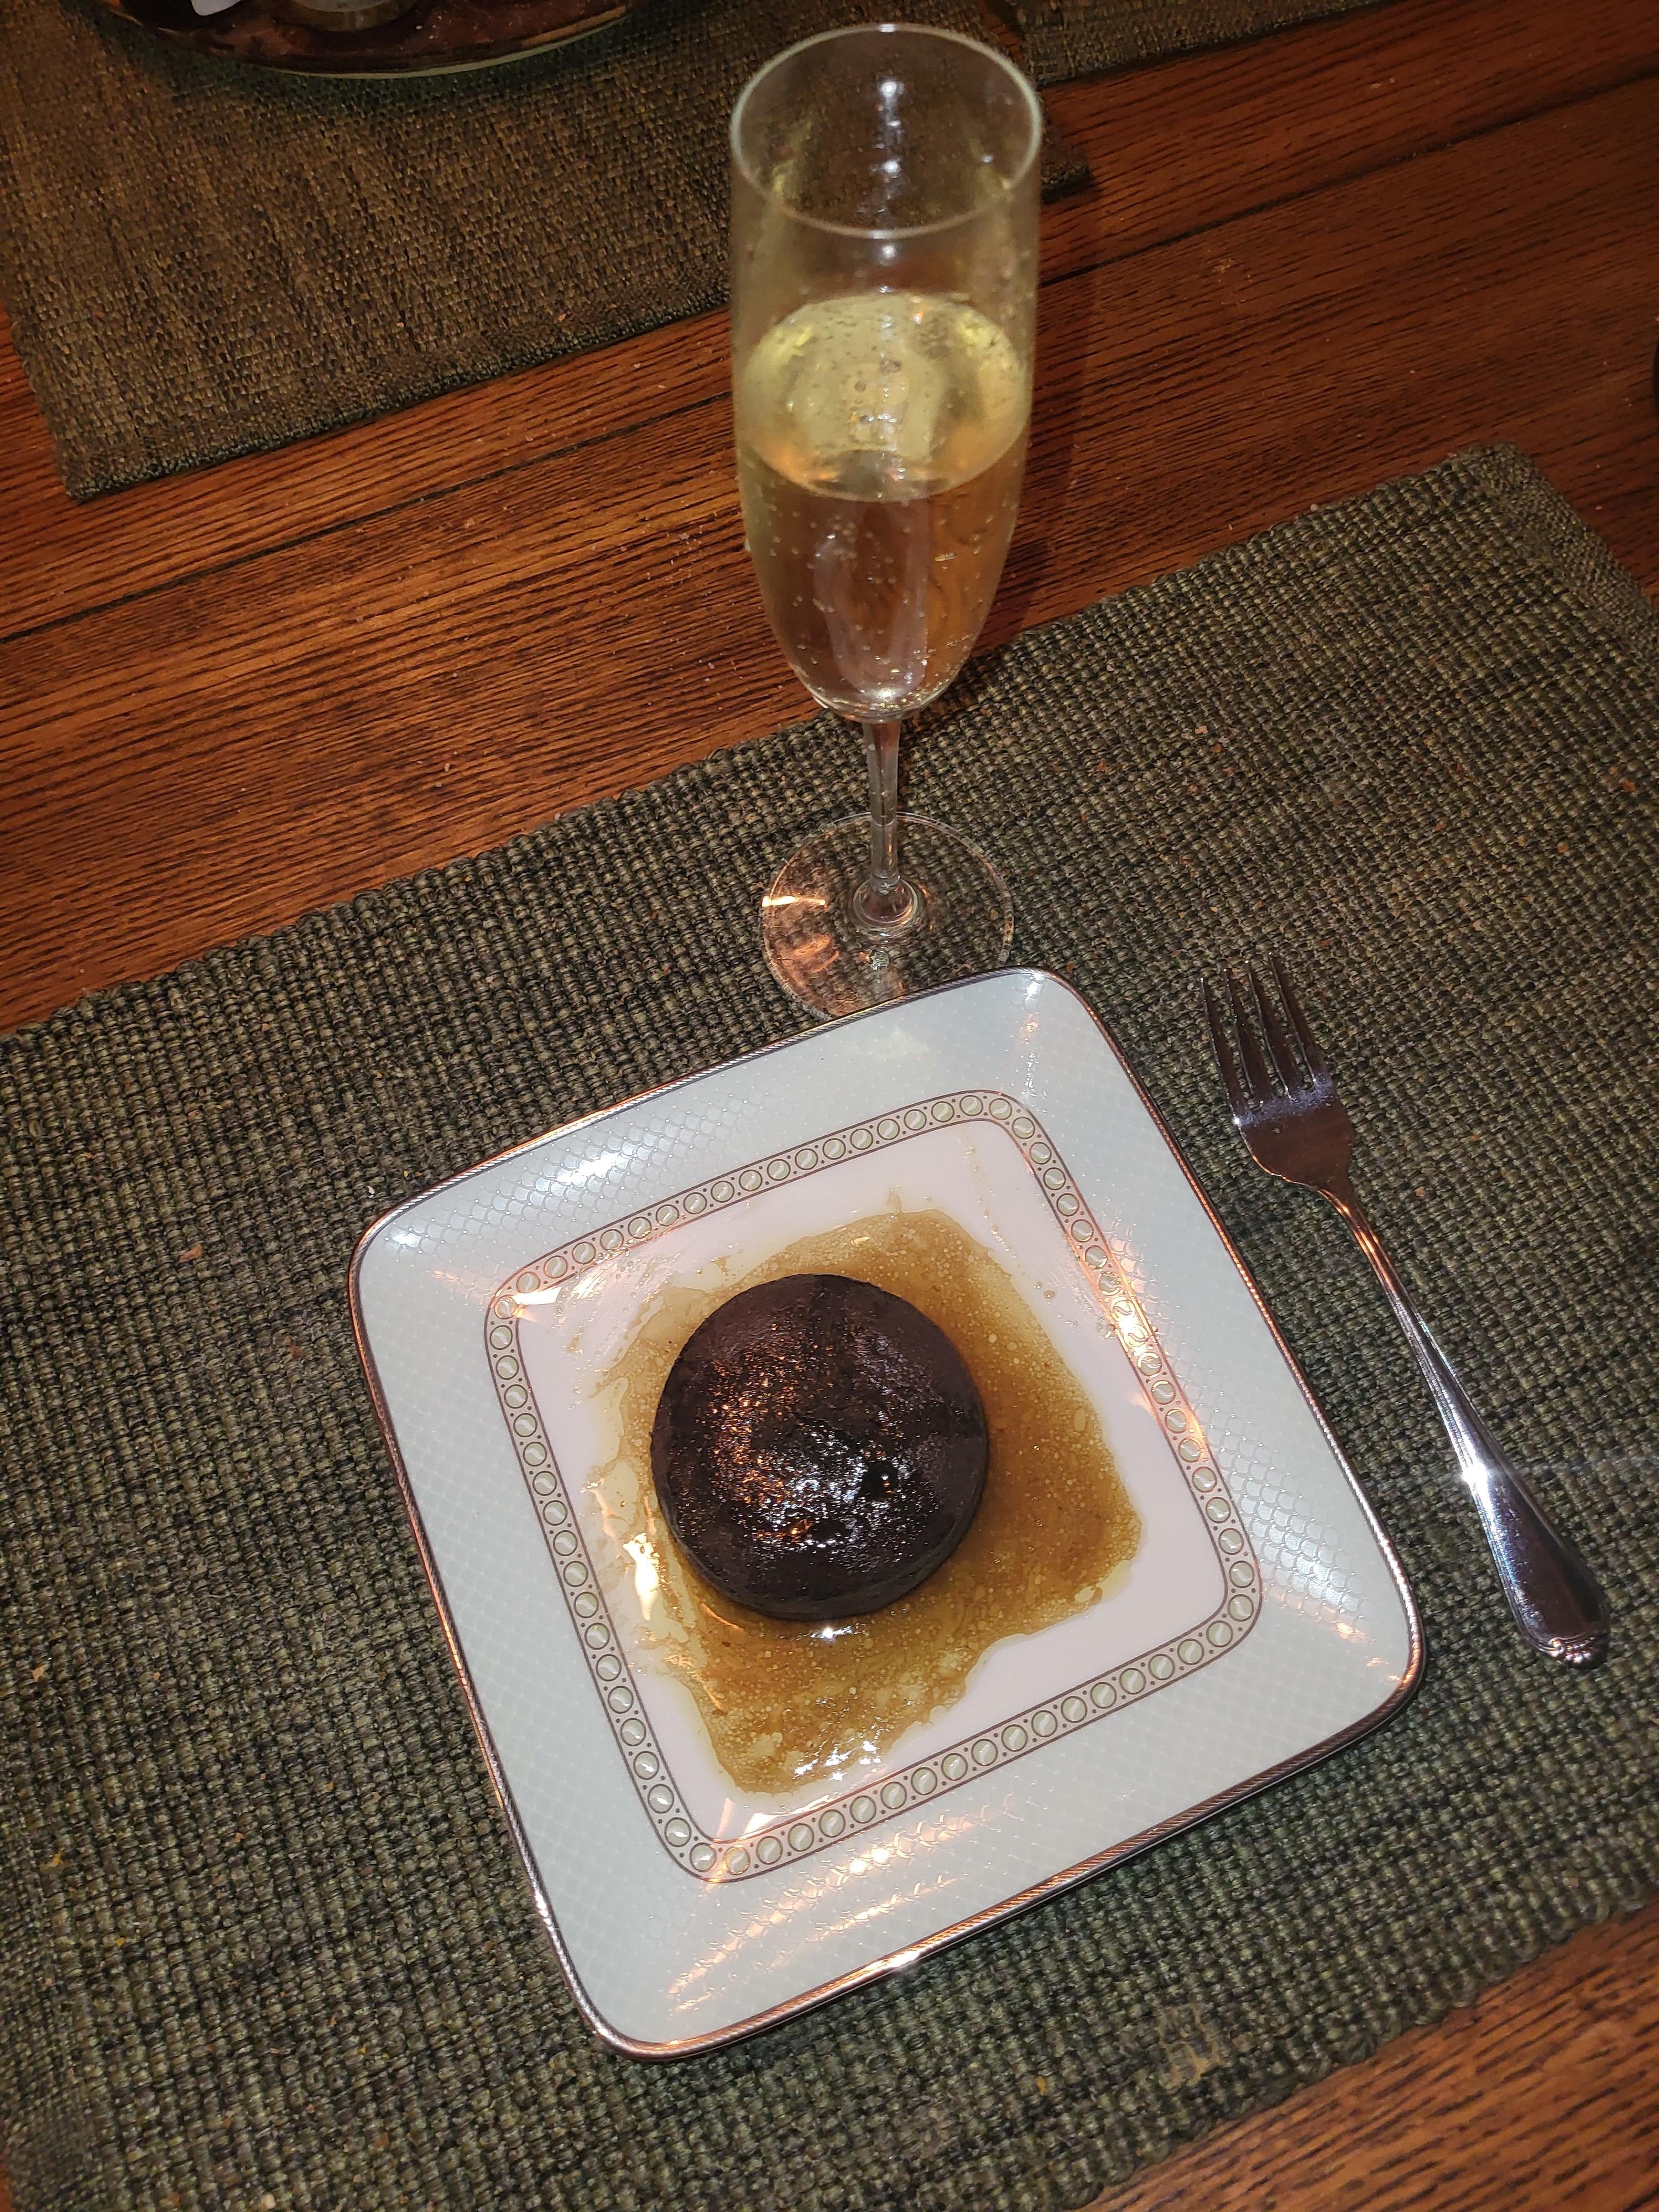
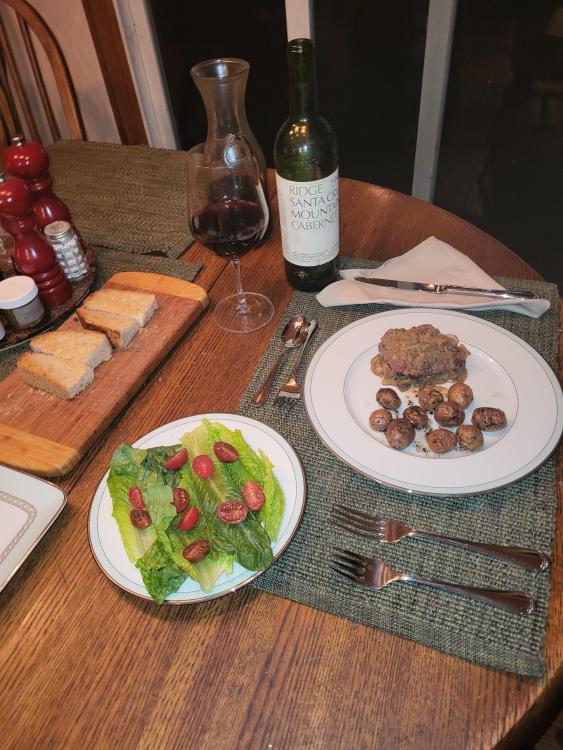
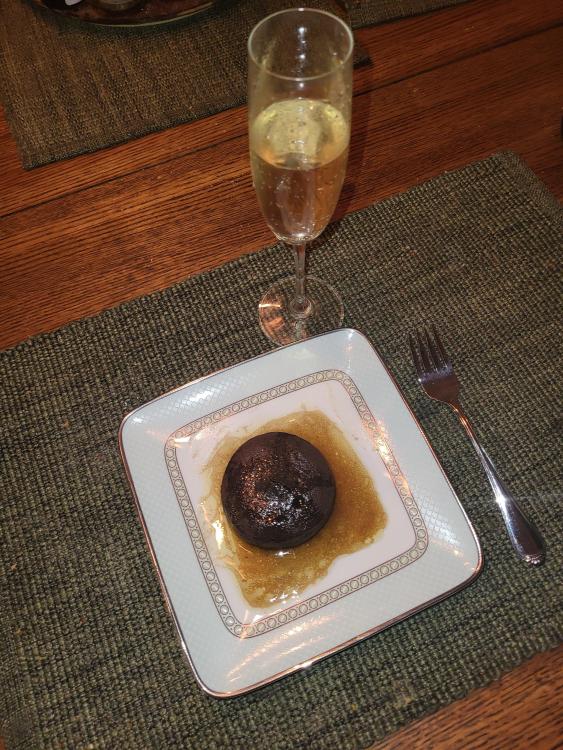
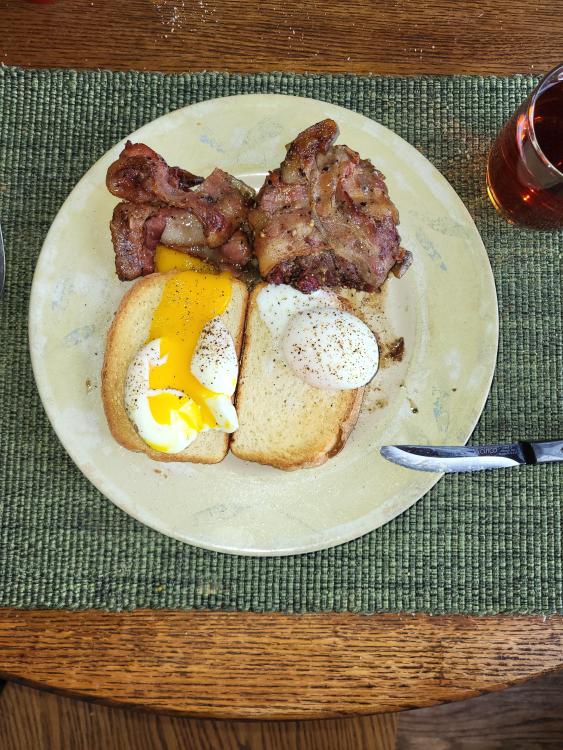
@Dave E Lovely hunk of meat! I did bacon-wrapped beef tenderloins - direct, lower grate, 350F dome, coffee wood and post oak chunks. Rub of Monterey Steak Seasoning. Being NYE and all, dug deep in the wine cellar for this one - 30 year old Cab from Ridge. So, of course, I had to break out the china. Plated with truffled roasted baby potatoes and a nice romaine salad with blue cheese dressing. Dessert was a chocolate lava cake with Bourbon caramel sauce and some bubbly. Leftovers this morning for brunch - sous vide poached eggs and tenderloin on toast. Being good - just cherry juice - straight up! 2023 is off to a good start - let's hope it keeps going this well! Happy New Year everyone!

 5 points
 -
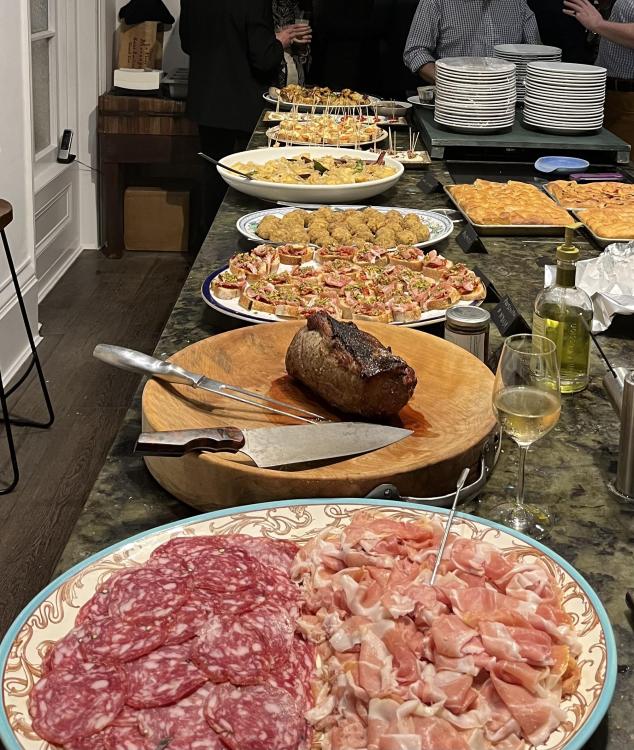
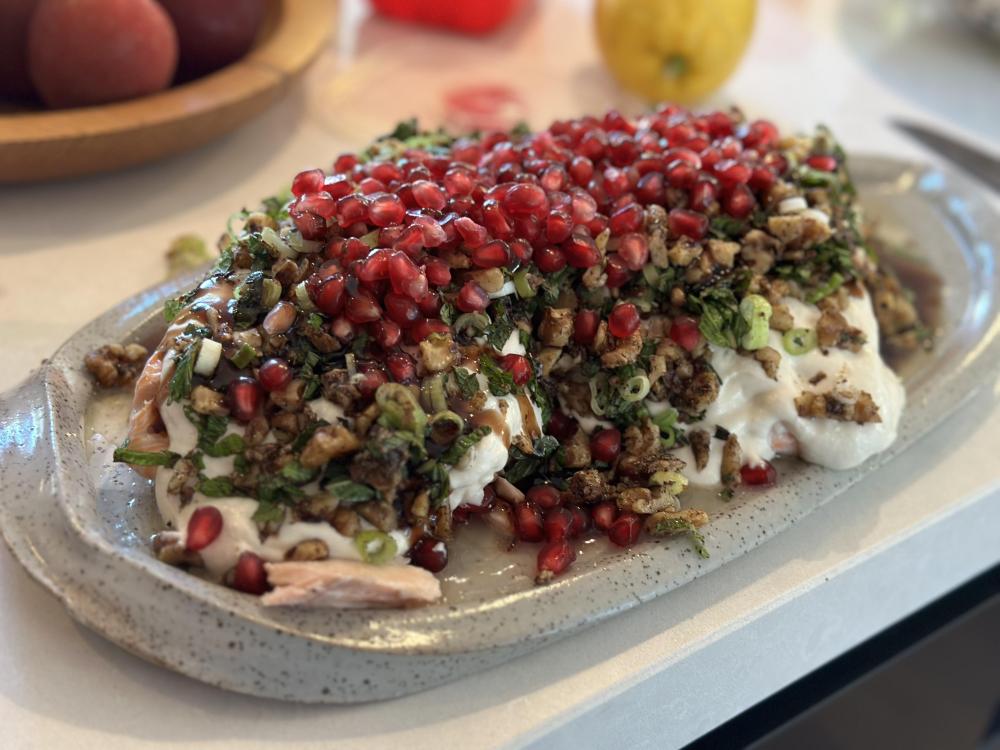
Happy New Year from the south of England. The weather here was awful so no KK action for our New Year's party but we did have a good spread of Venetian cicchetti.
 4 points
 -
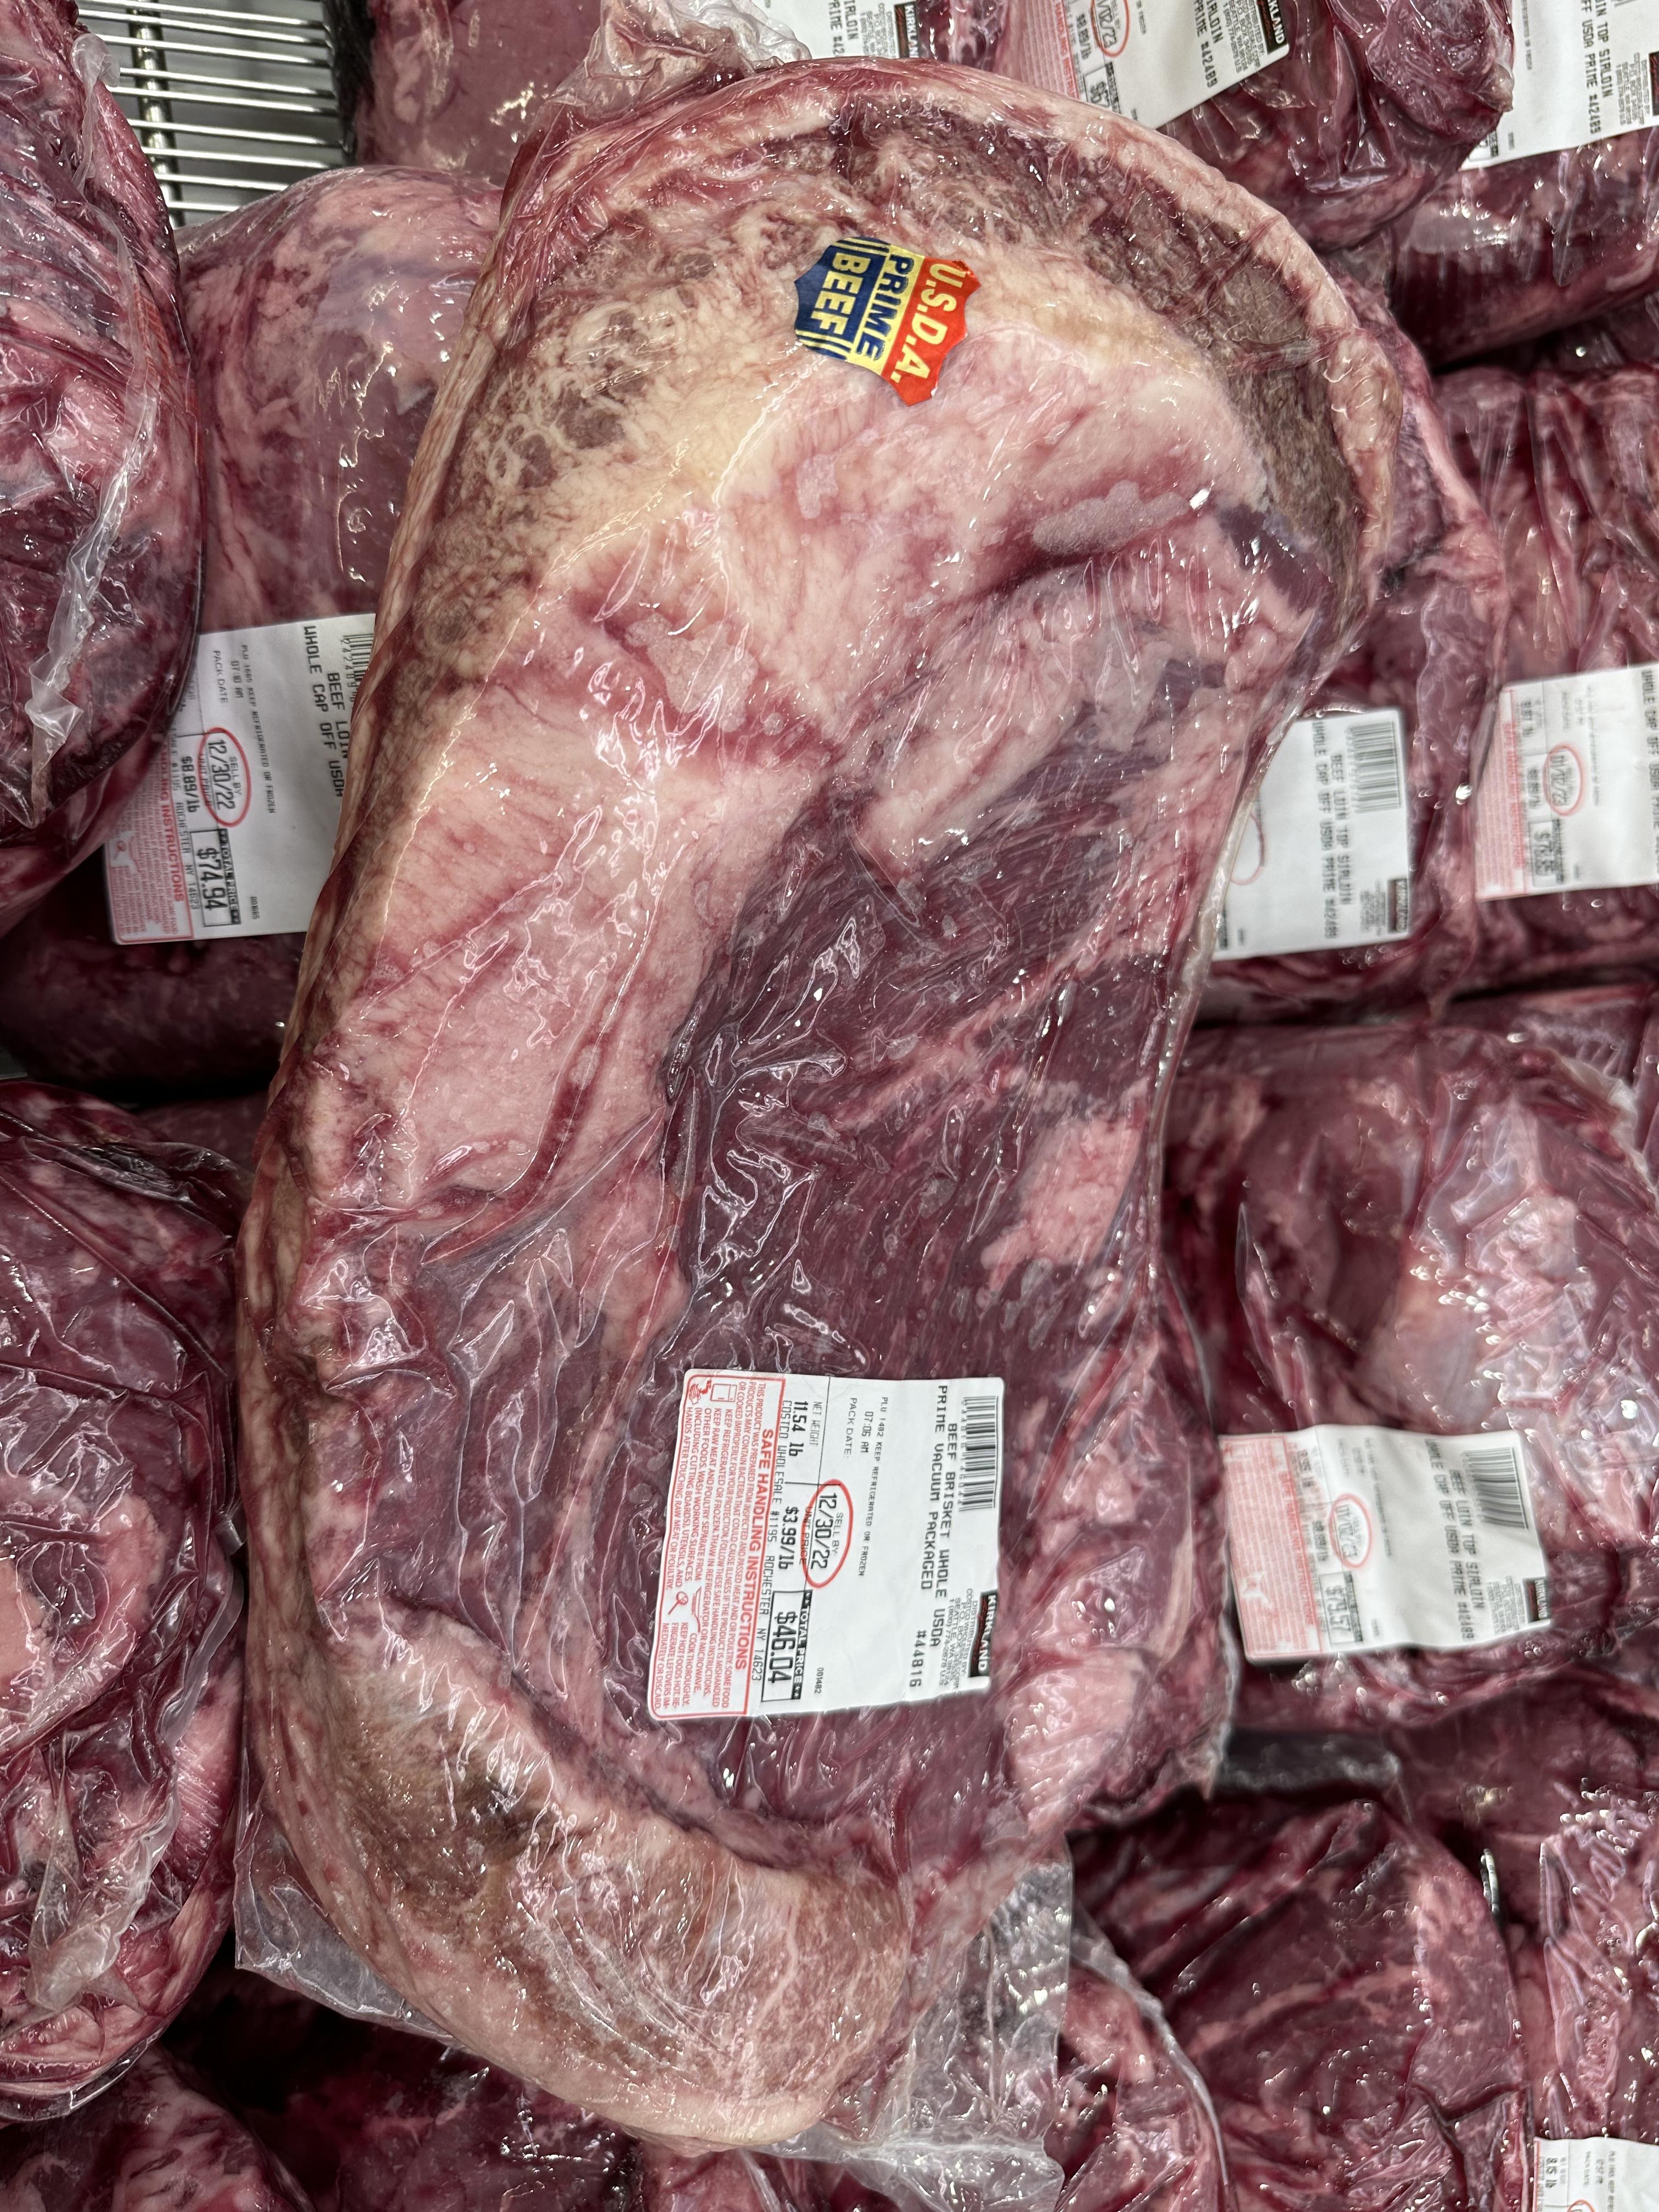
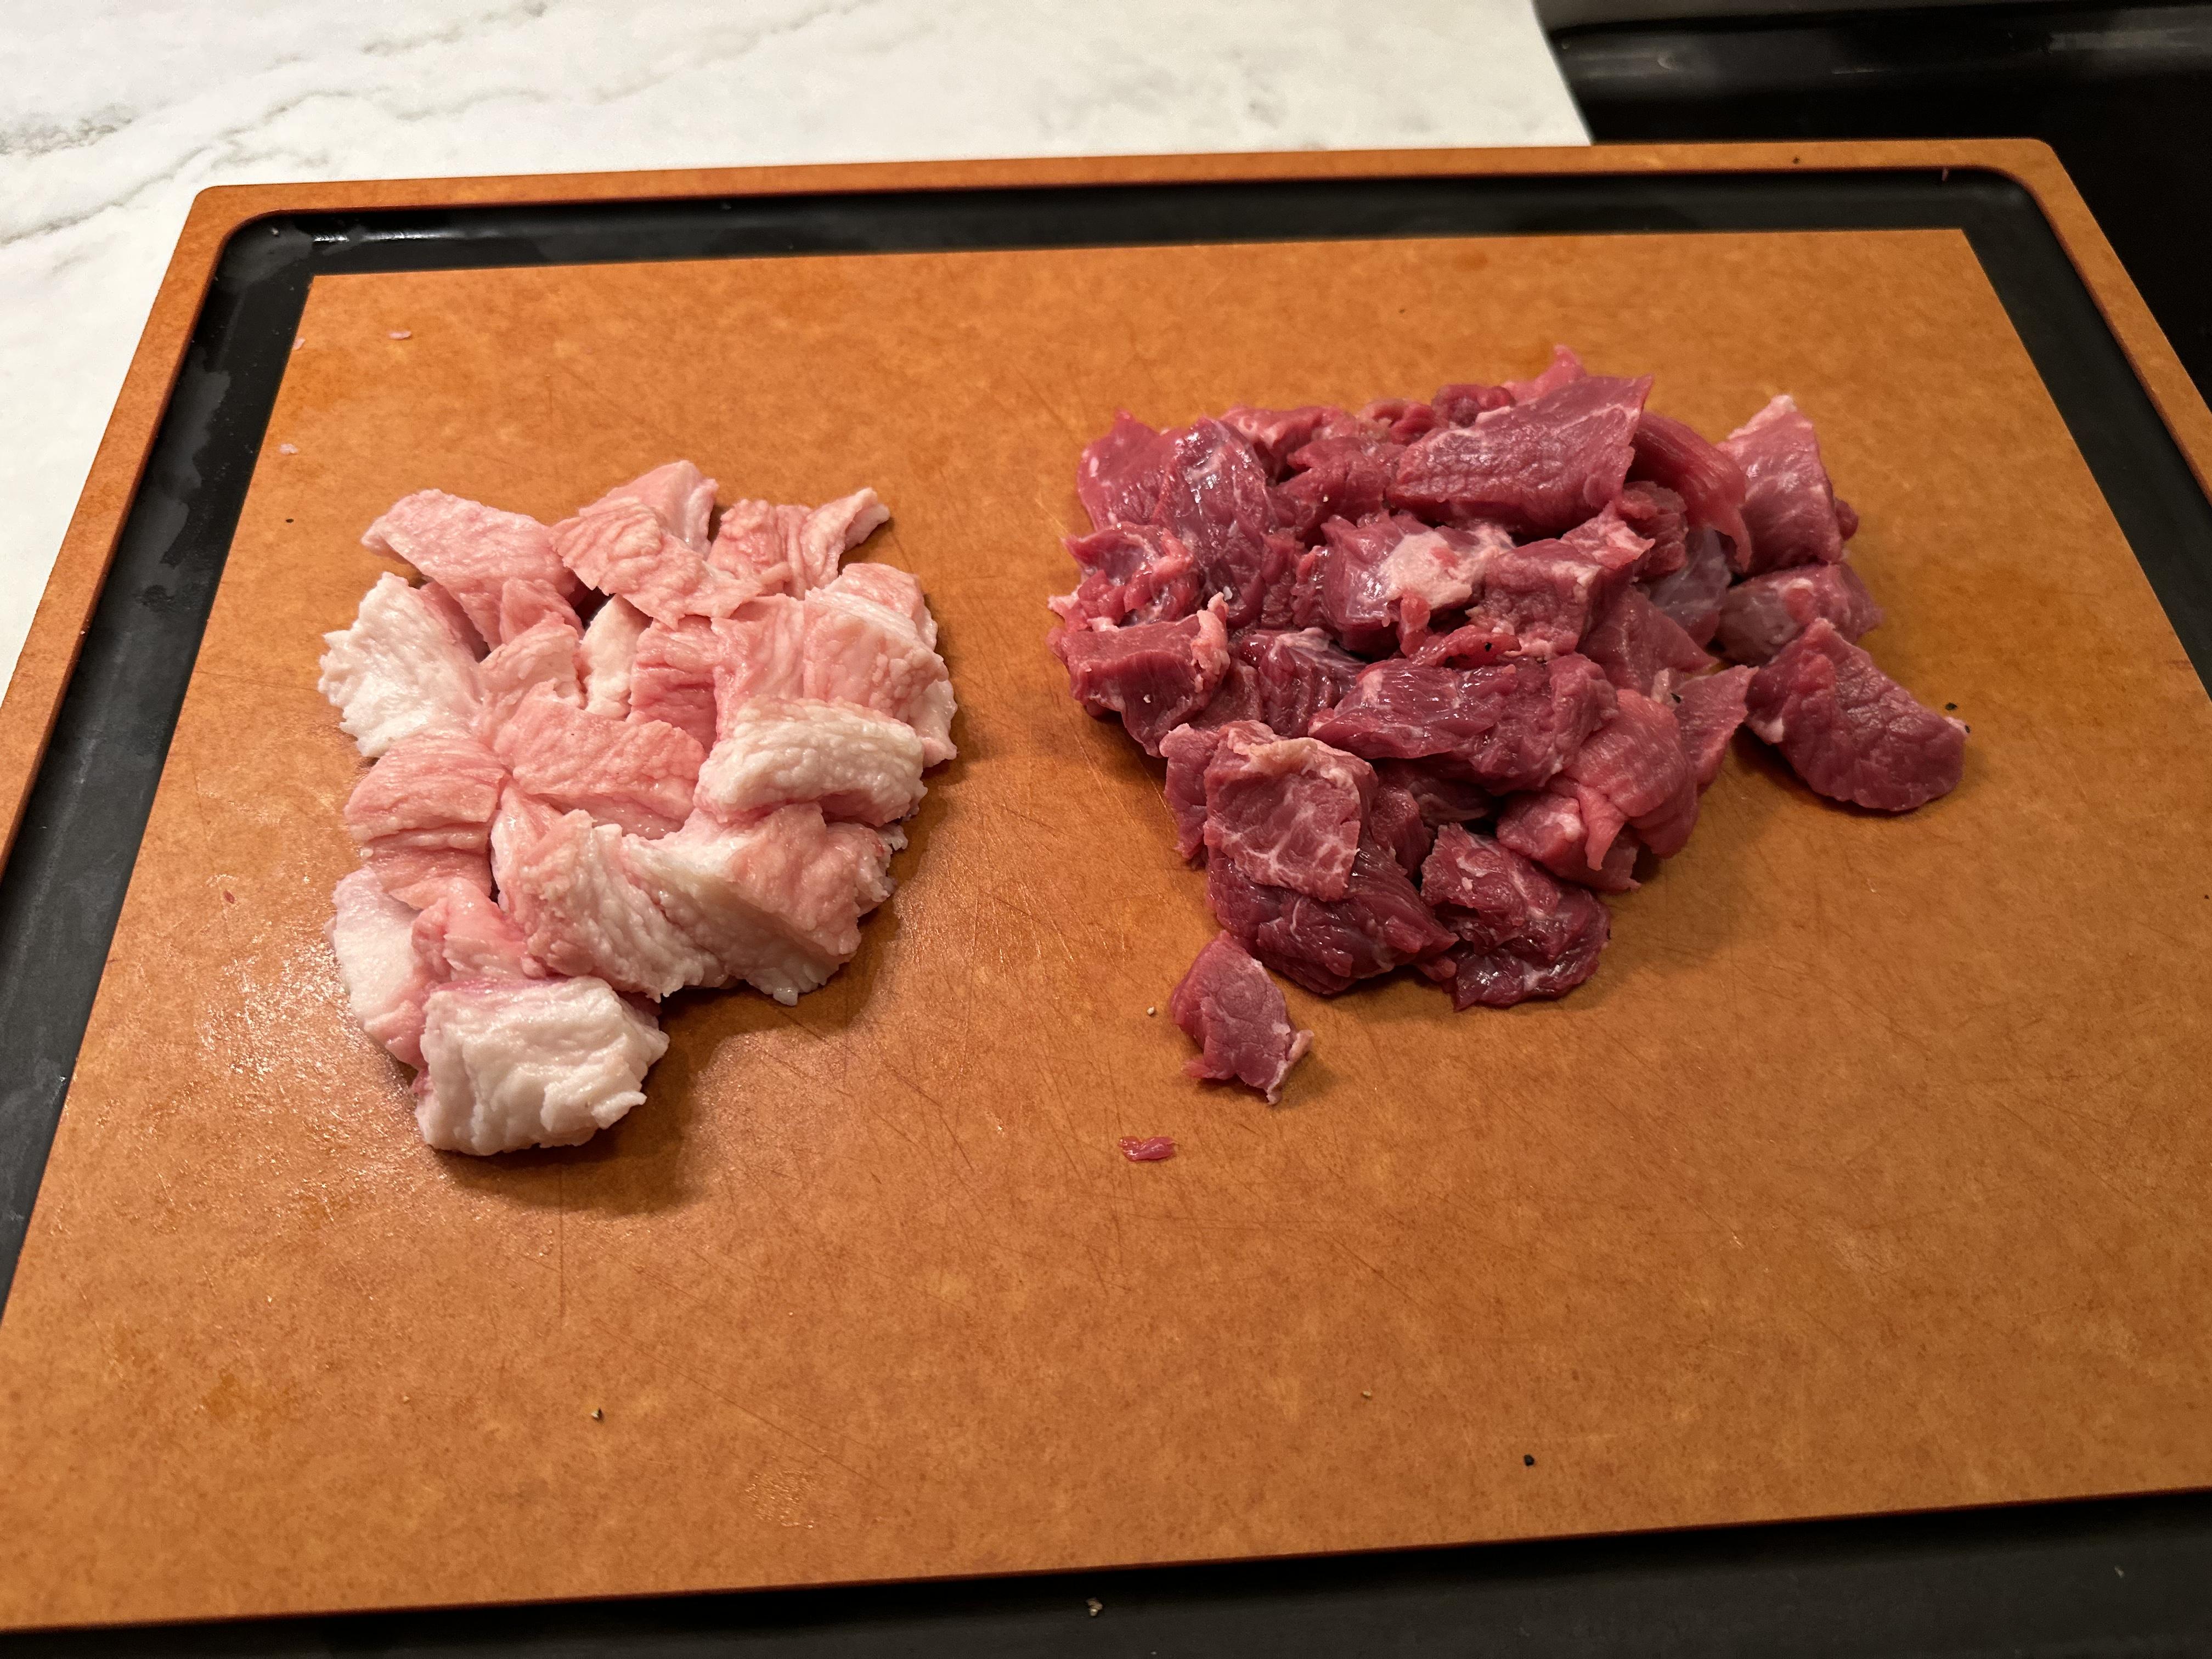
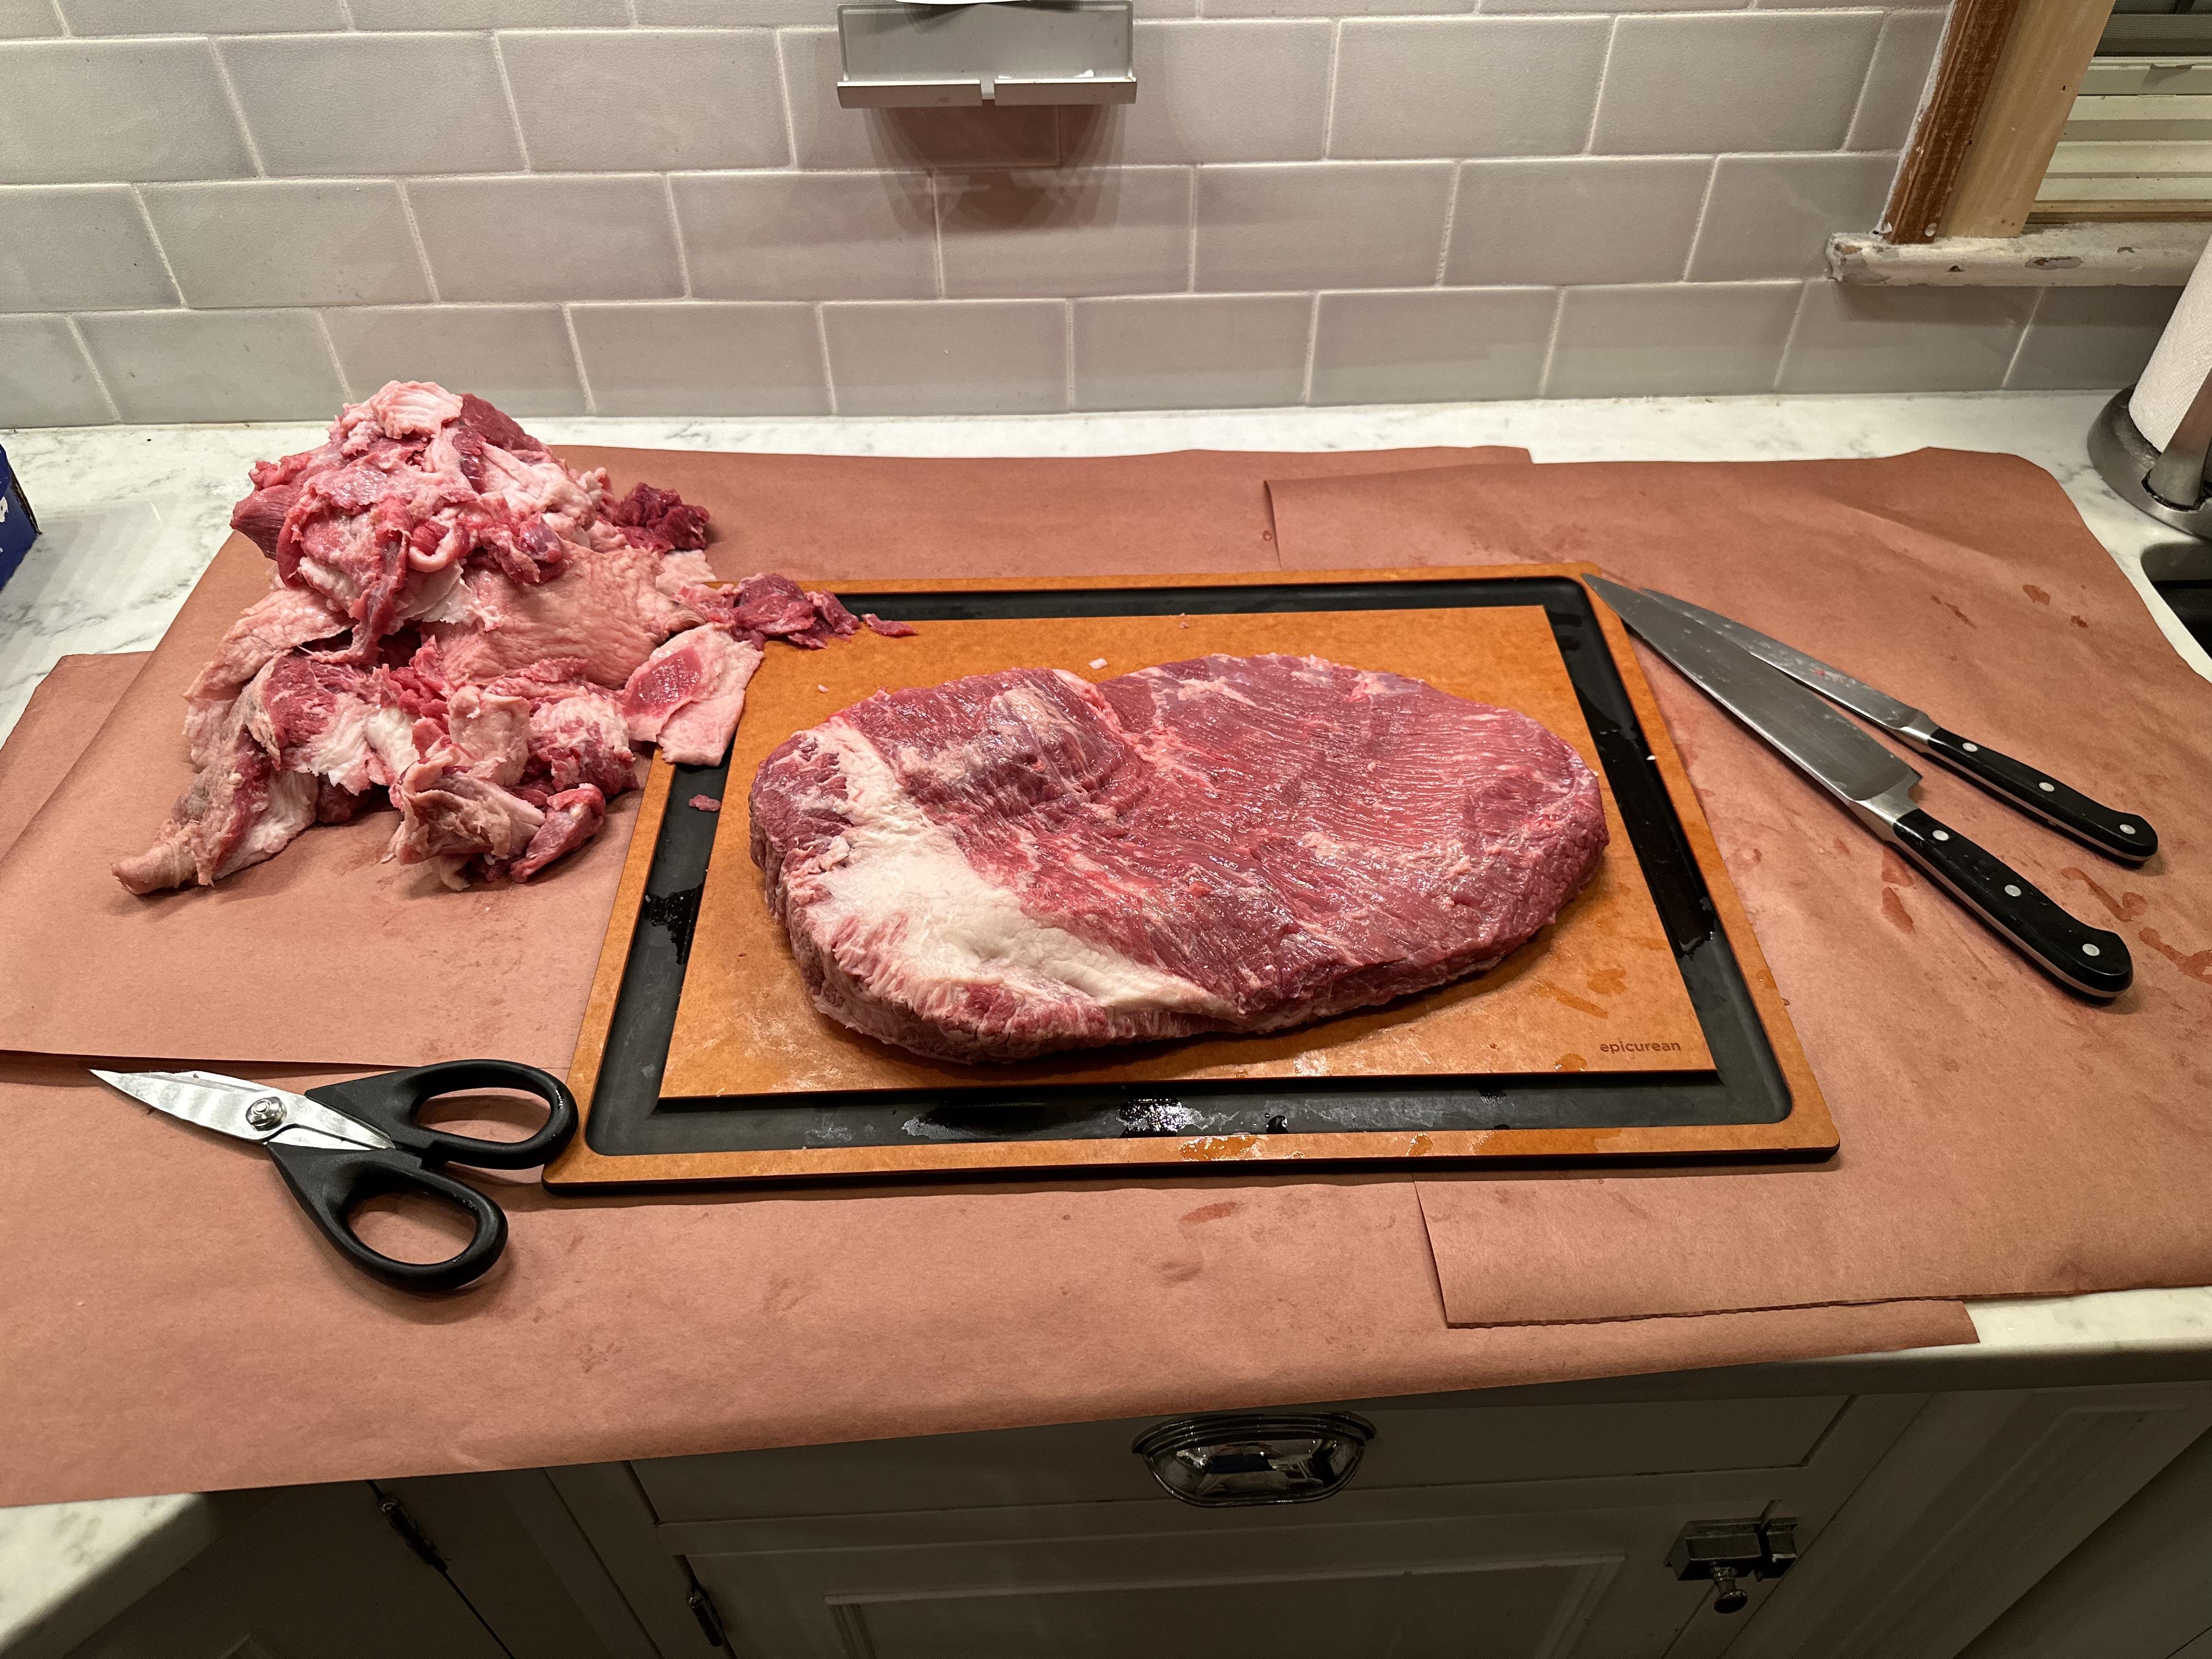
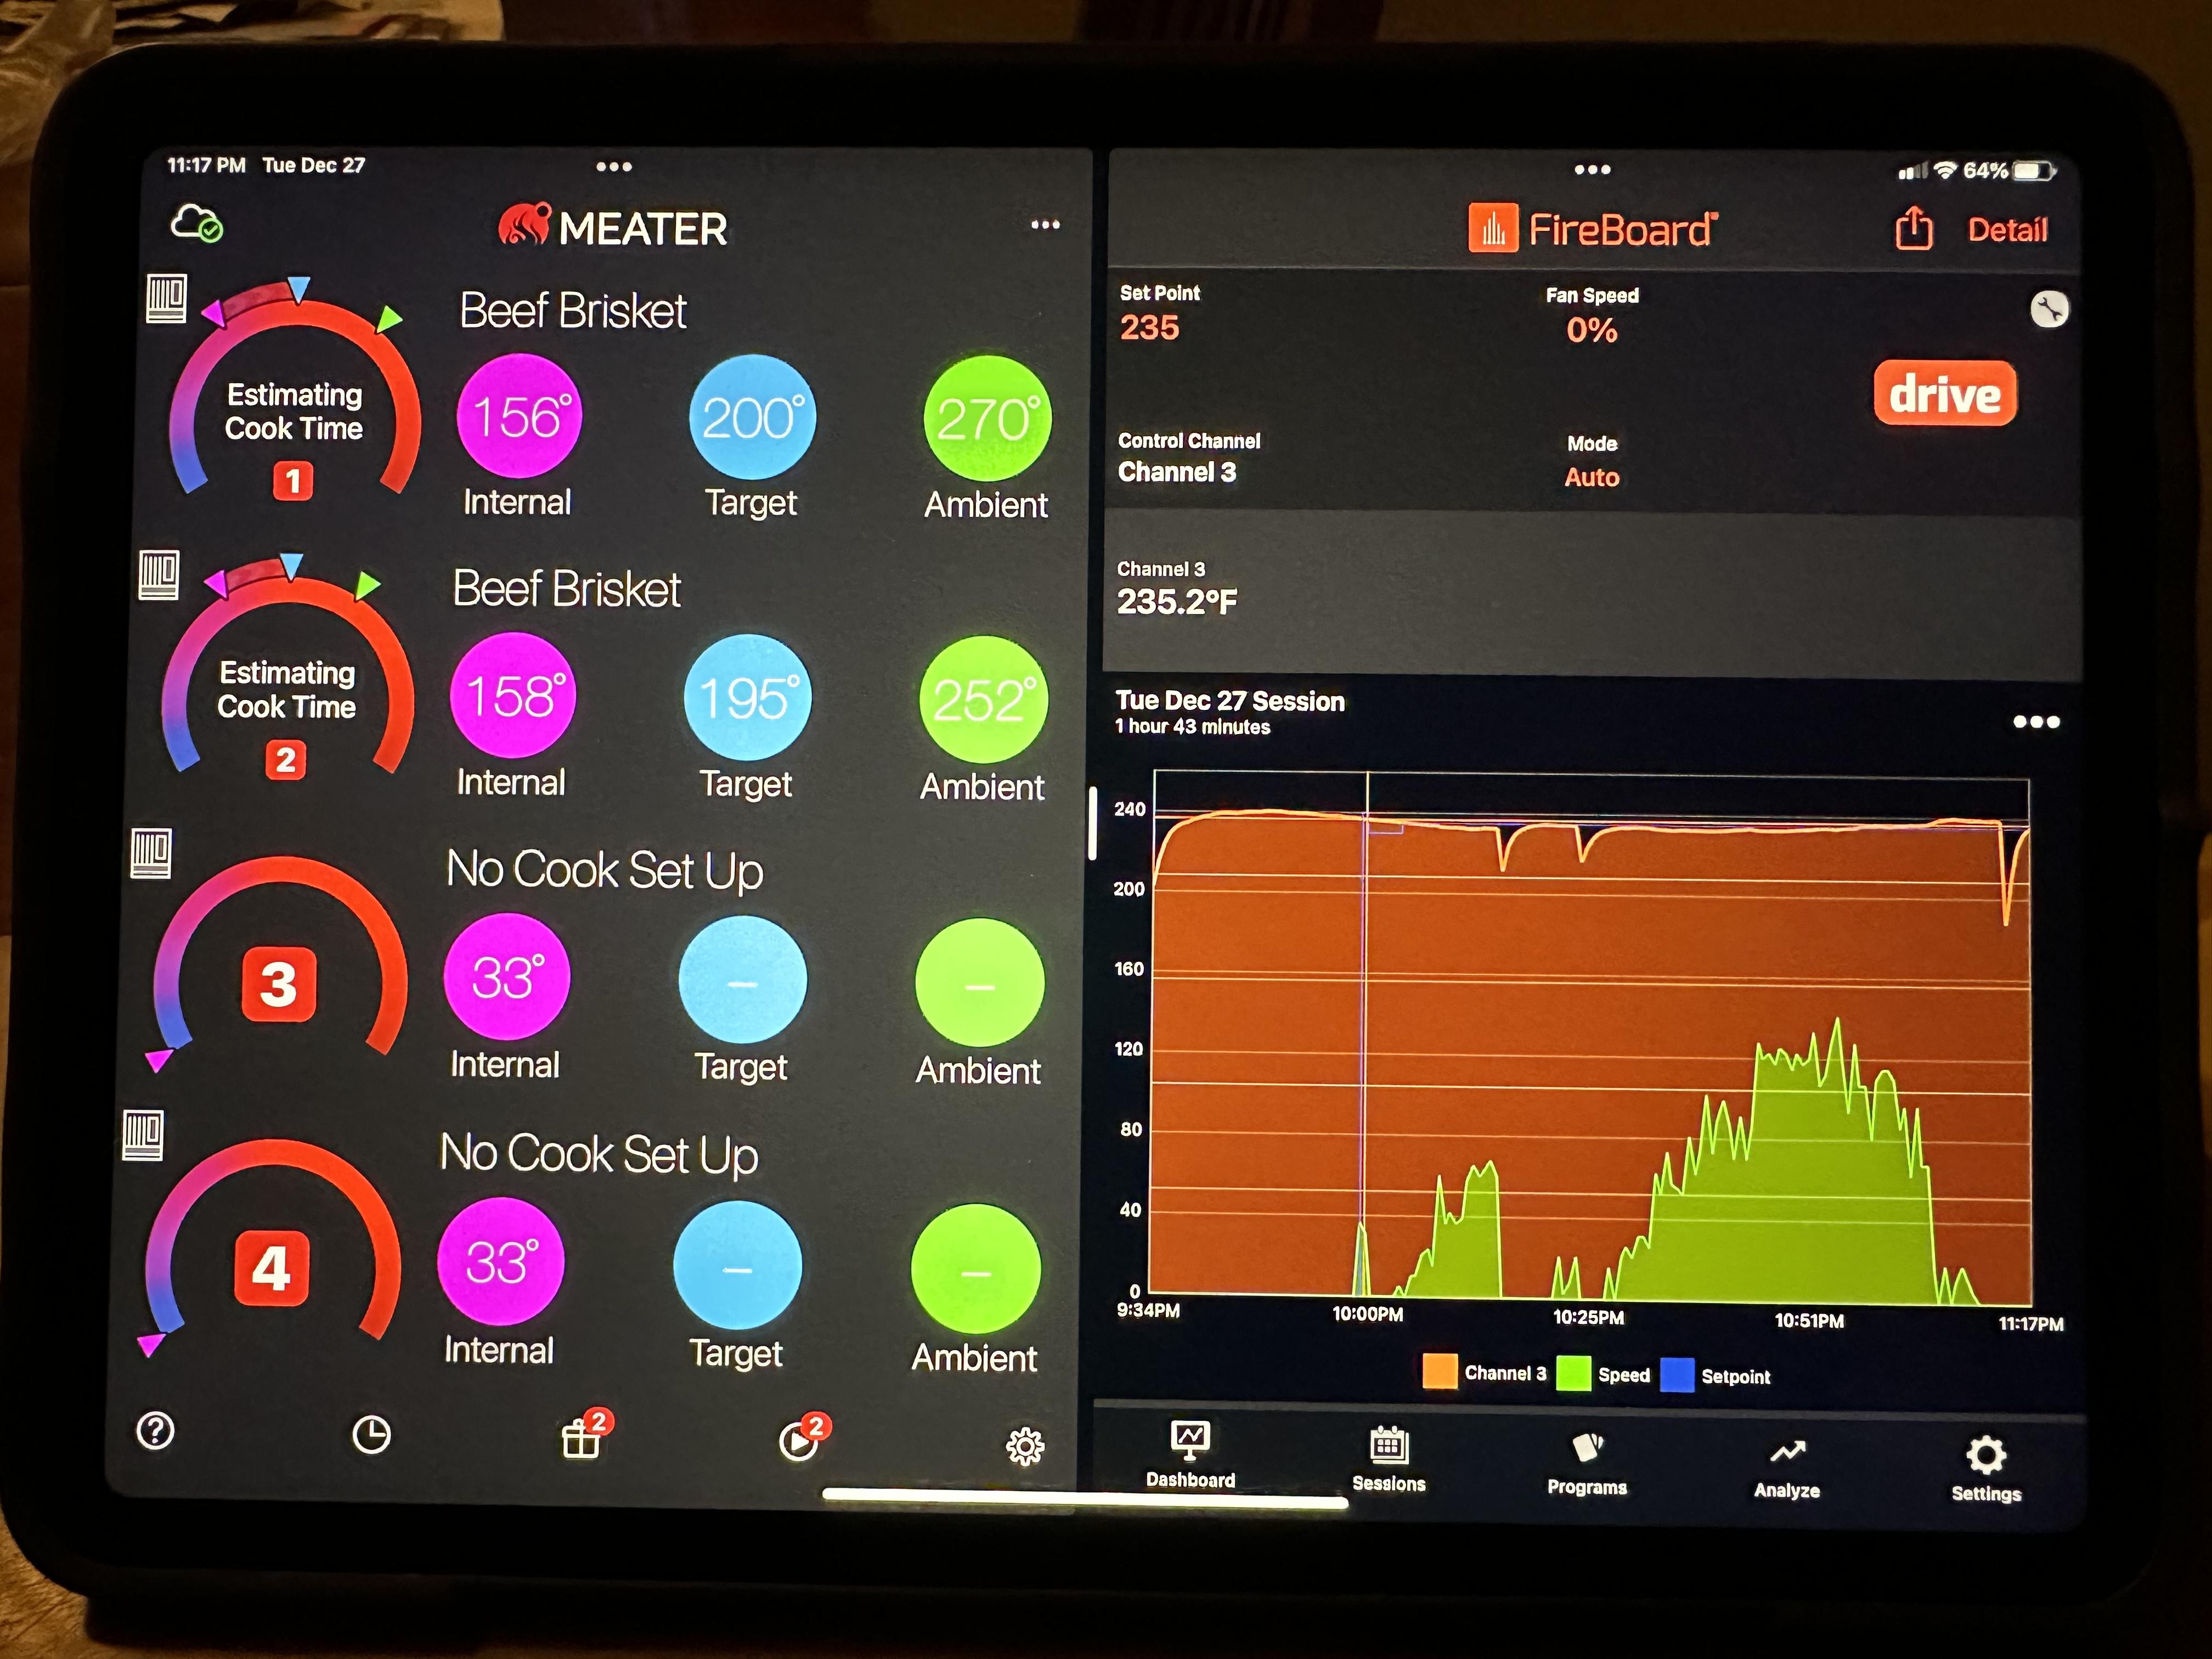
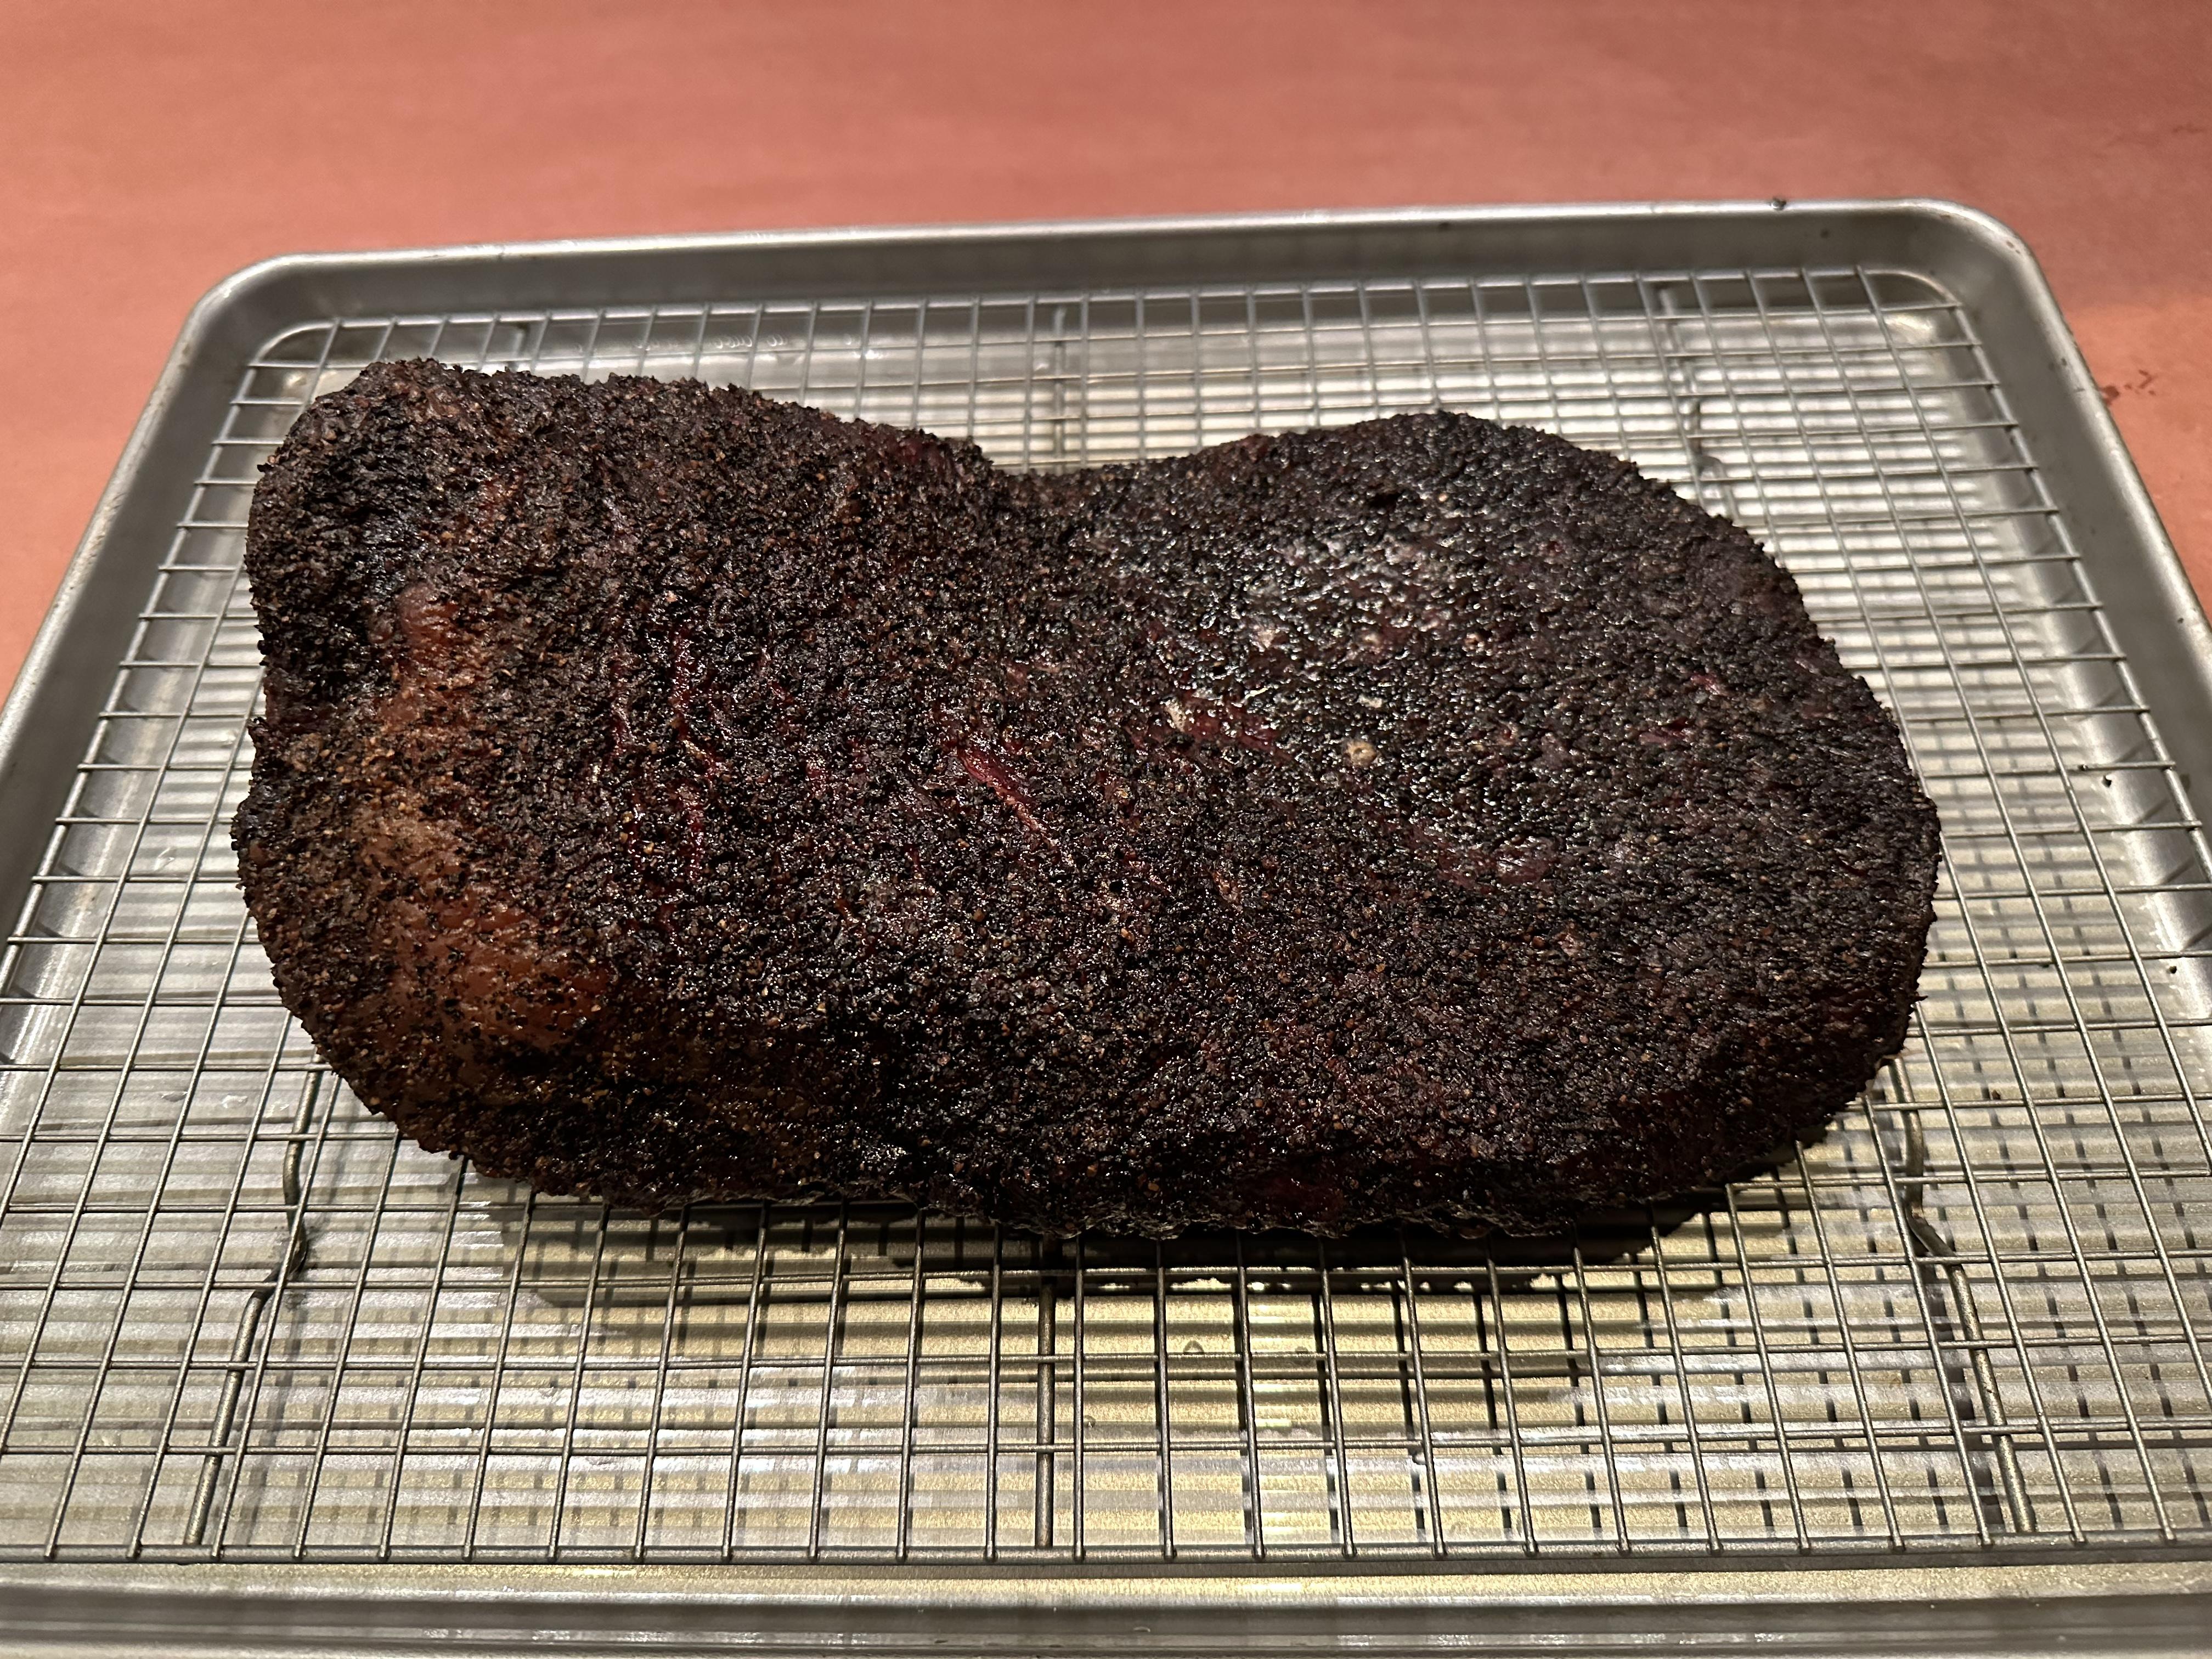
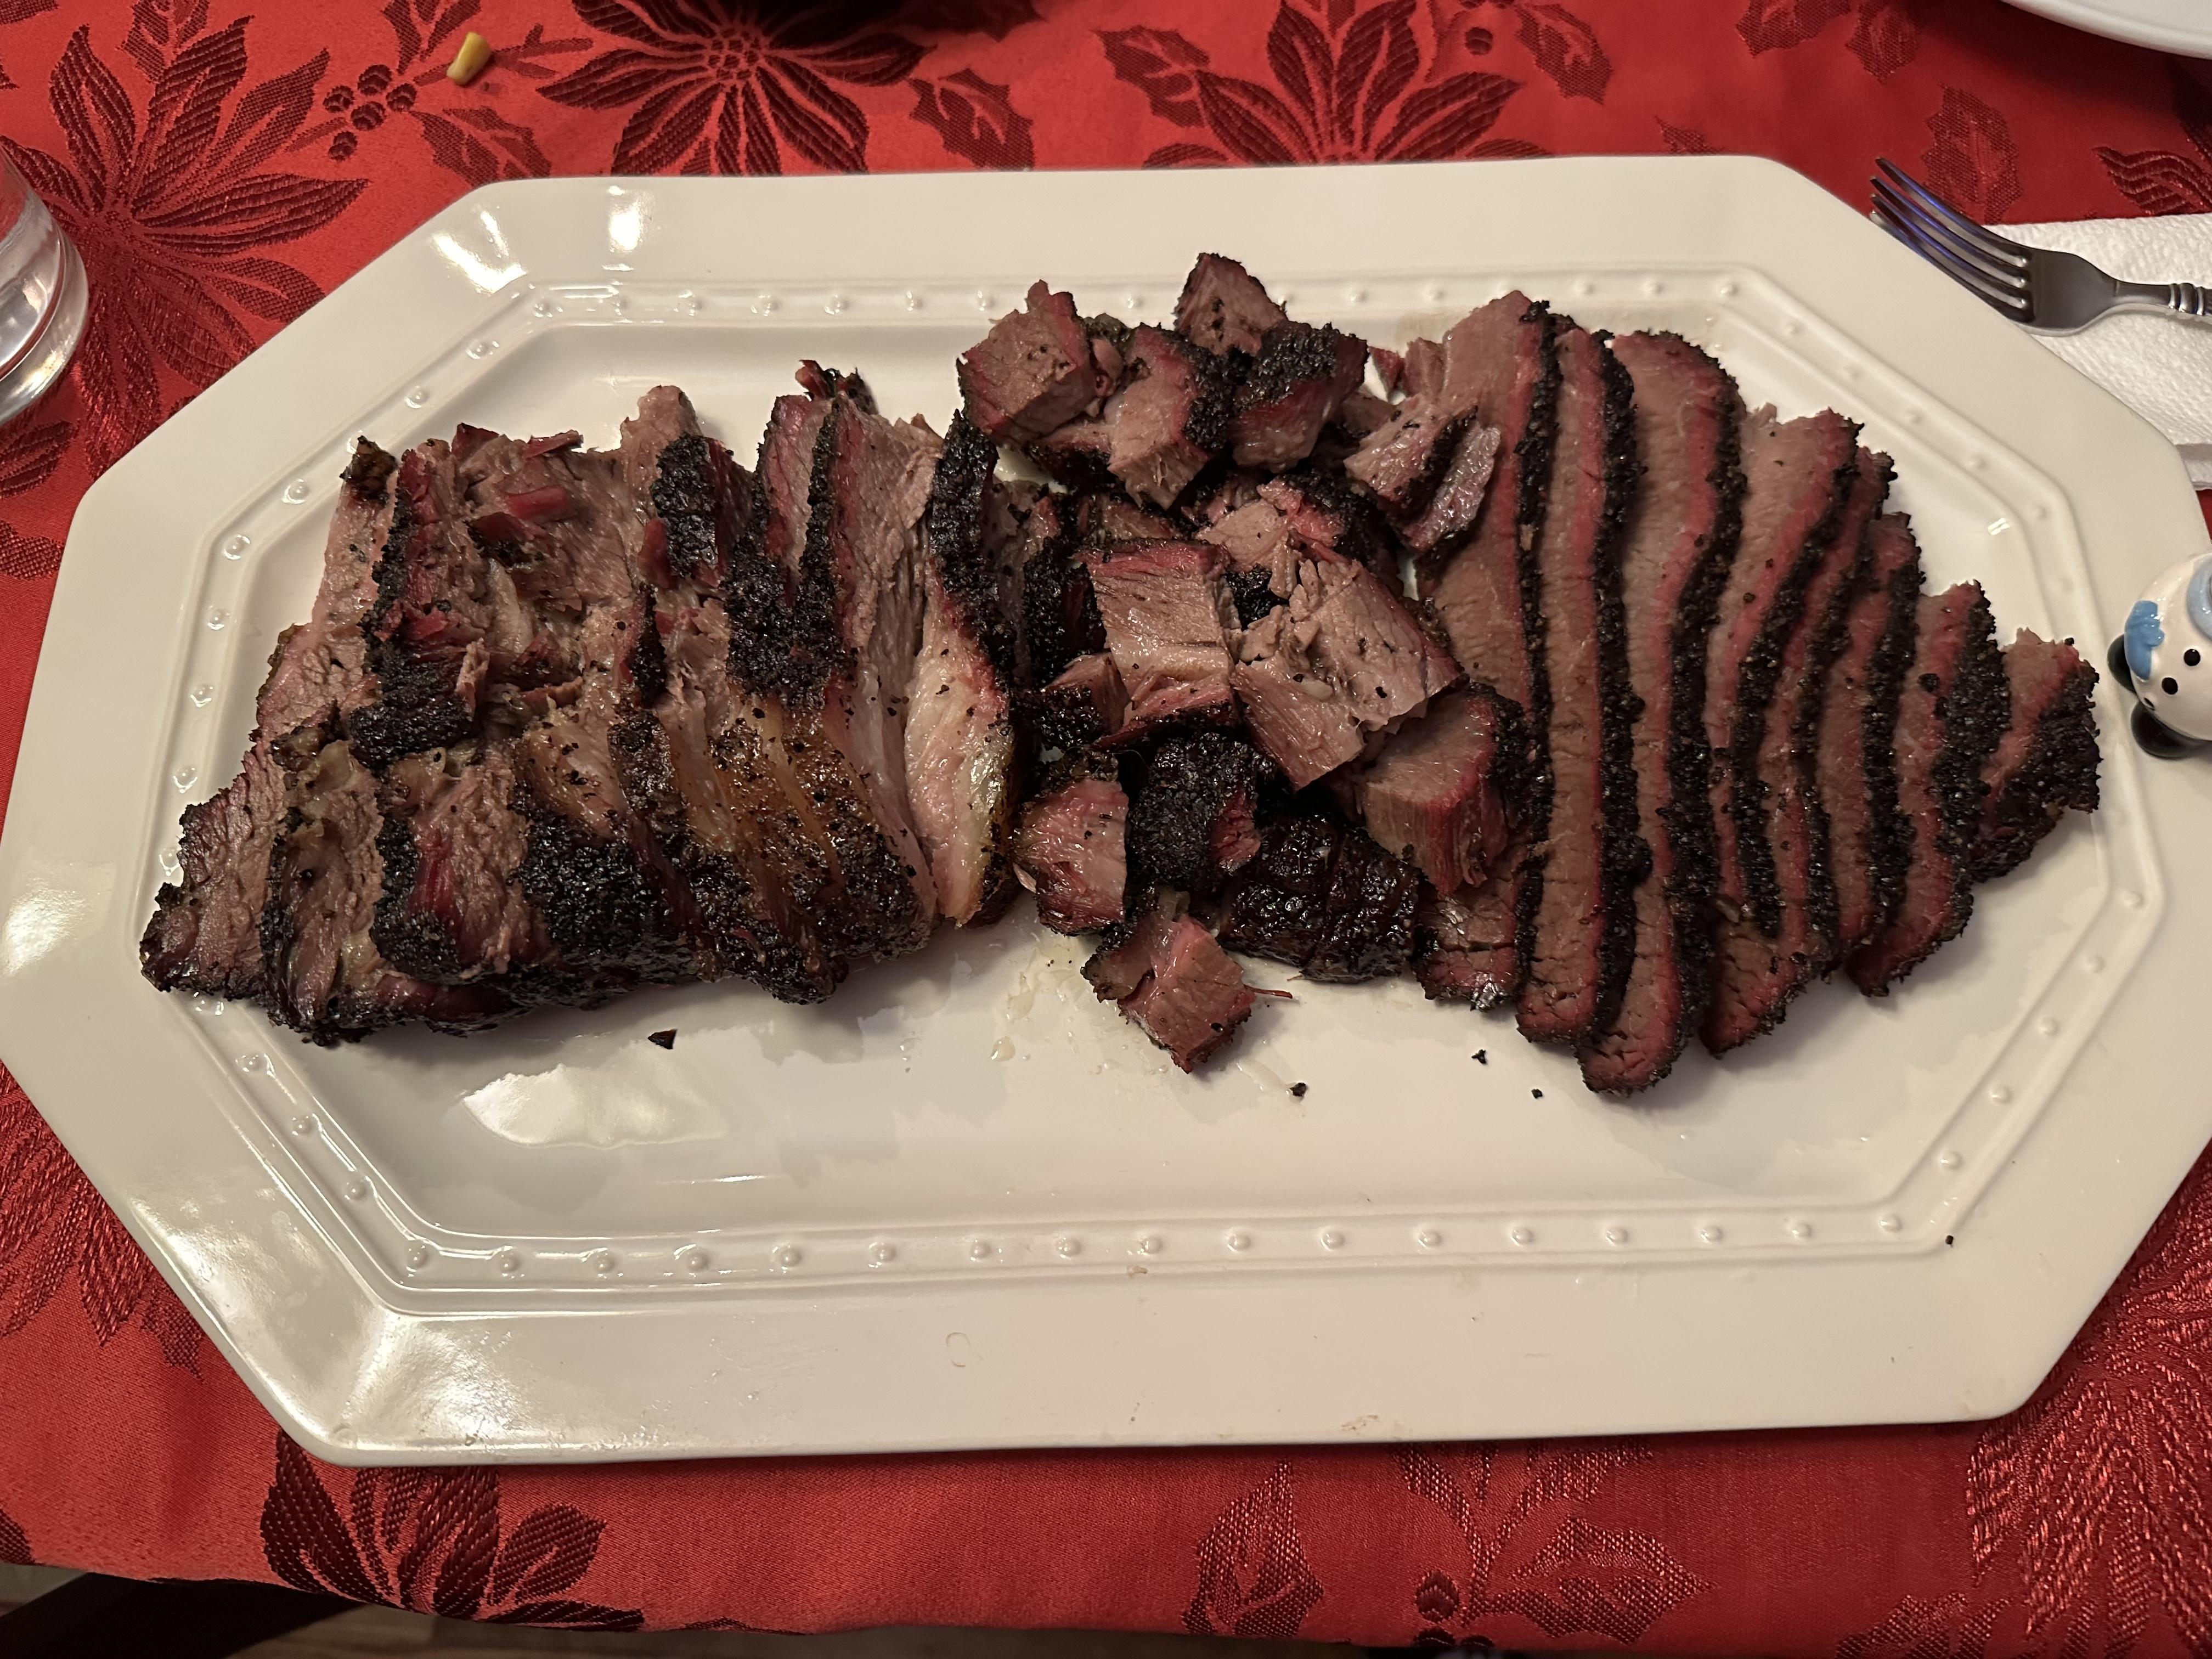
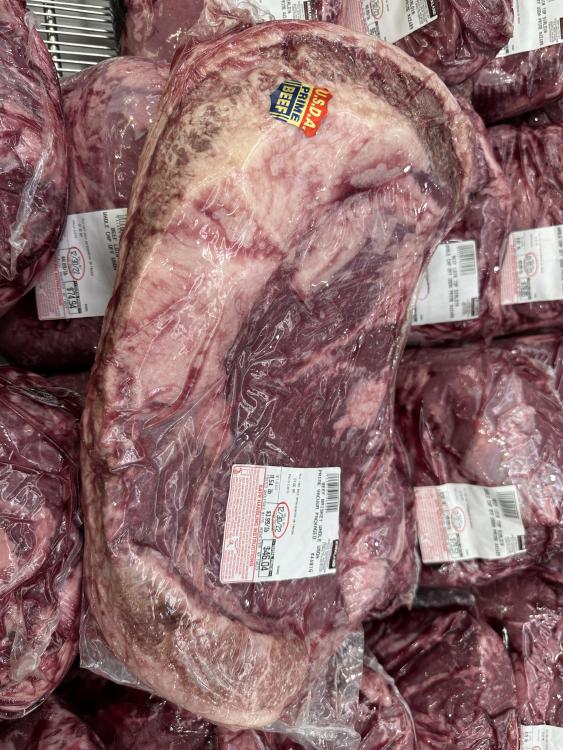
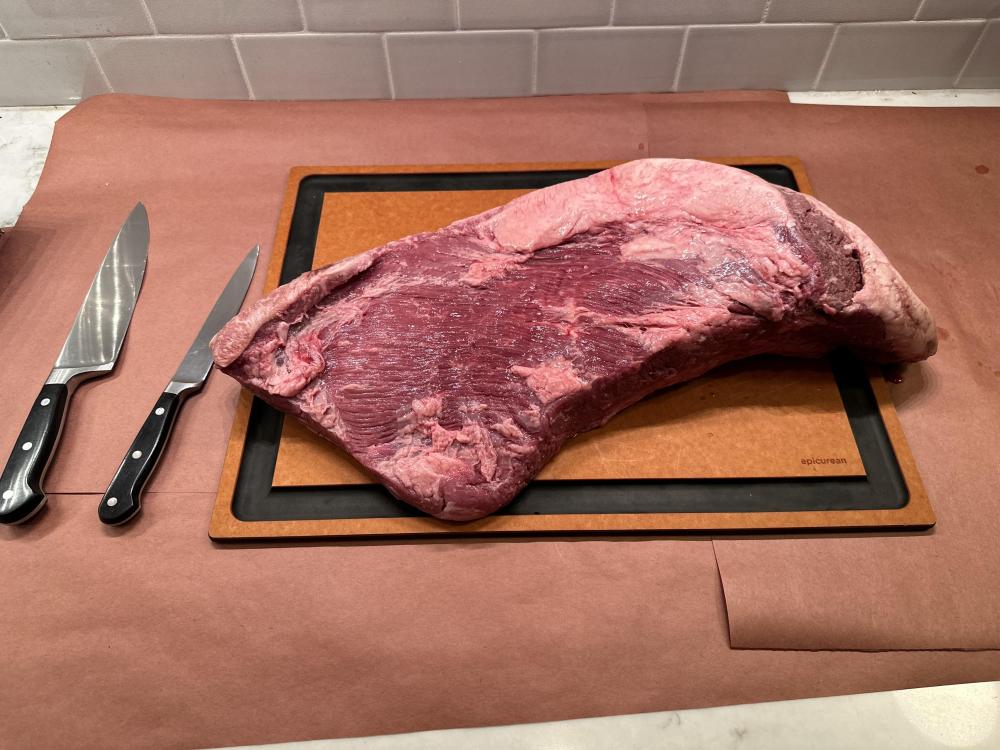
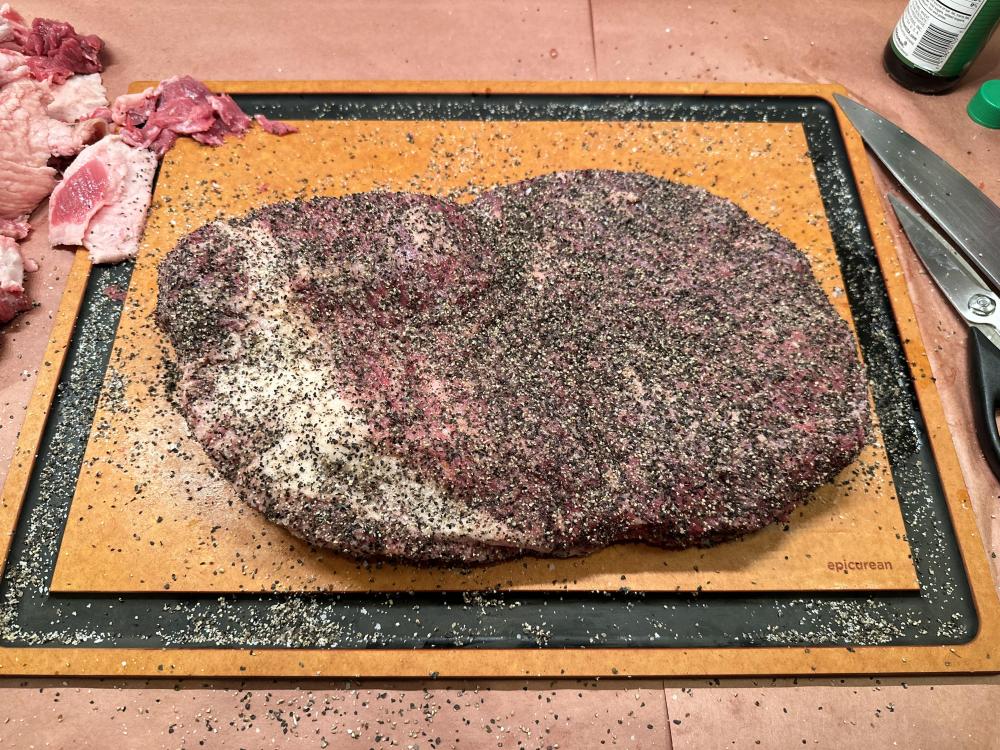
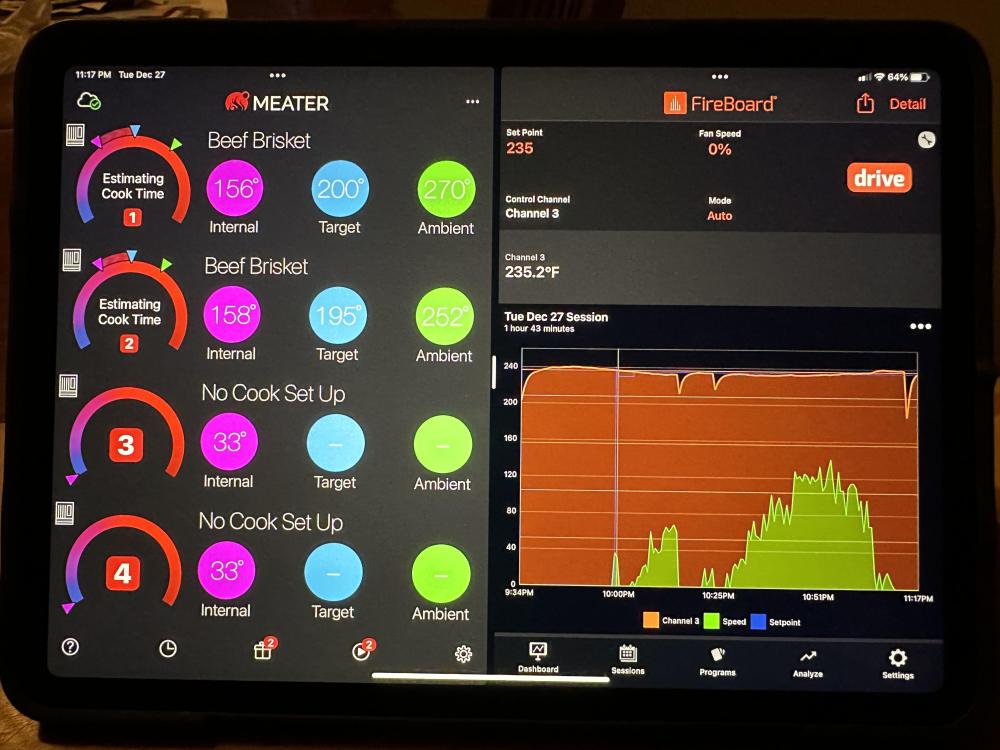
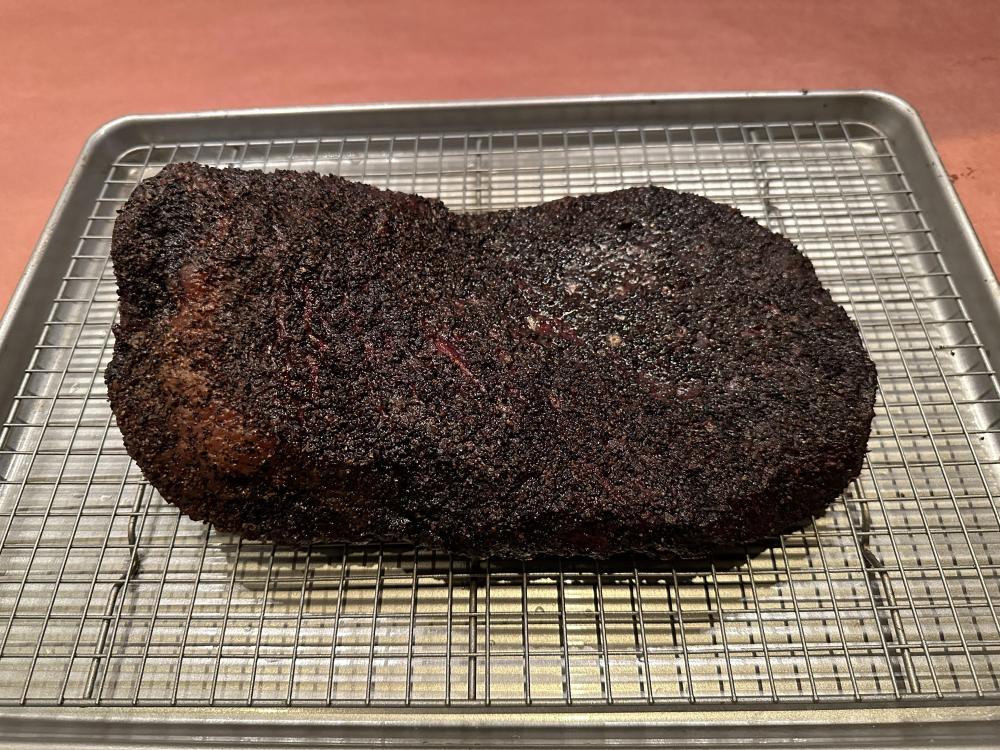
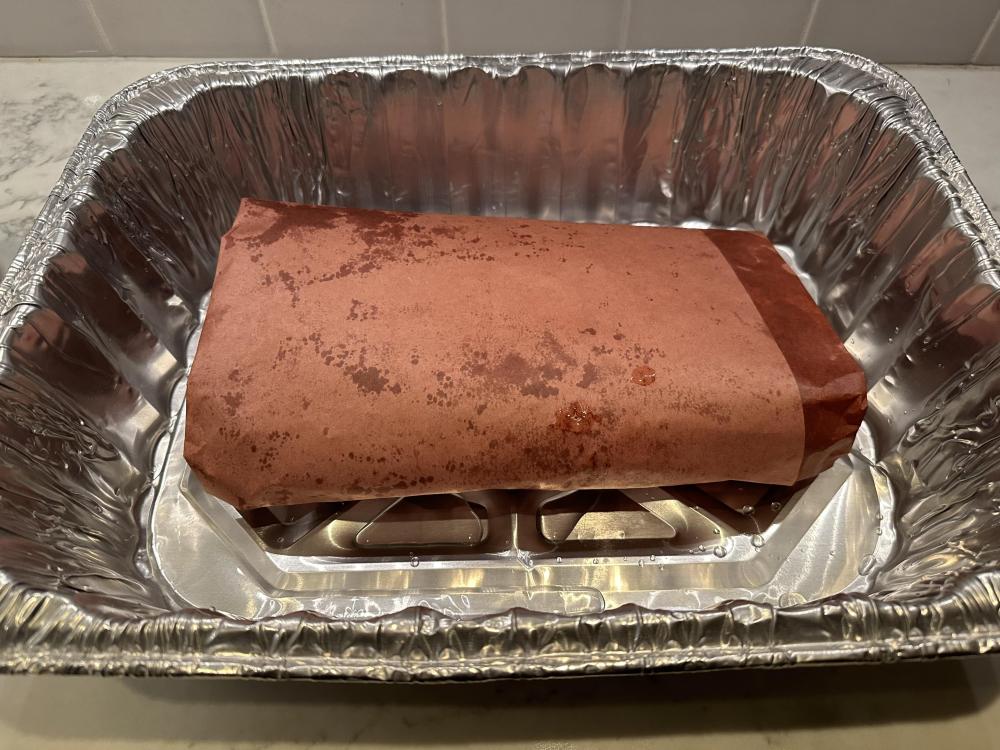
THE PERFECT BRISKET - TAKE 2 - TUTORIAL His is my second post in regard to smoking the perfect brisket on a KK. This is my second brisket where I achieved phenomenal results. The bend/pull tests, perfect. Flavor, exceptional. Moist Flat. How did I do this? I attribute my success to studying what the pros do - the guys that do this for a living and/or who’ve won hundreds of competitions. So sit back, I’ll share my sources, and teach you what I did. All the sources can be found on YouTube. SOURCES MadScientist BBQ - 12 Brisket Mistakes To Avoid MadScientist BBQ - How To Trim a Brisket MadScientist BBQ - I Was Wrong - explains how to use WHITE smoke to your advantage. MadScientist BBQ - Secret Revealed - Explains the importance of using old school moisture and Fat to Enhance flavor. SlapYoDaddy BBQ - Harry Soo - How to set up a Weber Smokey Mt Smoker. Works perfect in a KK. No Kettle pots needed. Chuds BBQ - do a YouTube search for brisket - great info. TOOLS KK Grill or similar KK Upper and Lower grill grates Weber Stainless Steel Roasting Pan - Rectangular Weber Stainless Steel Roasting Basket - Square OPTIONAL Fireboard Controller - Controls the fan BBQ GURU Pit Bull 25 CFM Fan with adjustable dampener MEATER Block Probe or equivelent Meat Injector Water Resting Cooler - 12 Hour Rest PROCEDURE 1. MEAT: Find the best brisket you can afford. For this cook, I stumbled into a lone rouge 10.5 pound Prime brisket in Costco - they have been out for over a year. Snagged it immediately. 2. TRIM: TRIM TRIM TRIM. Absolutely the most important part. This brisket had a lot of thick fat that had to be removed. The Point muscle the was long and thin. The outer Flat was fairly thin too. MadScientist BBQ above takes you through the process - heed his advice. I ended up trimming roughly 3+ pounds of fat and meat that would otherwise be a mushy, dry, tough mess. 3. RUB: Basic Rub = 2 parts 16 Mesh Pepper to 1 part course Kosher Salt. Optional: Use a few shakes of Low Sodium Soy as a binder. Gives an excellent umami quality to the cook. Lightly sprinkle Lawery's Seasoning salt onto the brisket. Definitely go very light. Lightly sprinkle Course Garlic Powder onto the brisket. Generously coat your brisket with the salt/pepper base. Go heavy here because this is what gives you the coveted black flavorful bark. You can stop here if you like. If you go with the options listed above, reduce the salt by a tablespoon or more per cup of rub to keep the overall saltiness in check. 4. INJECT: Inject the flat every inch or so with rendered beef tallow. This works wonders and prevents a dry flat. Not totally necessary but helpful. 5. REFRIGERATE: Overnight 6. PLAN: Plan your cook. I shoot for about 1:20/lb. I then plan on a 10 - 12 hour rest. If the rest is a little longer or shorter, no big deal. Really makes having it ready for company easy. More on the Rest below. 7. FIRE: Award Winning Harry Soo's Smokey Mt. fire technique works perfect in the KK and produces hours of beautiful clean smoke. No kettle pots or foil pouches needed. This is a total game changer. I used a combination of apple and hickory wood chunks. Follow is technique to a T. 8. WEBER HEAT DEFLECTOR: Game Changer. Wanting to get rendered fat to the fire, I found these and put them to work. I used two for this cook. The square Weber Roasting Basket fits perfectly resting on the fire basket handles over the fire. Once in place, install the lower grill grate and center the rectangular Weber Roasting Pan directly under where the brisket will sit above. This pan fits under the brisket perfectly (you can also use either or as a single deflector sitting on the fire basket handles). Once in places, install the upper KK grate. The beauty of using the two perforated deflectors is it gives a nice balance of heat/smoke around and through the perforations and the fire burns a little hotter which gives you cleaner smoke. It also allows fat renderings to penetrate the perforations and reach the fire which gives incredible flavor to the brisket. Fat on the fire is an “Oldtimers" secret. 9. TEMPERATURE: Shoot for 235-260 at meat level. If your fire gets away from you, dowse it with some water to get it back in check. A 250 dome temp with the two heat deflectors is a safe bet. If no electronics, skip to #12 below. 10. ELECTRONICS: I was doing an overnight cook and didn’t want to wake up to a charred piece of leather brisket so I used a Fire Board, MEATER probes, and Fan to keep me safe. - Install 2 MEATER Probes - one in the center point and the other in the center flat. - Open MEATER/Fireboard Apps. Set up MEATER cook. I set my internal temps to 200/195. - Install the fan into the KK fan receptacle, open the fan dampener to 1/2, connect to the Fireboard Controller, close the KK bottom vents. The Fan dampener opening is now your new vent. - Install the Fireboard Temp probe via the KK receptacle. - You are ready to cook. 11. THE BIG TRICK - THE FAN DAMPENER: Once the meat is on, if the temp is increasing and the top vent is set correctly, it could be the fan dampener is allowing to much air in with the fan at idle so you may have to close the dampener opening from 1/2 to 3/4 to prevent a raging fire. Ideally, you want a fire that is gradually decreasing to the set temperature so the fan is required to engage every so often to keep the temps constant. If the dampener is open to much, the fire could gradually increase and the fan will never engage and things unravel from there. 12. THE COOK: Place the cold brisket over the drip pan. I also add a small water pan as discussed previously. MadScientist BBQ did a whole video on this. It works great for me. If you prefer otherwise, cool. Open the upper grate swing door and throw a few pieces of fat scraps onto the upper drip pan for incredible smoke and flavor. Close the lid. After a few hours, some tallow pooled on the flat which I blotted off. Add a few more fat scraps. Spritz a few times if you like with water/apple cider vinegar. No cruching. No wrapping. That’s it. 9 hours later, MEATER Alert at 195 point, 190 flat. 13. IGNORE THE TEMPS: It’s all feel at this point. Probe the meat with a Thermopen. My point was butter soft. The flat, still a little stiff. Although the 12 hour Sous Vide water chest rest might correct this, I’ve learned to go with feel. I ended up allowing the flat temp to increase to 206 where it really softened up and the point was still butter smooth. The 12 hour rest would finish it off. 14. THE REST: The Holy Grail! By far, the rest is the second most important part with trimming being first. MadScientist BBQ and Chuds BBQ have excellent videos on this - see 12 Brisket Mistakes above. A long rest is extremely important. Follow safe food temp guild lines. I made a water oven from an Igloo cooler and a Sous Vide. I set the resting temp to 160. Pull the brisket from the KK. Let cool until about 180. Wrap tightly in tallow coated butcher paper. Place into an aluminum pan, add 1/2 cup of water, cover tightly with foil, put in the cooler, and forgetabodit for 10-12 hours. You can improvise by placing two warm bricks in a cooler, put the foil pan on the bricks, add 170 degree water, close tightly. Drain the water every 3-4 hours via the drain plug and add more 170 degree water. Just an idea. 15. EAT: ENJOY!!


 4 points
 -
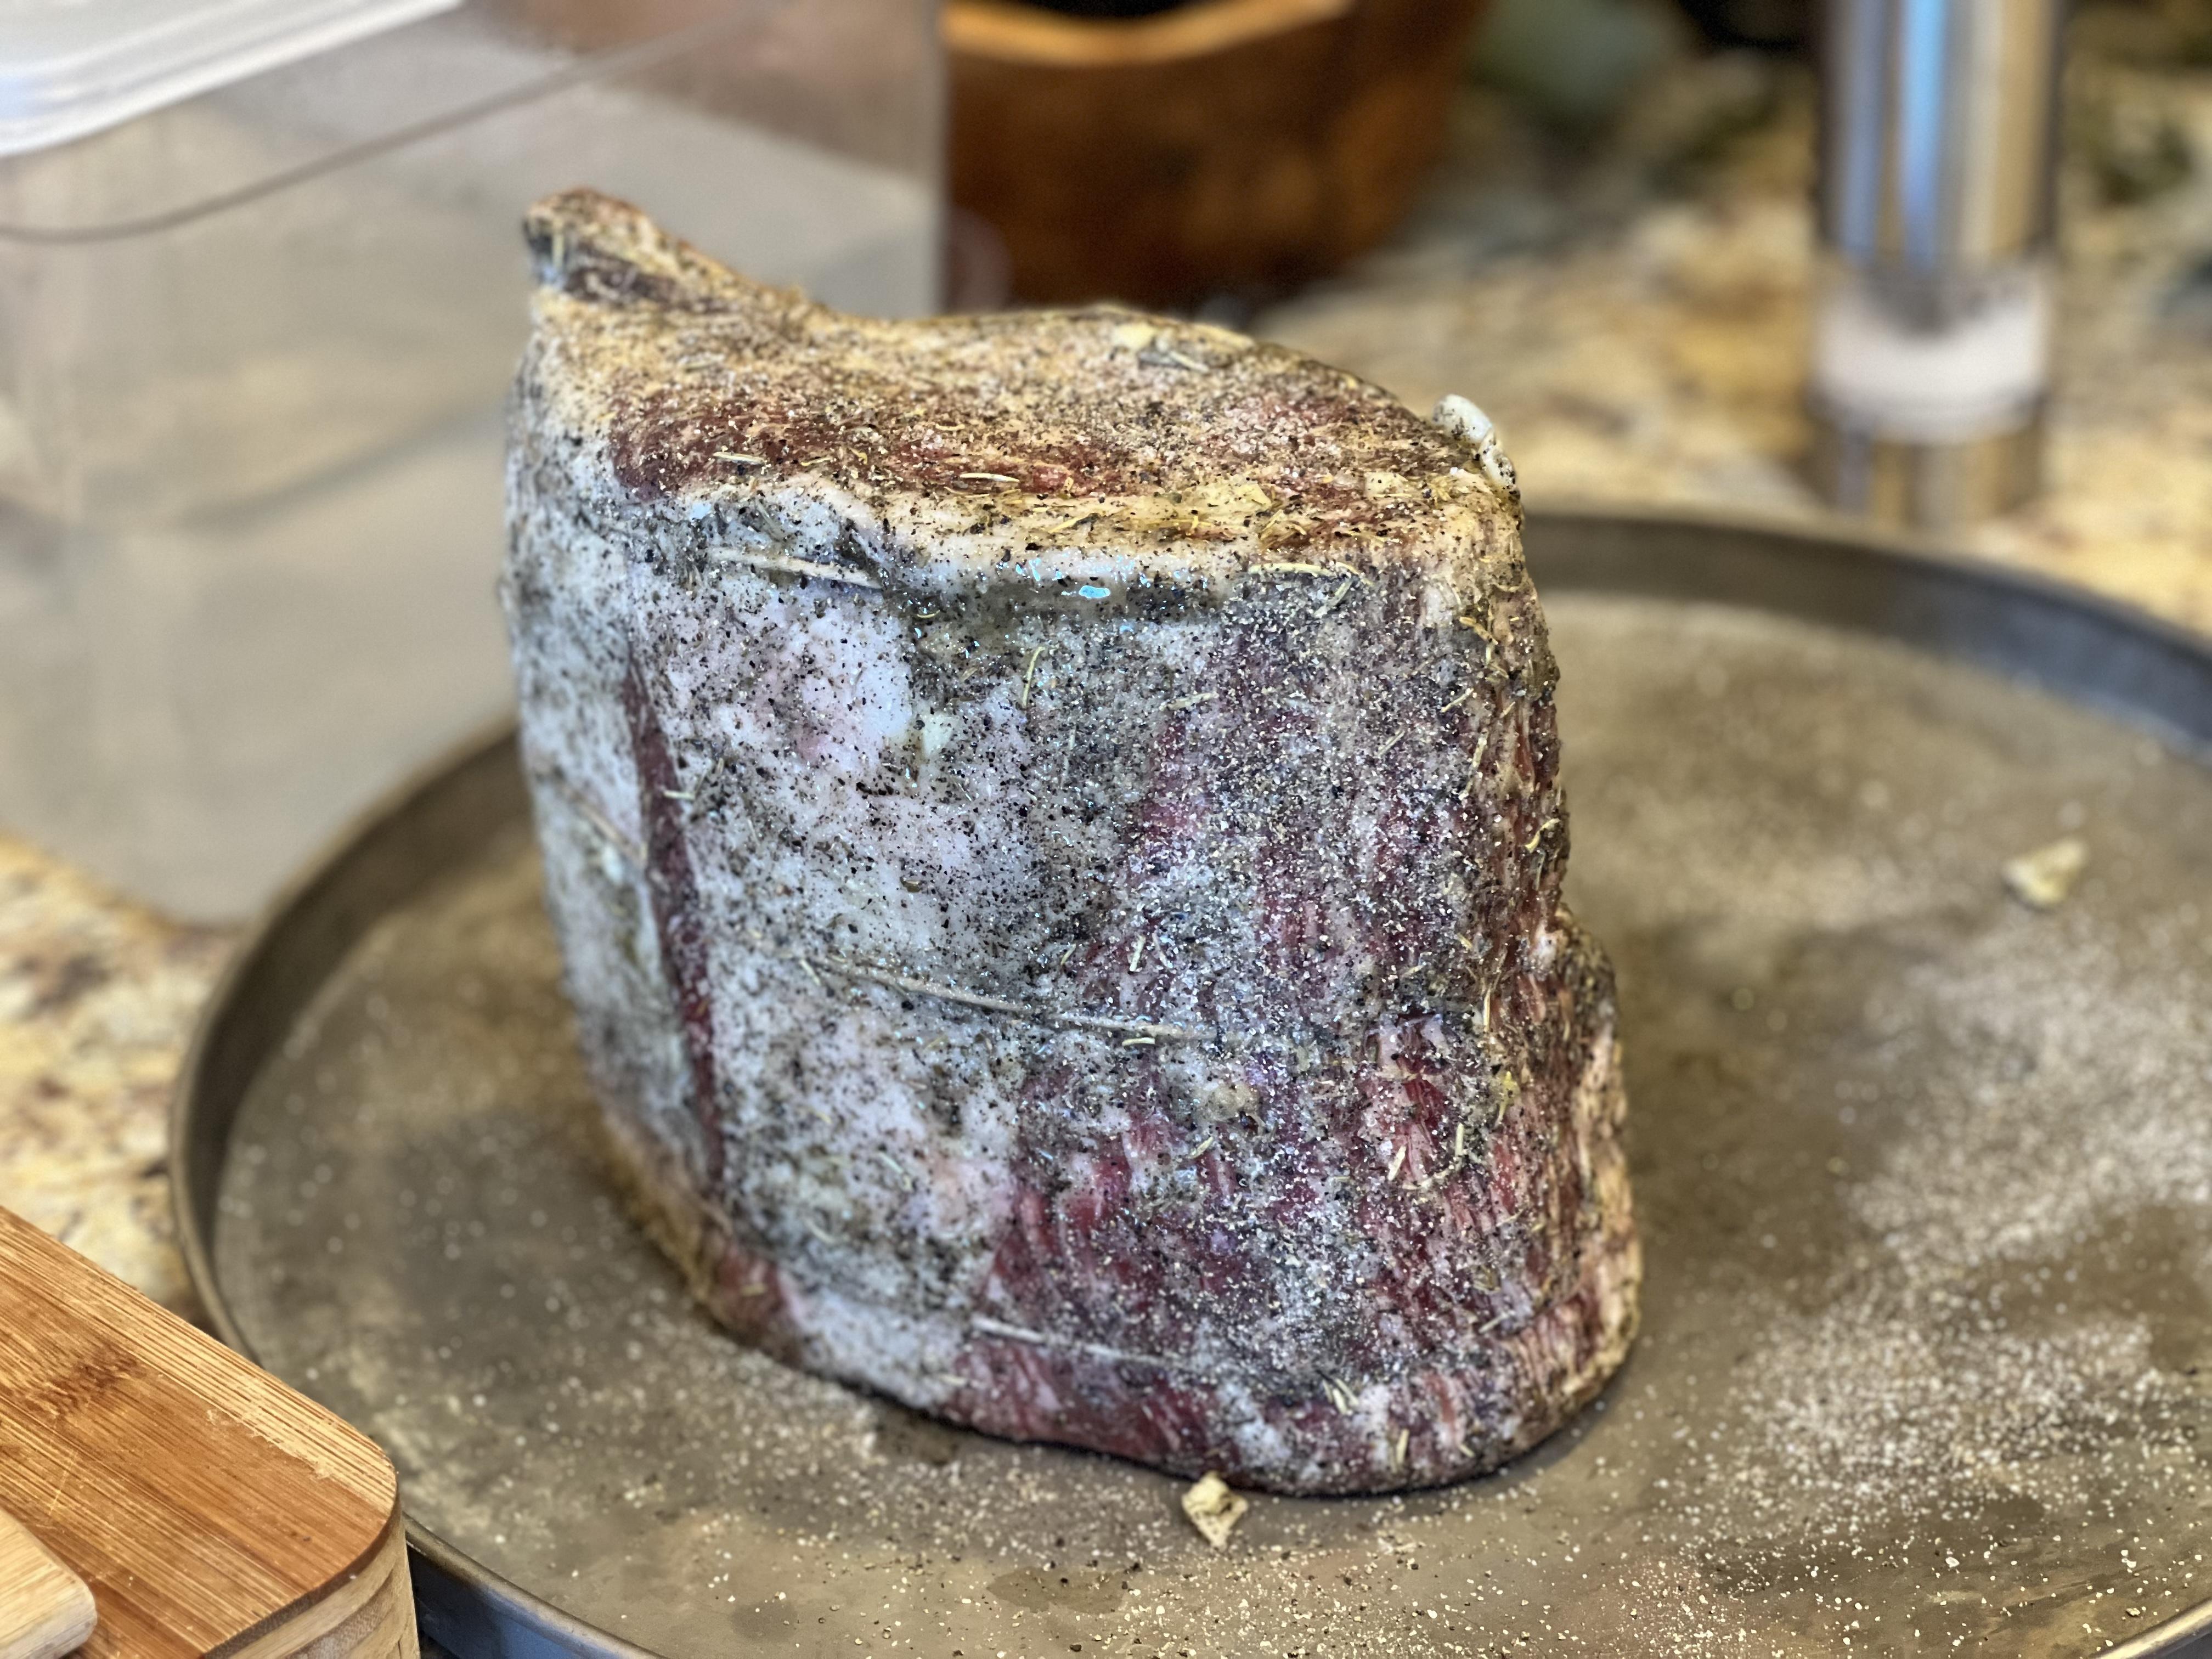
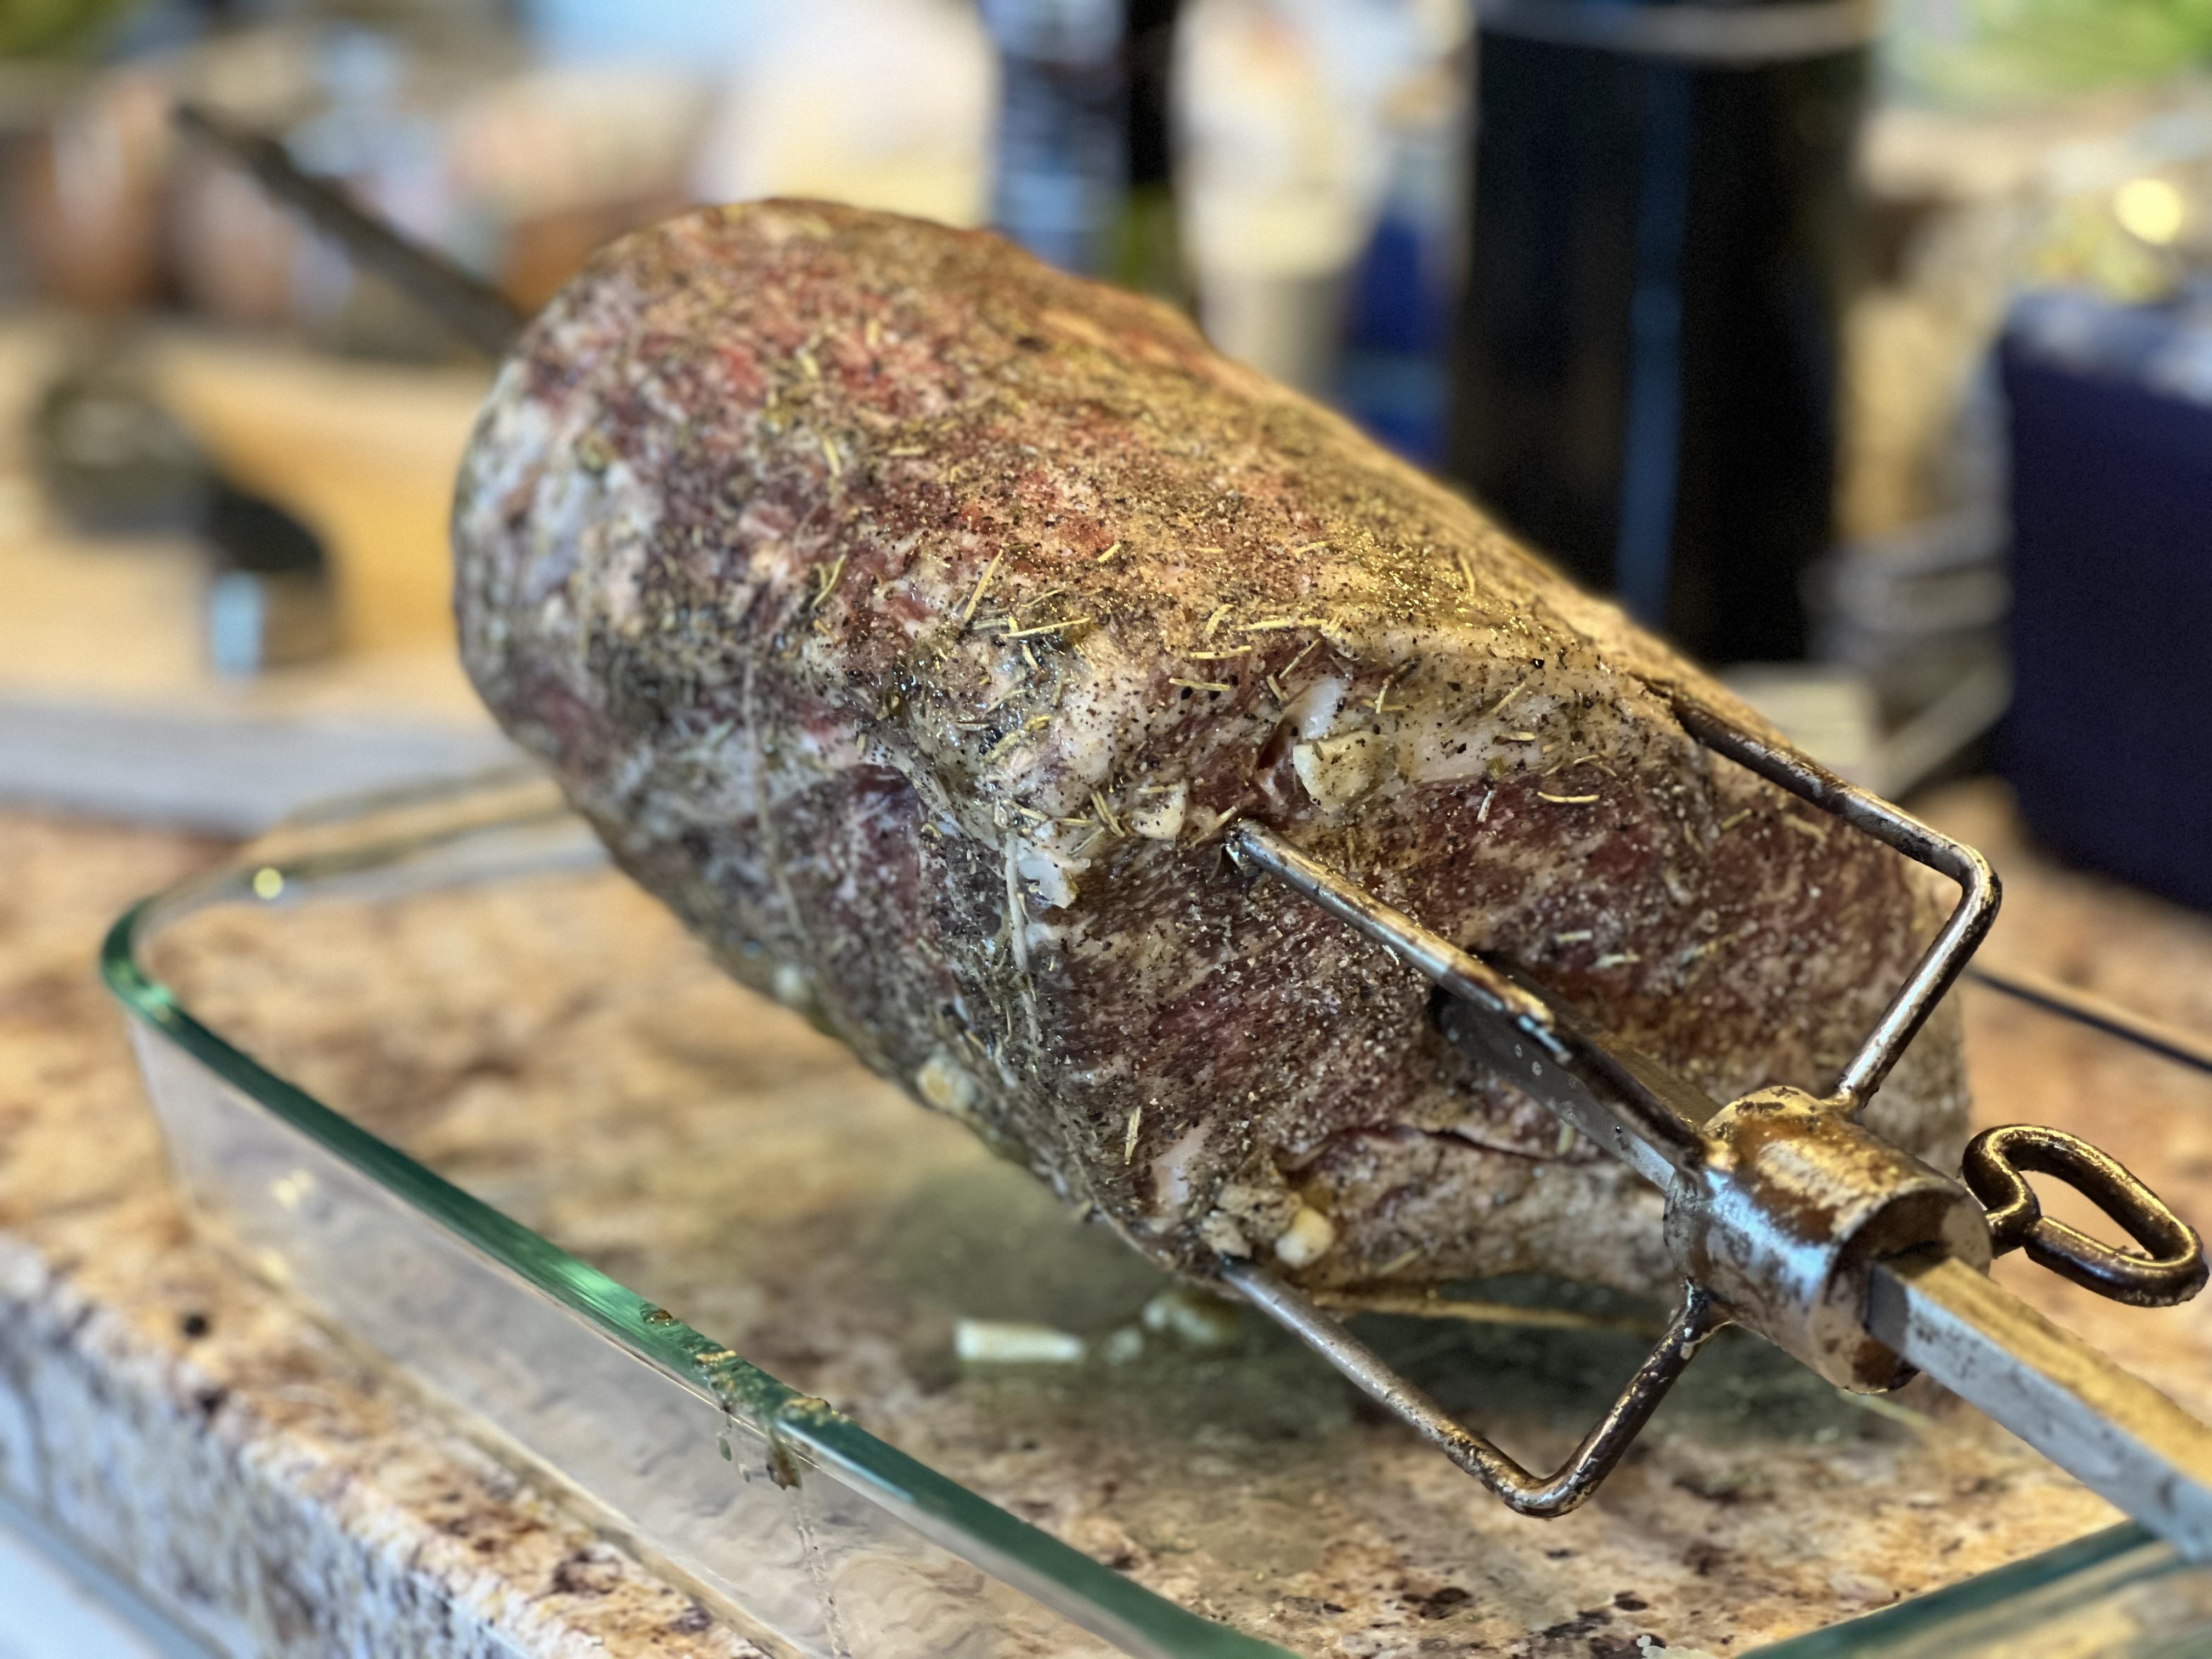
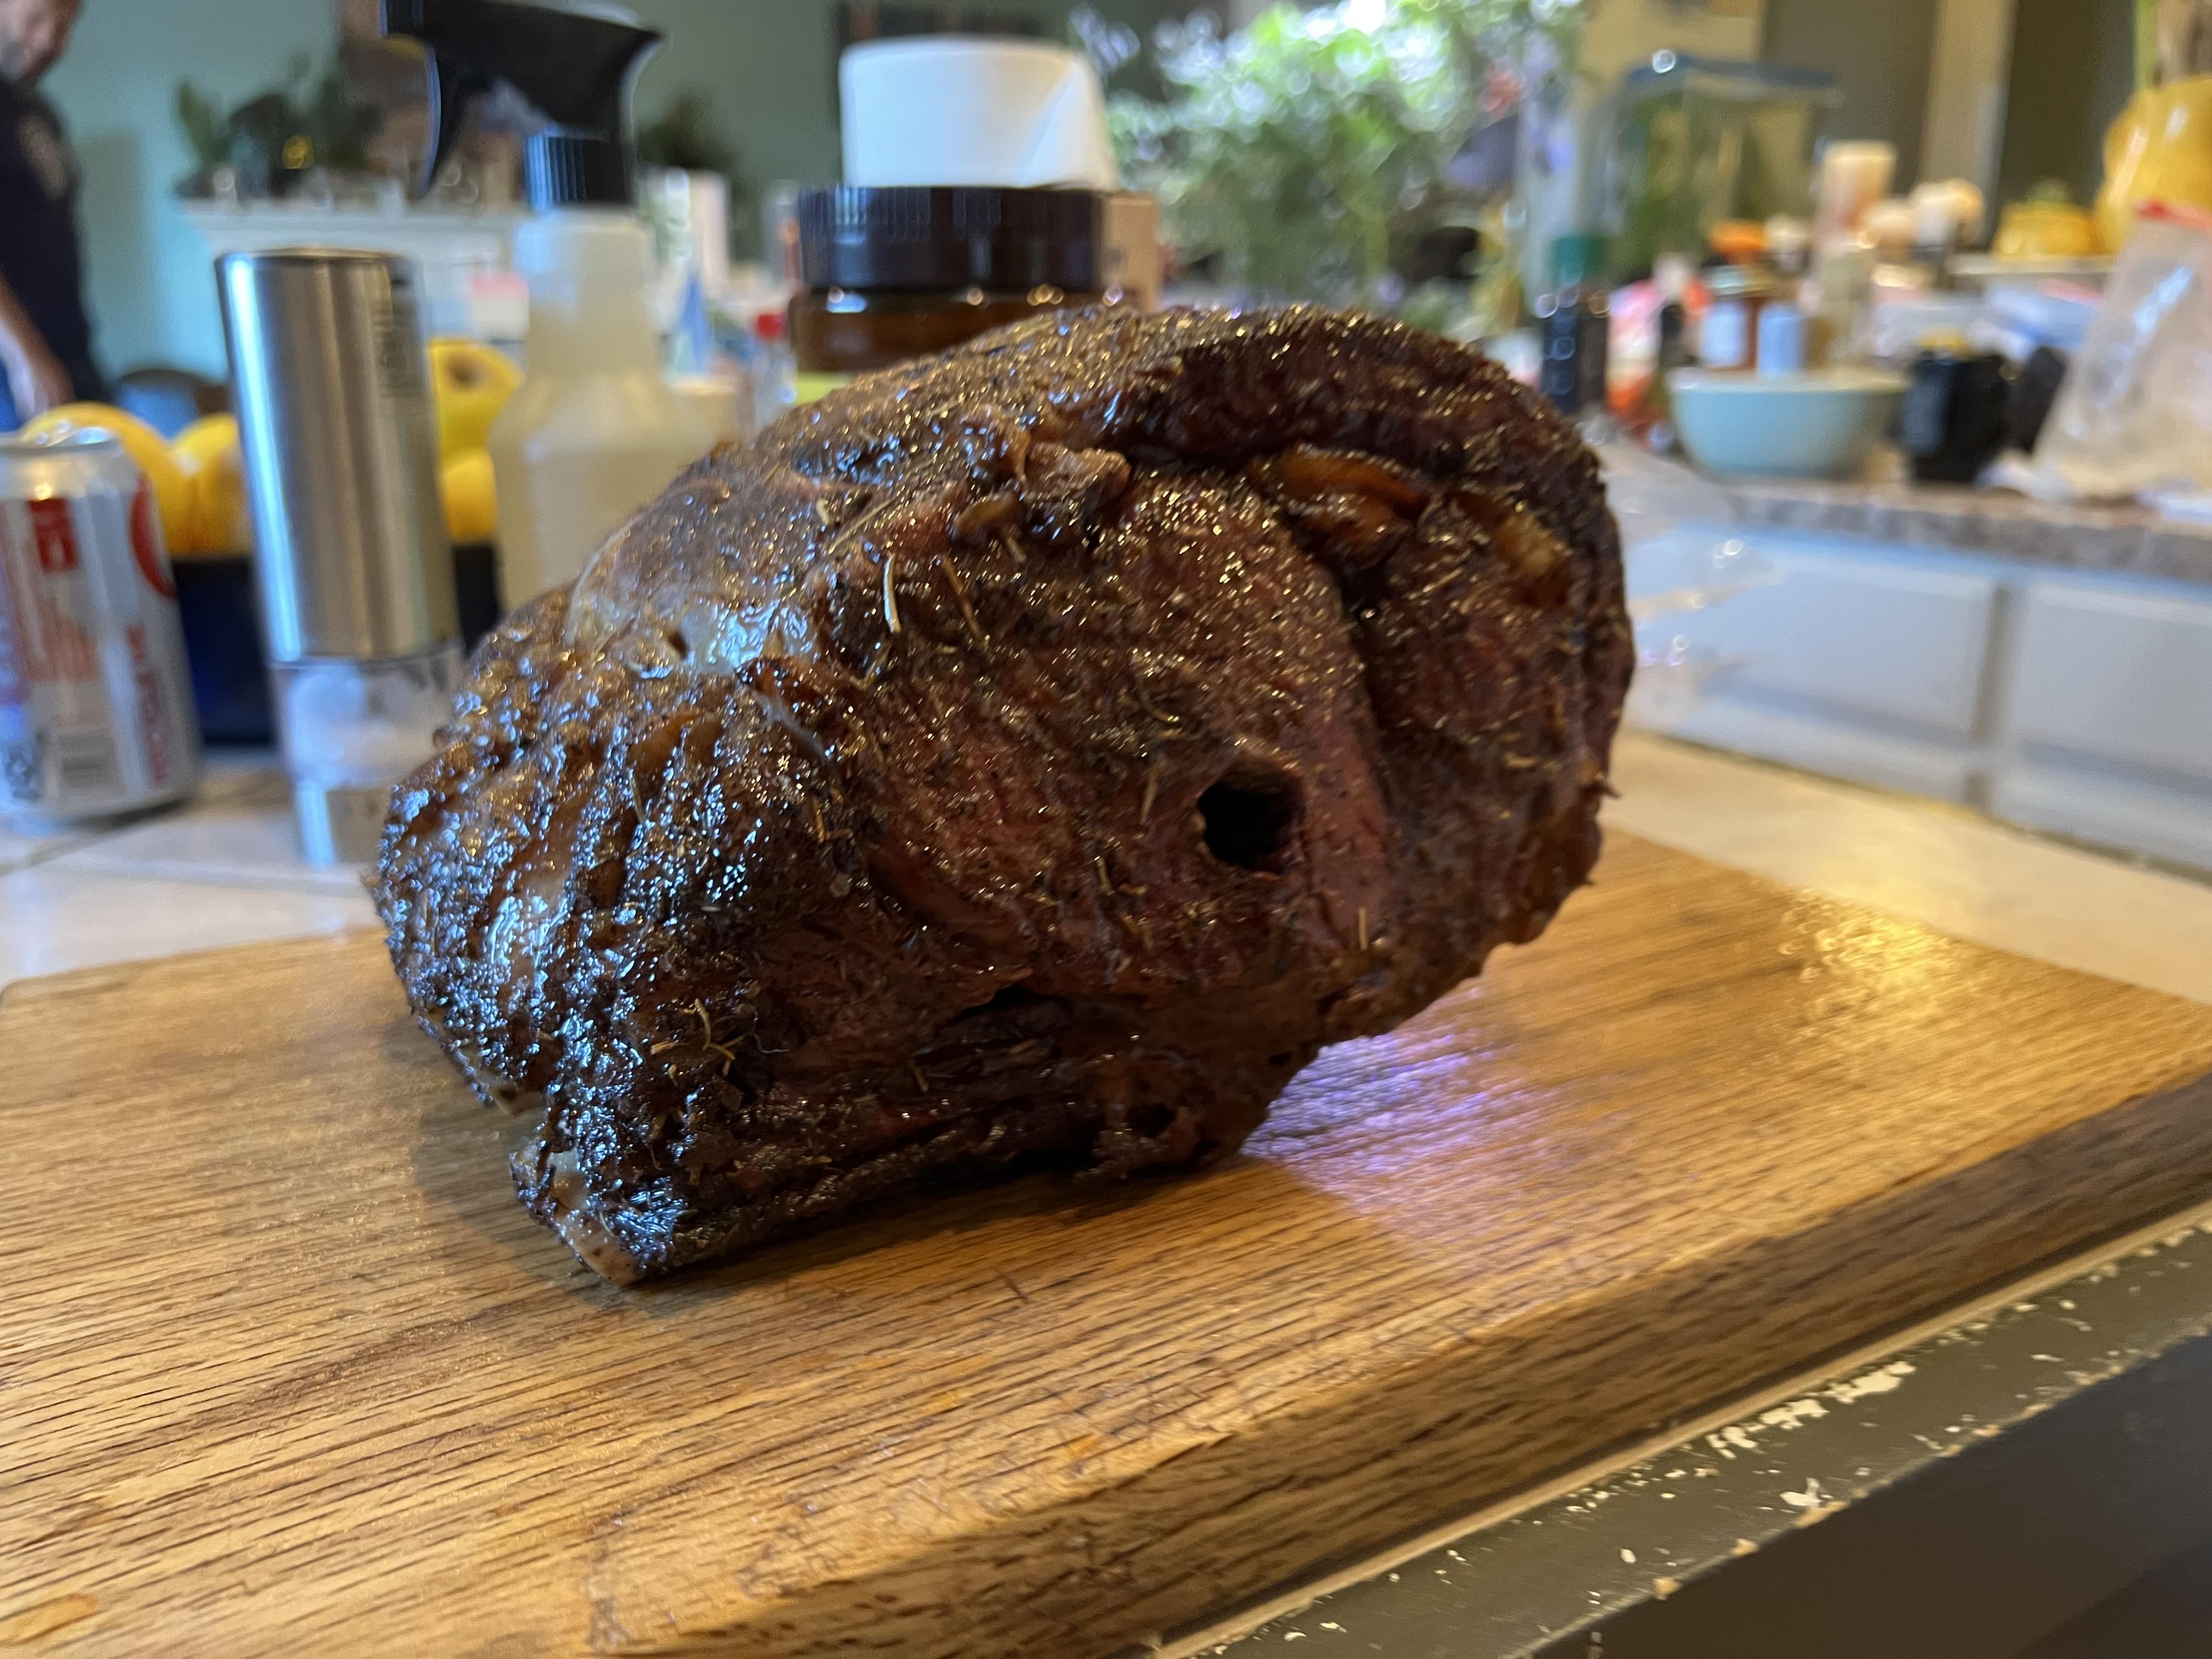
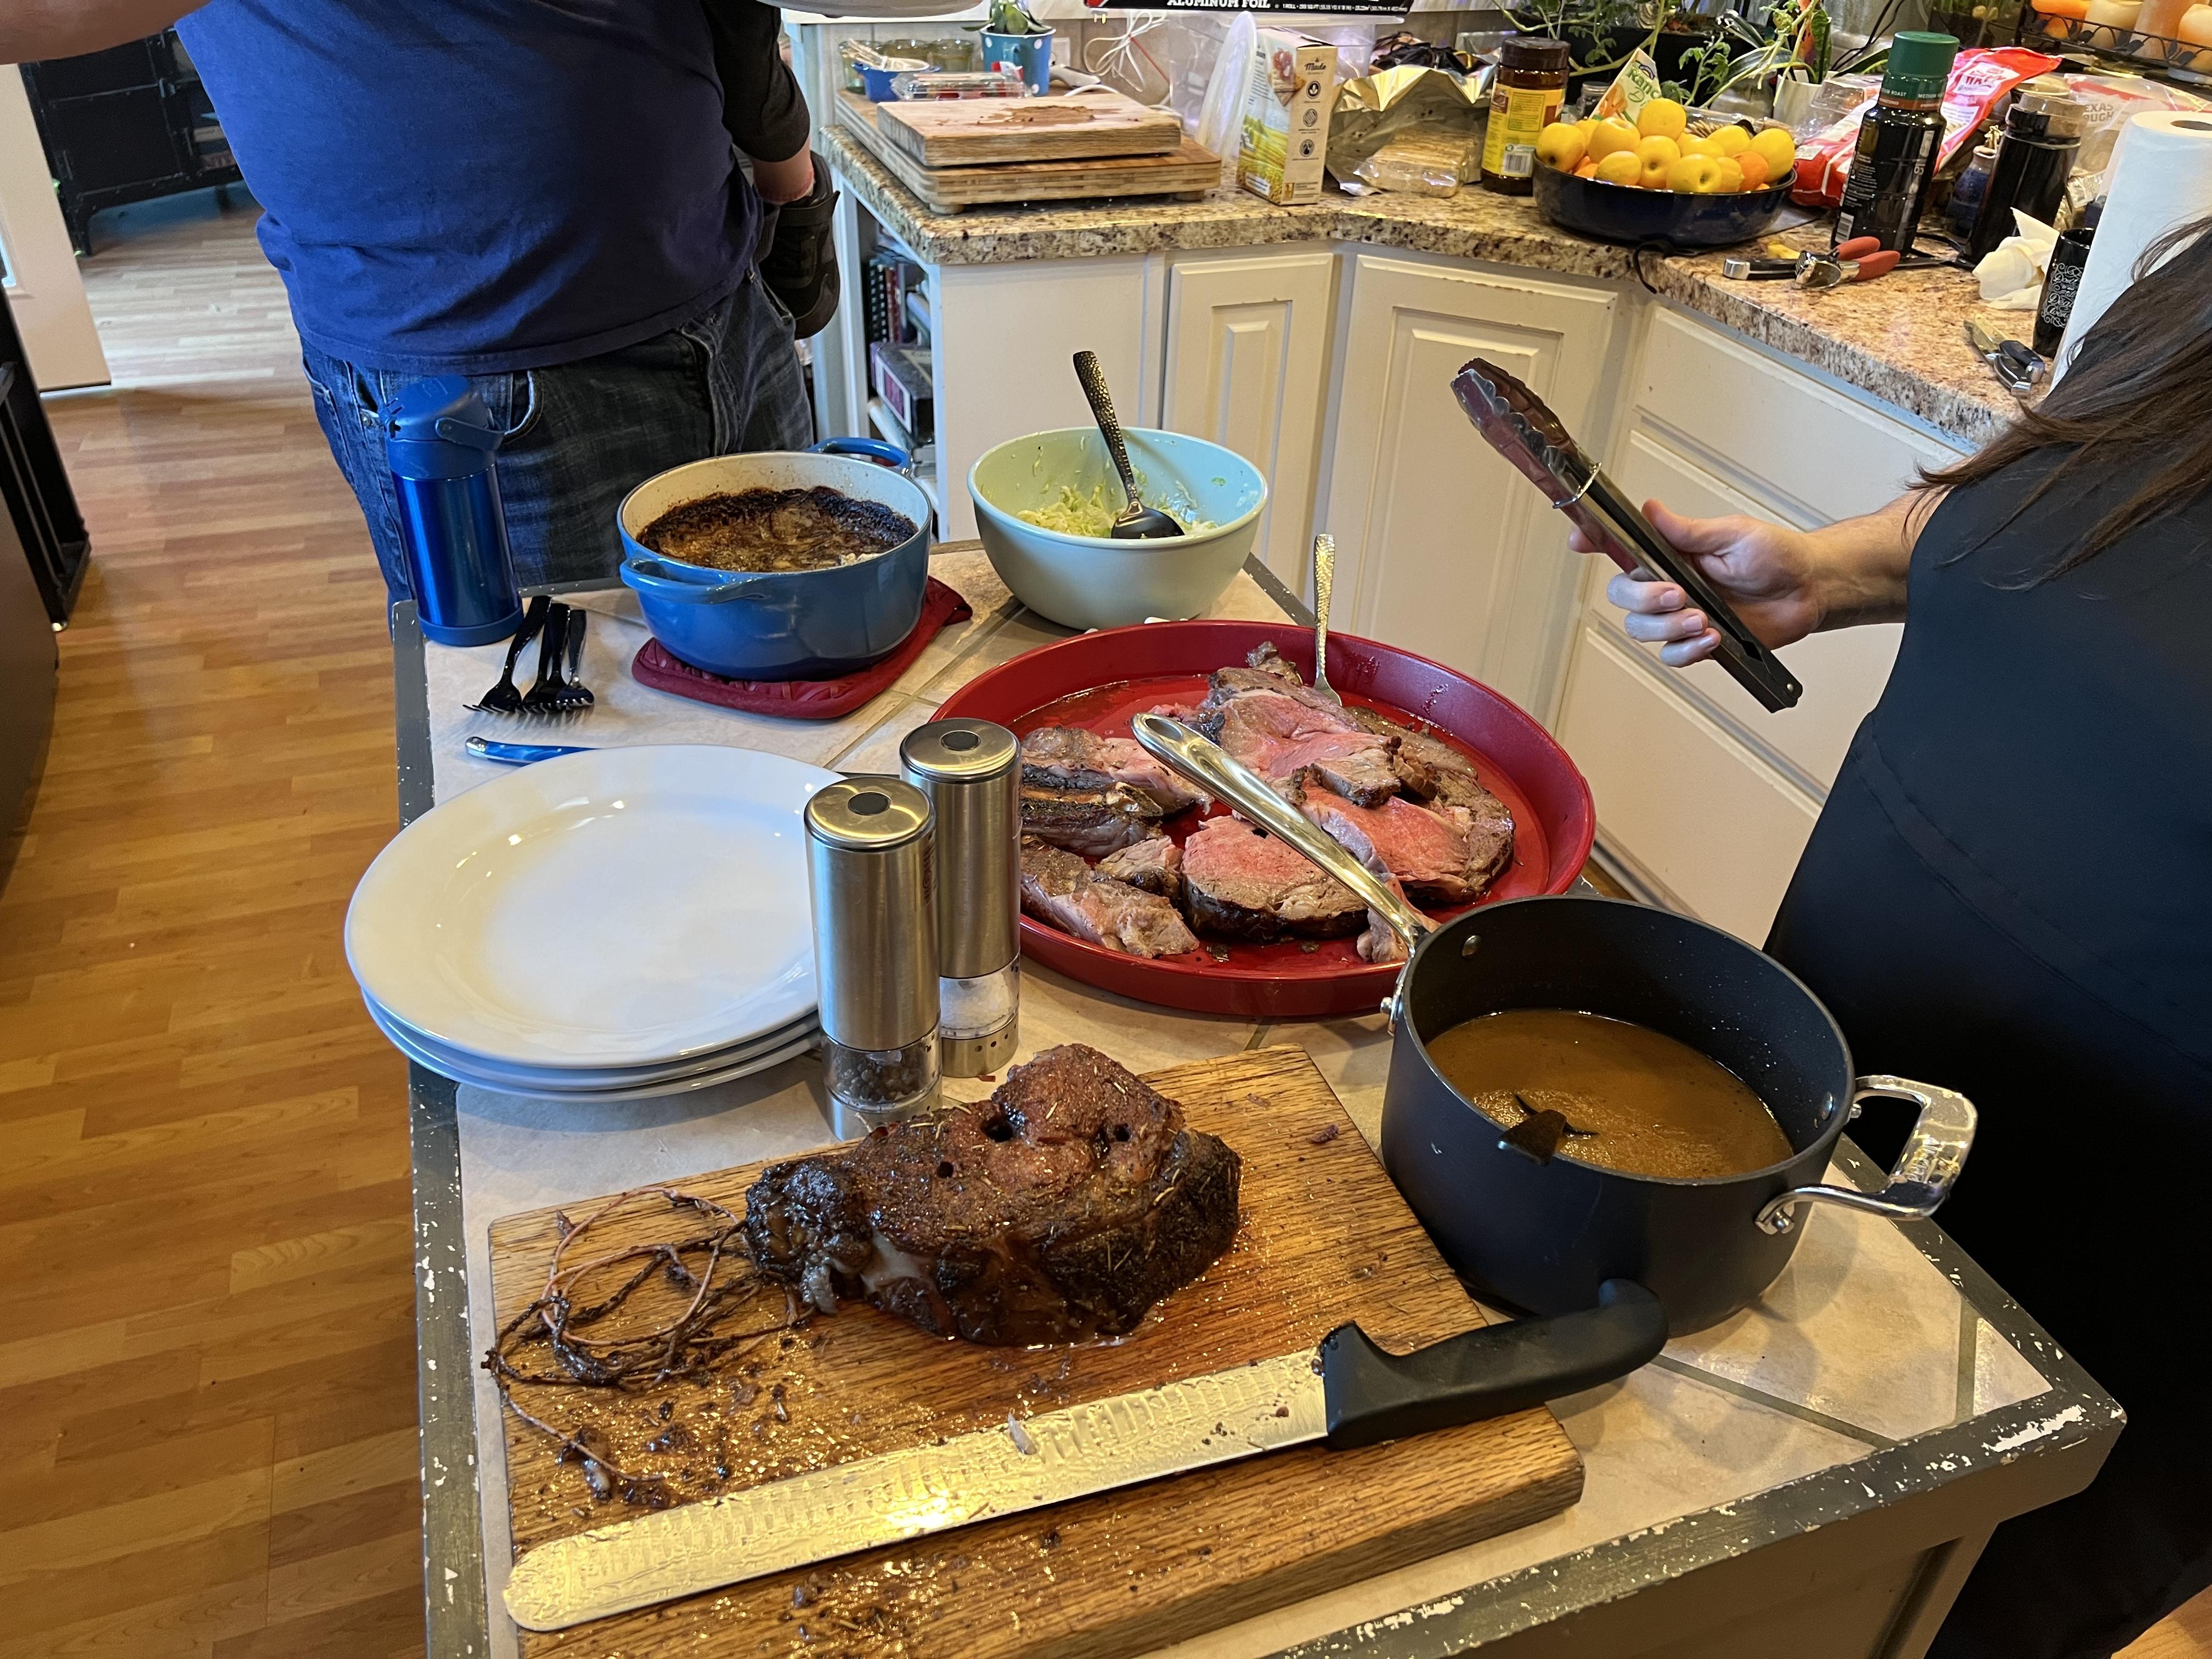
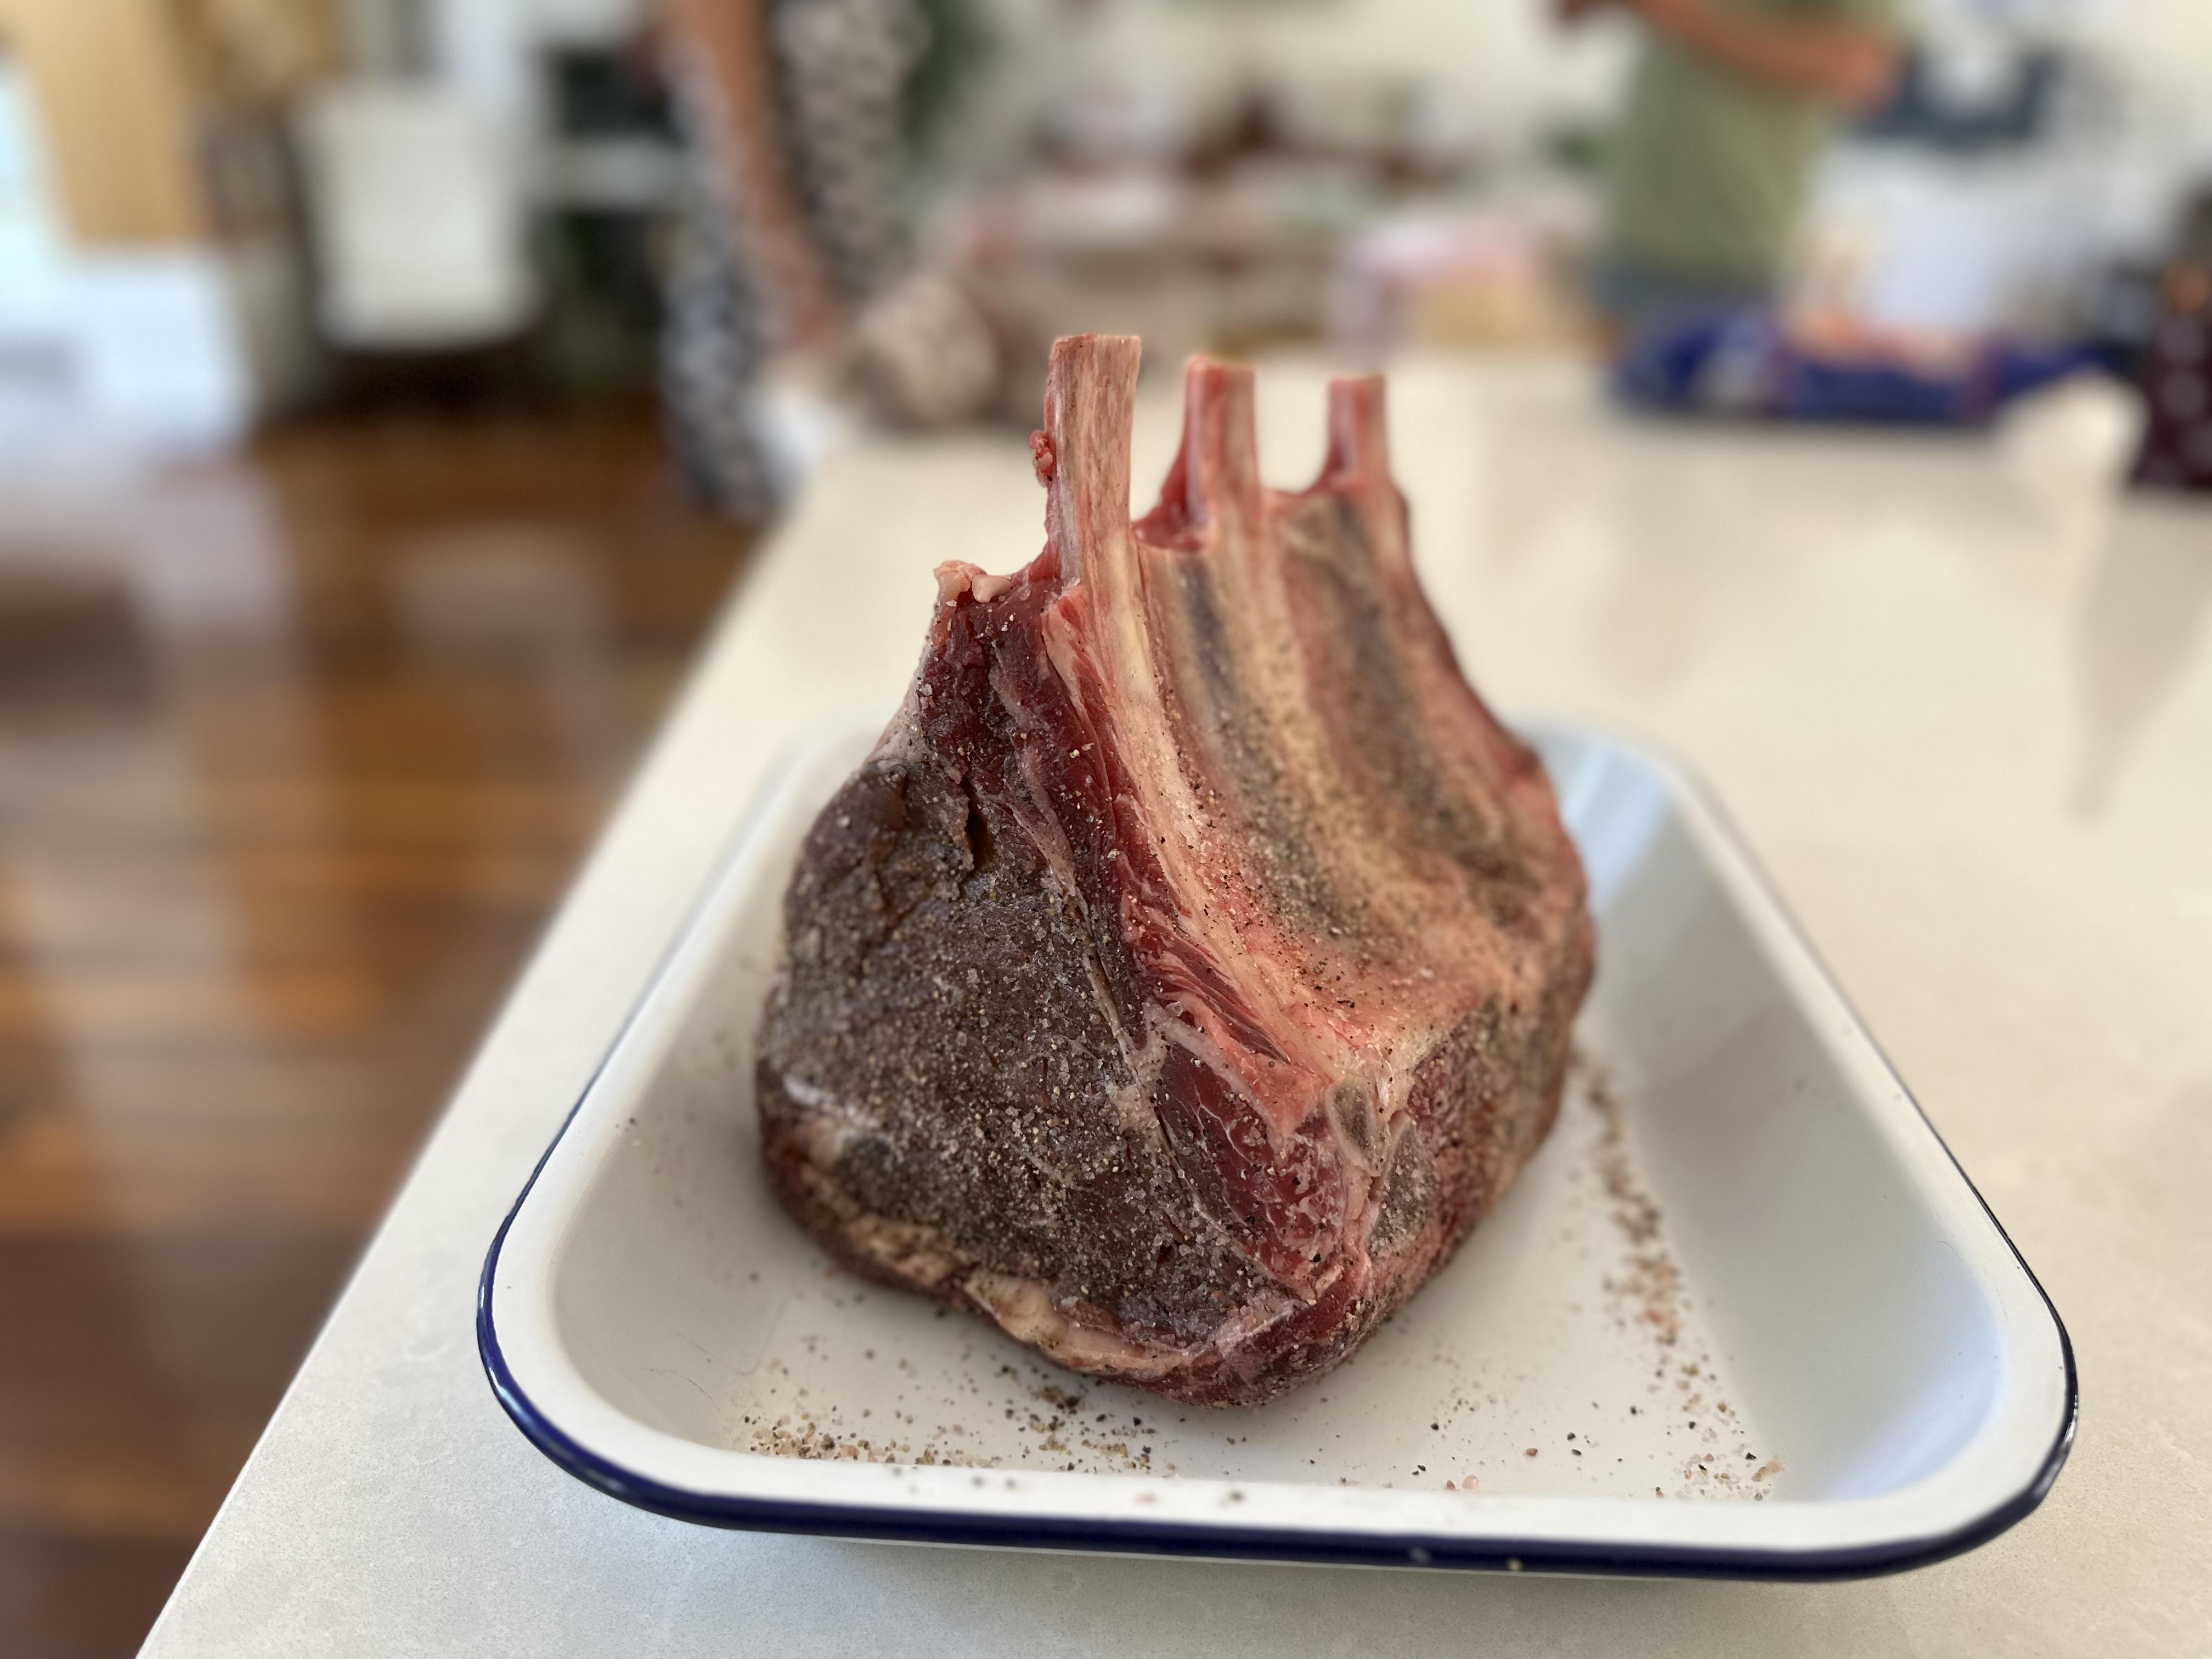
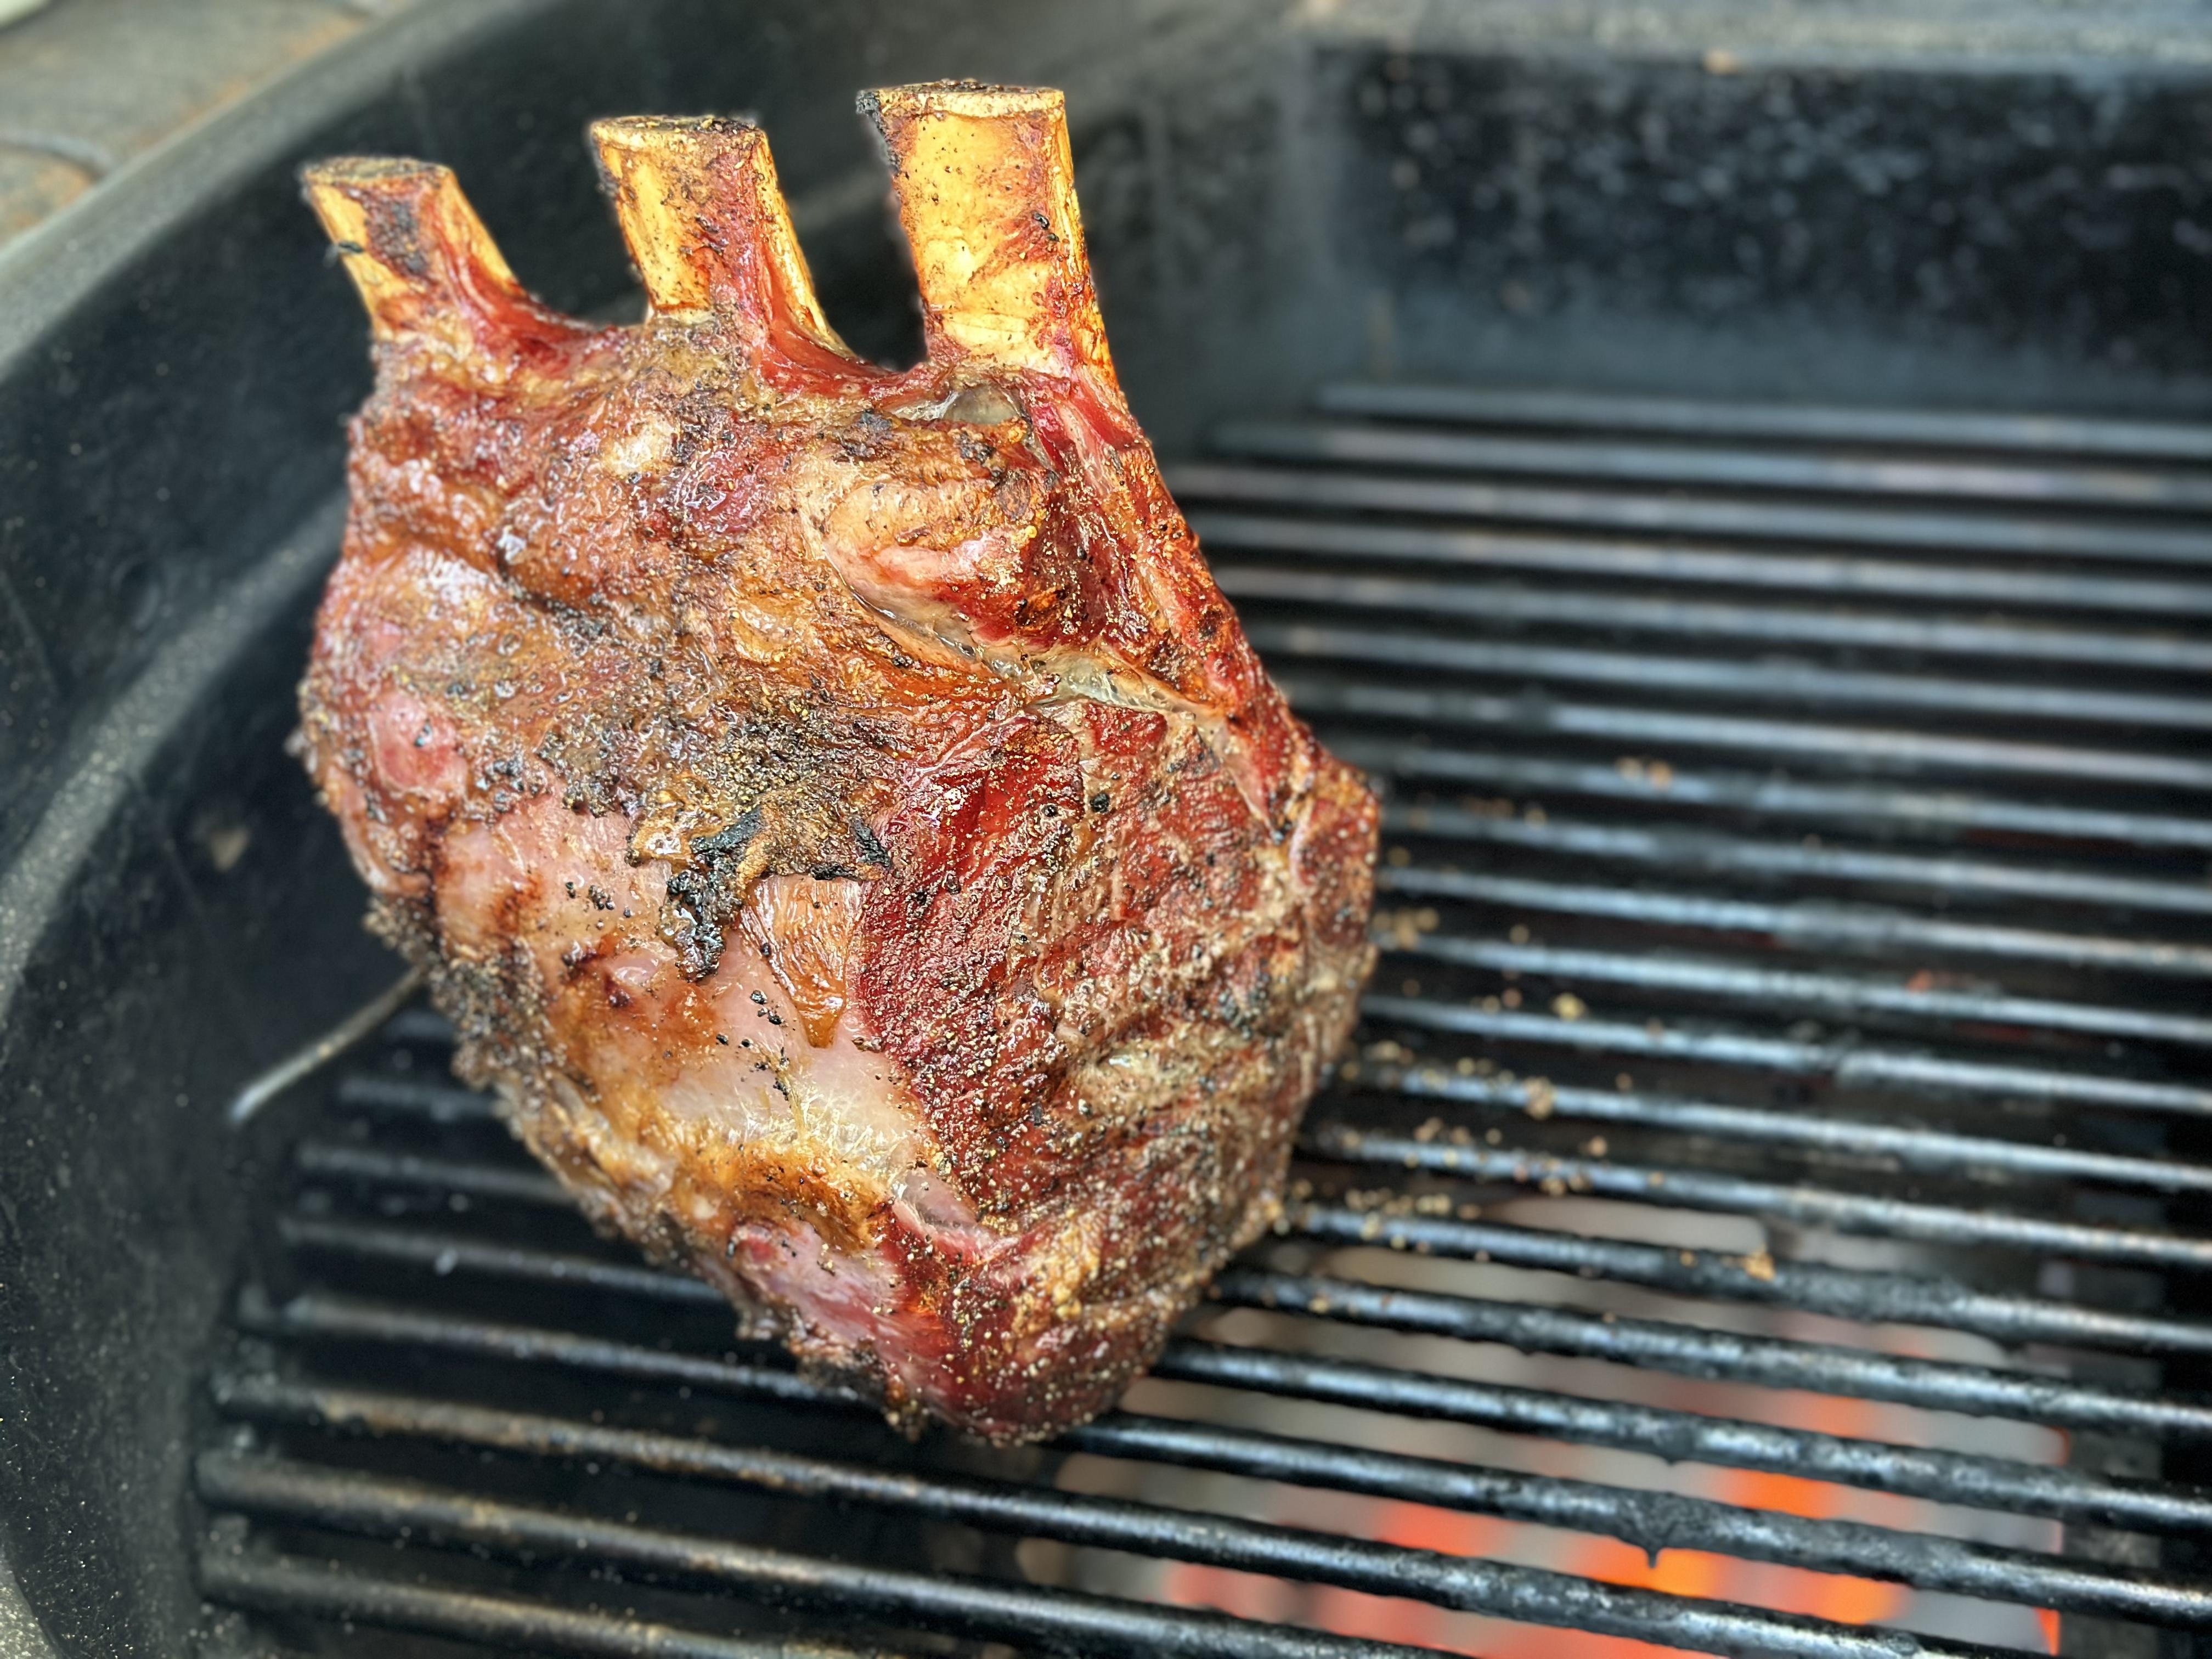
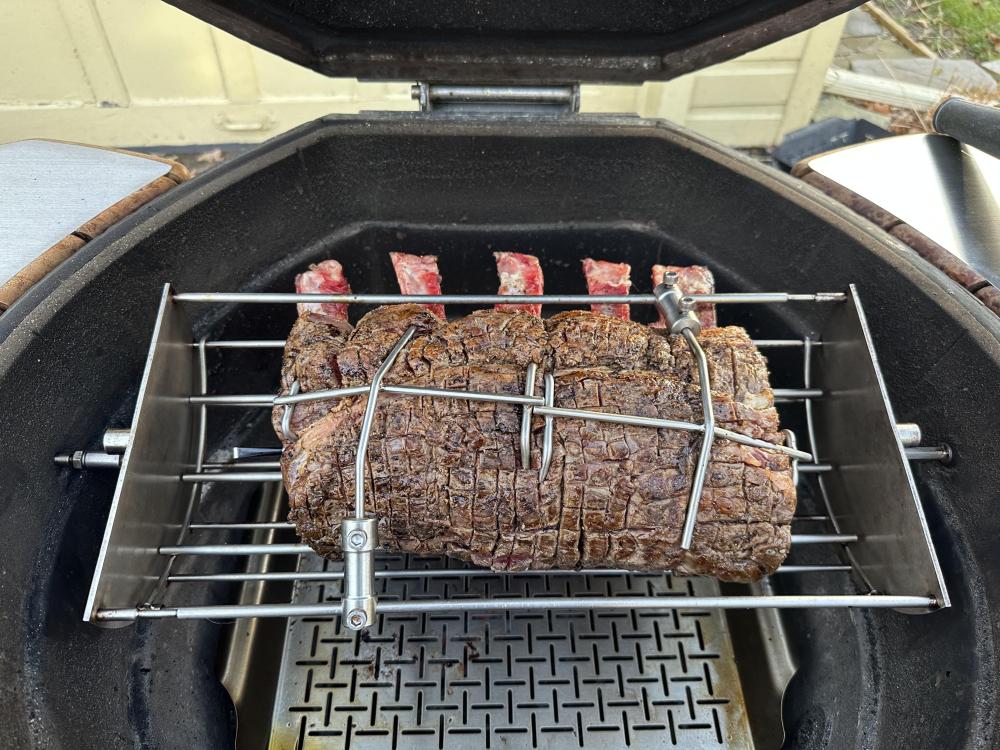
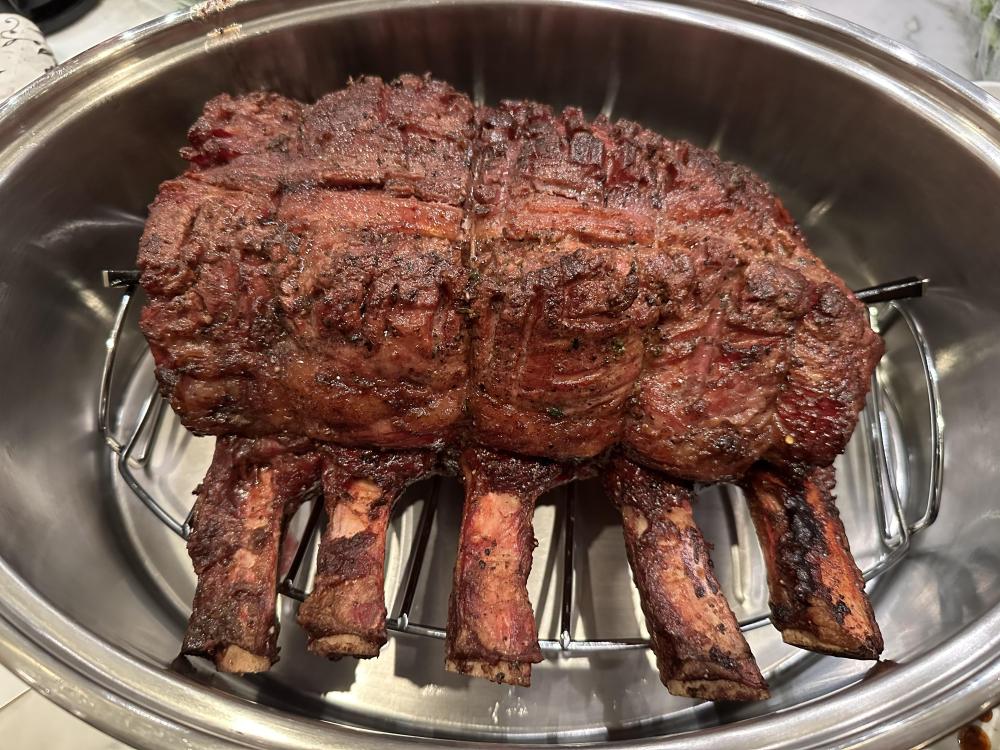
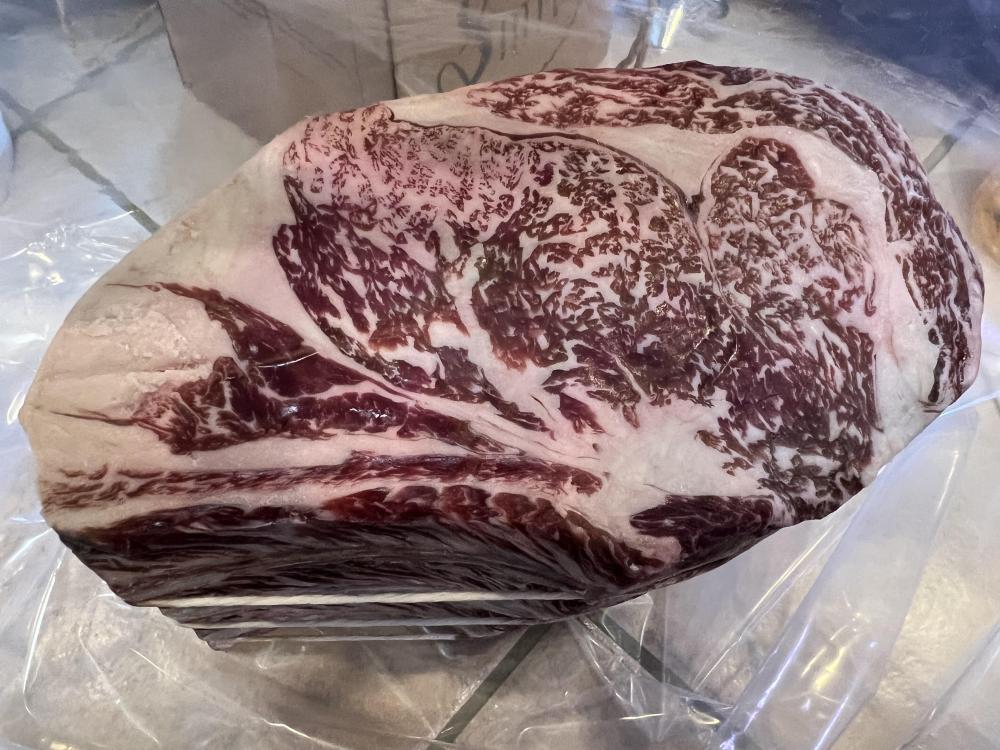
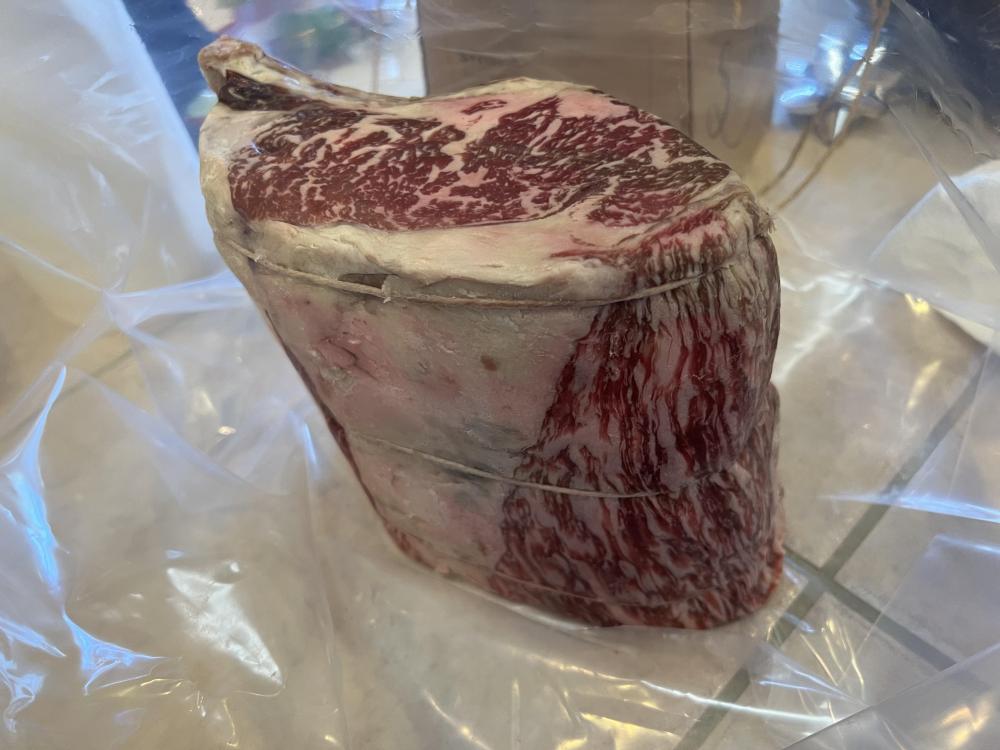
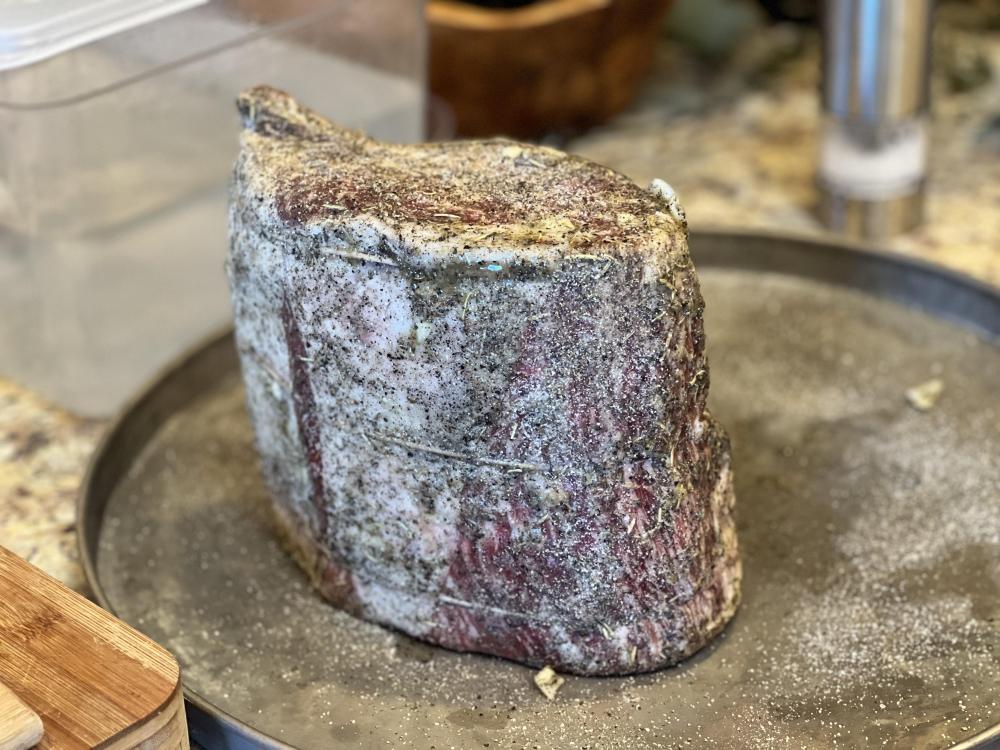
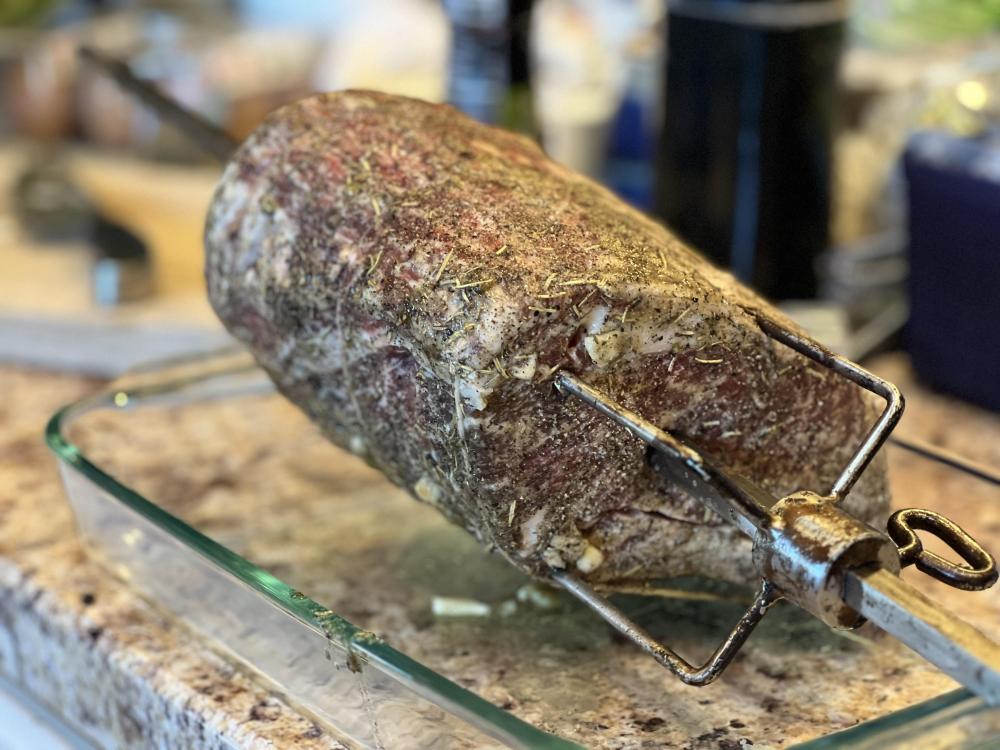
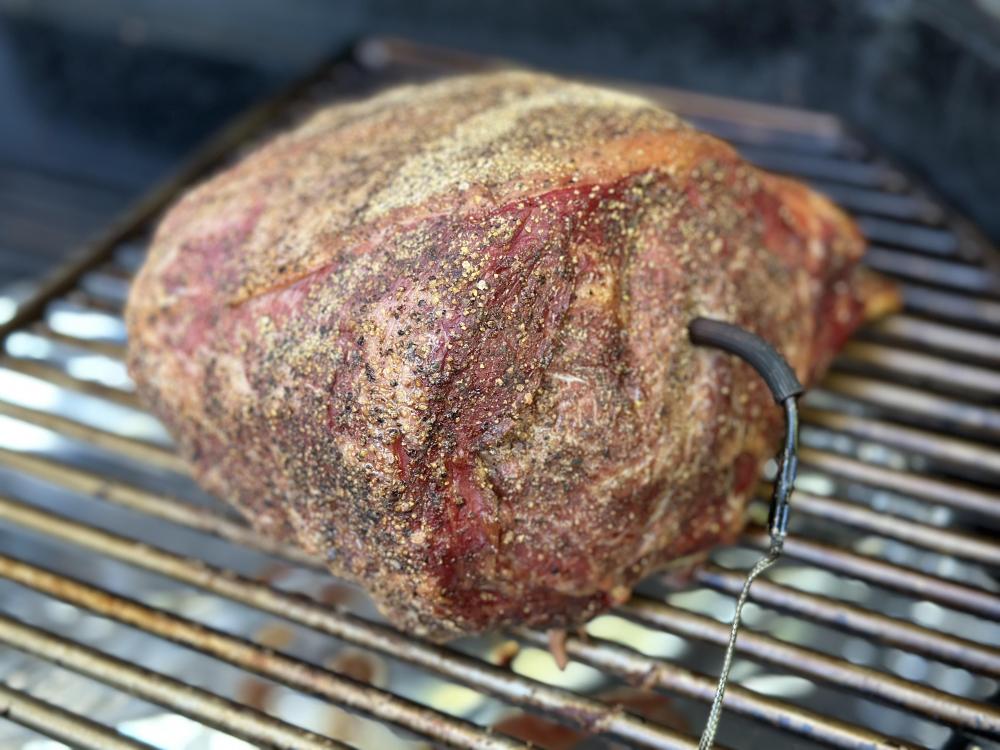
This is my second dry-aged prime grade Prime Rib I’ve cooked on a 23 Ultimate with outstanding results. I am here to teach you how I achieved a roast with excellent crust, pink throughout - no dark overdone perimeter ring, and excellent flavor, and the tools I used. SOURCES: Adam Perry Lang book: Charred and Scruffed Thermoworks Video: Prime Rib Tutorial TOOLS KK 23 Ultimate or Similar KK Rotisserie Basket KK lower grill grate Weber Stainless Steel Grill Pan (Rectangular & Perforated) Jealous Devil Lump Charcoal Fat scraps from the trimmings Butcher String OPTIONAL TOOLS Meater Probe PROCEDURE THE ROAST: Find a Prime Rib of your liking. We used a Prime Dry-aged 5 bone roast. This is expensive but worth every penny. Have the butcher take the roast from the thicker side of the cut, cut the bones off, then tie the roast together. TRIM: Remove the butcher string. Trim away the majority of the fat and silver skin so the rub has plenty of meat to stick to. This will lay the ground work for a beautiful flavorful crust. I trimmed using French Style by trimming off the thick fat cap on top of the bones then trimming in between. SCRUFF: Charred and Scuffed - absolute game changer in the way I grill and roast. Adam’s techniques will elevate your steaks, poultry, roast, etc. to whole new level. Scruff and rough up that meat surface. You can achieve this in several ways. I chose to make shallow surface cuts. RUB: Charred and Scuffed seasoning rub: 1 cup kosher salt, 2 TBS fresh ground black pepper, 1 tsp garlic salt, 1/2 tsp cayenne pepper. Grind in a spice grinder/coffee grinder/food processor until a sand consistency. Use a few splashes of low sodium soy sauce as a binder. Coat the roast heavily with the rub, moisten hands, and really work it into the scruffed surface. I added more pepper directly and worked it in. Season between the bones and roast. Use butcher string to tie the roast back together. Refrigerate overnight uncovered. ROOM TEMPERATURE/FREEZE: Pull the roast from the fridge and bring to room temp - about two hours. Then, put the roast into the freezer for about an hour until the outer 1/4 or so is almost frozen. This will keep the outer portion of the roast from turning brown and produce a rare color edge to edge. LIGHTOFF: Light your KK and set up for a 225-250 meat level cook - about 250-300 at the dome. Make sure it’s preheated in cold environments. Connect your rotisserie motor and ensure your basket fits. Install the lower grill grate. 15 minutes before go time, fire up your gas grill or similar and preheat your pan for the initial sear. WEBER DRIP PAN - GENIUS: I started using this by my own accord and have had phenomenal results. Place the Weber Stainless Steel Grill Pan centered on the grate. This works as an excellent heat deflector. Better yet, the pan's perforations allows the fat renderings to drip through and reach the fire creating a beautiful smoke that adds incredible flavor to the meat. SEAR: Sear the roast on all sides for roughly 15 seconds on each portion. I use a gas grill, cast iron griddle with beef tallow on high heat. LOCK & LOAD: Load the roast into the basket and lock it in secure. I use three MEATER probes, two in the ends and one in the center. I use the two end probes to measure the ambient temperature at the roast. The middle probe is placed in the thickest part of the roast and set to 125 rare. Meater is purely optional. TURN ON THE ROTISSERIE: Make sure everything works properly. ADD THE FAT: Take some of the white fat scraps from the trimmings and toss them onto the heat deflector a few times during the cook. The fat will slowly render and drip into the fire below creating a smoke that adds another dimension of flavor to the cook. BASTE: Baste the roast very 20-30 minutes. I use one cup olive oil, one stick of unsalted butter, some thyme sprigs, one mashed garlic clove, chopped rosemary, and a few shakes of low sodium say sauce. Simmer for about 5 minutes and set aside. I use an herb mop made by bunching sage, rosemary, thyme, etc all bunched together and tightly tied with butcher string. COOK: My 10 pound roast cooked in 2.5 hours - much faster than the 4 to 5 hour oven estimate - when my center meter probe reached 125 degrees. The other portions read 134 with the thinnest part reading 140. I backed the temps up with a Thermopen. Bottom line, everyone was happy - something for everyone! REMOVE: Remove the roast and let sit for 40 minutes. SAUCE: Prepare a finishing sauce of olive oil, chopped large leaf parsley, garlic, salt and pepper. Chop the roasted ends of the herb mop and add to the mixture. Drizzle over the meat once carved. CARVE: Carve and serve. I like to put the sauce on the cutting board, slice my slab into pieces and tossing with the board oil mixing the meat juices and sauce all together. Plate and finish with an additional drizzle of board oil, a thyme sprig - incredible flavor. ENJOY!! Final note, this was the most flavorful prime rib I’ve ever had. The "Scruffed" process give the roast an incredible flavor that penetrates the surface much better than just adding seasoning to the surface alone. That combined with the smoke produced from the fat renderings, the finishing sauce, makes for a delicious combination. A special thank you to Adam Perry Lang who revolutionized the Scruffed process - it’s a game changer for chops and steaks as well. Also, a huge call out to Dennis for is input and excellent customer service. Happy New Years to all.

 3 points
 -
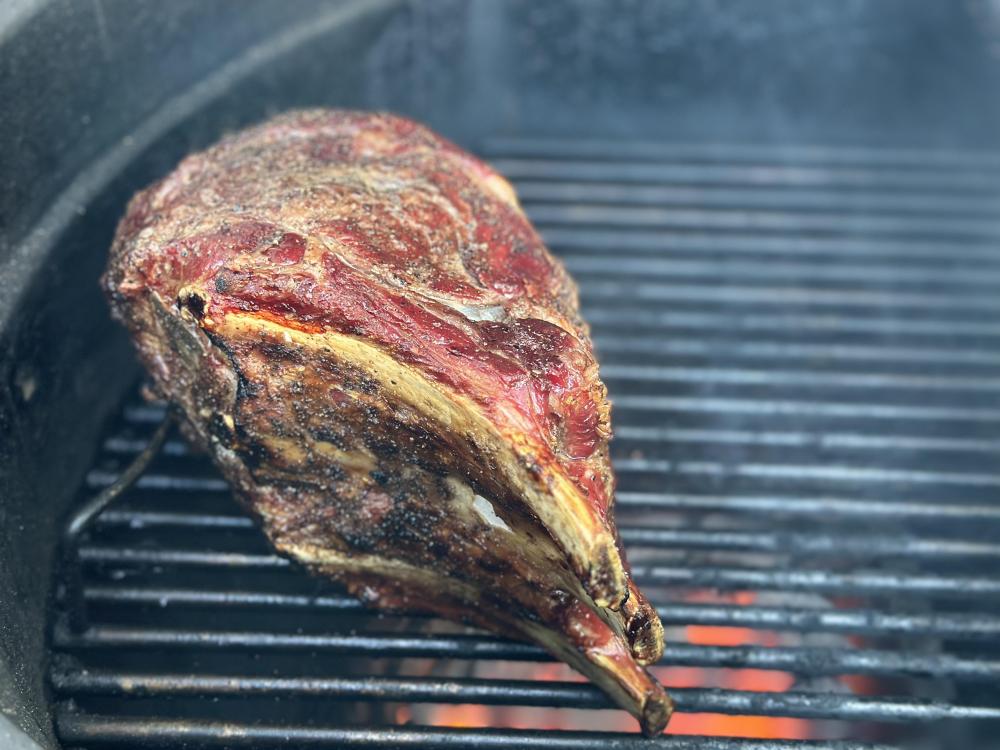
Hey y’all, Happy New Year! Smoked a dry aged Wagyu prime rib on the 32” rotisserie. Dry brined it for 24 hours, smoked over apple. Served with potatoes dauphinois, mustard slaw, and jus made from the drippings.

 3 points
 -
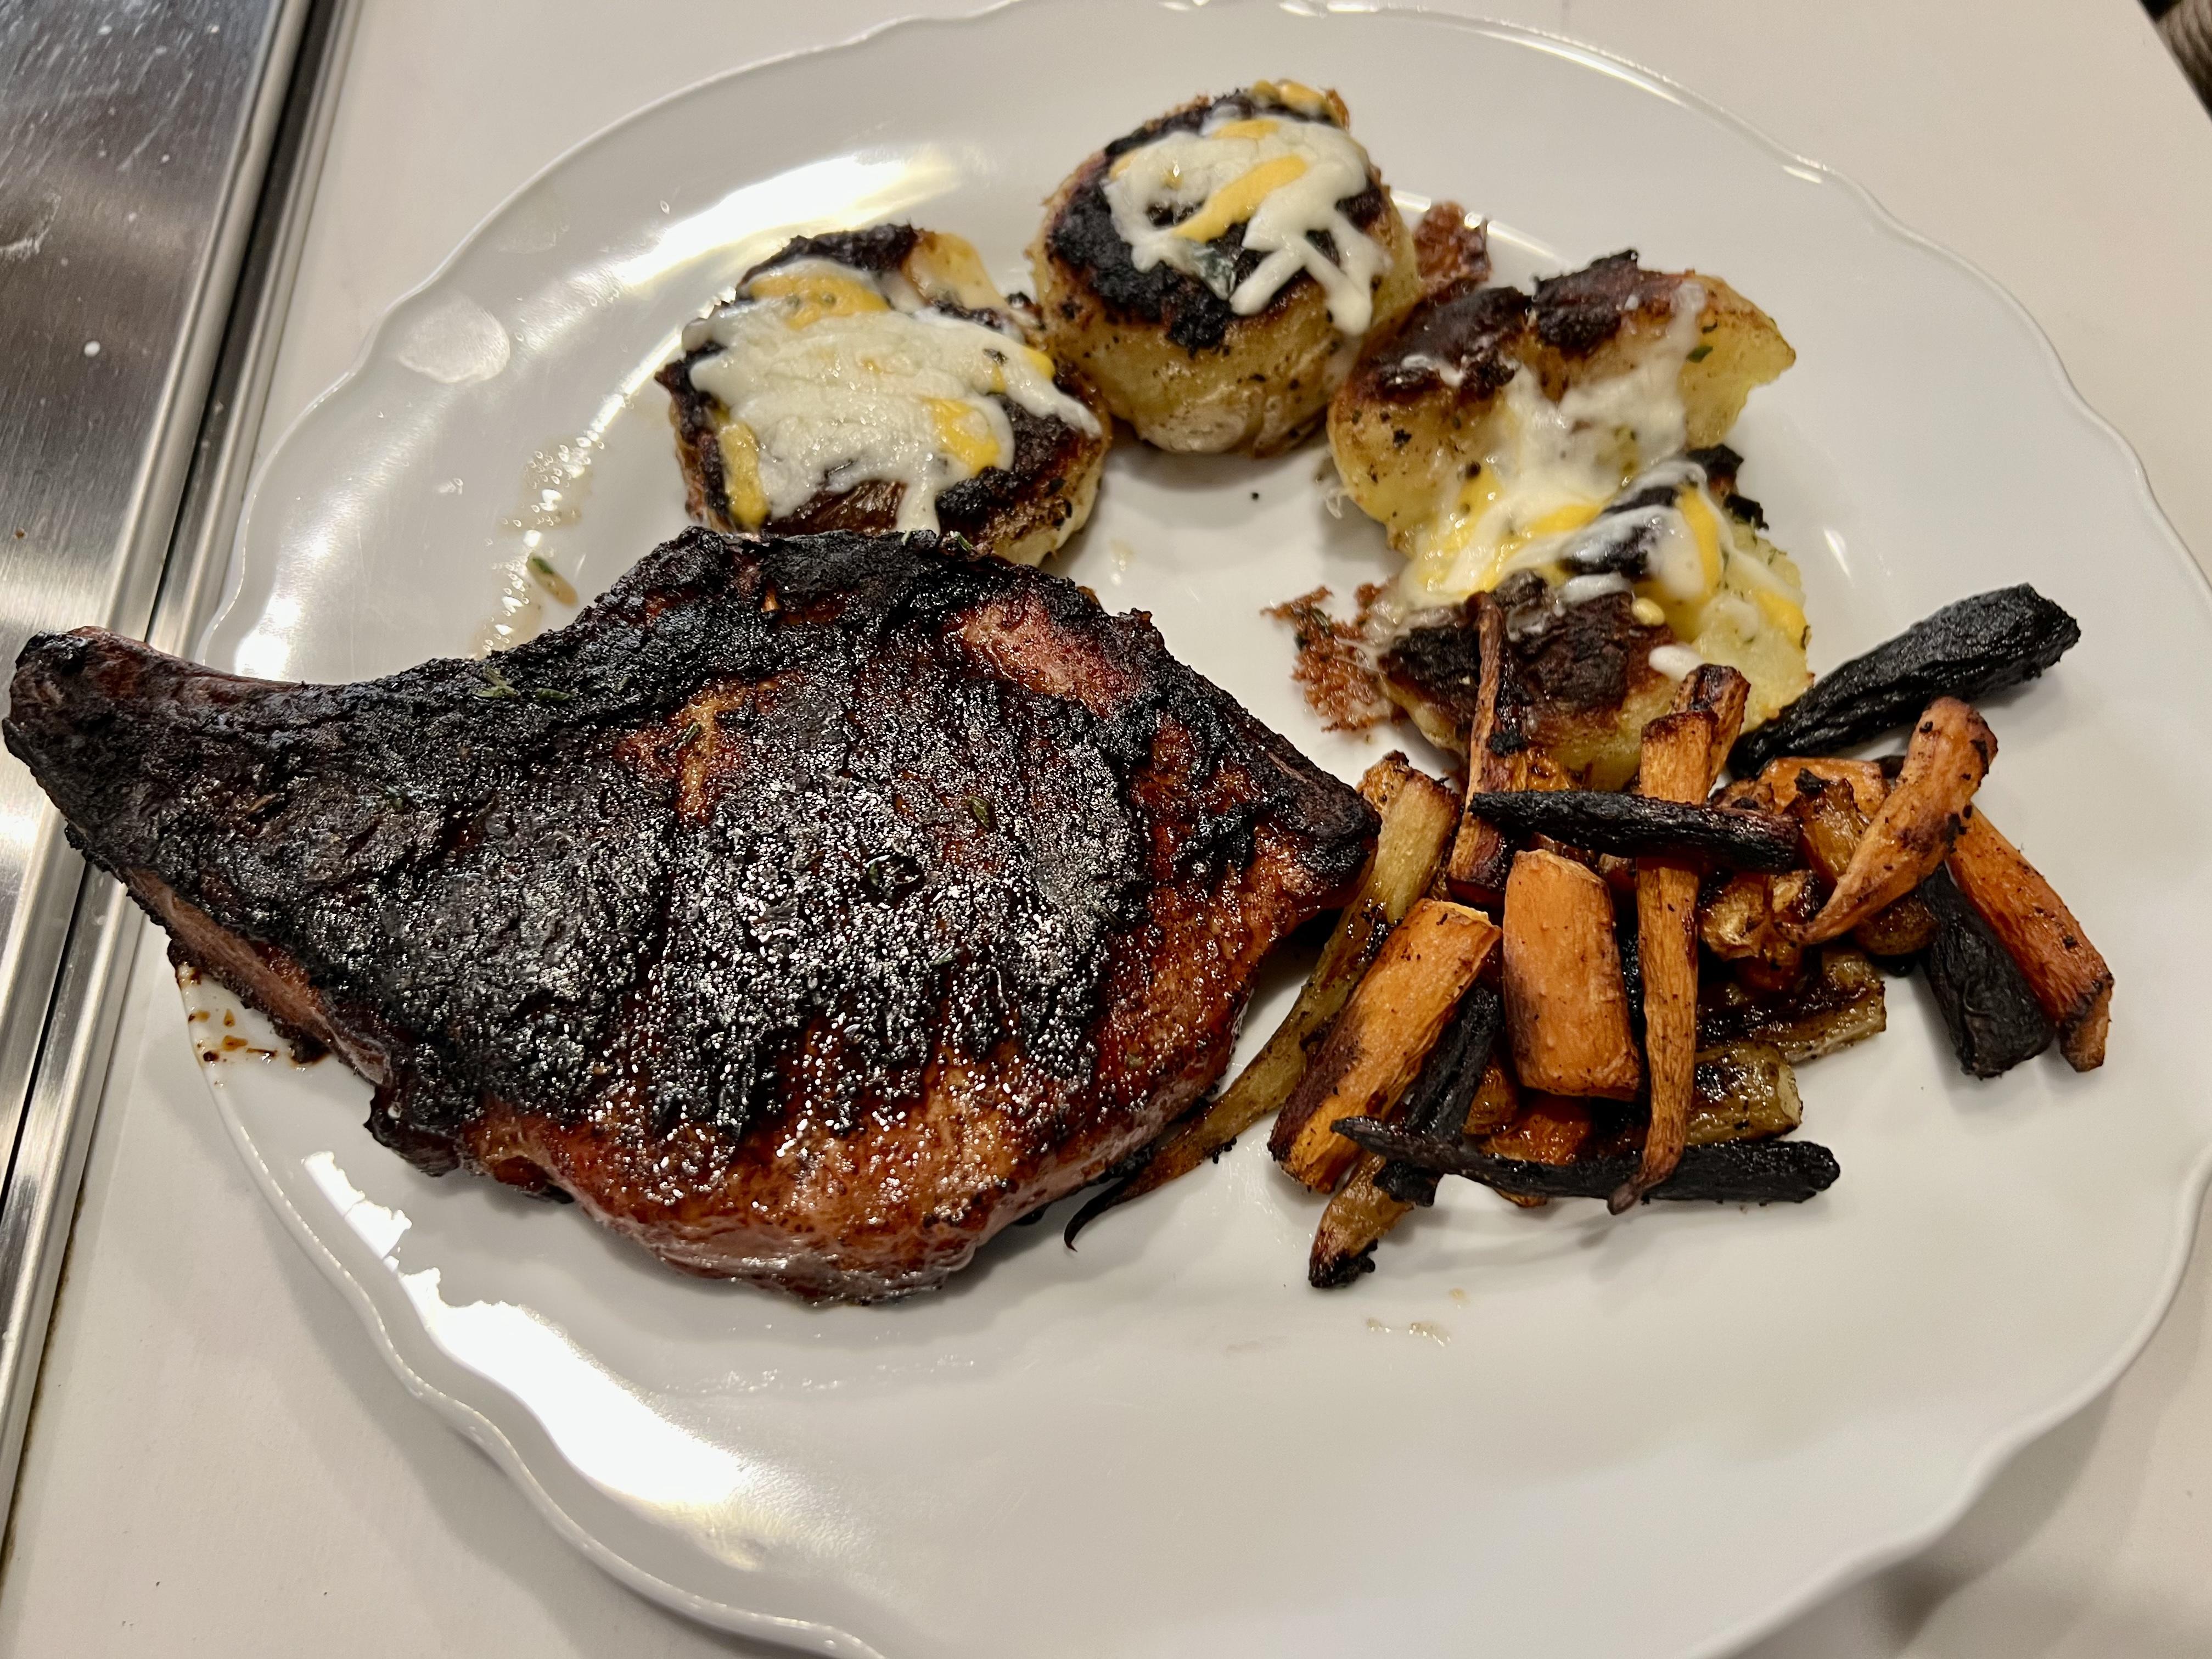
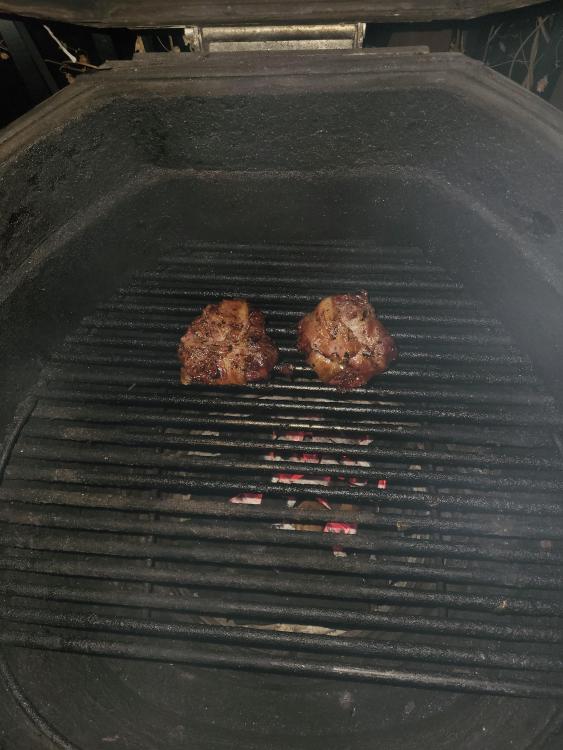
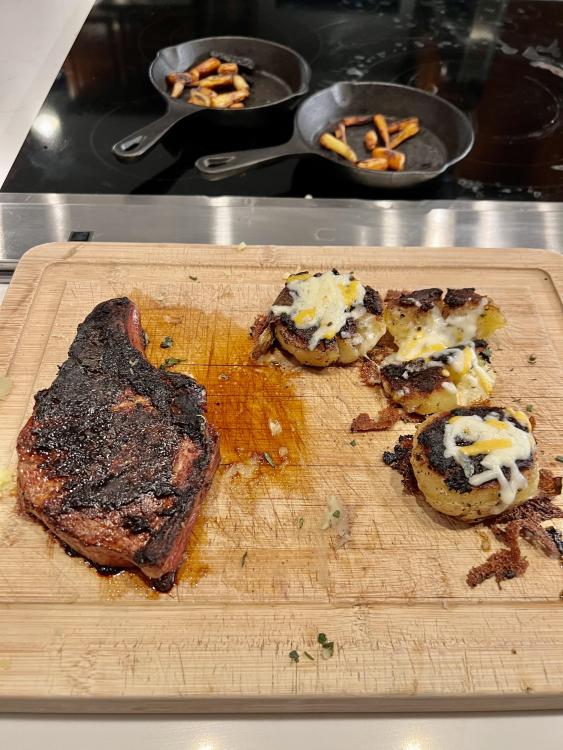
Bone in pork chop rubbed with honey mustard and Peruvian salt with aji panca. Reverse seared in the cast iron pan with apple wood roasted rainbow carrots ”smashed” potatoes with truffle salt, garlic powder and rosemary finished in cast iron pan while pork was resting. Topped with shredded cheese

 2 points
 -
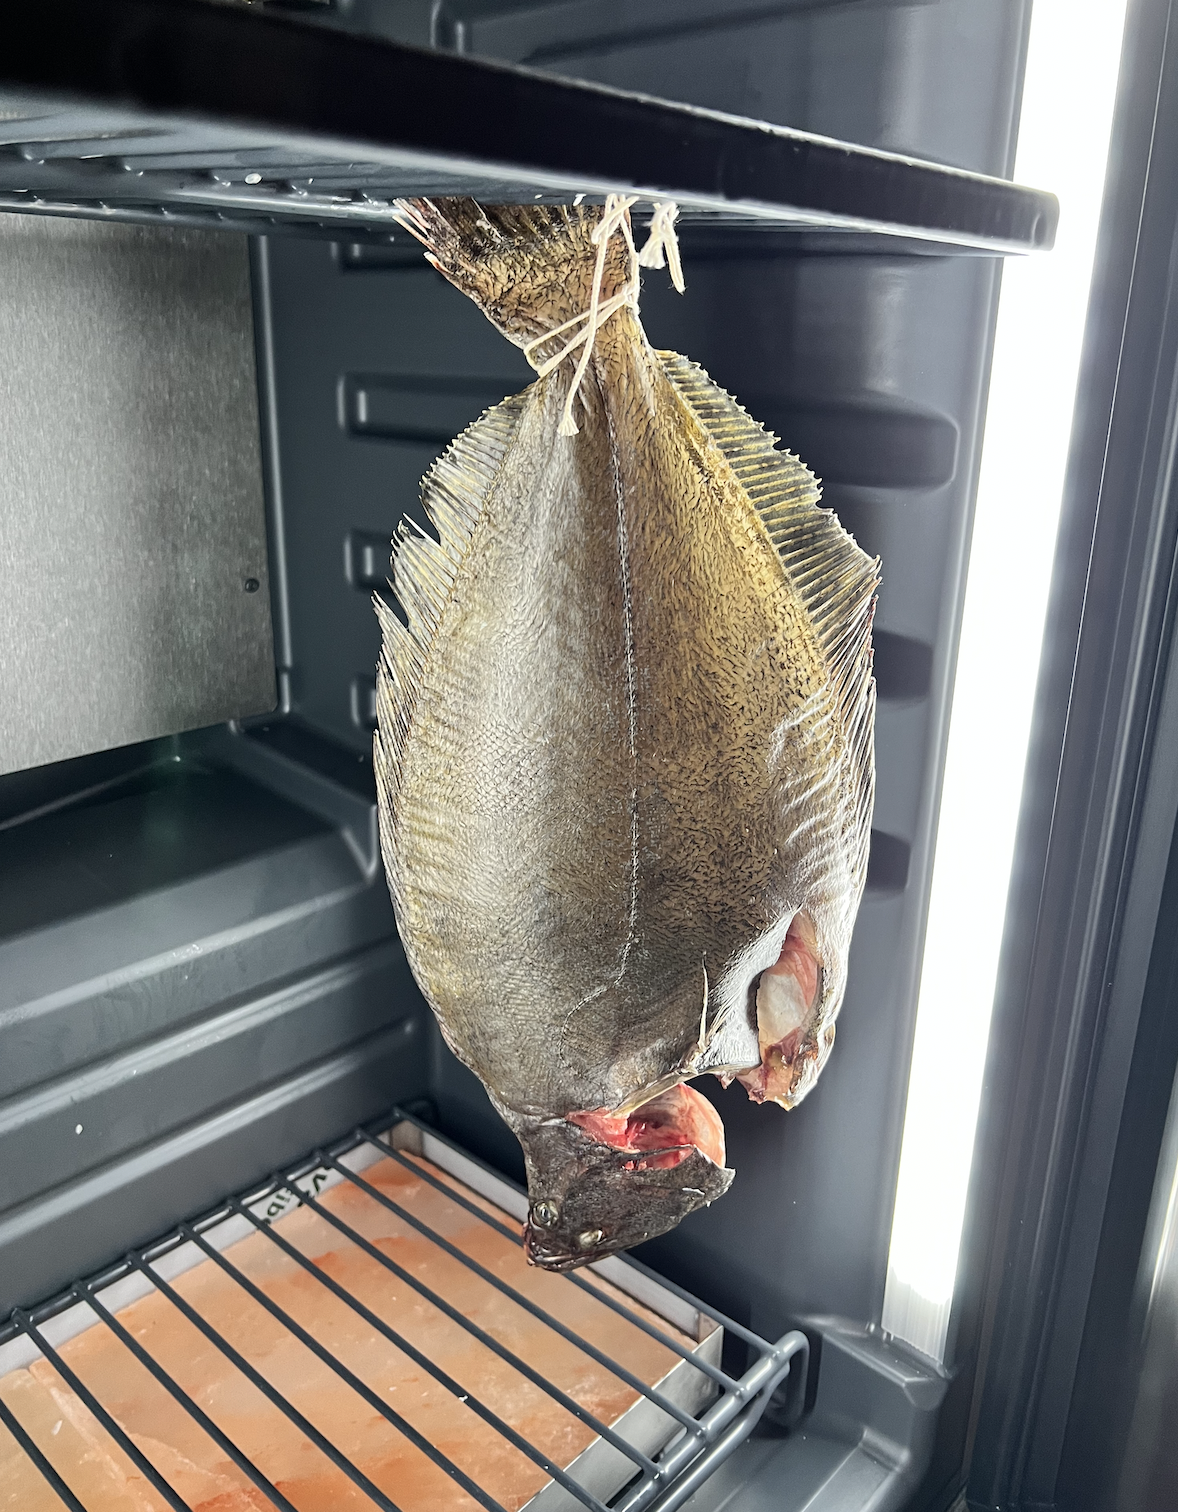
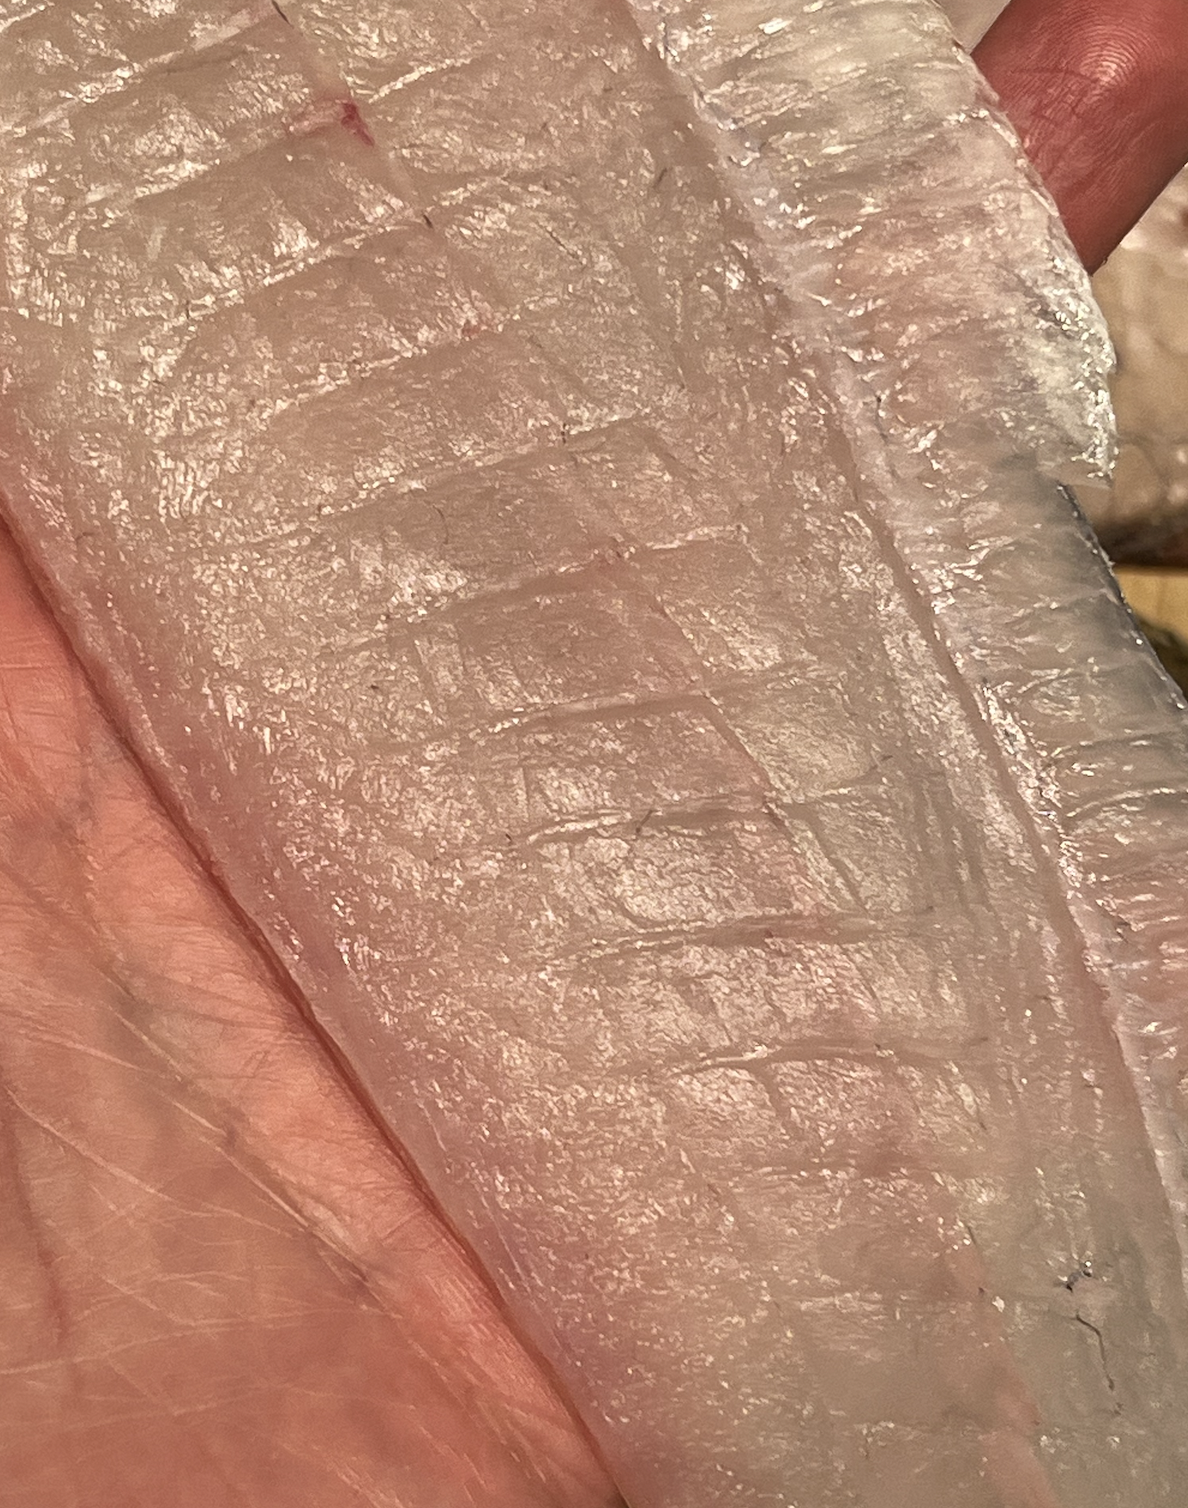
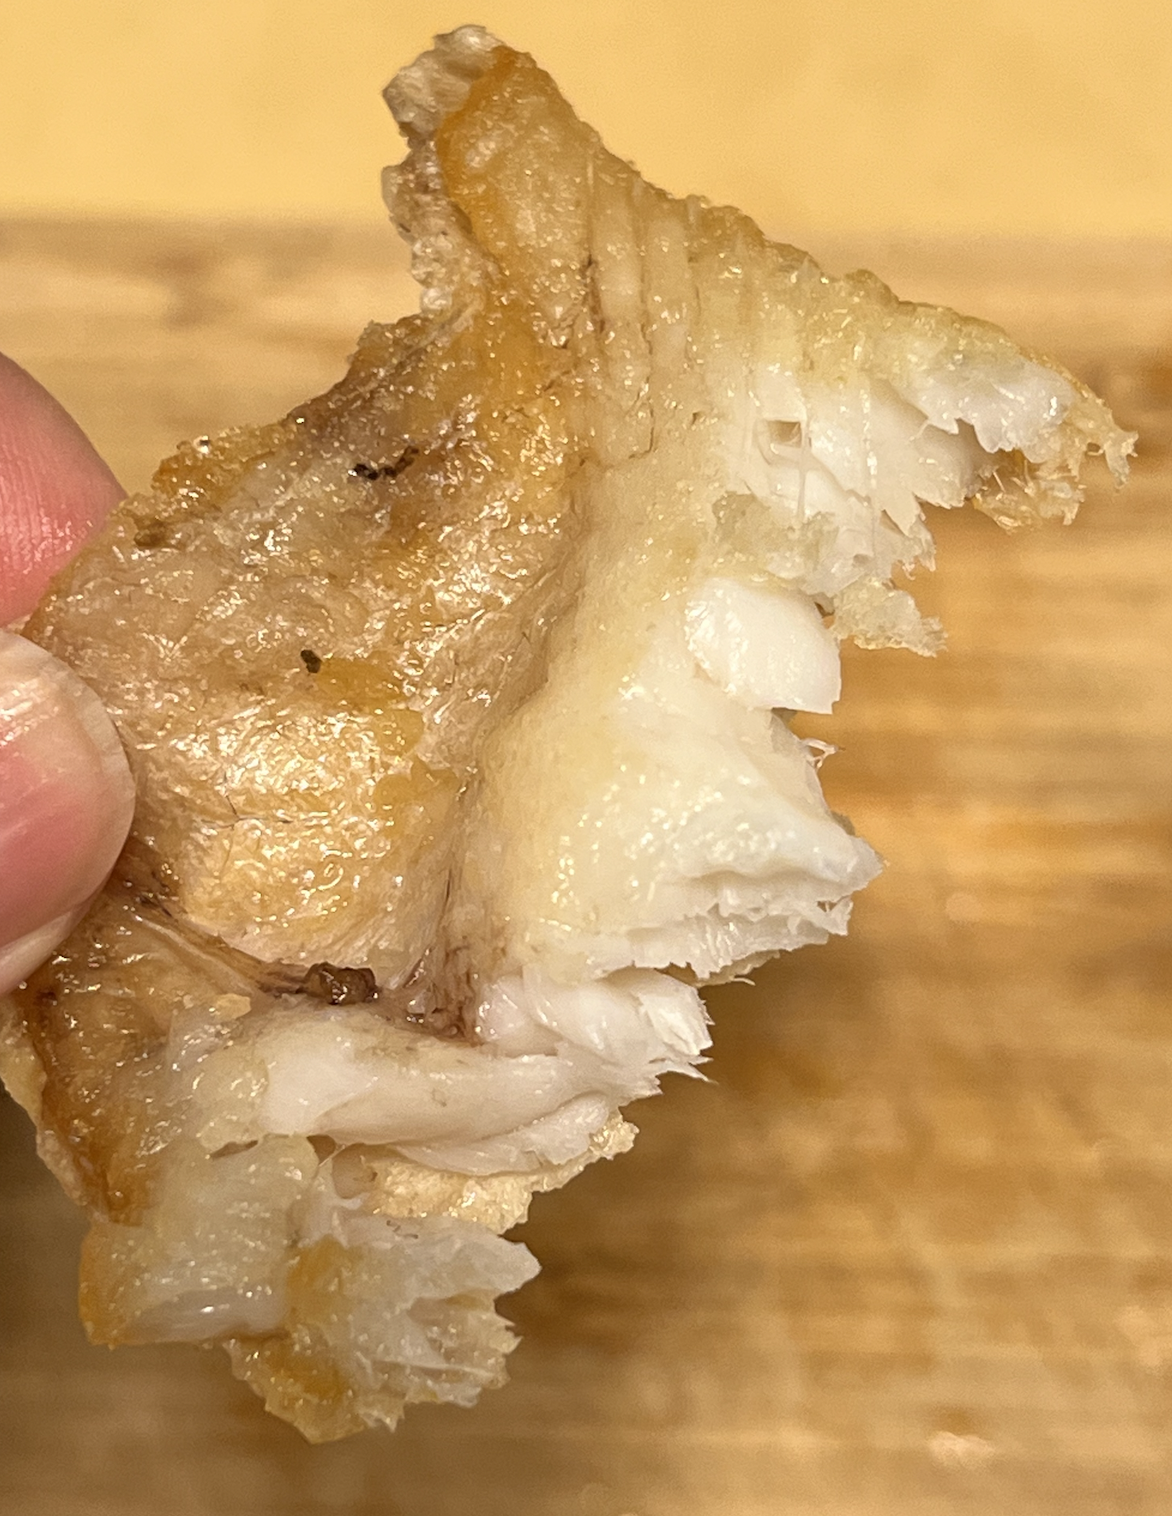
first time dry ageing fish. tried a piece just to see if it was edible and it was so delicious. will definitely be doing more, but i feel like i should have gotten the larger dx1000 ager. 😆


 2 points
 -
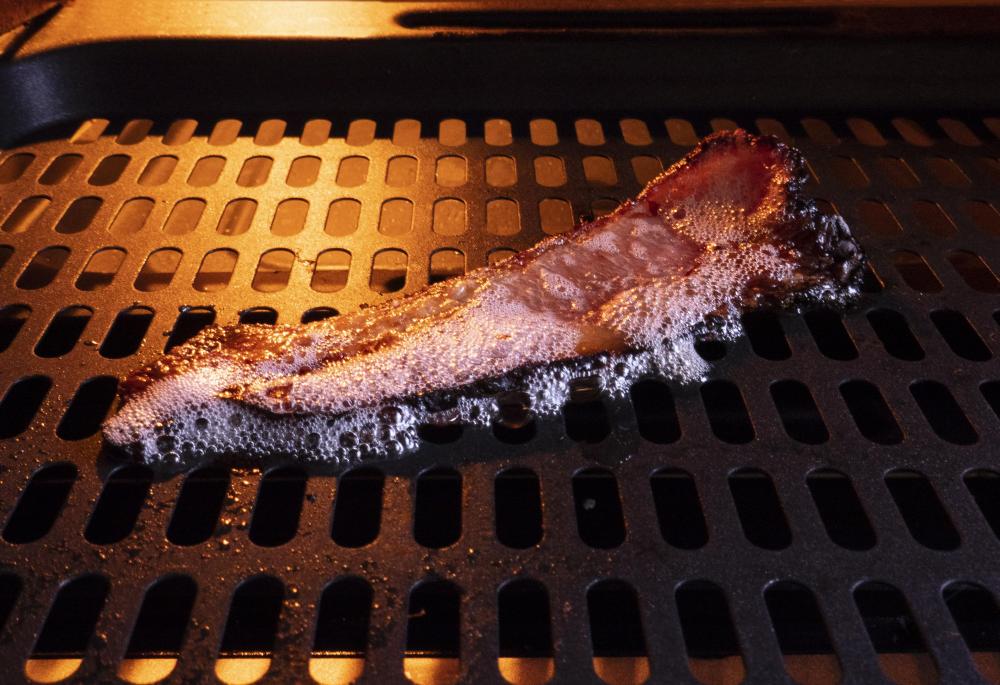
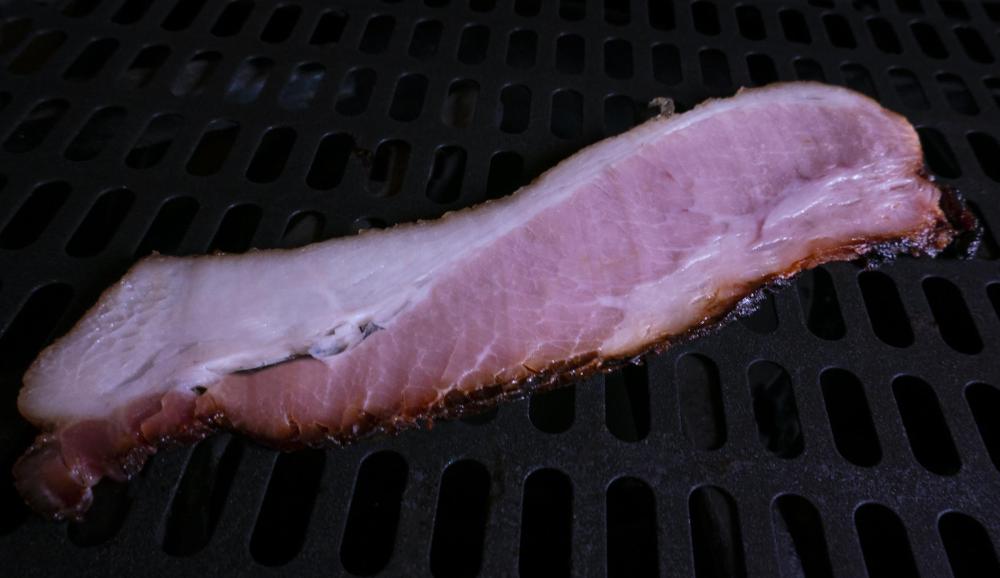
New Year's Eve was smoking pork belly for friends who want to learn how to do bacon. I didn't take much for pixs but when the slicing part was done this morning I did receive some nice treats for my lunch. Naturally I had to taste the bacon, just checking you know, Shirkand with pistachios, and beef, veggie, cheese Boa they made before arriving. I just took an end piece of bacon for the taste test.

 1 point
 -
@tekobo Looks AMAZING! What a lovely spread - Abbondanza!1 point
-
That looks good @David Chang. I love to put fish in for a couple of days, just to dry out the skin and make for a nice crunch when you fry it. Aged belly tuna is also great.1 point
-
Happy New Year to you too, Tony. I'd say you were off to a perfect start with that breakfast feast. I love cherry juice too.1 point
-
i guess this is the deluxe model1 point
-
I appreciate the feedback. I’m glad to hear it’s not just me. I will be placing my order with Thermoworks.1 point
-
@Cheesehead_Griller i have fb pro and had one thermocouple break. wires came out, tried to reseat but didn't work. i switched to thermoworks. better quality thermocouple probes and more selection for all types of uses.1 point
-
AND, you get to play with a blow torch!! 😄1 point
-
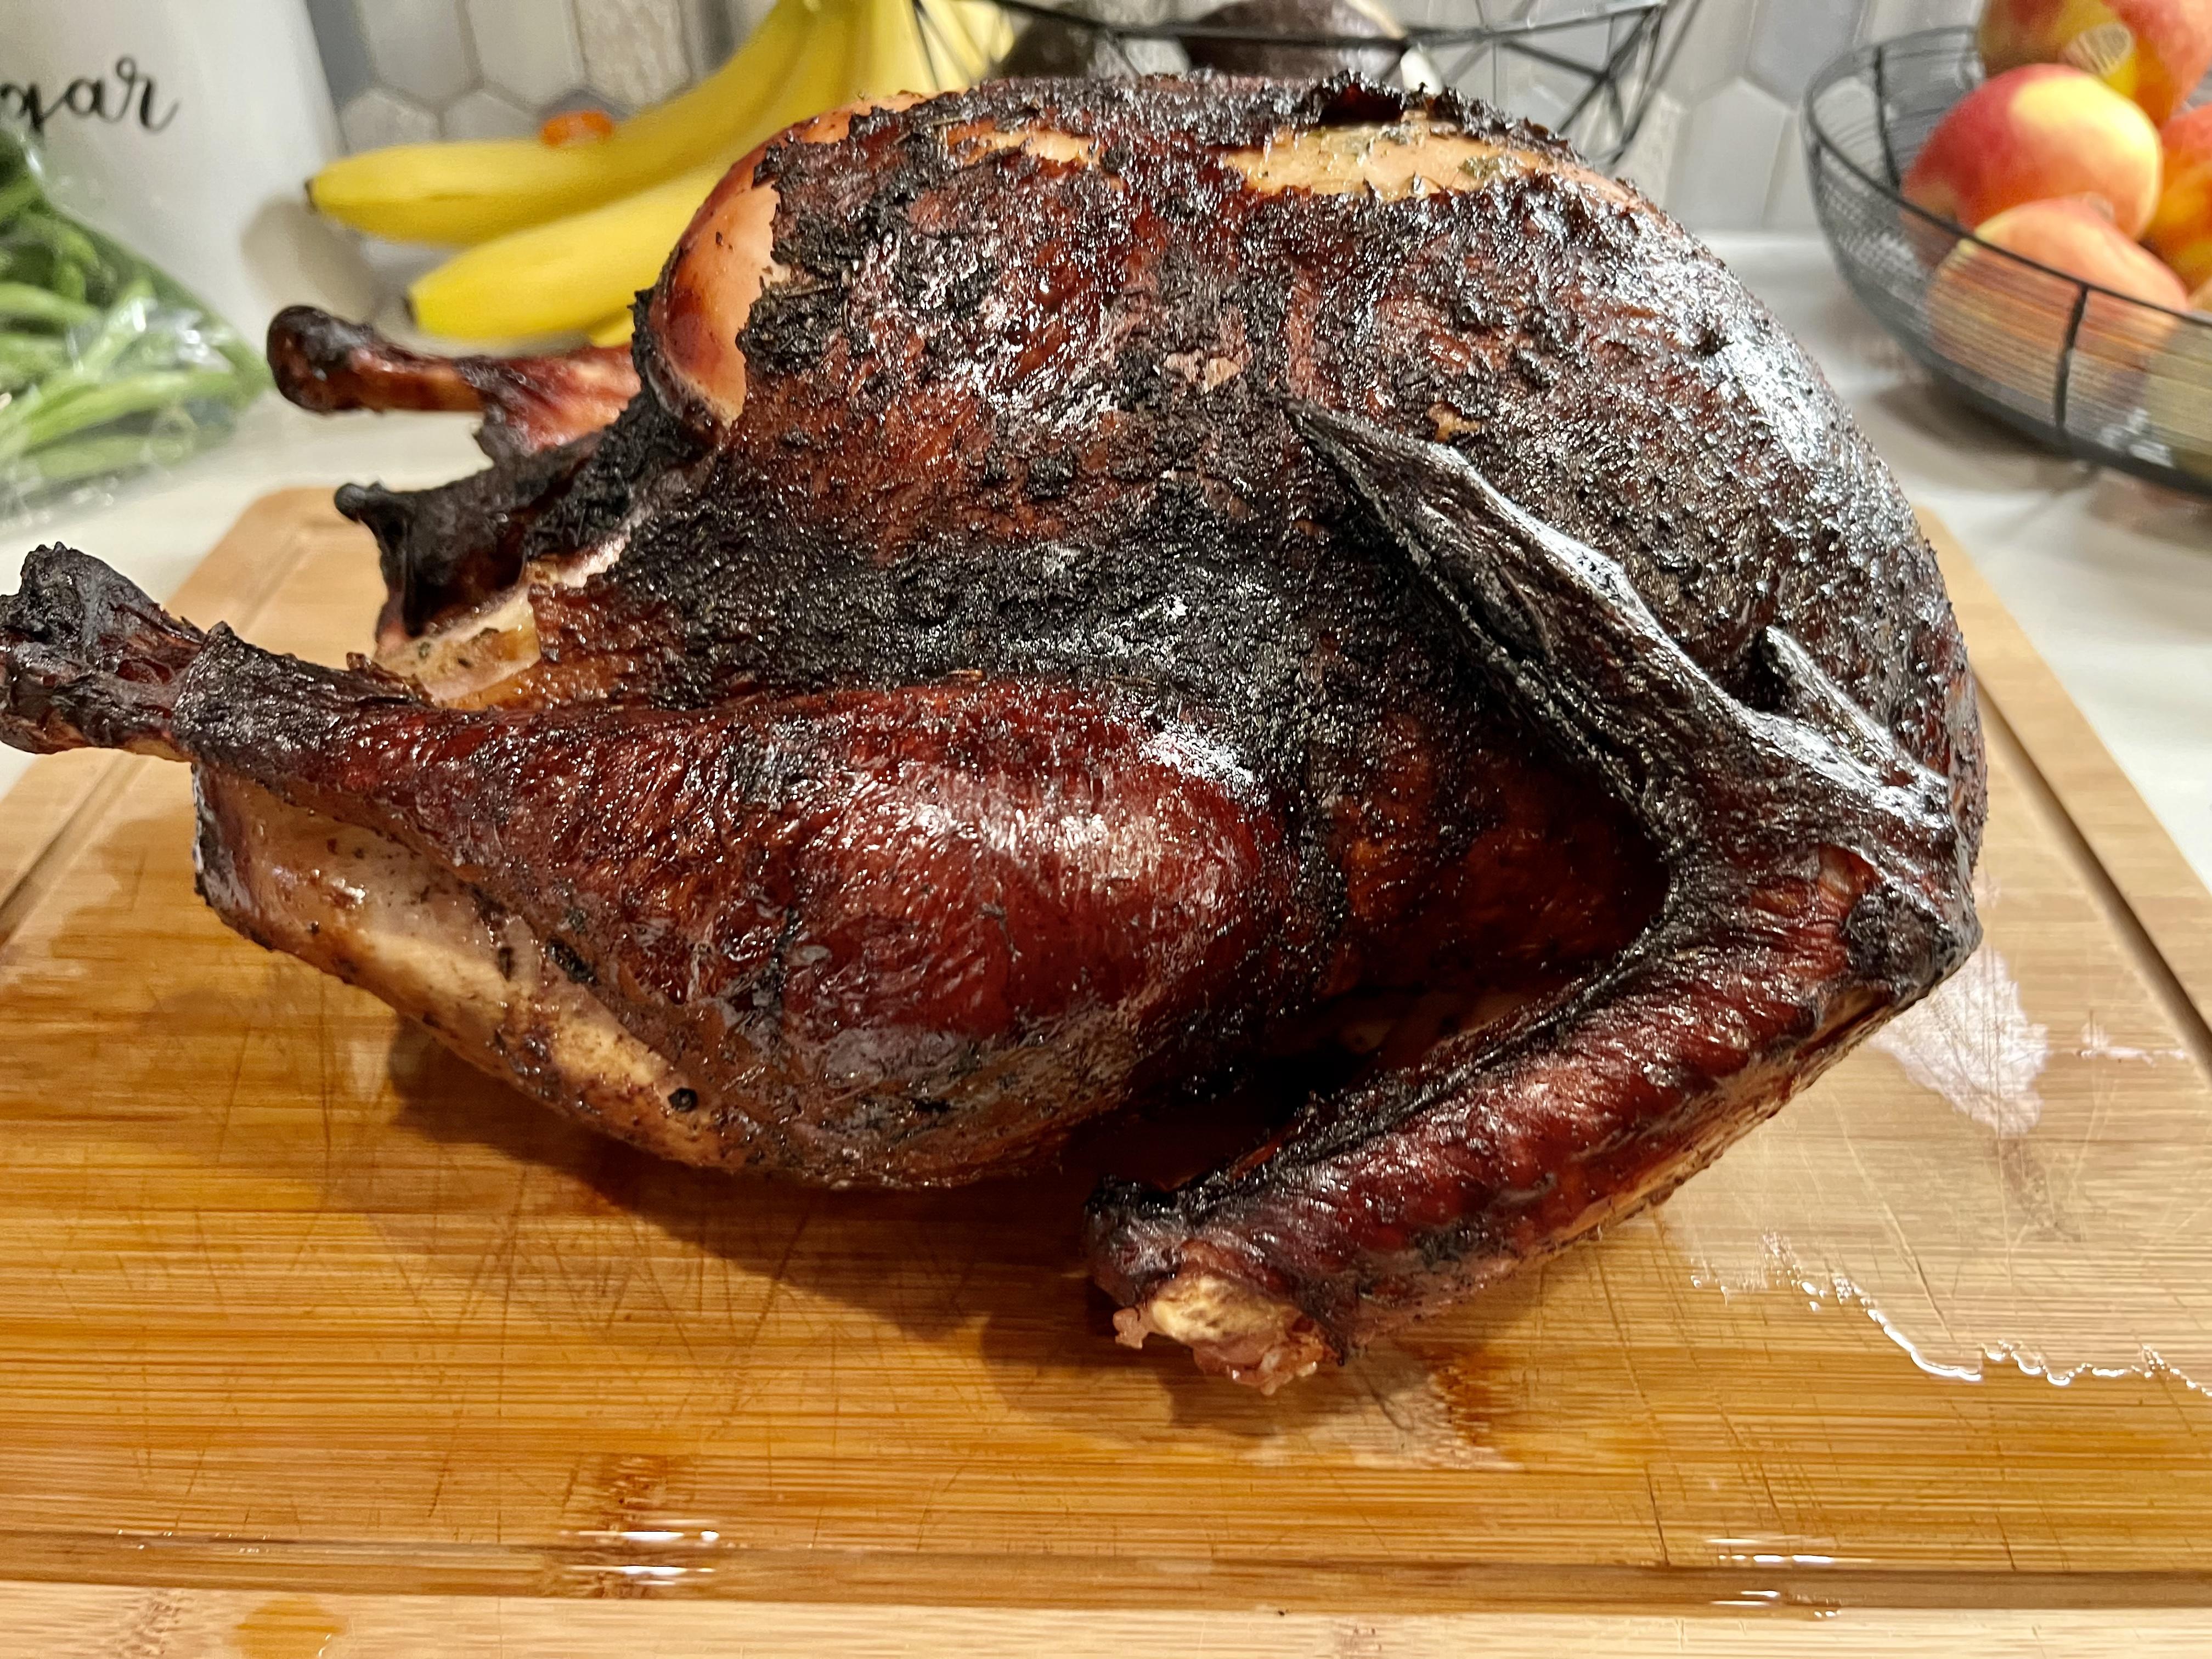
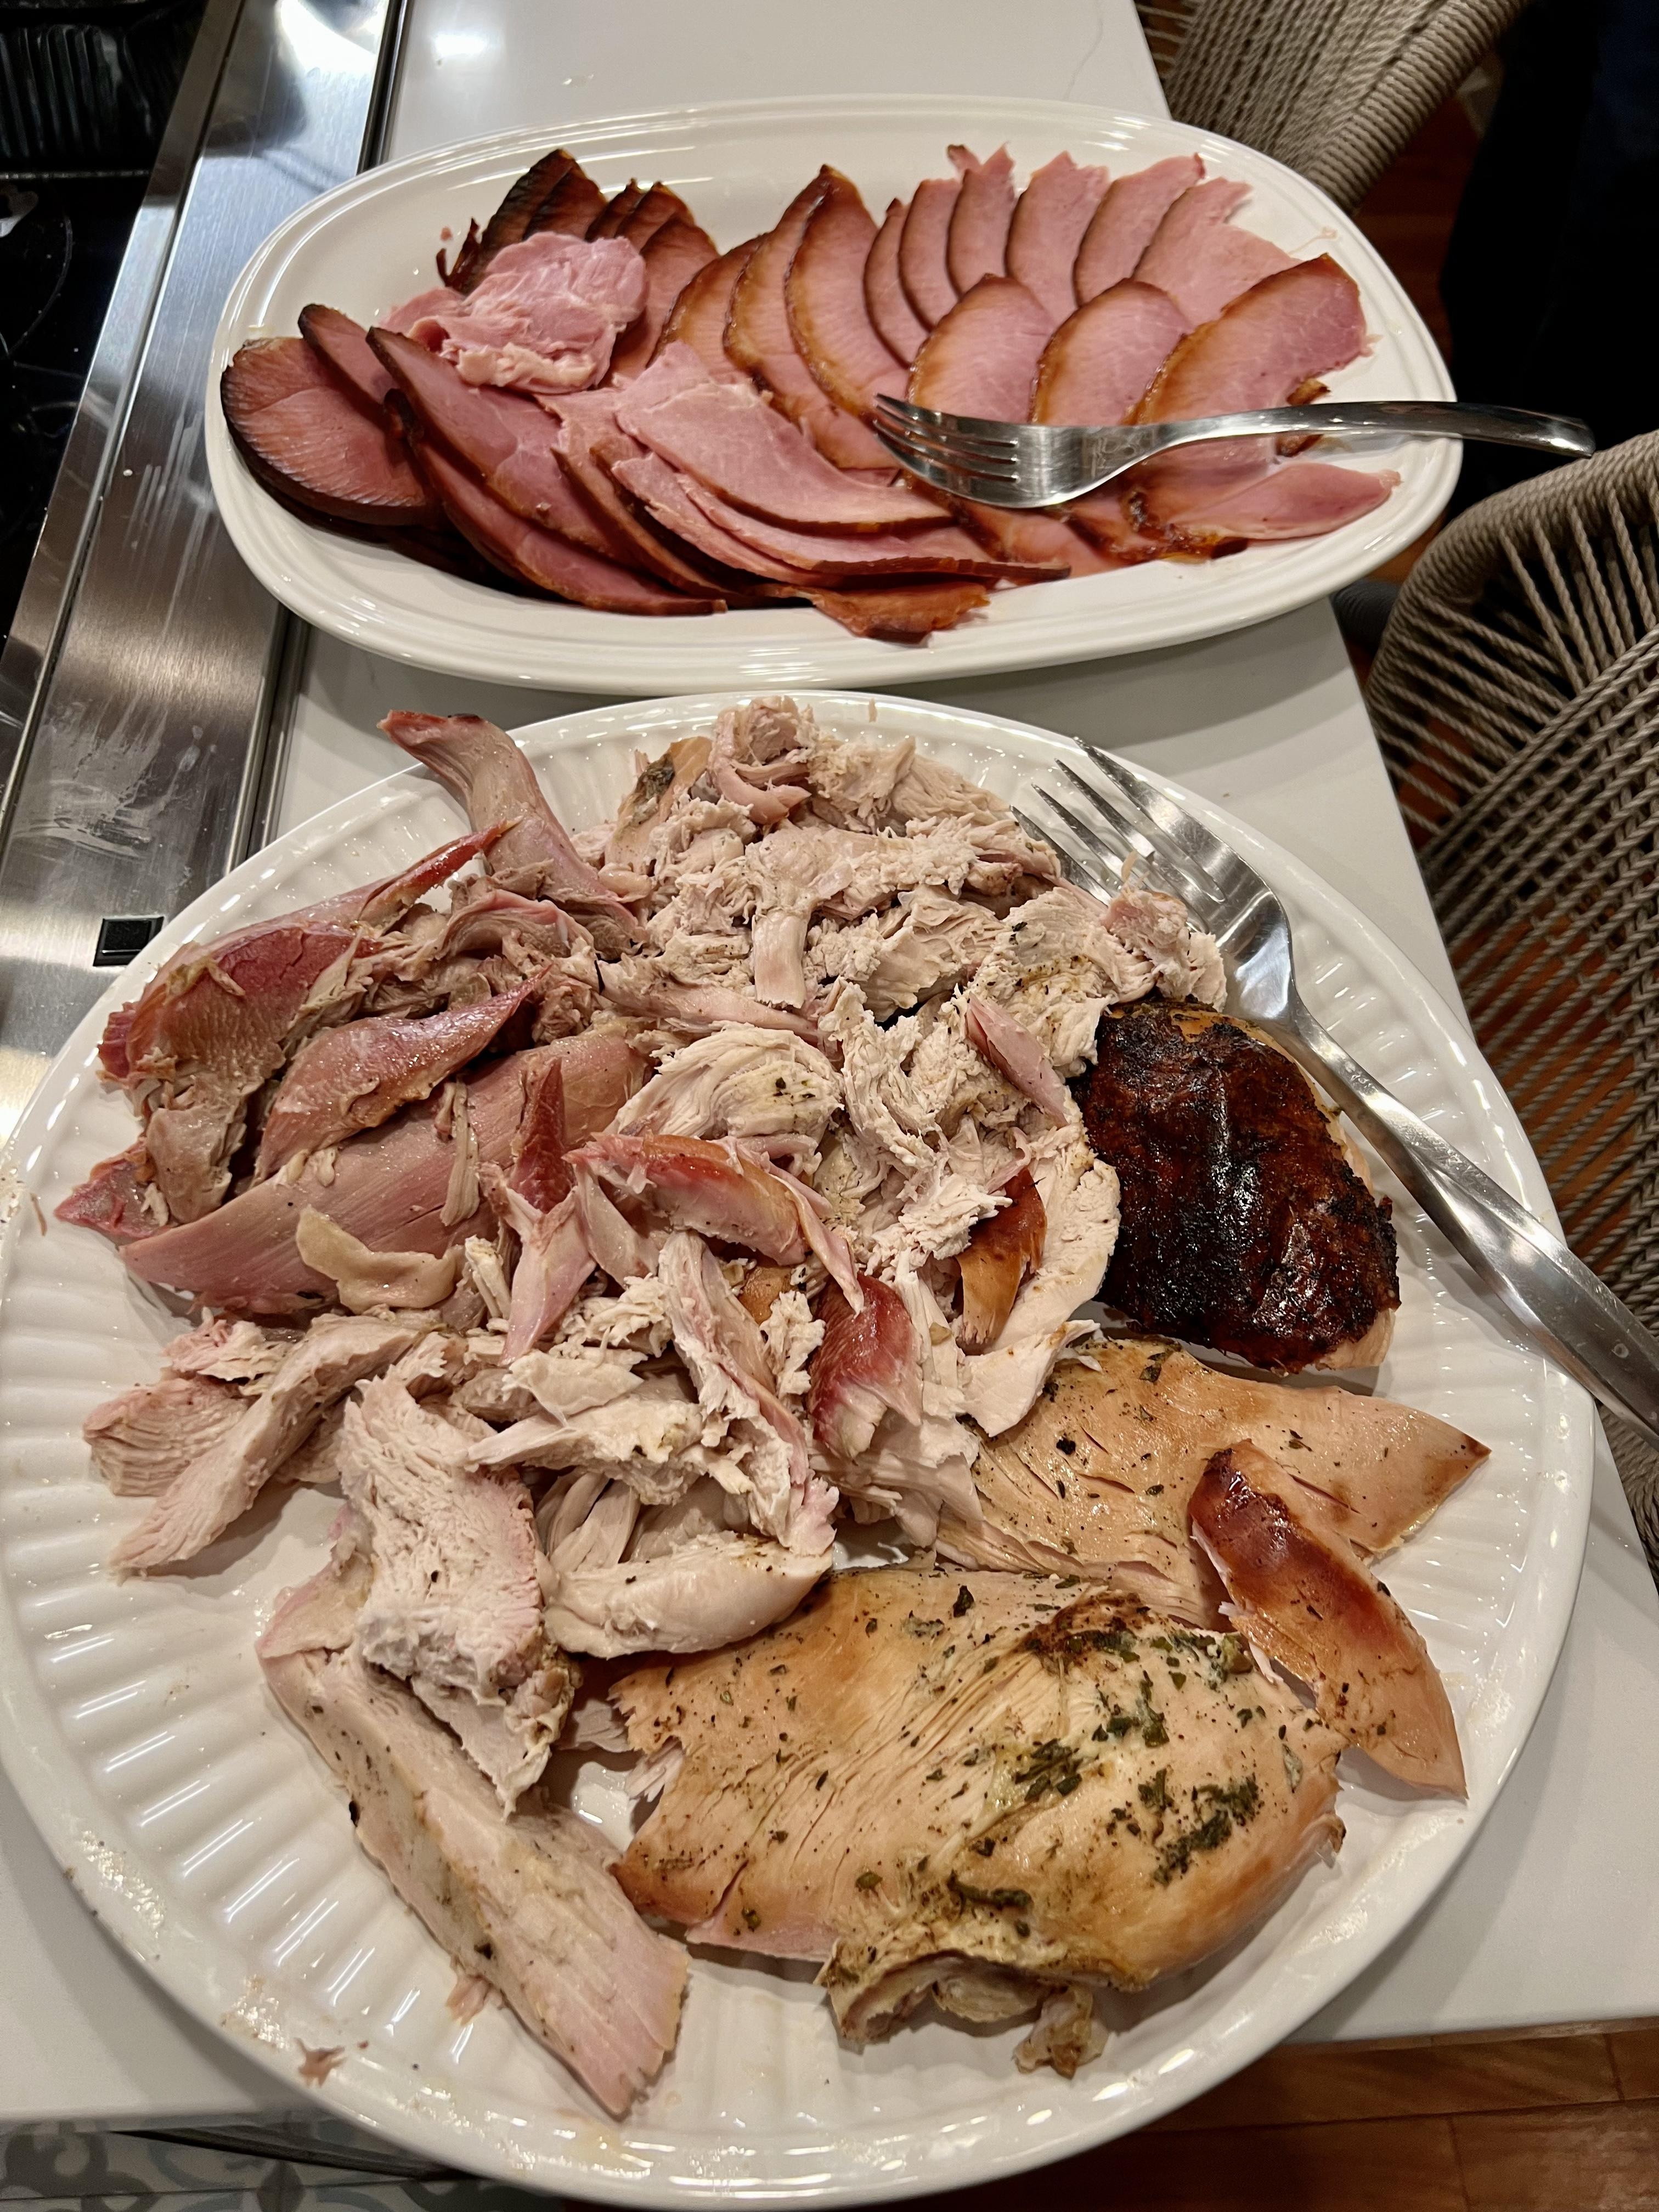
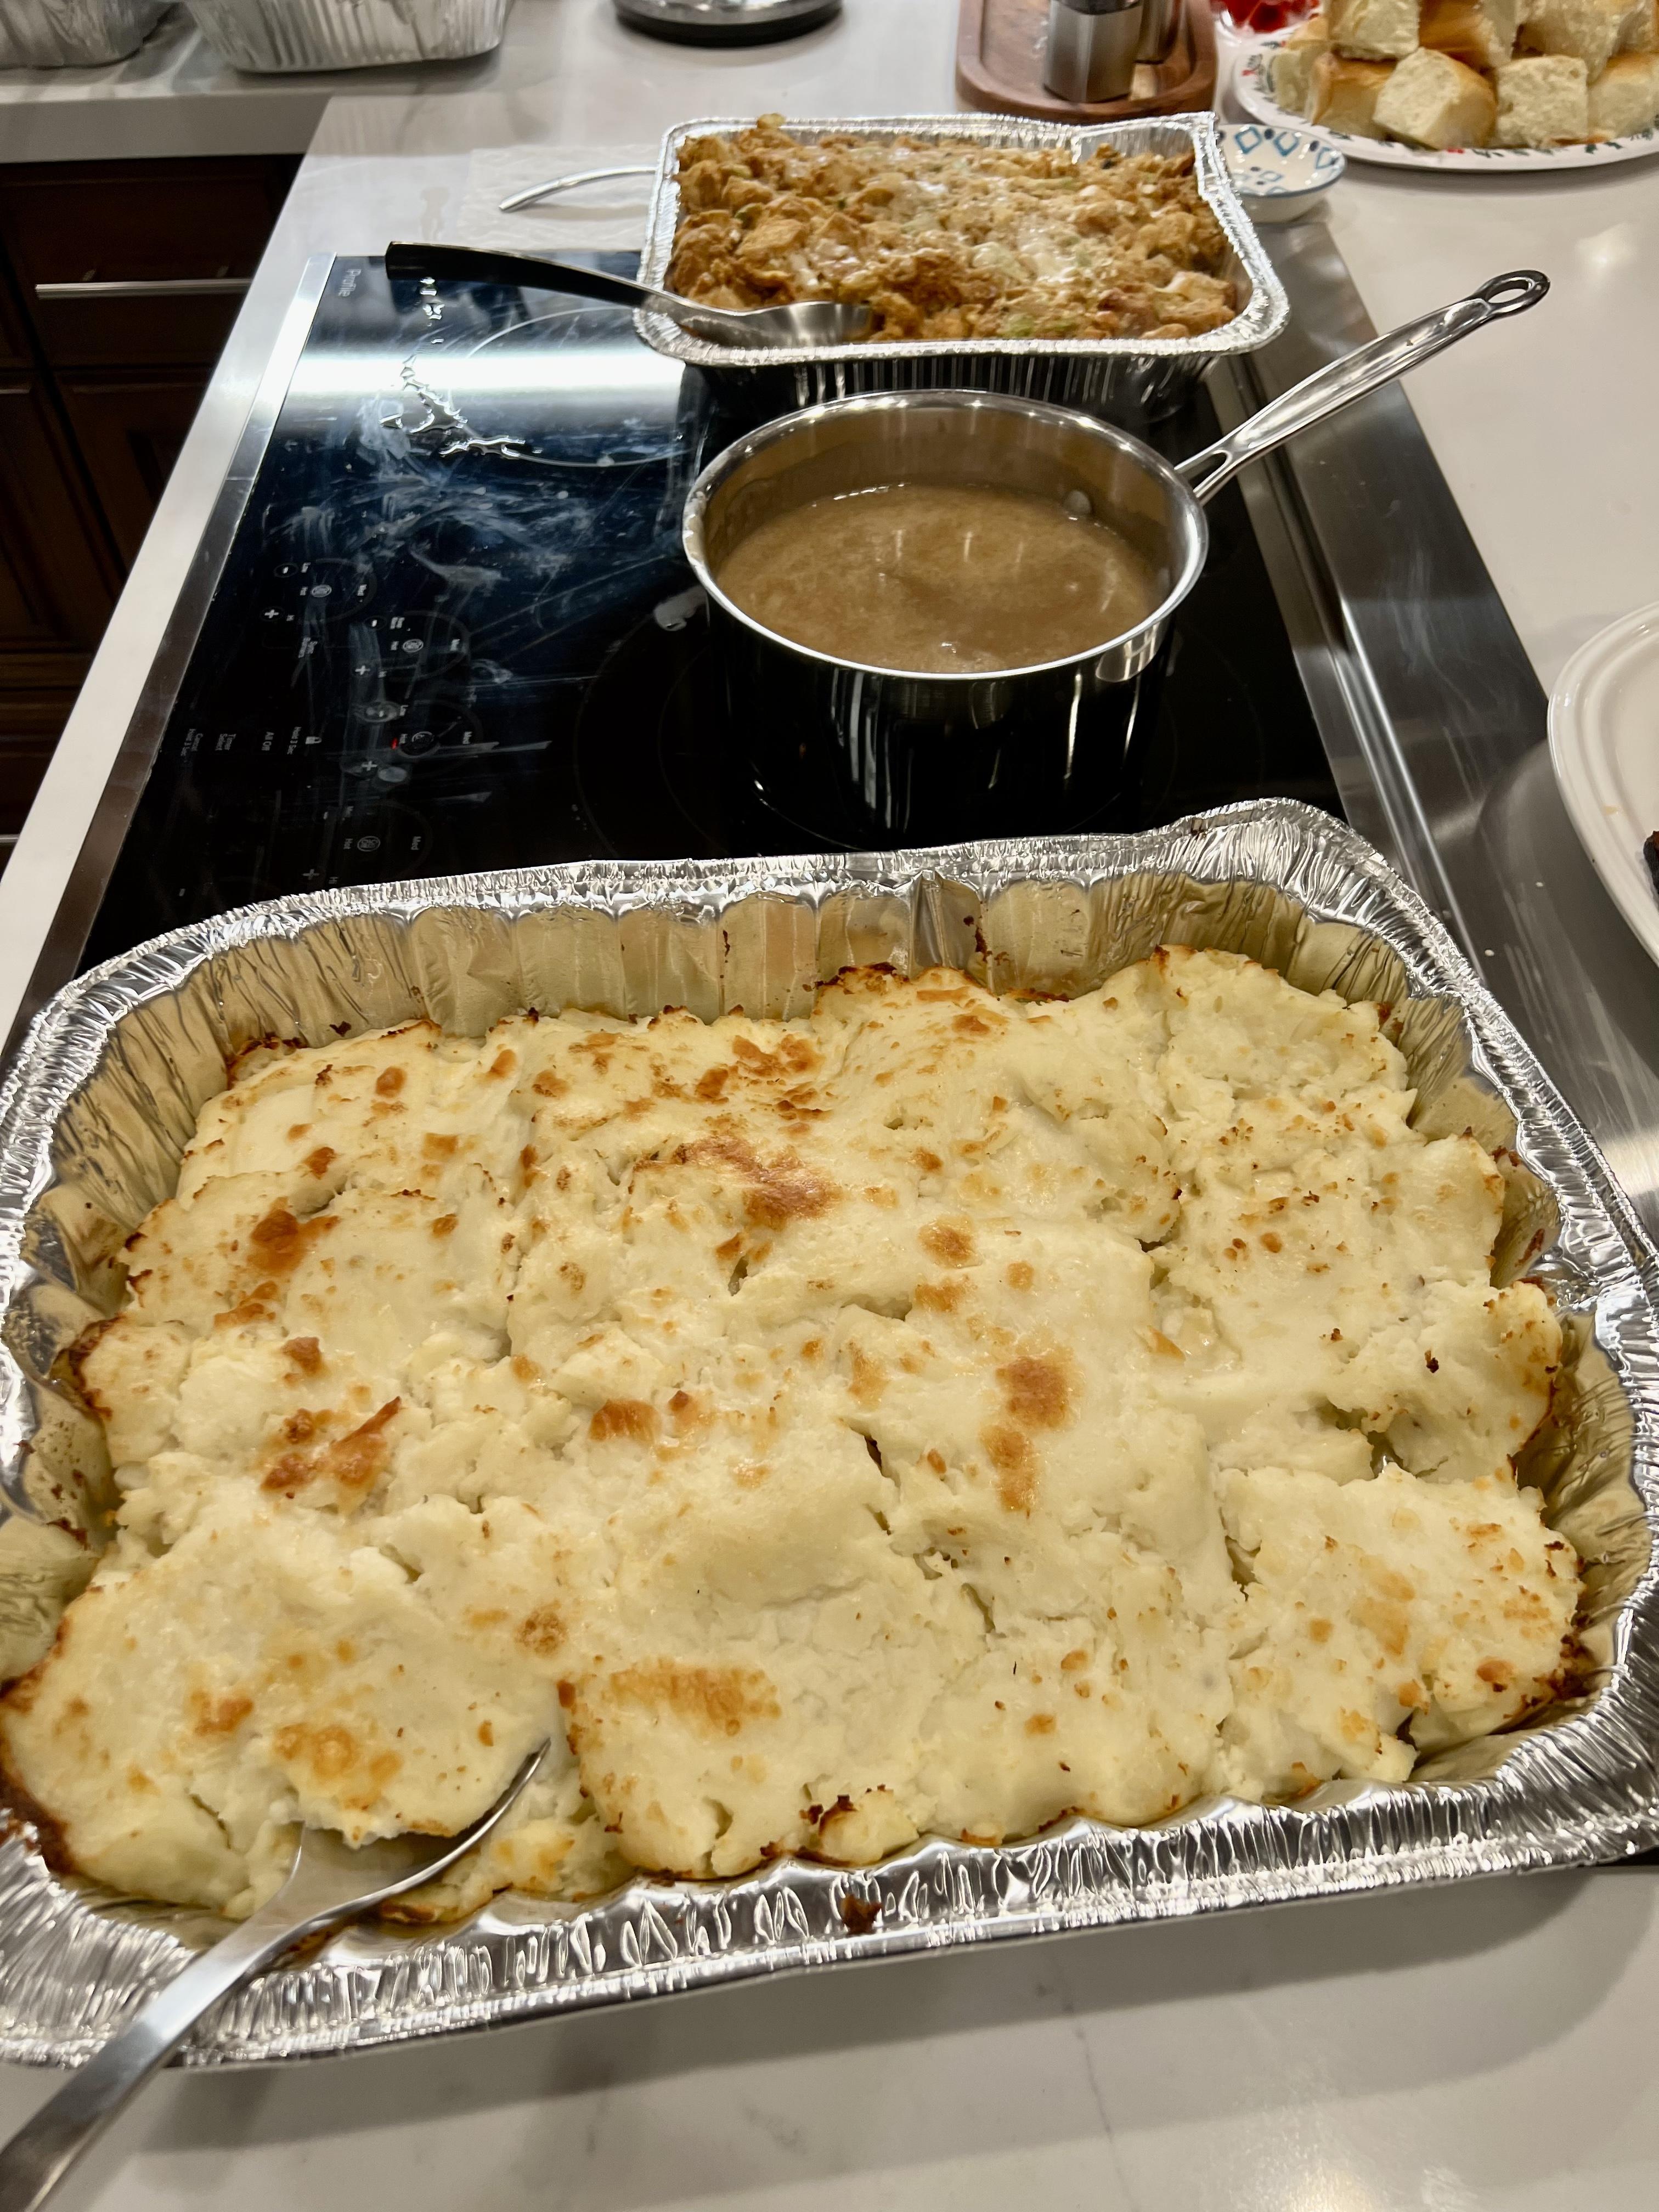
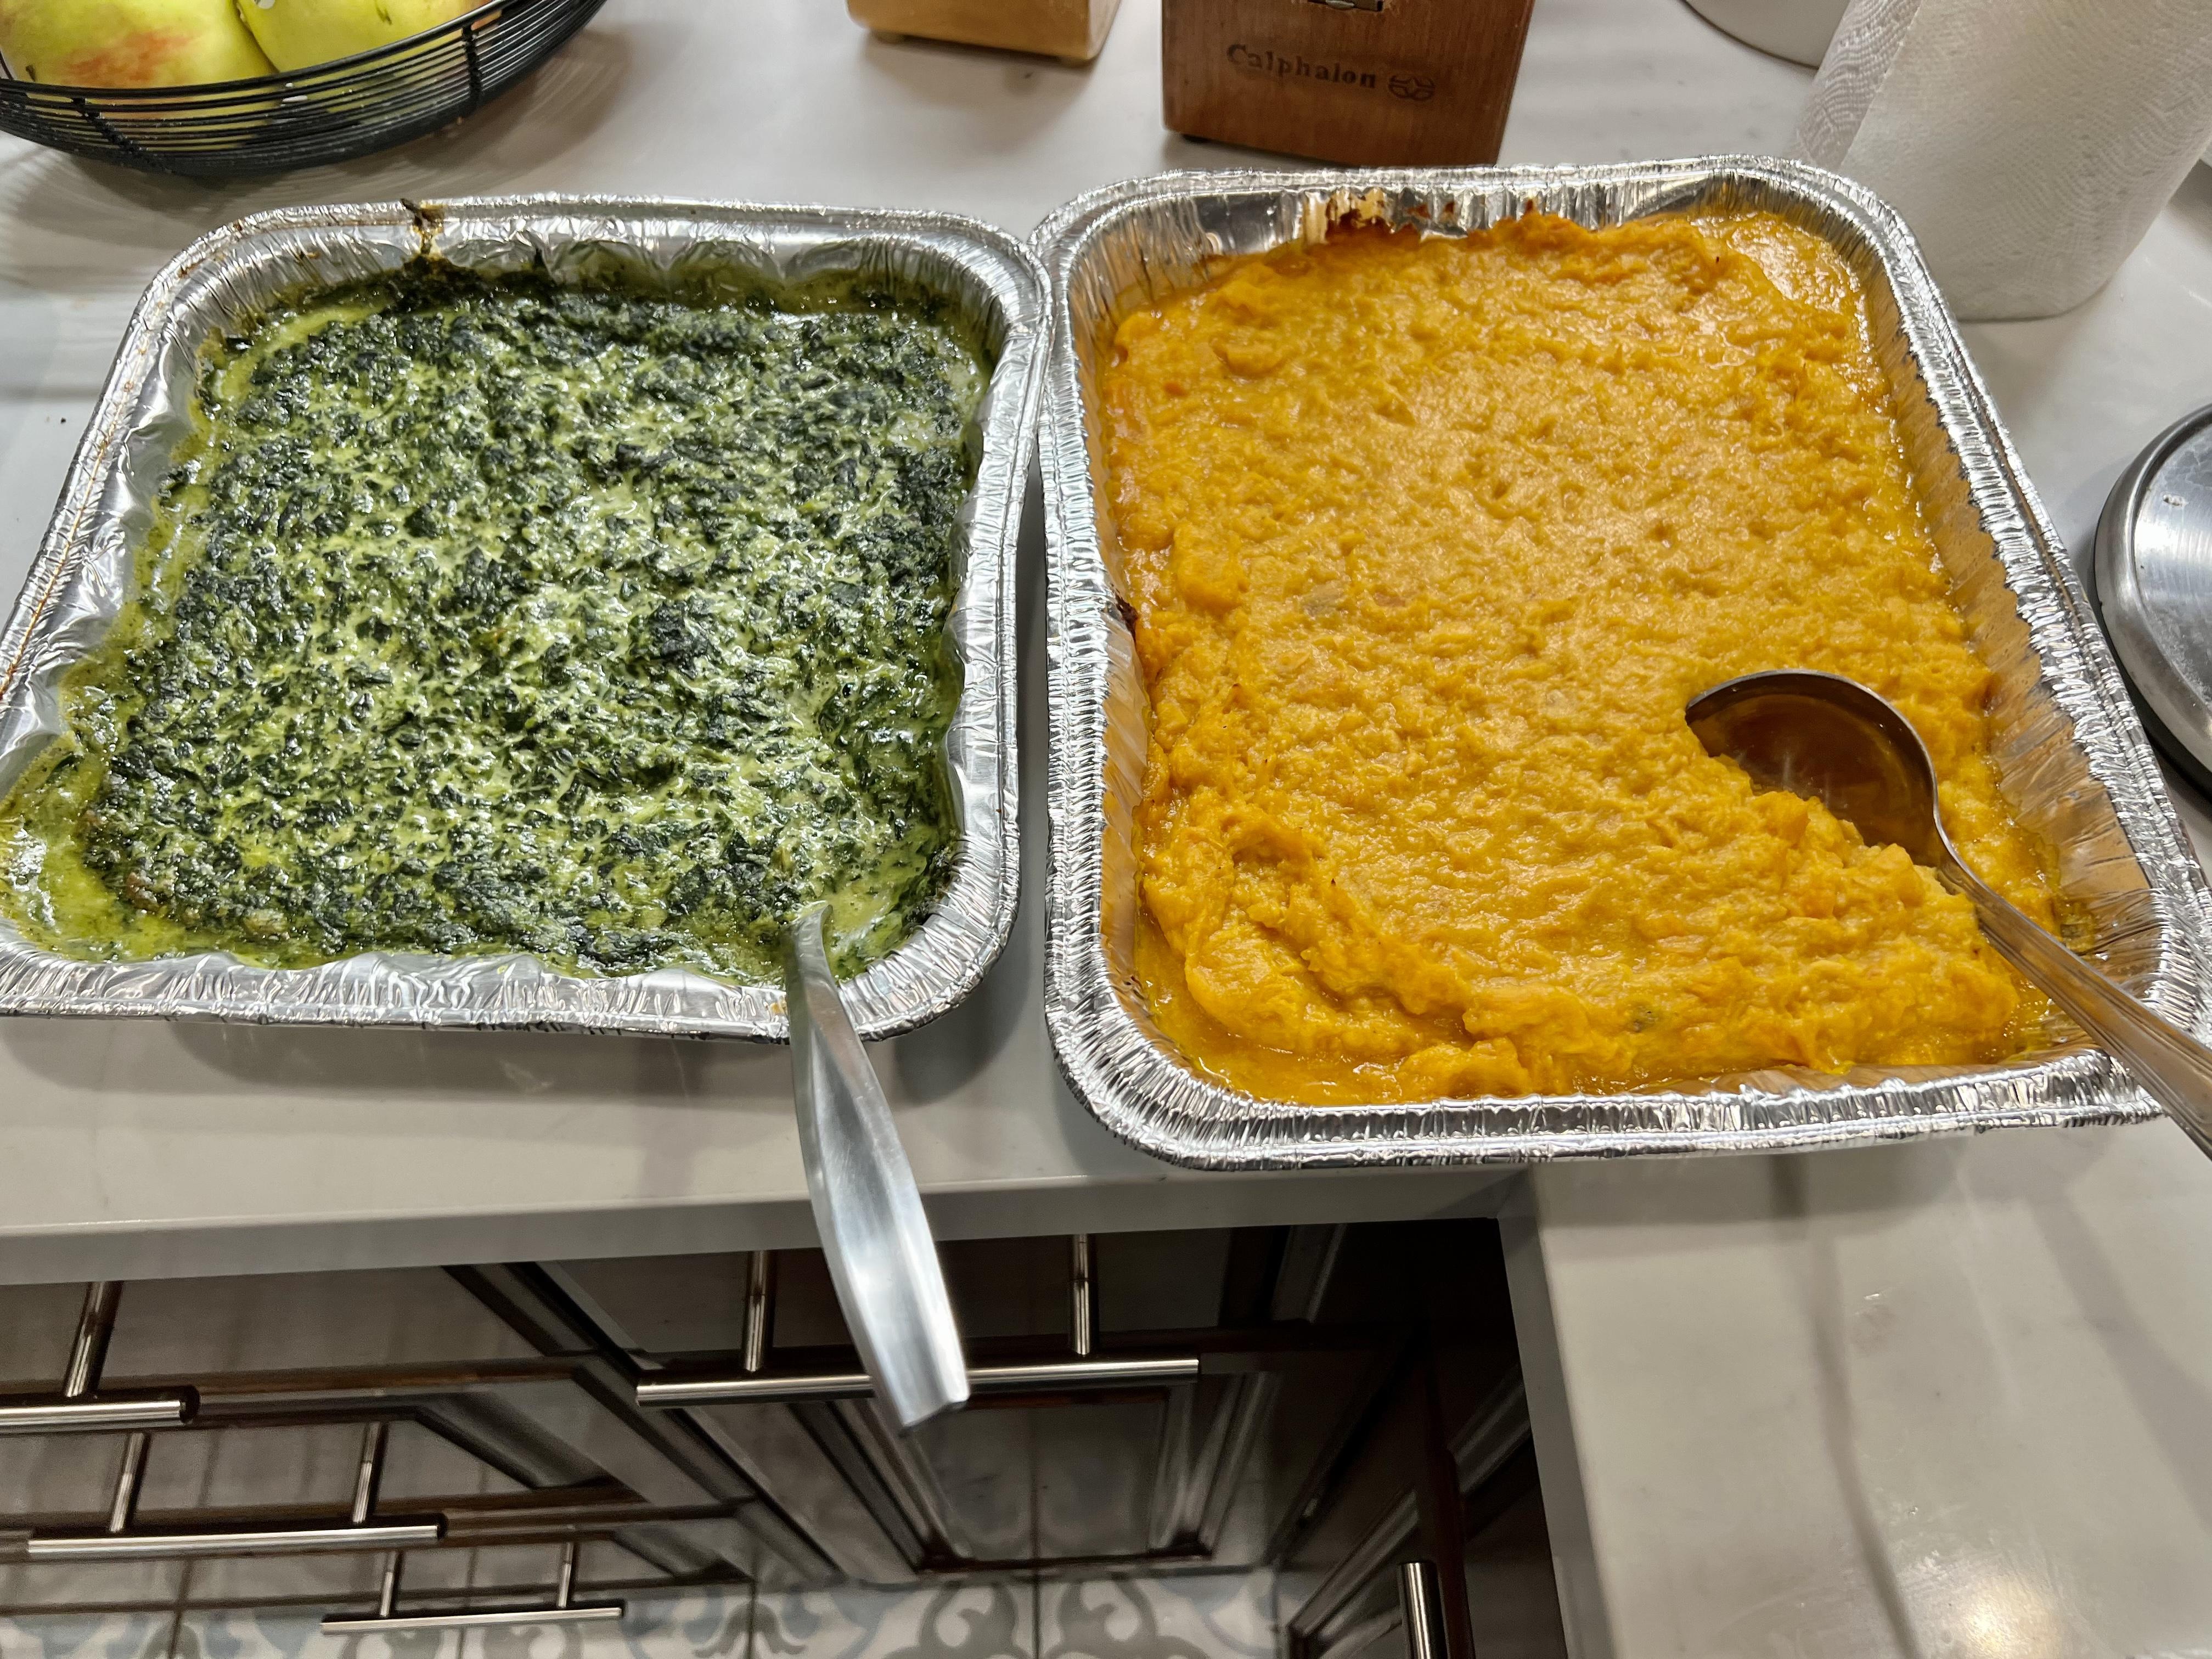
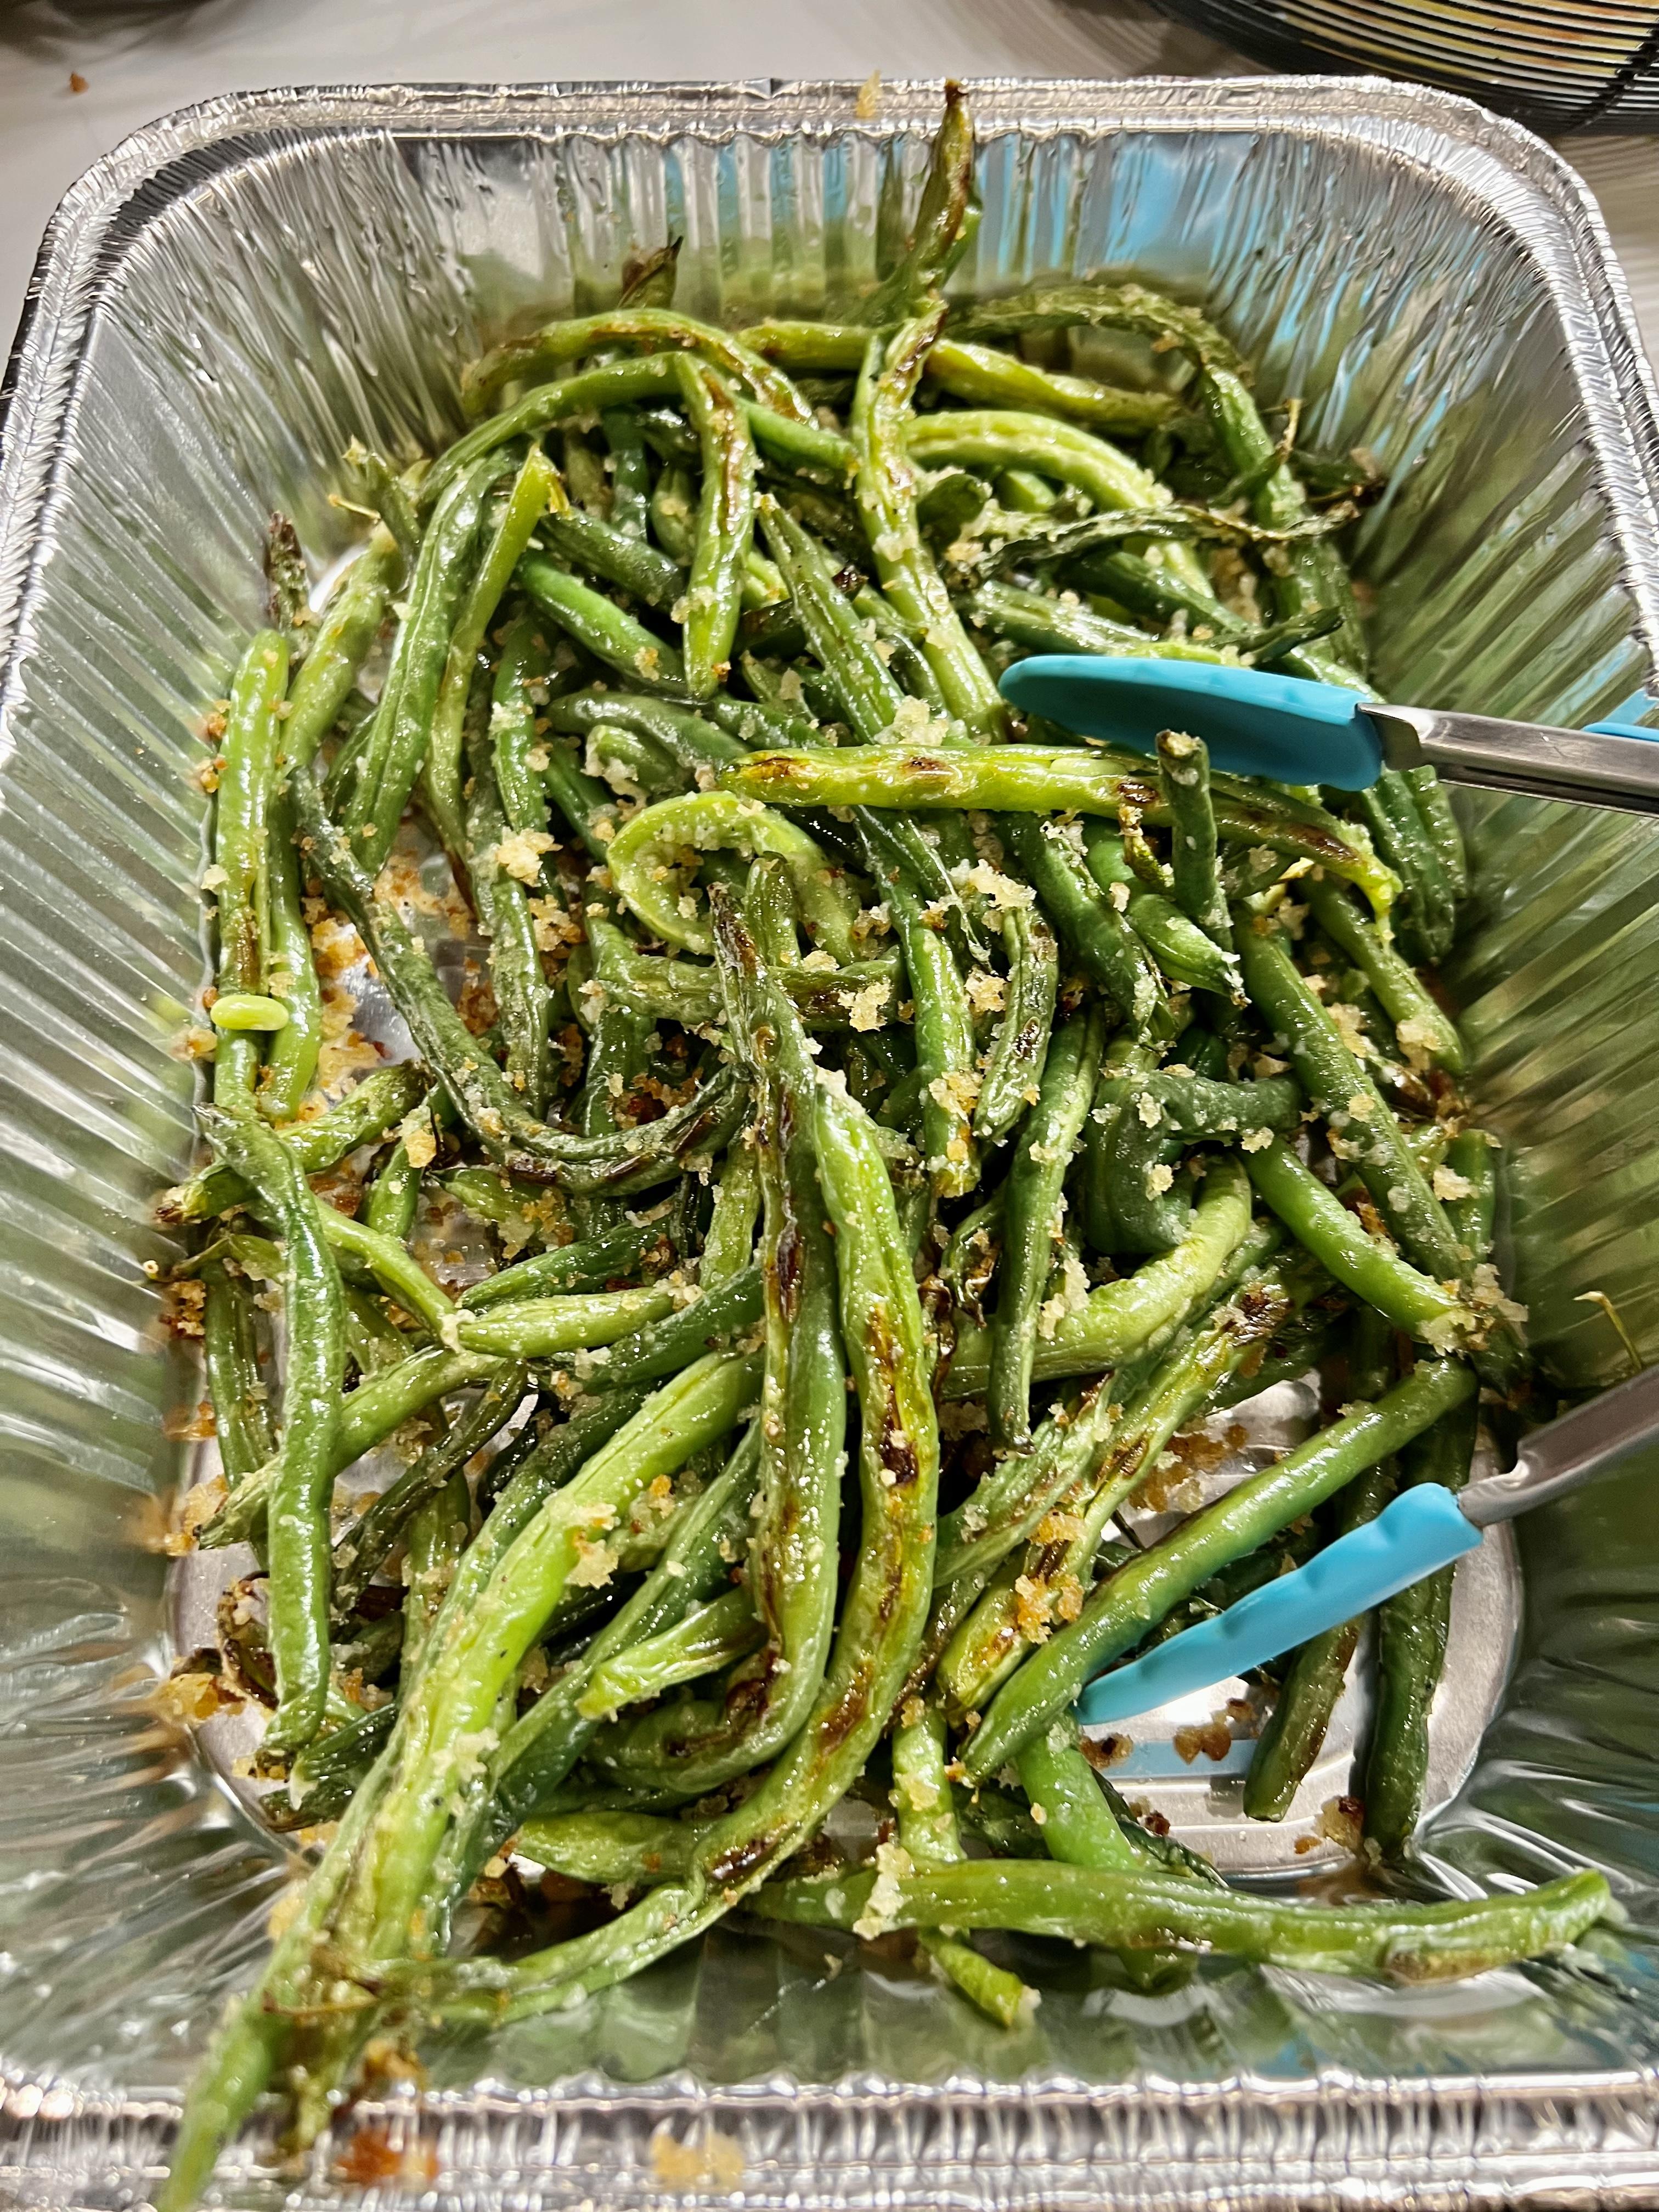
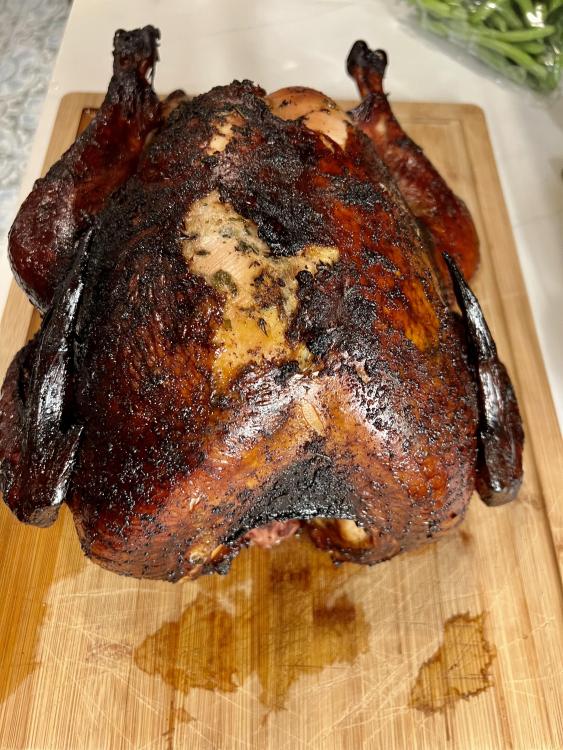
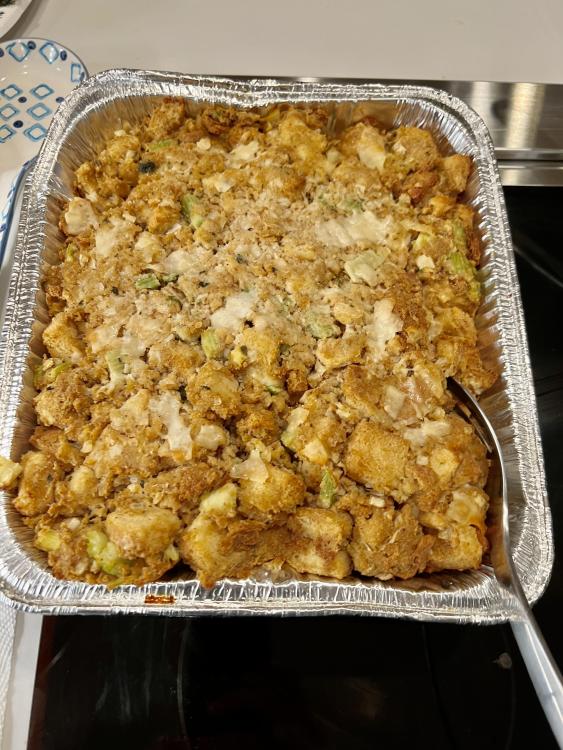
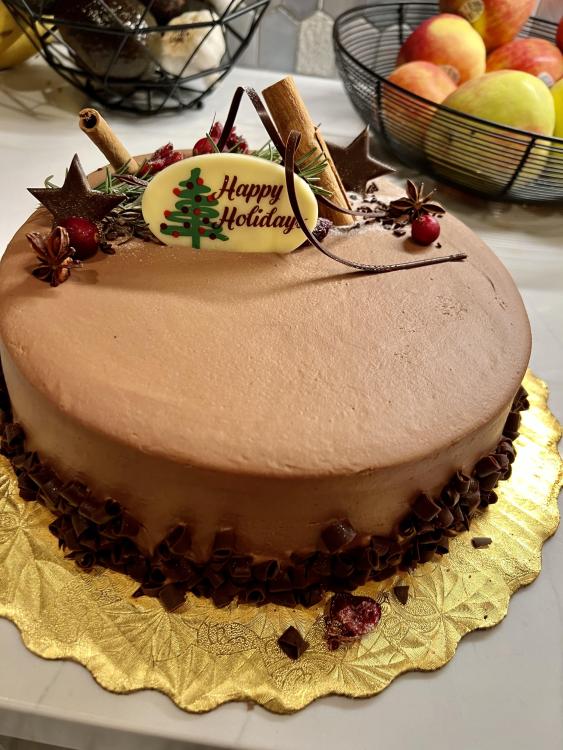
Wet brined smoked turkey with salt, lemon, thyme, black peppercorns, garlic powder, butter started at 200 for an hour, then 250 for an hour and then rest of time at 290 honeybaked bone in ham creamed spinach mashed potatoes sweet potato mash stuffing roasted green beans gravy fruit cake & chocolate cake from Porto’s (LA)


 1 point
 -
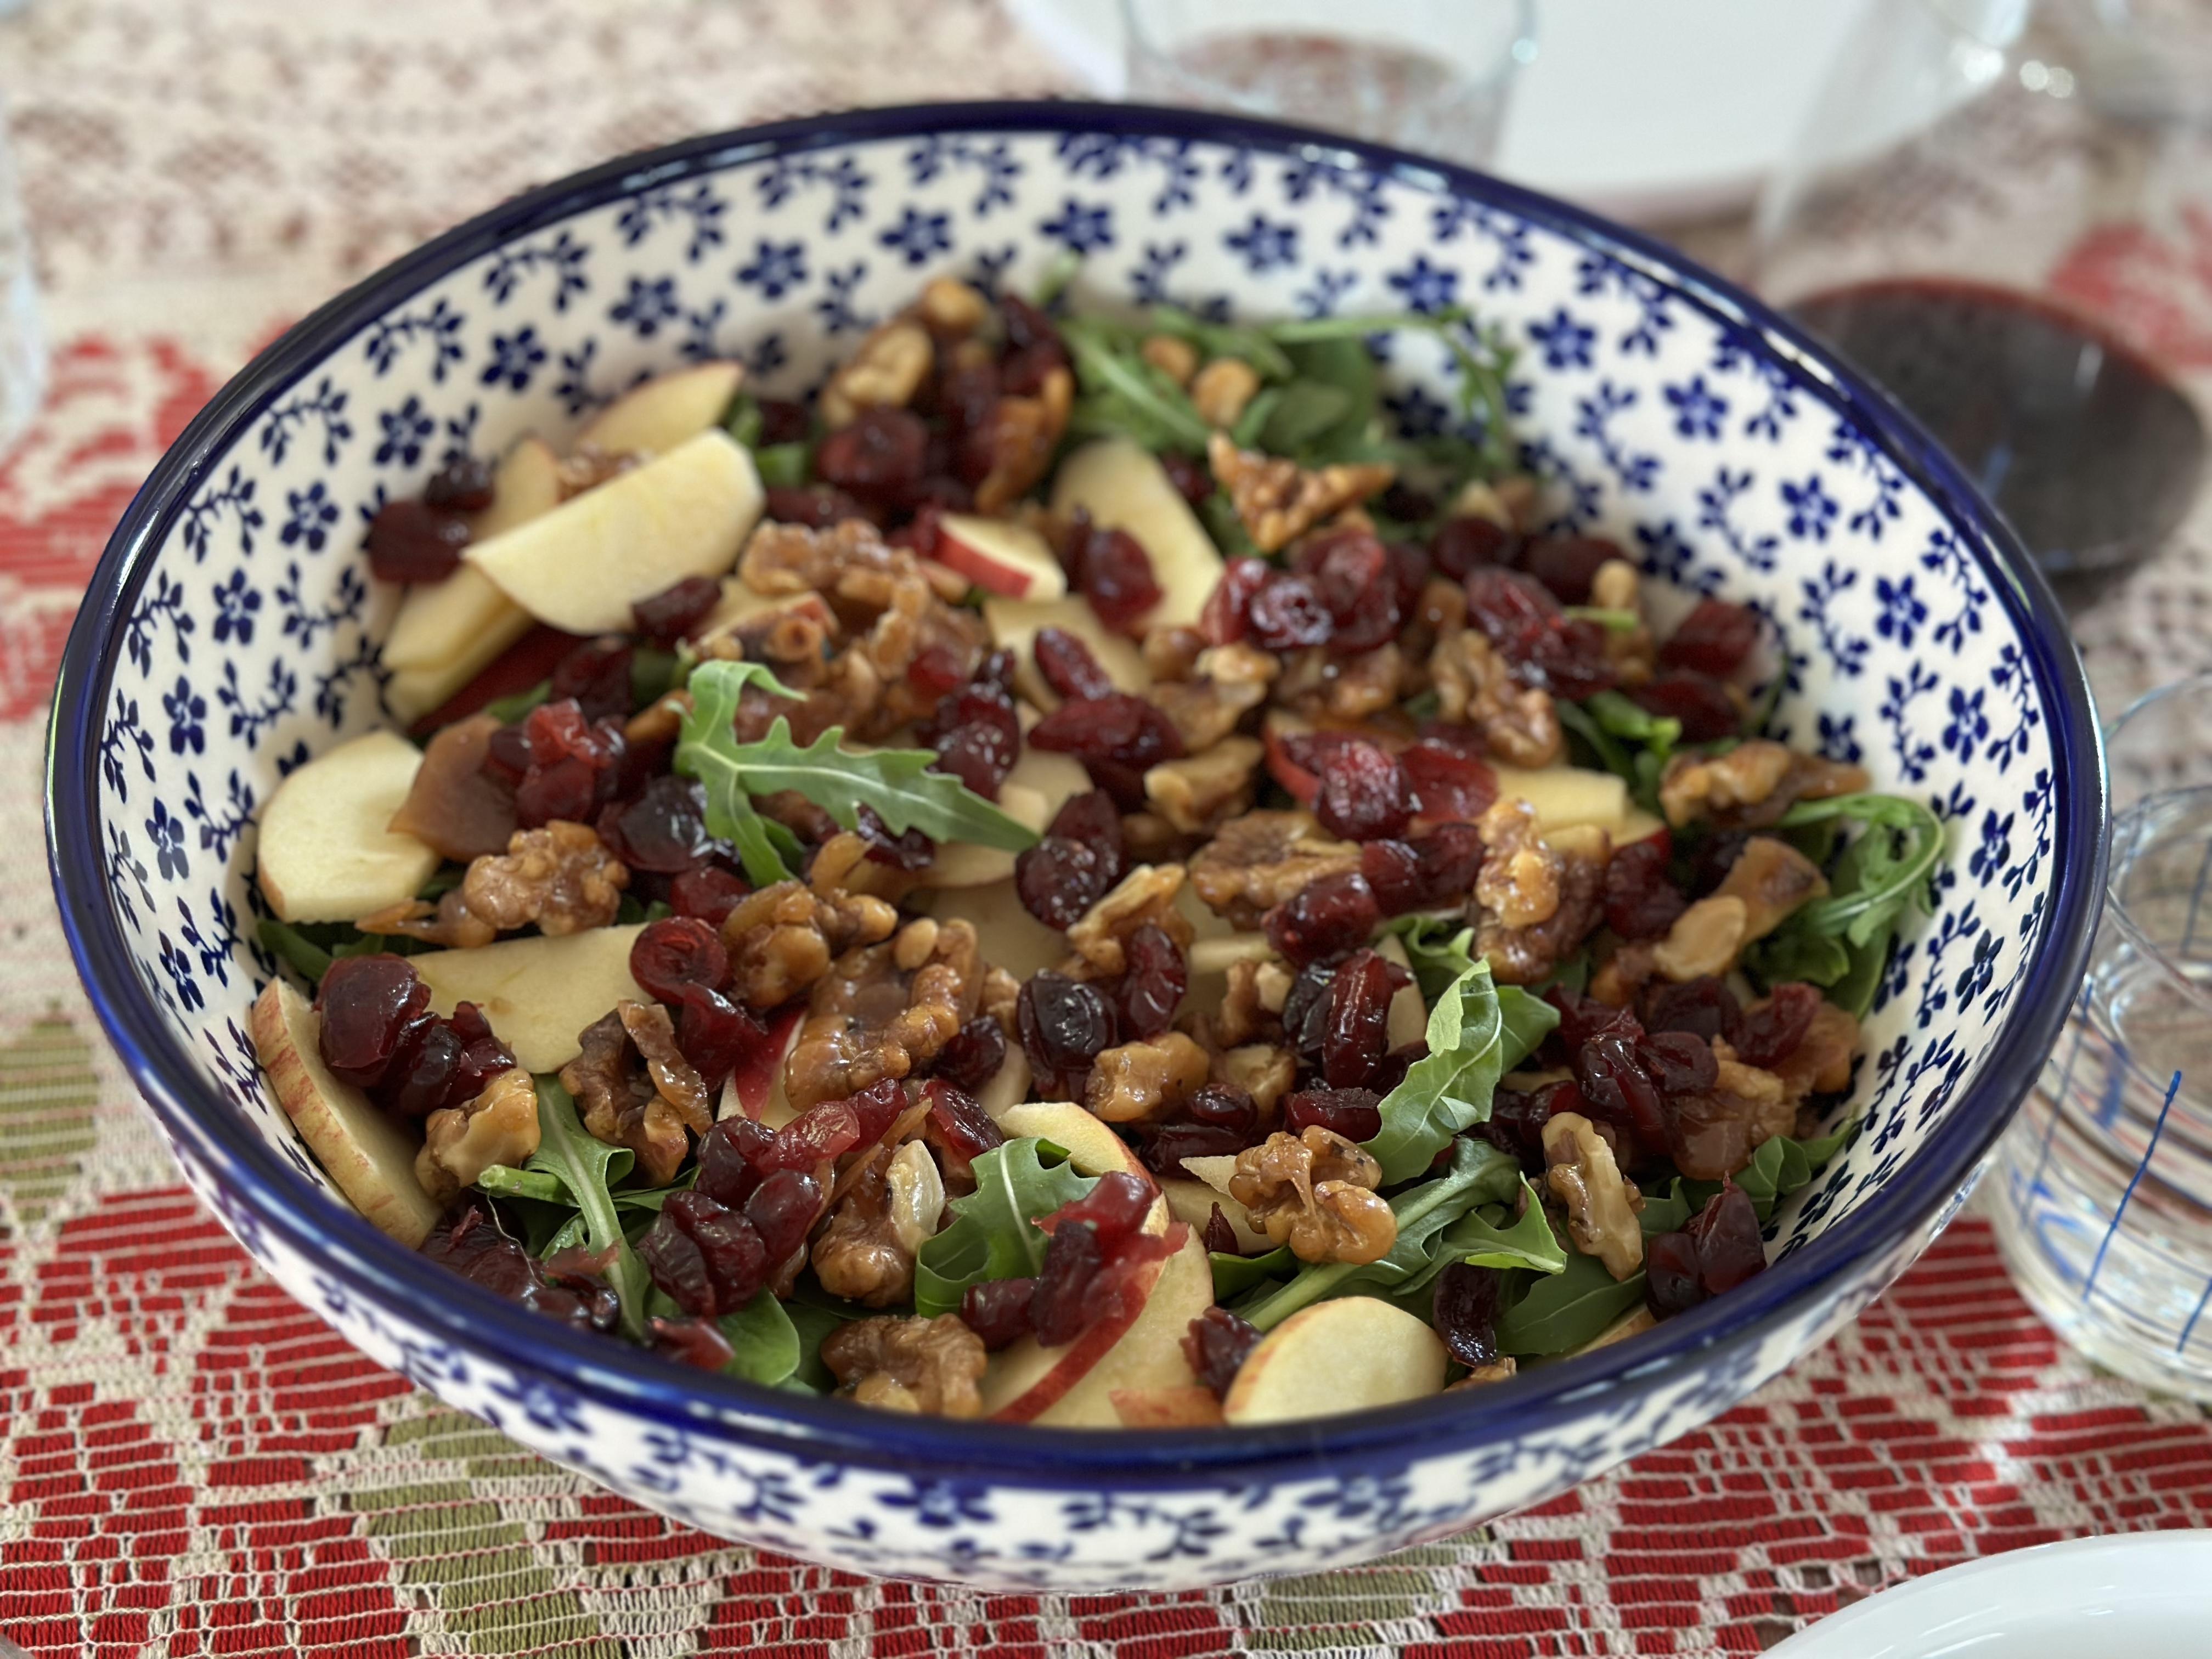
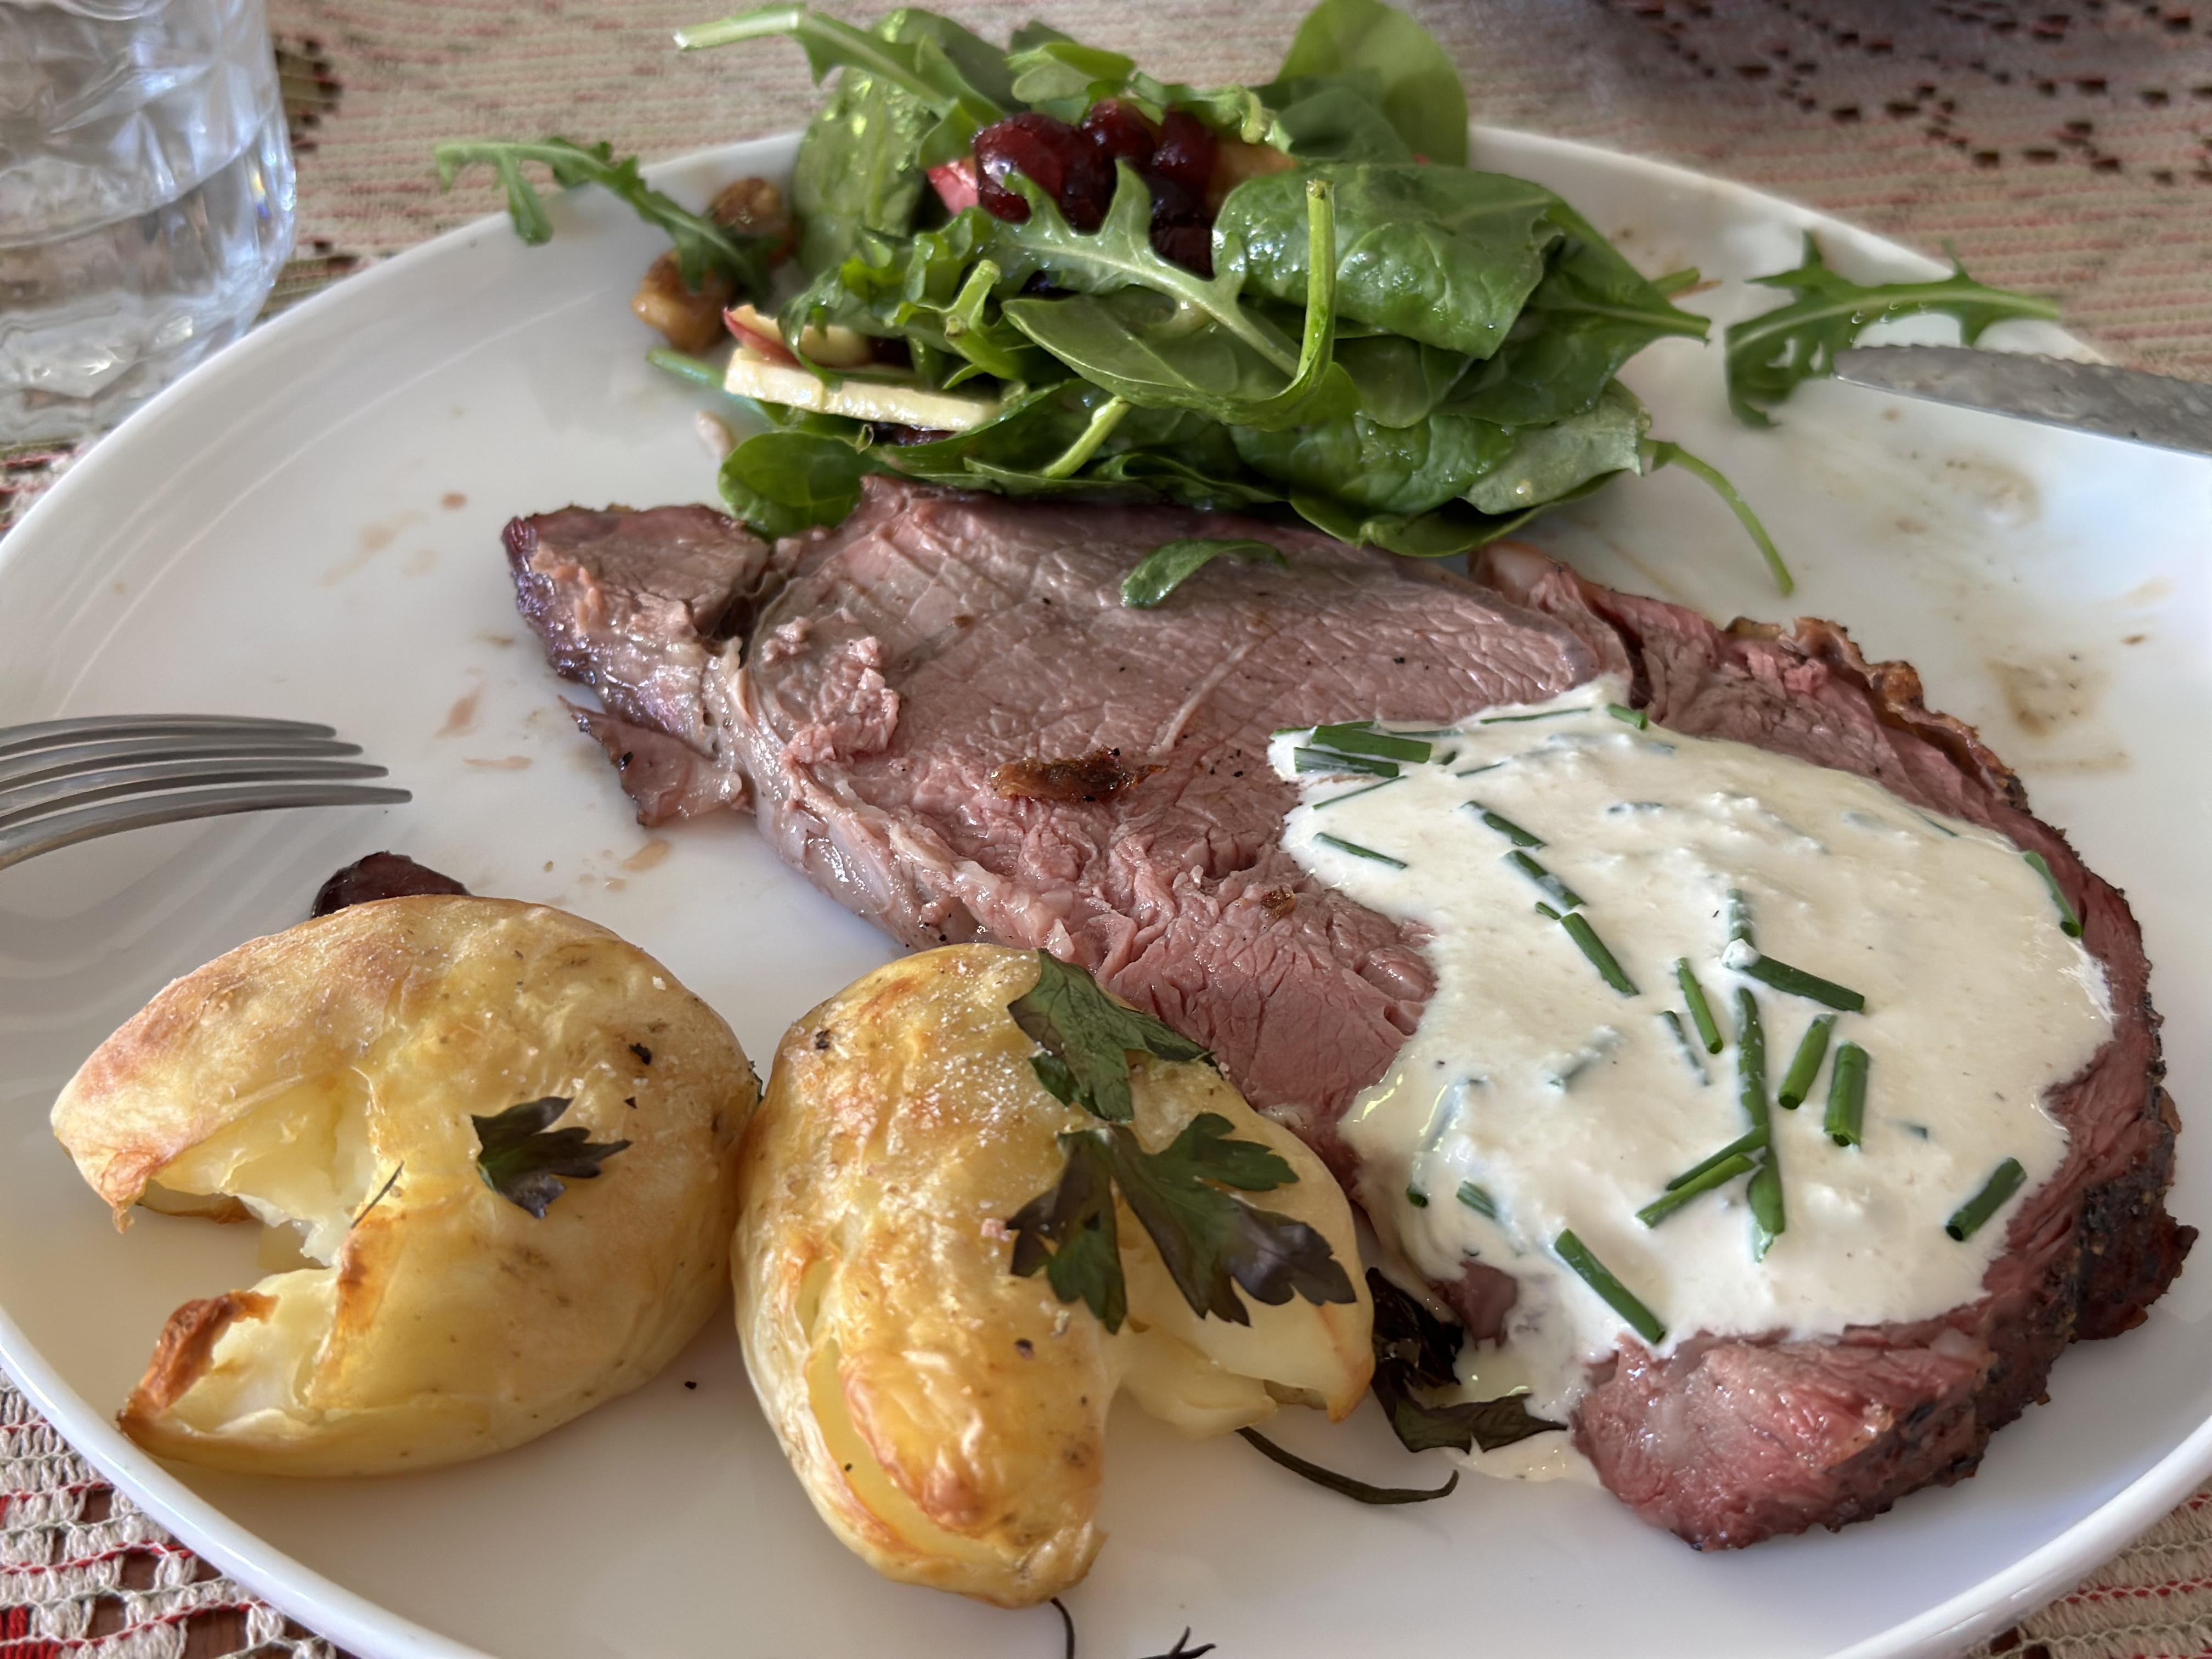
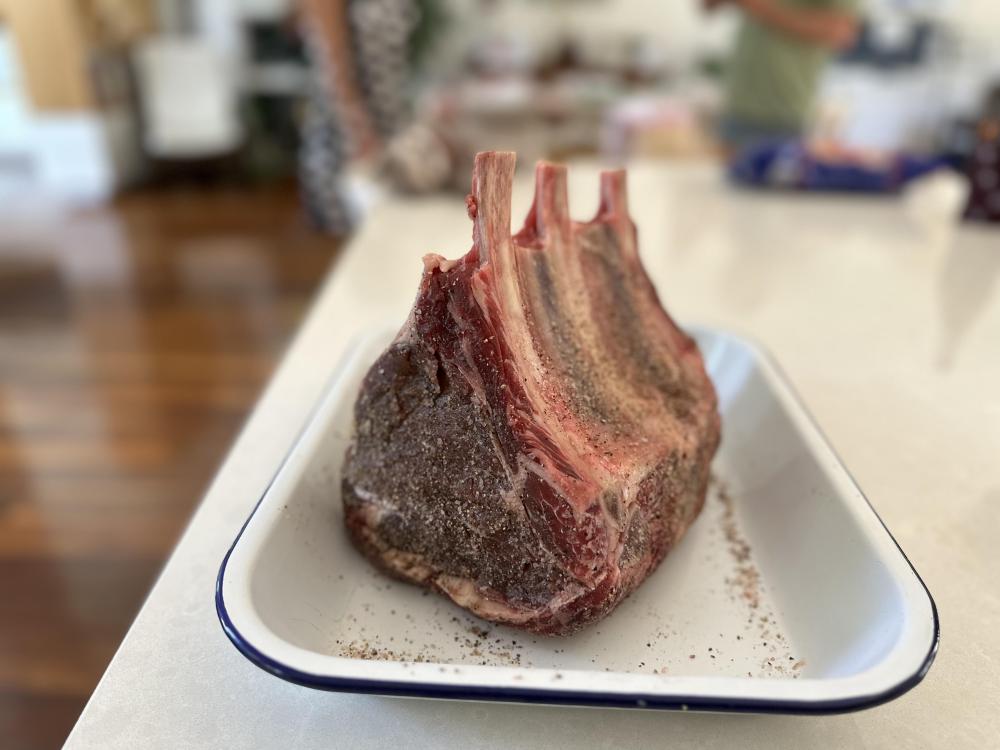
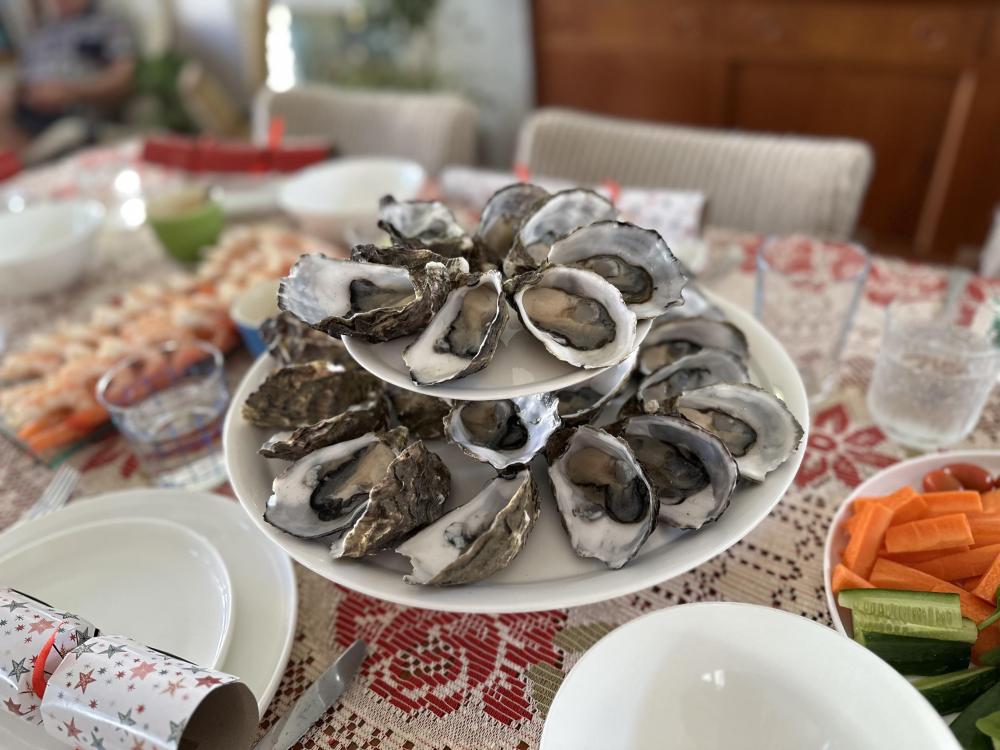
At our house, we celebrate Christmas Eve as the main event. And being in Australia, that makes us a fair way before most of your timetables! To make it spectacular, I decided on my first prime rib roast. 3 points. Salt and pepper only. Just under 3hrs at 250F, pulled at rare. Rested 40min. Reverse sear 2min x 5 sides of the roast. Served with horseradish sauce, roast potatoes, salad with candied walnuts and cranberries for the festive spirit. The other main dish was baked salmon with tahini and pomegranate. Aussie oysters and prawns to start. Heaven. Merry Christmas !! Remi
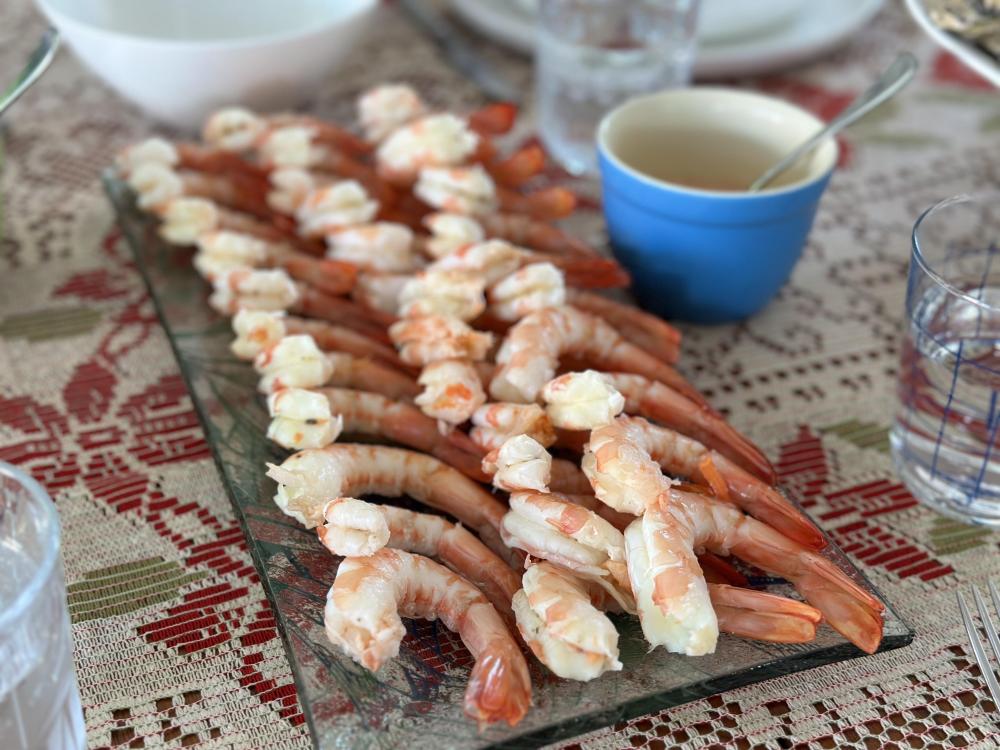
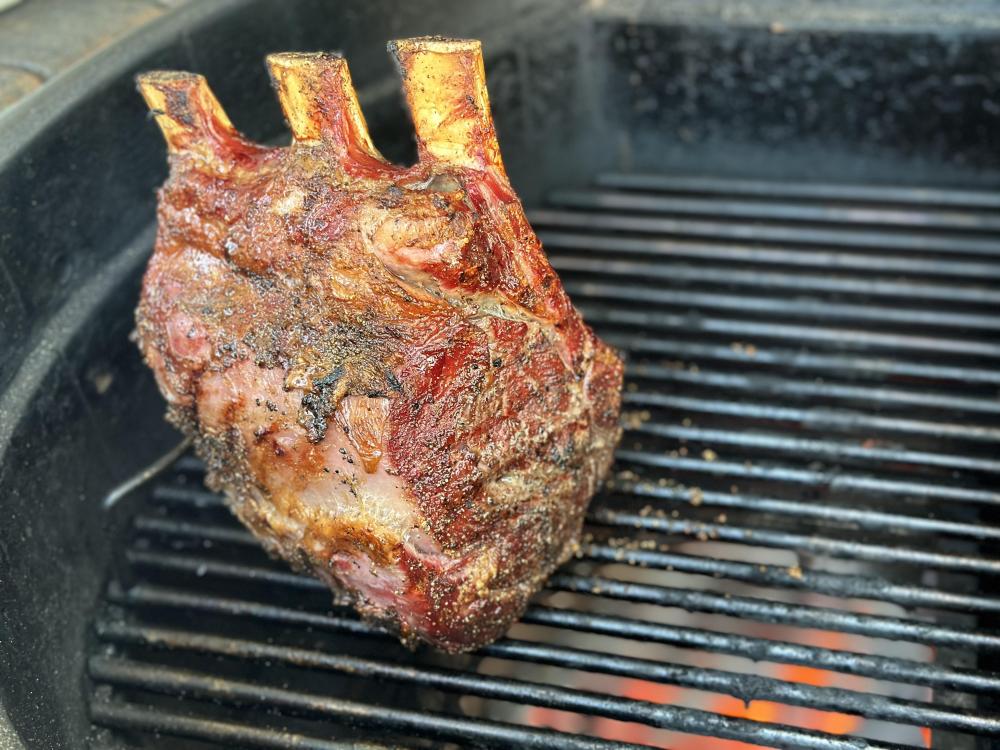

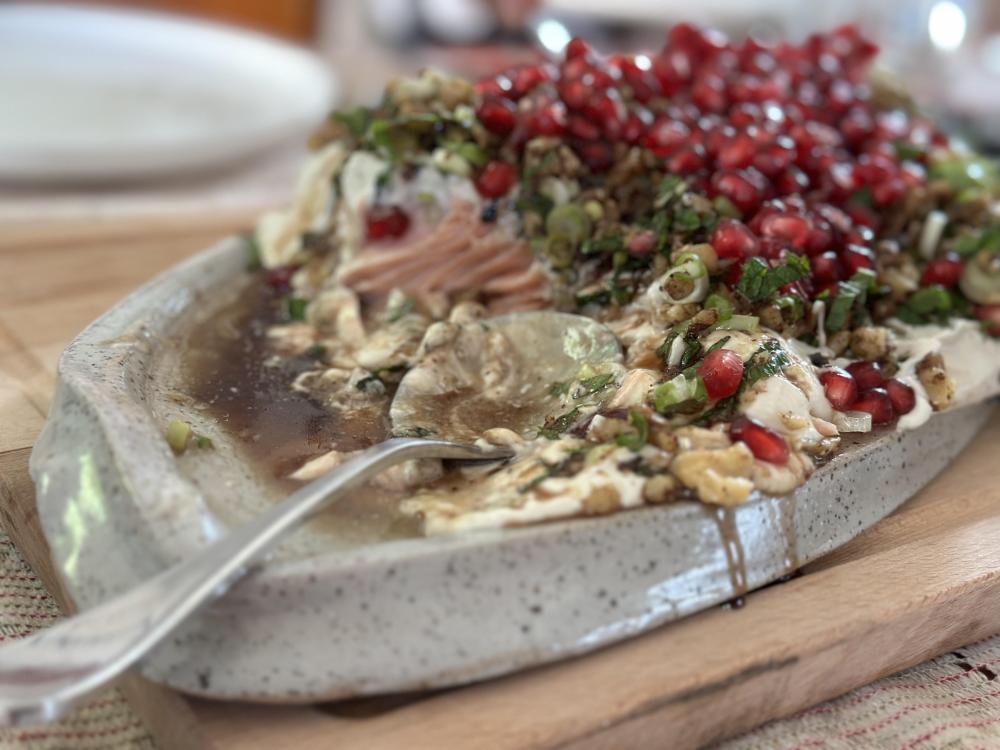

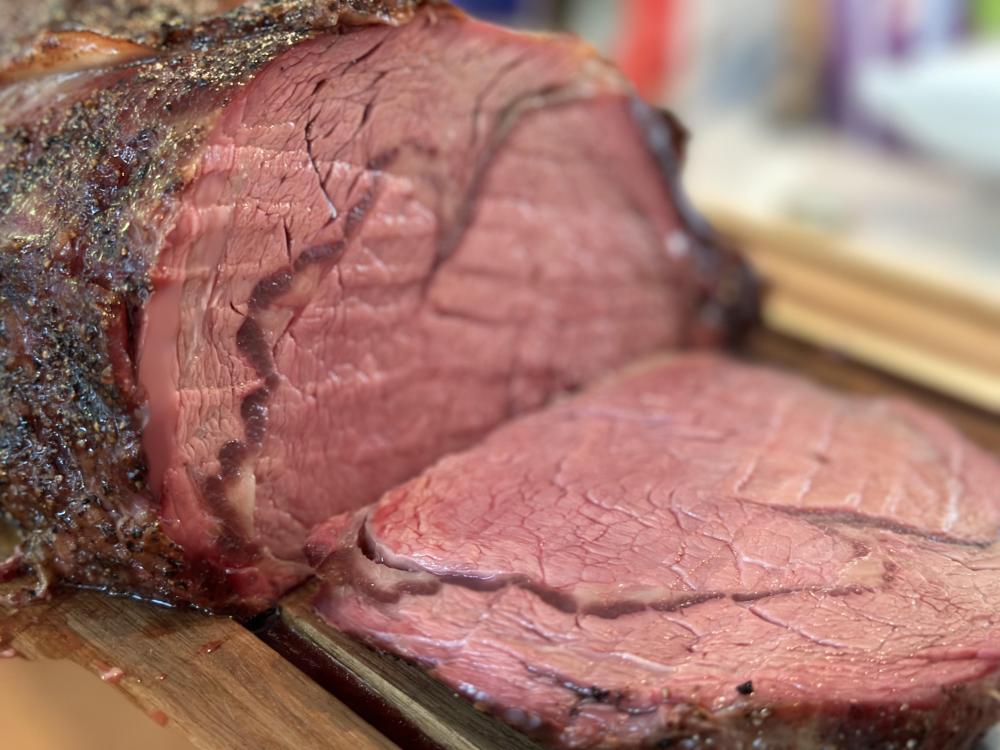
 1 point