Leaderboard
Popular Content
Showing content with the highest reputation on 09/10/2024 in all areas
-
3 points
-
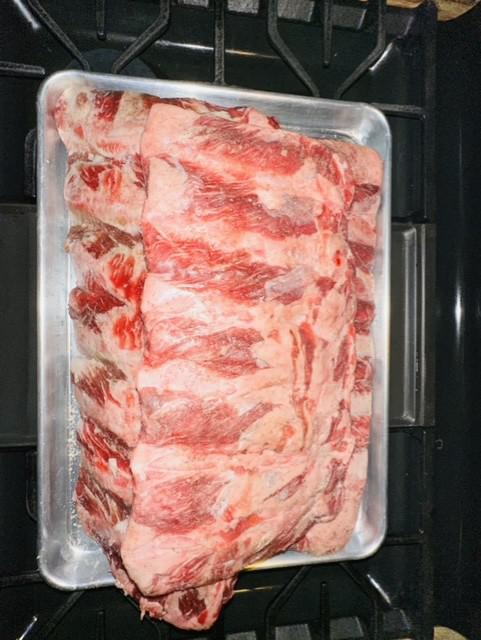
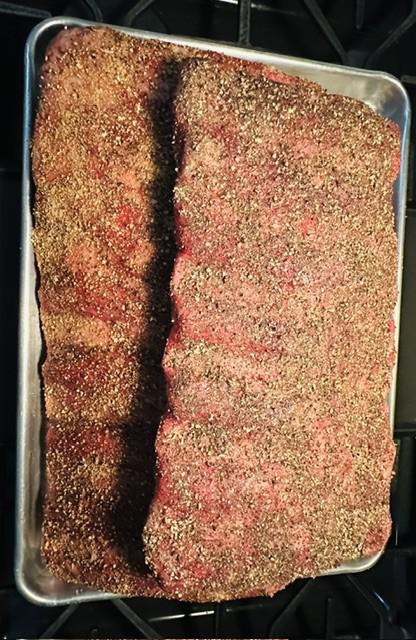
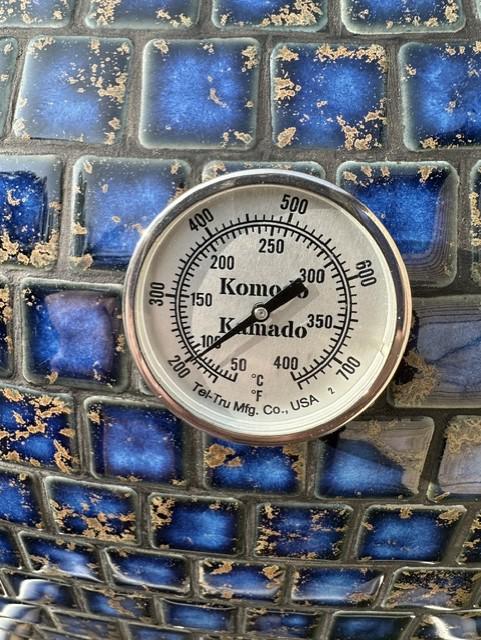
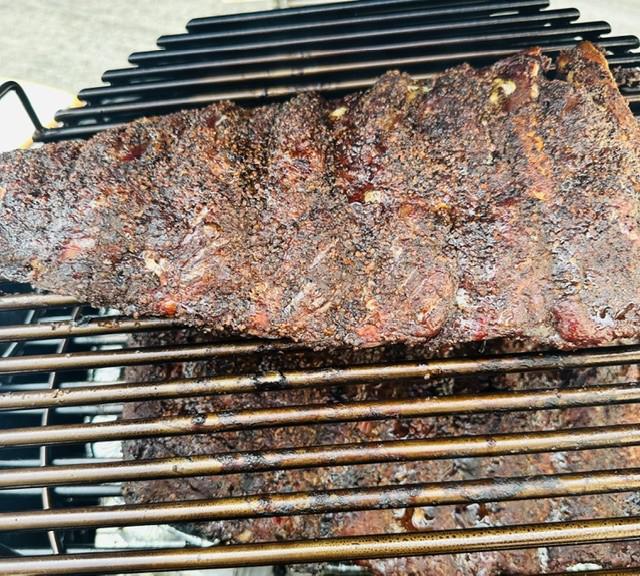
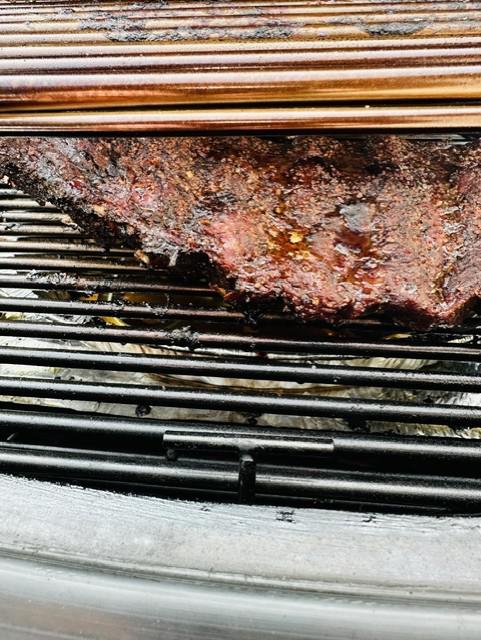
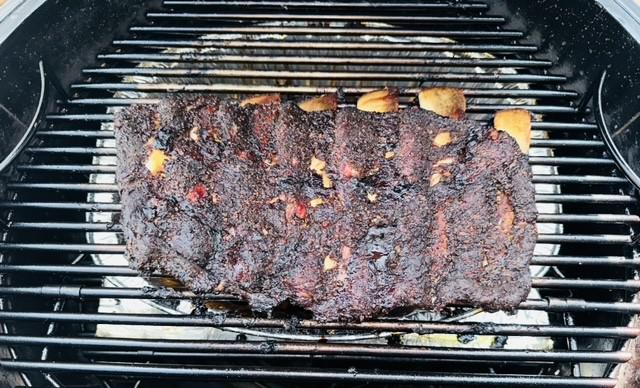
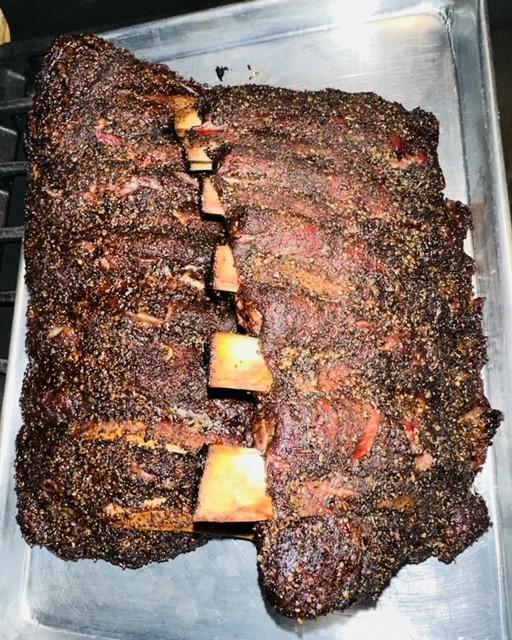
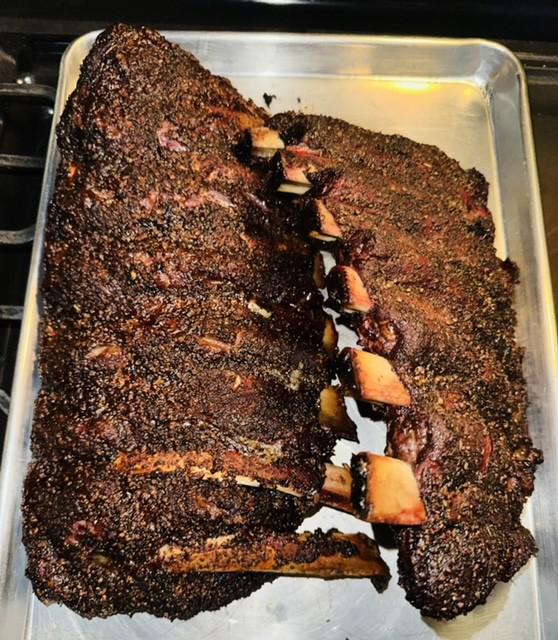
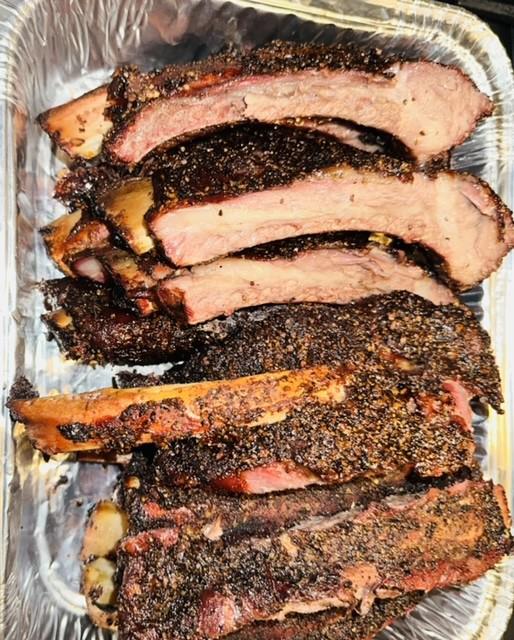
Always been curious about these so I finally took the plunge-and glad I did!!!😲 Smoked at 200 degrees for 3 hours over hickory and oak using CocoChar (only charcoal I ever use in my KK) then bumped up to 275 to finish off, total cook time was 5 hours (no wrap)...Great bark and "very" tasty, these are SO easy to do-WILL DO AGAIN!!!👍😊2 points
-
2 points
-
Good eye One rack was considerably smaller so it finished a bit sooner and was pulled.1 point
-
1 point
-
So, this may go against the consensus of this thread but it has worked very well for me. In my early KK days I also struggled with consistent burning which resulted in wide temp swings. One problem was using too large of lump. I used to use the Fogo XL which is way too large in my opinion. I now exclusively use Fogo Premium (Black bag) which has smaller pieces of lump. As for starting the lump, I gave up on using a torch inside my KK. I tended to get a lot of popping of the lump which caused burning pieces to fly out of the KK. Furthermore, I didn't feel as if the lighting from the top with a torch was very effective. I dreaded taking the torch out, getting the propane tank, lighting multiple times, putting it away, et.c I stopped and switched to the method described below. I started using a chimney to light my lump. I fill the chimney with lump and place a few pieces of cherry or oak in with it. I use a fire starter under the chimney and walk away for 10-15 minutes. Once it's hot and there are flames coming out of the top, I pour it over the lump in my KK. I use a small metal tool to level the boring coals evenly across my basket. Depending on my cook, I adjust the vents differently. If it's going to be a hot cook, I open the vents and let the KK heat soak a bit. Then close them down. Be careful because the temp can run away quickly. If it's a low and slow cook, I set the vents where they need to be and let the KK do its thing. After about 20-30 minutes the KK is to the desired temp. Since I've switched to this method, my lump burs even from top to bottom and left to right. I can get 20+ hours no problem. I'm so confident in my method I no longer use my Fireboard and fan. (I hate wires so figuring out this new method has been such a stress relief.) Put it this way, the last time I did an overnight brisket cook I woke up and forgot I had a piece of meat on the KK. In the past, I would've slept with one eye open because the temps would swing so wildly. I hope this helps!1 point
-
Can chime in to answer a few of your questions: - vent settings are the same no matter how much charcoal is in there: the volume of charcoal burning at any moment depends only on airflow, which is what your vent settings do - I use alfoil on the bottom grate (just wrapped on), and usually also have the drip tray on top of that, with my low and slow meat on the main grate - Once the KK is up to temp, there should be no dramatic change in the temps unless you are frequently opening and closing the lid. As they say- if you're looking, you're not cooking - You don't need to worry about whether the coals are burning in one spot. It is a low and slow indirect cook, the coals can burn wherever they like - For most low and slow applications, it is only the top vent that matters- for a low and slow the bottom vent is barely cracked to the width of a pencil, 225 is top vent just off the seat, 250 or so perhaps another 1/8th turn (or less), 1/4 turn or just past that and you will be closer to 290-300... this is a rough guide, take an afternoon to play around slowly- make the change, observe and don't fiddle such that you can build confidence of where your temps are - Don't obsess about the difference between dome and grate temp- on a 10hr low and slow cook these will equalise soon enough Hope that all makes sense?1 point
-
They look good, takes a while though but the payoff is worth the wait. Not like flippin a steak👍1 point
-
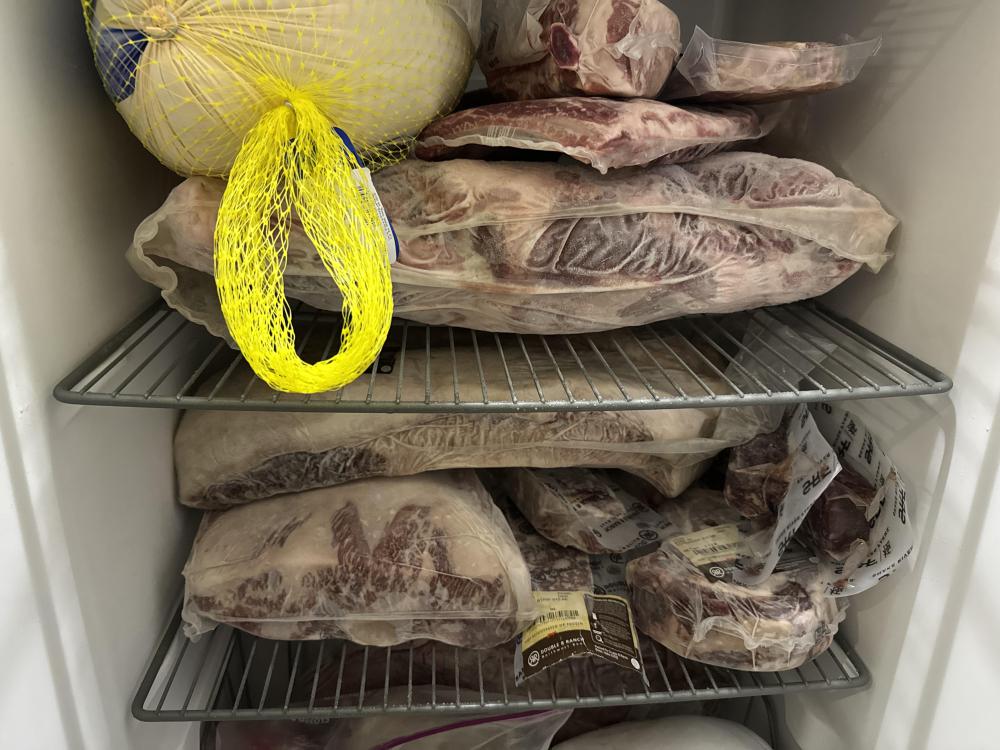
Those look great !!!! I have a rack in my freezer I’ll be cooking soon 😁1 point
-
1 point
-
1 point
-
Look great. I really enjoy beef ribs but hard to find in my local stores. I have gotten the big "dinasour" ribs from Snake River Farms and those are great but pricey.1 point
-
Install the top two bolts finger-tight. If you have some of the original black foam (or any small piece of styrofoam- half-inch square) that was sent with the tables, you can use it down low next to the lower bolt to hold the plate out if necessary, then tighten the lower bolt only until the table is level then tighten the top two down tight leaving the lower where it is..1 point


