jeffshoaf
Owners-
Posts
445 -
Joined
-
Last visited
-
Days Won
26
Content Type
Profiles
Forums
Events
Everything posted by jeffshoaf
-
Look no further for your Christmas present wish list!
jeffshoaf replied to tekobo's topic in Jokes, Ribbin' & Misc Banter!
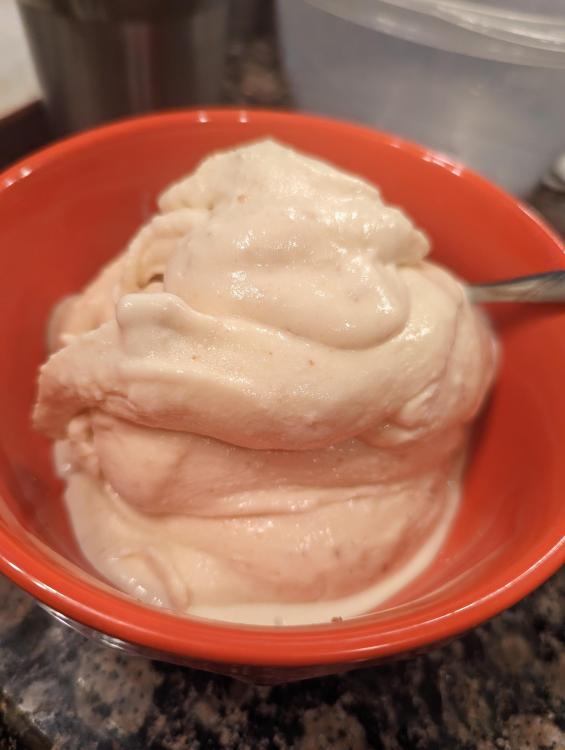
Yup, I'm still happy with the Creami. I'm partially blaming it for my regaining half of the forty pounds I lost. I created a very simple recipe that the creami turns into one of the best non-meat things I've ever eaten: one 15 oz can of peaches in natural juice, one 14 oz can of sweetened condensed milk, dash of cinnamon. Freeze overnight, process in the Creami on "ice cream" mode, add 3 graham crackers and processed in the Creami on "mix-in" mode. It ain't healthy but it's very tasty! -
@MsTwiggy, I missed the post about you leaving the lid open. I only leave the lid open long enough to make sure my starter is burning.
-
I think your issue may be lighting from the bottom. I use the Weber paraffin cubes and either put 2 right next to each other tucked down into the lump on top of the basket (with basket in place in the KK) or I'll light just a minimal amount of lump in a charcoal chimney and then do it on top of the charcoal in the basket (again installed in the KK). Using the cubes in the basket has failed a few times with the lump not getting started well but I don't recall the chimney starter method ever falling. My vent regimen is similar to yours unless I'm using a temperature controller. I used a weed burner torch to light the lump for the 1st few years of. KK ownership but I'm pretty bad at keeping a spare can of fuel on hand. I use the paraffin cubes to start my other outdoor cookers (Weber kettle, big Santa Maria/Argentinian grill, insulated gravity feed smoker, plus a new offset stick burner that was delivered just yesterday) and can get them next day from Amazon, so I almost always have them on hand.
-
I generally get well over 12 hours cook time plus several hours of preheat time at 225°F and have lump left using B&B in my 23" - and I've been known to pull the charcoal basket out to fill it so the lump wasn't much of the top of the basket. Where are you measuring the temperature? If you describe your lighting process, vent settings, etc., we may be able to help you. KKs are so well insulated, it doesn't take a lot of fuel to keep them at that temp.
-
I haven't used it on my KK but I have found that Dawn PowerWash works pretty well on pretty much everything.
-
If you just need it as a holding oven, you can get a cheap electric smoker and save a lot of money. I've been using one and have held briskets and pork butts for over 24 hours. Mine doesn't hold the temperature as constant as the Anova but it does hold steadier than my kitchen oven and can hold a lot more than the Anova; when set to 150°F, it'll swing between 142° and 168°. They do have a reputation for the controls to crap out so I monitor with my Thermoworks Signals; if/when the controls crap out, I'll replace them with a PID controller. From what I've read, the aftermarket PID controllers are more precise and reliable than the OEM controls as well - I tried to find a broken used one for sale but got tired of waiting and got a new one when it was on sale.
-
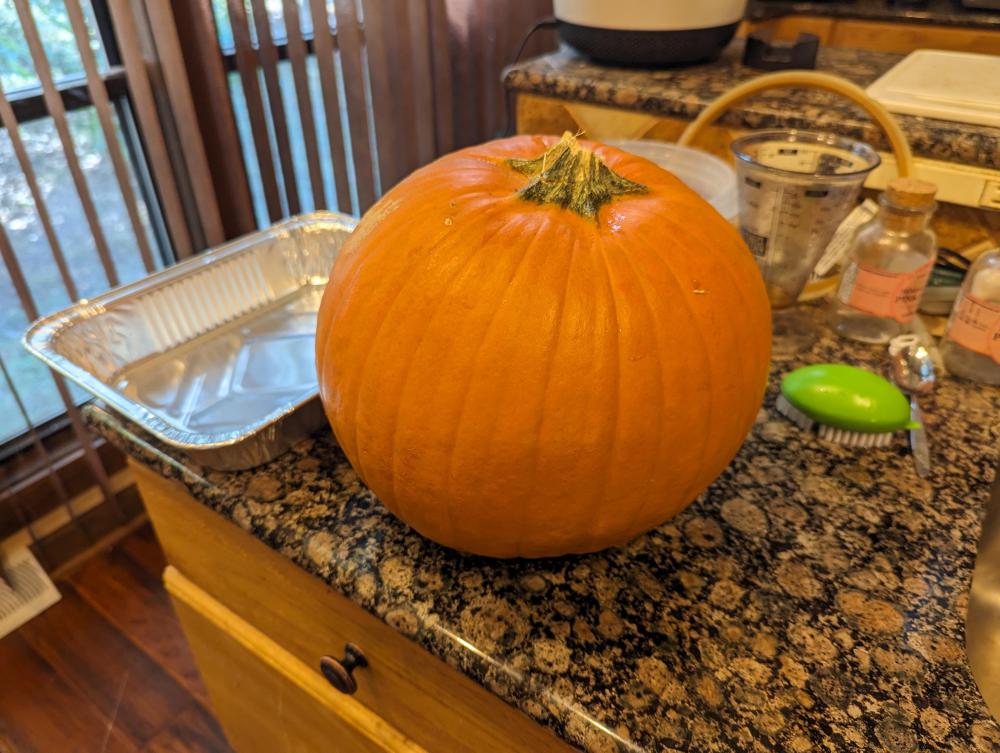
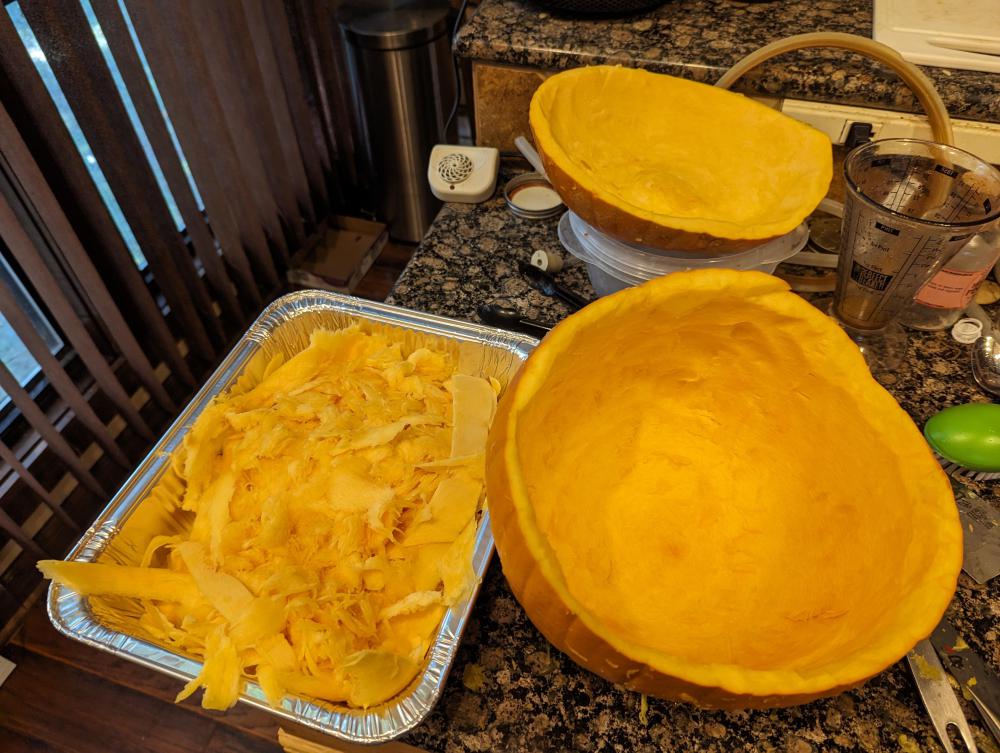
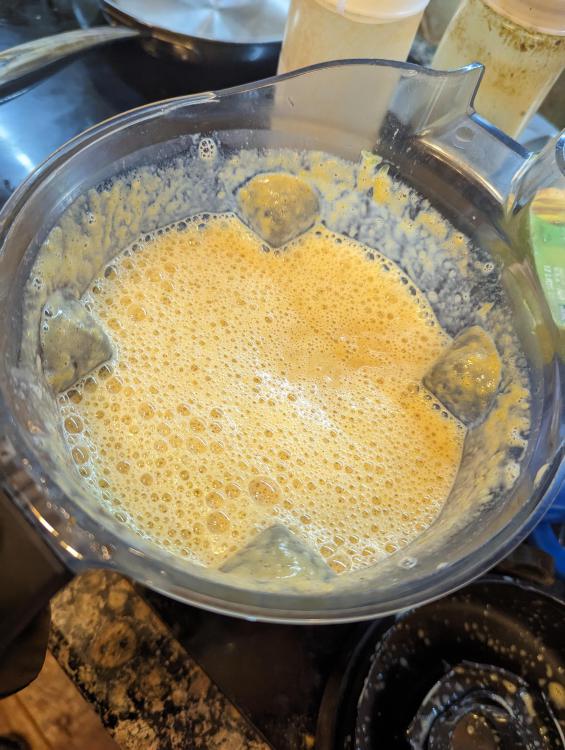
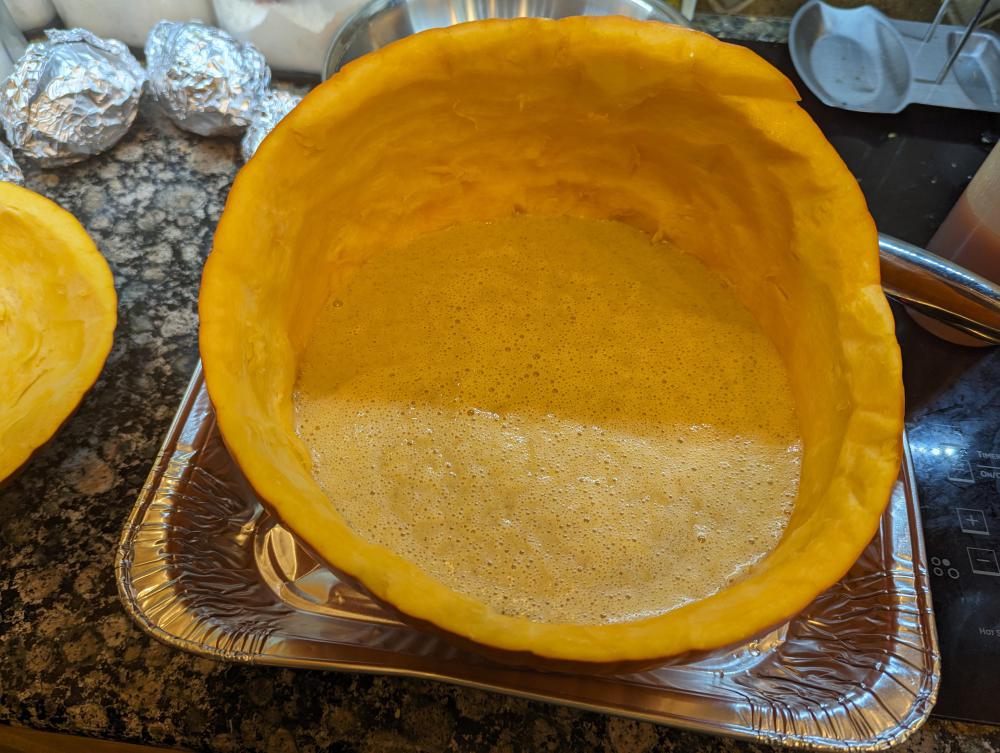
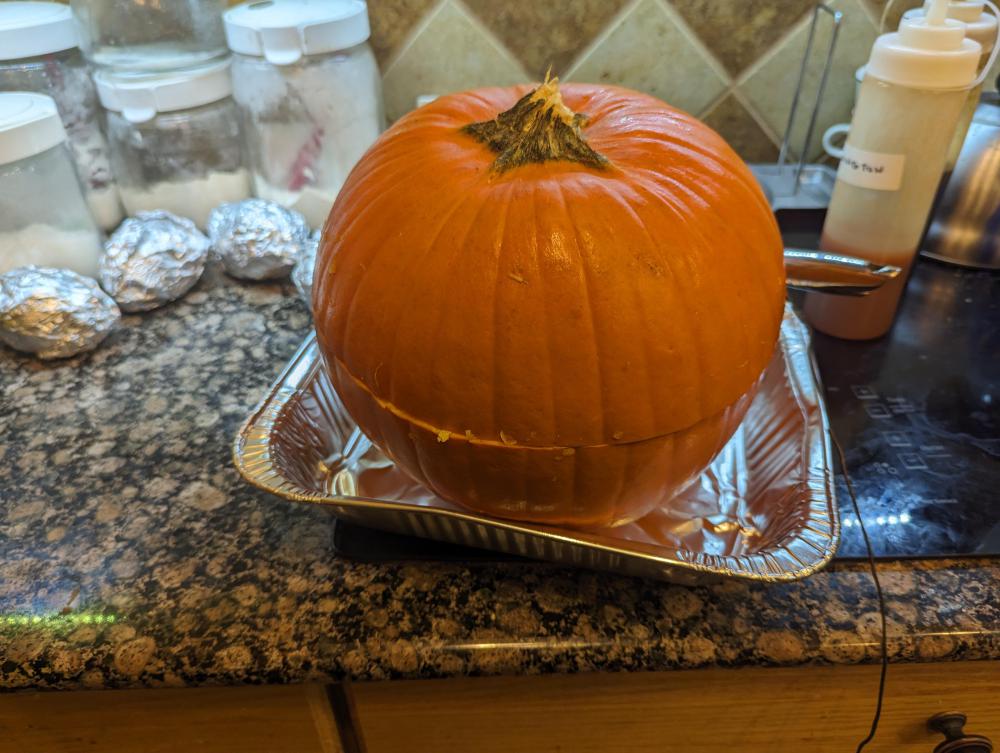
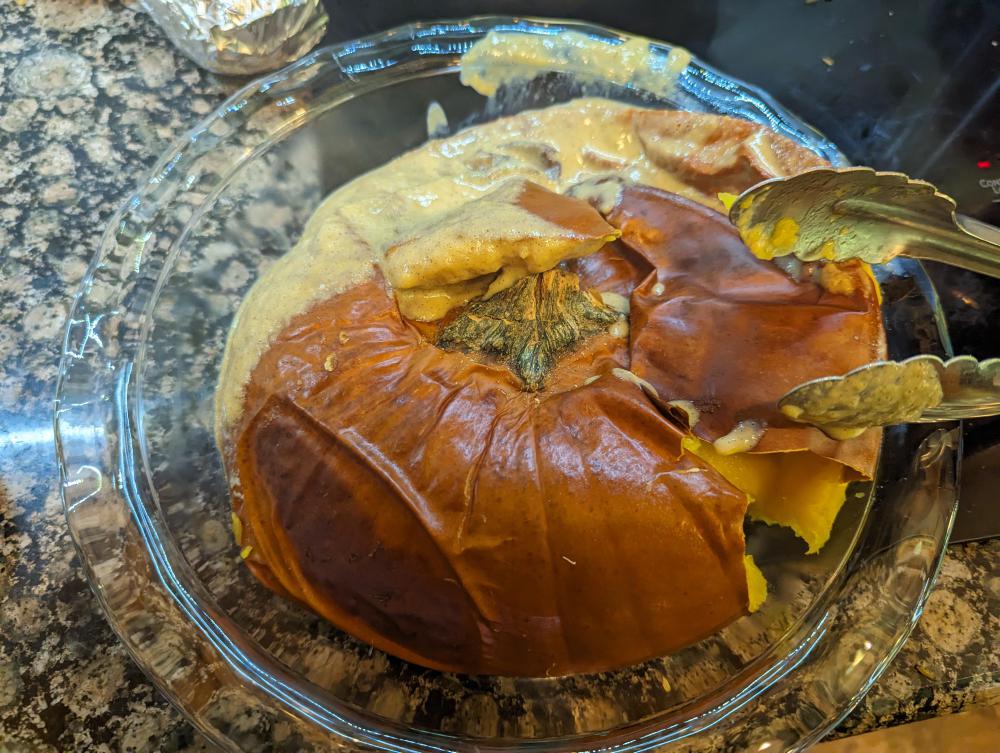
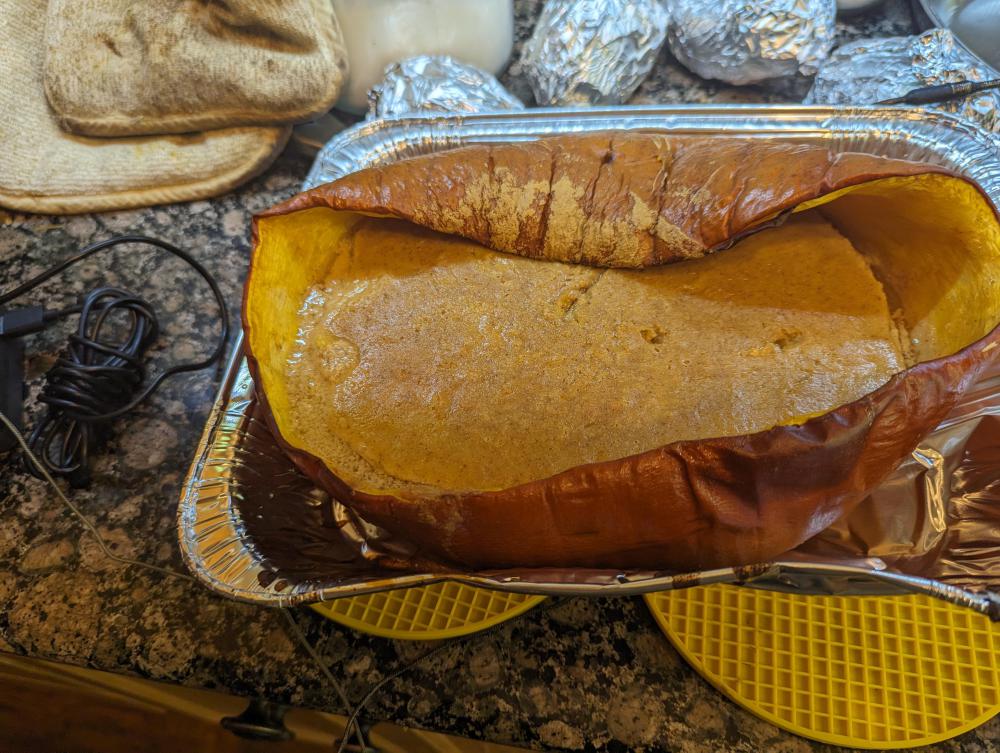
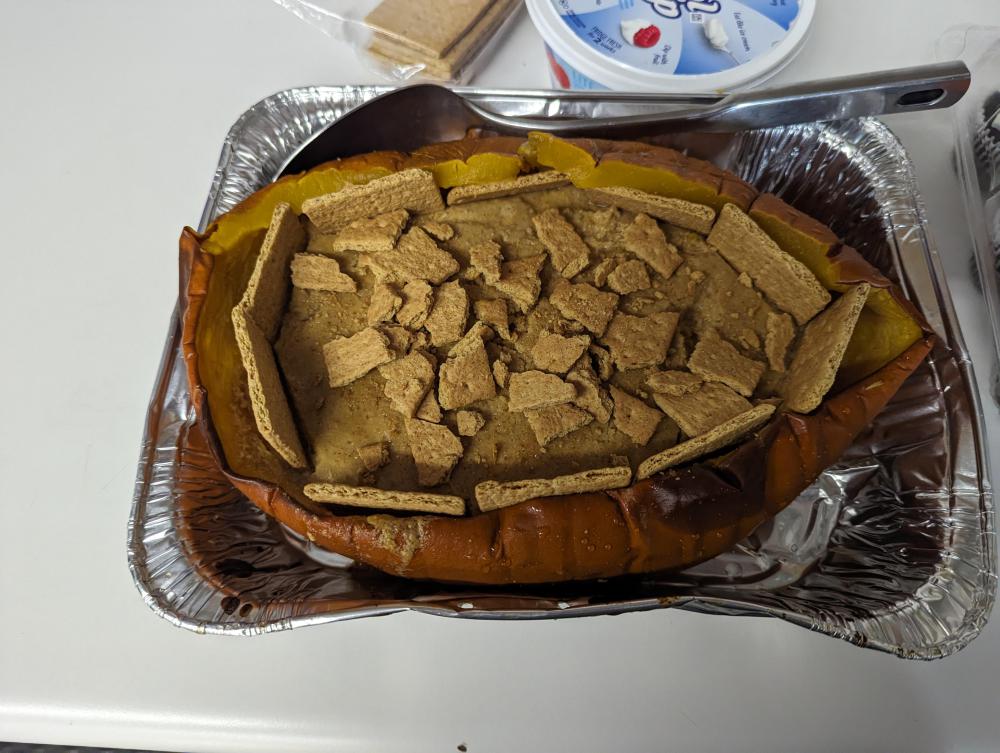
I finally managed to try something I've wanted to do for a few years - pumpkin pie, only instead of being in a crust, it's in the pumpkin shell for scooping out. I was sure I saw an episode of Good Eats where Alton did one but searching on the interwebs only found his recipe for pumpkin soup served in the pumpkin so I was on my own. Side note - I've actually never made a traditional pumpkin pie with a crust so this was a totally new adventure. I was wanting to get a locally grown pie pumpkin but life intervened and I ended up getting one from the grocery store. I cut the top off, scooped out the seeds, and cut and scooped as much of the flesh as I was comfortable doing without compromising the shell strength. I ended up with about 2 pounds of pumpkin. I considered smoking it but decided to go a bit simpler and roasted it in the oven. Since I had several cans of sweetened condensed milk on hand, I found a pumpkin pie recipe that used it; the recipe has a 15 oz can of pumpkin puree, so I doubled it. It also called for pumpkin pie spice which I didn't have so I found a recipe for that on the interwebs as well. Tossed the roasted pumpkin and other ingredients into the blender and pureed it, then poured it all back into the pumpkin shell after a taste test - it was tasty! I put the pumpkin top back on the pumpkin and put it into the preheated oven in a foil pan. I had no idea on how long to bake it since it was encased in the shell and was much thicker than the average pie, so I monitored the filling temp using my Thermoworks Signals. After a while, I got an alert from the Signals indicating the temperature had shot over my target temp; the shell had softened up enough that the top had fallen into the filling, pushing the thermometer probe into the pumpkin shell. I tried to salvage the top but it came apart when I tried to pick it up out of the filling, so I put the pumpkin back in the oven without the shell after repositioning the probe. Once the filling made it to the proper temperature, I took the pumpkin out of the oven and let it cool before refrigerating overnight. The shell was very soft and was sagging into the filling so I trimmed it some before serving. I stuck some graham crackers around the edge of the filling and crumbled more on top. Other than the issue with the lid and the shell getting too soft to easily transport, this was a success and very tasty. If I do this again, I'll bake the filling for a while before putting it in the shell and bake the shell just looking enough for it to soften just enough to not taste raw as well as baking the lid separately to allow more heat into the filling. I may try smoking it as well. I think this would be a good dessert for a party or holiday meal, especially if it can be presented with the intact pumpkin top. I've attached pics chronicling the whole process.
- 1 reply
-
- 3
-

-
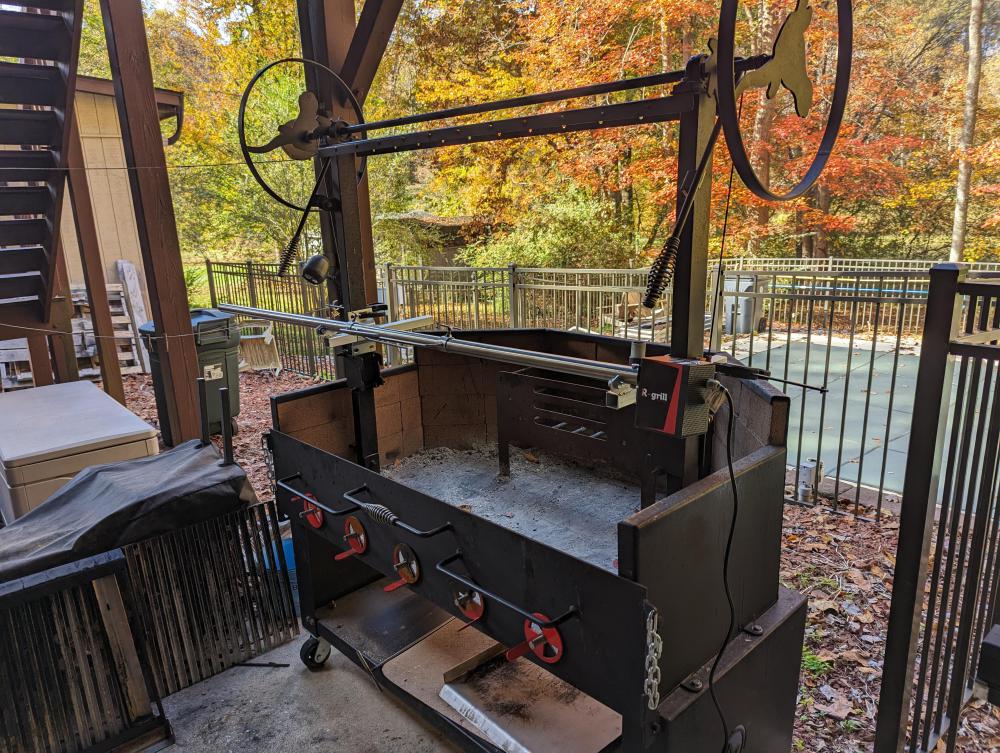
I have plenty of spit to work with so I hope to move the motor further outside the fire box when I work out a better mount.
-
It came with two additional sets of forks that are double ended (prongs pointing in both directions), so I can secure 3 chunks or have an inner and outer fork on each end of a pig. I'll probably order two more of the double ended forks so I can spin 5 chickens or turkeys at the same time. They're also supposed to be working on baskets; when I asked about them, they indicated the baskets were big so the may be good for ribs or other large flat cuts that would be difficult to put on the spit. I figured out a temporary mount for my grill this morning; this will be at a fixed height, but should suffice until I get some brackets fabricated to attach to the grate mounts. I have some different clamps ordered for the temporary mount since the ones I had on hand really aren't appropriate for this. PXL_20231027_142935074.TS.mp4
-
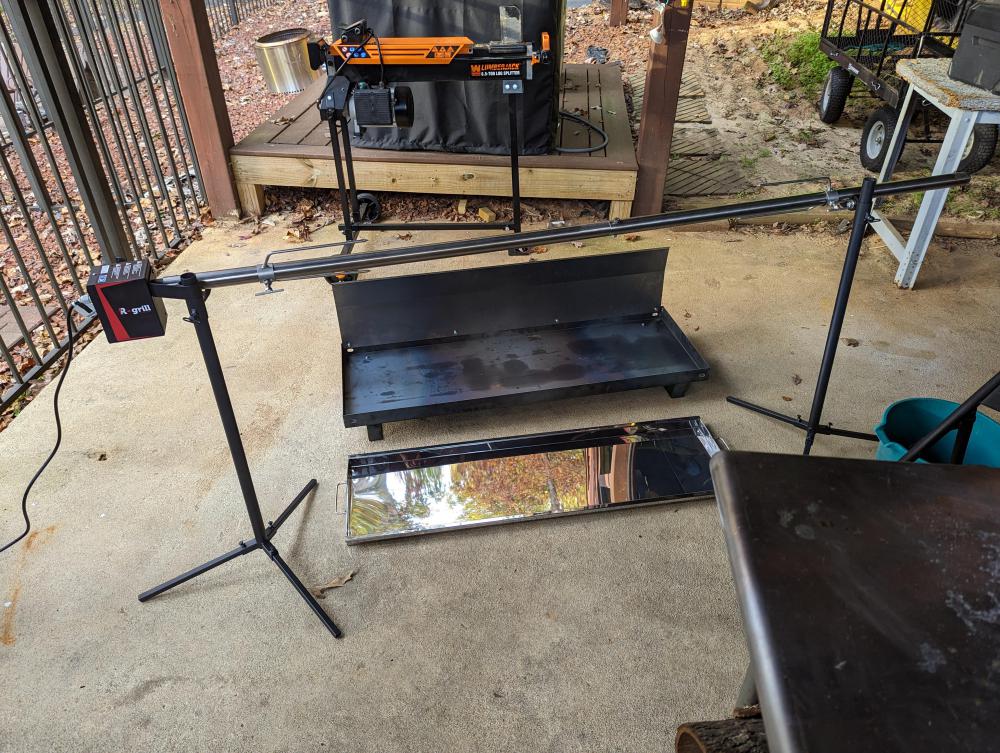
I was looking for a rotisserie for my Santa Maria grill and, per usual, I went overboard with a spit rated at 125 lb along with a fire pit and drip tray. They threw in their fireplace mounting kit; I hope to use that to mount the rotisserie to my grill. Hope to spin a chicken some time next week. Its made in and shipped from Germany; I ordered over the weekend and received it today. https://r-grill.com/ PXL_20231026_212312025.TS.mp4
-
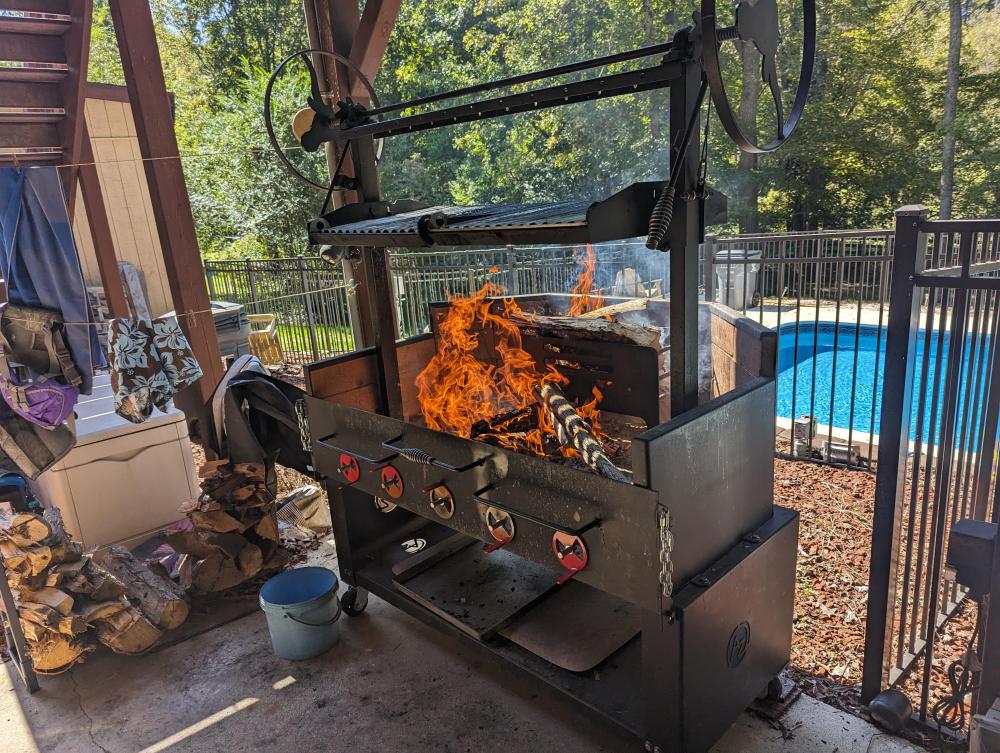
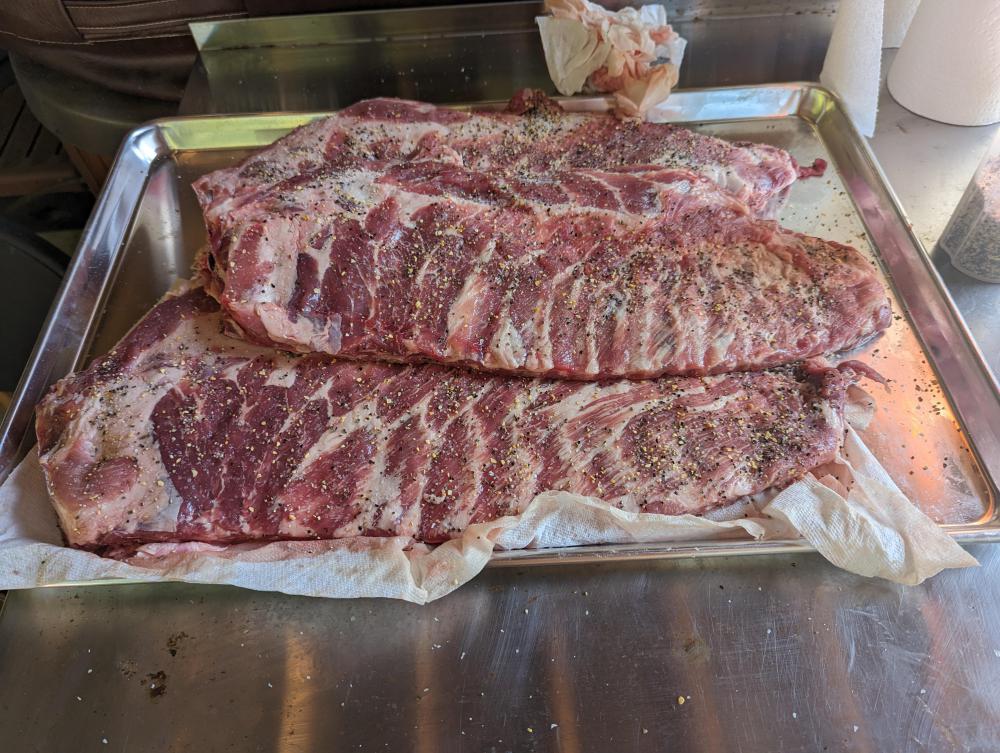
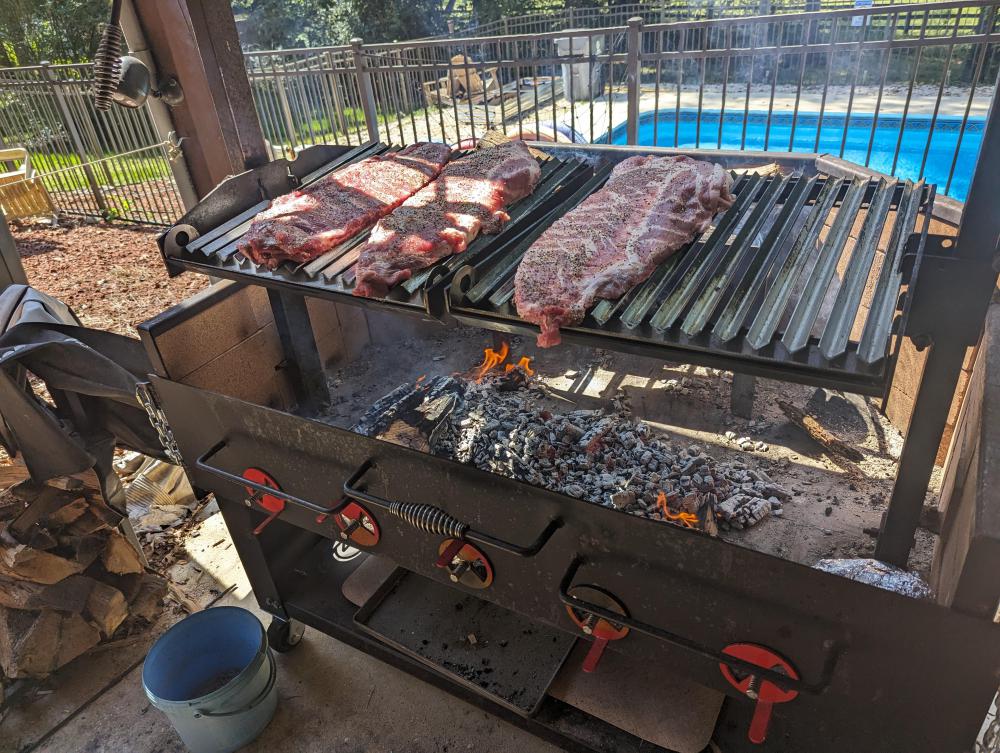
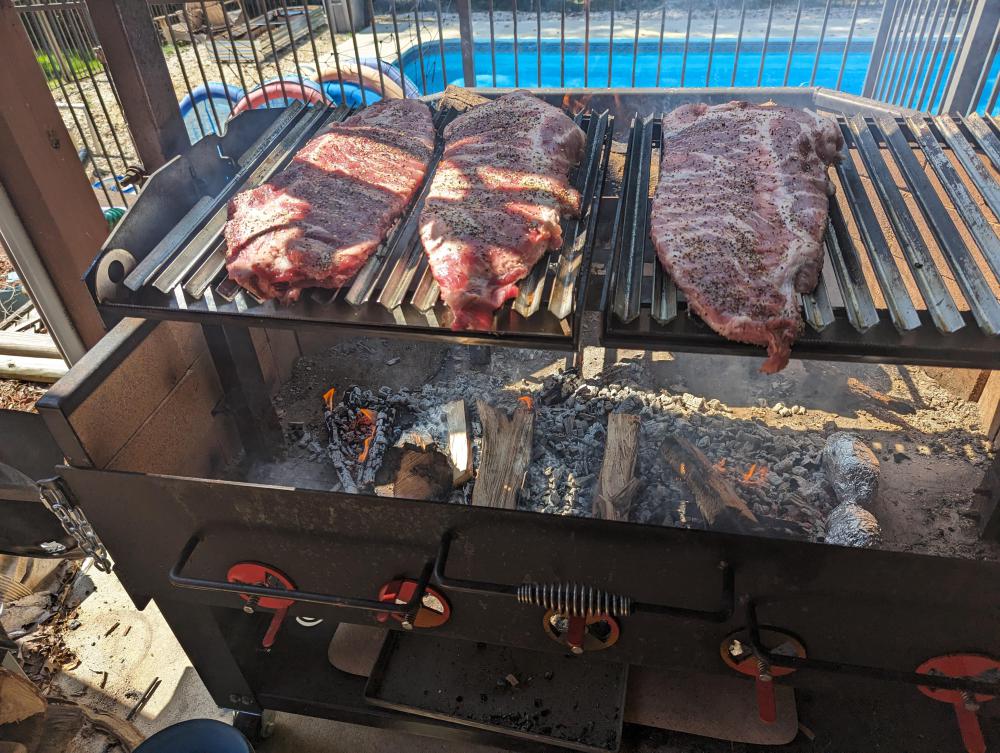
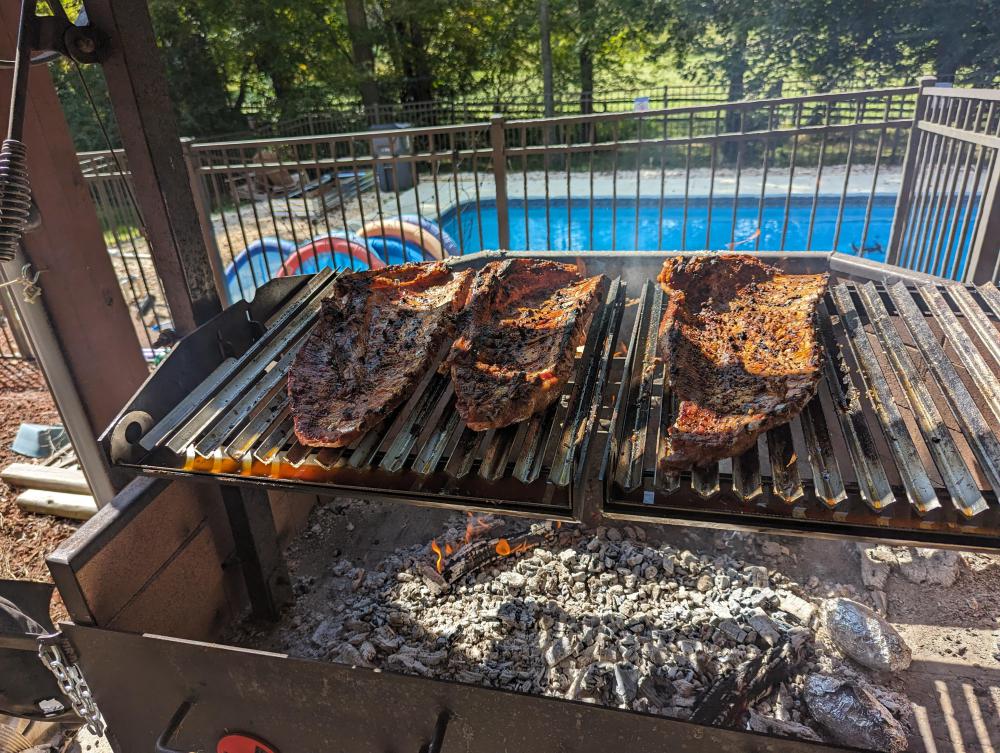
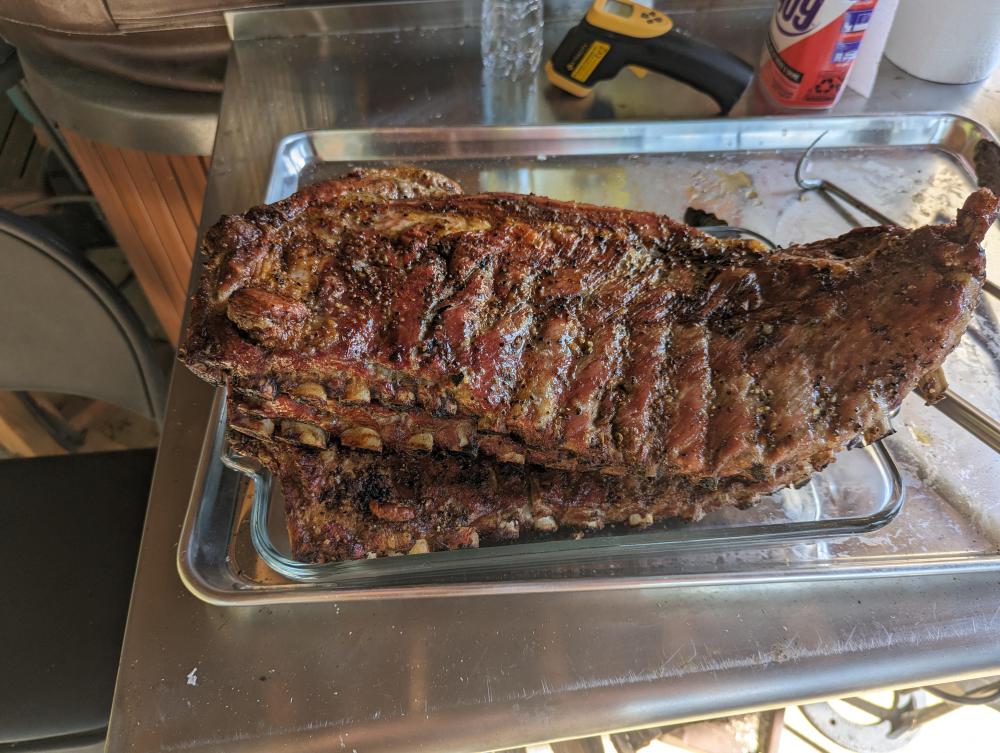
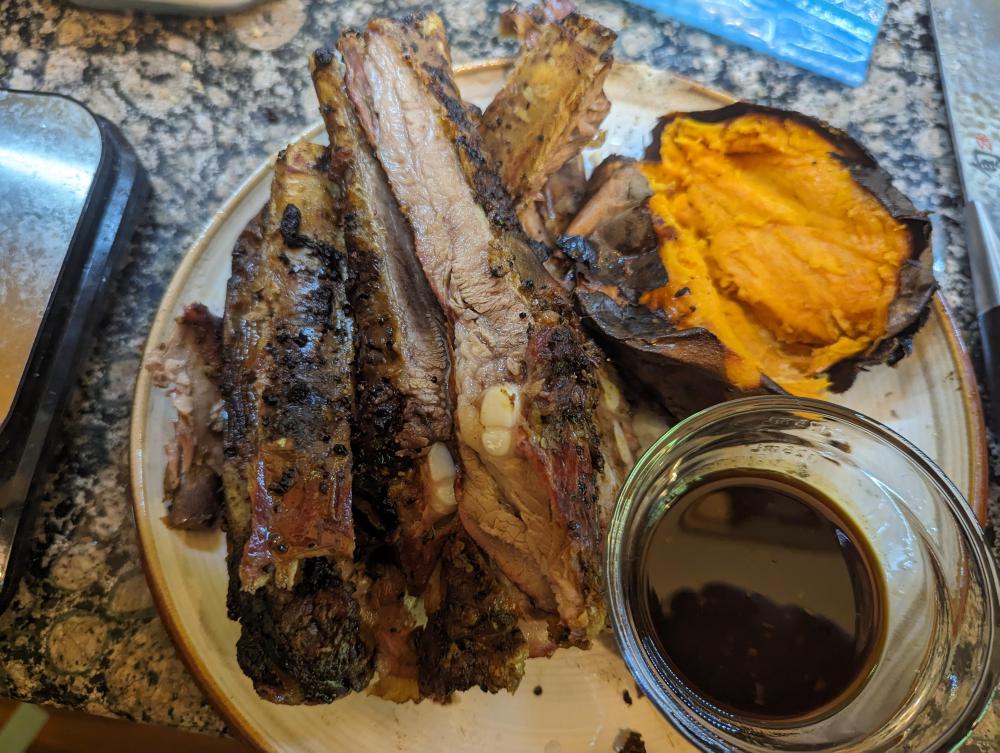
Spare ribs on the big grill over hickory. I haven't grilled ribs in over a decade but it was a nice change from smoking them. So good i ate a whole rack and then felt miserable. Also baked some sweet potatoes down in the coals. PXL_20230929_175423483.TS.mp4
- 309 replies
-
- 11
-

-
I usually start the controller as soon as I light the fire but I initially set the temperature 75-100°F lower than my actual target temperature and then step it up as the KK approaches the current set temperature. This helps keep the fan from blowing fill blast and getting too much charcoal burning during the preheat and/or overshooting my planned cook temp.
-
The references to too much charcoal are referring to how much charcoal you have burning, not how much you have in the basket. The kk's are so well insulated and efficient that you require very little burning to get to lose and slow temps. It's tempting to start a big fire and get to temp quickly but you really need to light just a few pieces of charcoal and bring the temp up slowly. Having a full basket is just insurance that you don't run out of charcoal mid-cook; it doesn't go to waste since you can easily kill the fire at the end of a cook by closing all the vents and then reuse it for your next cook. The basket splitter is useful for making it easy to switch the type of charcoal between cooks and to create direct and indirect cooking zones. If you have too much charcoal burning, your temp controller is most likely smothering it to keep the temps down, so when you open the lid the sudden in-rush of air fuels all of that smothered charcoal and let's it flare up, causing the temperature spike - it's the back draft affect. Regarding a deflector, if you only have a little charcoal burning, you rarely need a deflector in a kk; I only use one if I'm using a drip pan to catch drippings for aus jous or gravy.
-
That's just volume 1 in a 10 volume set.
-
My folks got one of those bells for each of their 4 children during their travels after my dad retired. It's been over 25 years but I think they got them on one of their week-long drives in the mountains of NC, VA, and TN - maybe Gatlinburg or Pigeon Forge in Tennessee. I need to move it to a bit more accessible location - maybe by the steps down to the pool.
-
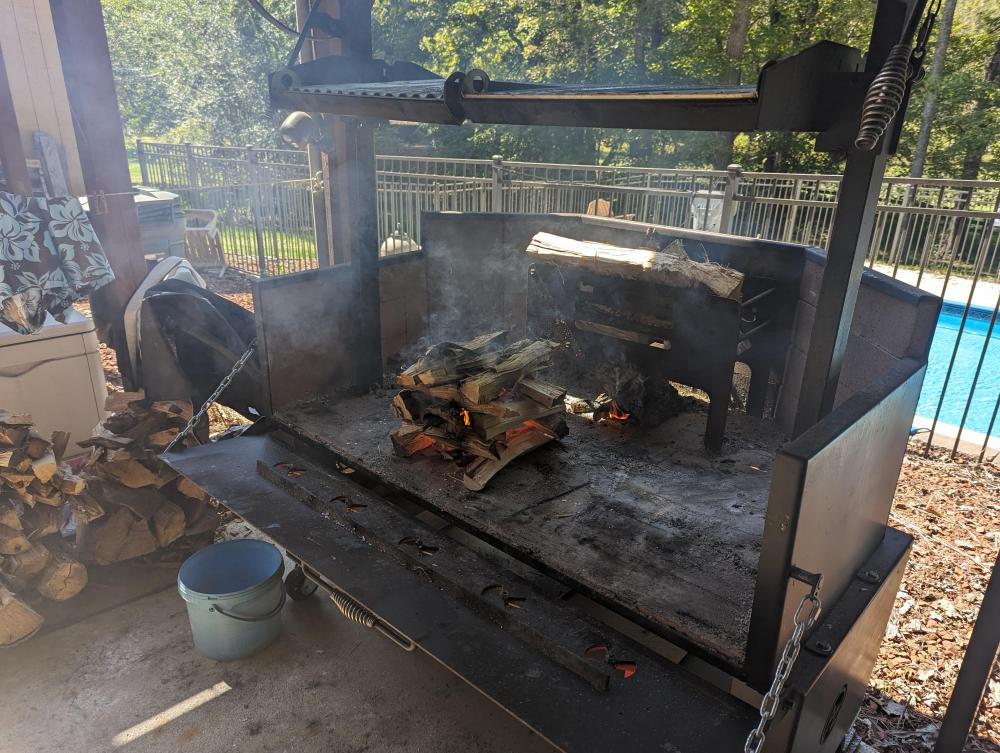
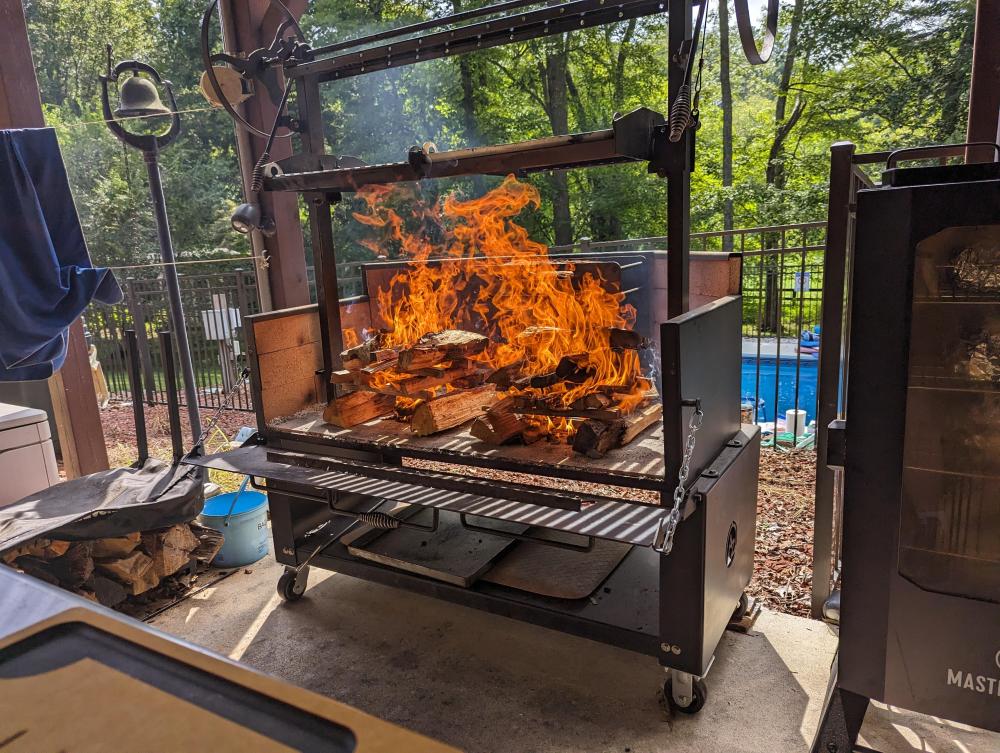
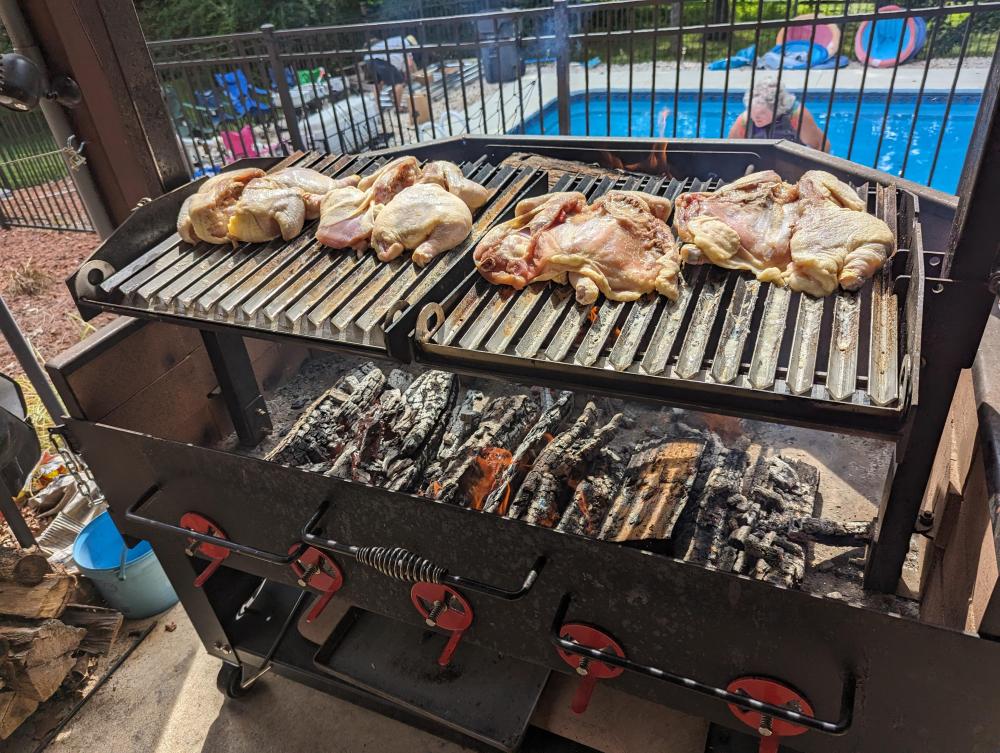
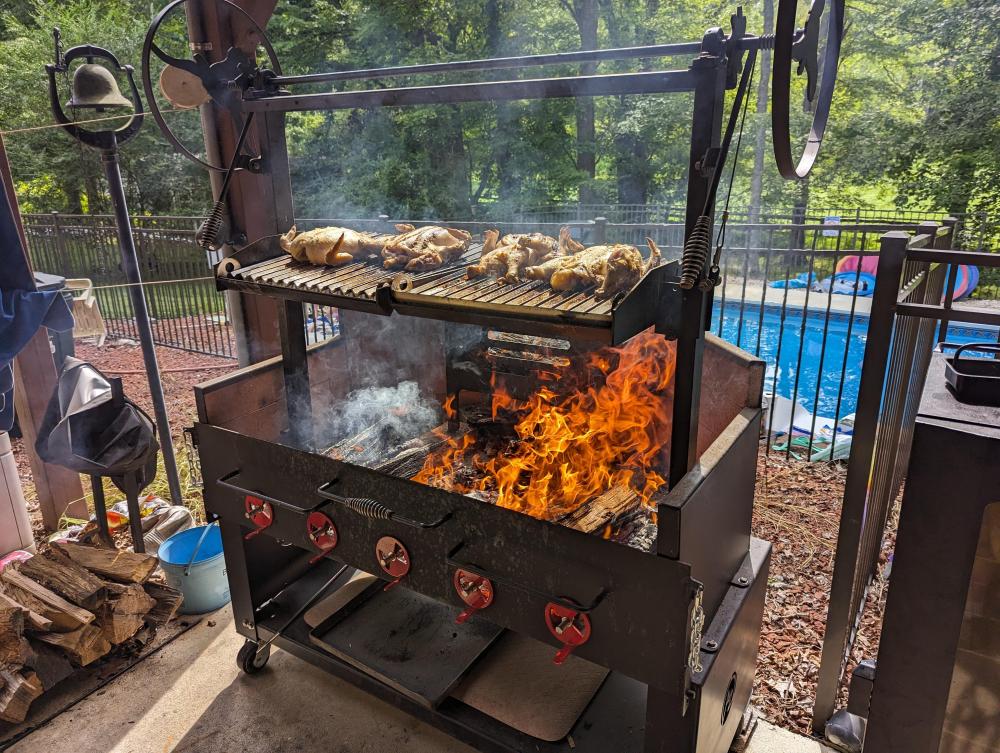
I tapped into my inner pyromaniac Saturday for a gathering of extended family. It was 88°F without my fire so I was hot and tired when the chickens were done and didn't get any pics of the finished cook but they were very tasty after an overnight dry brine with salt and garlic powder.
-
Less than Good News.. Rotator Cuff Surgery..
jeffshoaf replied to DennisLinkletter's topic in KK Announcements
I didn't realize you pitched.... I'm hoping you have a successful surgery and which recovery! -
I think the issue with frozen cooked food is that you muck the flavor up by cooking it more while reheating. I've not done it with ribs, but I've found using sous vide to reheat chicken, pulled pork, and brisket works well since you can keep the temperature low enough to not overcook the meat and the sealed environment in the bag helps retain moisture - plus you can thaw at the same time, especially if vacuum packed for freezing. Works for grilled hamburgers too. Reheating frozen cooked meat is one of the few things I've done via sous vide that I liked. I have three devices that can do sous vide; I'm glad two of them ( Instant Pot and Vermicular Musui-Kamada) are multinational of they'd never get used!
-
I recently ordered a new device for sharpening kitchen knives and it was delivered yesterday. It came with a nice little packet of band-aids.
-
Goldie’s BBQ Brisket Resting Technique = Excellent Results
jeffshoaf replied to KK787's topic in KK Cooking
I have 3 sous vide-capable devices (a sous vide stick, an Instant Pot, and a vermicular musui-musui-kamado) and I've tried each of them for cooking meat and searing afterward and I really didn't care for the results; this aggravates me because that was actually what I got the stick for. I now use sous vide primarily to thaw and reheat vacuum packed and frozen smoked meat and to pre-cook sausage for pizza. I actually bought a cheapish electric smoker to do long holds and I'm happy with the result; after testing the smoker's teletherapy stability, I smoked a Boston butt and a brisket. I wrapped the butt in foil and held it about 4 hours and wrapped the brisket in butcher paper with smoked beef tallow and held overnight. I had some of each for dinner each day and then vacuum packed and froze to carry me thru my foot surgery recovery. I was very happy with the result for both; other than the end of the flat that was a bit overcooked (shoulda made burnt ends!), the brisket was the best I've had in my limited brisket experience. I didn't post about it here because I smoked them in my insulated gravity feed smoker instead of my KK and I forgot I posted the post you quoted here. I didn't do a hot and fast cook for these since I was limiting the variables fit the test, but I'm finally fully ambulatory this week after the surgery recovery and hope to try that soon. Got butts in the freezer but no brisket inventory. -
-
That's my kind of serving size!
-
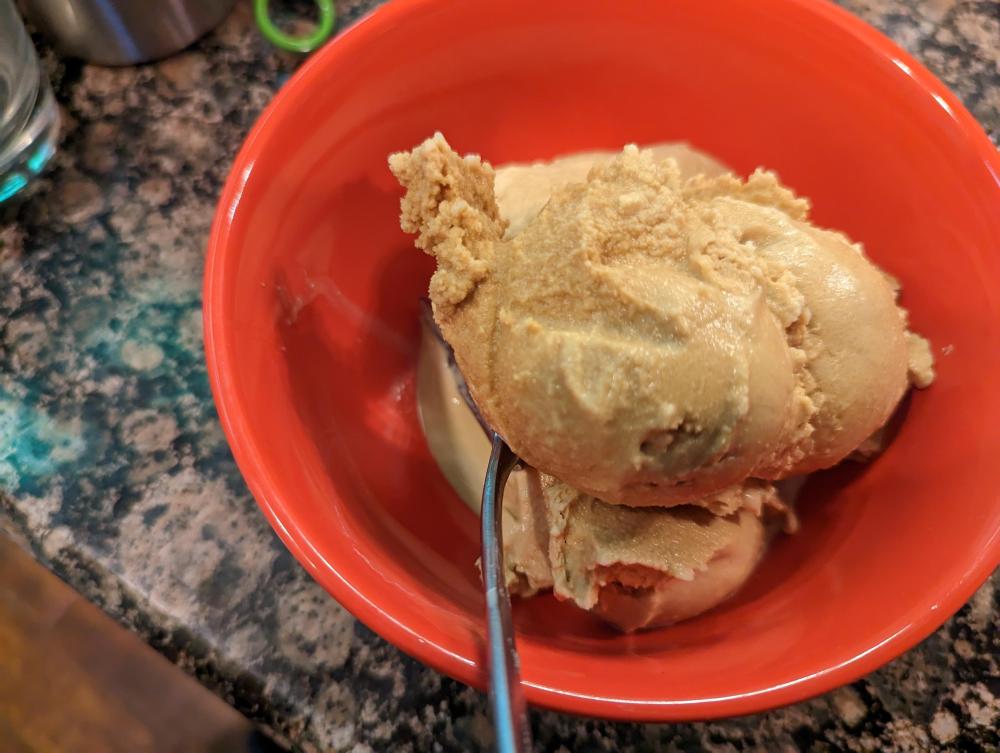
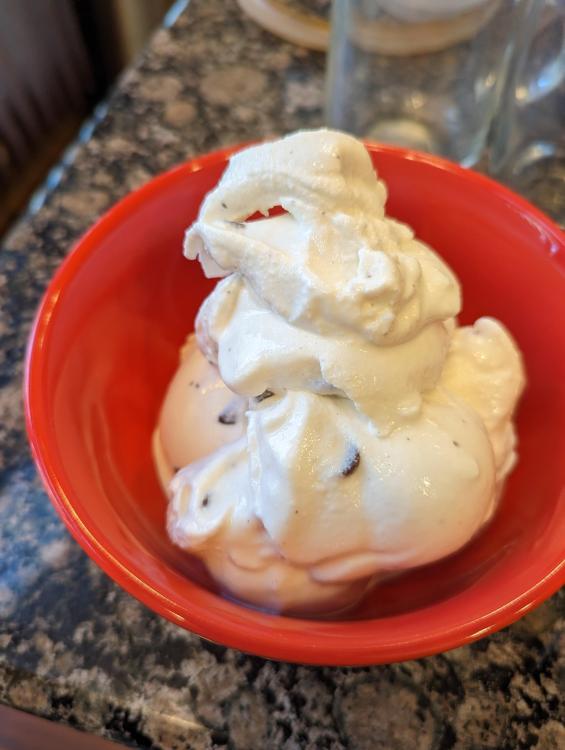
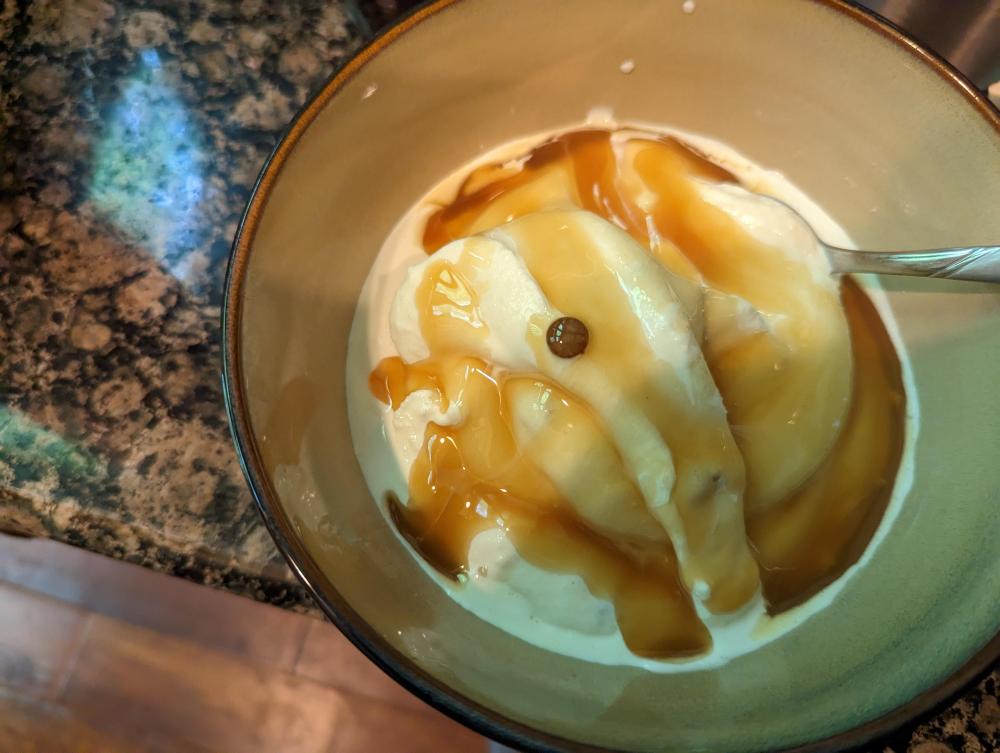
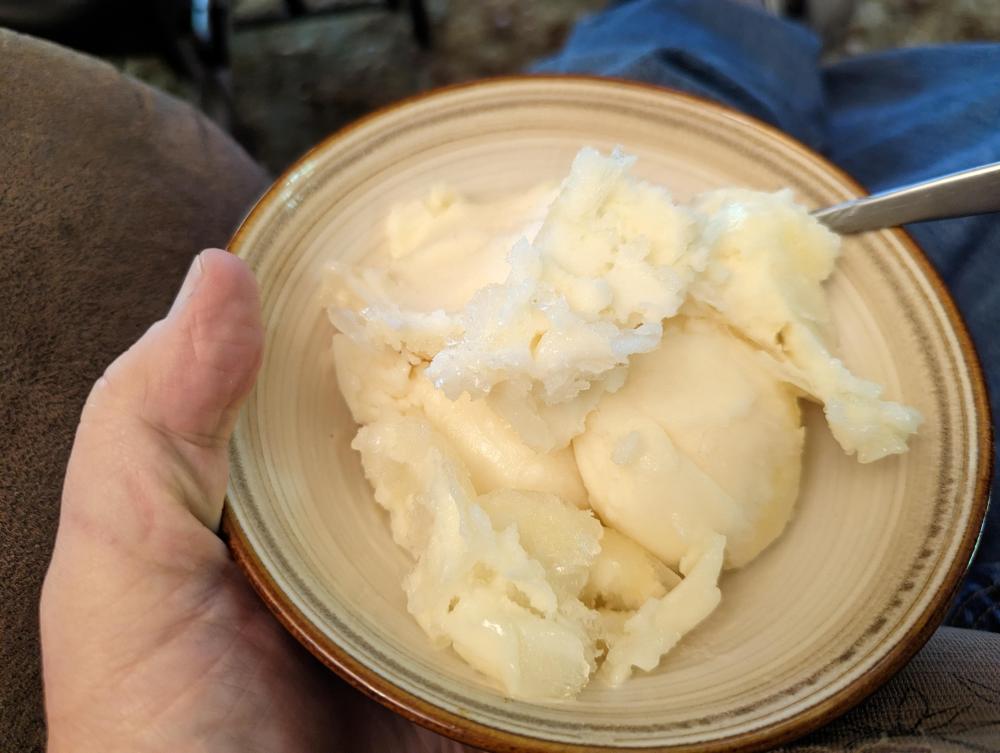
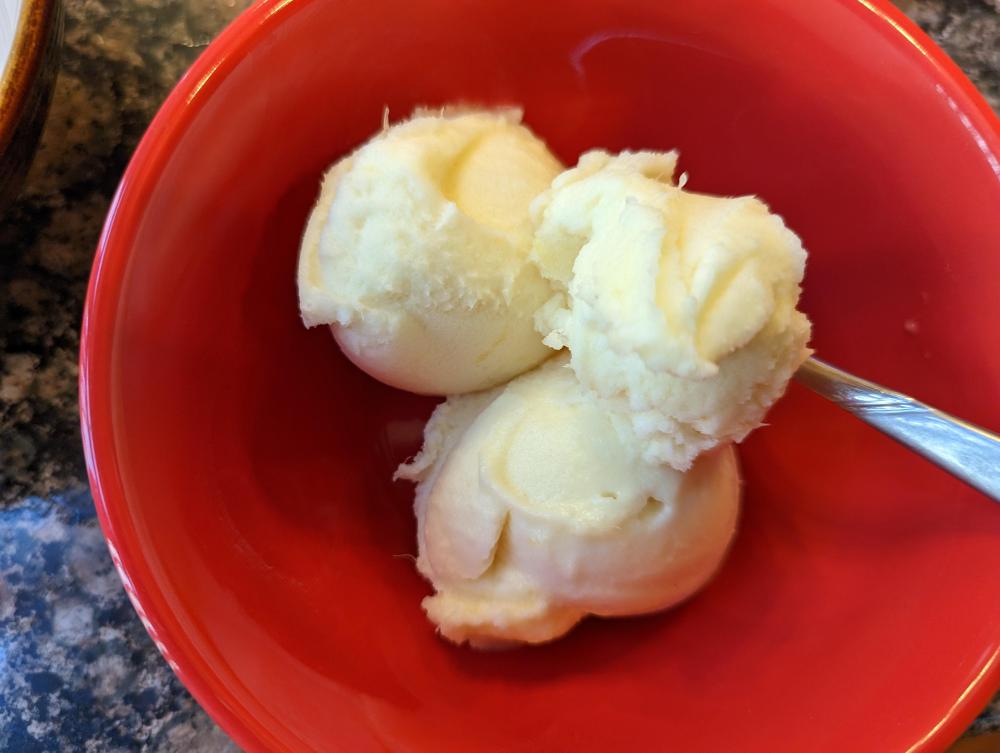
Here are some miscellaneous vanilla ice cream servings, some made with full sugar, some with monk fruit - I didn't keep good notes so I'm not sure which are which, but all were tasty! I don't think I have a picture of the best I've made to date; it was just a can of peaches in natural peach juice and a can of eagle brand sweetened condensed milk.
-
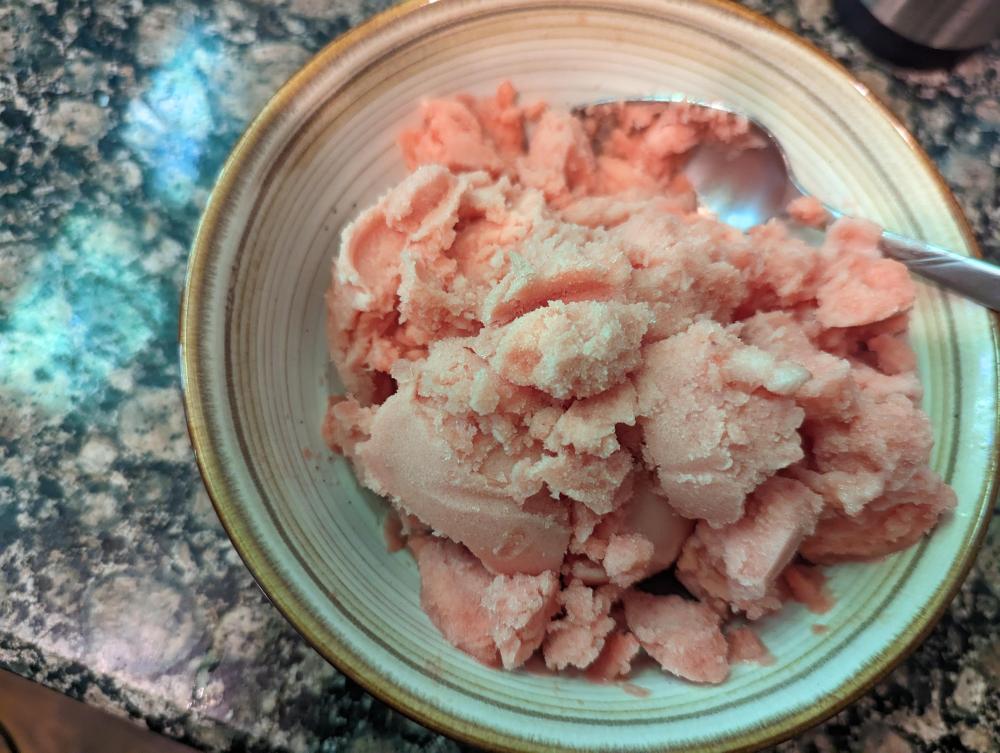
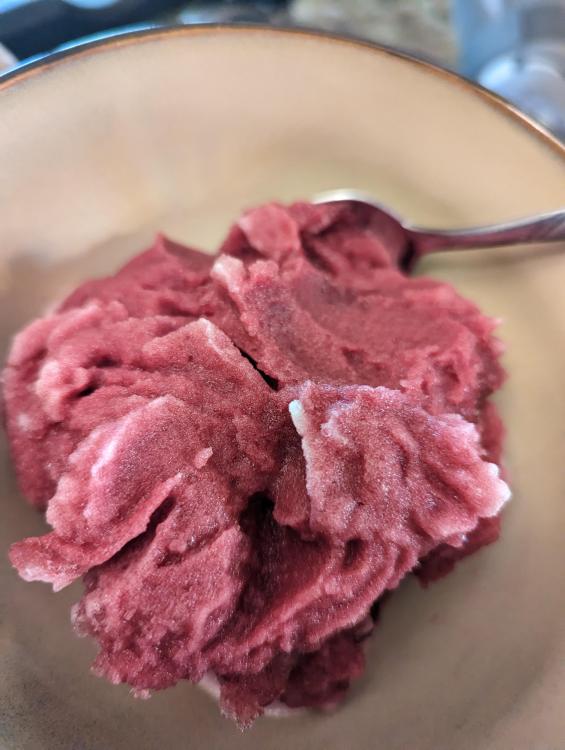
Various sorbets, most made with fruit canned in natural syrups, but the grape was made from welch's Concord grape juice and the watermelon was made from fresh watermelon.


