Leaderboard
Popular Content
Showing content with the highest reputation on 06/03/2019 in all areas
-
7 points
-
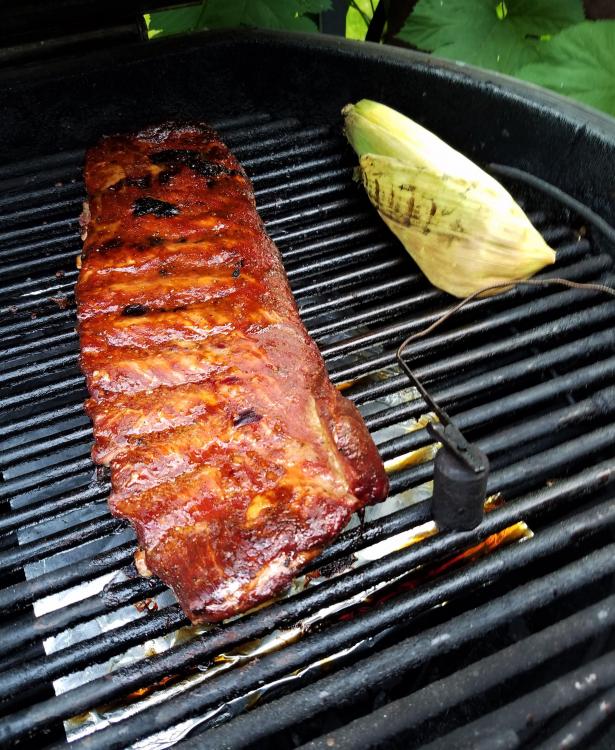
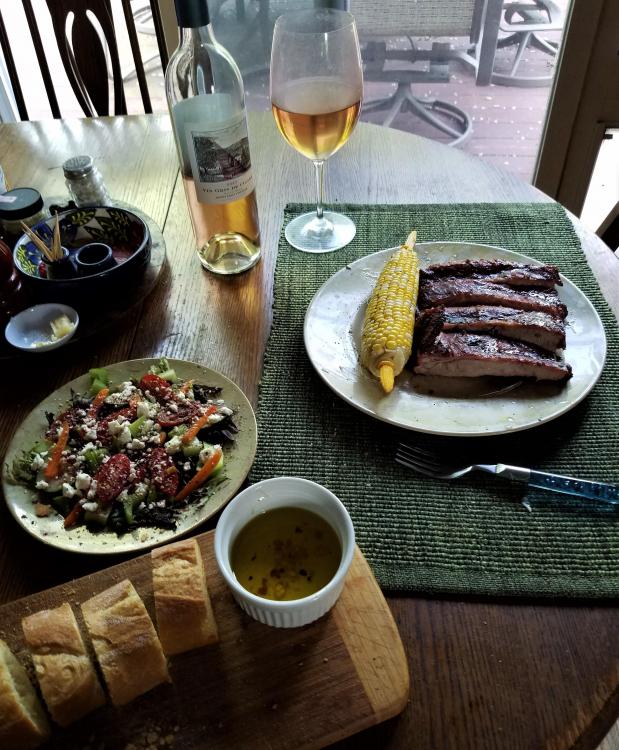
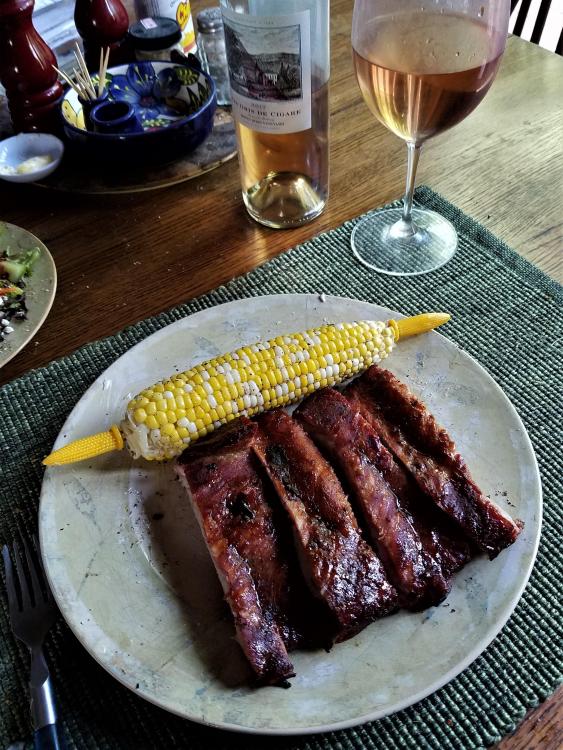
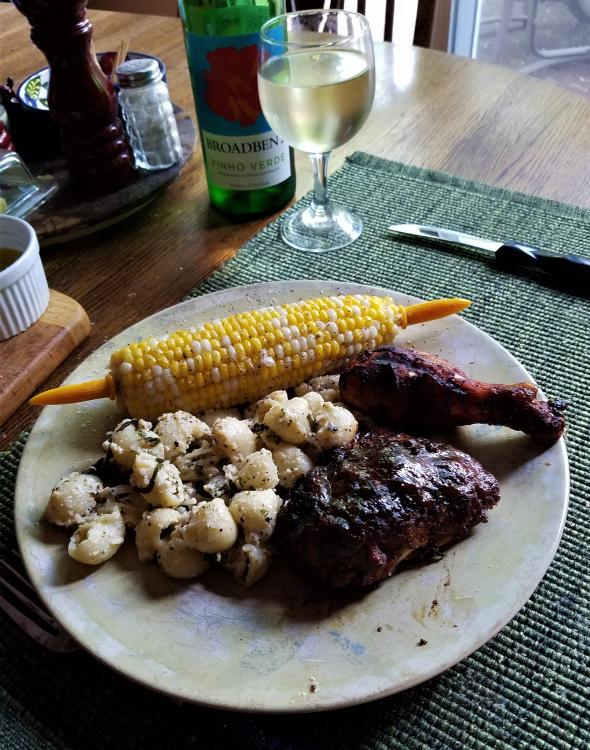
As promised, Bruce, today's rib cook. Indirect, 250F w/Guru, smoker pot with hickory and apple wood chunks. Ribs were rubbed with Sucklebuster's Baam! and Cimarron Doc's and stashed overnight in the fridge. Last 45 minutes, add the ear of corn. Sauced one end with the homemade BBQ sauce. While I've not been a big "sauce guy," this is growing on me. Plated with salad and crusty bread with a nice Rose. Corn was 24 hours older, so not quite as sweet as last night's cook, but still OK.5 points
-
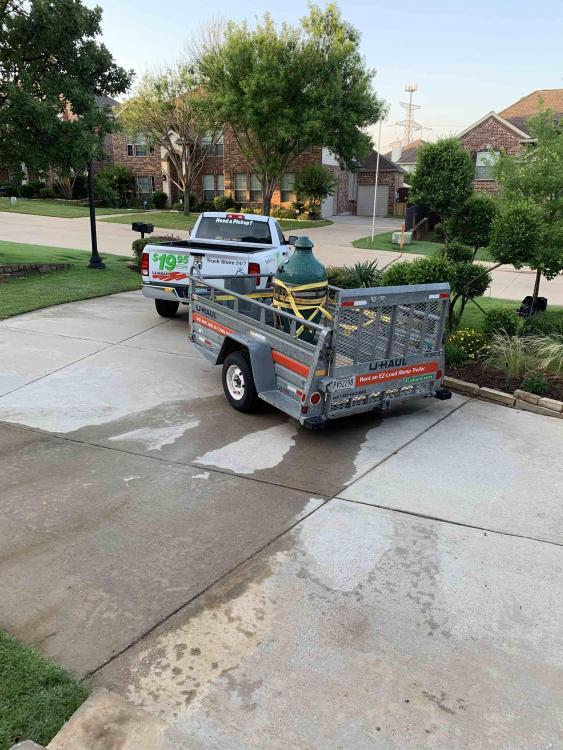
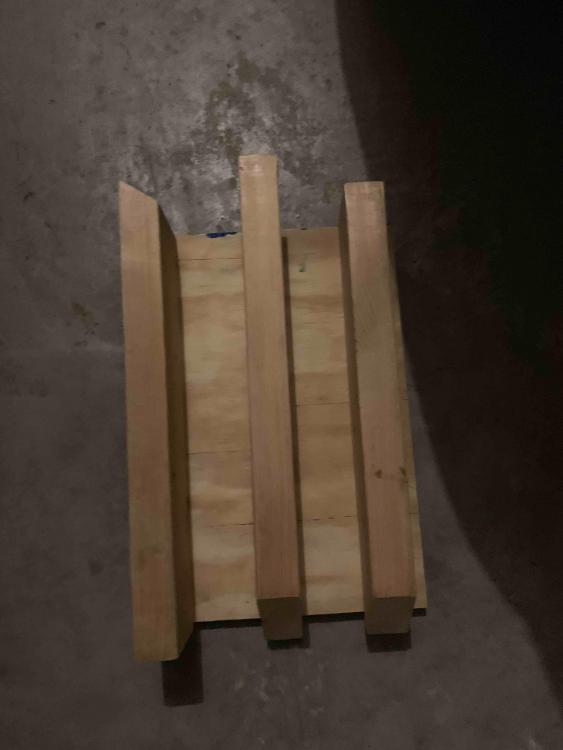
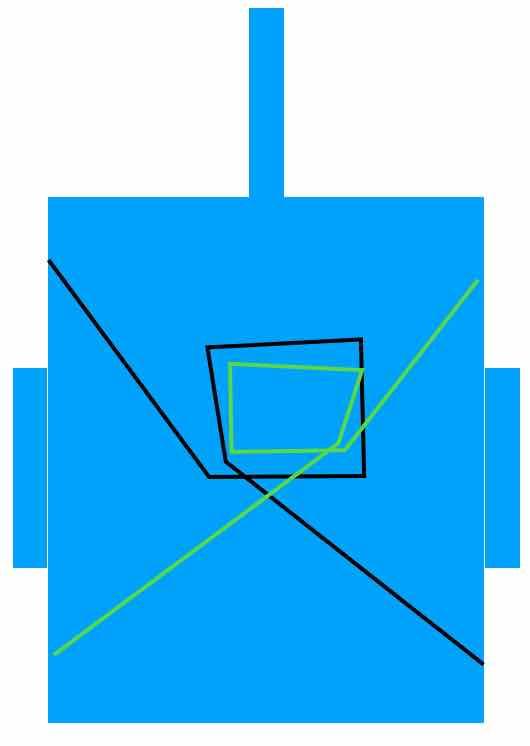
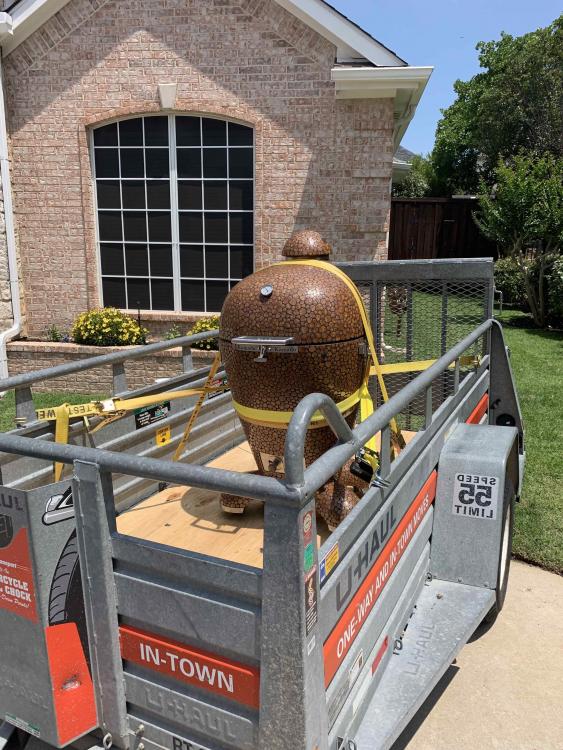
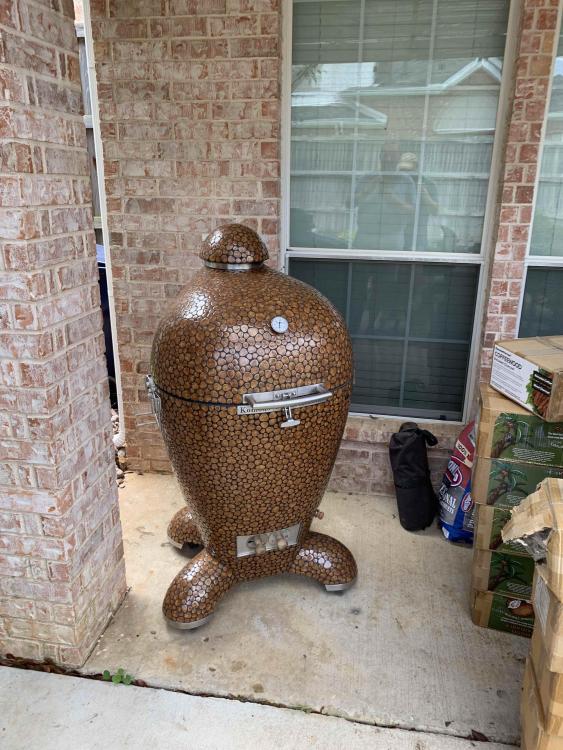
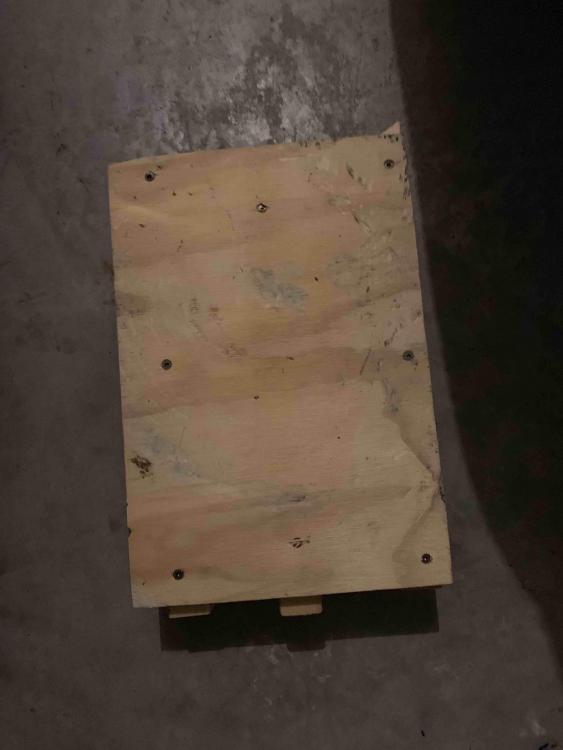
First things first, I can’t say enough good things about Geo, the gentleman I purchased my KK from. He ran me through the ins and outs of use, shared stories and overall was a pure pleasure to deal with. On top of it all he kept adding items, an unused pizza stone, the spare parts kit, the torch and hairdryer he used to light the KK. The “few” boxes of charcoal turned out to be 9 boxes of regular extruded and 9 boxes of extruded coffee charcoal. To give you an idea of his generosity, the roti motor and spit were packed away (Geo is in the middle of a move) and should be found in the next couple of weeks, Geo offered to have Dennis ship me a new motor/spit combo, rather than wait. The nice thing is I will get to visit some more with Geo when he finds the spit and we meet up. You could tell that Geo really loved his KK and was happy (hopefully) to recognize that he was sending her off to a new home where she would be much loved and well taken care of! On to the saga of the delivery: Items needed: Truck and Trailer with long ramp Two 4x8 sheets of 1/2” plywood Misc wood scrap to make stand with (more later) and Pry bar / block of wood to lift KK (slide stand under KK) 3 ratcheting tie down straps and minimum of 2 people to load/unload Adult beverages for after everything is in place. My wife was pretty adamant that she did not want two grills on the back patio, I had to agree with her, so the old K #7 was going to a friend, so out with the old: The beauty of having to move the old K #7 out was it gave me a chance to test the strapping down and what to watch out for when hauling something like this. If the K #7 got damaged, no big deal, if the KK did I would have cried like a baby! While most people get to track boats across oceans, I only got to plot the drive from my home to Geo’s, a quick 75 mile trip to Granbury Tx. I hadn’t driven out that way and it was a really pleasant and beautiful drive! When we arrived Geo got to see that backing a trailer is not one of my strong suits, he shared a quick tip on putting your hand on the bottom of the steering wheel and then moving your hand in the direction you wanted the trailer to move in. Probably everyone knows this, but first time I had heard it and it worked like a charm when I had to back the trailer into my drive way. One thing Geo had reminded me of was that when you transport a KK you want to take the weight off of the legs by putting something under it. So I built a quick stand out of some scrap lumber I had. Pretty simple, 3 2x4’s and an 11 x 16 piece of 3/4” plywood, net result is a stand that easily slid under the KK and provided a reasonably stable base for the KK to sit on. The KK has 4” of clearance, so you will need something slightly higher than that, the stand was ~ 4 1/4” tall and worked great. To lift the KK, you place a block of wood by one of the front legs and carefully put a pry bar under the leg and using the block against the pry bar, use leverage to lift the KK. Be sure you are far enough under that you don’t damage the tiles/pebbles (I hear Pebbles cook better BTW :)). When I strapped down the K #7, I was able to simply loop the ratcheting straps around the K #7 and attach fore and aft crosswise, as is obvious from the diagram below I”m no artist, but I think you can see how I strapped it down on the trailer. Black line is the first strap and the green line is the 2nd strap. The straps attached to the side of the trailer at grill height, so around the K #7, ratcheted tight and off we went. This worked beautifully on the K #7, not sure if it was that the finish was rougher so the straps had more purchase, or if the body was wider, but no slippage at all during the 20 mile ride to drop off. I think the KK is more tapered and the finish is significantly better, so of course 5 miles down the road from Geo’s, when we stopped to check, the straps had slipped a little. We adjusted them and headed down the road, a few miles later we hit some railroad tracks and the trailer hopped a little and I noticed a new wobble, so we pulled over and adjusted again. You know how they say 3rd time is a charm? They lie! Just before we got to the highway (say 25 mile from Geo’s house, 50 miles to go) we pulled over and checked and again the straps had slipped, so we had to figure out someway to hold up the straps! What we came up with was using a 3rd ratchet strap to hold up the two main straps. We attached one side to the bottom middle left tie down on the trailer and passed that over the top to the right side and down to grill height, we then looped back over the top to the left side, created a loop and then back over the top to the right tie down. We passed the two straps (shown in the diagram above) through the loops in the 3rd strap and ratcheted those down tight. On the looping one we only ratcheted it down snug, it is not intended to keep the KK from moving, only to hold up the other two straps. I didn’t want to put undue pressure on the lid of the KK, as I didn’t want to mess up the gasket, hinge or anything else. And voila, 75 miles later safe and sound at the house! \ Next we had to get it off of the stand and then off of the trailer. We were able to lean the KK off of the stand onto it’s back wheels, we then placed a couple of 2 x 4s under each front wheel and pull the stand off. Pulled the 2x4s out from under the wheels and then it was the typical moving via plywood around to the back yard and onto the patio. Luckily my side yard is pretty flat with only a slight downhill slope right to left, so it was put down a piece (be sure to overlap slightly), roll on to the next piece, rinse and repeat 8 or 9 times and just like that the KK is on the patio. One person could have rolled it across the plywood, but it was much easier with two, one to push and one to guide it. Be sure to push from the base and not from the lid or pull via the handle. It was a hot day, so once everything was unloaded off we went for some ice cold libations and a quick bite to eat where we regaled our wives with our feats of derring do! (they didn’t buy a bit of it). So lessons learned, KK folks are some of the nicest folks around, Geo in particular is a true gentleman and a pleasure to meet and work with. The KK is more stunning in person, pictures truly don’t capture the true essence of the KK. Two reasonably mobile older gents can move a KK up a ramp (on plywood) into a trailer. Secure the ratchet straps so they don’t slip down and avoid large bumps in the road! Once I clear a little more space on the patio, I will be able to put the side tables on and begin to enjoy the new KK!4 points
-
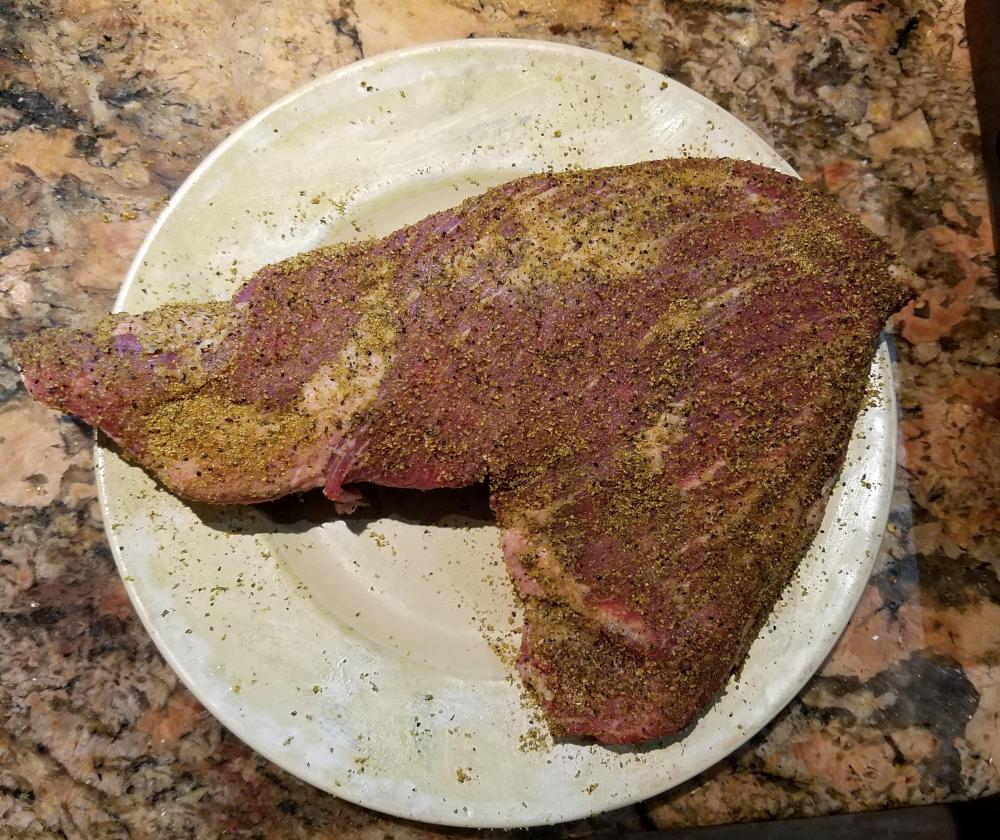
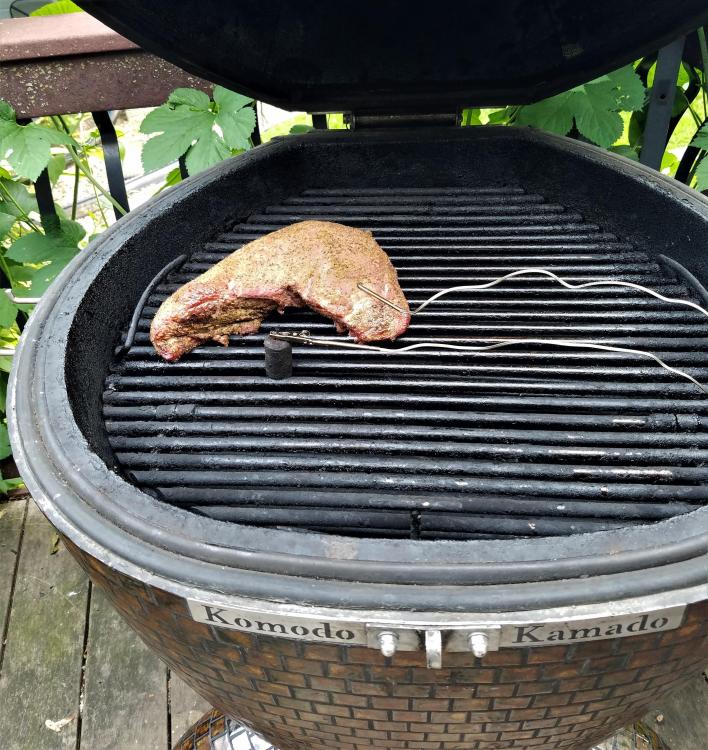
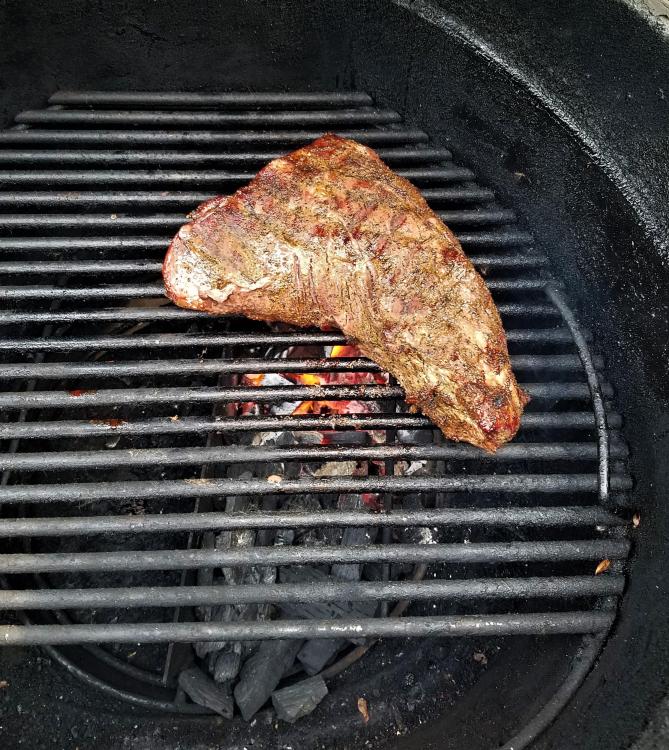
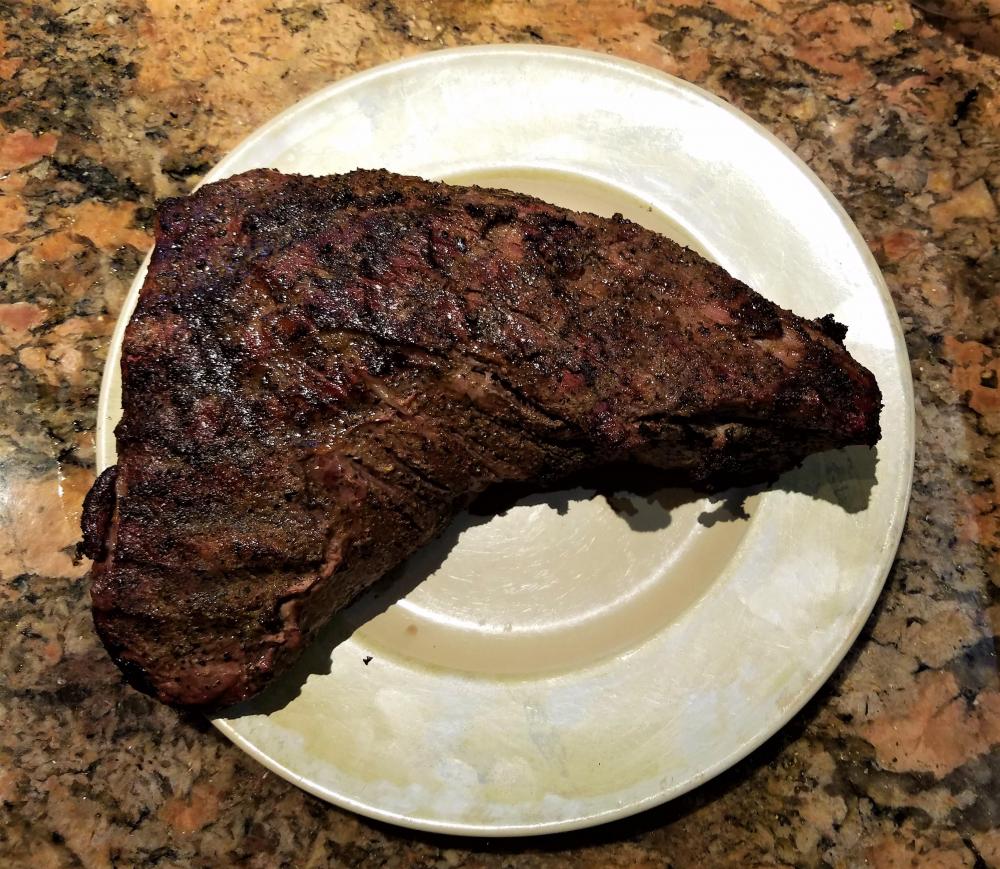
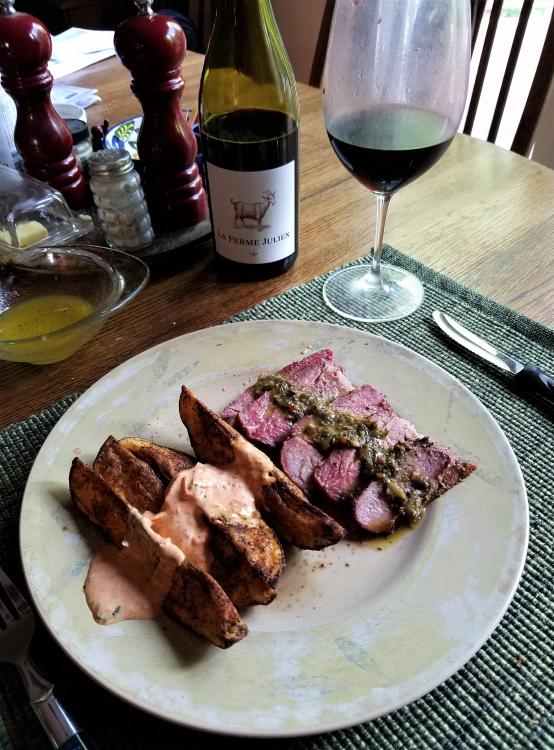
Hang on, Bruce, I just took a rack of ribs out of my freezer for smoking tomorrow. Pictures will follow - promise! Speaking of pictures - last night's cook - a nice tri-tip from Trader Joes, done Santa Maria style (Oakridge Santa Maria Rub) with chunks of post oak and mesquite woods, basket splitter, started on the indirect side @ 250F, until an IT of 125F, then onto the lower grate direct over the coals to add some more color and crust. Plated with potato wedges in the air fryer with garlic & rosemary oils, dusted with spicy seasoned salt. Had some of the yummy tomato aioli leftover from the night before, so onto the spuds it went. Had some chimichurri in the fridge, as well, so it went on the meat - guess I was feeling "saucy!" Finished off with a nice red wine. Bon Appetit!4 points
-
Got some wings on the go looking good. .bit of a rest..Gave them some baby rays.. Sent from my SM-T835 using Tapatalk3 points
-
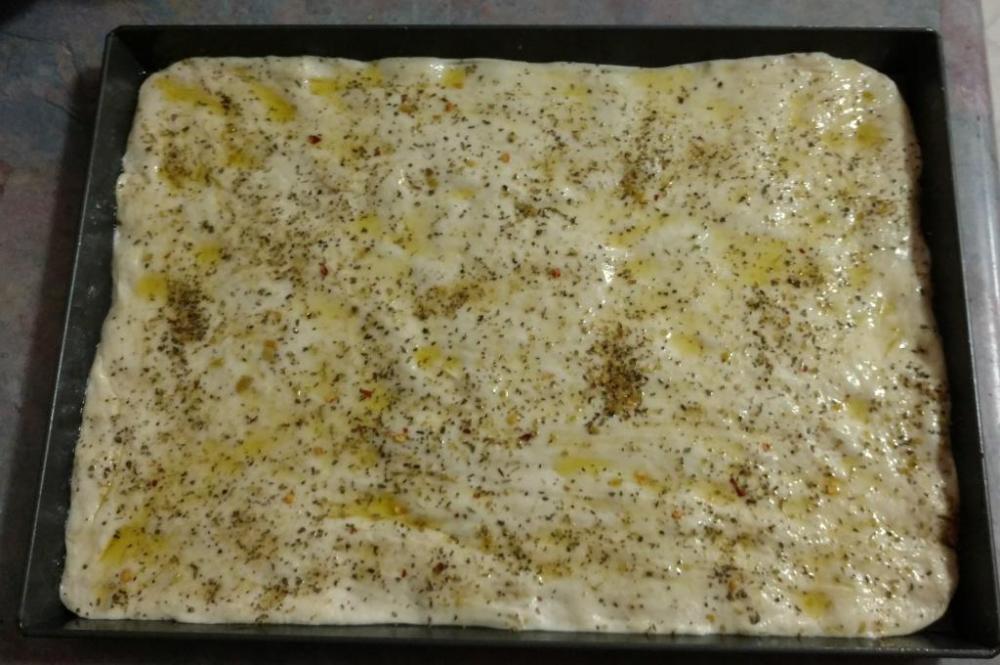
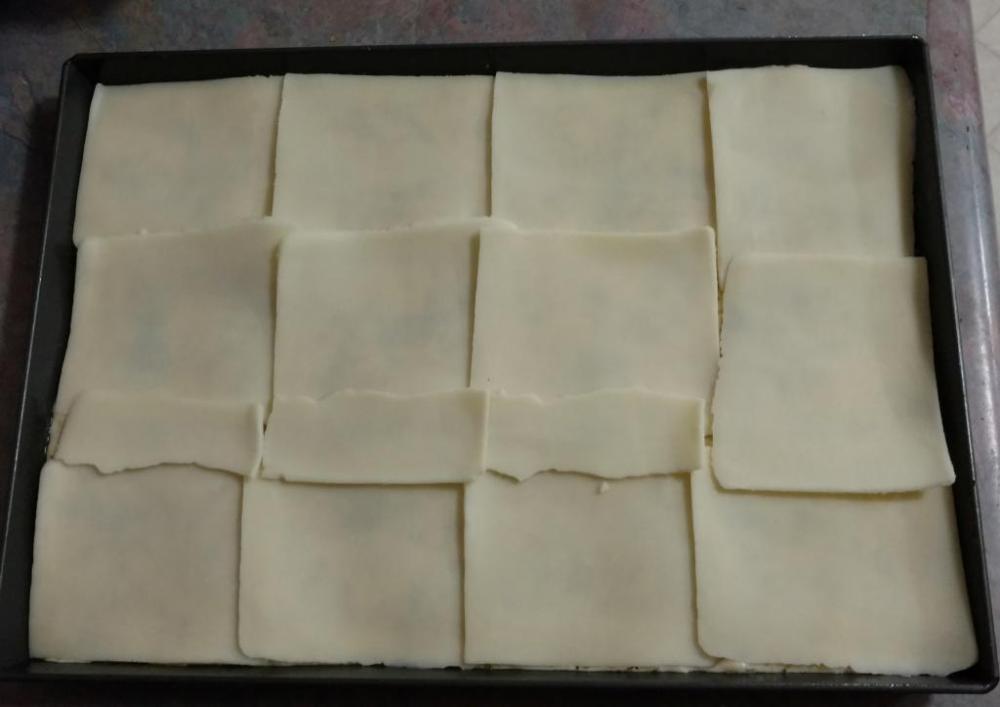
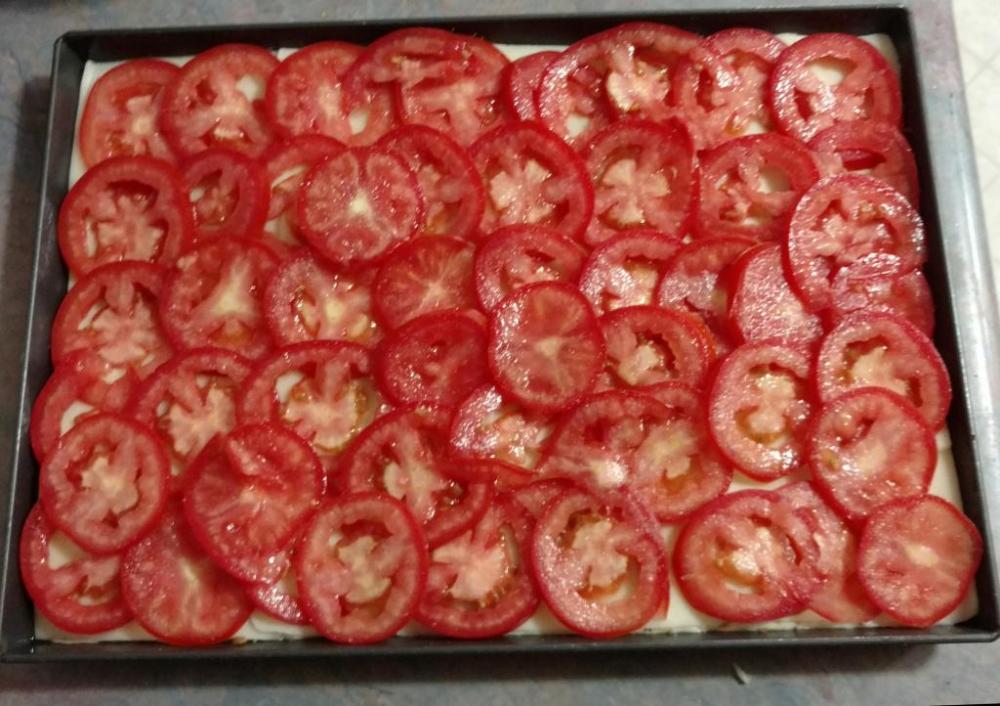
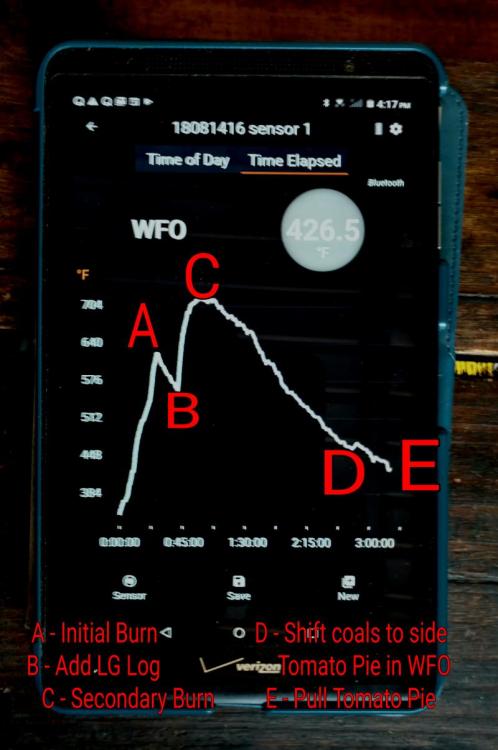
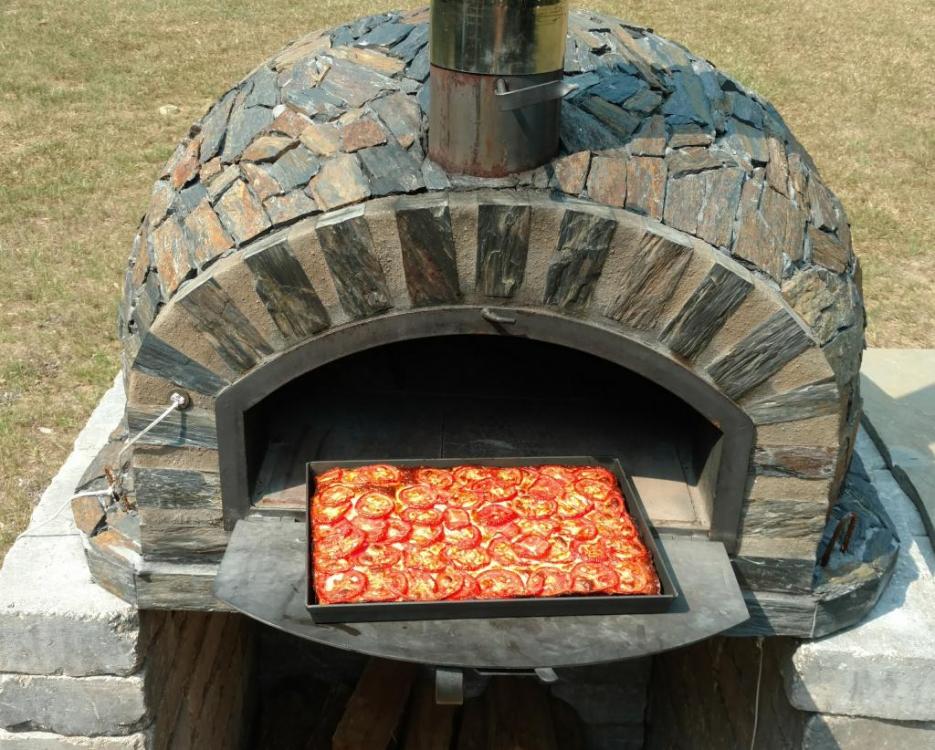
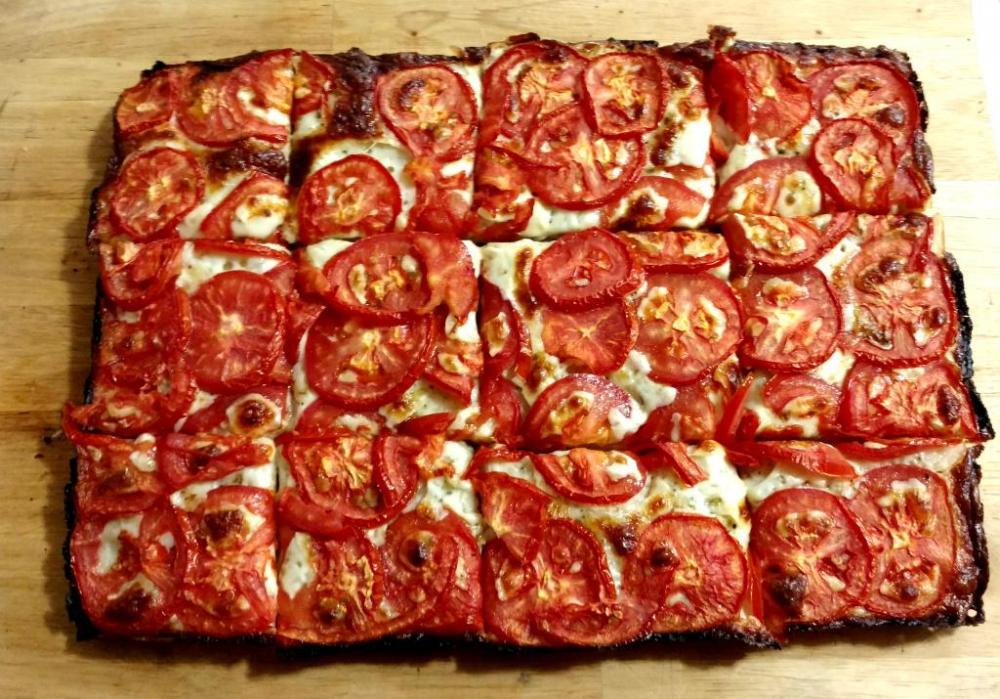
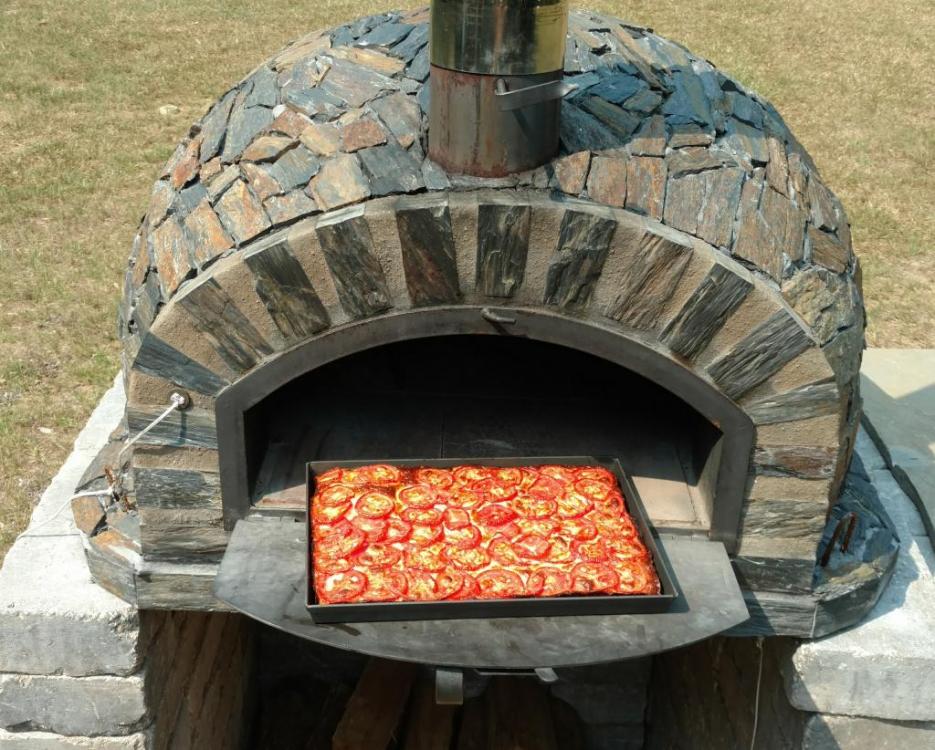
My latest version of a tomato pie cooked in the Wood Fired Oven. I started with a King Arthur Detroit Pizza dough. Stretched it into a Lloyd's Grandma pan. Brushed with olive oil and sprinkled with King Arthur Pizza seasoning. Add a layer of sliced mozzarella. A layer of sliced Roma tomatoes. A little salt and sugar then into the Wood Fired Oven. Here is the graph from this cook. The little downward bleep between D and E is when I rotated the pie. Coming out of the Wood Fired Oven. Let rest a few minutes then slice and serve. Not a bad first attempt for my newest idea. Will definitely do this again.3 points
-
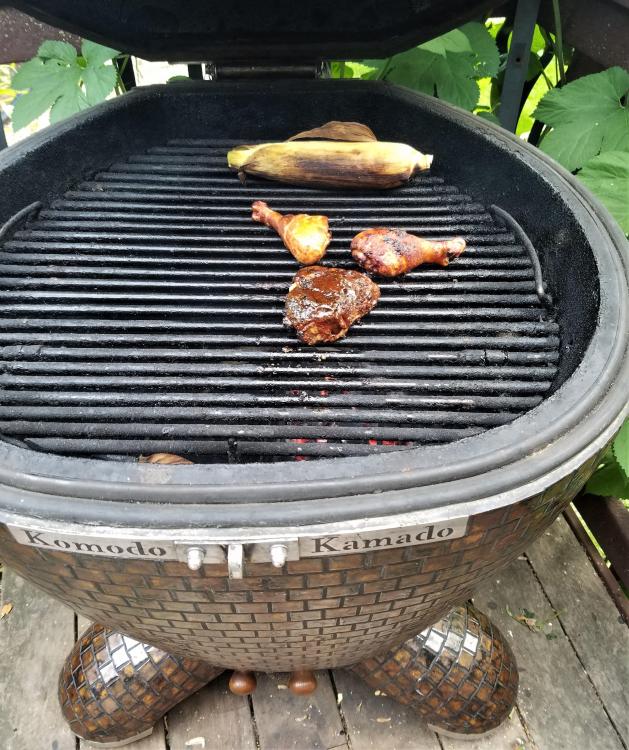
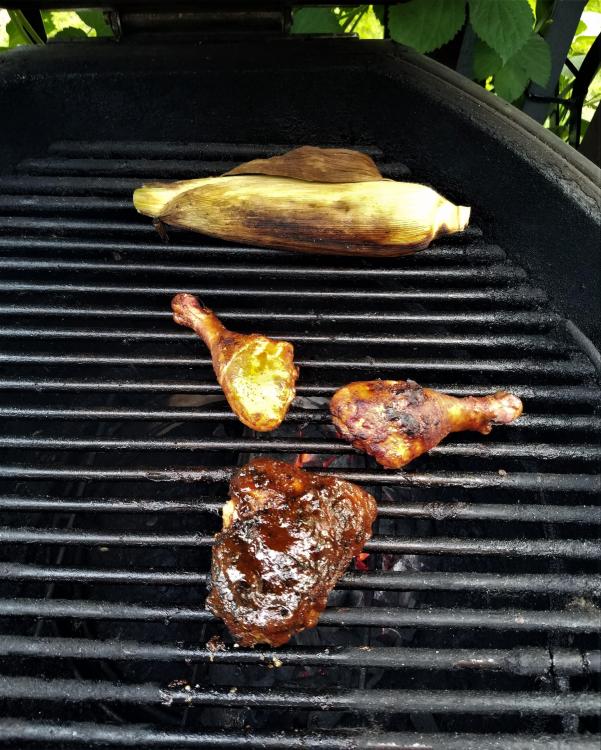
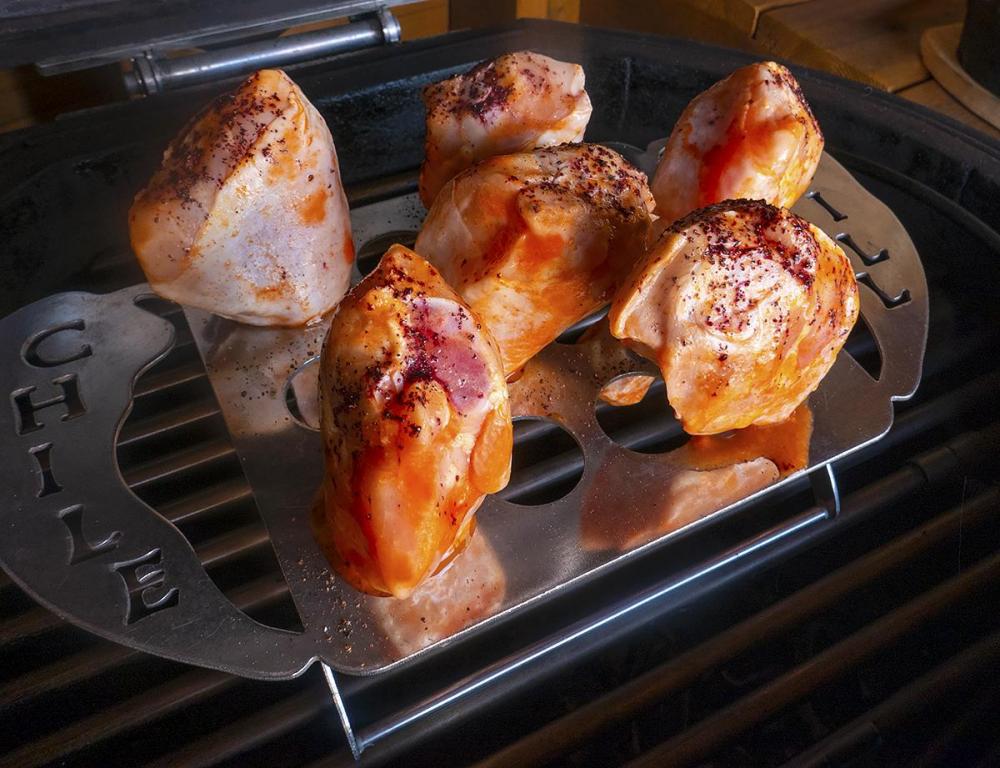
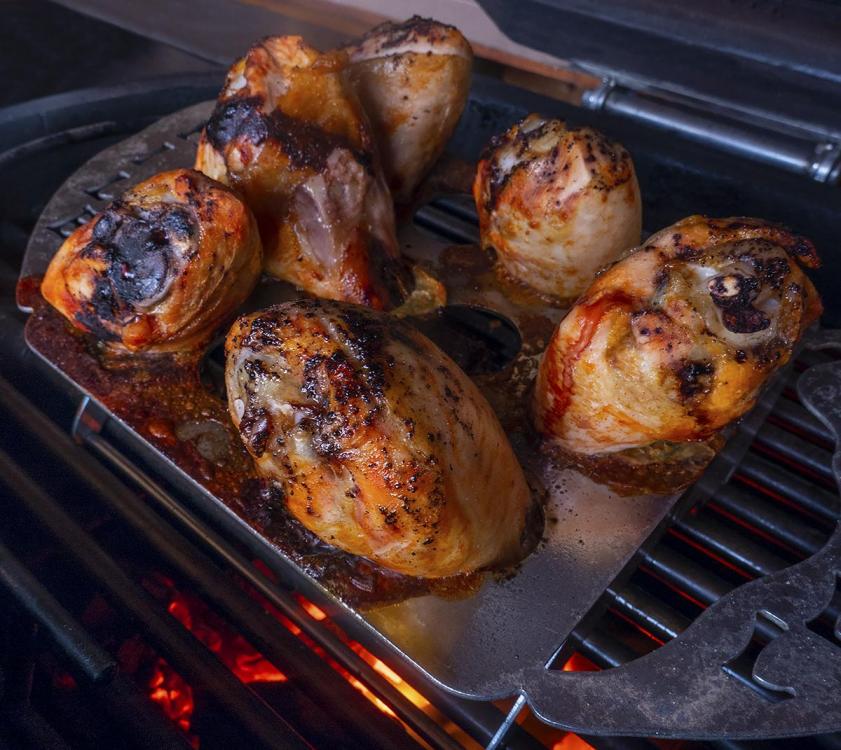
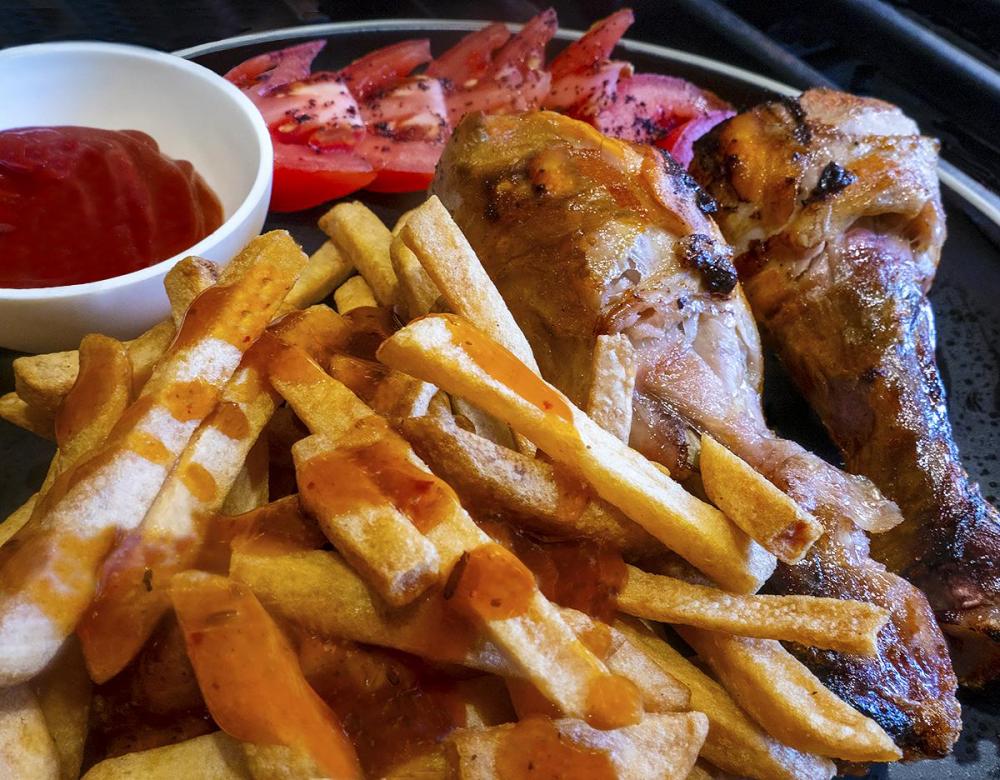
Thanks for the tip, MacKenzie - I'd never thought of using my chile rack for chicken legs either. Too bad that I didn't see your post in time for last night's cook! Chicken legs marinated and injected with Uncle Dougies, the thigh was rubbed with baking powder and salt and put into the fridge for several hours, then rubbed with Slap Yo Daddy rub, and finished with a homemade BBQ sauce. Cooked direct @ 350F with cherry wood chunks. Plated with some nice pasta in fresh basil and butter sauce, heavy black pepper and Pecorino Romano. And Yes, MacKenzie, I'm having a lot of fun cooking this weekend! Our weather has finally turned the corner after all that rain and storms.3 points
-
Here you go Bruce. Looking good...carved.. And plated .. Sent from my SM-T835 using Tapatalk3 points
-
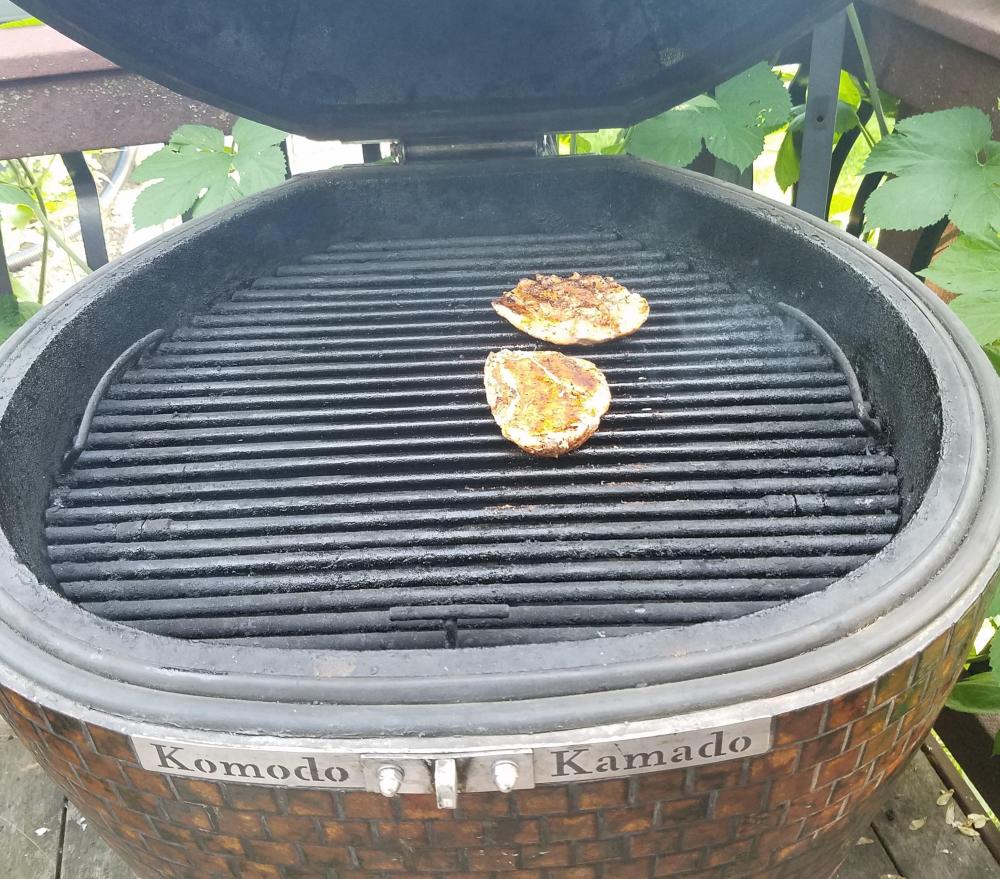
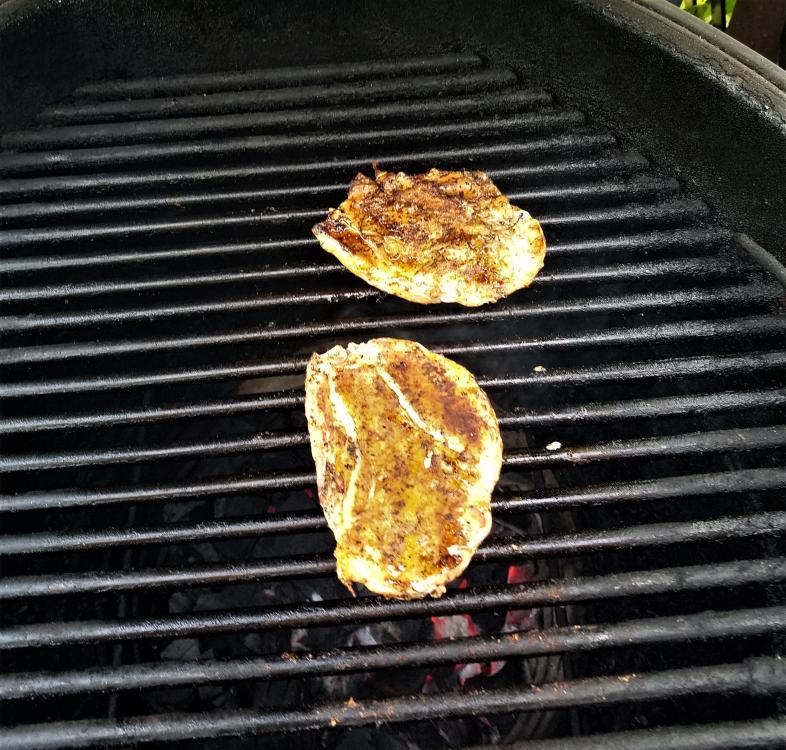
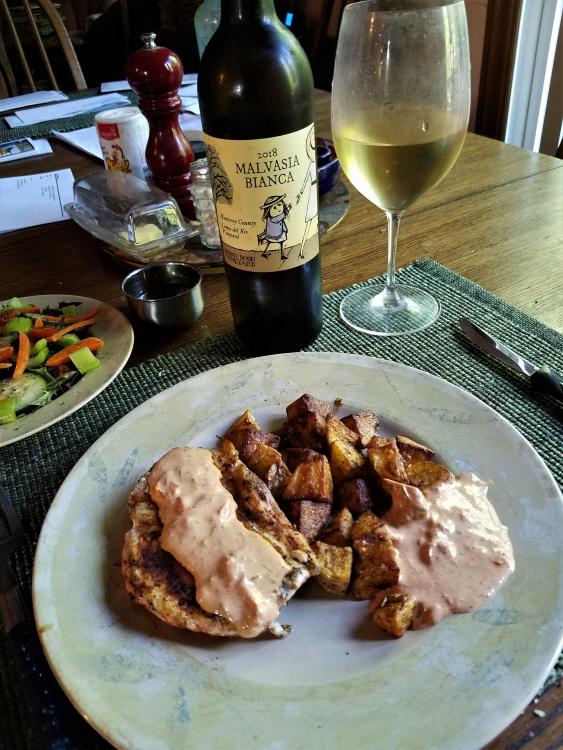
To celebrate booking my plane tickets to Barcelona this September, I made a nice Spanish dinner of chicken breast rubbed with Piment d’Espelette and a side of patatas bravas (roasted potatoes) with a charred tomato aioli. Unfortunately, I didn't have any Spanish white wine in the rack, so I improvised - LOL! Direct @ 350F with cherry wood chunk. Plated with a nice side salad with a Sherry vinaigrette. Oh, the potatoes were done in the air fryer with garlic oil and more Piment d’Espelette.3 points
-
2 points
-
2 points
-
Sorry I'm a little late to the conversation but, I have been laying a floor down in the stick burner house/pavilion for the past few days. Keeps the rain off my head, and the rain off the Lang 48 when doing a cook, and you know how that can be. Staying up all night is not a consideration for me anymore either, never was really, however, a long cook during the day or getting up early to do so ain't so bad. If I'm doing a brisket on the Lang I can get the time down to 7-8 hours, a 14-15 lb brisket running around 275 with a nice clean smoke, 2sticks/45min starting with a small charcoal base. Easy to clean later, steam cleans itself as you hose it down and you brush it to knock off any remainder, then it empties out the drain valve into a bucket. I like it,.... like it now more than ever with a floor and a roof over my head. Having a stick burner is a plus, having a 23 KK is a convenience. Now, I don't have the Guru set up because when cooking I'm generally around the yard. If I leave for 2-3 hrs and the KK is purring along I don't feel the need to hurry back, that's how well it's engineered and when I return it's generally where I left it. I like a little work with a stick burner, you feel like your doing something, it's primal and part of the big plan. And on the opposite side of the coin is the relax side and here the KK shines. The people here LOVE their KK's and especially all the add ons they buy and research that make it hands free to run,.. almost. If you haven't noticed, cooking is just about a science here. It's a cooking tool of the 21st century, you won't regret making the choice because you'll know exactly what I mean when you see it as you open the crate. As long as you care for it, it will last longer than any ceramic cooker out there, and it looks so damn nice. I'd say it's like comparing a newer Porche to 68 GTO, the Porche is hands down the better car but, something about that Goat wants you to come back and give it one more ride. Were all moving forward, keep them both, you won't be looking back.2 points
-
2 points
-
Bourbon maple bacon ready to go can't wait... I'm letting the skin dry out in the fridge the purple crack is doing it's magic.. Sent from my SM-T835 using Tapatalk2 points
-
2 points
-
2 points
-
2 points
-
Dear All I thought I'd share a story with my KKC, that's Komodo Kamado Conspirators as I now know you all. 😎 You may have seen a recent post where I said I was planning an outdoor kitchen. I was thinking of selling my 19" to make way for a 23". I know, I was foolish. It was blasphemous. Having spent some time on the forum and listening to the advice of all here, I have arrived at the following conclusions: 1. It would be a bad idea to part with the 19". 2. I need a 32BB. 3. Getting your wife drunk is apparently a proven strategy for gaining agreement to get a larger size KK. So, I've put the order in to Dennis and we're just sorting out paperwork. Can't wait. I can't comment on 3. 😮 Thanks to everyone for the advice and answering my questions. Unboxing video and the arrival fanfare will of course be shared. Alex1 point
-
1 point
-
I got my 21 KK today!!!! I’m unpacking it now and I will post pics soon. But I’m a little confused there’s no ash door like the 23?? Is this correct???1 point
-
1 point
-
Awesome cooks everyone ,tony I like how you injected the drum sticks Sent from my SM-T835 using Tapatalk1 point
-
1 point
-
Hope the new addition does you well, it sure looks nice. Enjoyed your adventure through the badlands of Texas and meeting up with Geo,,hats off to ya Geo for being so generous. Oh by the way, the pebble thing is a misconception but, for the time being will let you run with that, you know, since it's your first day and all. That you'll have to prove with evidence...pictures of fantastic cooks will do1 point
-
Dinner is looking tasty, Tony and you are making me smile with the thoughts of what's in-store for me.1 point
-
A man after my own heart! I hope to replicate this plated photo later today!1 point
-
1 point
-
1 point
-
Scored some nice meaty ribs gave them a mix on they go over black cherry .... Sent from my SM-T835 using Tapatalk1 point
-
Indeed. Barcelona is one of my bucket list destinations. The food is supposed to be the best in the world. I'm also planning a side trip to Morocco - another bucket list spot. I can't wait to walk around the spice markets in Casablanca and Marrakesh.1 point
-
The biggest problem with my new KK is my wife want me to cook every night. Love it1 point
-
1 point
-
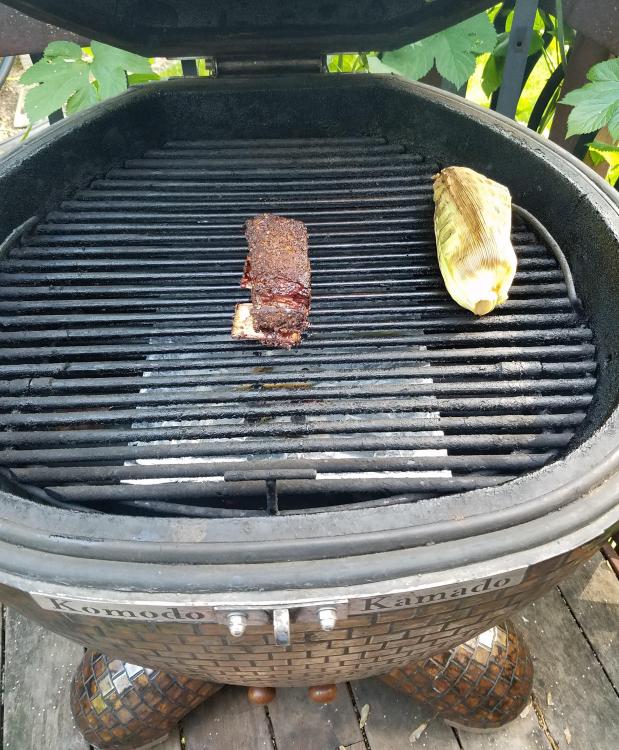
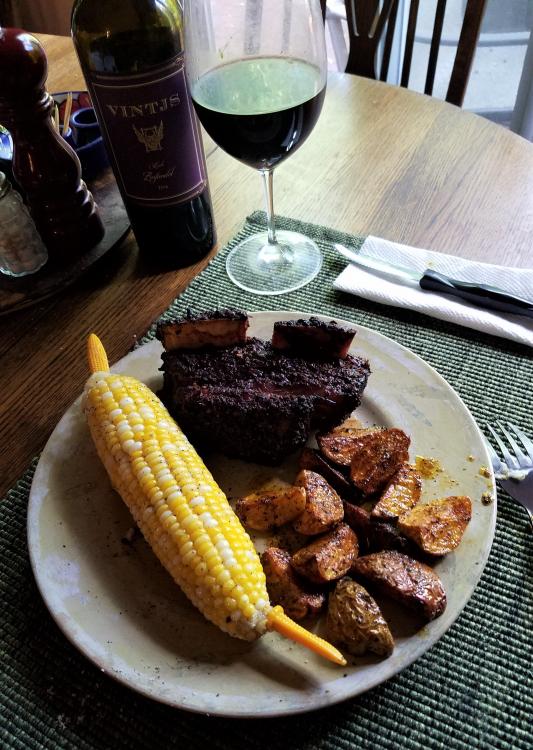
Inspired by all those glorious beef rib cooks by Aussie, I decided to give it a go today as my Memorial Day BBQ. Marinated in Korean BBQ Rib Sauce, then dusted with Dizzy Pig Raising the Steaks. On the KK, indirect @ 250F with the smoker pot of mesquite & post oak chunks and a cup full of mixed fruit wood pellets (apple, cherry & peach). The last 45 minutes, tossed on an ear of corn. Plated with some air-fryer spuds and a nice fruity Zin. The corn was surprisingly good for this early in the season. Obviously not local - I won't see any of that until after the 4th of July!1 point
-
Roll out the dough, spray with olive oil, put it on the pizza stone for about 5-7 minute bring in. Put all the goodies on then cook for another 5-7 minutes. Much easier to handle this way.1 point
-
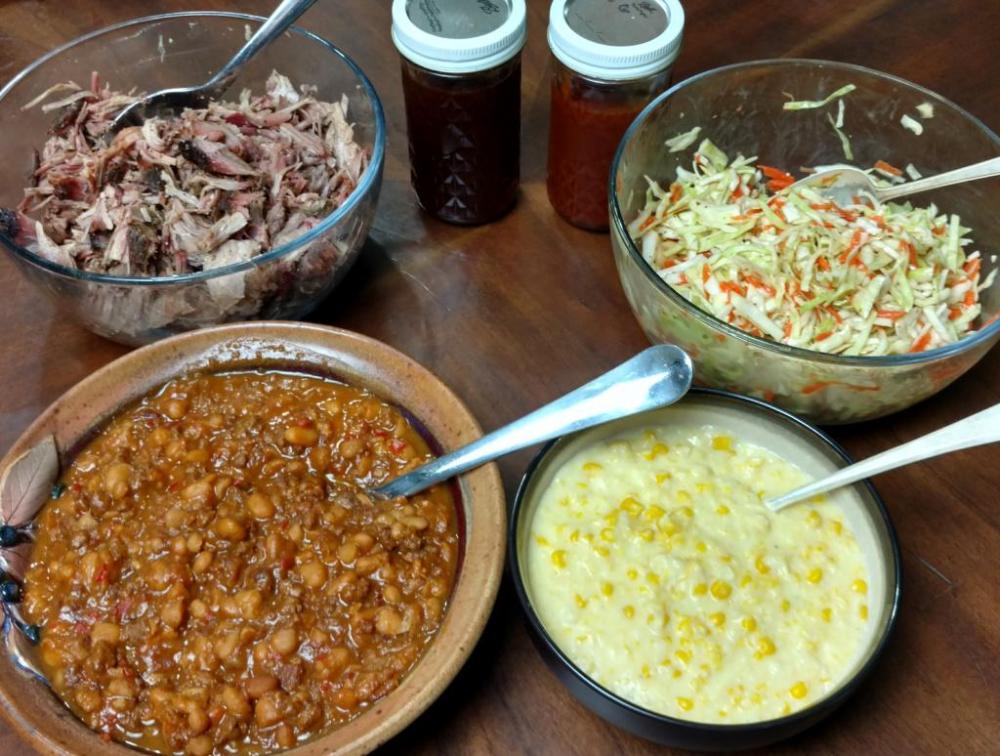
We had our Memorial Day cook today. Everything pictured is homemade. Pulled pork from last night's controller screw up. Came out pretty good considering. Cowboy style baked beans. Cream corn - awesome and easy recipe. Vinegar based summer Cole Slaw. Mrs skreef's sweet girlie sauce. Vinegar based sauce. 1 point
-
1 point
-
1 point
-
1 point
-
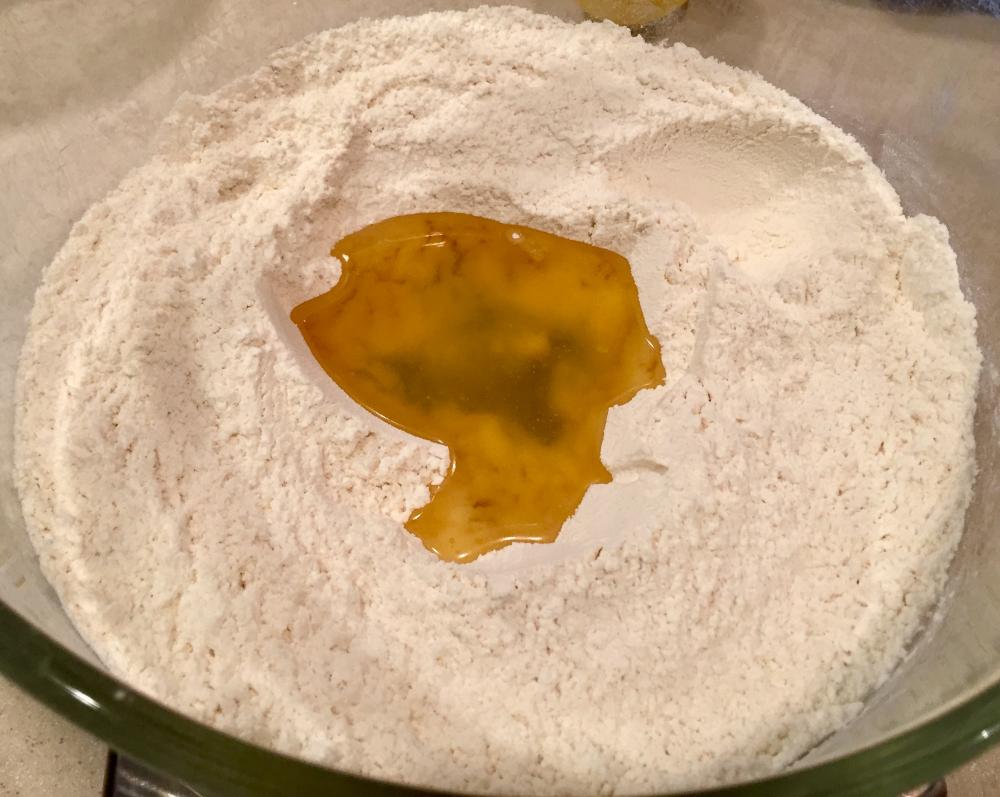
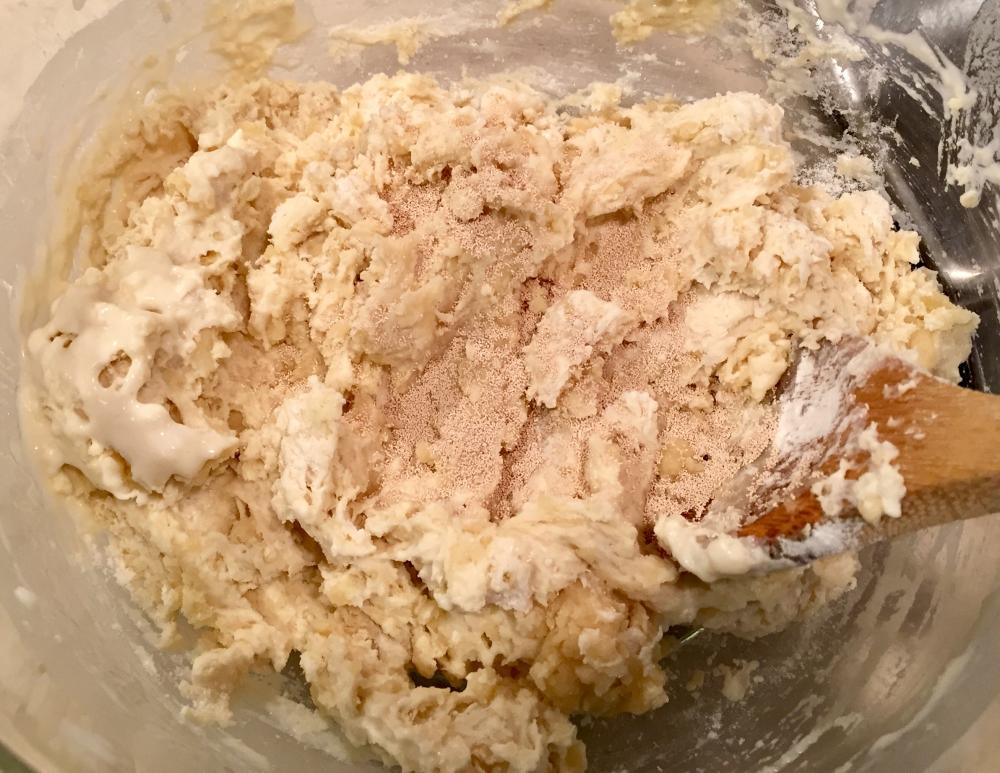
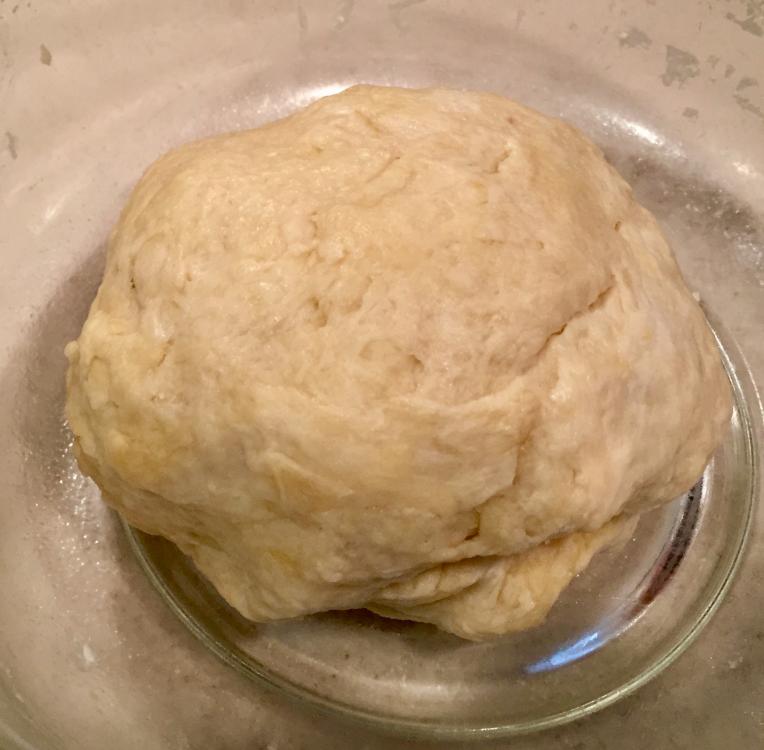
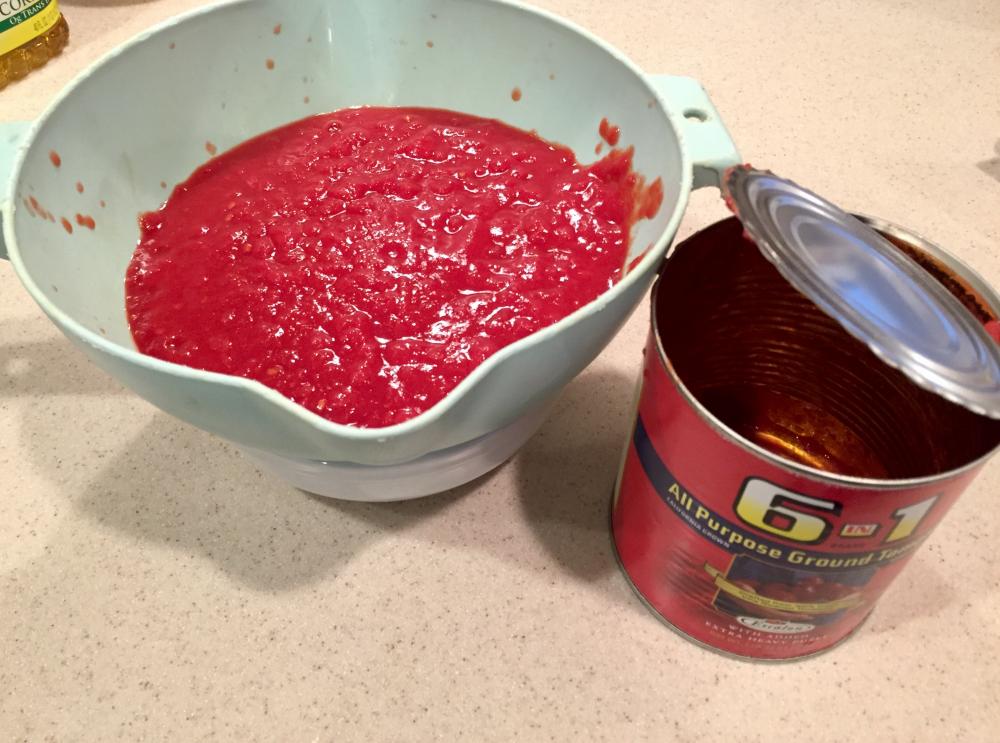
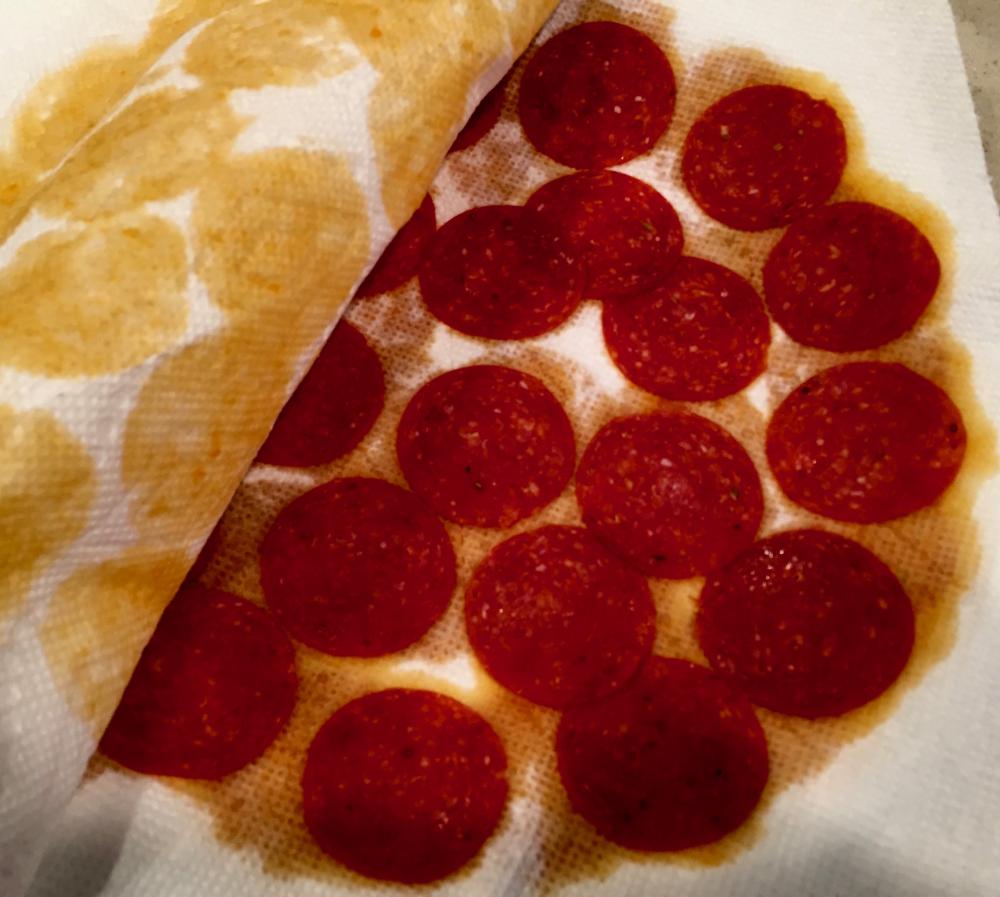
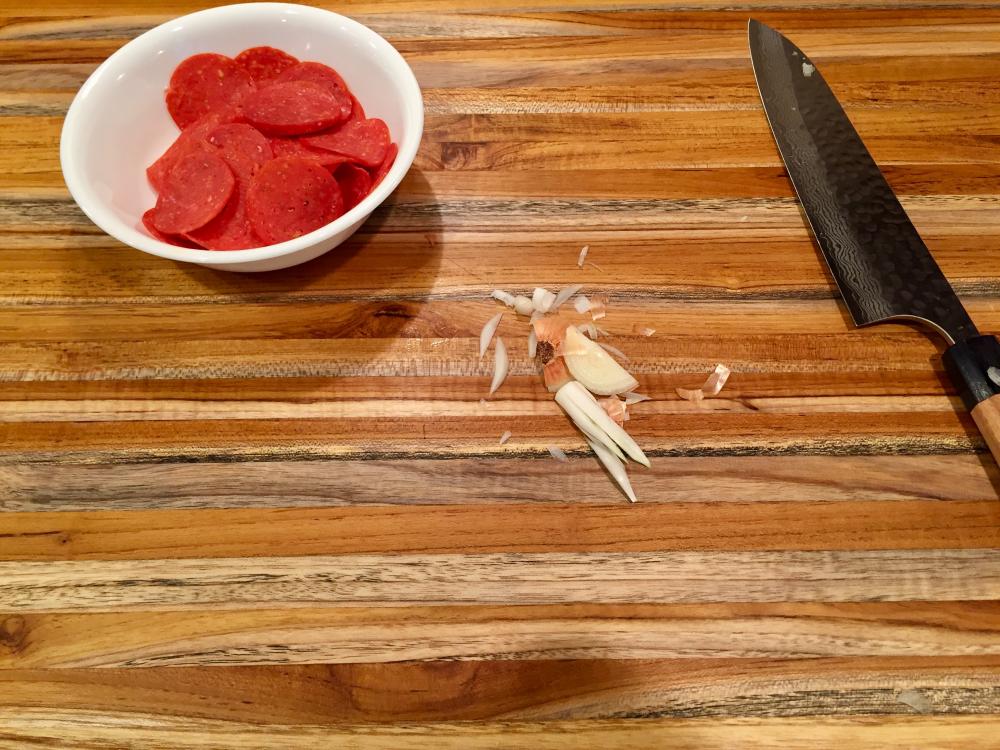
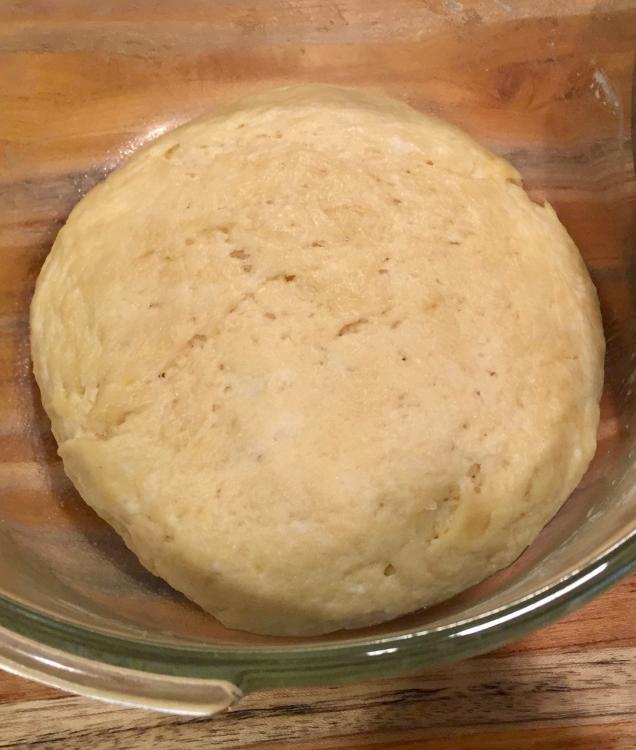
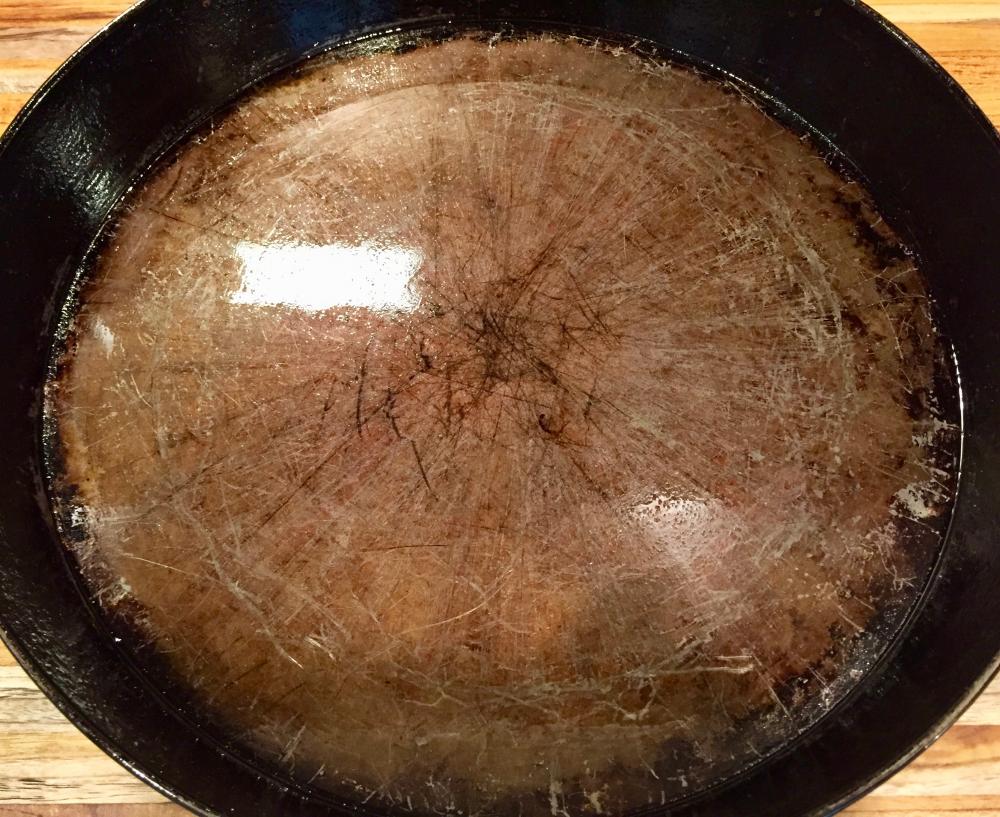
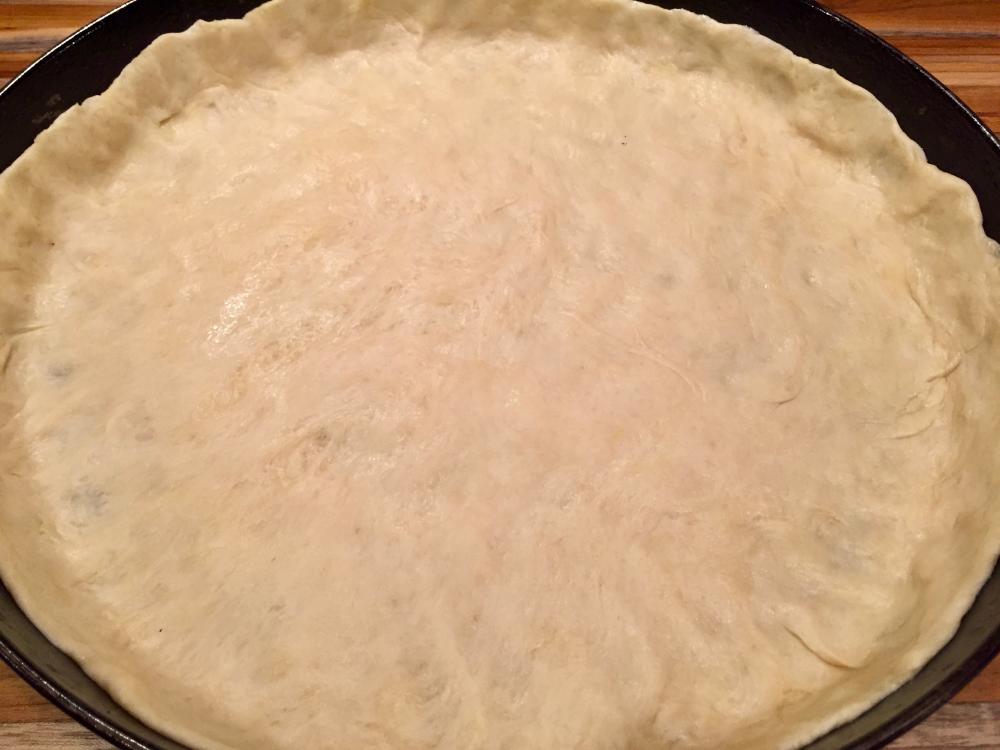
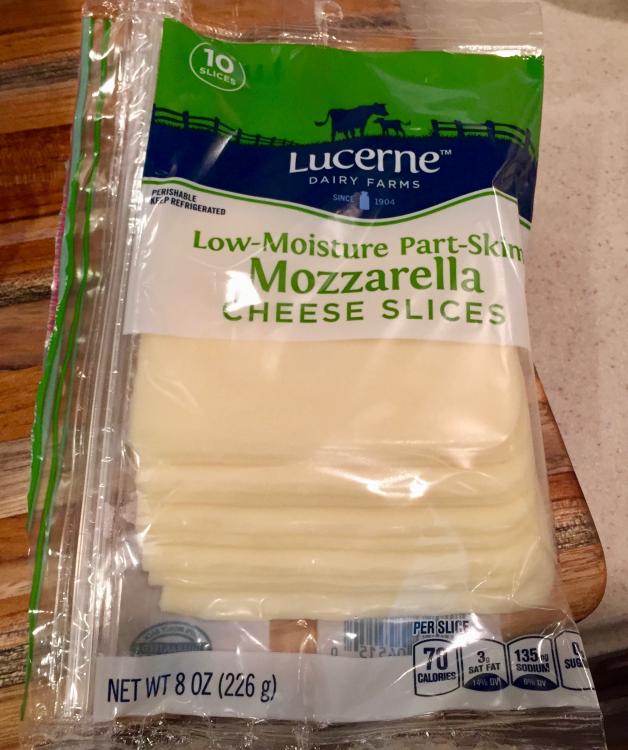
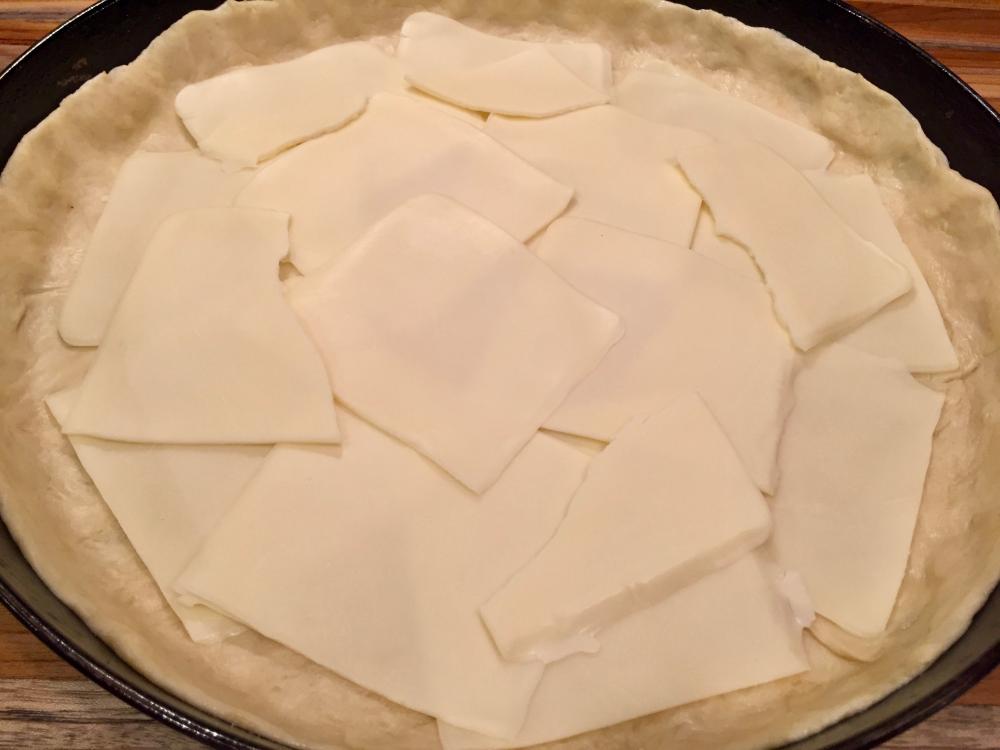
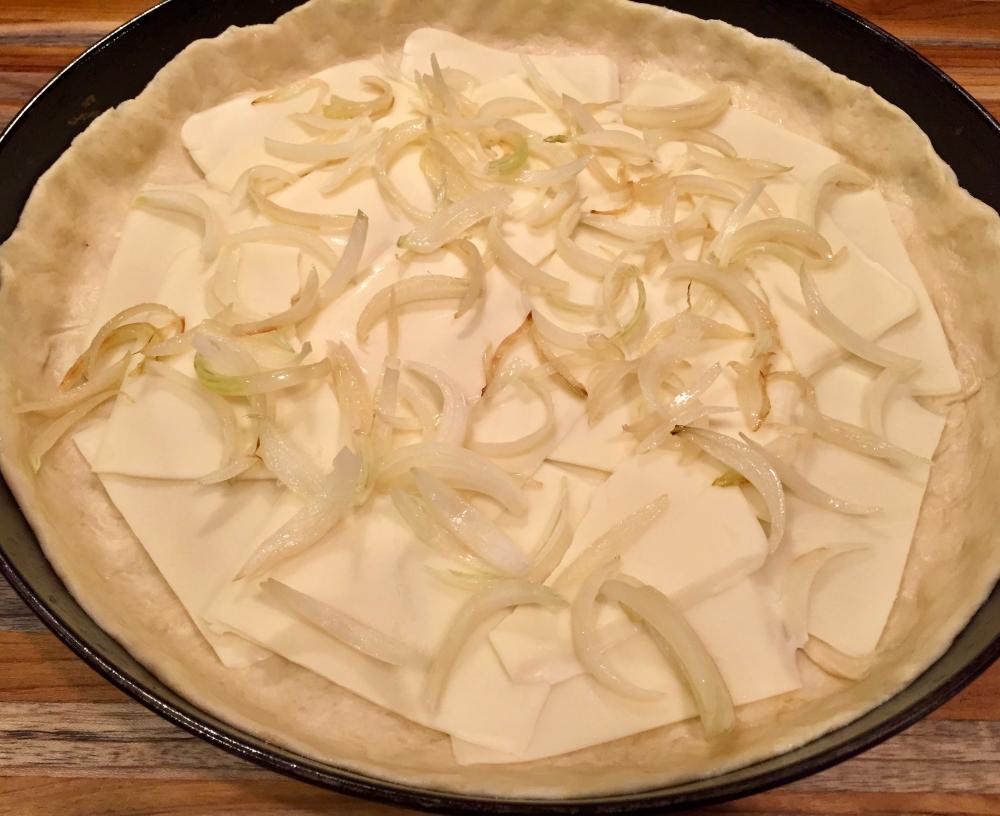
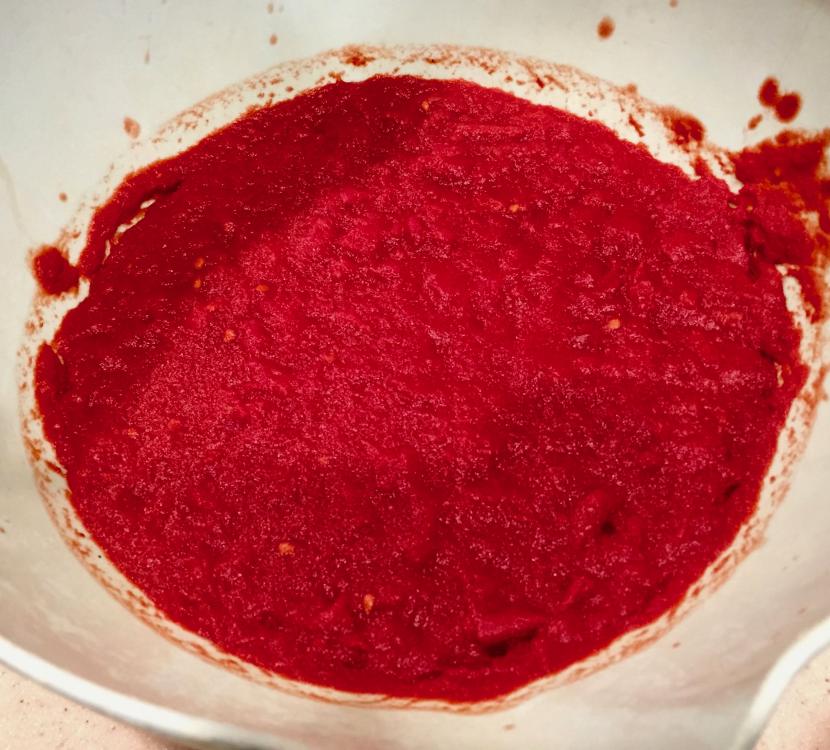
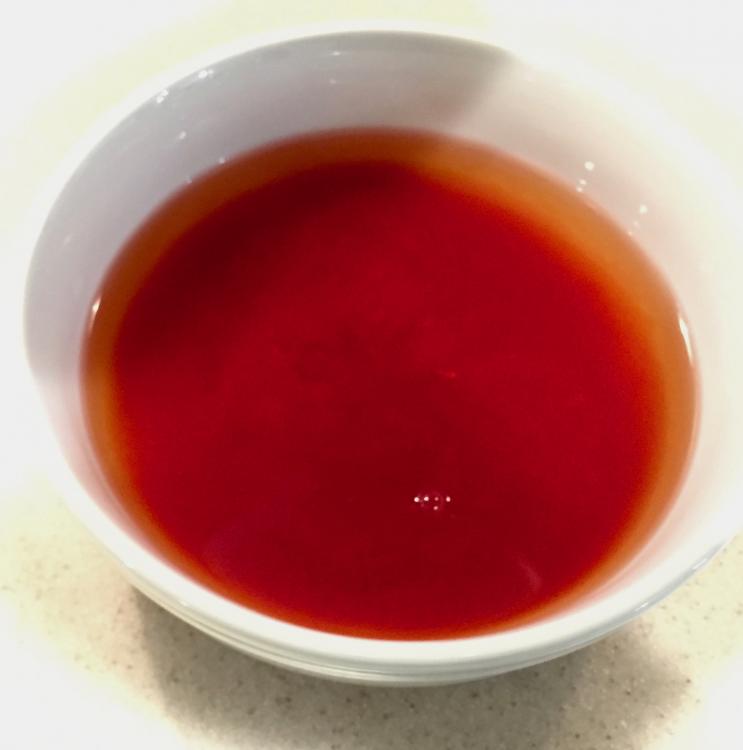
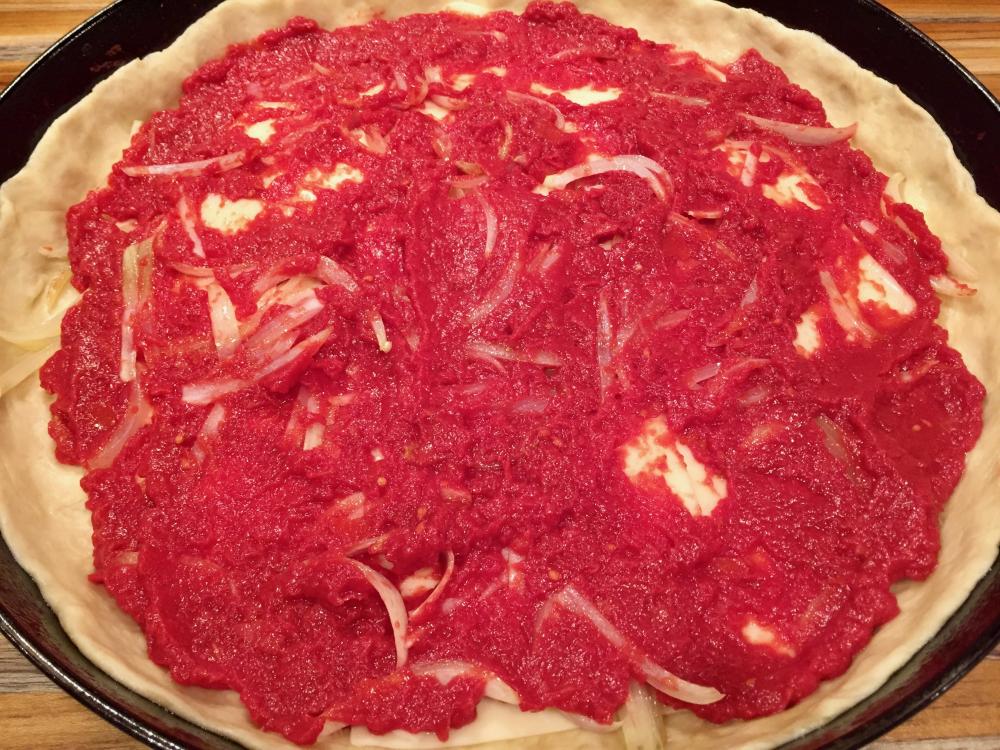
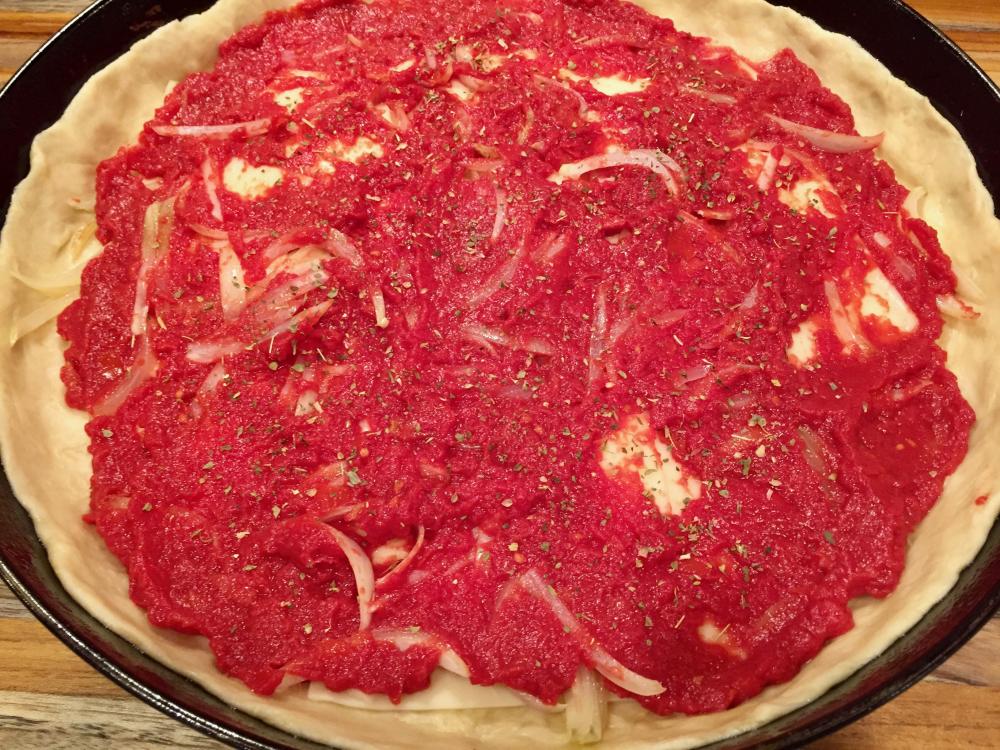
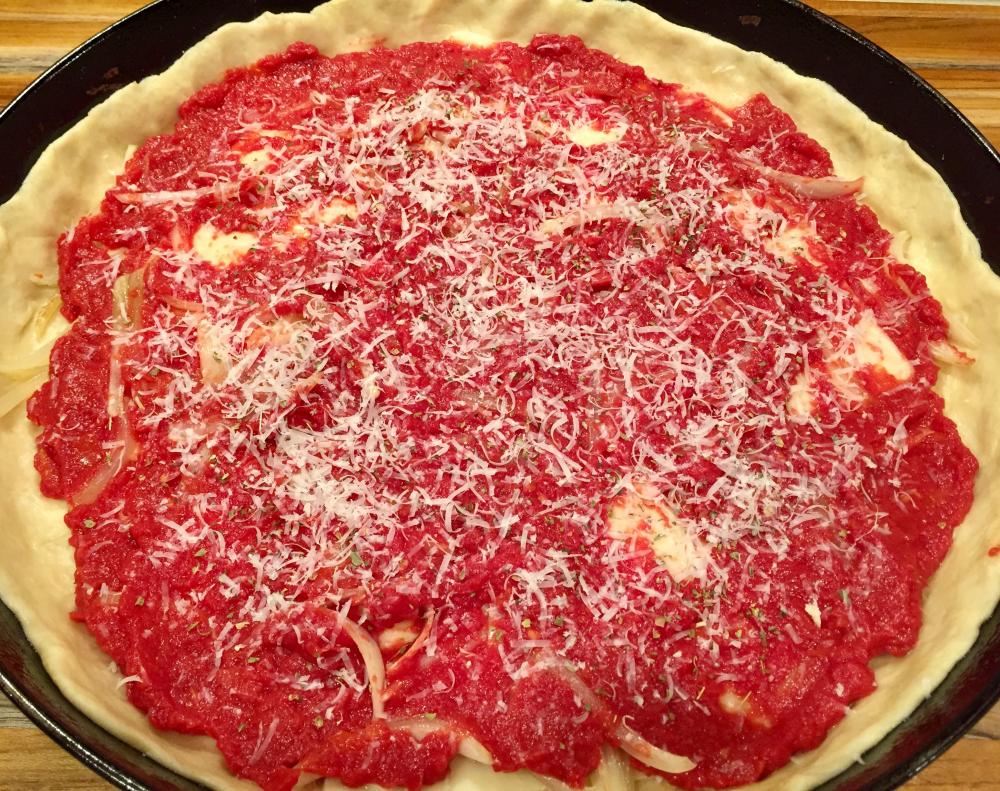
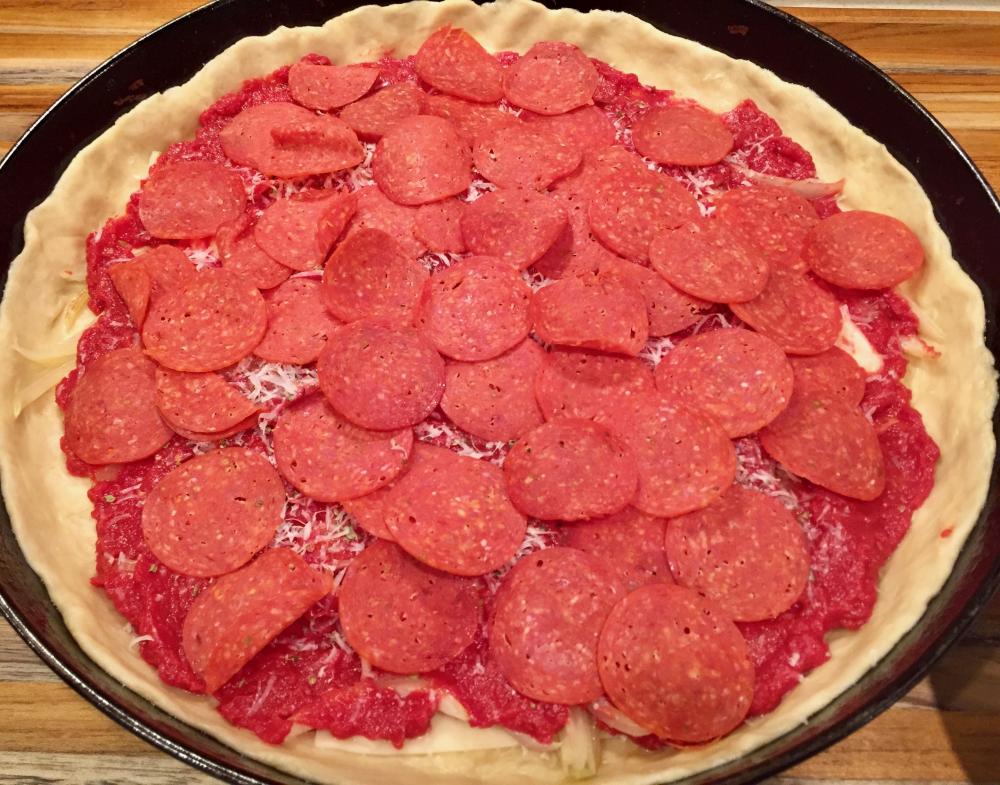
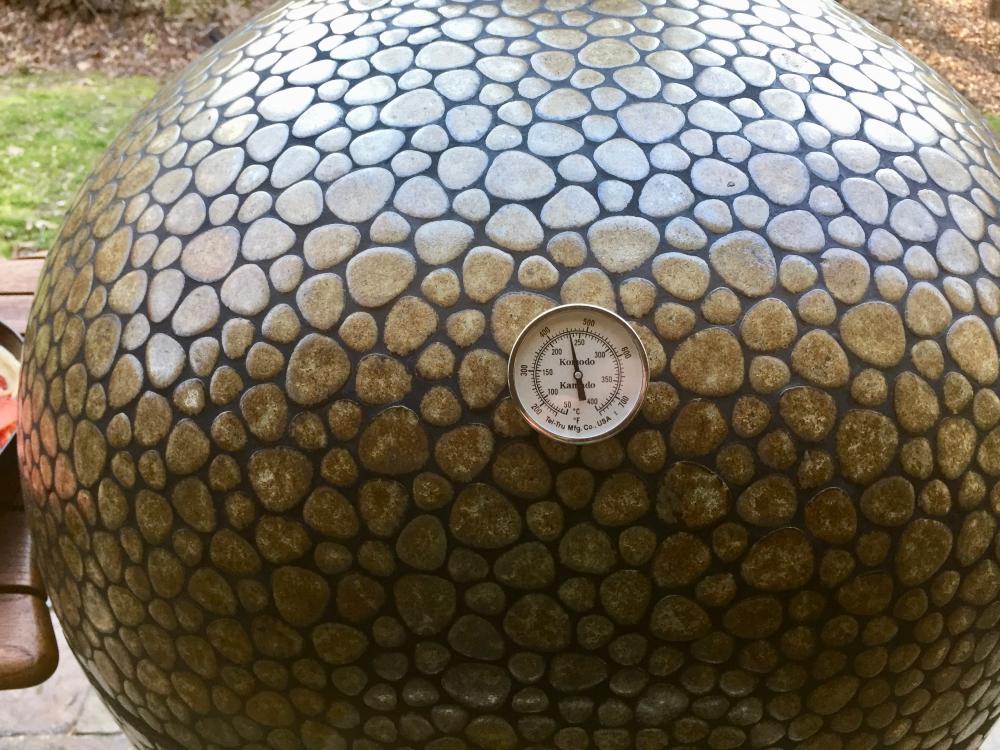
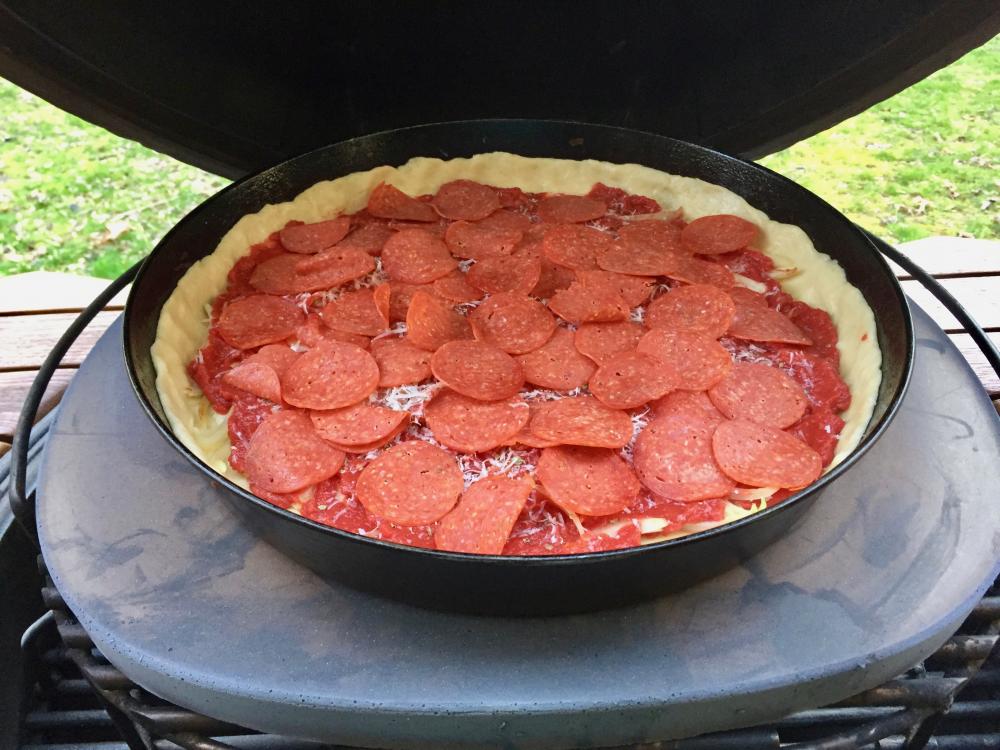
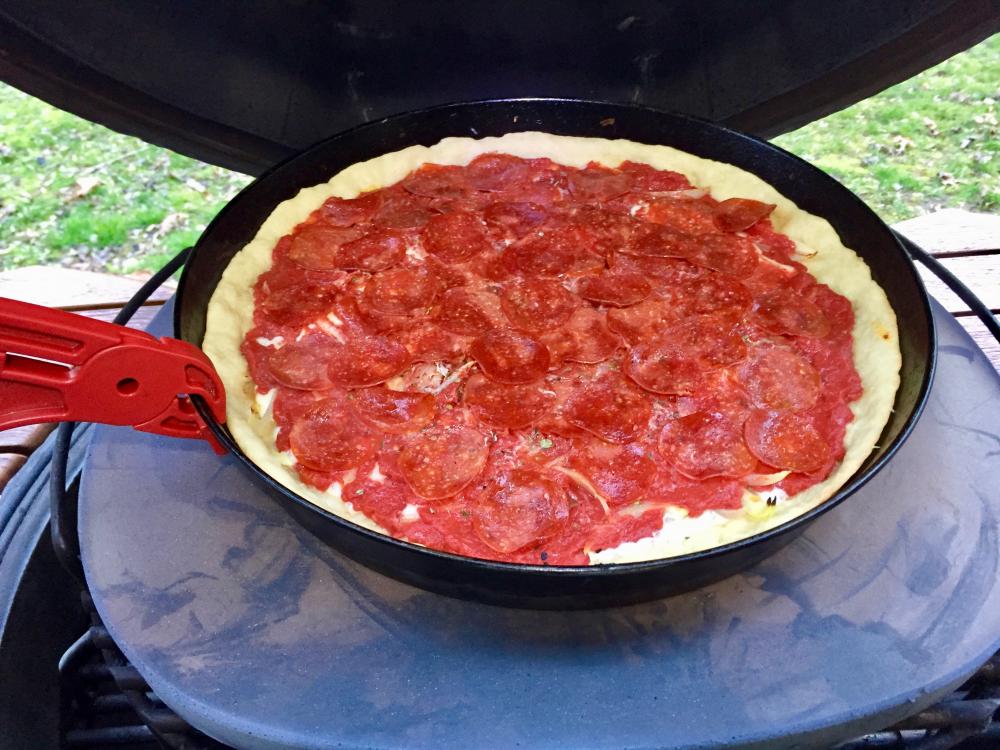
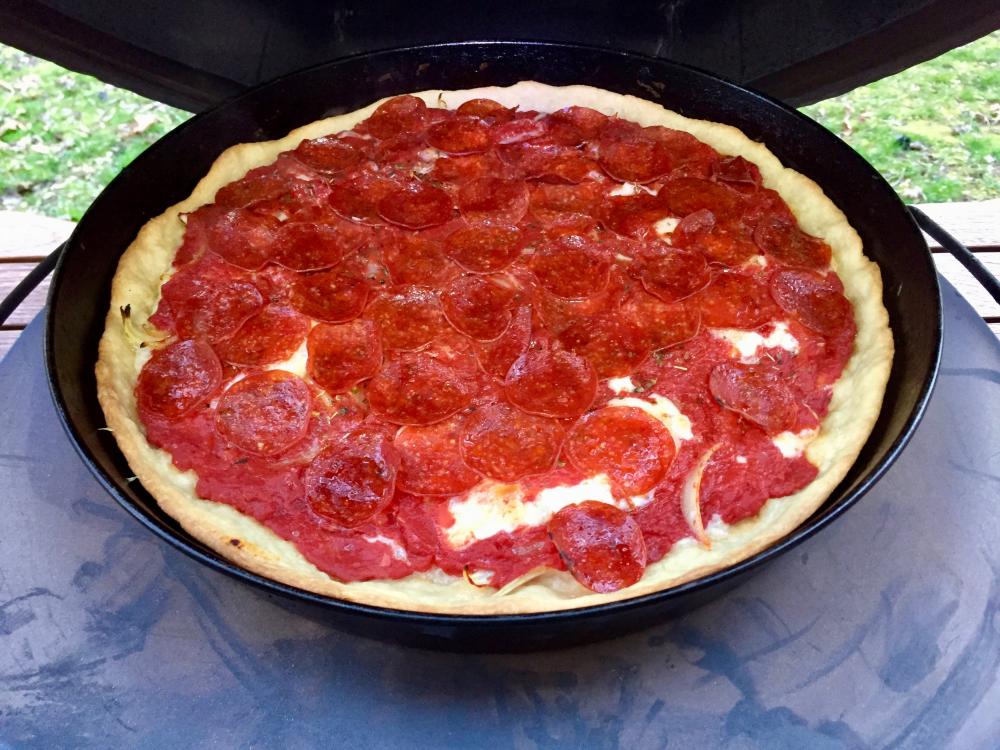
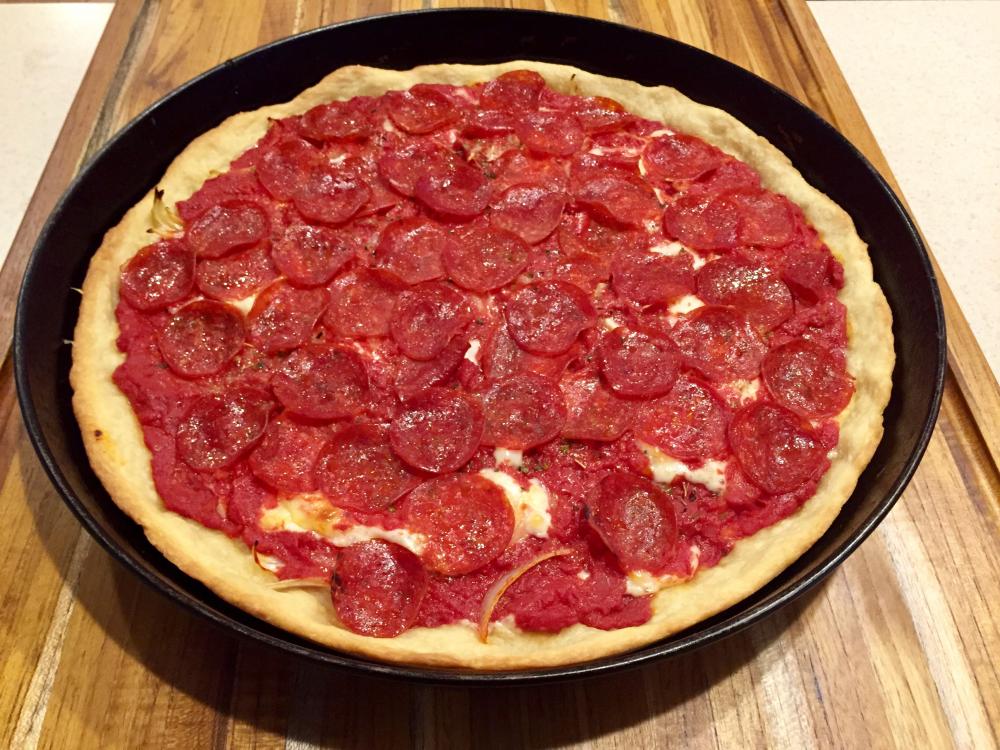
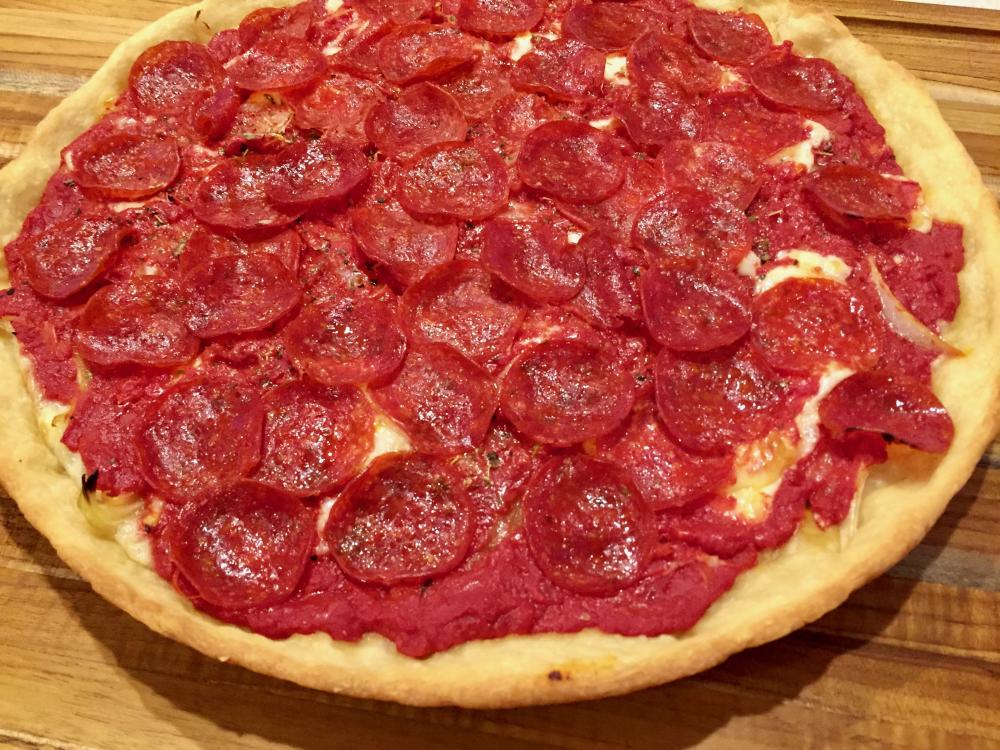
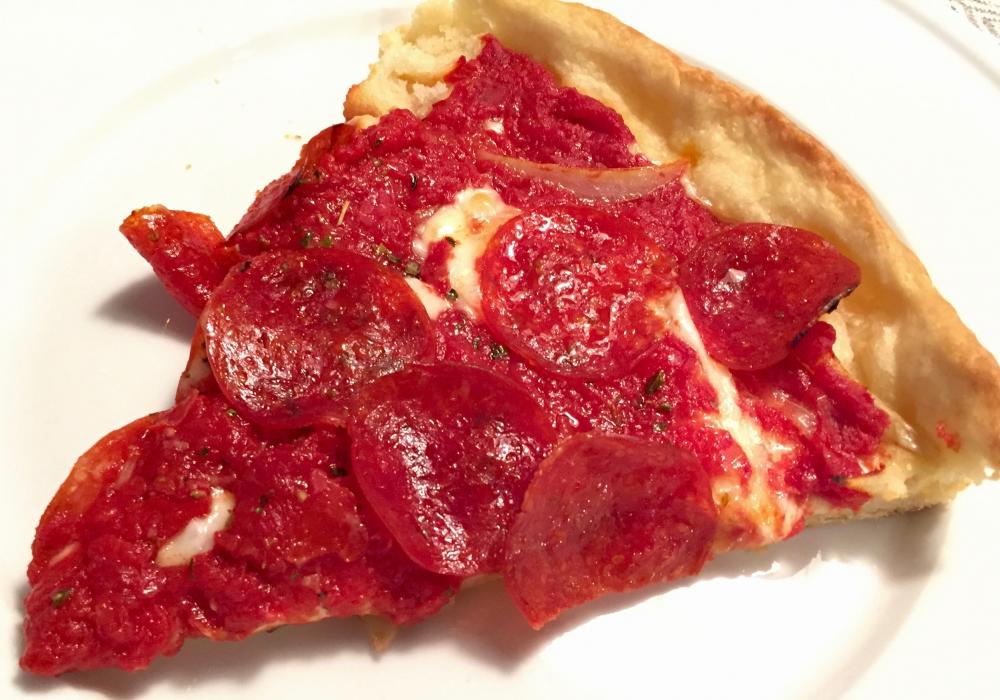
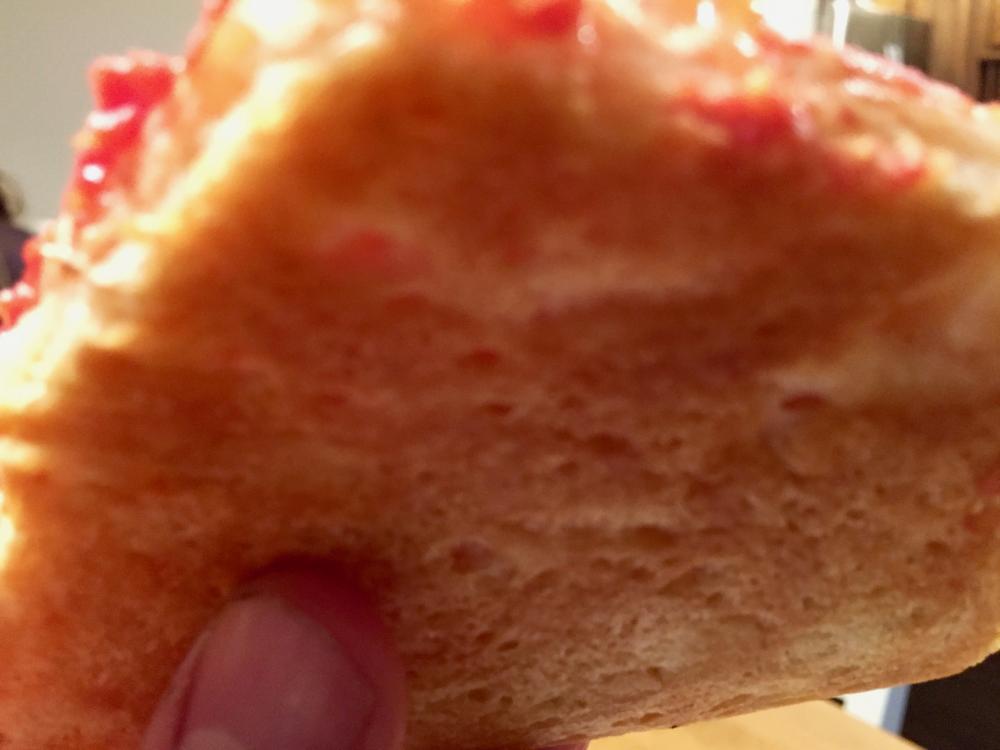
This thread is all about authentic Chicago Style Deep Dish, but cooked on the KK, of course. I did a thread similar to this on the Guru once. Put the entire site to sleep. If you caught that one, feel free to skip this one. Heck, skip it if you're not interested too. I won't be offended. Or you may find you need a nap in the middle. That's fine. We'll still be here when you wake up. First, let's parse the name. Most deep dish I see posted on the internet is NOT Chicago style, yet most people feel the need to insert that word "Chicago" in front of "Deep Dish", no matter how heretical it may be. Bottom line is there are a lot of deep dish pizzas out there, many quite good, but only some of these qualify as Chicago Style. Nothing wrong with making and enjoying those other pies, just don't offend a great city by calling it Chicago Style when it's not. So what makes it "Chicago Style"? To me, it comes down to two key things: The crust and the tomatoes. First, the crust. Many people think Chicago Style pizza crust is similar to a loaf of bread -- very doughy. Others think there is cornmeal in the crust. Don't get me going on that one. Let's just say I agree with this: http://www.realdeepdish.com/2009/05-06-pizza-rant-2-6-pat-bruno-im-calling-you-out/. Both of these are WRONG! The classic Chicago Style pizza crust, such as you'll find at Lou Malnati's, Pizzeria Uno, or Gino's East, has a biscuit-like texture. A bit crisp on the outside, giving way to a biscuity crumb on the inside. Again, if you like cornmeal in your dough or making pizza out of a loaf of bread, by all means keep doing it. Just don't call it Chicago Style or you'll be labeled either a heretic or a Cubs fan! Next, the tomatoes on a Chicago Style pizza have a distinctly bright flavor, and are usually a bit chunky as well. The closest I've come to replicating that flavor is with a particular brand: 6-in-1 All Purpose Ground Tomatoes. They aren't chunky enough, but the flavor is spot on and you can always add some high quality diced or hand crushed tomatoes for chunkiness. Let's start with the dough. Here's my favorite dough recipe for a 13" Deep Dish pizza. The recipe you'll find at http://www.realdeepdish.com is also excellent and I used to make one very similar to that, but I like this better: 350g AP Flour - 95% 20g Semolina - 5% 170g Water - 46% 64g Corn oil (17%) 14g Olive oil (4%) 1/4 tsp Salt - (.35%) 1/2 tsp Sugar - (.5%) 2g instant dry yeast - (.5%) First, mix all the dry ingredients except for the yeast, then pour in the oil. Remember, since we're not making bread, we're trying to *avoid* gluten formation, so we don't want to proof the yeast and we don't want to over-knead the dough. Partially mix in the oil, then add the water and partially mix that too. Then sprinkle the yeast on top. Stir that in until just barely combined, then knead the dough in the bowl with one hand for no more than two minutes. Now cover it with plastic and let it rise in the oven with only the oven light on for heat for up to five hours. It will rise, but not much. While that's going on, we also want to drain the tomatoes in a strainer over a cereal bowl. Some people like to spoon them right from the can. I prefer to let the water drain out so that the pizza isn't too wet. I also like to de-fat my pepperoni so that we don't get a grease slick on top. Put the pepperoni on a plate between paper towel sheets, then nuke for 30 seconds. Amazing how much grease is pulled out. Sliced and sautéed my onion for just a bit. No pics of that. Instead I give you my fancy new teak cutting board. Sweet, no? After five hours, the dough has risen, but gluten matrix is weak to non-existent. No way that dough would pass the windowpane test. Grease my decades old, highly seasoned steel deep dish pizza pan. I've been doing deep dish pizza much longer than I've been doing barbecue. Bought this one while I was still in college and realized the need to master this before leaving Illinois for good. Spread the dough, and pinch it half way up those two inch sides. You can use 8 to 16 ounces of mozzarella, depending on how cheesy you want it. This mozzarella is from a cow I own in the Shenandoah Valley, then delivered the whole, unpasteurized milk to an Italian Grandmother nearby to make the cheese for me. I lied. Safeway had this in stock. I'm using 12 ounces of the stuff. Then top the cheese with the sautéed onions. Now ready for the tomatoes. Here's what they look like after draining all afternoon. Look at all that water. Most, but not all of the drained tomatoes go on the pie. Now sprinkle with about 1 teaspoon each of dried basil and oregano. I prefer fresh basil, but none available today. Grate some parmesan directly on top. Then all of that de-fatted pepperoni. Onto the KK at 450. Turn it after about 15 minutes. Don't know if I really needed to do that in the KK, but always do it in the oven and it's a habit, And after about 15 minutes more, we're ready. Let it rest for five minutes. Remove it from the pan. Plated. Perfect. Here's the bottom.1 point


