.GIF.0c507fdd0aaa5c1cae84b6c43af405e7.GIF)
tony b
-
Posts
12,679 -
Joined
-
Last visited
-
Days Won
557
Content Type
Profiles
Forums
Events
Everything posted by tony b
-
I use the handle to pull mine out from its corner of the deck all the time and then push it back when I'm finished. This thing is soooo overbuilt that you shouldn't worry about it.
-
The Door and the Bar are always open!
-
.thumb.GIF.006d23b9323146d2dd9055f4e195bc2a.GIF) Sorry, won't fit on my deck on the right side of the KK. It sits in a corner.
Sorry, won't fit on my deck on the right side of the KK. It sits in a corner. -
I move mine a couple of feet every now and then on my deck (ironwood) without any problems.
-
Looks like they might be out of business. Nothing on the web in a few years - website is down, no Facebook. Amazon lists it, but "currently unavailable." Did find one interesting thing - looks like they got into a trademark infringement legal tussle with Royal Oak back in 2011. Time for Plan B.
-
Like my favorite apron says, "I cook with Wine. Some actually goes into the Food!" I have two "sets" of liquor - the cheap sh!t in the kitchen for cooking (Rum, Tequila, Brandy, Bourbon, dry Sherry, and Marsala) and the good stuff for "marinating the chef" on the bar - and never shall the two cross paths!!!
-
Is there a particular reason you want mesquite lump charcoal, versus using a good hardwood charcoal with mesquite chunks for smoke/flavor? If you don't know about the Naked Whiz's charcoal database, check it out before buying charcoal that you've never used before. http://www.nakedwhiz.com/lump.htm Most of the mesquite charcoals got bad ratings - burn too quickly and produce lots of ash. But this one got an rare "Highly Rated" score.
-
Please tell me that you're not using your top shelf bourbon in BBQ sauce???
-
Please include the cracker crust recipe in with your yeasted dough ones. Thanks in advance!!!
-
Break a leg, kid!
-
Excellent. Don't forget to post pics of the "virgin cook."
-
Let there be BACON!!!! Looks like meat candy to me, too! Simply gorgeous, MacKenzie!!! On my "to do" list. I have several pieces of skin-on belly in the freezer that I need to brine and smoke. Along with a corned beef brisket to convert to pastrami. Just so many other cooks keep getting in the way!!!
-
Wicked!
-
I'm sold! I think it works because there are several muscle groups in the leg and thigh that allow the injected marinade to spread around between them; whereas a solid muscle piece, like say a porkchop, wouldn't work as well because the injected marinade has no place to go and will just pressurize and back out the injection site. Since this is just a hypothesis, I will have to try and inject a pork chop and see how well it works (or doesn't, if my hypothesis is correct!)
-
Seriously, dude, when I saw that first picture, I would have sworn that it was Wagyu!
-
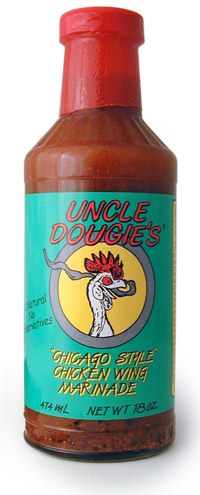
Did some chicken legs quarters yesterday (sorry, no pics, pouring down rain right after I got the grill set up). My point is that instead of doing my usual marinade all day, I injected them with my marinades. I did 2 quarters, one Uncle Dougie's and one Big Bob Gibson's white sauce with sriracha. I did pour a little of what was left into the zip bags. So, I guess I did marinate the outside a little. They sat in the fridge after injection for about 6 hours before going on to the KK - upper grate, direct, cherry wood, 375F (crept up to 400F when the storm came up), for an hour (30 minutes skin up, 30 minutes skin down). I usually inject bigger cuts of meat (brisket, roasts, shoulders, etc.), but had not tried it before with smaller cuts like chicken pieces. I just wanted to say that this worked out great. Lots of flavor permeated the meat by injecting, just like I would have expected with the bigger cuts.Will now become standard technique going forward. One last plug for Uncle Dougie's marinade. It's a great wing marinade, but I like doing the bigger pieces in it, too.

-
Another great looking Korean BBQ, Wilburpan! I finally found the Kalbi marinade at our local asian market. Don't think it's quite as high in asian pear juice as yours though. I've been a big fan of spicy fermented soybean paste (gochujang) for quite some time. Local market only stocks the 3 stars hot, but I got some 5 stars hot off Amazon. Great Stuff!!
-
Looking tasty. Waiting to hear how the final results come out - and the recipe, hint, hint!!
-
You are on the right track. The second half-moon allows you to split the basket horizontally if you want more heating area, but don't want a full basket of charcoal. Say, you want to sear a bunch of steaks all at the same time, however, the half basket vertically wouldn't have enough surface area to cook that many steaks, but splitting it horizontally you can without having to burn through a whole basket of charcoal for such a short cook. The round stone is your pizza stone, not the heat deflector. The pizza stone also has a polished surface, whereas the heat deflector doesn't, in addition to being shaped like the lower grate.
-
I've fallen in love with both shrimp and poached eggs in my Anova bath. See those posts in this topic area. Experiment with it and see how you like it.
-
More like highway robbery! I will probably make a road trip to W. Des Moines soon to restock. There's also a Penzey's spice store there, too.
-
Thanks, all! Still importing corn from down south, decent. Our local stuff won't be on the street until late July/early August. It's AWESOME! Nothing like getting some ears that were just picked that morning and tossing them on the grill. It just doesn't get any better than that in Summer! OK, maybe homegrown tomatoes rank up there, too!
-
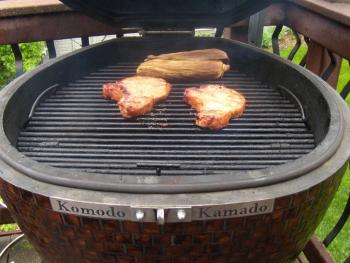
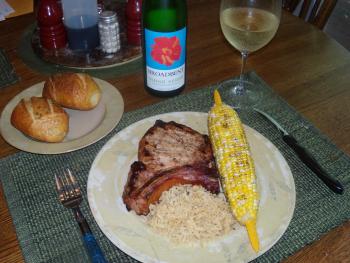
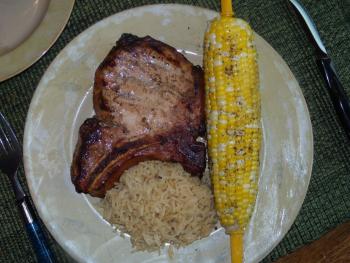
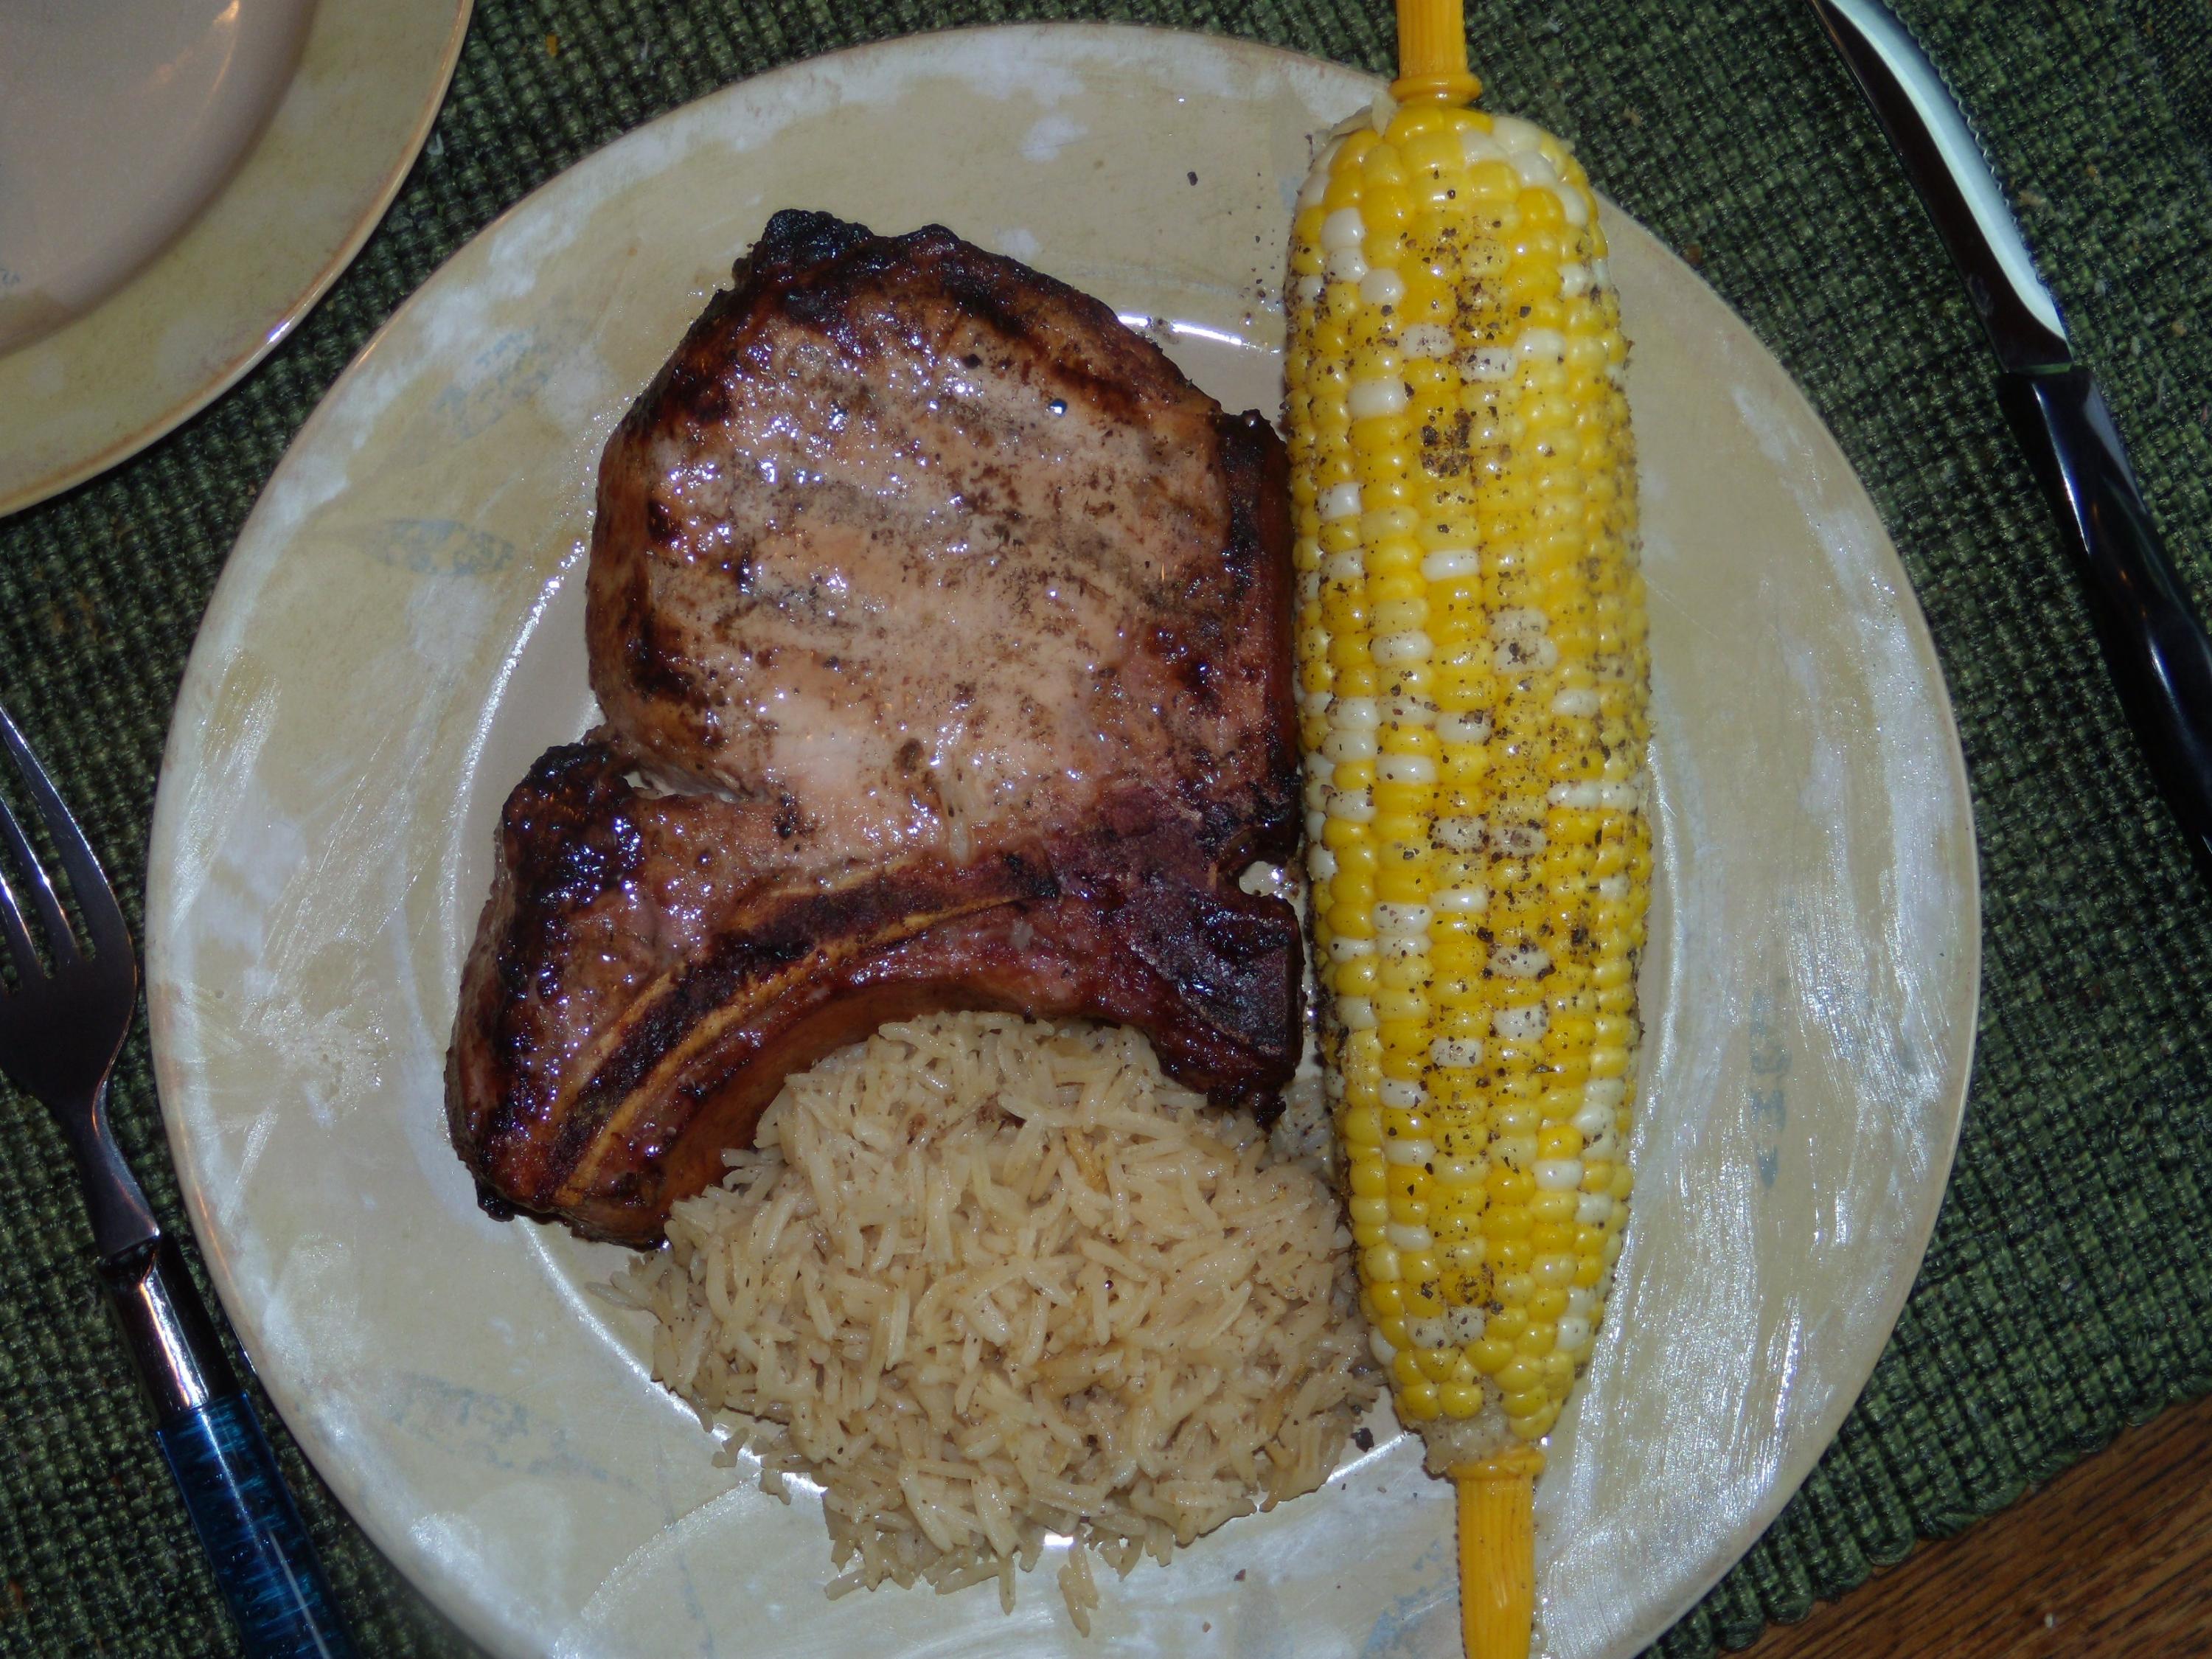
OK, so I had to dodge rain showers again tonight making dinner, so minimal outdoor pictures. Japanese Pork Chops - thick cut IA chops marinated in ponzu, white shoyu, yuzu koshu, and sansyo pepper. Roasted ear of corn on the grill. KK @ 350F, direct, cherry wood, main grill. In situ cooking shot between showers. Plated, with Thai rice (coconut oil, Penzey's Bangkok, chicken stock), rosemary/sea salt dinner rolls, and a nice bottle of Vinho Verde (my favorite summer wine.) Money shot.