Leaderboard
.thumb.GIF.006d23b9323146d2dd9055f4e195bc2a.GIF)


Popular Content
Showing content with the highest reputation on 03/26/2019 in all areas
-
One of the first pieces of advice we give noobs is to go out and buy a bigger belt!3 points
-
Just stop already - that is too good and keeps on giving! Sent from my iPhone using Tapatalk3 points
-
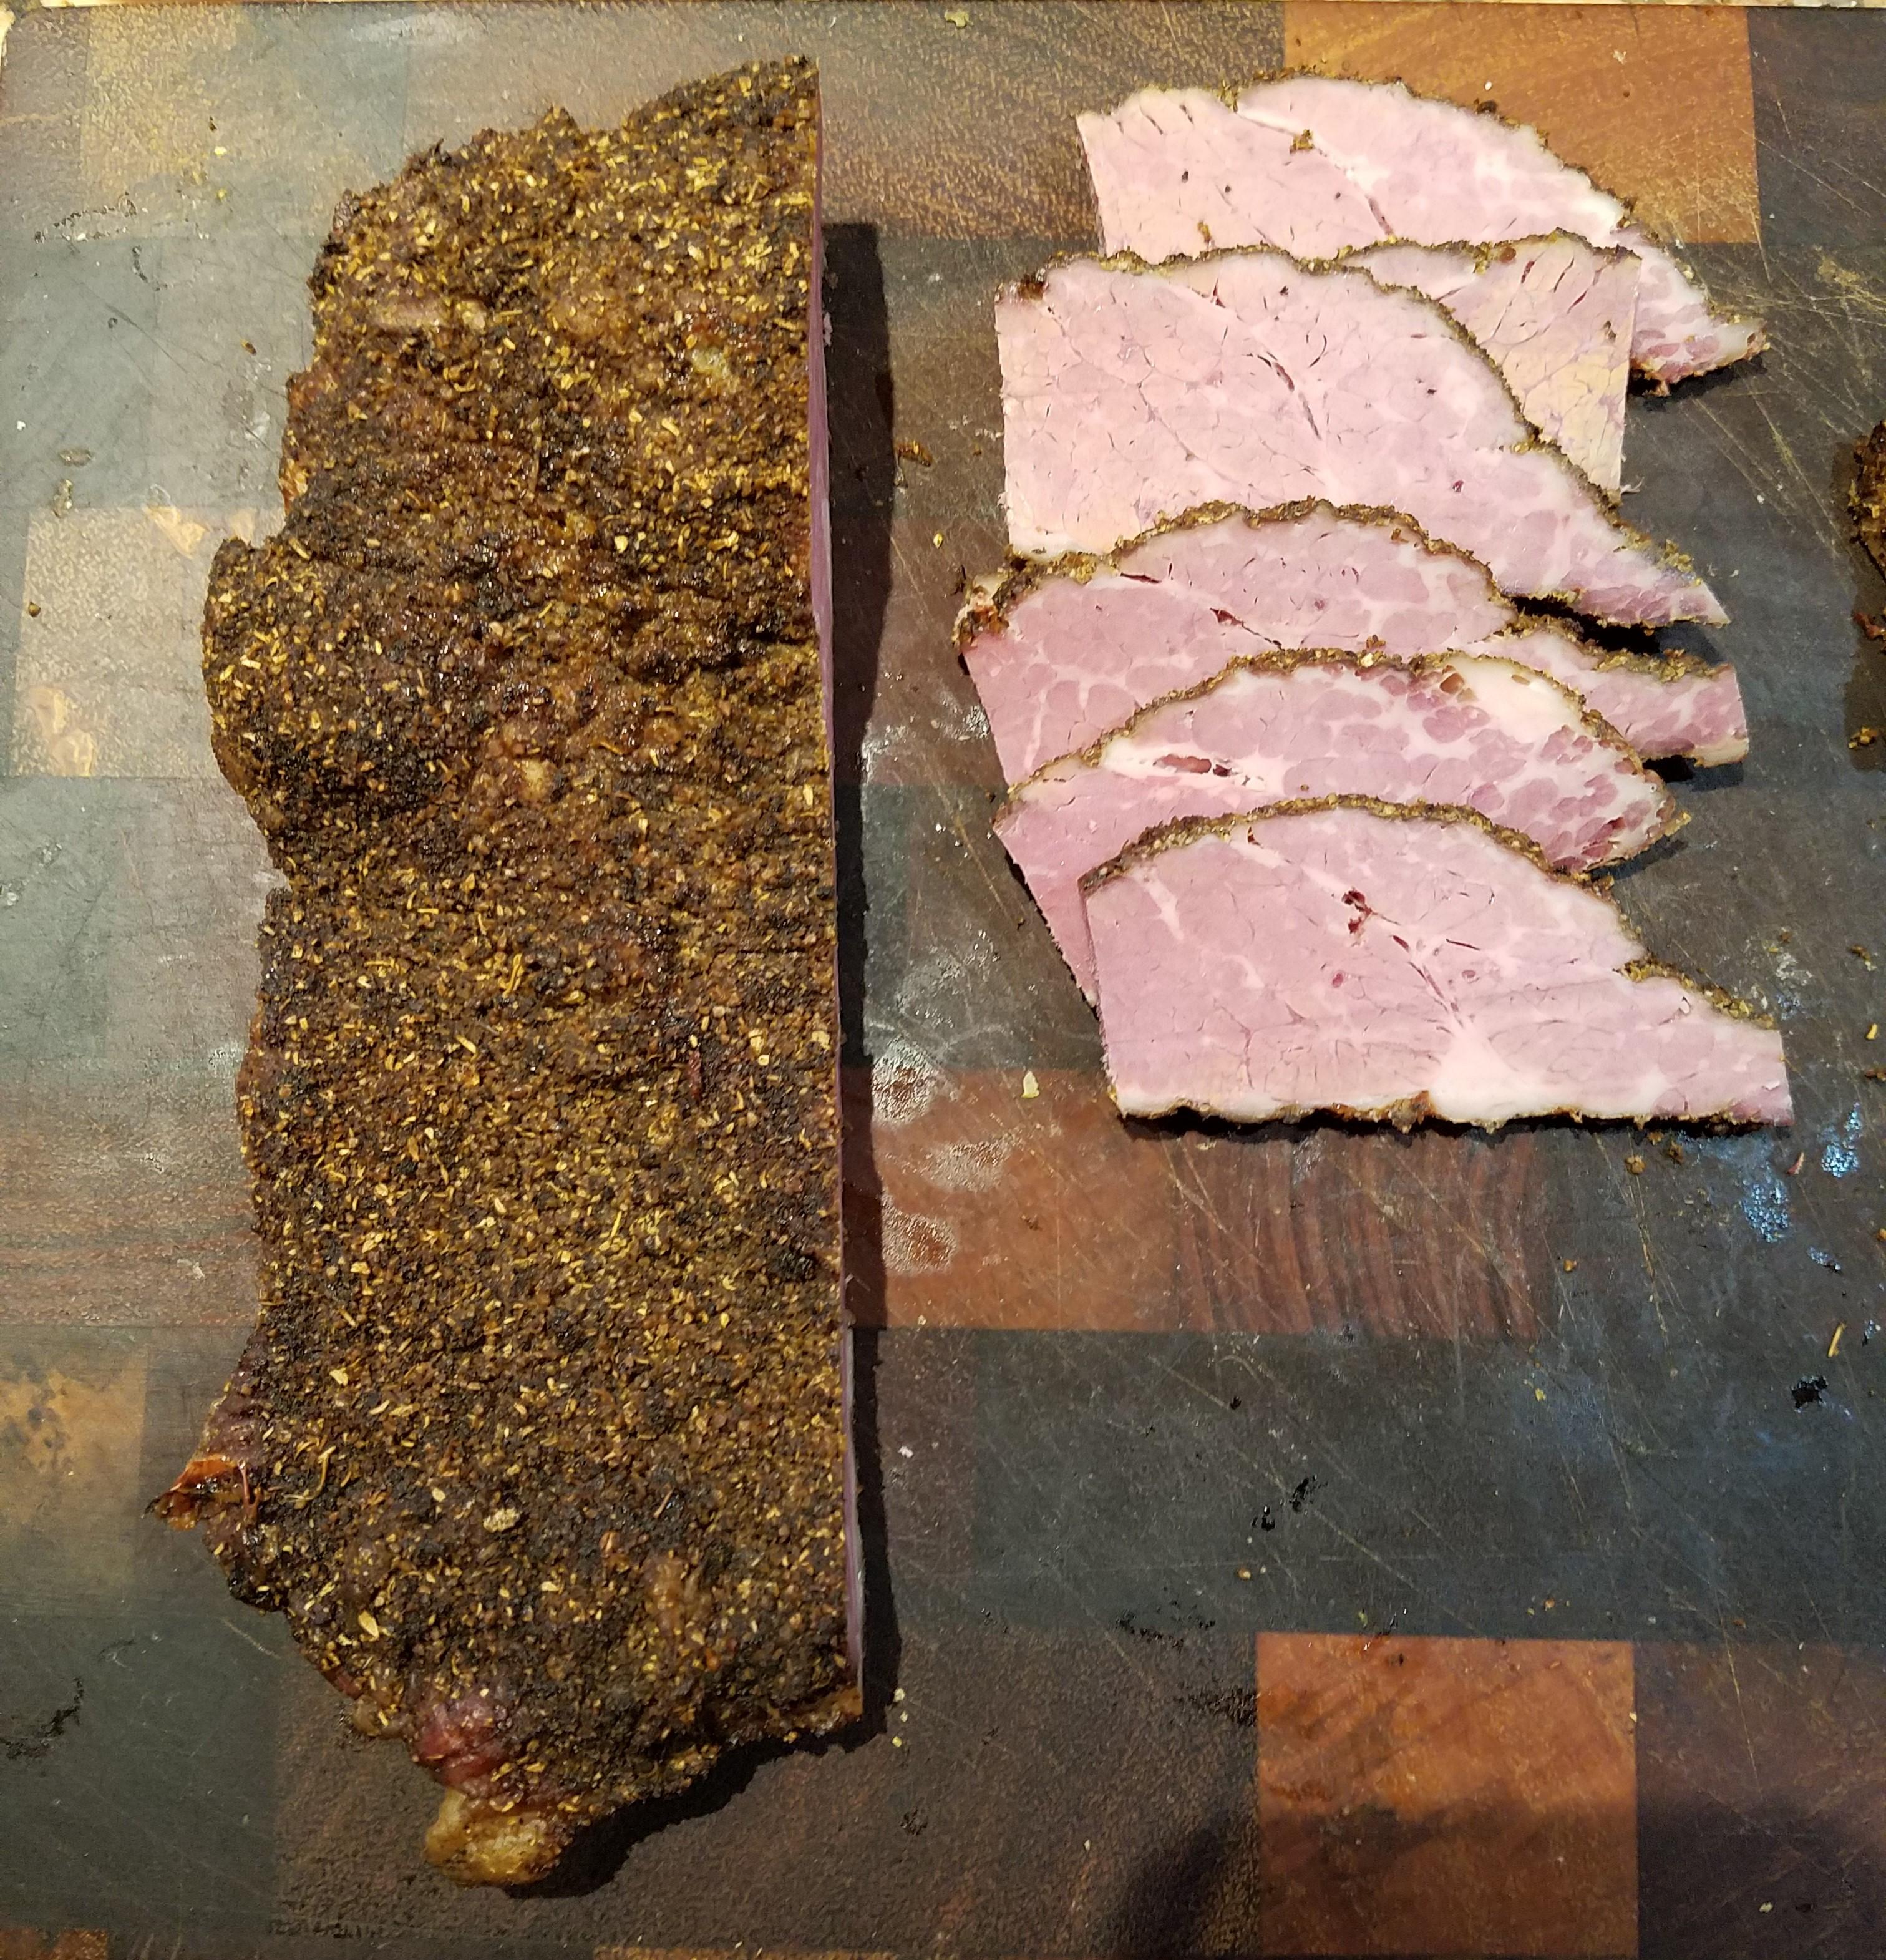
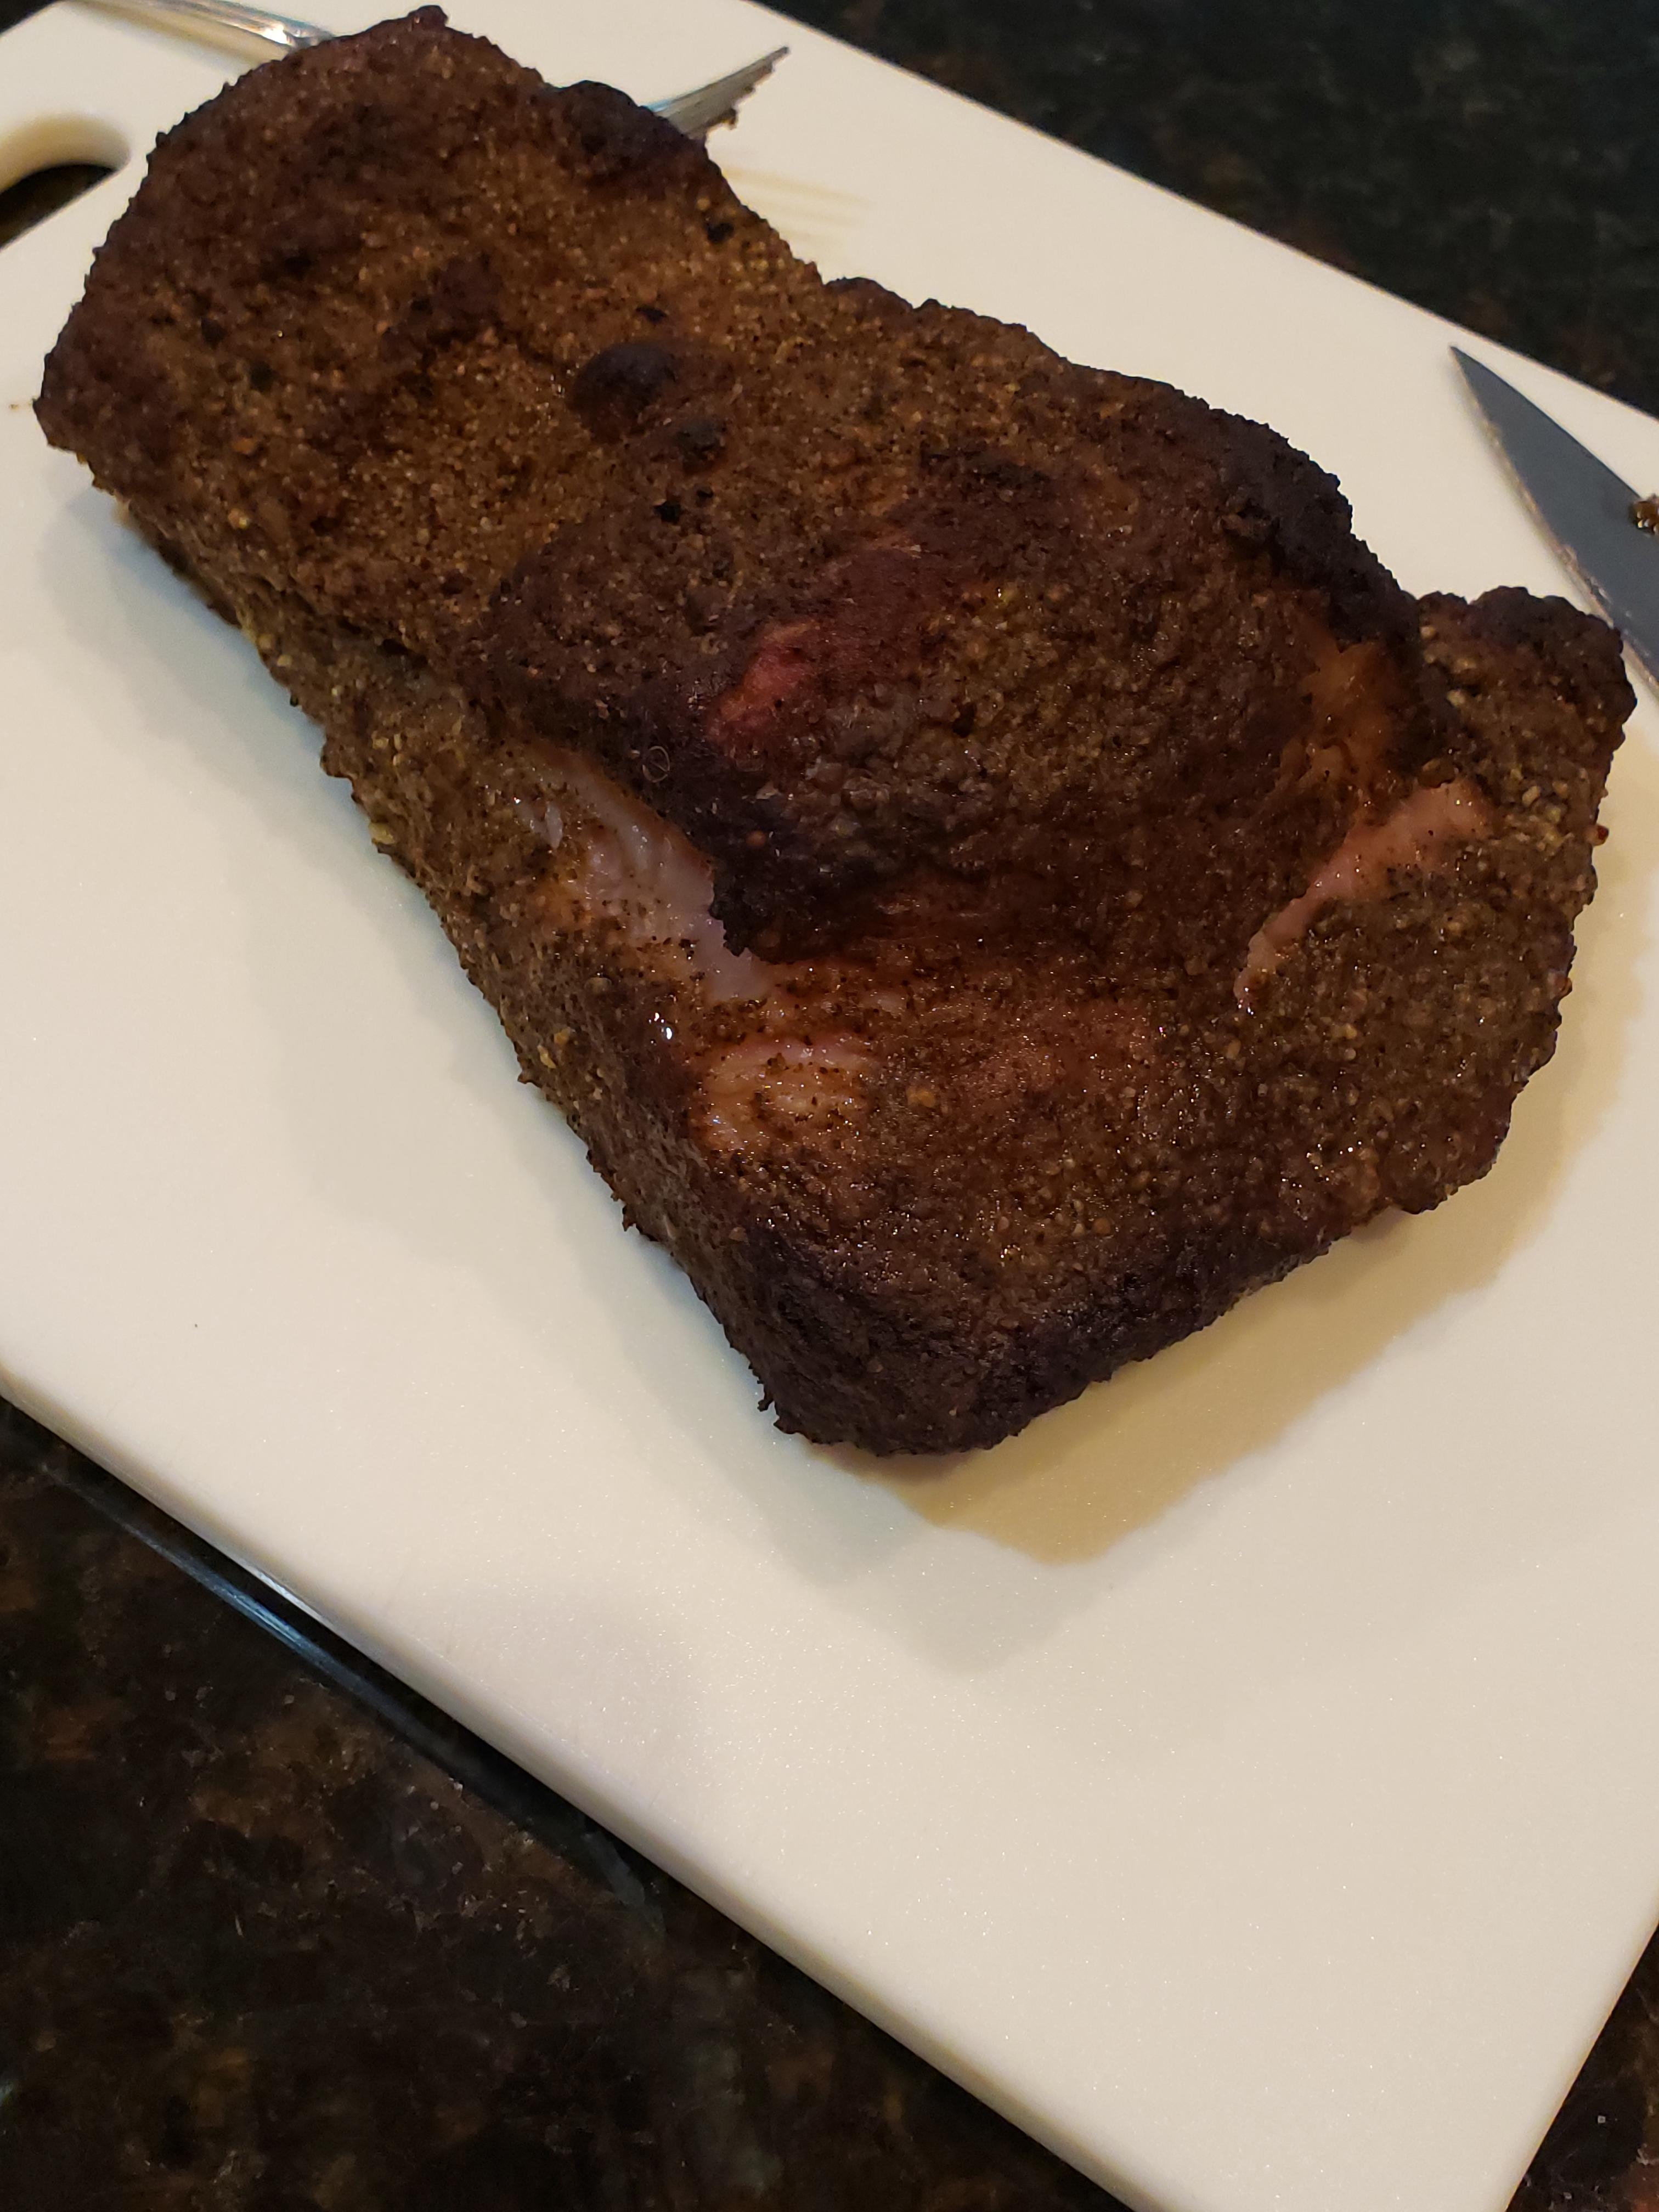
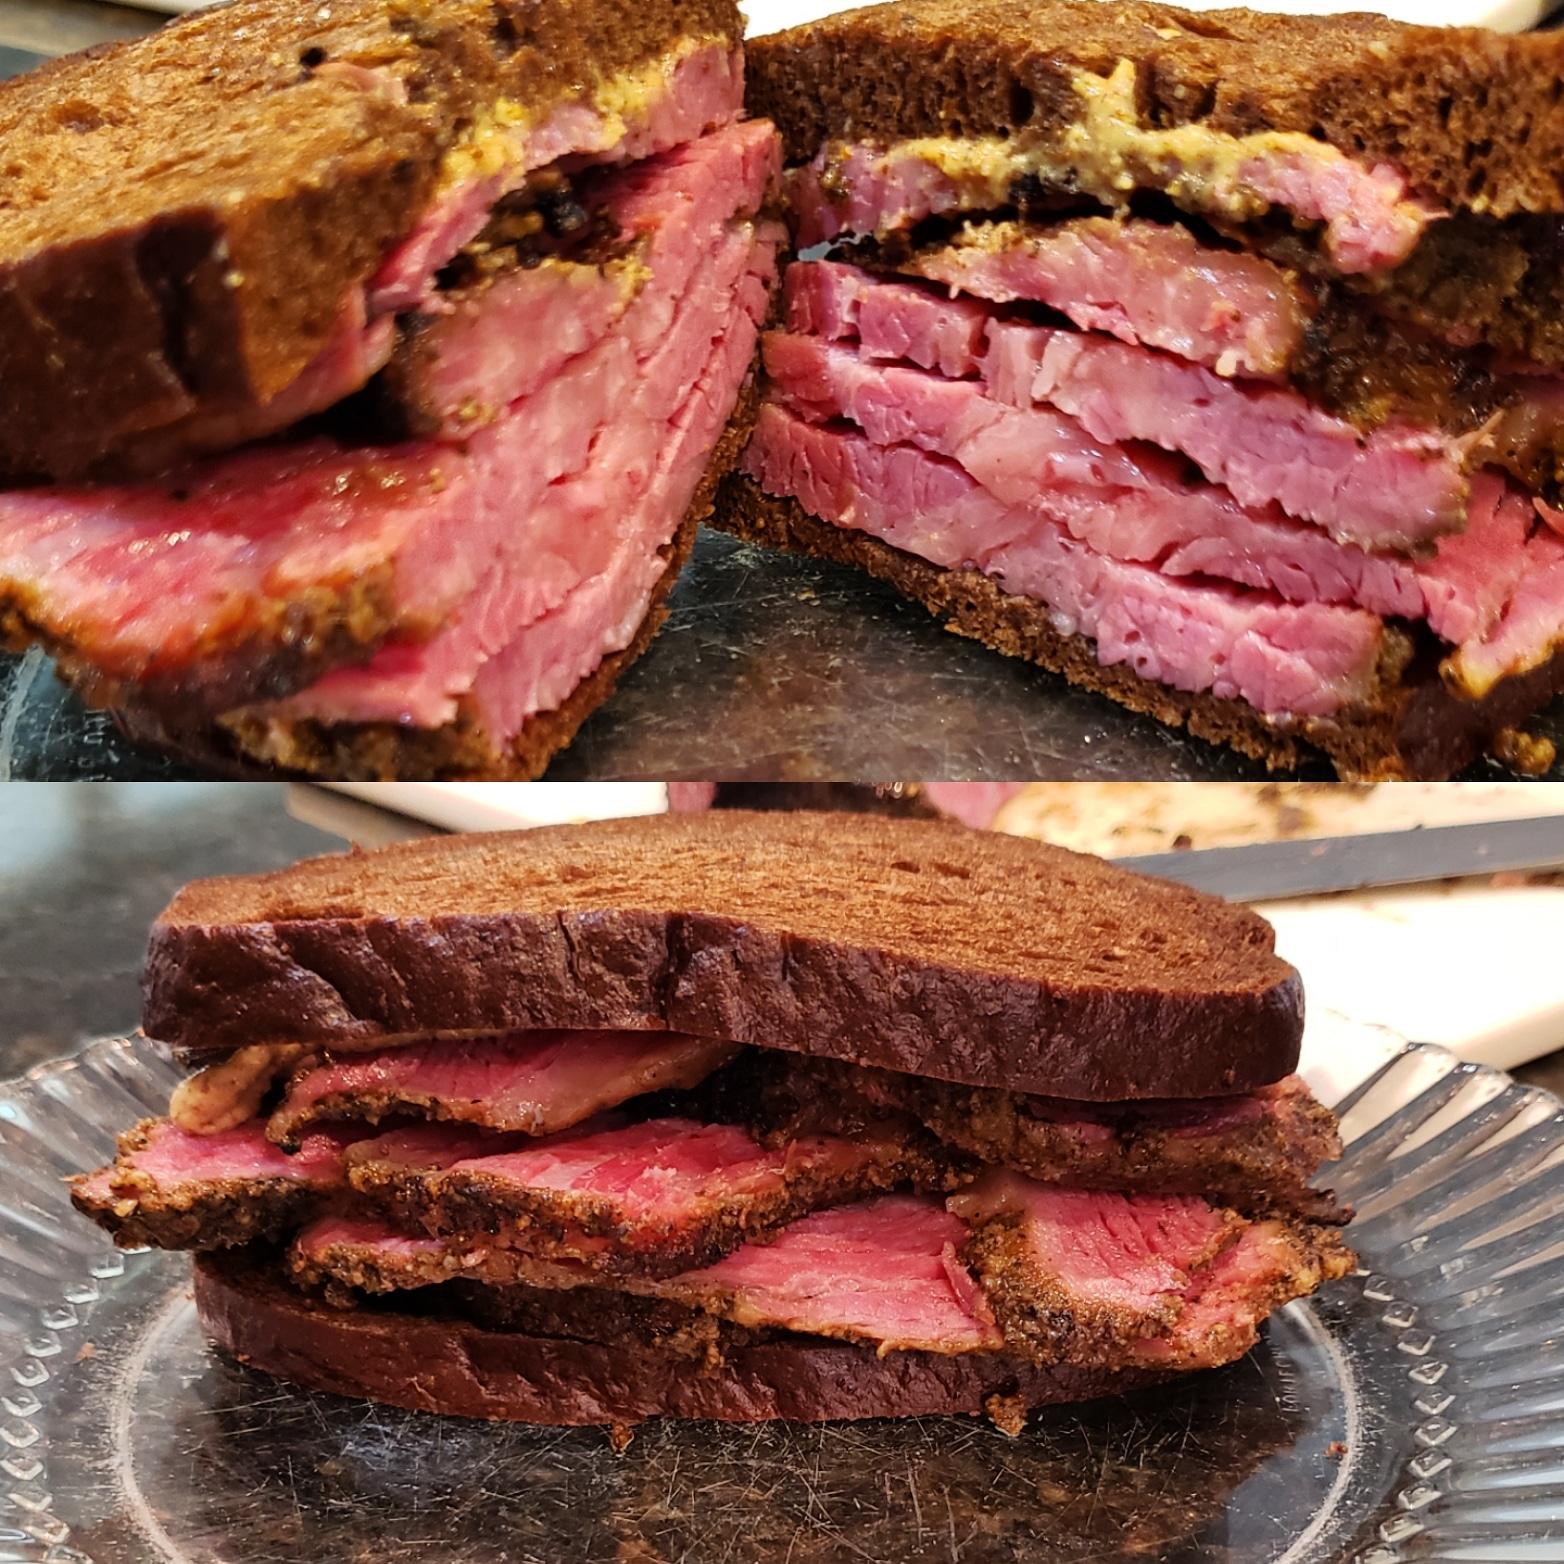
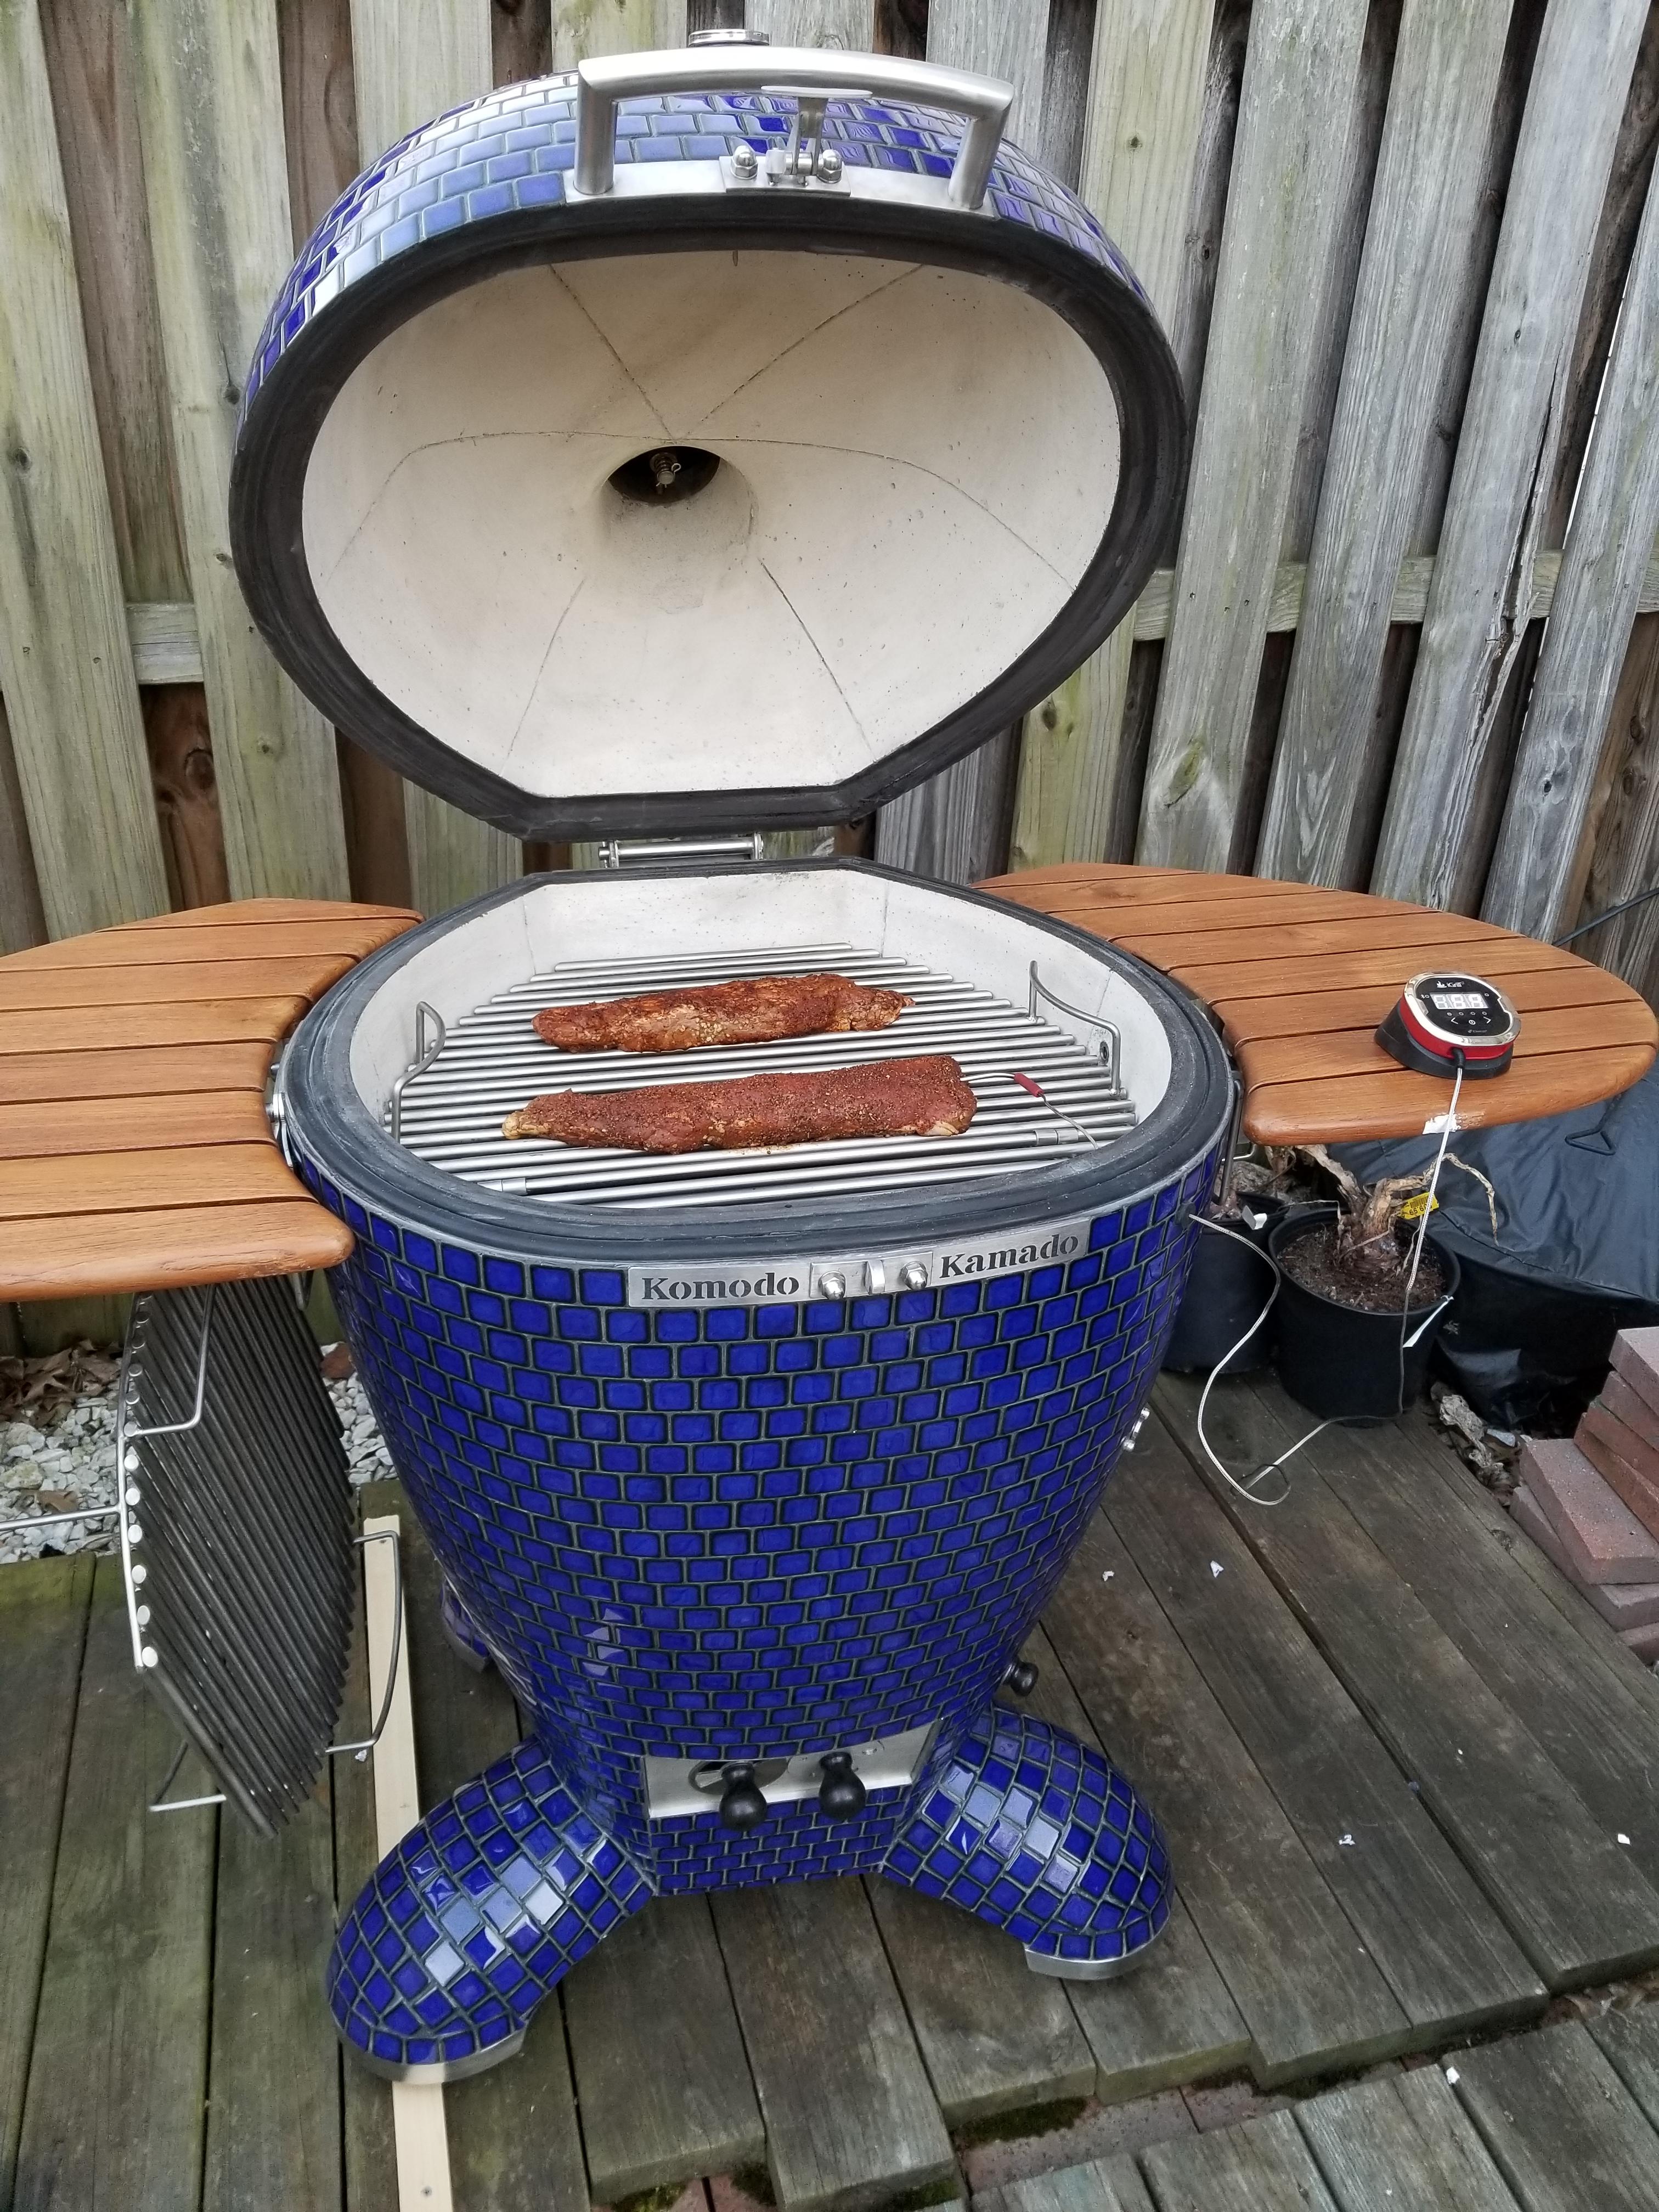
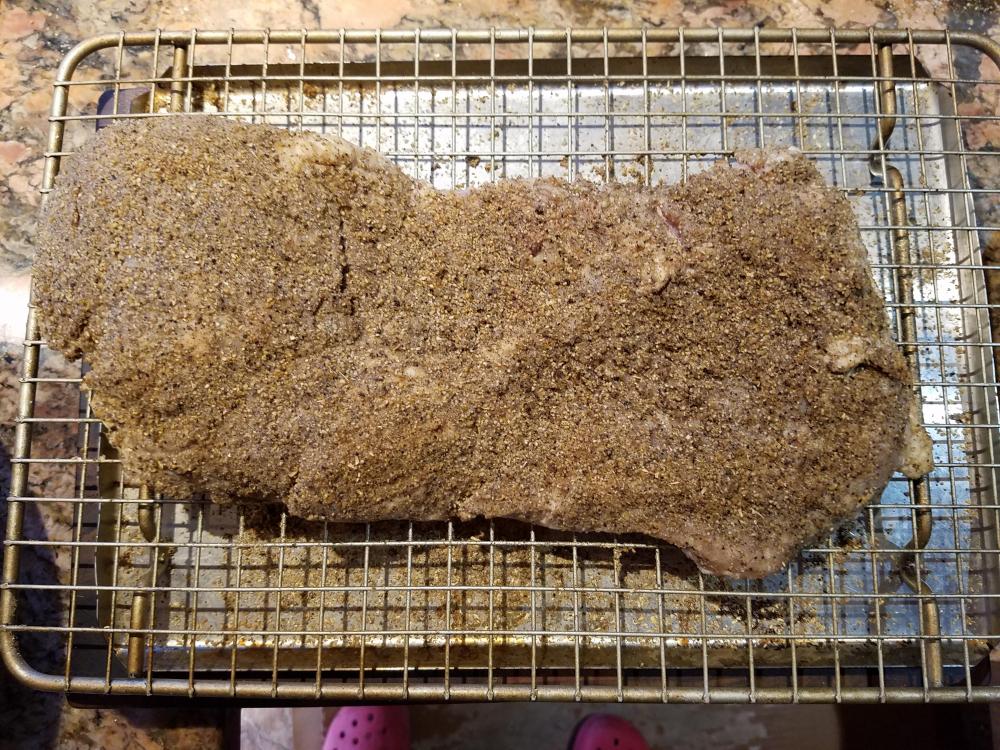
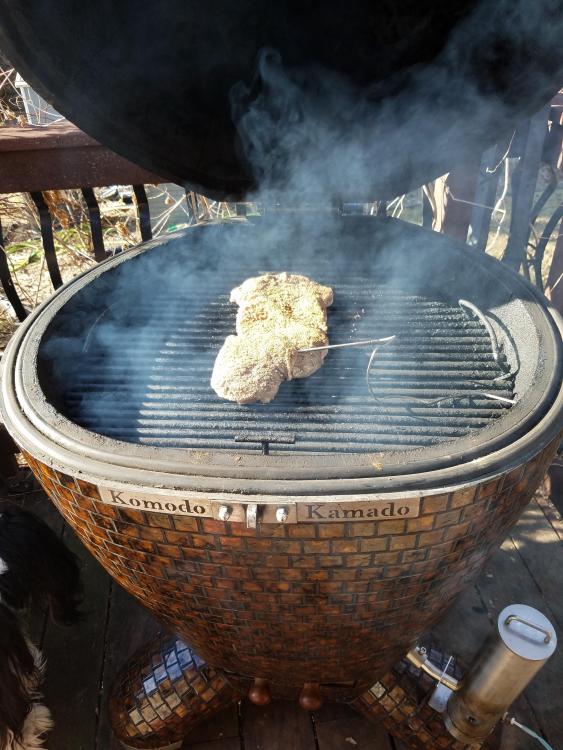
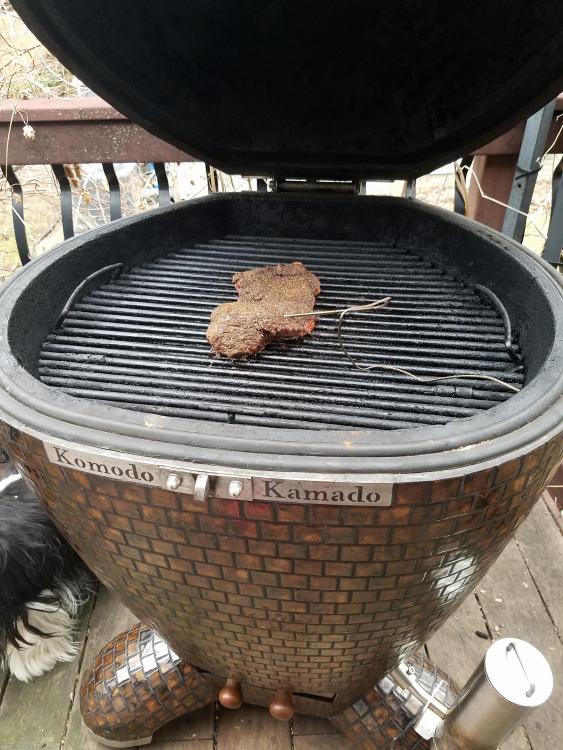
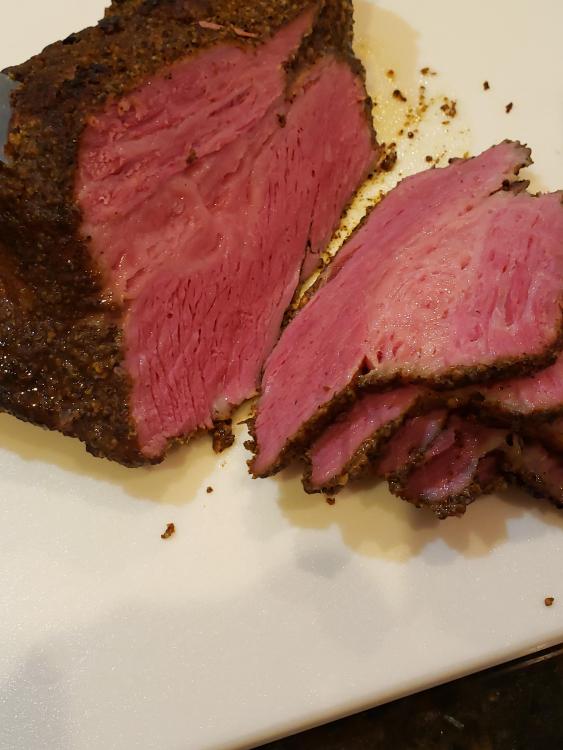
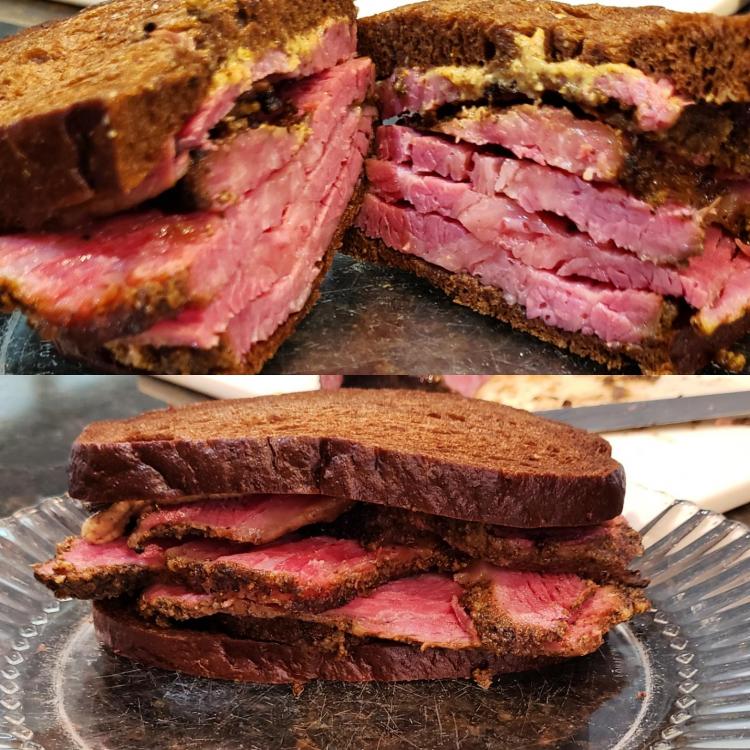
Here's my version. St Pats has a side benefit of cheap commercially brined corned beef briskets. Scored a point and soaked it in water for 3 days (daily water changes), then rubbed with house rub of coriander, black pepper and both onion & garlic powders overnight in the fridge. Onto the KK @ 250F indirect, with the smoker attachment loaded with alderwood and fruitwood mix pellets. Cooked to an IT of 195F. Notice that Kipper managed to sneak into both of the grill shots! Allowed to rest overnight in the fridge, then hand sliced for a tasty lunch sammie!
 3 points
 -
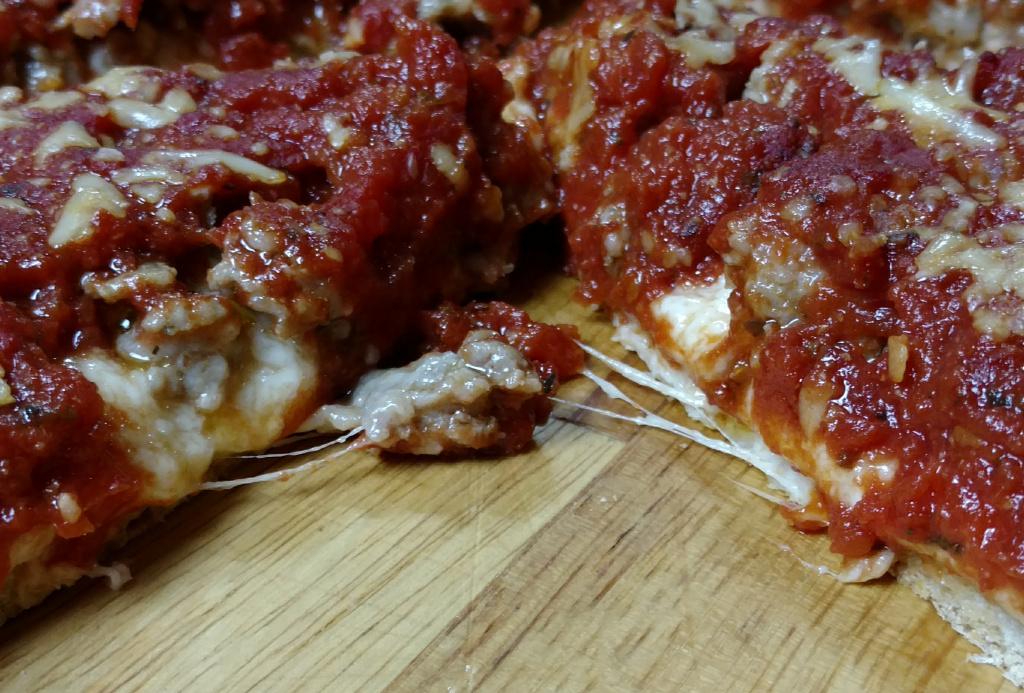
Ok that's it, I can't take just "looking" at awesome pizza any longer. I'm starting my pizza dough tonight.2 points
-
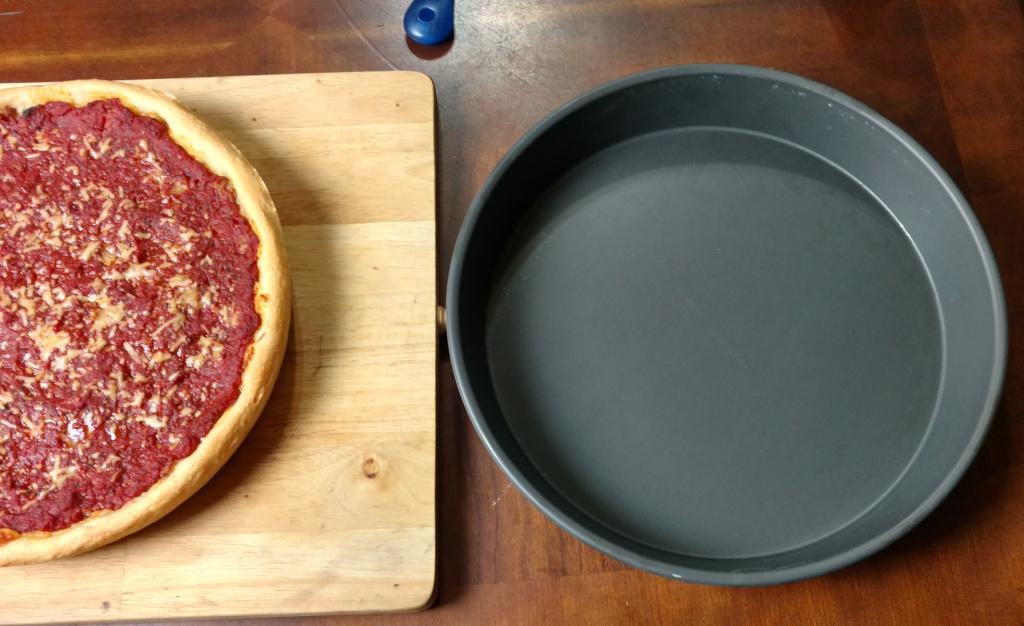
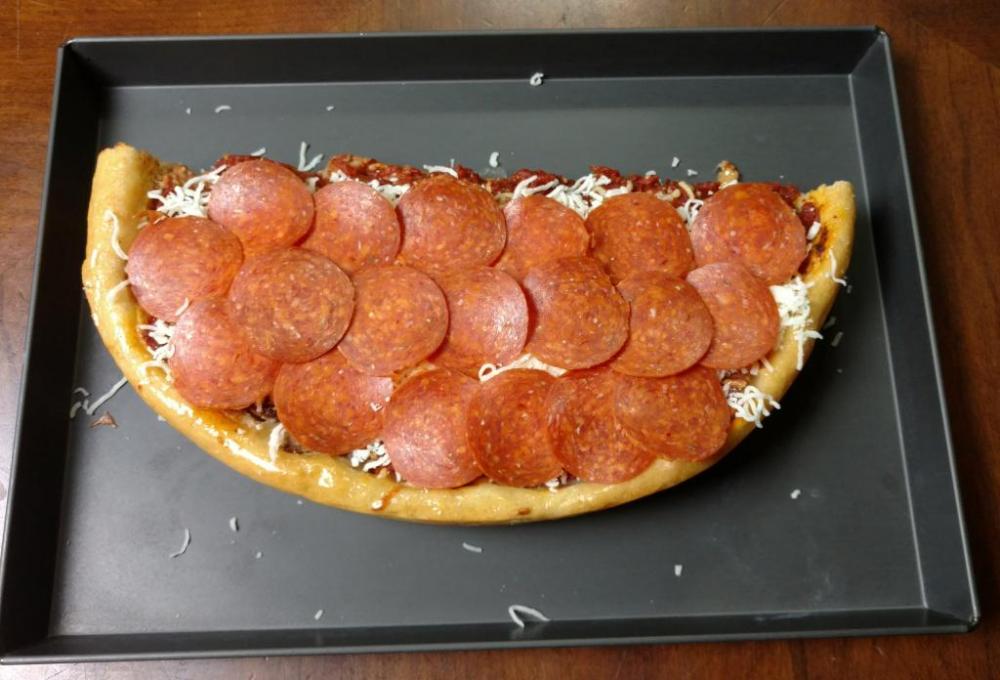
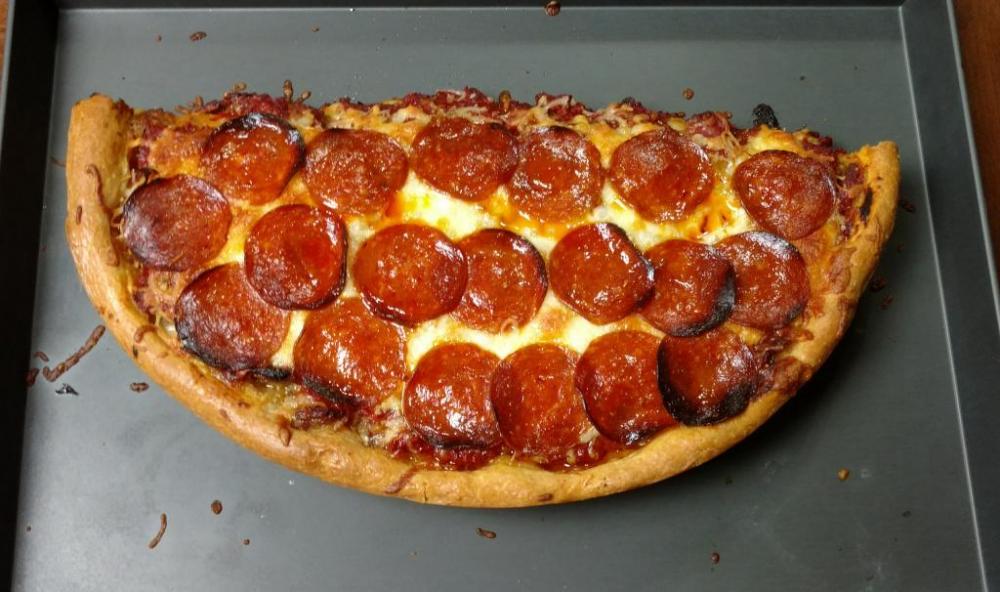
Thank you everyone I appreciate the compliments. The timeline was sort of critical because I didn't want to eat dinner in the middle of the night. Before I started I came up with a work flow (in my mind) that would get everything accomplished without rushing. I stuck to my work flow and pulled it off in the anticipated 3 hours. Critical to that time line was properly managing that baking stone. It's 7/8" thick and takes a good while to heat up. That Chicago pan doesn't look all that big in pictures but it's huge for 2 people especially being as thick as this pizza was. Sunday we ate half the pizza. Normally I would take the leftovers to work on Monday. Since we had a full half pizza left we figured we would eat it Monday night. I brushed ghee all over the crust (bottom, sides, and rim). Threw some more mozzarella on top along with some pepperoni, popped it in the (dare I say) oven. Awesome leftovers. Note that pan I used to reheat it is my Lloyd's 10"x14" grandma pan.
 2 points
 -
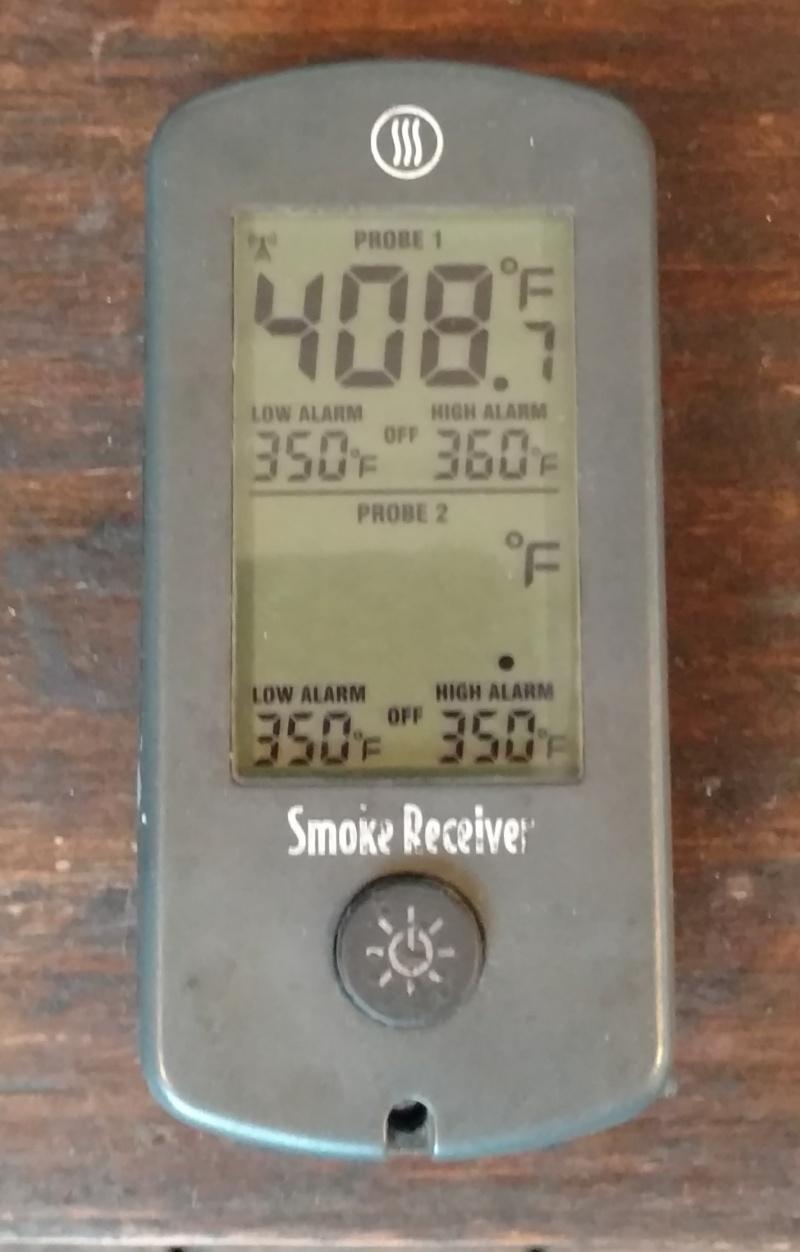
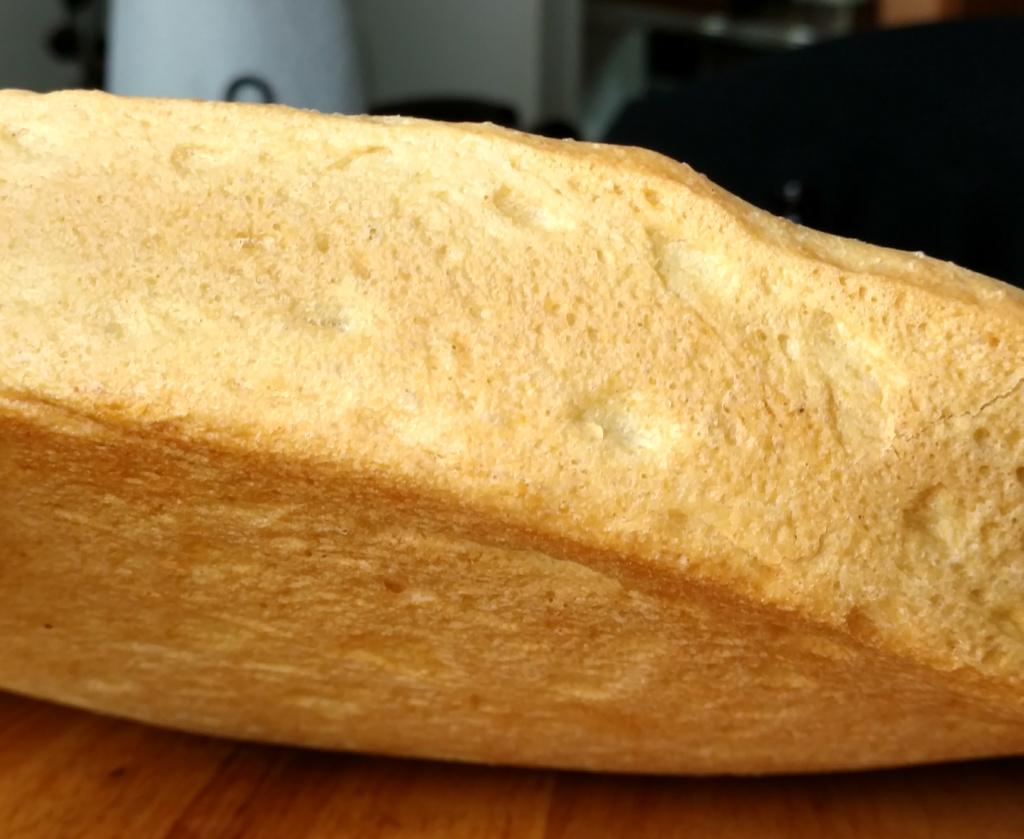
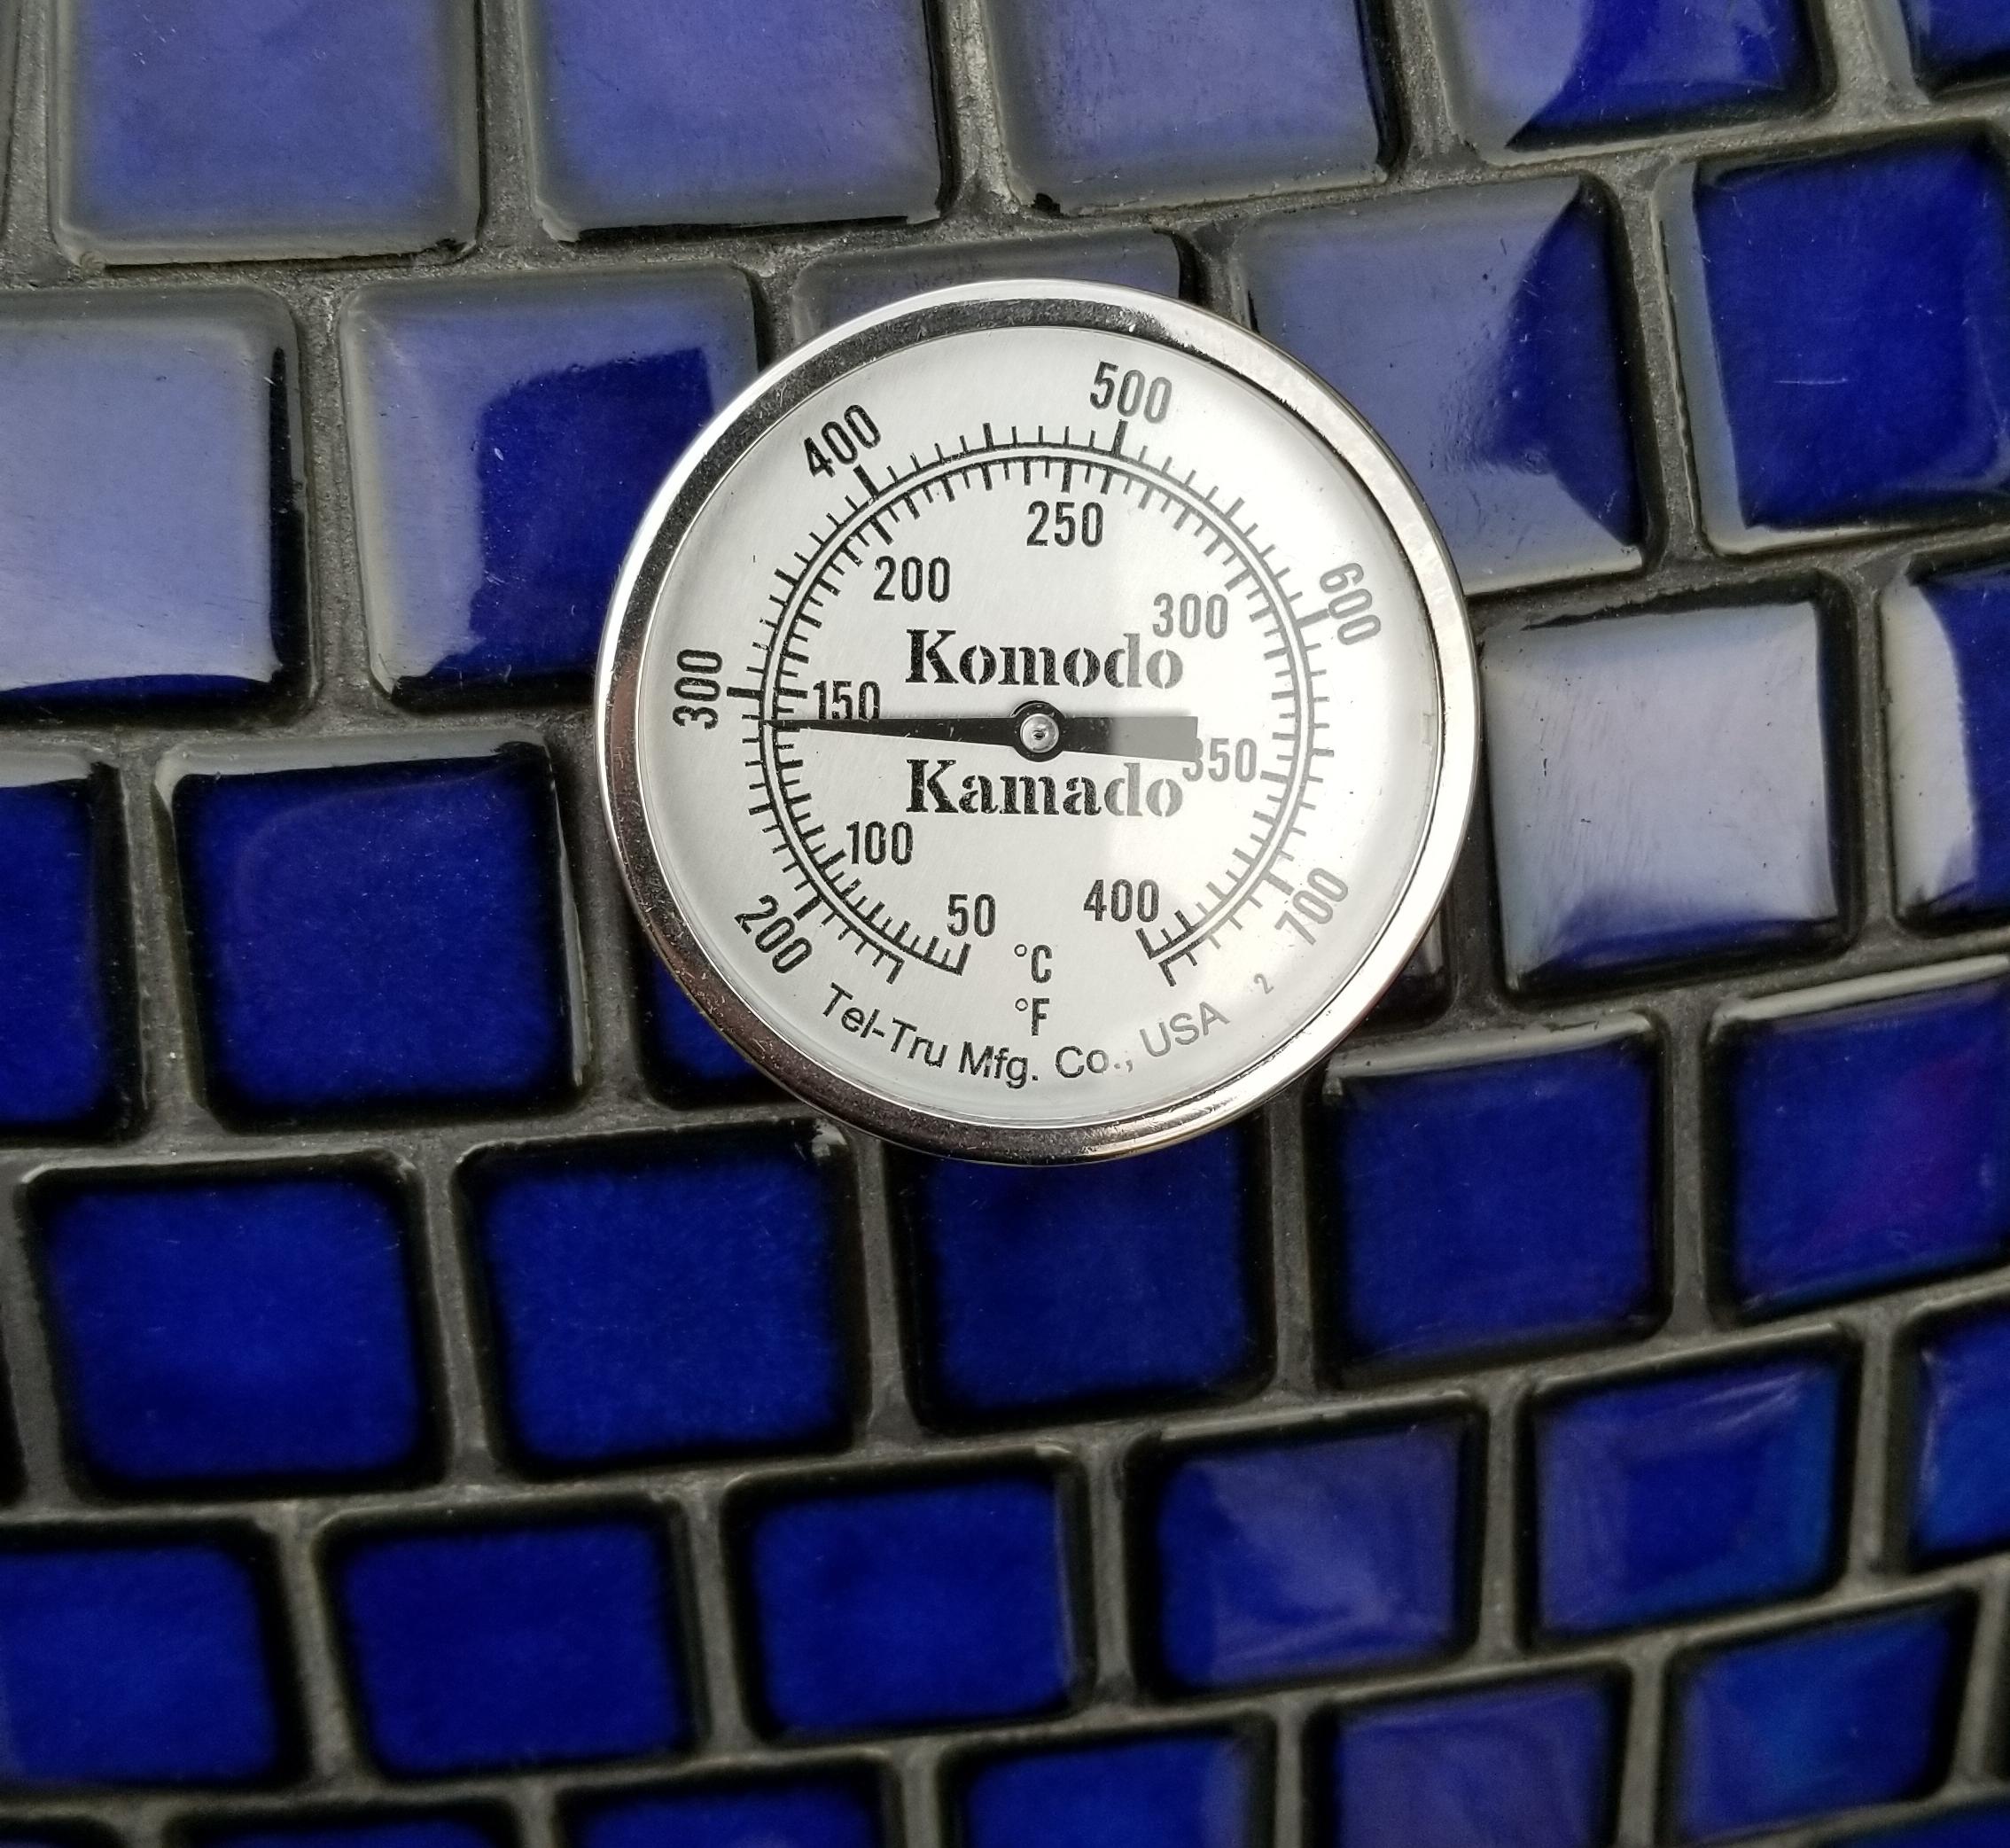
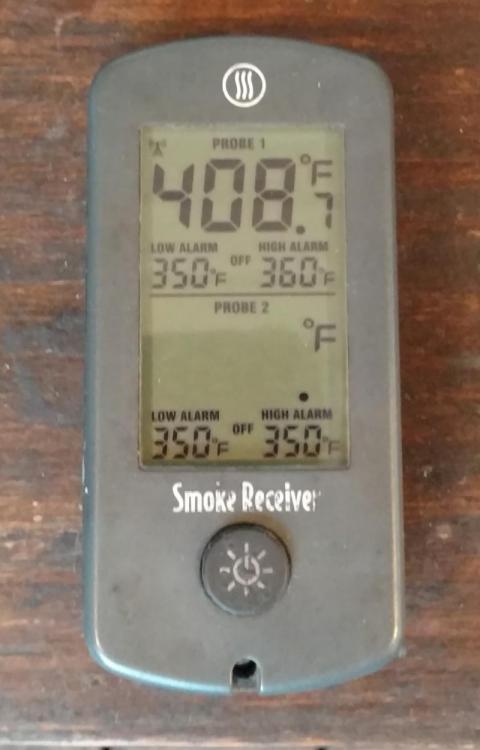
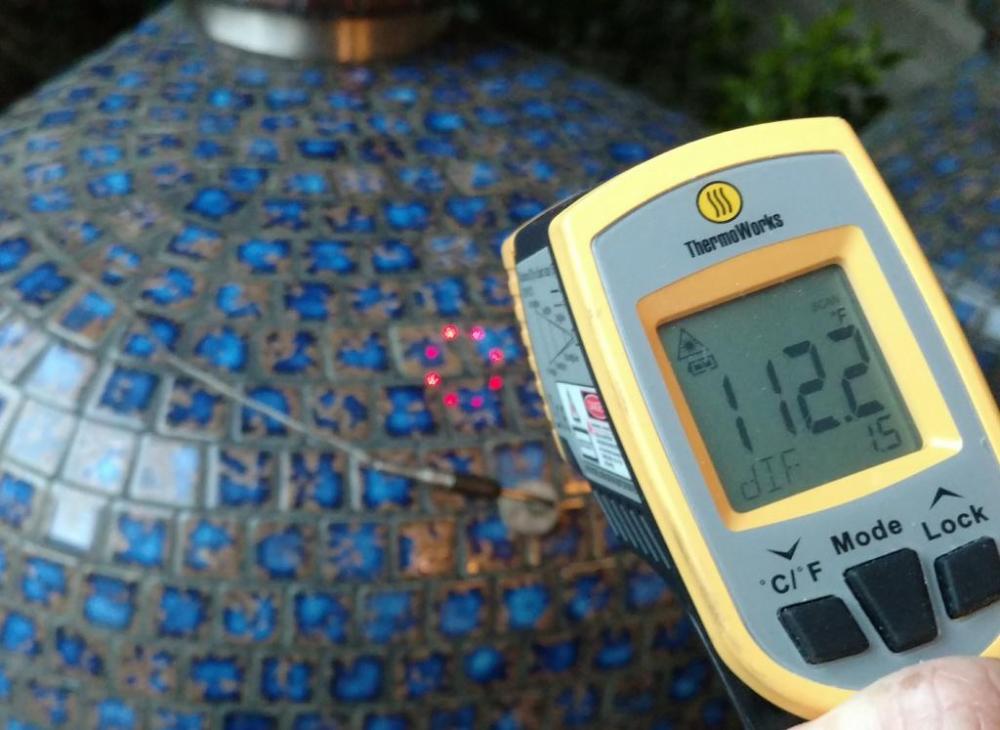
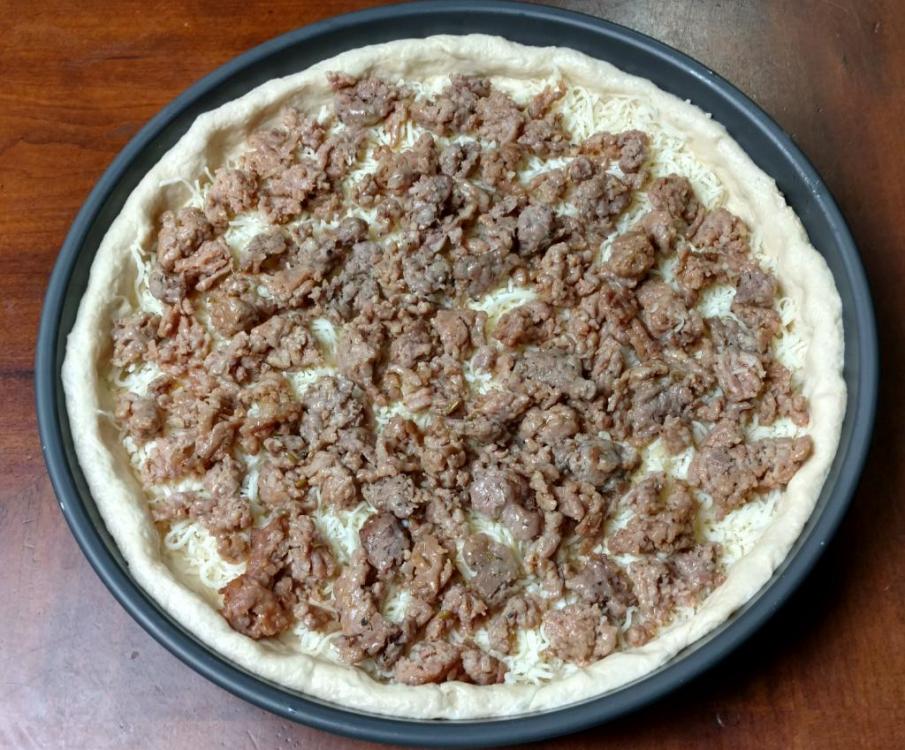
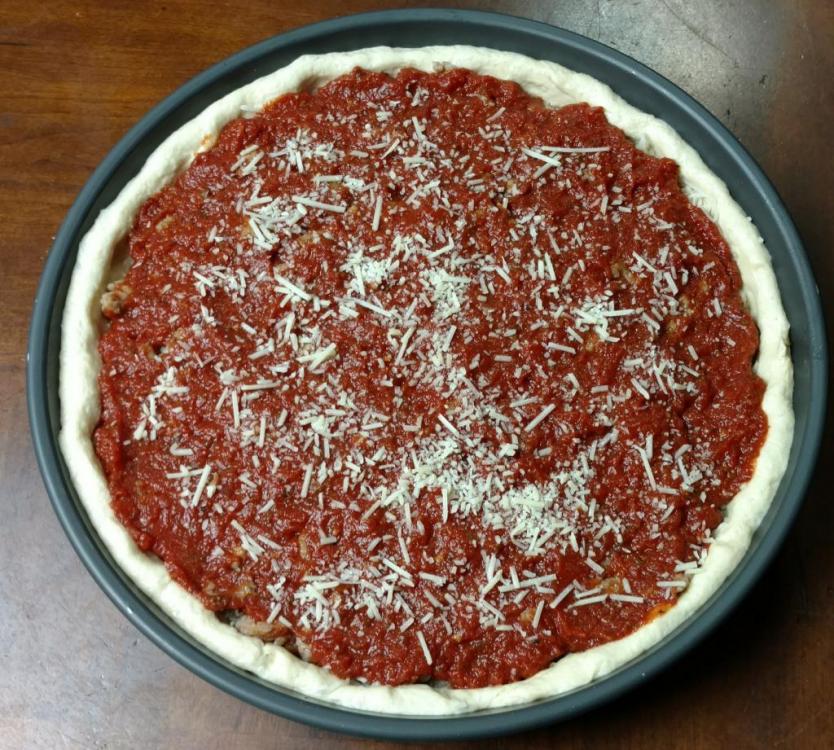
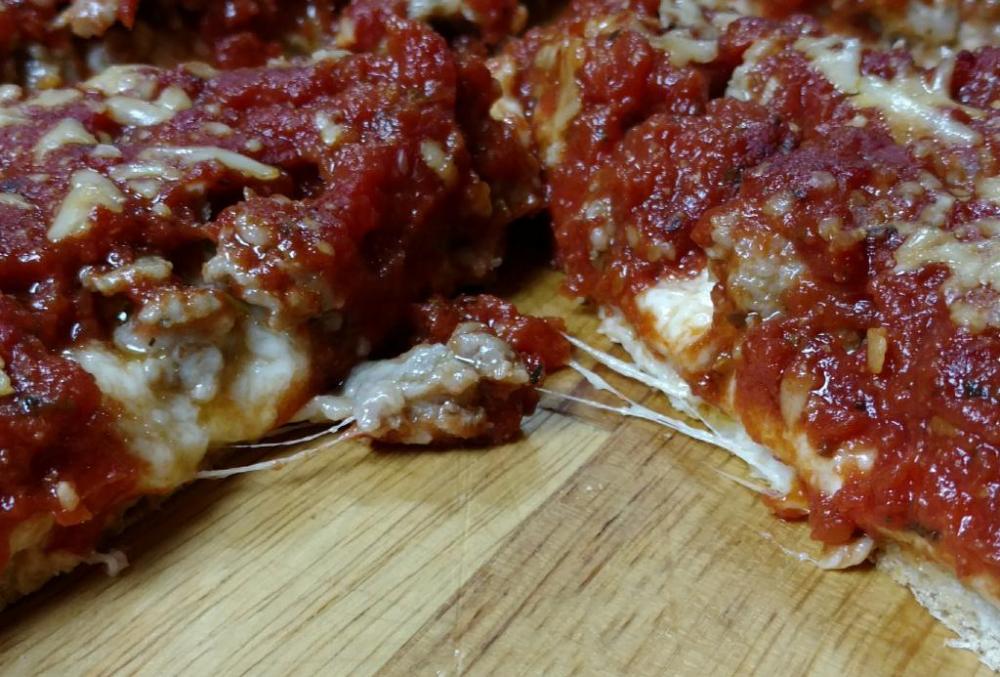
Sunday cooked a late brunch on the outdoor griddle. French toast stuffed with sweet cheese and Lingonberries, bacon, and hash browns. After brunch we drove my son back to college. On the way home I got thinking. We didn’t have anything planned for dinner and if we were willing to eat a little late I could squeeze a Chicago Deep Dish in for dinner. I should have all the ingredients at home and it will give me a chance to try out my new Lloyd Chicago Deep Dish Pan. When we got home first thing I did was mix up the dough since it would need a 2 hour rise. I then went outside and fired up my 19" Komodo Kamado to get that up to 400*. Back inside to lightly brown some Italian sausage and make a homemade pizza sauce using San Marzano tomatoes. After an hour the KK was crusin steady at 400* so I put my Komodo Kamado baking stone in. It's a big fat baking stone and I knew that would take about an hour to come up to temperature. At the 2 hour mark the dough was looking right so I went outside to check the temperature. 408* at the dome and the baking stone at 391*. Close enough, time to build the pie. Also note while the inside is basically 400* the outside a mild *112. I went for a traditional Chicago Deep Dish Pizza. Stretched the dough up the sides, Mozzarella cheese and the Italian sausage. I normally use sliced mozzarella but I didn't have any so I went with what I had. Shredded mozzarella will have to do. Lastly I added the sauce and sprinkled on some parmesan cheese. About 40 minutes later it's looking right. I brought it inside and let it rest for a few minutes. It slide right out of the pan without any effort. I really like Lloyd Pans. Bottom of the crust browned perfectly. Ooey, goey, yummy on the inside - LOL A spur of the moment decision turned out spot on. Total time, 3 hours from start to finish. Dinner was at 8 pm.


 1 point
 -
This procedure probably applies to all the sizes. You will need a helper, a 5mm Allen head wrench and a 14mm closed end box wrench. Both of these wrenches are supplied by Dennis with the grill. If you can get hold of a 14mm socket wrench this procedure will go a bit quicker. Have helper open the dome just enough so you can get to the top 2 bolts securing the spring cover. Using the supplied 5mm Allen head wrench loosen (but do not remove) these 2 bolts. Pull the spring cover back far enough so it clears the 2 bolts then lift it straight up and off. Have helper hold the dome in the completely open position. Make sure you have a capable helper because as the spring loosens and finally comes off the dome will get very heavy. Make sure they are ready for this. Using the supplied 14mm closed end box wrench (or 14mm socket wrench) completely remove the hinge spring bolt from the bottom of the spring. (this will take some turns as the bolt is 1"+ inside the spring) Once the bolt is removed from the spring have the helper gently lower the dome back down. At this point you should be able to remove the spring from the hinge. Remove the Cotter pin from the end of the hinge pin. Gently drive/pull the hinge pin out the other side. Helper may need to wiggle the dome up and down about 1/2" to help this along. The dome is now completely free from the base. Have one person on each side. Have a third helper open the dome just enough to get your fingers in there then lift the dome up and off. Set it down so it slightly overhangs the edge of a sturdy table so the weight of the dome is not resting on the front latch. Well that's it. Took longer to type this then it did to actually remove the dome. Installation procedure is the same but in reverse. Be careful when setting the dome back down on the base so your fingers or more importantly the gaskets don't get crushed - LOL. Once everything is back together you will need to adjust the spring tension by slowly adjusting the bottom spring bolt. Check for proper spring tension frequently. To much tension and the dome will fly open when you unlatch it. Too little tension and the dome will slam closed on it's own. I like my tension just enough so it's not fully auto opening and so it will stay in any position if I (or an unruly guest) lets go of the handle when sneaking a peak.1 point
-
1 point
-
Christmas in March......I loved it.....it’s really an amazing piece of equipment......1 point
-
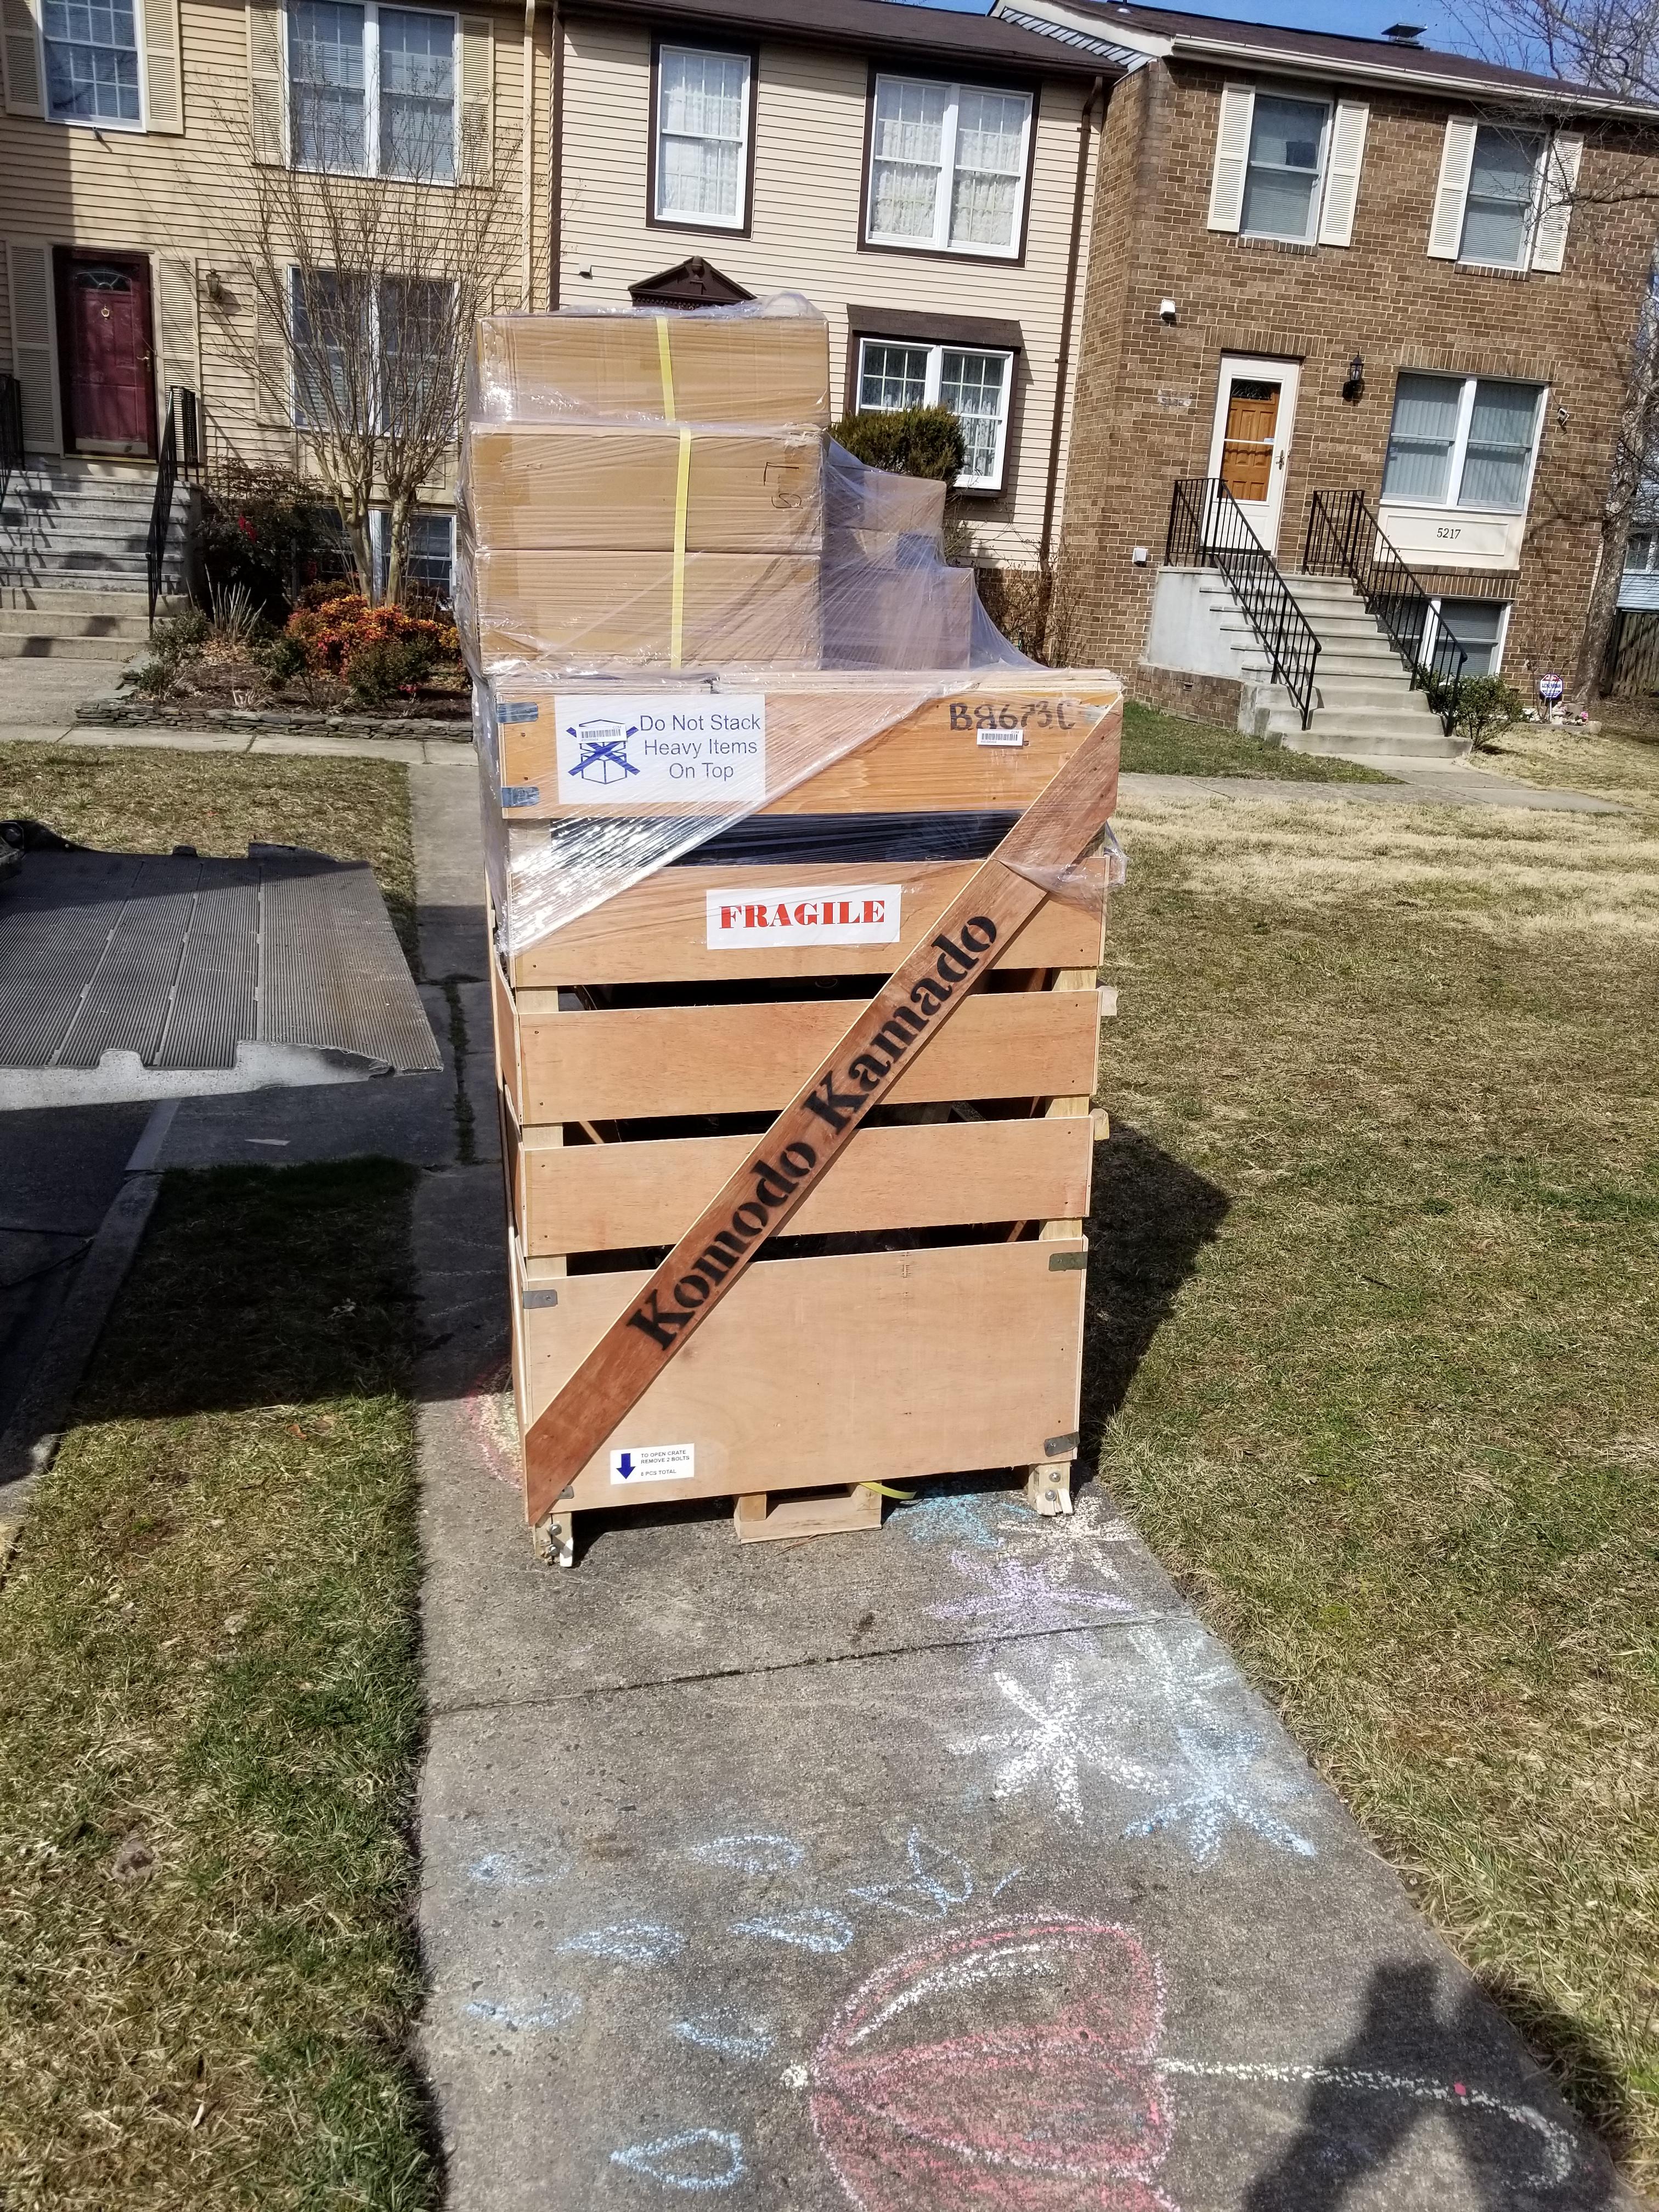
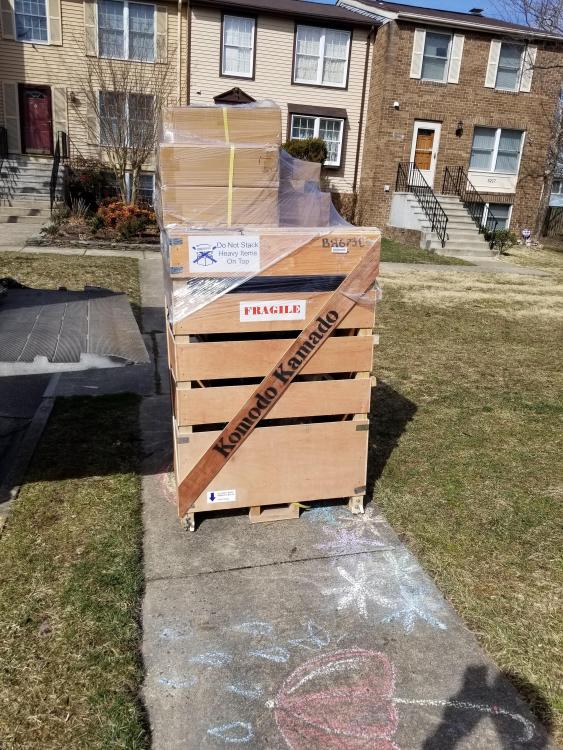
Hi Paul, the ship docked 3 weeks ago and I could have pick up the 32” 2 days later, however I had to coordinate the Crane Company with my buddy with whom I picked up the Crate at the shipping company. The first attempt was canceled as we had some serious weather with very heavy winds so the Crane Company had to cancel. But yesterday everything worked out, okay we had some pretty brutal rain showers coming through, the Crane came at 1:00 o’clock, exactly 1 hour late the crate was placed next to the Gazebo and I could start removing it. Unfortunately my phone ran out of battery so we missed the part when we got the Big Bad down the ramp however this went pretty smooth. I must say, that Dennis has really made a great job by all means, there have been paid so much attention to detail not only with the Kamado itsel,f but also when it comes to the whole experience around a Komodo Kamado, the build in ramp is a great example of this. So after a 3 hour brake, grabbing a bite to eat, charging my phone I was ready to, proceed and another 3 hours later I was done, everything was in place and the cover was on.1 point
-
It has arrived!....I decided to make an unboxing video.....please enjoy........oh a bit of warning....my first video ever ever....may also be the last! https://www.youtube.com/watch?v=rGyIx6_QbSY1 point
-
Is Kipper expecting treats?1 point
-
one of my favorite cooks.... worth the effort. Great job.1 point
-
Bloody hell that looks good - I need to stop reading this forum; too much goodness to try out is not helping my belt size! Sent from my iPhone using Tapatalk1 point
-
Deep dish - a pizza or a casserole? Who cares? - looks fantastic!! +1 on the Lloyd pans1 point
-
Think I remember a pig as our project. Betya that Gooney Bird has roots in Bali, to think where the mystery all began and how it brought you forward1 point
-
Looking at the complexity of the design I don't understand it either and the execution seems to be flawless.1 point
-
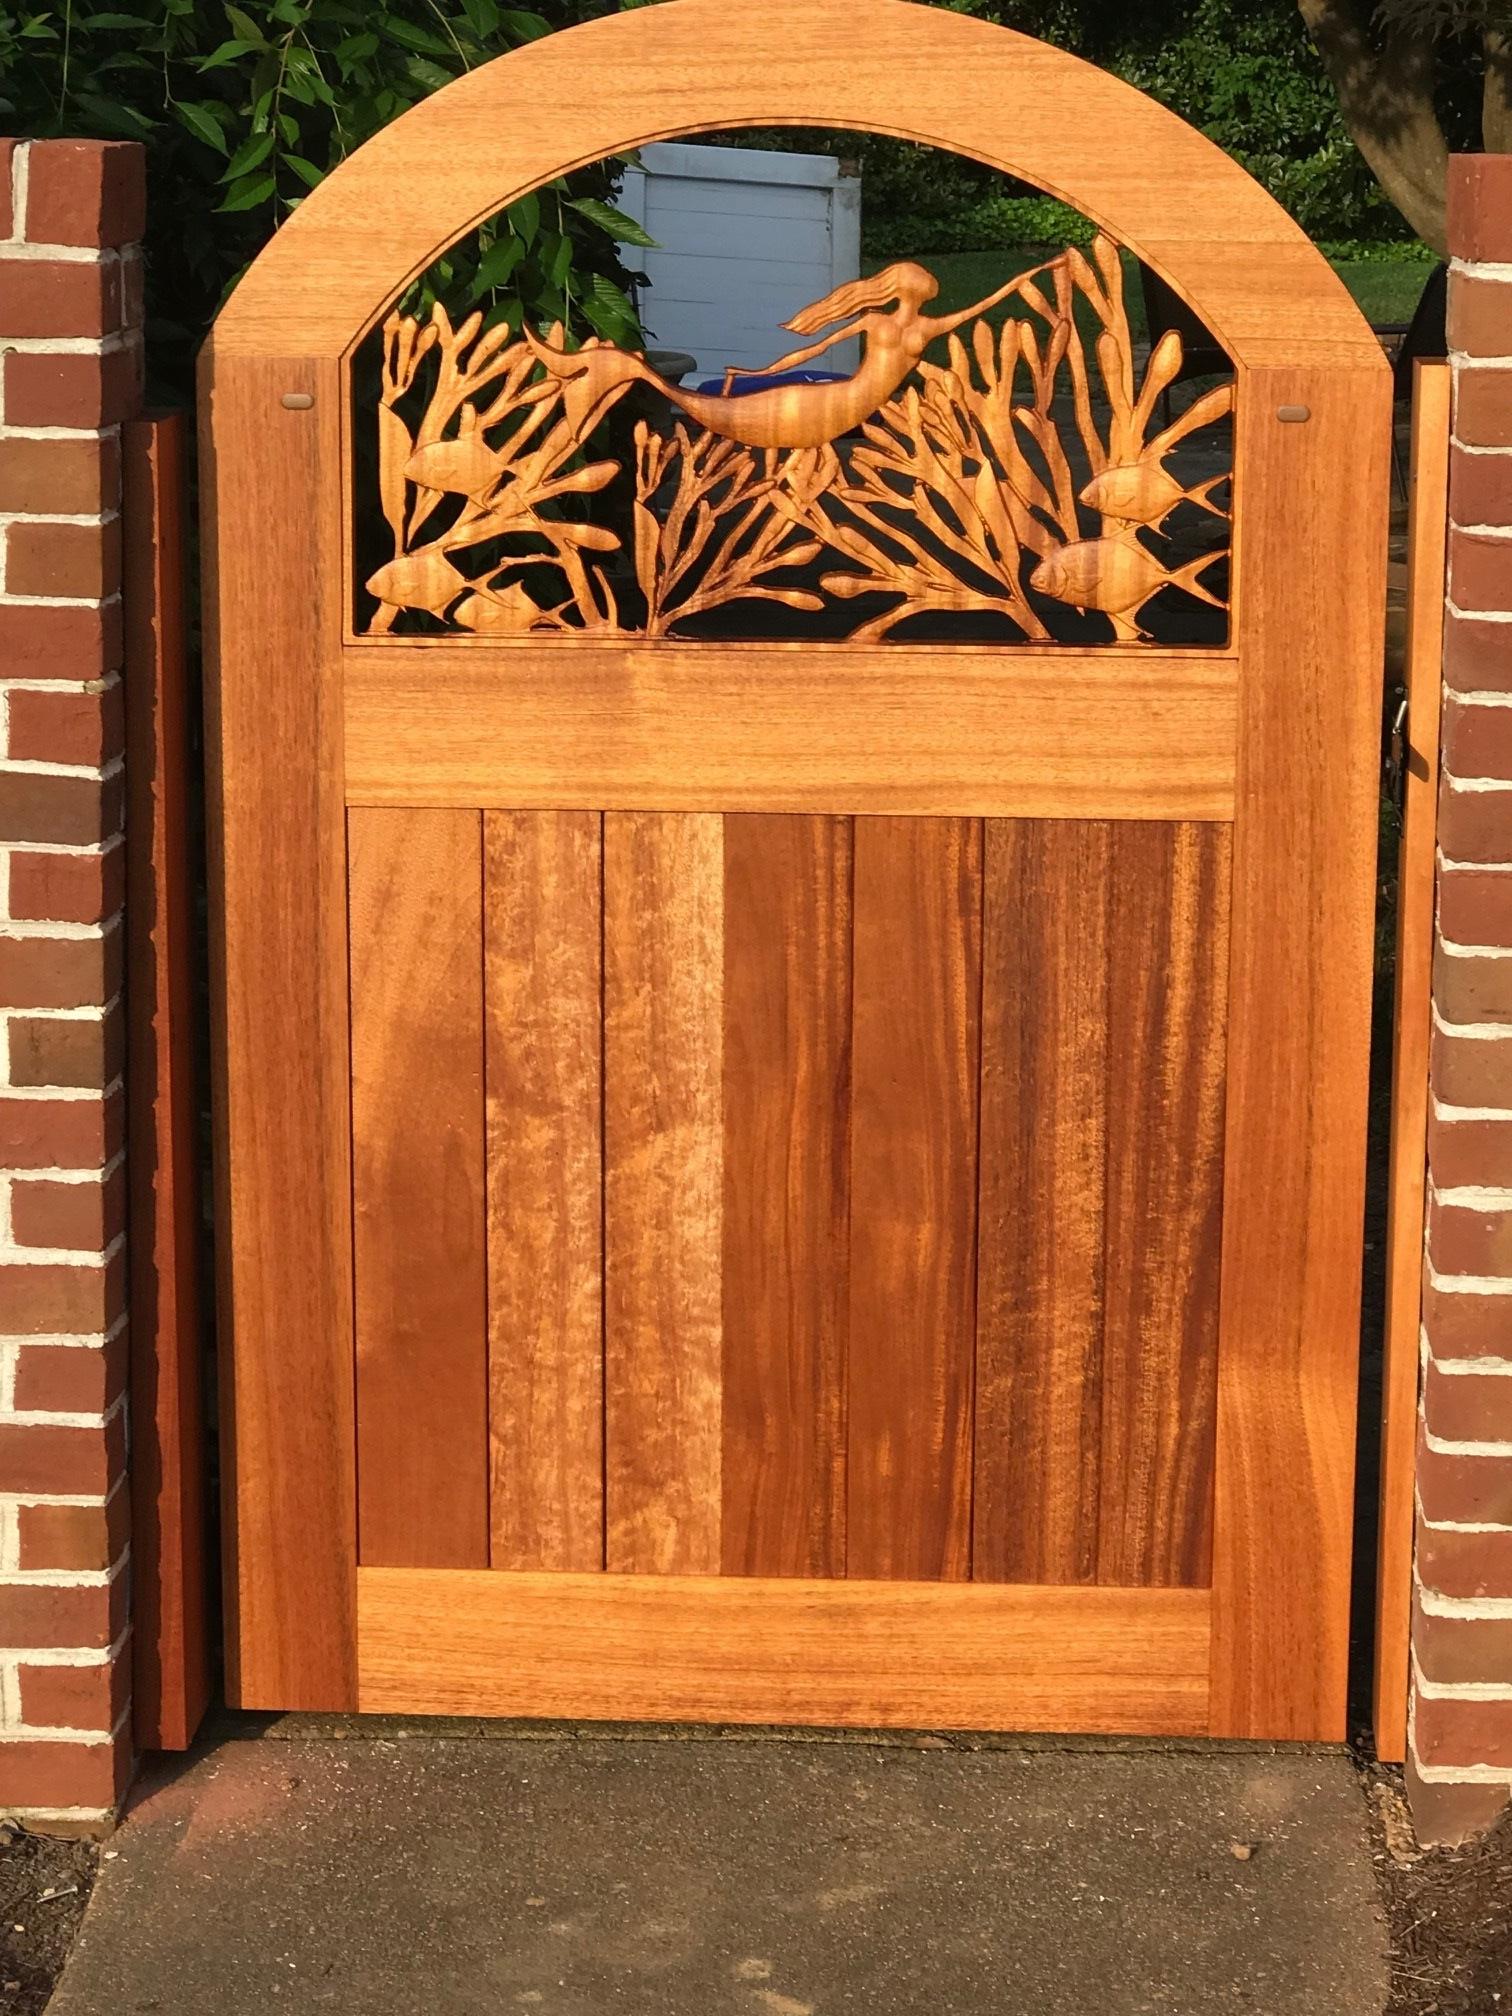
@Steve M @Bruce Pearson Not to be out done by Bruce or Steve M. I thought I would post a photo of one of my finest wood working projects.........The Gooney Bird cutting board. It did have a mahogany eye ball but it fell out a long time ago. My 90 year old mother keeps hiding it, however I have discovered all her hiding places and always return it to it's place of prominence........on the island counter top. Even though it's size and design is totally worthless as cutting board...........this valued family antique is probably about 50 years old and is the reason I got a C in wood shop and started taking Home Economics courses.
 1 point
 -
All in all, a total success for a first cook. This thing is really an amazing and beautiful cooking tool. In hindsight, I could have done a couple things differently, I think. I started the fire using a torch and got a tennis ball size clump lit up and glowing. I don't think I gave it enough time to get hot before placing the grates (bottom grate, with foil to deflect heat, and top/main grate) into the KK. As a consequence, airflow seemed to be a little restricted (? by the foil covered lower grate) and it took longer than I expected to get up to target temp. My bad entirely - trying to rush things as I was a bit jammed for time (never good when cooking low and slow, right?). Because I was a bit rushed, and targeting a specific feeding time, I put the ribs on before reaching target temp. Maybe not so bad if I had more time, but all it really did was delay things further. I was a little paranoid about overshooting the temp, so I didn't open the vents quite as much as I think I could have. I popped one small chunk of hickory in with the char on the front end. Seemed to work out pretty good (good flavoring), but got me thinking even more about making myself a smoke pot. Last observation - ribs are good dessert. And, I'm thinking, will make a great breakfast tomorrow...1 point
-
My first CNC was really small and the gantry was made out of hard plastic. I found I really needed the rigidity to do these inlays. The frustration is what caused me to go big and sturdy. The CNC is a blast to use and production power is empowering. I built quite a few cabinets for my house about a year ago and you could literally sit down at a computer with the basic dimensions of what you wanted to build and be cutting all the parts 10 minutes later. This was one of my favorite projects last year. The sculptured part was done on the CNC. It is 2 sided and took about 22 hours of solid carving. Everything is solid mahogany.
 1 point
 -
I just did this. Publix uncooked corned beef. Soaked 36 hours. Seasoned 12 hours prior to low temp smoke to 160 internal temperature. Then steamed till tender at 275...about 6 hours. 195 internal temperature Amazing.

 1 point
 -
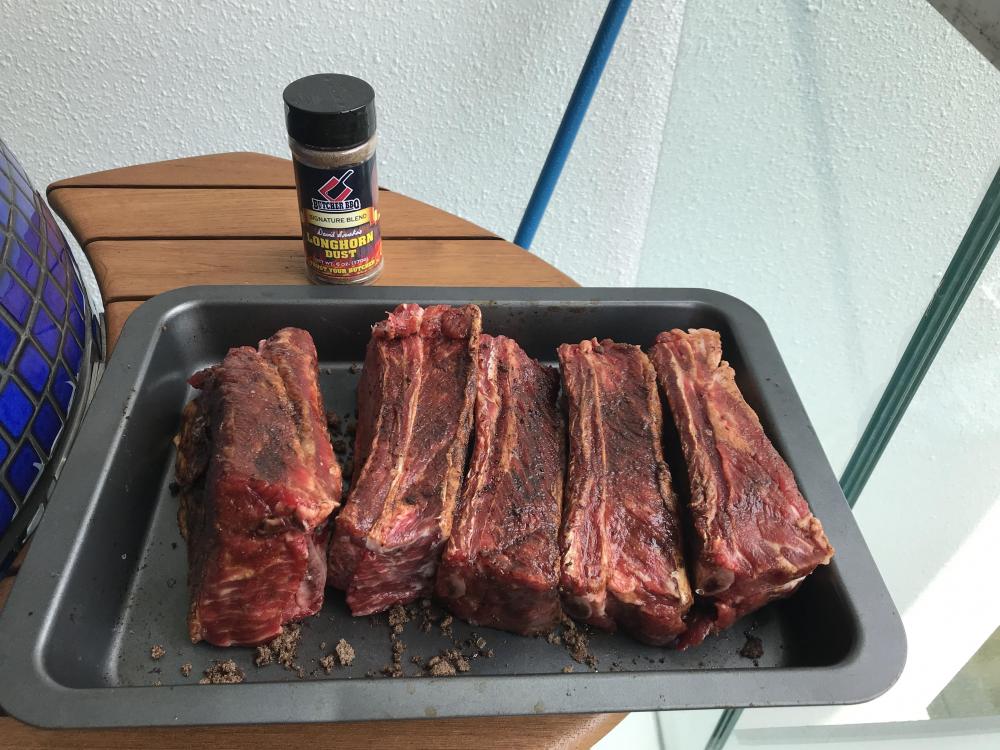
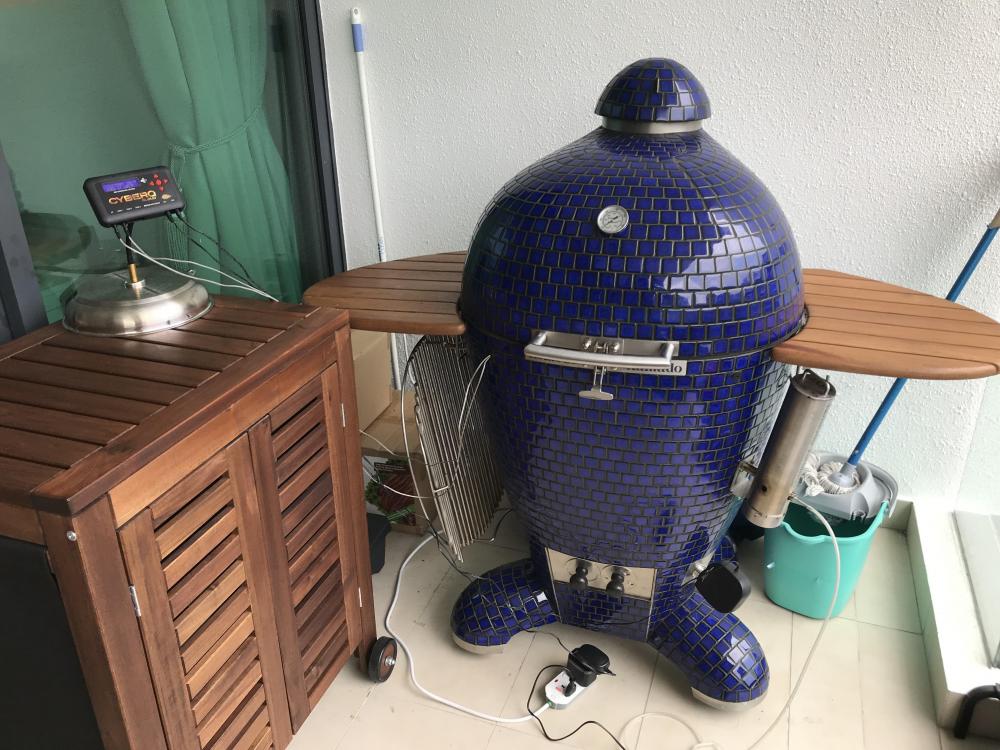
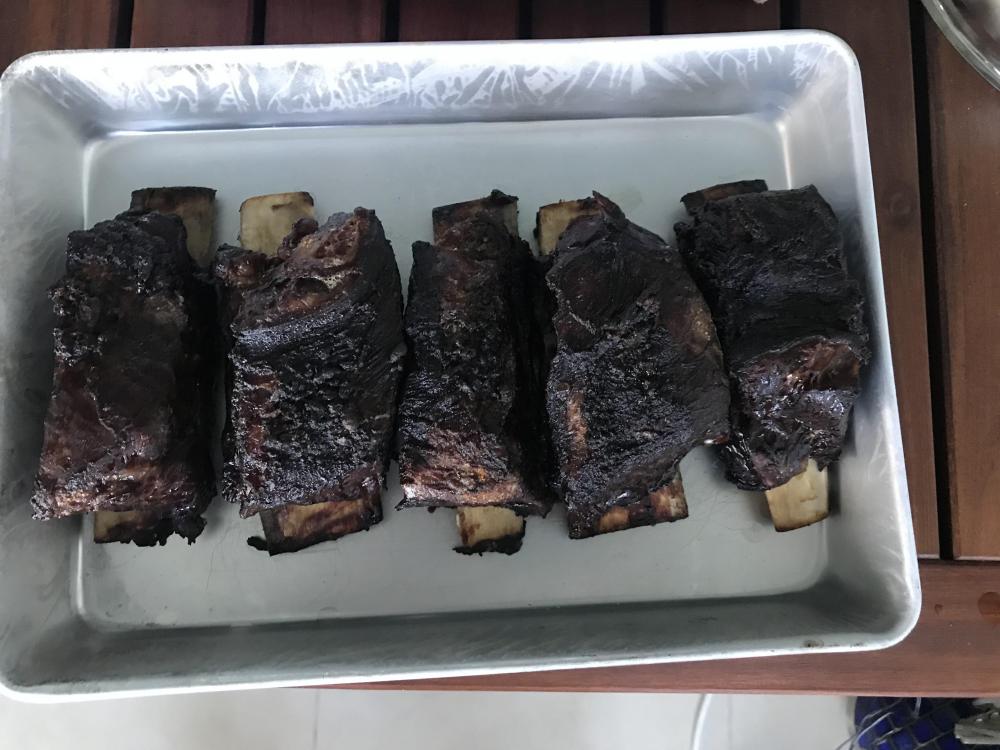
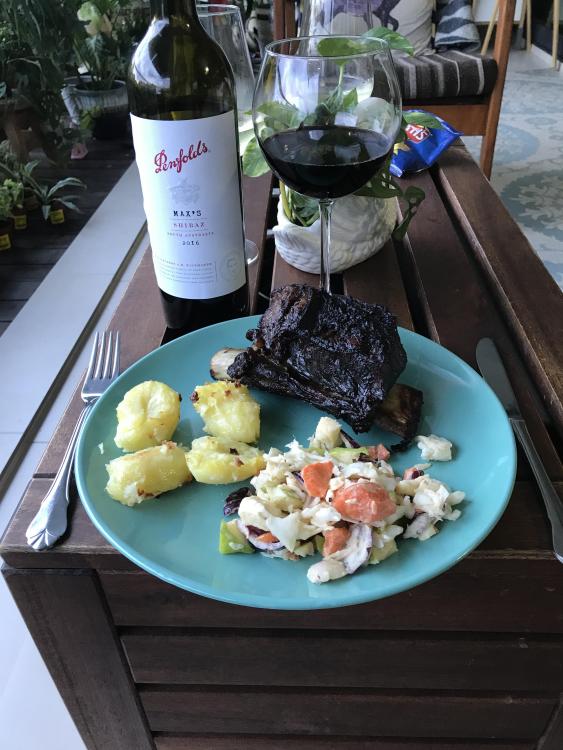
Unoriginal title: dinner from last night. I tried a dry brine; meat ended up a little saltier that I like so won’t do that again, otherwise it was pretty good. Cherry wood chips used. dry rub after the dry brine - salt content was really Low in the rub, but I guess any salt messes with the dry brine my sneaky smoker kitchen setup ~ no complaints yet! Next weekend will be the real test: paddy’s day mega bbq My little chocolates off the grill Aussie beef needs Aussie wine: the Wife made the spuds and slaw this time: great stuff
 1 point
 -
After stalking the website and saving money for almost 4 years, I finally got one.

 1 point
 -
Just made my first pizza on the komodo kamado. Did it at 750 for 8 mins turned out very good[emoji16] Sent from my SAMSUNG-SM-G935A using Tapatalk1 point