Leaderboard

.thumb.GIF.006d23b9323146d2dd9055f4e195bc2a.GIF)


Popular Content
Showing content with the highest reputation on 08/26/2017 in all areas
-
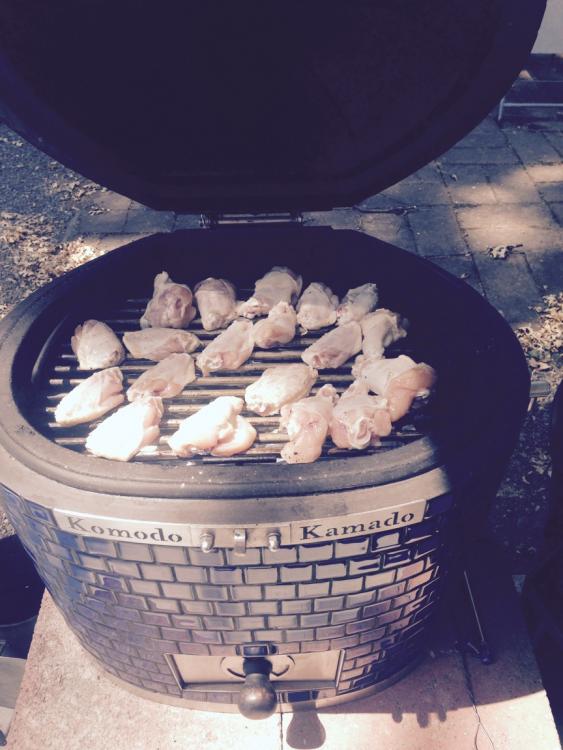
Ok. First day with new KK 32. Doing quick first cook. Fire started At suggestion above I pre charred some hickory. And here it is loaded up. 2 St Louis racks, 2 larger "spare rib" racks and a 5 lb shoulder butt roast So far it's been going 3 hours ...... Sent from my iPhone using Tapatalk3 points
-
Good advice from the others, nothing to add here. Haven't used my deflector stone in years; I use either the drip pan or some aluminum foil on the lower grate - easy, peasy! One new trick that I used for the first time last night - if you have a MAPP/Propane torch, pre-scorch your wood chunks. You'll get to good smoke faster.3 points
-
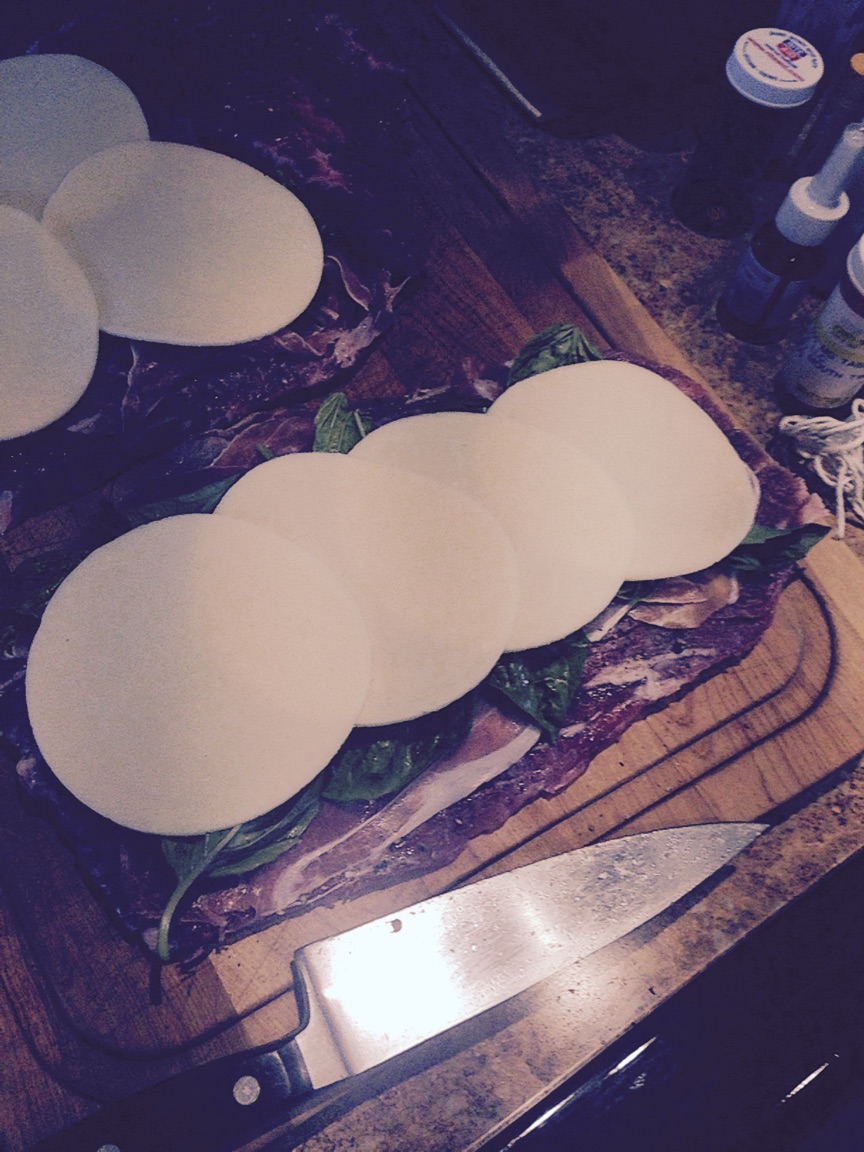
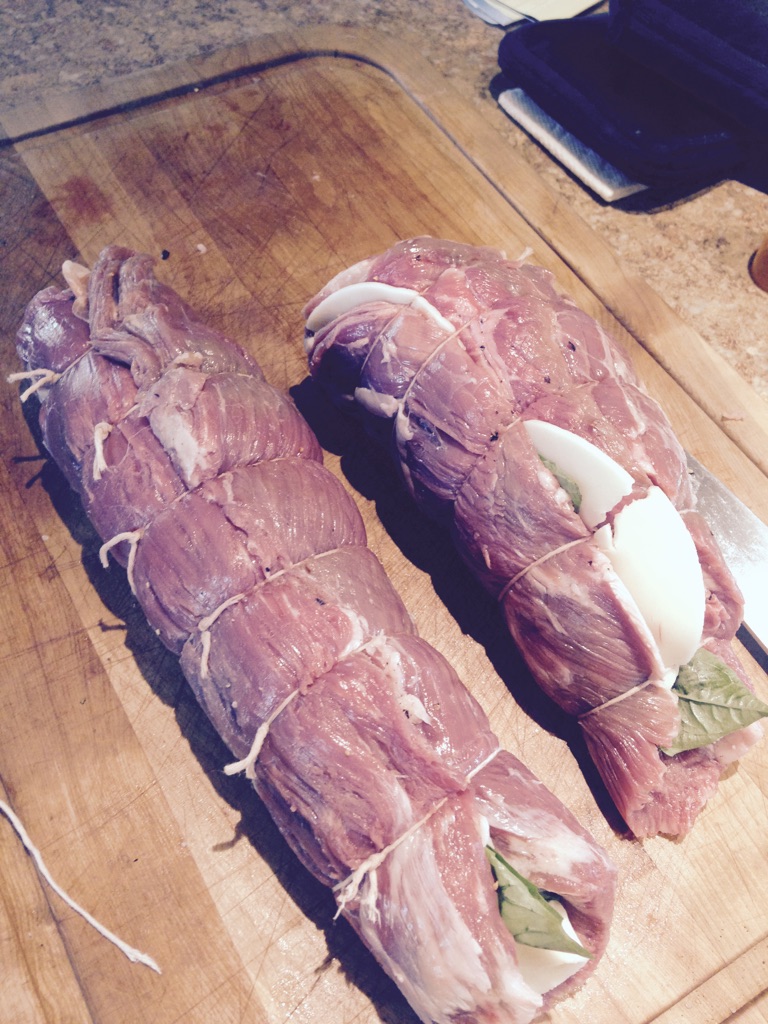
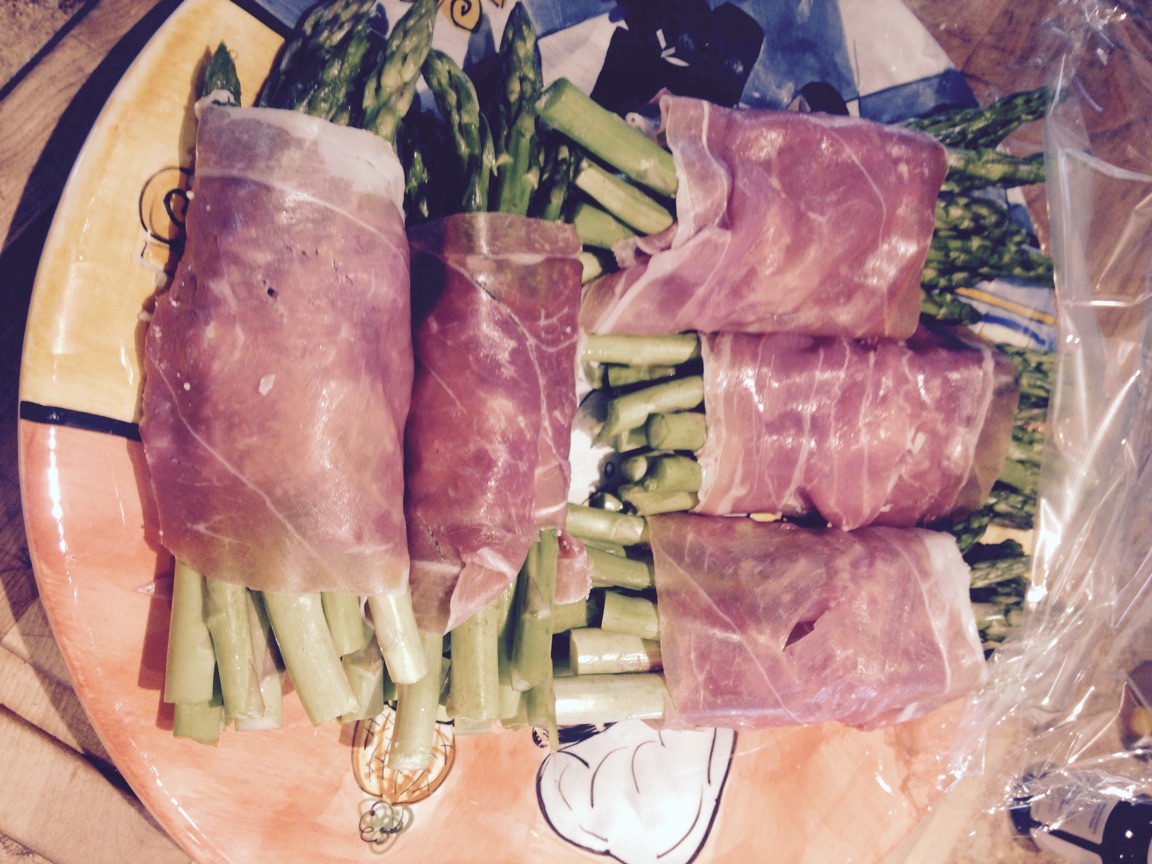
I'll start off by tell you there's no finished or plated pics. Darn beer! The son requested some Q the other day so we started off with chicken wings. Then I did a Flank Steak stuffed with prosciutto, basil, and provolone cheese. Rolled and tied. And some prosciutto wrapped asparagus. As I said, no finished shots but, it was delicious.
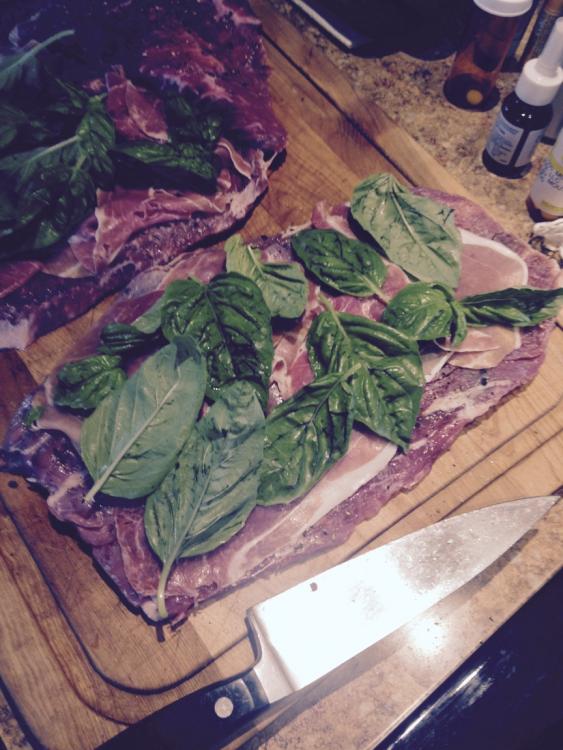


 3 points
 -
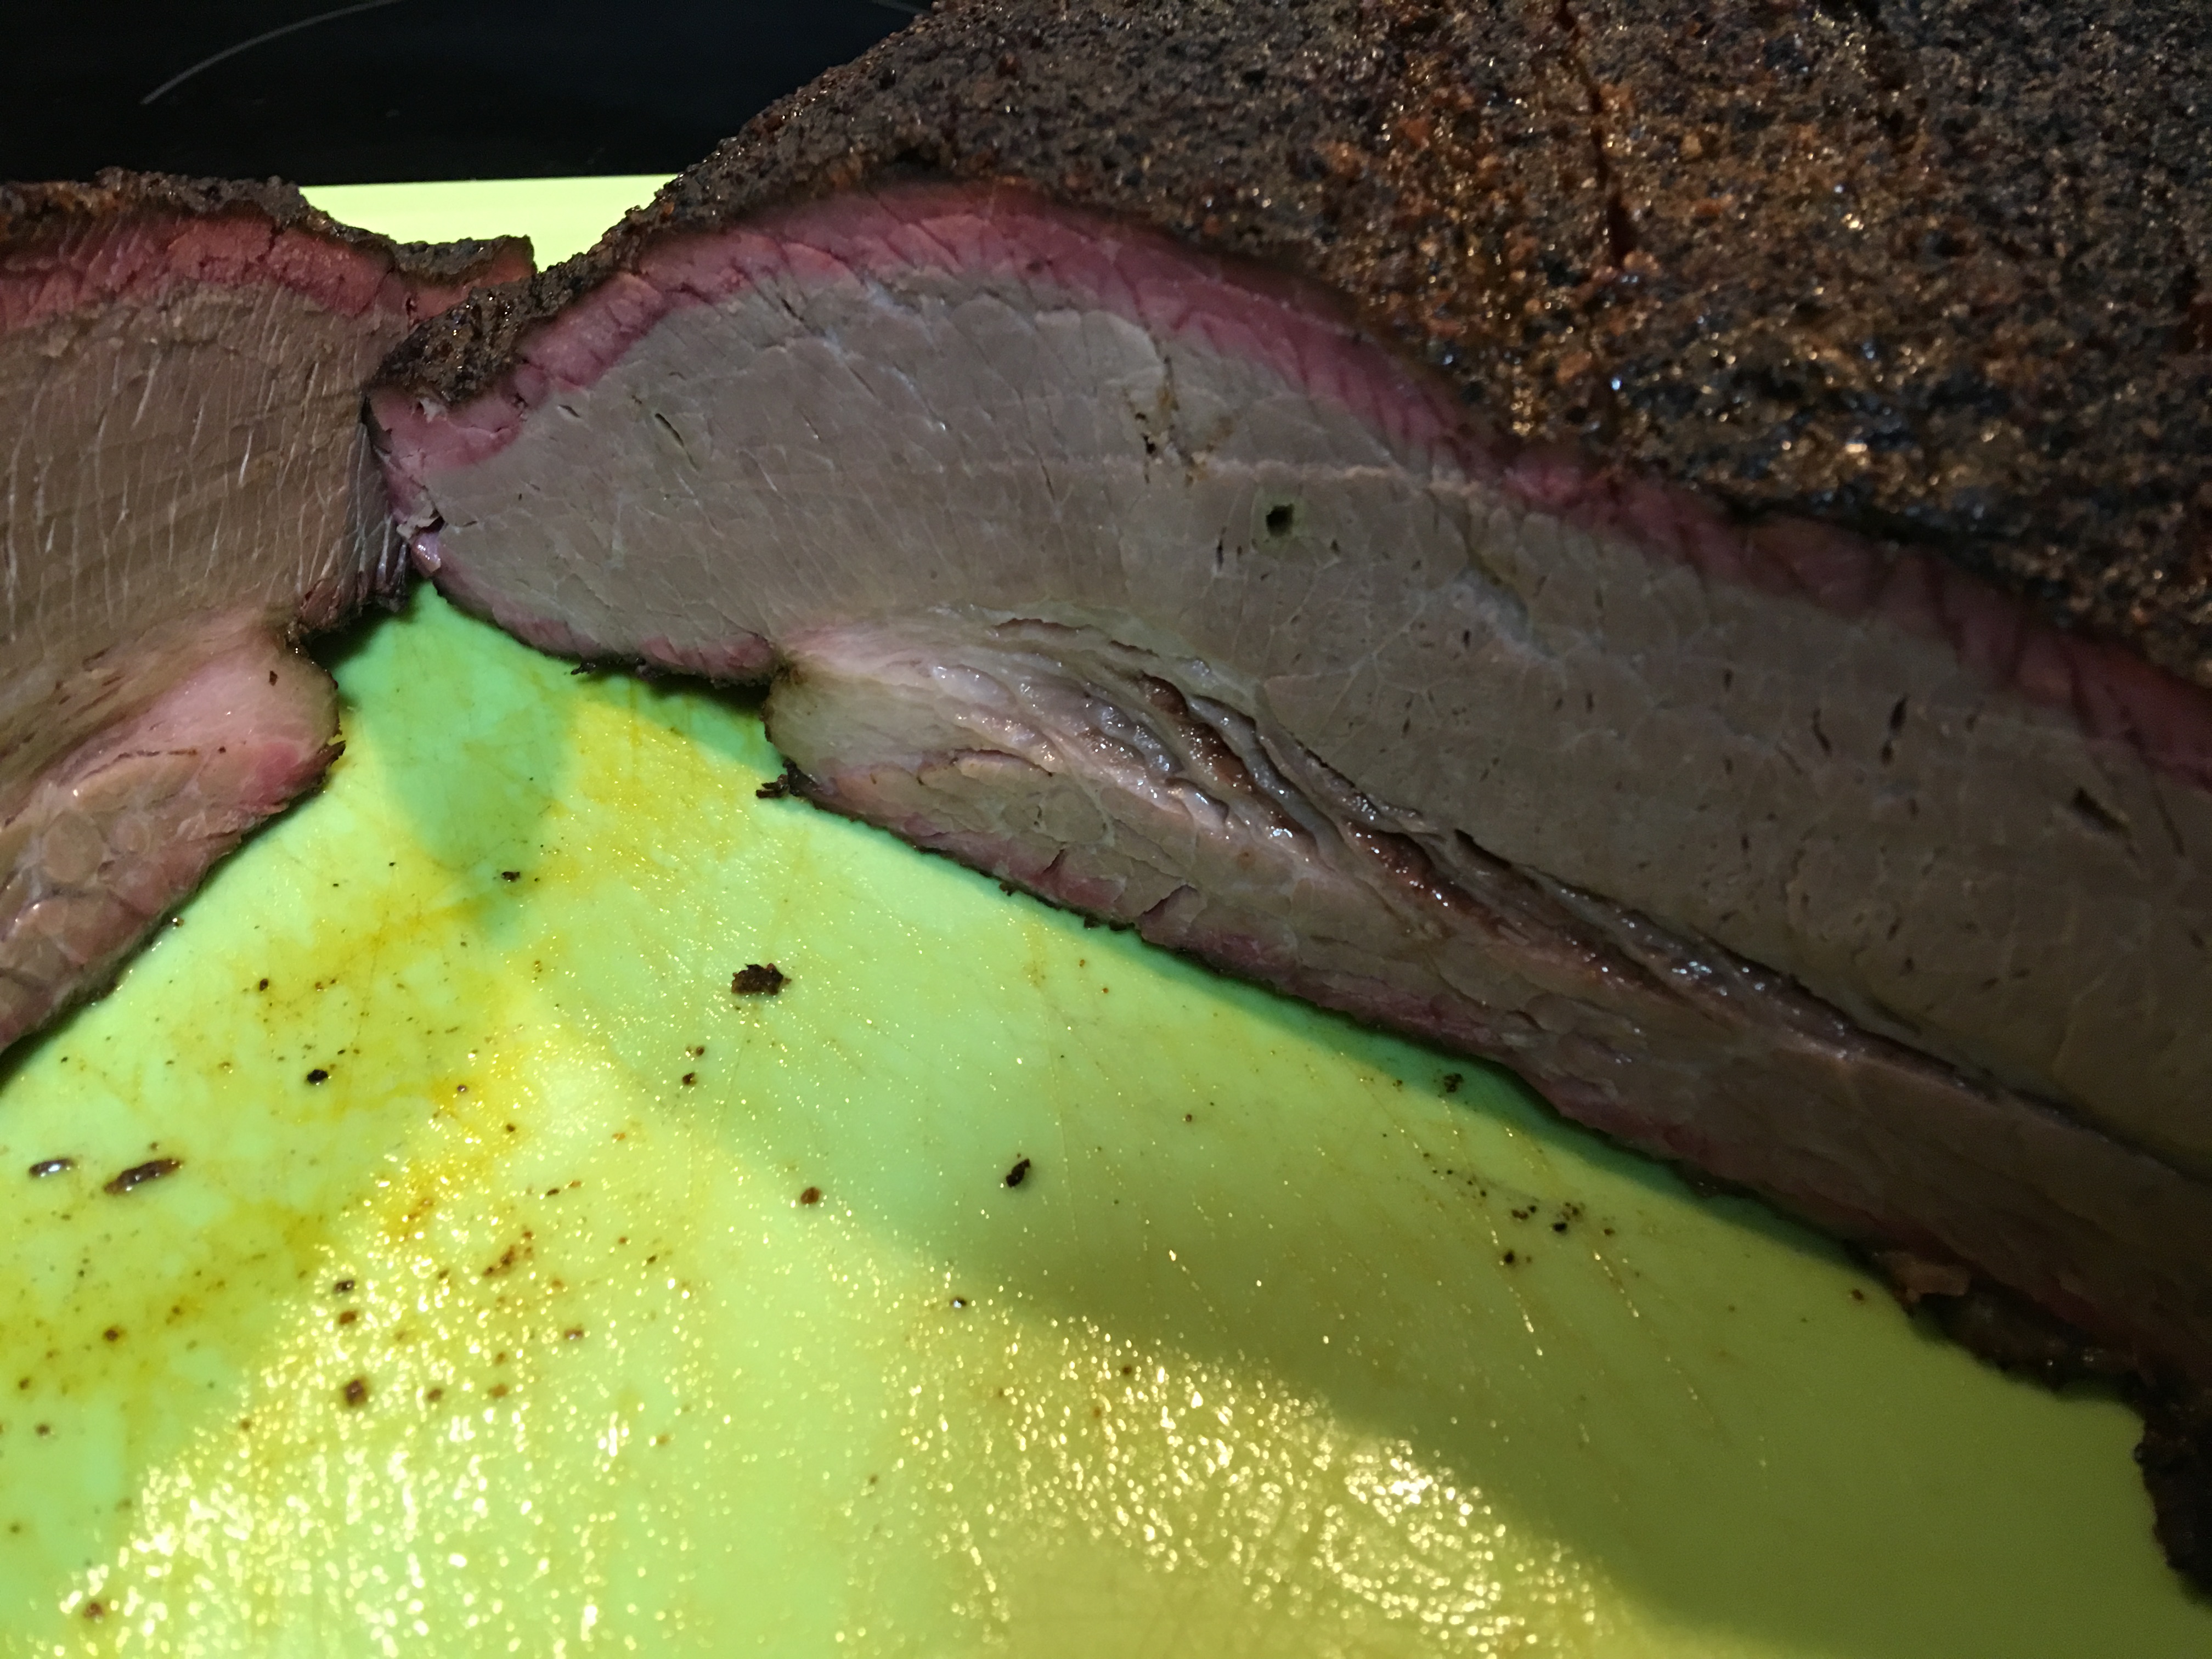
I thought I'd check in to say thanks to all for the tips on running the cold smoker. Everything when fine, ran the cs about 7 hours on the medium chips and didn't have to relight it any. I did have to run the pump about 75% to keep the airflow up enough to keep it smoldering. I was surprised at the bark and smoke ring it created. Here's a couple of pictures, you'll have to ignore the green overcast, the cutting board affected the white balance and I didn't take time to correct them (their straight out of the iPhone).

 3 points
 -
Please remember to post large images and some square ones I can hijack for Instagram! Thanks for all your help.. Instagram now sends more traffic than Facebook.
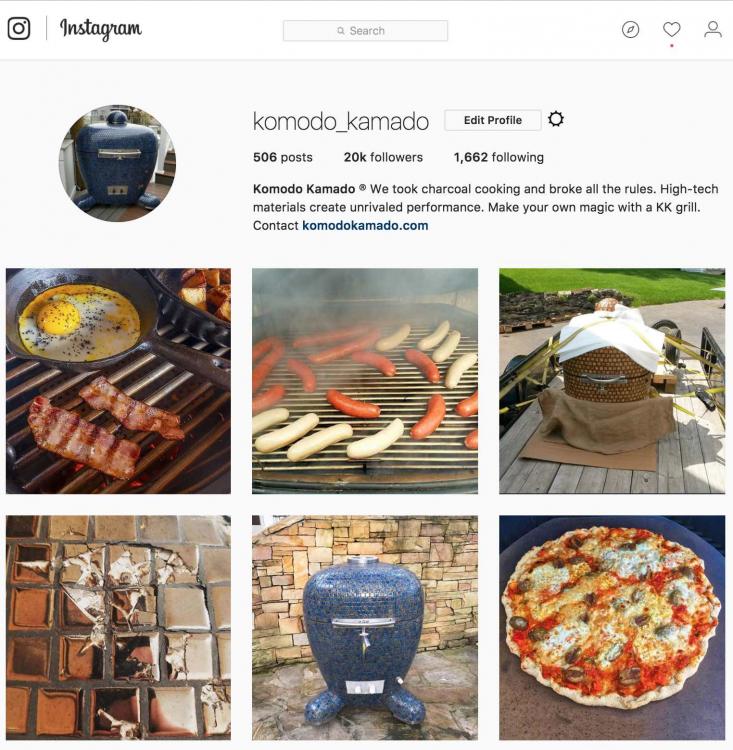 2 points
 -
Now that's thinking!!2 points
-
Thanks @MacKenzie and @Steve M i pulled it a little early, the flat still probed a little tight in a place or two even though it was up to 206 it. I was impressed with the Oakridge black op's rub and I managed to get a little of the Oakridge game changer injection done in spite of the center still being a little frozen the night before. Really happy with the cold smoker, clean smoke flavor and easy to take apart for cleaning. all things considered, it was a good day.2 points
-
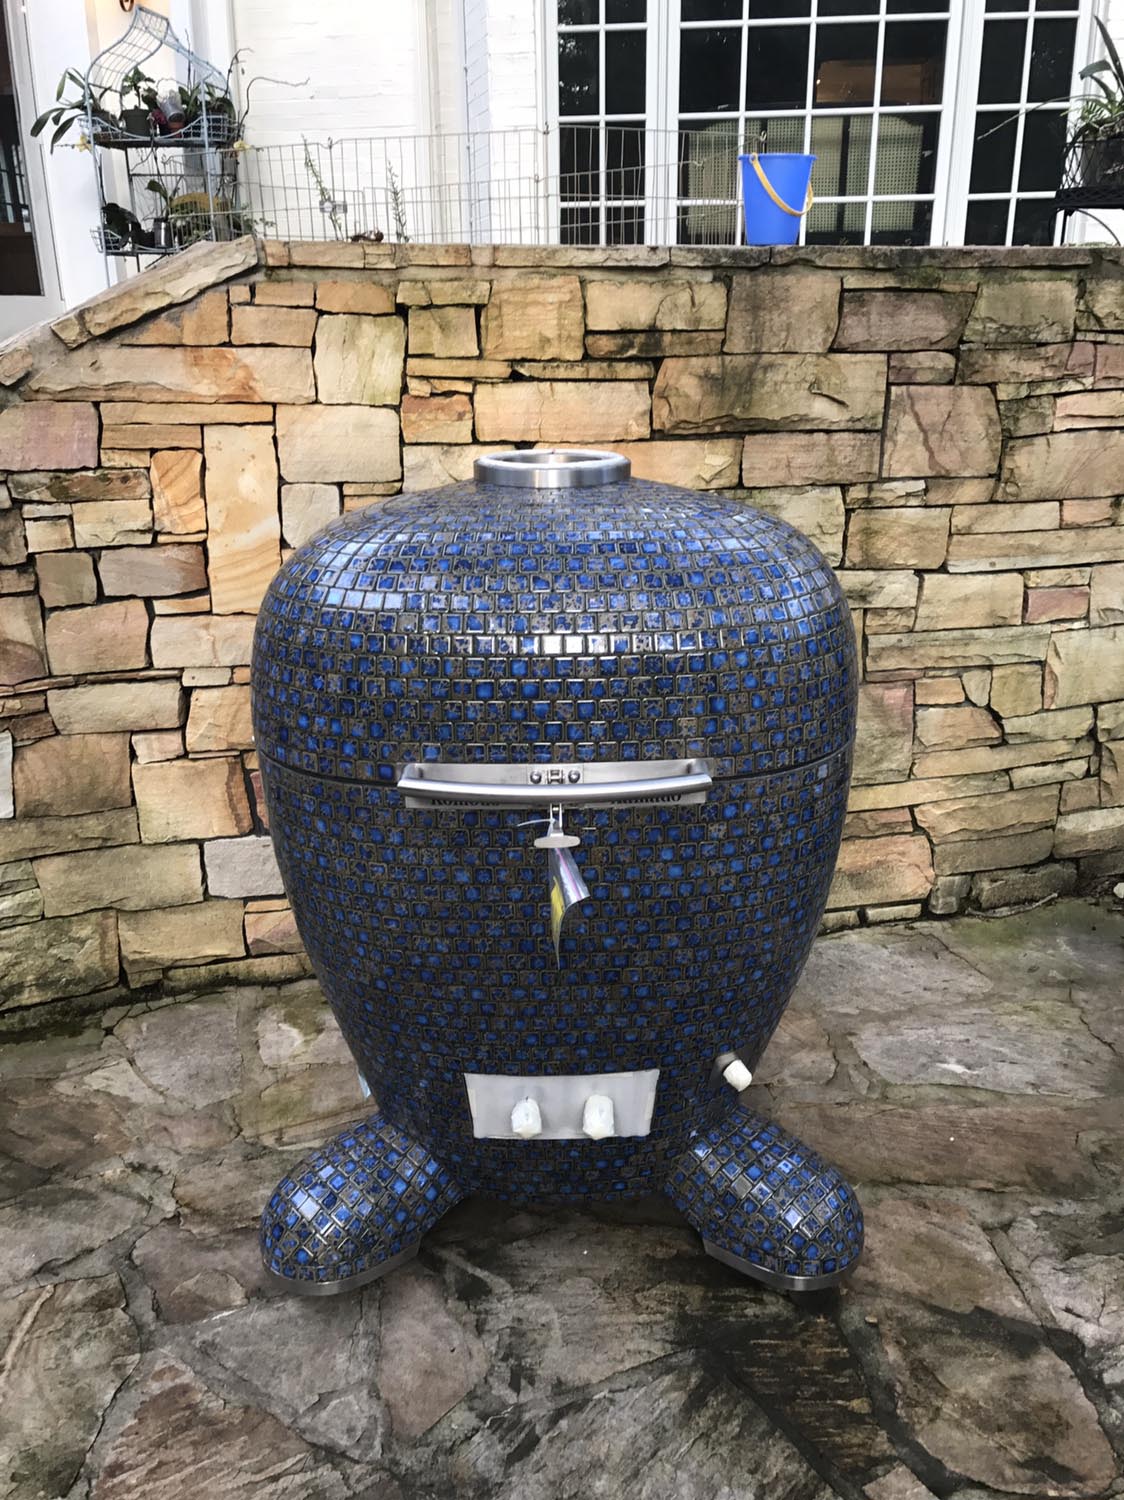
Successful in uncrating !!! Sent from my iPhone using Tapatalk
 2 points
 -
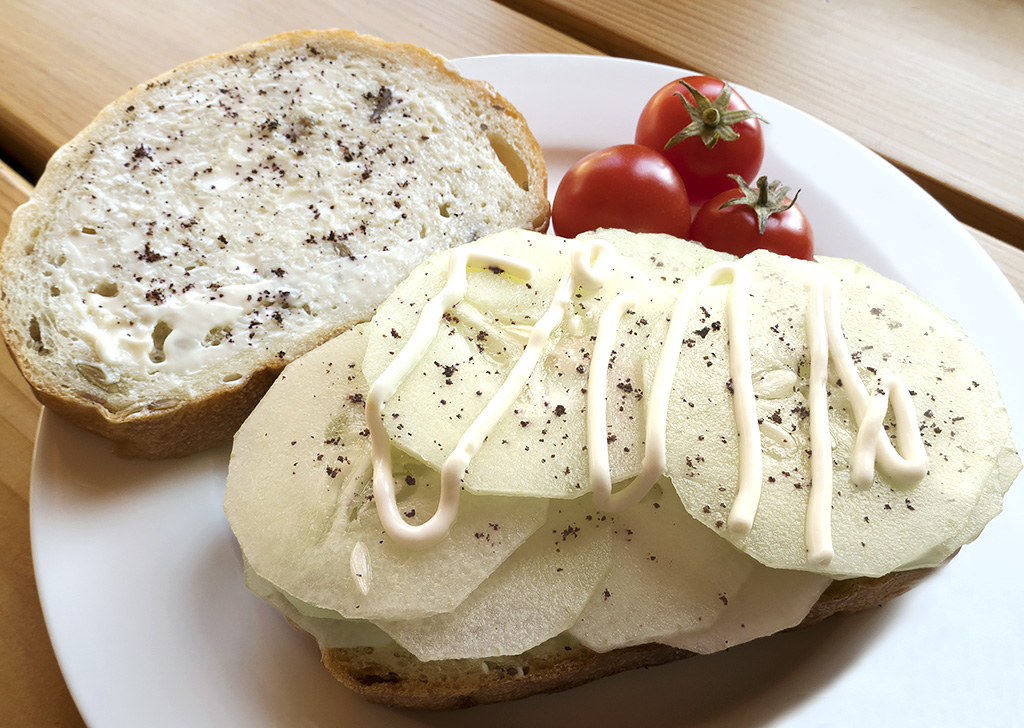
One of my summer time favourite sandwiches, cucumber and mayo but this year there is a special ingredient, purple crack.:)
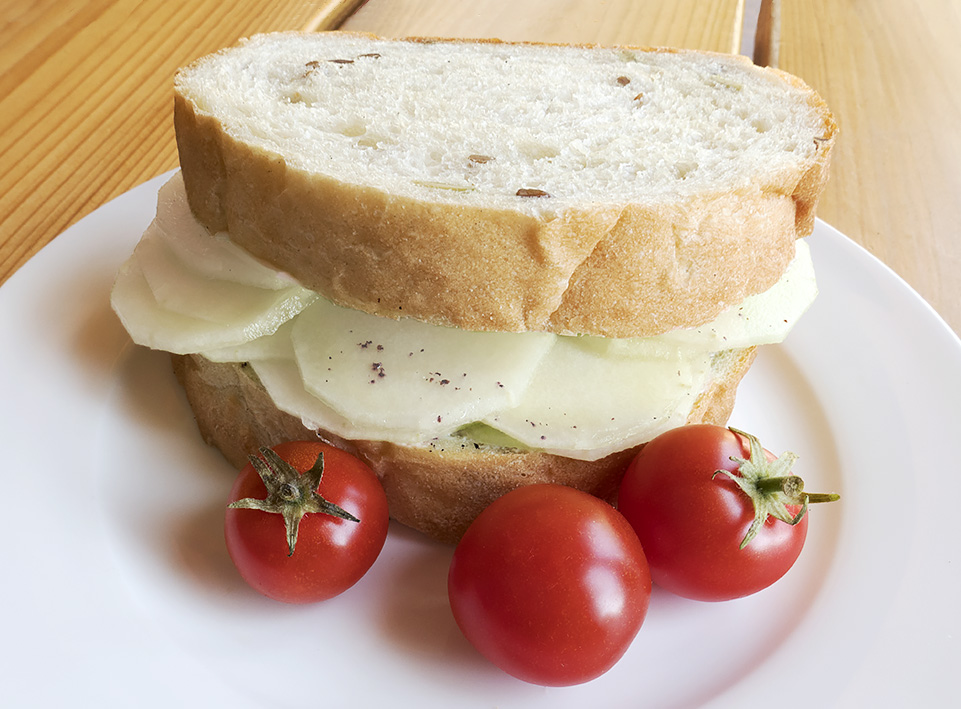
 2 points
 -
Sounds like you're on the right track for accessories. Definitely drop the double drip pan. I've used mine only once or twice in several years. KK pizza stone over steel. If you want to do smash burgers, use a cast iron skillet or griddle. With the 21" being new, not sure what's available for it?? So not much advice there. You might want to consider the 17" round pizza stone for it, as the grate-shaped one for the 23" wont fit it. That's all I could think of. I own several Thermapens. They are the best instant read thermometers that I've found. Fast and very accurate. Another cheap add-on if you get the straight rotisserie rod, Keith at OctoForks sells a nice adjustable basket that slides onto the rod. I use mine more than the original KK rotisserie basket. I still use the KK basket, but for definitive things like roasting chile peppers, whole chickens, pork roasts, etc. The adjustable basket is for smaller items, like ears of corn and chicken pieces, etc. I'm also a gadget guy - I have the DigiQ-II controller, several Maverick remote temperature sensors, and my newest toy - the MEATER (a wireless remote thermometer - a MUST for the rotisserie - IMHO).1 point
-
RIGHT!! All y'all are welcome to come by just save a beer or three for me.1 point
-
Tony, you are evil. Don't think that I thought he was going to listen for one minute to that new rule. LOL You know that when we all show up to his place for dinner we want some of that beer too. He cooks, we drink the beer.1 point
-
Don't listen to her, Paul. You know the Q won't come out nearly as tasty without beer in the Cook! Pictures be damned!1 point
-
Nice job on that brisket. Big fan here of the Oakridge rubs - Black Ops is standard in my kitchen, as is Santa Maria.1 point
-
Start with Dennis' baking stone. Consider the baking steel later. If you get the round griddle version of the baking steel, it doubles as the perfect surface for thin crust pizza AND smash burgers. Definitely optional, but nice to have. Get the stone for now. My 2 pence.1 point
-
Paul, new rule, no beer before the final pixs. Having said that I must say the pixs you have take sure make that cook look appetizing.1 point
-
I would not suggest the deflector stone, mine is still in mint condition. Any type of pan will act as a heat deflector, an old pizza pan, etc. The fire will not be huge so you don't need a big pan. That's my 2 cents. Remember too, that in the KK the fire will be quite far from the food so that helps to keep things from spot burning.1 point
-
I meant to address this earlier. I'm a cyberq guy. I know there are the purists who say get to know your grill, but I'm a gadget guy, and I like my gadgets. Cyberqs work, pure and simple. Sent from my iPad using Tapatalk1 point
-
Flht, some very fine eating at your house.1 point
-
Great looking brisket. You definitely get that nicer smoke ring running the cold smoker.1 point
-
Nope not for me. I'd thank them for the sausages and ask where the ribs were. The firefighters understood the circle of life and food. They weren't complaining.1 point
-
I really don't like cucumbers but gave you a like for the purple crack1 point
-
Great looking cook, @Aussie Ora. I particularly like the beet slice. I've tried that, thanks to you, and I like it!1 point
-
Never even thought about pulled lamb before. Looks great.1 point
-
that looks delicious Aussie love lamb yum yum1 point
-
Looks good. Love lamb.1 point
-
Bruce, if it is too salty try soaking it in water, for maybe 20 mins. dry it off and fry it up.1 point
-
Not sure about that ... just wasn't home long enough to open (had a meeting and dinner I had to attend). Psyched my landscaper happened to have Bob Cat there. Saved me hours of rolling across yard and my son from hearing colorful language in the process Sent from my iPhone using Tapatalk1 point
-
Cheers mate lamb is great meat Outback Kamado Bar and Grill1 point
-
Charles, you'd better be careful if Susan hears you talking about liking "strange." @tekobo - Check out Meathead's book, too. He's the head guy over at Amazing Ribs, one of our favorite BBQ websites here.1 point
-
Yes if I remember correctly. Either way when you get there an error comes up on the displays just pull it out and pop in the Tel-tru. Both the meat probes and grate probe have the same rating. A grate probe is too fat to fit in the Tel-tru hole. The meat probes are a good, slide in, fit. I use a 1/2" disk of cheapie wine cork pushed onto the probe to hold it's height in the dome. Shove the probe all the way in and the tip gets closer to the meat on a low-n-slow cook. If I'm doing some type of baking cook using the upper grate I pull the probe out so only an inch or so is sticking in the dome. This way the cold dish/cook doesn't mess with the reading as much. Maybe that made some sense.1 point
-
I have a Thermoworks Smoke 2 probe remote monitor. I bought an extra meat probe (because it's the correct diameter). Those are installed in my thermometer hole in my 19" and 16" KK's. Gives me remote monitoring of my dome temperature. I no longer use a grate thermometer. If I'm going for a real high heat session (over 572*) I pull them out and put the Tel-tru back in for that cook. Best upgrade I've done.1 point
-
I've outlined this procedure before but with a few new members I thought I would do it again. Besides had to cook something for dinner last night. . The idea is to quickly sear a piece of protein then use the kamado to bake a dish. . Start by lighting a full firebox of lump in 2 or 3 spots. Close the dome and set both upper and lower vents to wide open. The idea is to get a raging bed off coals (for the sear) while trapping as little heat in the kamado as possible. Once the coals are going good do a quick sear using a lower grate. (in this case 2 boneless, skinless chicken thighs) . Once the Sear is complete pull the protein, add your heat diffuser and main grate. Close the dome and adjust your vents for your desired baking temperature. Initially your temperature is going to plunge. Just be patient. The fire will die down while the ceramics soak up the extra heat in there. Your kamado should now slowly glide up to the baking temperature you set with your vents. I was aiming for 400* baking temperature. Once stable at your temperature proceed with your cook. . While waiting for the kamado to get to baking temperature I went inside and got my chicken pot pie ready using the grilled chicken. If you have never used grilled protein in a meat pie you are in for a treat. Takes chicken pot pie to a whole other level. I put the pot pie on a heat soaked kamado and 35 minutes later it was done. A simple easy meal using one kamado. Reef's Bistro1 point
-
Aside from being better designed and built, the KK does handle differently from other ceramic cookers, as those of us who came from other cookers can attest. It acts like it is both better insulated (it is) and has greater thermal mass (perhaps also an artifact of the insulation). Landing a jet is different from landing an airplane, and sweating pipes with MAPP gas is different from sweating pipes with propane, even though each pair is logically the same. I found myself making adjustments when I switched to the KK. I use both CoCo Char (KK Extruded Coconut Shell Charcoal, for low and slow or critical cooks) and local hardwood briquettes (no off-tasting fillers) for everything else. Were I rich I'd just use CoCo Char, along with the occasional bincho or lump for effect. CoCo Char is so neutral and clean, one only worries about the heat soaking itself. CoCo Char is poor man's bincho. With any other charcoal, I find that fire handling dominates heat soaking in my thinking. The Achilles heel of all charcoal cookers is fire handling. In our dreams we have multiple hardwood fires, and we move beautifully mature embers from our seed fire to the cook fire. The occasional green wood makes an appearance to show off our advanced skills, but no flavors from the initial combustion of wood are accidentally introduced. The fire is deliberate, we are distilling the wood as an armagnac distiller is choosing the best part of the mash. Using a cast iron Dutch oven smoke pot, it is practical to control our smoking woods. It is harder to control our fuel charcoal. There are two kinds of charcoal fires: All coals burn together in an arc for a short cook, or the fire works its way through a day's supply for a low & slow. Many of us can identify a sooty taste from lesser charcoal as raw charcoal lights in the latter case, and that is why we exclusively use CoCo Char for these cooks. For any other charcoal, I want the fire to be everywhere, as one gets using a chimney in a Weber, before cooking. It helps to light everywhere with a weed burner torch. It helps to wait. Beyond this, there are still other motivations to wait. Grilled chicken is a prime example: As a guest, having Weber grilled chicken is an exercise in enduring the off tastes of burning chicken fat. Still, with better equipment, we associate that taste with grilled chicken. When manufactures first tried to move away from cans for tomatoes, consumers missed the taste of the can. The ideal paella socarrat crust is golden, not tending to black, but countless fond memories of beach paella make Spaniards rather tolerant of socarrat that is "further cooked". Some people who try smoke pots miss the off tastes of combusting smoke wood; were it simply a matter of flavor strength, they'd use a bigger smoke pot or take more care to get the pot going. When there is time, I like to cook chicken indirect on the tail of a too-hot fire, so the chicken cooks primarily from radiant heat from the KK walls, with no taste of burning fat. This is a choice, and the timing takes practice. A KK stays hot for a long time after the fire dies down; take advantage of this. We also like to use the tails of fires for other purposes, if we are staying up: A foil-covered Spanish cazuela is great for roasting potatoes and onions tossed in olive oil, salt, pepper, and pimenton. This is the ideal potato component for a tortilla (Spanish omelet), even if the original recipe instead deep-fries the potato. Or a half dozen sliced red bell peppers, tossed in salt and olive oil, cooked down till the liquid is nearly gone. With a hotter fire, give a carbon steel pan such as a paella pan another round of seasoning: heat it, rub in a very thin coat of lard, and let it blacken and cool at no higher than 600 F. With other ceramic cookers, a very long preheat can be critical for handling loads at the brink of capacity, such as 25-30 lbs of butt in a K5. With my friend's K5 I then heat the smoke pot in a gas grill, and add it while rebuilding the fire before adding the meat. This saves staying up for hours wondering if the cook will ever stabilize.1 point