Leaderboard
Popular Content
Showing content with the highest reputation on 03/04/2020 in all areas
-
2 points
-
I made a locomotive's worth of white smoke once cooking a duck. It's fat missed the drip pan and made more smoke than I have ever seen coming out of a Kamado.. It was like I was smoking the back yard for mosquitoes. The burning smoke gave the duck an acrid taste too.. Could not eat the skin.. the meat was fatty but pretty good.2 points
-
2 points
-
I've done a few Peking Ducks, but that takes days of prep - involving multiple steps and you're still not guaranteed of getting the crispy skin that's sought after. For a simpler duck roast - go rotisserie, prick the skin all over to help render the fat out & slip your hand under the skin to separate it from the meat, use the basket splitter with the coals in the back and a deep drip pan on the front half to catch all the fat that will drip out! Cherry wood chunks and shoot for at least 375F dome. Duck, unlike chicken, should be served on the rarer side, or it will get tough.2 points
-
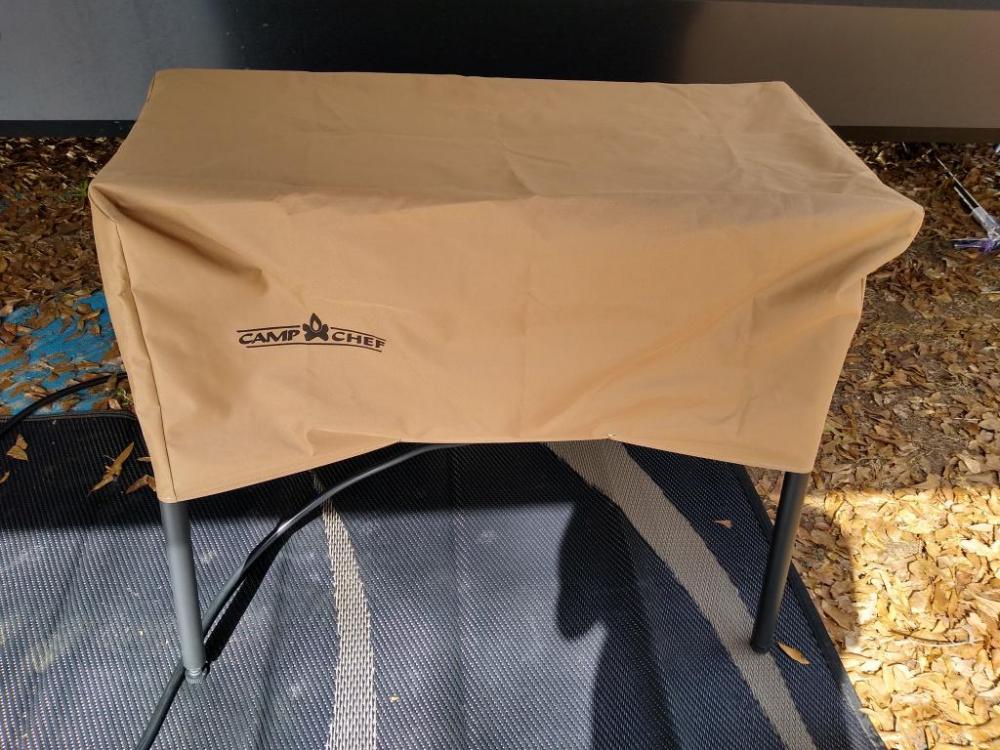
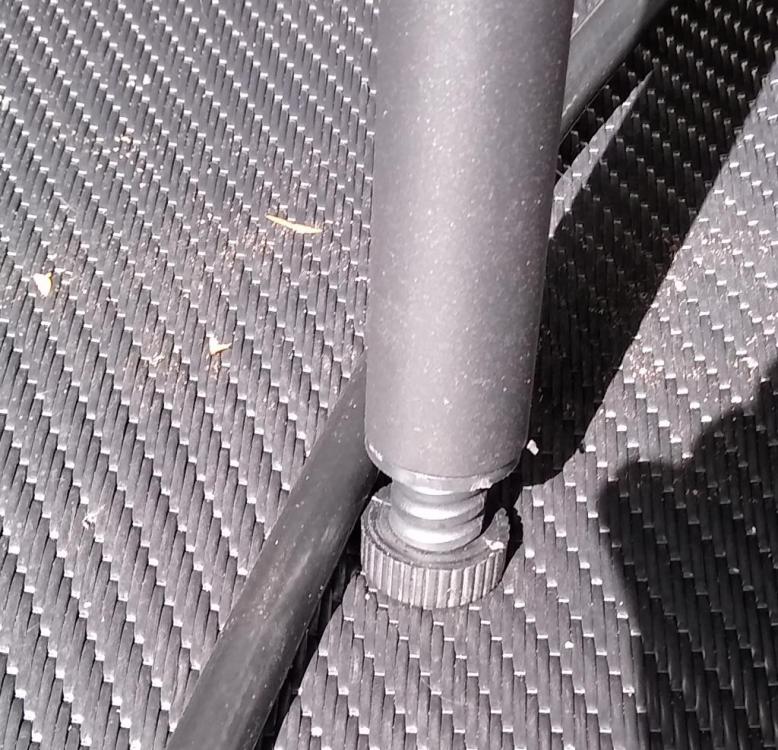
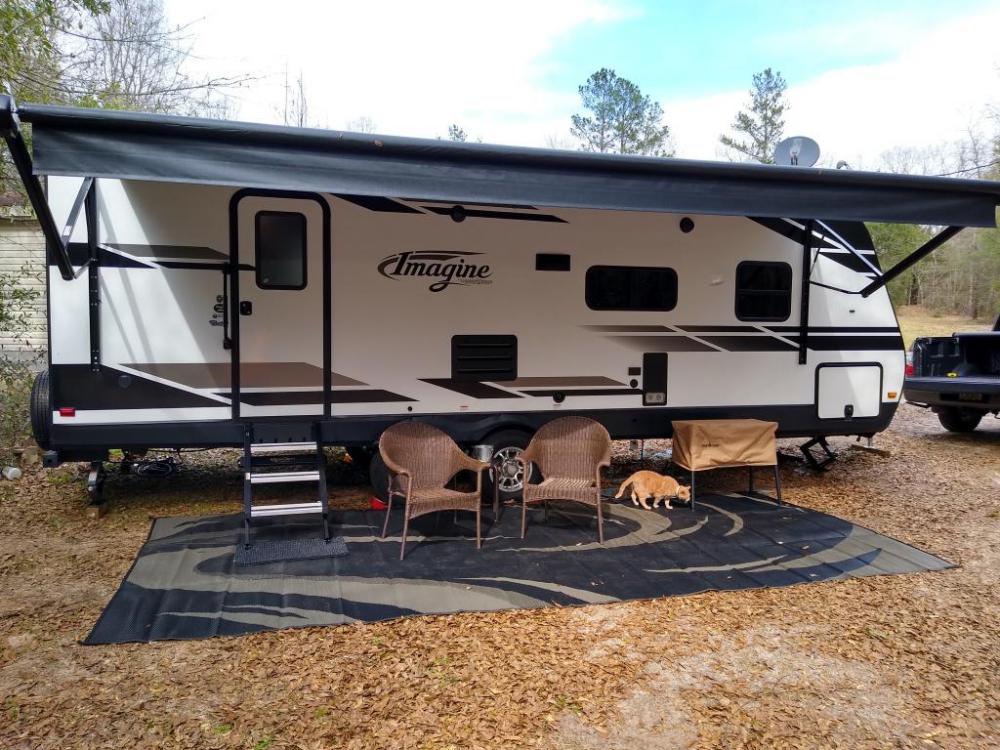
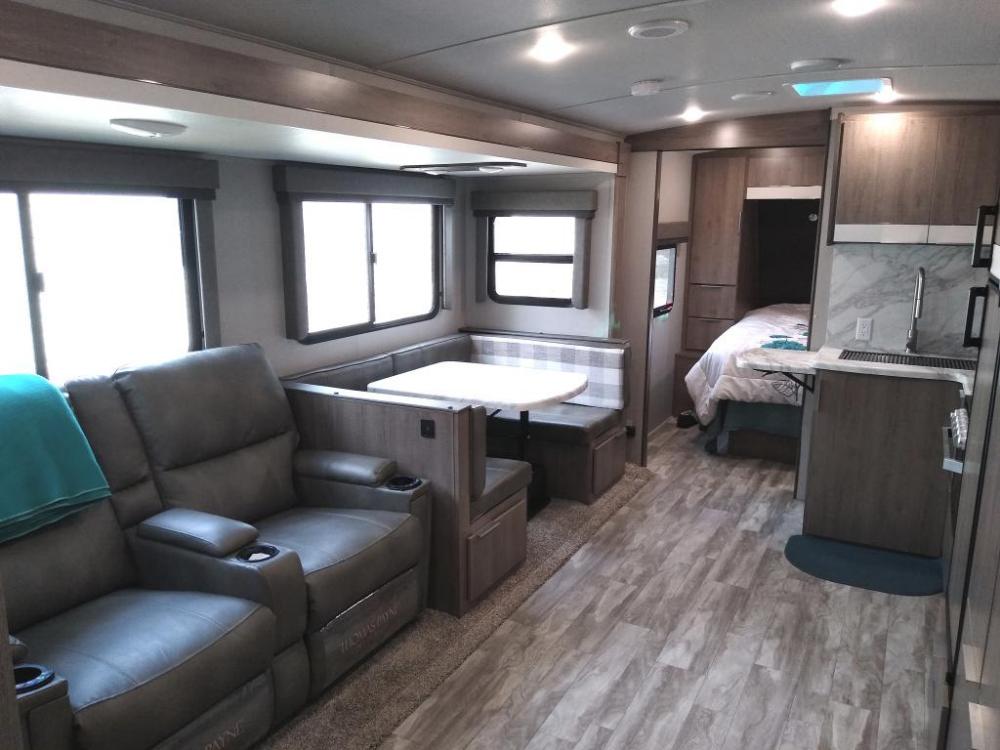
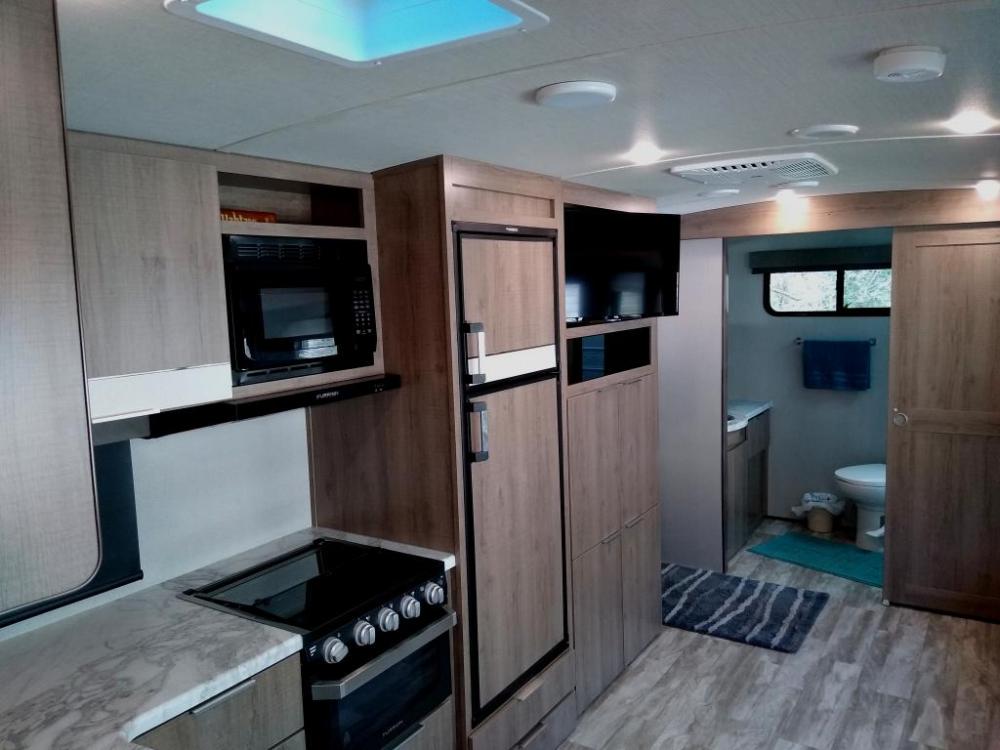
I bought a few awesome Camp Chef Accessories. Definitely had to get the cover. Needed some leveling feet especially when using the griddle. A longer propane hose is always nice. And of course we needed a Travel Trailer to go along with the Camp Chef. I mean what's the purpose of owning a camping grill if you can't go camping 2020 Grand Design 2600rb. Just the right sized couples trailer for me and Mrs skreef. Standing in the bathroom doorway. The other end, standing in the bedroom doorway.1 point
-
1 point
-
Lamb leg bone out. Comes easily wrapped in a burn proof net. The next time I do it I think it will stay in the frig for 2+days or inject it like Toney mentioned. Anyhow it's a rotisserie made meat, just stick it on the forks and let it roll, pull it at 145-50 if you like it pink, wrap in foil to rest.1 point
-
We did get a soft cover for the pickup truck so nobody can see what's in there. Solo stove is already in the truck bed. Definitely still have the Oval Jr to take along on the longer trips. Tv and stereo directly across from the theater seats. Which are full recliners with massage and heat they are more comfortable than any chair in the house - LOL It does have a nice stove but the oven is basically useless for anything but cookies or bisquits. That's okay they do make an artisan (pizza) oven for the Camp Chef. That's already on the need to buy list. Honda generator went for a swim? Or did you need to use it for an anchor? I'm sure an interesting story either way.1 point
-
Don't know about taking along a KK. Would probably send me over my trucks tow limit - LOL1 point
-
What Tyrus said all those meals look sooo delicious! Tyrus what kind of meat is that? And did you use straight balsamic vinegar? I love balsamic vinegar and would like to try that cook.1 point
-
I know a guy who makes nice stainless covers for the Camp Chefs and Blackstones. I leave mine out oiled and covered with that stainless all winter and it does great. Reasonable as well. I initially purchased the Camp Chef cloth cover and it’s not good for protection from the elements. Def not a KK style Sunbrella cover. Sent from my iPhone using Tapatalk1 point
-
1 point
-
1 point
-
1 point
-
1 point
-
1 point
-
Tea smoked is the next one I want to try! I am going to give this one a try this weekend, let you know how I go with it guys! https://www.simplymeatsmoking.com/recipes/chipotle-cherry-smoked-duck/1 point
-
1 point
-
Mac I’ll take some of that give away bread! In fact if you sliced it and put a couple slices of the delicious pork tenderloin in it with a little of the prune,olive garlic mix it would be perfect! 😄LOL i like your new bread oven1 point
-
Yes qundoy, I’d be very happy with that loaf. Whenever you mix rye, whole meal, or some other grains, I have no expectation that it’s going to be as light as a plain white loaf. Sent from my iPhone using Tapatalk1 point
-
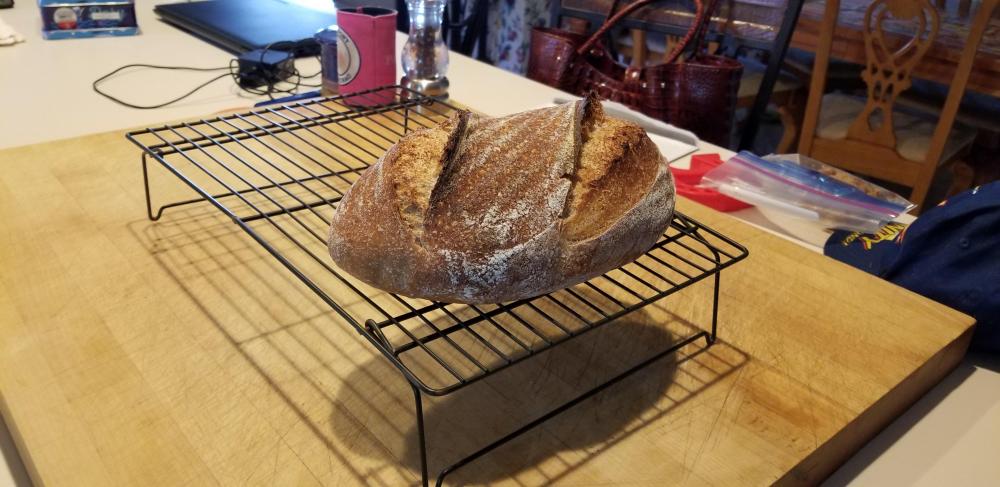
qunday, your bread does look very tasty even if it didn't follow your score lines.1 point
-
Thanks Pequod. I will give this recipe another go in a day or so. overall I am very pleased with the results.1 point
-
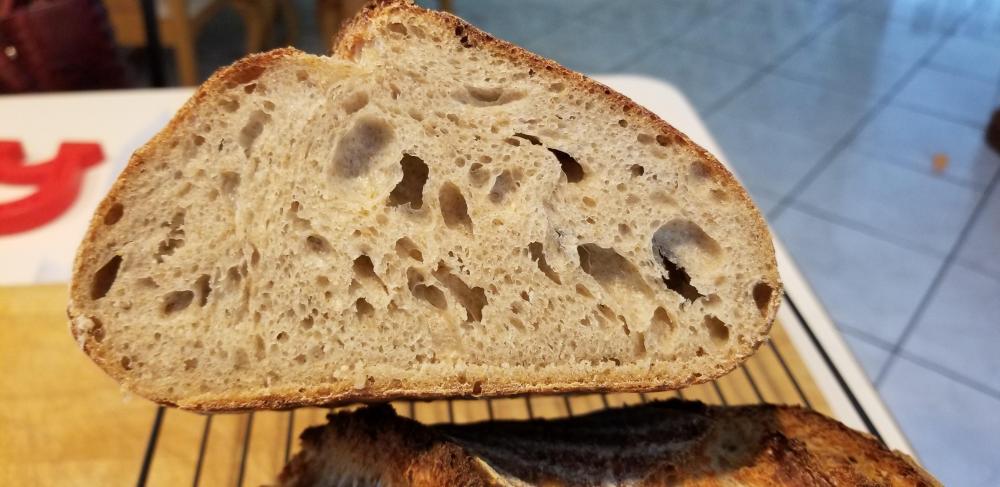
@qundoy that crumb looks excellent for a loaf with what appears to be a significant amount of whole wheat (guessing 30%?). Very nicely done! As for the extra seam, not a problem if the bread found another path to expand. That looks like a boule, so try a long, deep # pattern to give it multiple paths. But no big deal if the result is good, and it looks VERY good.1 point
-
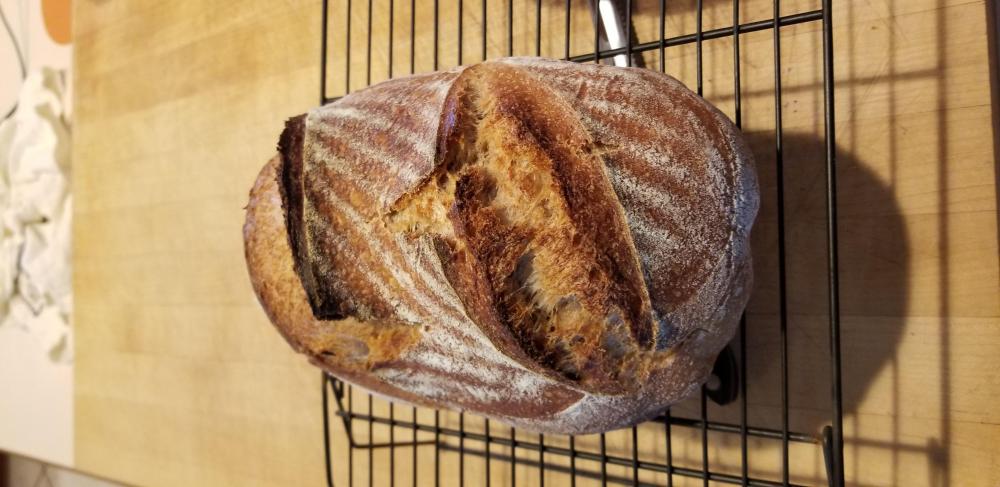
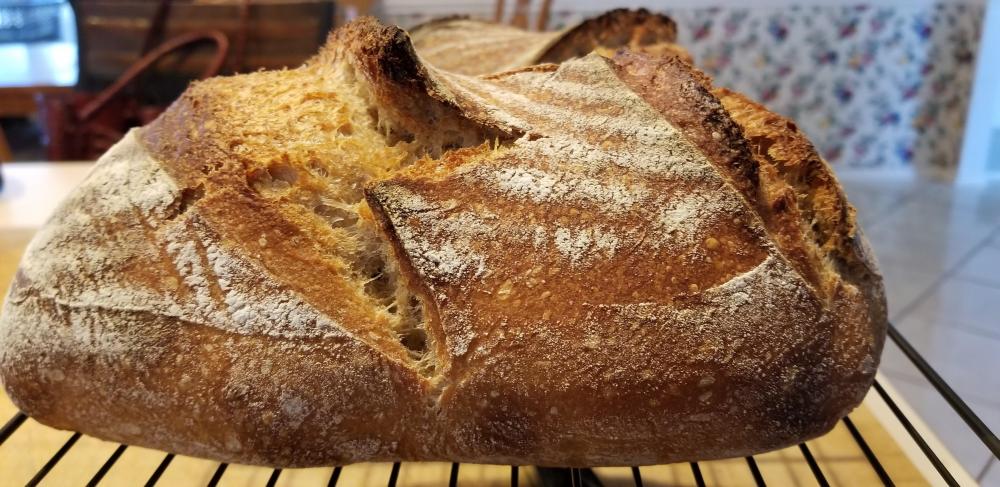
Baked these this morning. These are 70% hydration, Using KA bread flour and KA whole wheat. My starter and leaven are both 100% whole wheat. Fermented over night in the fridge, approx. 18hrs. Baked in the oven using a clay baker. The first loaf looks nice, good oven spring, the crumb is denser than I would like and a little on the gummy side. The flavor is great, nice mild tang. The second loaf has not been cut into yet. The oven spring is good, blew out at the slash. Not sure what the cause of that is, should I slash deeper? Pequod, breadwerx, great info. Kook on KKers steve1 point
-
I did the duck last month and marinated it in a over the counter ginger soy sauce for a day. Roto'd it and the meat was good however, not alot of it. The skin was so so, so I would suggest to crank the heat at the end to crisp up the skin. You may even prick the skin ahead of time or slice it with a sharp knife to penetrate the fat hidden below for that crisper skin. 150 -165 tops is a good serving temp. I believe it's best to bring it along slowly and then raise the temp for the finish, the KK is forgiving and if you overshoot a bit your cook will remain tasty. A duck and chicken aren't the same, nor do they cook the same under the same conditions. The meat is dark and the skin fattier, that leads me to believe it will hold the test of time. The world is at your command, make your recipe your own and use some good jelly.1 point
-
Don't mean to sound insulting but Righty tighty, Lefty Loosey and then when your done step back and admire your work and open another. It's only right or was that left1 point
-
Please have the lid open when tightening the spring bolt. Check every two turns. You want it to open completely but not fly up so aggressively it bounces back off the top.1 point
-
Here they are. Oh, that’s half a pigs head. I couldn’t help myself when I saw them at the butcher. And the pork wins..... the cheek of every animal is the sweetest and most tender meat Sent from my iPhone using Tapatalk1 point
-
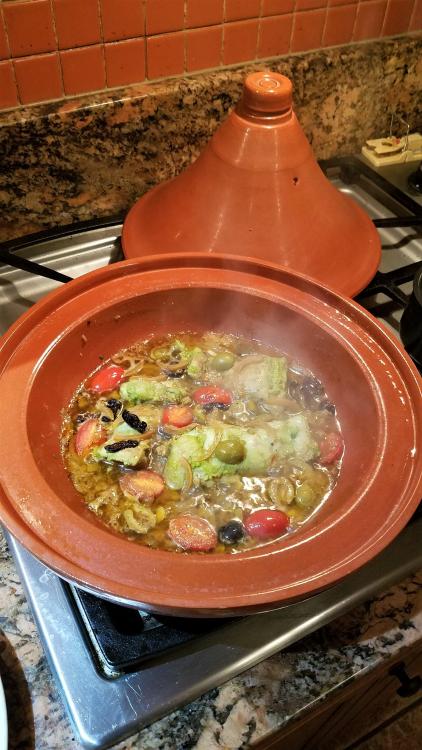
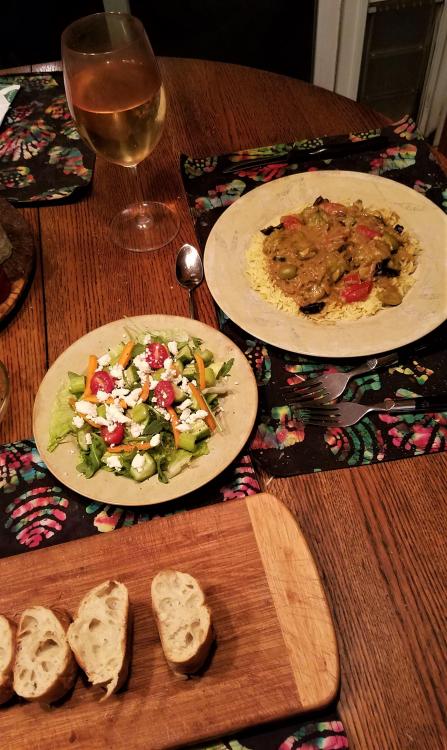
Crappy weather, so I was cooking indoors last night. Had been wanting some Moroccan food, so I did a chicken tajine. Pretty traditional setup - marinated the chicken thighs (boneless/skinless) in green Harissa and EVOO for 3 hours, then seasoned with Berbere spices and browned in the tajine, removed the chicken and then browned the onions and garlic. Return the chicken thighs to the tajine and then add the green and black (salt cured) olives, preserved lemon peels, cherry tomatoes, chicken stock, lemon juice and Ras El Hanout. Here's the new twist - the recipe called for chickpeas and at the end, you mash half of them into the liquid to thicken the sauce. Well, I didn't have any cans of chickpeas/garbanzos in the pantry, but I did have some hummus in the fridge, so I tossed a couple of TB of that in to make the sauce - worked like a charm!! Served over saffron rice, with a nice side salad and crusty bread. Toss in a glass of chardonnay and call it din-din!1 point
-
For folks that are interested - that would be you, ckreef! (LOL). Here's my source for tajines - both kinds - cooking and serving. https://treasuresofmorocco.com/moroccan-kitchenware.html?p=2 You can get them from the same source on Amazon, too. https://smile.amazon.com/s?k=tajine&i=kitchen&rh=n%3A284507%2Cn%3A3737331%2Cp_6%3AAZ24I9M1PA8YH&dc&qid=1579198131&rnid=331544011&ref=sr_nr_p_6_1 @Syzygies- those recipes are pretty spot on. I had used up all my cilantro in the fridge or I would have added that at the end. The green harissa was my substitute. I like to use both the green and black olives (especially the oil cured ones). I have made preserved lemons in the past (not hard, just takes about a month in the heavy salt/lemon juice brine.) https://www.simplyrecipes.com/recipes/how_to_make_preserved_lemons/ Or be lazy like me and just buy them. https://smile.amazon.com/s?k=preserved+lemons+moroccan&crid=2QXXKDKHBY2OJ&sprefix=preserved+lem%2Caps%2C191&ref=nb_sb_ss_i_3_131 point
-
If one can come by preserved lemons (bought, or better yet, homemade), the most famous chicken tagine in Morocco is with olives and preserved lemons. One can Google many recipes. They're all pretty similar, affected more by ingredient quality and chef technique than the list of ingredients. These recipes all look authentic to me, similar to what I do. I prefer bone-in thighs, and both coriander and parsley, and I have a heavy hand with the saffron. Moroccan Chicken Tagine with Preserved Lemons & Olives CHICKEN, PRESERVED LEMON AND OLIVES TAGINE – CHICKEN MKALLI Chicken, Olive, and Lemon Tagine (Djaj Mqualli) As for the tagine clay cooking vessel, it is unnecessary. It is designed for cooking over a slow charcoal fire. Use whatever you'd use for a French stew. However, be aware that in Morocco (where I took a few lessons) they have mastered browning a wet mixture through a clay pot, without burning that same mixture. The idea is pretty obvious, if one pictures how one burns food in general: It begins to stick to the bottom of the pot, and is left unattended long enough to burn. The Moroccans have mastered this effect, and catch it in time. (Without lots of experience, this window is about as "blink and you'll miss it" hard to time as catching the al dente transition for US dried pasta. There's a reason people pay more for Italian pasta. Mexicans would let the burn go longer, but I digress.) Instead, brown the chicken separately to your satisfaction (or not) and then cook gently to avoid burning. In my twenties, I used to learn factoids and then be on alert to avoid being scammed by people who misunderstood these factoids. I learned that there are two kinds of tagines, for cooking (unglazed interior lid), and for serving (decorative glaze on all surfaces). One could only find the serving kind for sale, which somehow offended my developing sensibilities. I somehow made life an Indiana Jones contest to find the authentic. Like all things twenties, I was an idiot, and had this exactly backwards. Cooking is all theatre. People's tastes are less educated and discerning than ours, so they look to visual cues. (This principle guides all fancy restaurants.) Serving in a tagine is great theatre, even if cooking in one has only a faint effect.1 point
-
That looks terrific tony great winter warmer .I'd eat that in summer too Sent from my SM-T835 using Tapatalk1 point
-
You are no chance of resisting! [emoji23] I’m expecting photos within the month. Tasty looking dish Tony Sent from my iPhone using Tapatalk1 point
-
Great looking dish. I've always wanted to try out a tagine. I must resist buying one, I must resist..........1 point
-
Tasty dinner, Tony, great call on the hummus. It has been ages since I've used my tagine, maybe it's time to drag it out. Speaking of dragging, I've been dragging my butt around with a miserable cold. It seems to be getting better and this tasty dish has my taste buds activated.1 point
-
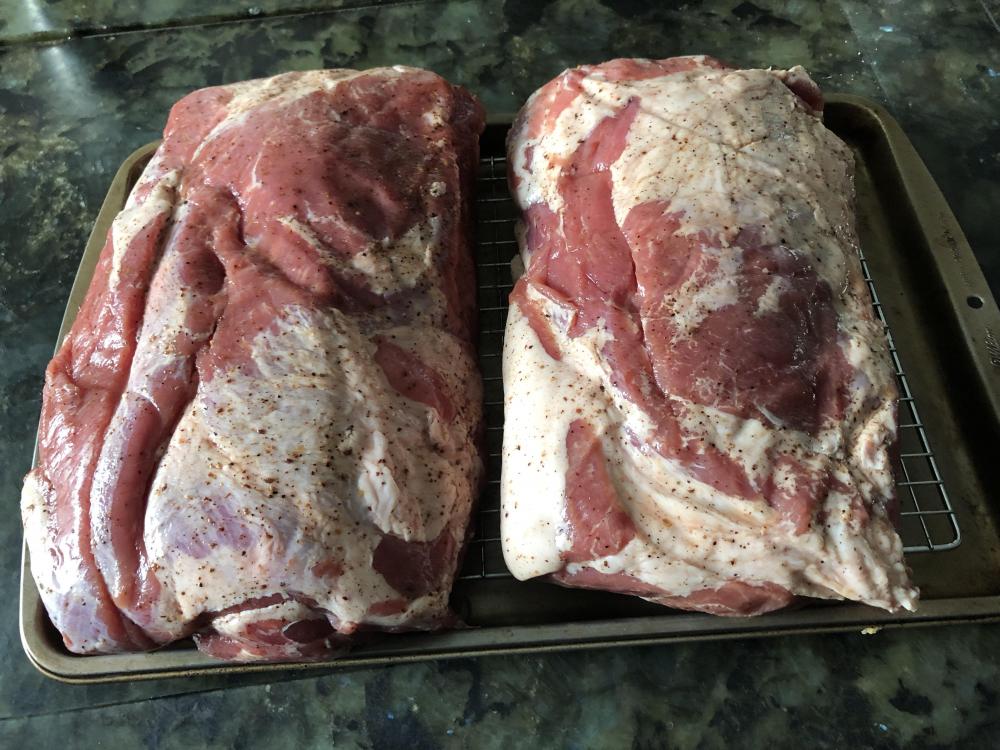
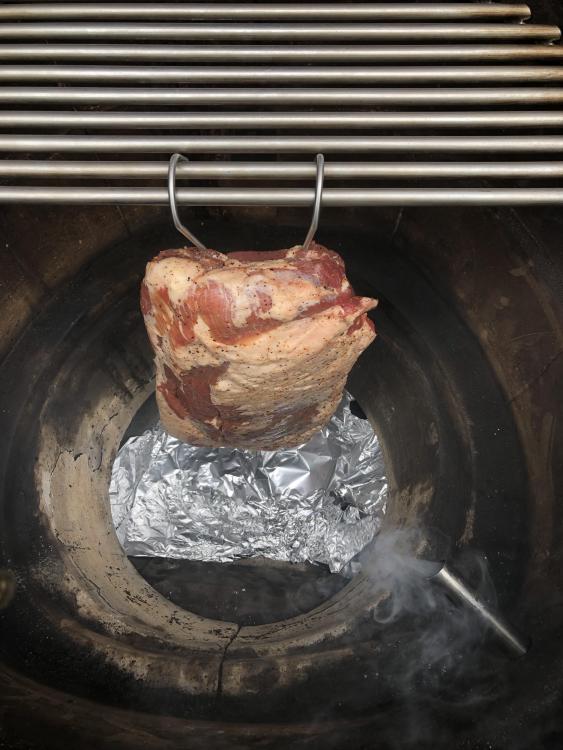
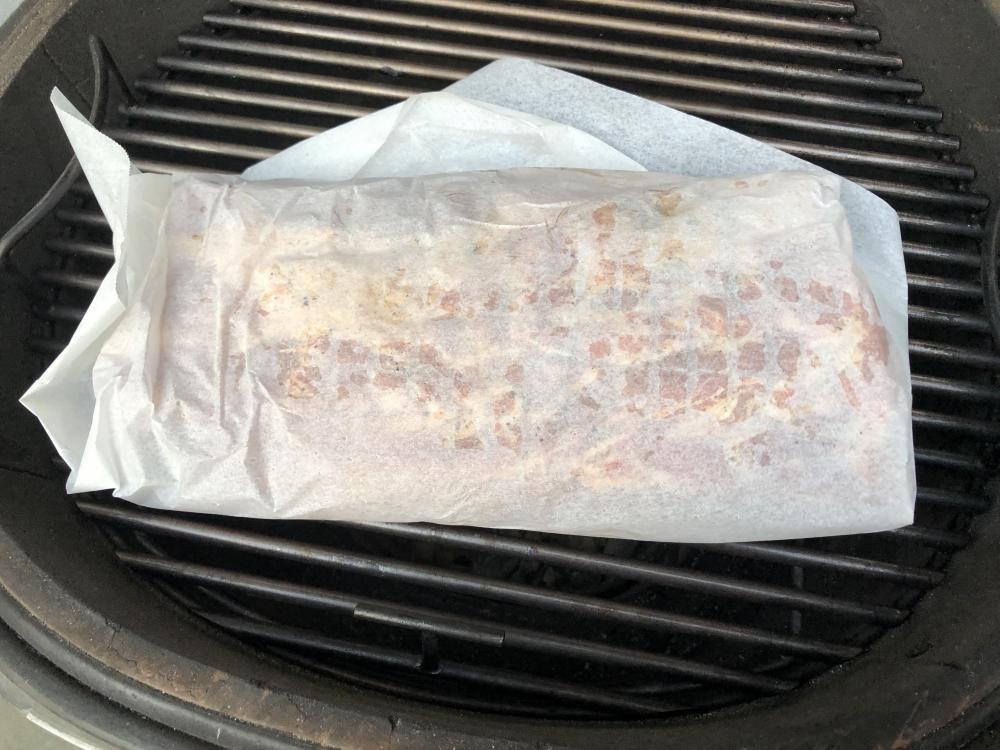
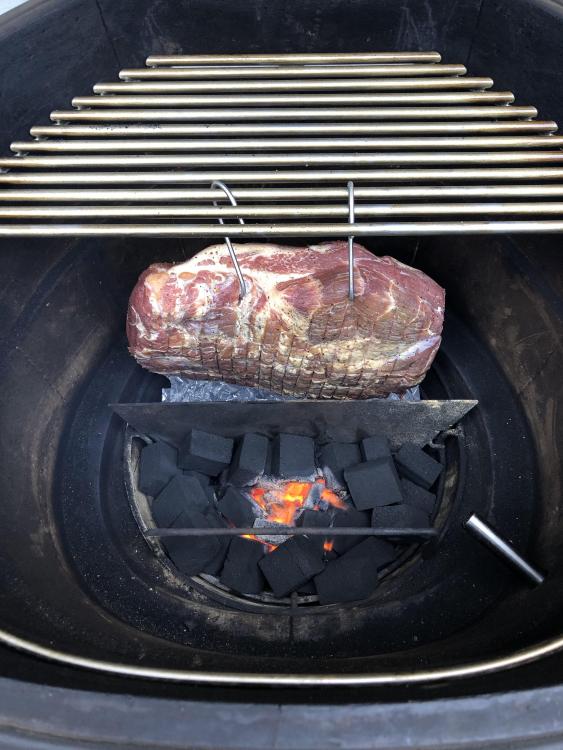
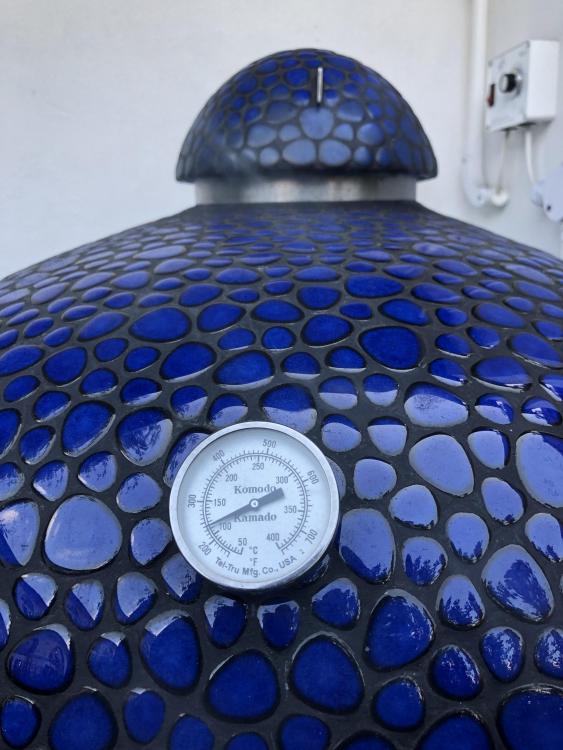
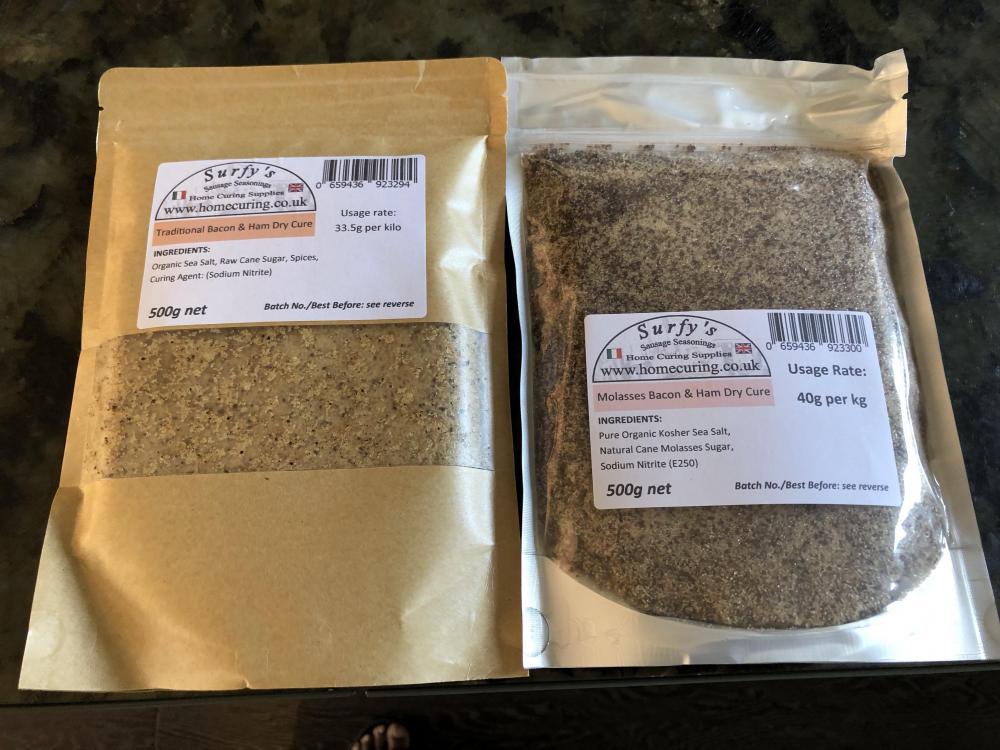
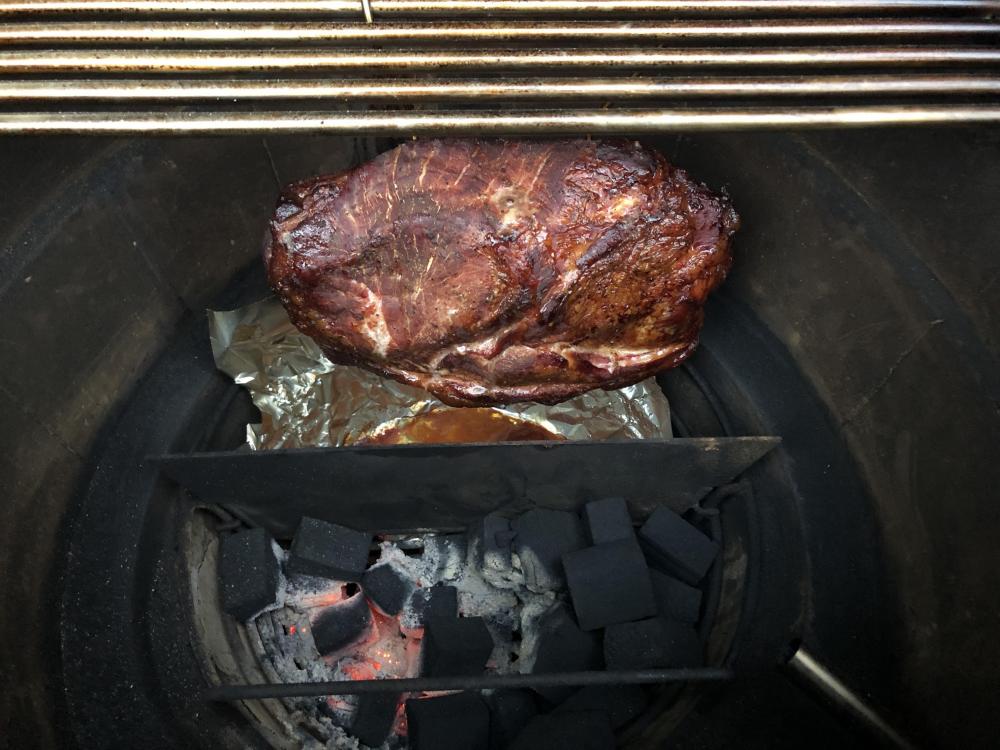
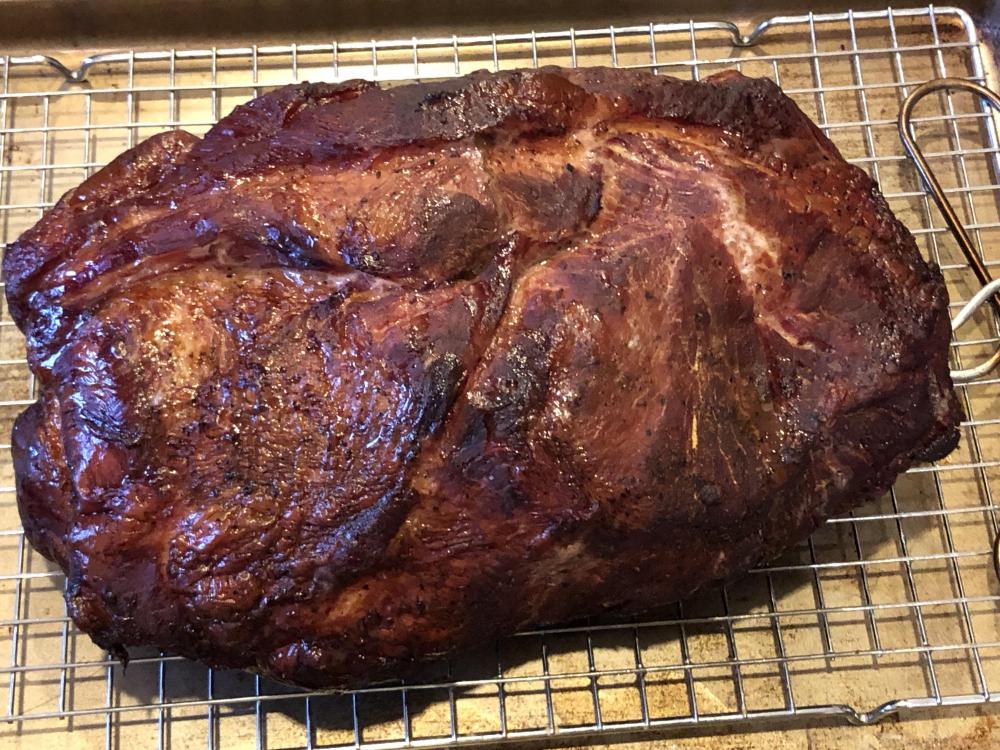
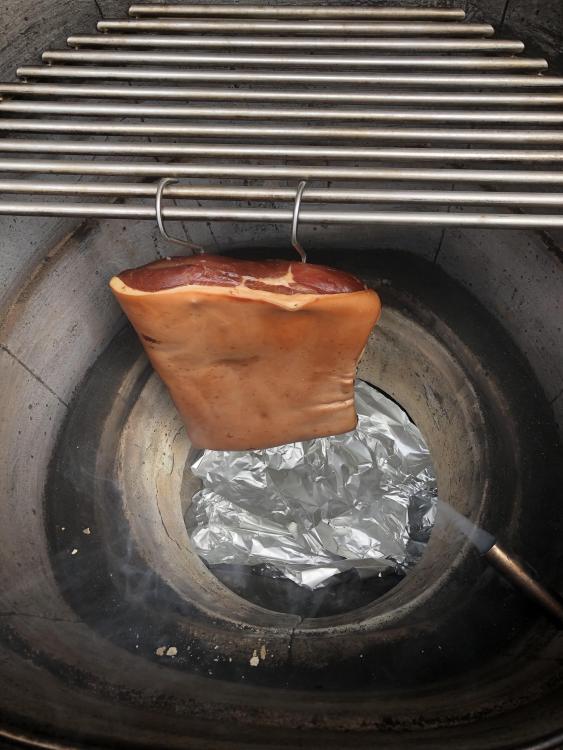
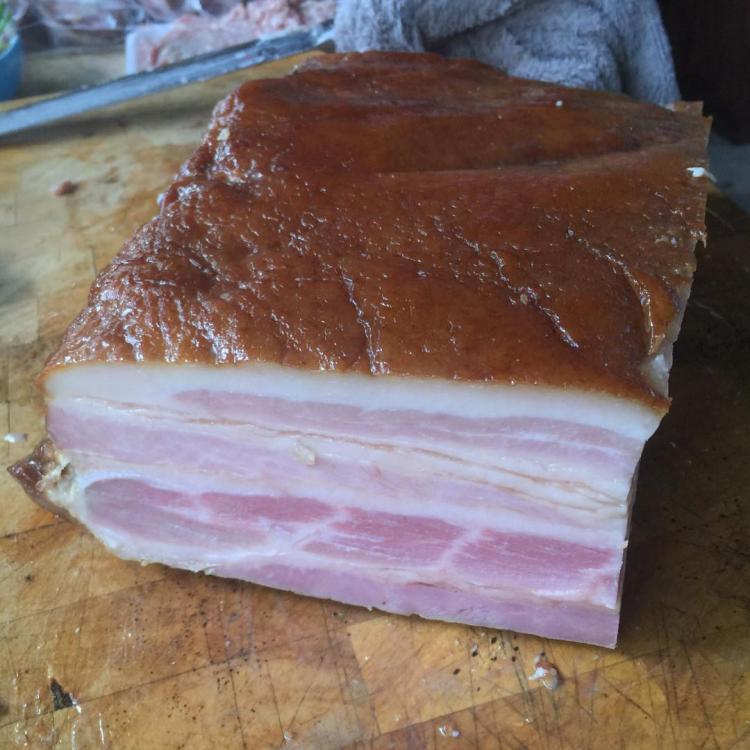
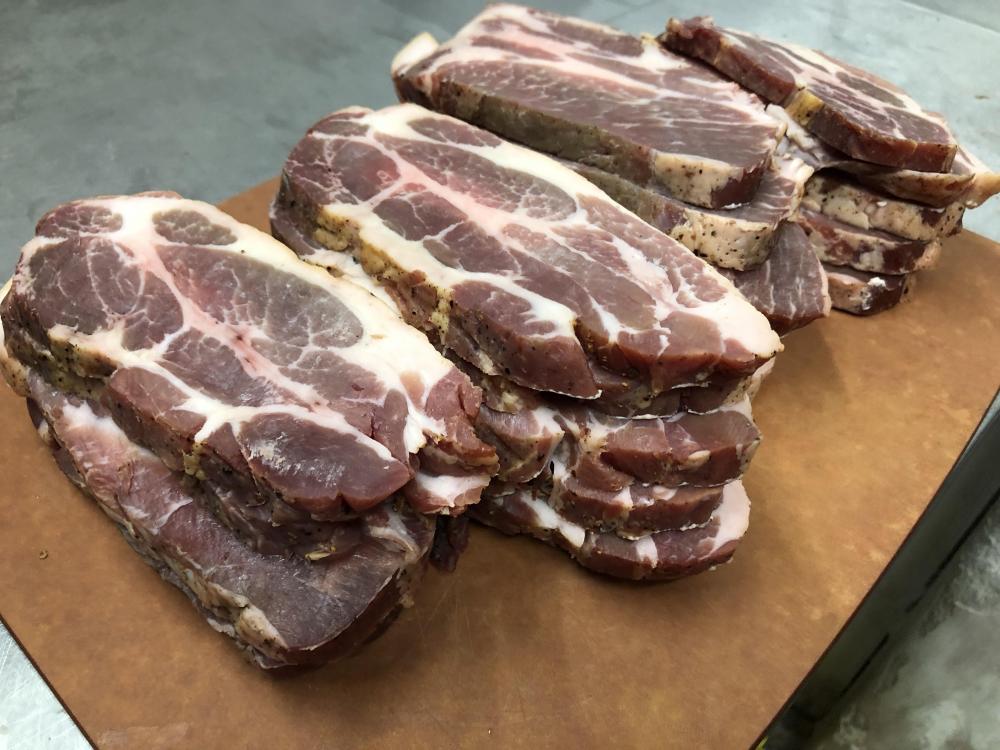
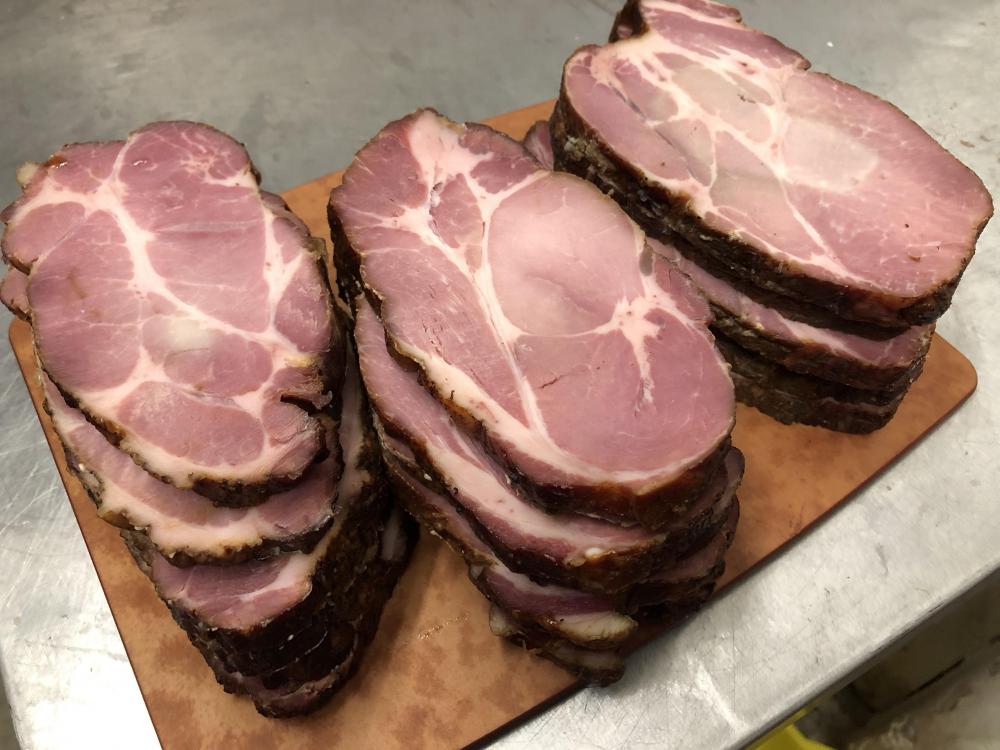
Now that I have Dennis' hot/cold smoker, I decided to try smoking my own bacon. In the UK I have only ever eaten cold smoked bacon. On this site you folks tend to hot smoke your bacon. Time for a side by side test. First deviation from norm. My favourite bacon is collar bacon. It comes from the shoulder and I think it is what Americans call pork butt. Here are my two collar joints, at about 3.5kg each, after curing for 8 days in Surfys traditional curing mix. I used up the last of my curing mix and so bought these two for future bacon loveliness I searched online for guidance on cold smoking. It ranged from hysterical - you will die from botulism - to complicated and fun. I went for complicated and fun. There is no fixed end time so I smoked for six hours with pecan and then wrapped in greaseproof paper. Advice is that you rest in fridge for a few days and then smoke again for a similar time for best effect. Here is the bacon cold smoking. I took out the fire basket and hung the meat off the half grate in the 23 using meat hooks. Wrapped up for its rest Today I started with the hot smoking on the other collar. I turned it upside down and around to the other side half way through the day. Let's hear it for the KK. I went out to run errands for a couple of hours and it stayed rock solid at 100C. In fact it stayed rock solid through the day. The smoke generation stopped because I had underestimated the amount of pellets required. That was easily fixed. I topped up with additional pellets and blasted with MAPP torch. I am smoking this cut with apple. After 11 hours the hot smoked bacon is ahead in the looks department. I pulled it at 65C. Cooling To be continued.1 point
-
Thanks Bruce. That bacon is indeed super yummy. You'll have to come on over to Europe some time to have a taste!1 point
-
A by-product of last week's sausage fest was loin of pork that I couldn't bring myself to mince to make sausages. We split it in two - one half for further aging and one half for bacon. I used my new molasses cure and left it in a vacuum bag for 8 days. Cold smoked yesterday using maple pellets. I just love the warming grate in the 23 for this application. I am amazed at how much bacon you can get out of just one half of a pig loin. Much happiness to follow.1 point
-
I have seen the warnings about eating too much cured meat on account of ingesting too much sodium nitrate. I have not paid much attention on the basis that I don't eat all that much cured meat. That is if I don't count all the bacon I make and the Italian charcuterie that I buy. This article is interesting and seems to suggest that if you eat more veg with your bacon you should be fine! https://firsthandfoods.com/2017/12/06/nitrate-free-bacon-myth-or-reality/1 point
-
I think pulling at 65ºC is too late for bacon and puts you up into ham territory. 65ºC = 149ºF and I've always thought you wanted 145ºF as the final temp. if you were cooking at 100ºC you will get a 5-10º F float (or more) after you pull it out. So if your target temp is 145ºF you need to pull it at about 135ºf. That hot smoked meat looks like it already firmed up and could be eaten like that.. This was hot smoked.. (and went a bit too hot too but still a bit fleshy like store-bought bacon when sliced)1 point
-
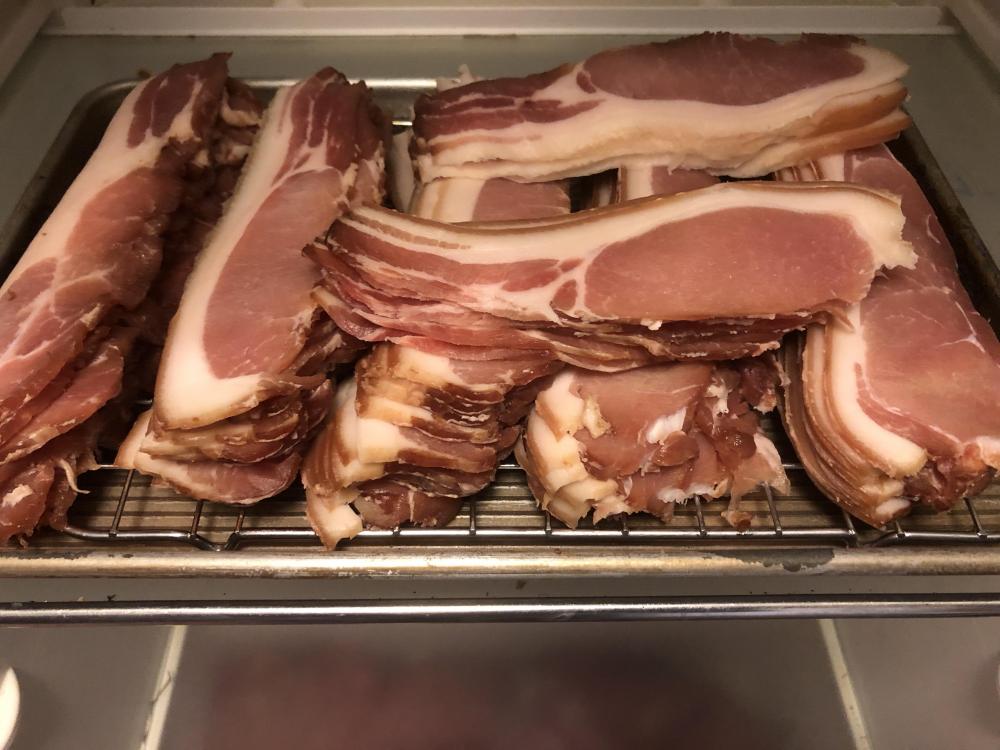
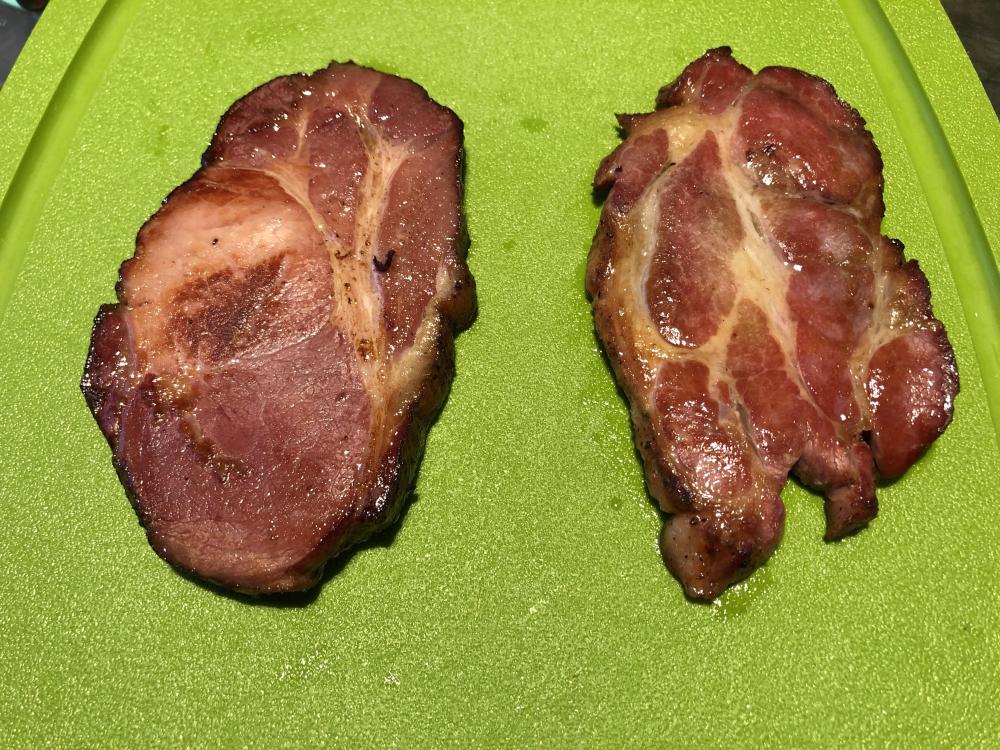
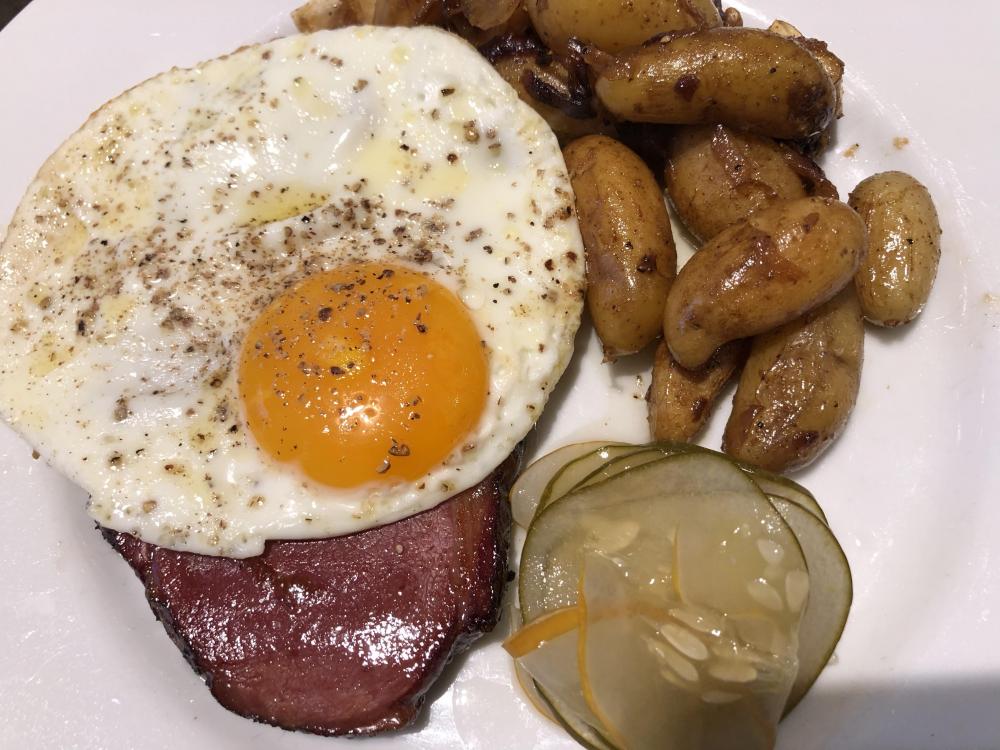
I learned a lot from this experiment. 1. I am trying to figure out what types of wood smoke I like. I prefer the apple to pecan on bacon. So does The Husband so that's a win. 2. I had never had hot smoked bacon before. I like it. In fact I prefer it for this cut. Some of the fat gets rendered through the hot smoking process, making the resulting bacon more appetising. 3. The slice of hot smoked bacon did not need to be held down with a weight during cooking to prevent it curling, unlike the cold smoked piece. More recently I have been cutting the collar bacon into half inch slices and freezing them individually. They make for a really quick week night supper with potatoes or baked beans or salad. The two collars made a lot of bacon! The cold smoked The hot smoked And for @Alphonse, the side by side comparison once cooked. The cold smoked is on the right. I went for the hot smoked for today's dinner with bratkartoffeln and pickled cucumber.1 point
-
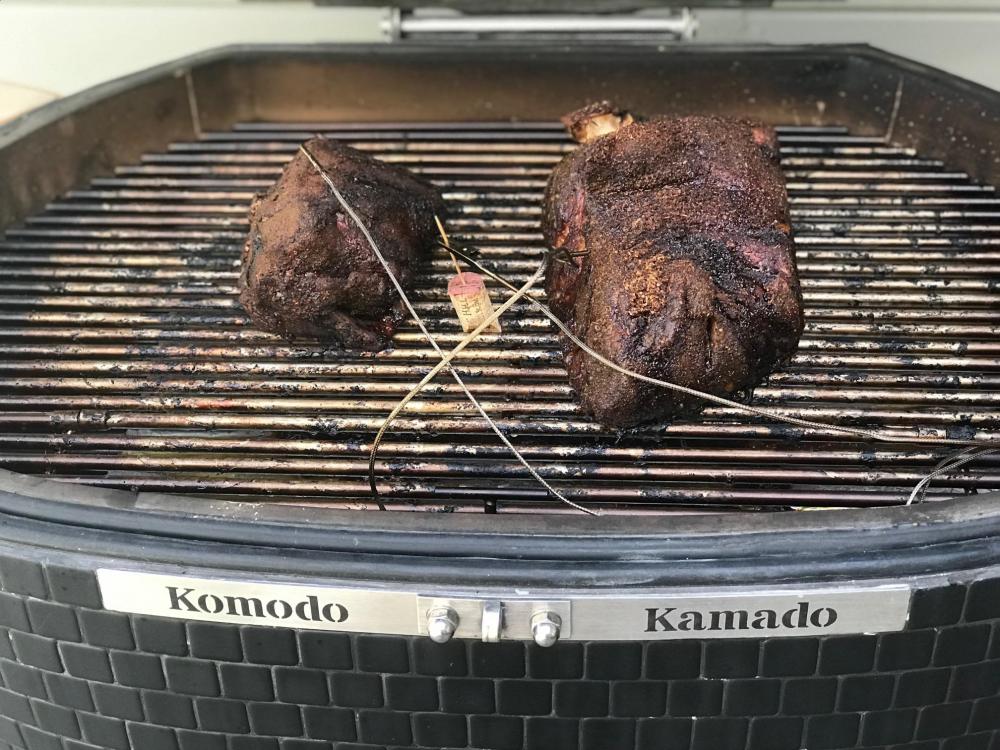
I suspect my pit probe placement may have been partially to blame for what ended up being a very long (too long, I think) cook. I put two butts on - one maybe 5-6 lbs, the other a big butt - 8-9lbs - at 9:30 on Friday night, with my pit probe attached to the bottom grate. I didn't hit target temp (203) on the small butt until 4:40 Saturday afternoon and by then, it had become a little dry (still good, just not as succulent as I would have liked). I pulled the larger one off an hour and 10 minutes later at a temp of 191 (was time to head to the party I was taking them to!). The large butt was perfect - in hindsight (no pun intended), I should have pulled the smaller one off earlier. I suspect the slow cook time was a result of cooking at a temp that was lower than what I thought - the probe being too close to the fire and in contact with the lower grate. I did pop the pit probe up to the top grate using the cork and pick method towards the end, after reading Tony's words of wisdom, but by then, it was a bit too late. Lesson learned.1 point
-
The key difference between the two sides -- direct and indirect -- is the heat transfer rate, not the temperature. I want a much lower heat transfer rate on the indirect side than on the direct side. Food cooks by energy being transferred to it, not by the surrounding temperature. That seems a bit counter-intuitive because we set our ovens and grills, etc. to a temperature, not a heat transfer rate. But bear with me. This next bit is going to get a bit technical. Can't help myself -- being an engineer who once upon a time did fluid dynamics and heat transfer for a living (mostly over that now, having moved on to other, geekier things). Feel free to skip it. Ahem. There are three fundamental mechanisms of heat transfer: Conduction, convection, and radiation. All are always present. The overall heat transfer is the sum of the three. None is superior to the other, although one may clearly dominate in certain cases. Examples: Conduction: food on a griddle or in a hot pan is cooked by conduction. We use the knob on the stove -- low, medium, high to tell us how hot it is (given time to reach equilibrium). When our grill grates get hot and we get grill marks on our food, this was achieved by conduction -- direct contact of the food with the grate. Note that the grate itself may be considerably hotter than the temperature reading on the grill. This is because the grate was heated, in part, by radiation...which doesn't care so much about your grill thermometer. Convection: food in an oven or on the indirect side of a grill is cooked by convection where heat is transferred by the surrounding air to the food. Sous vide cooking is similar, but the heat is transferred by water. In both cases, the temperature of the fluid medium matters because the temperature determines the heat transfer rate. Note that temperature does NOT cook food. Temperature -- specifically the difference in temp between the fluid and the food -- determines the heat transfer rate which DOES cook the food. The temperature in your oven and thermometer on your grill are indicators of *convective* heat transfer, but are not the mechanism by which food itself is cooked. Radiation: Searing directly over a heat source like a bed of hot coals is mostly done by radiation. The temperature of the heat source matters, but the distance from that source determines the heat transfer rate. The thermometer on your grill doesn't measure ANYTHING related to IR heat transfer -- only the temperature of the air which contributes to convection. This is what I do too.1 point
-
Very good question. It's important to NOT clip the temperature probe to the grate with anything metal or it will give you an erroneously high temperature to the controller. As far as I know, no one's software tries to account for this. BBQ Guru sells a "probe tower" to address this issue. Being a cheap-ass, I have fashioned myself a nice holder out of used wine corks (of which I have plenty!) Just trim a little off of each side on one end until it fits between the grate rods. I've then screwed a small screw in the other end to clip the alligator clip on my temperature probe to. The cork provide sufficient insulation that your probe is sensing actual air temperature and giving you a better idea of the cooking temperature for an indirect low & slow cook. Here's a picture of it. This is an older version where I was using a half of a toothpick, but they burned up after only one or two cooks, so I later switched to the small screw. Found a second picture of one that was a new cork.0 points


Bull.thumb.jpg.50d347aabd71178c9d9a16b7663cfa1a.jpg)




.thumb.jpg.635ea2a39d512131ef90eb61fc250441.jpg)
