Leaderboard


.thumb.GIF.006d23b9323146d2dd9055f4e195bc2a.GIF)
Popular Content
Showing content with the highest reputation on 05/10/2019 in all areas
-
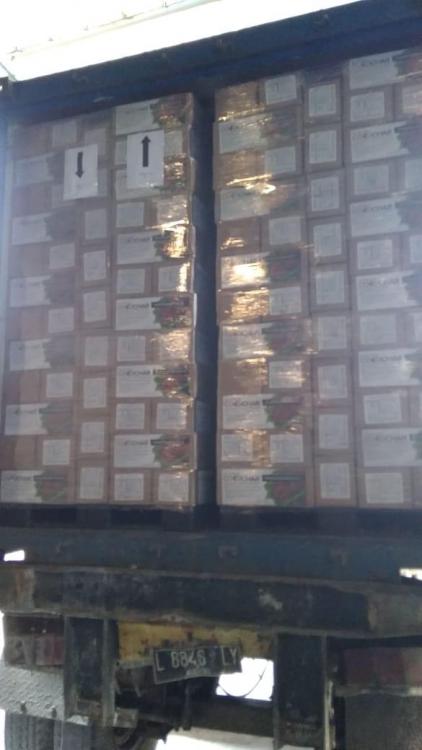
Can't believe it's already been two years since I shipped a container of charcoal.. We shipped a container yesterday.. I could not be more pleased. ETA CA . June 15th So that's two containers on the way.. One coco char and the other coffee lump.
 5 points
 -
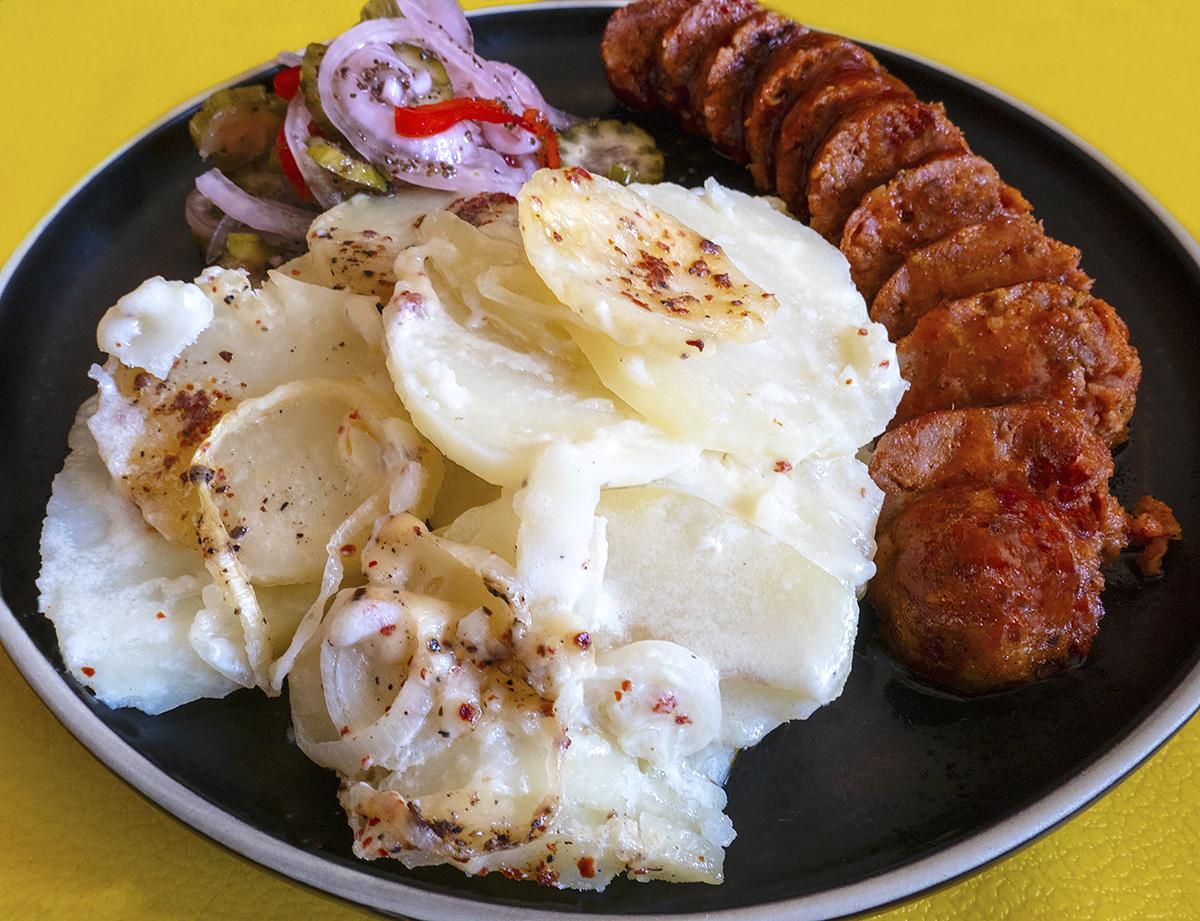
Spun a small beef roast over veg.made up a nice batch..gave the beef some rub...on it goes ..looking good..veggies are ready. .after a rest. . And carved.. Plated looks simple as but tasted 5 star. Sent from my SM-T835 using Tapatalk5 points
-
Employer just jumped onboard with our relocation w/remote work plans, so... To goat, or not to goat? That is the question...2 points
-
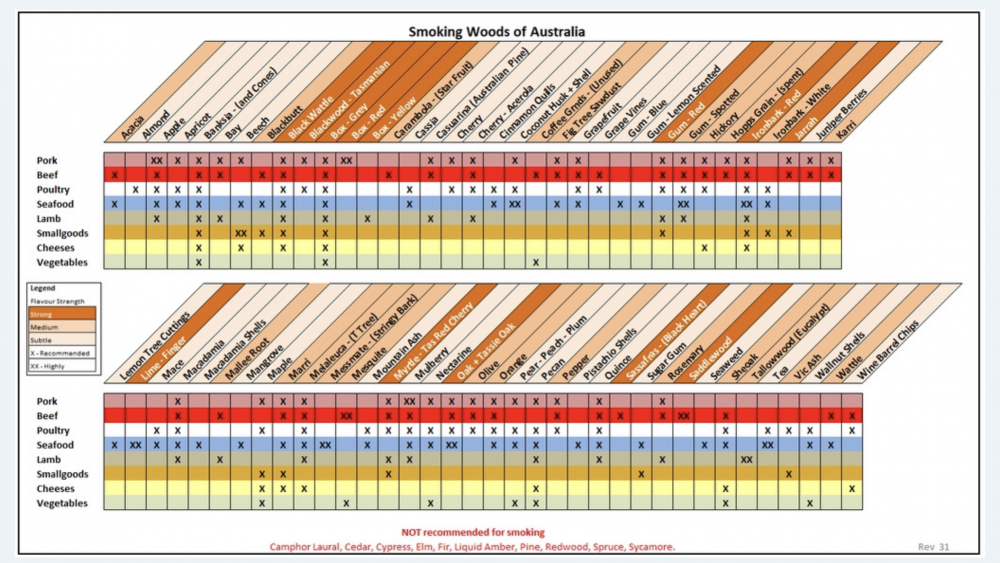
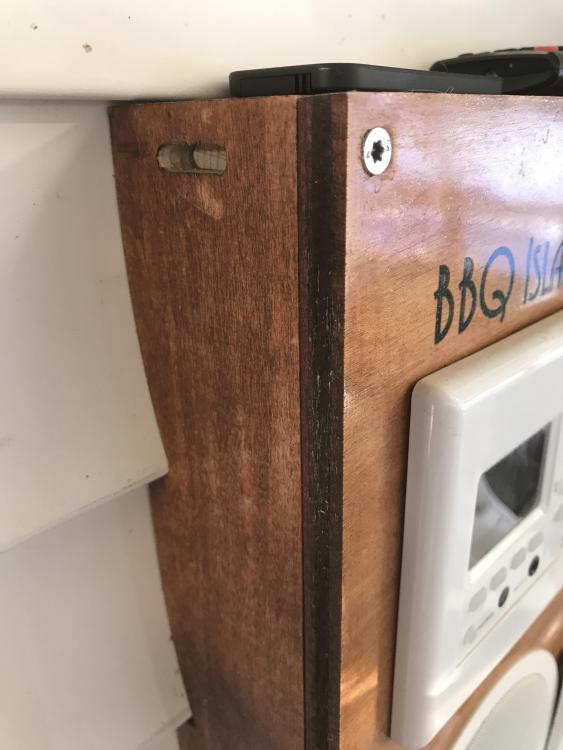
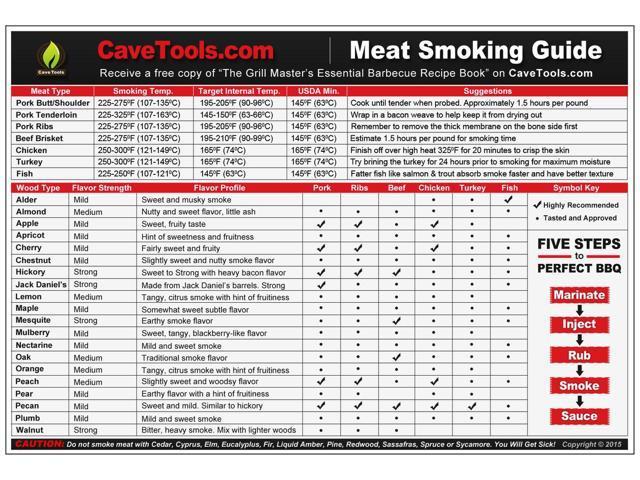
Thought I’d share a favourite table I’ve used. All woods can be found in Australia and plenty in other countries. i highly recommend exploring different timbers. As a rule of thumb, stay away from soft woods, especially sappy trees like pine and mango.
 2 points
 -
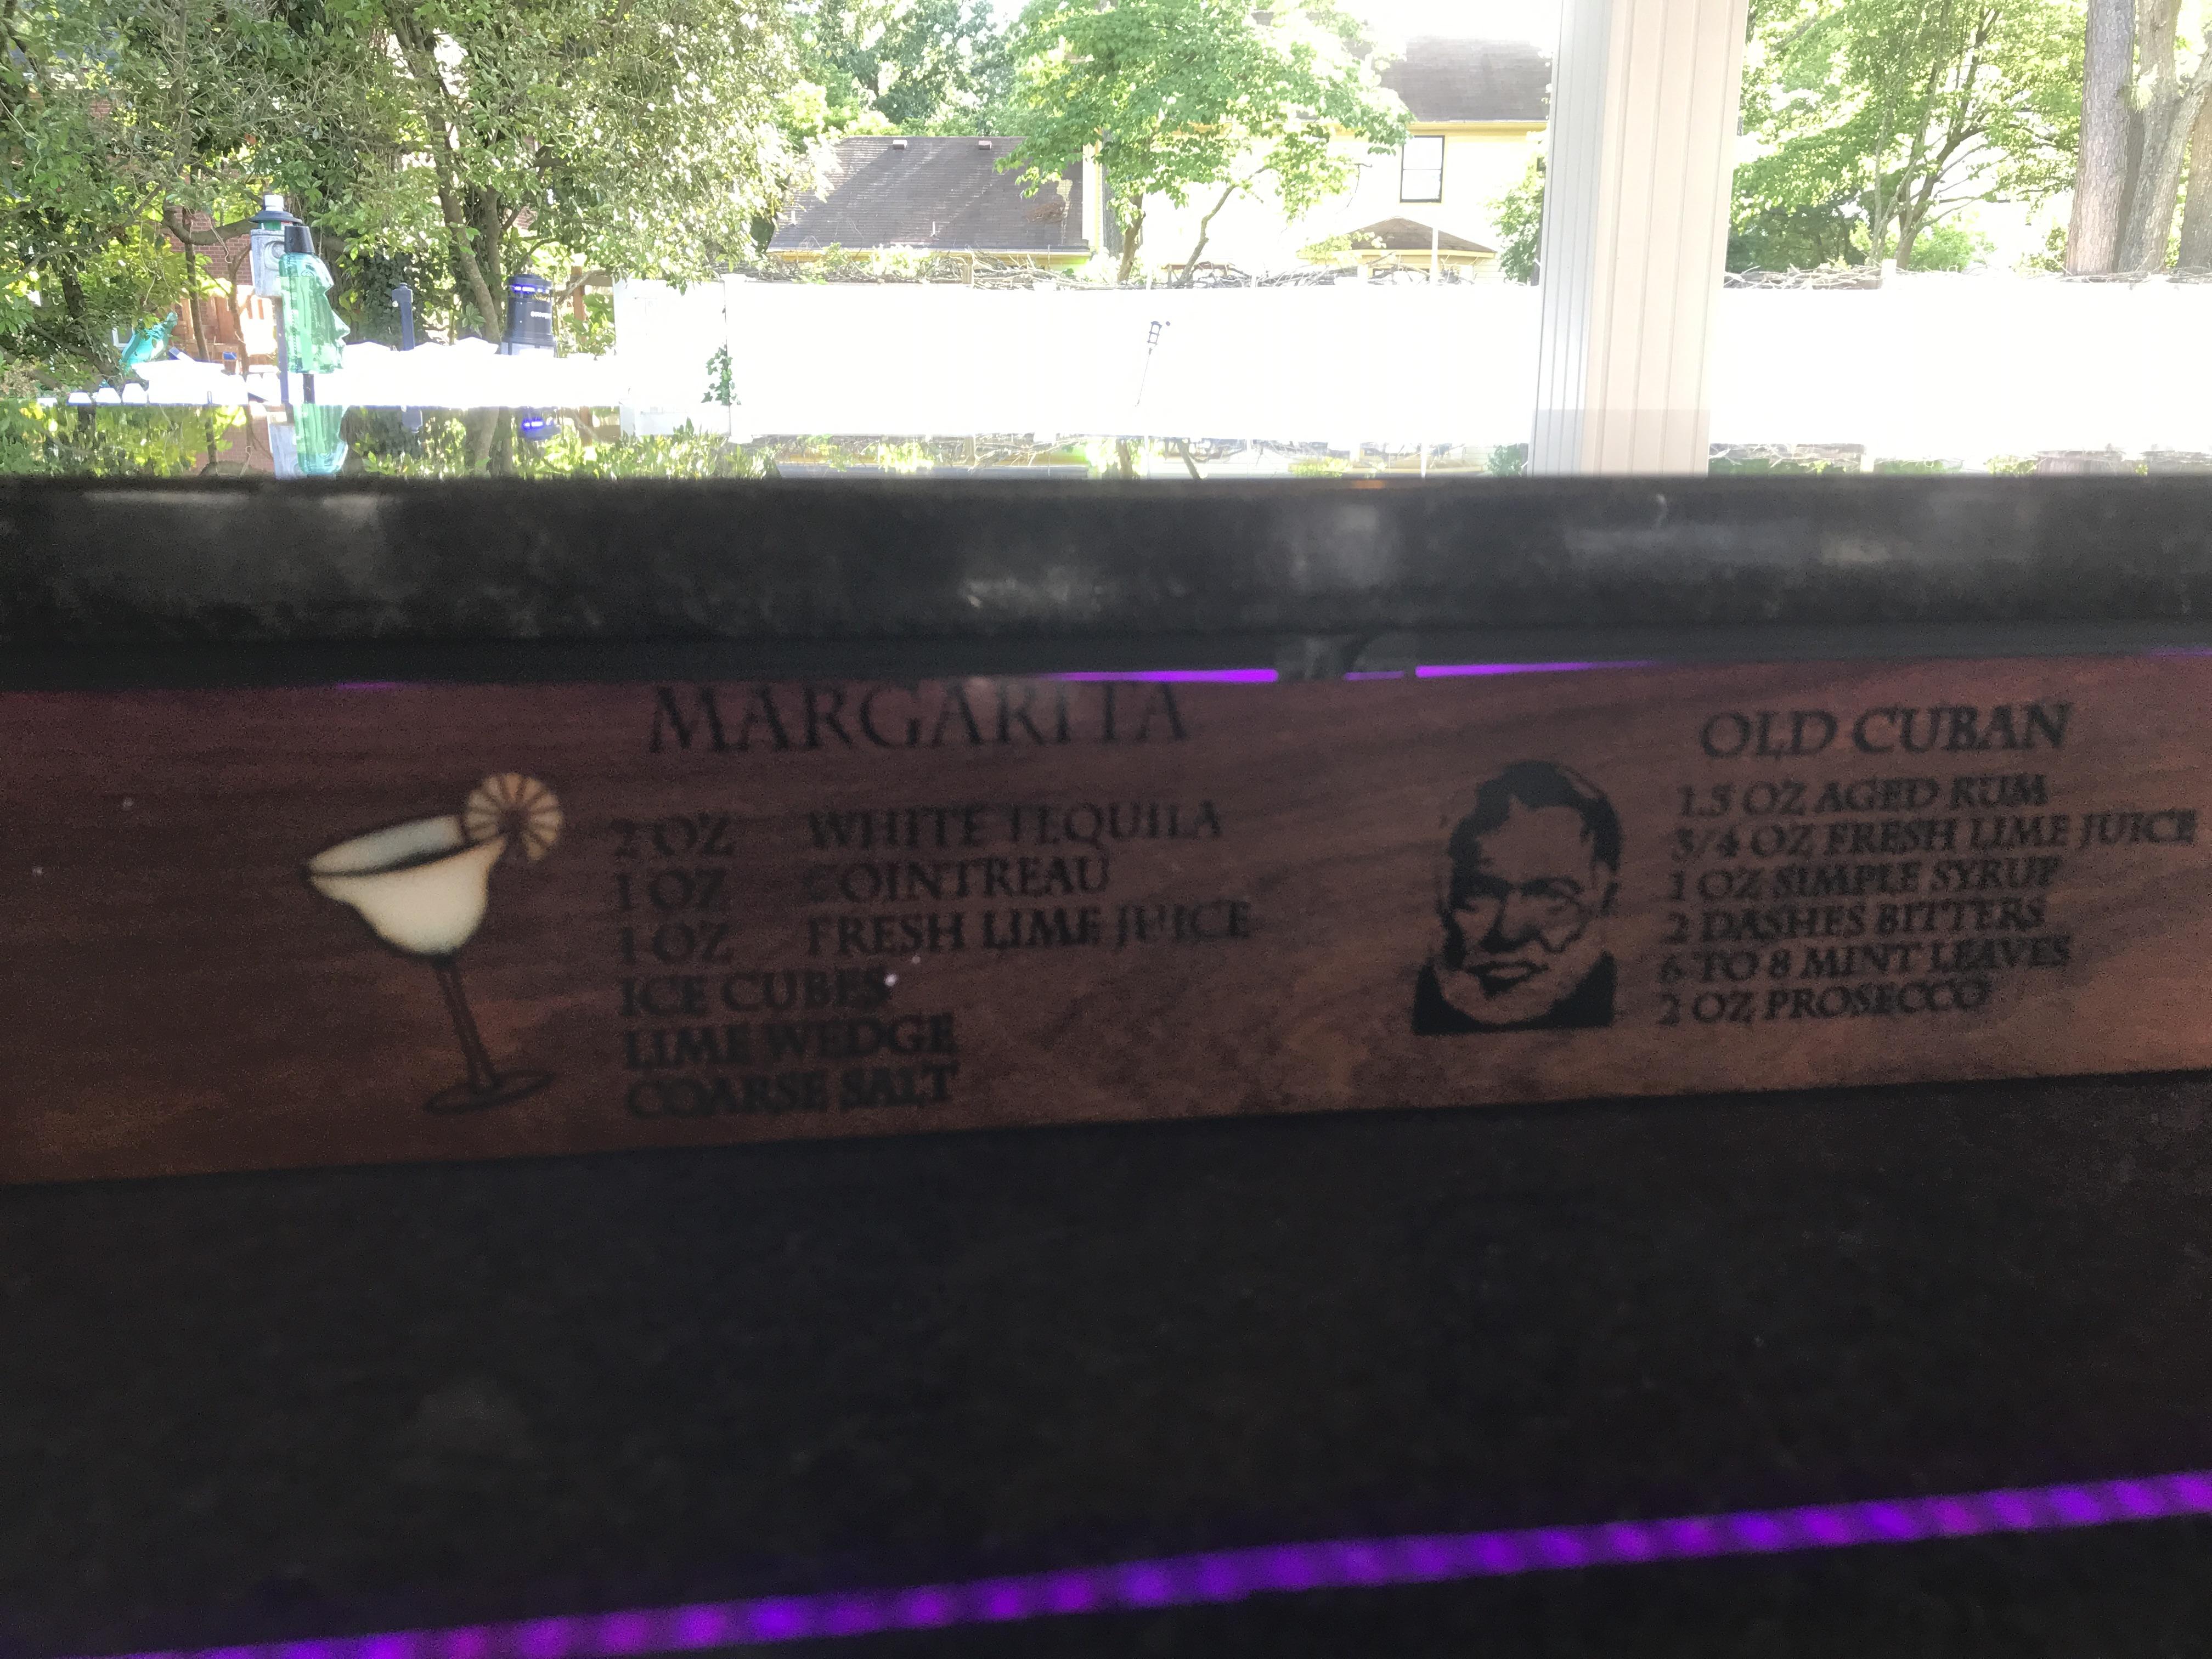
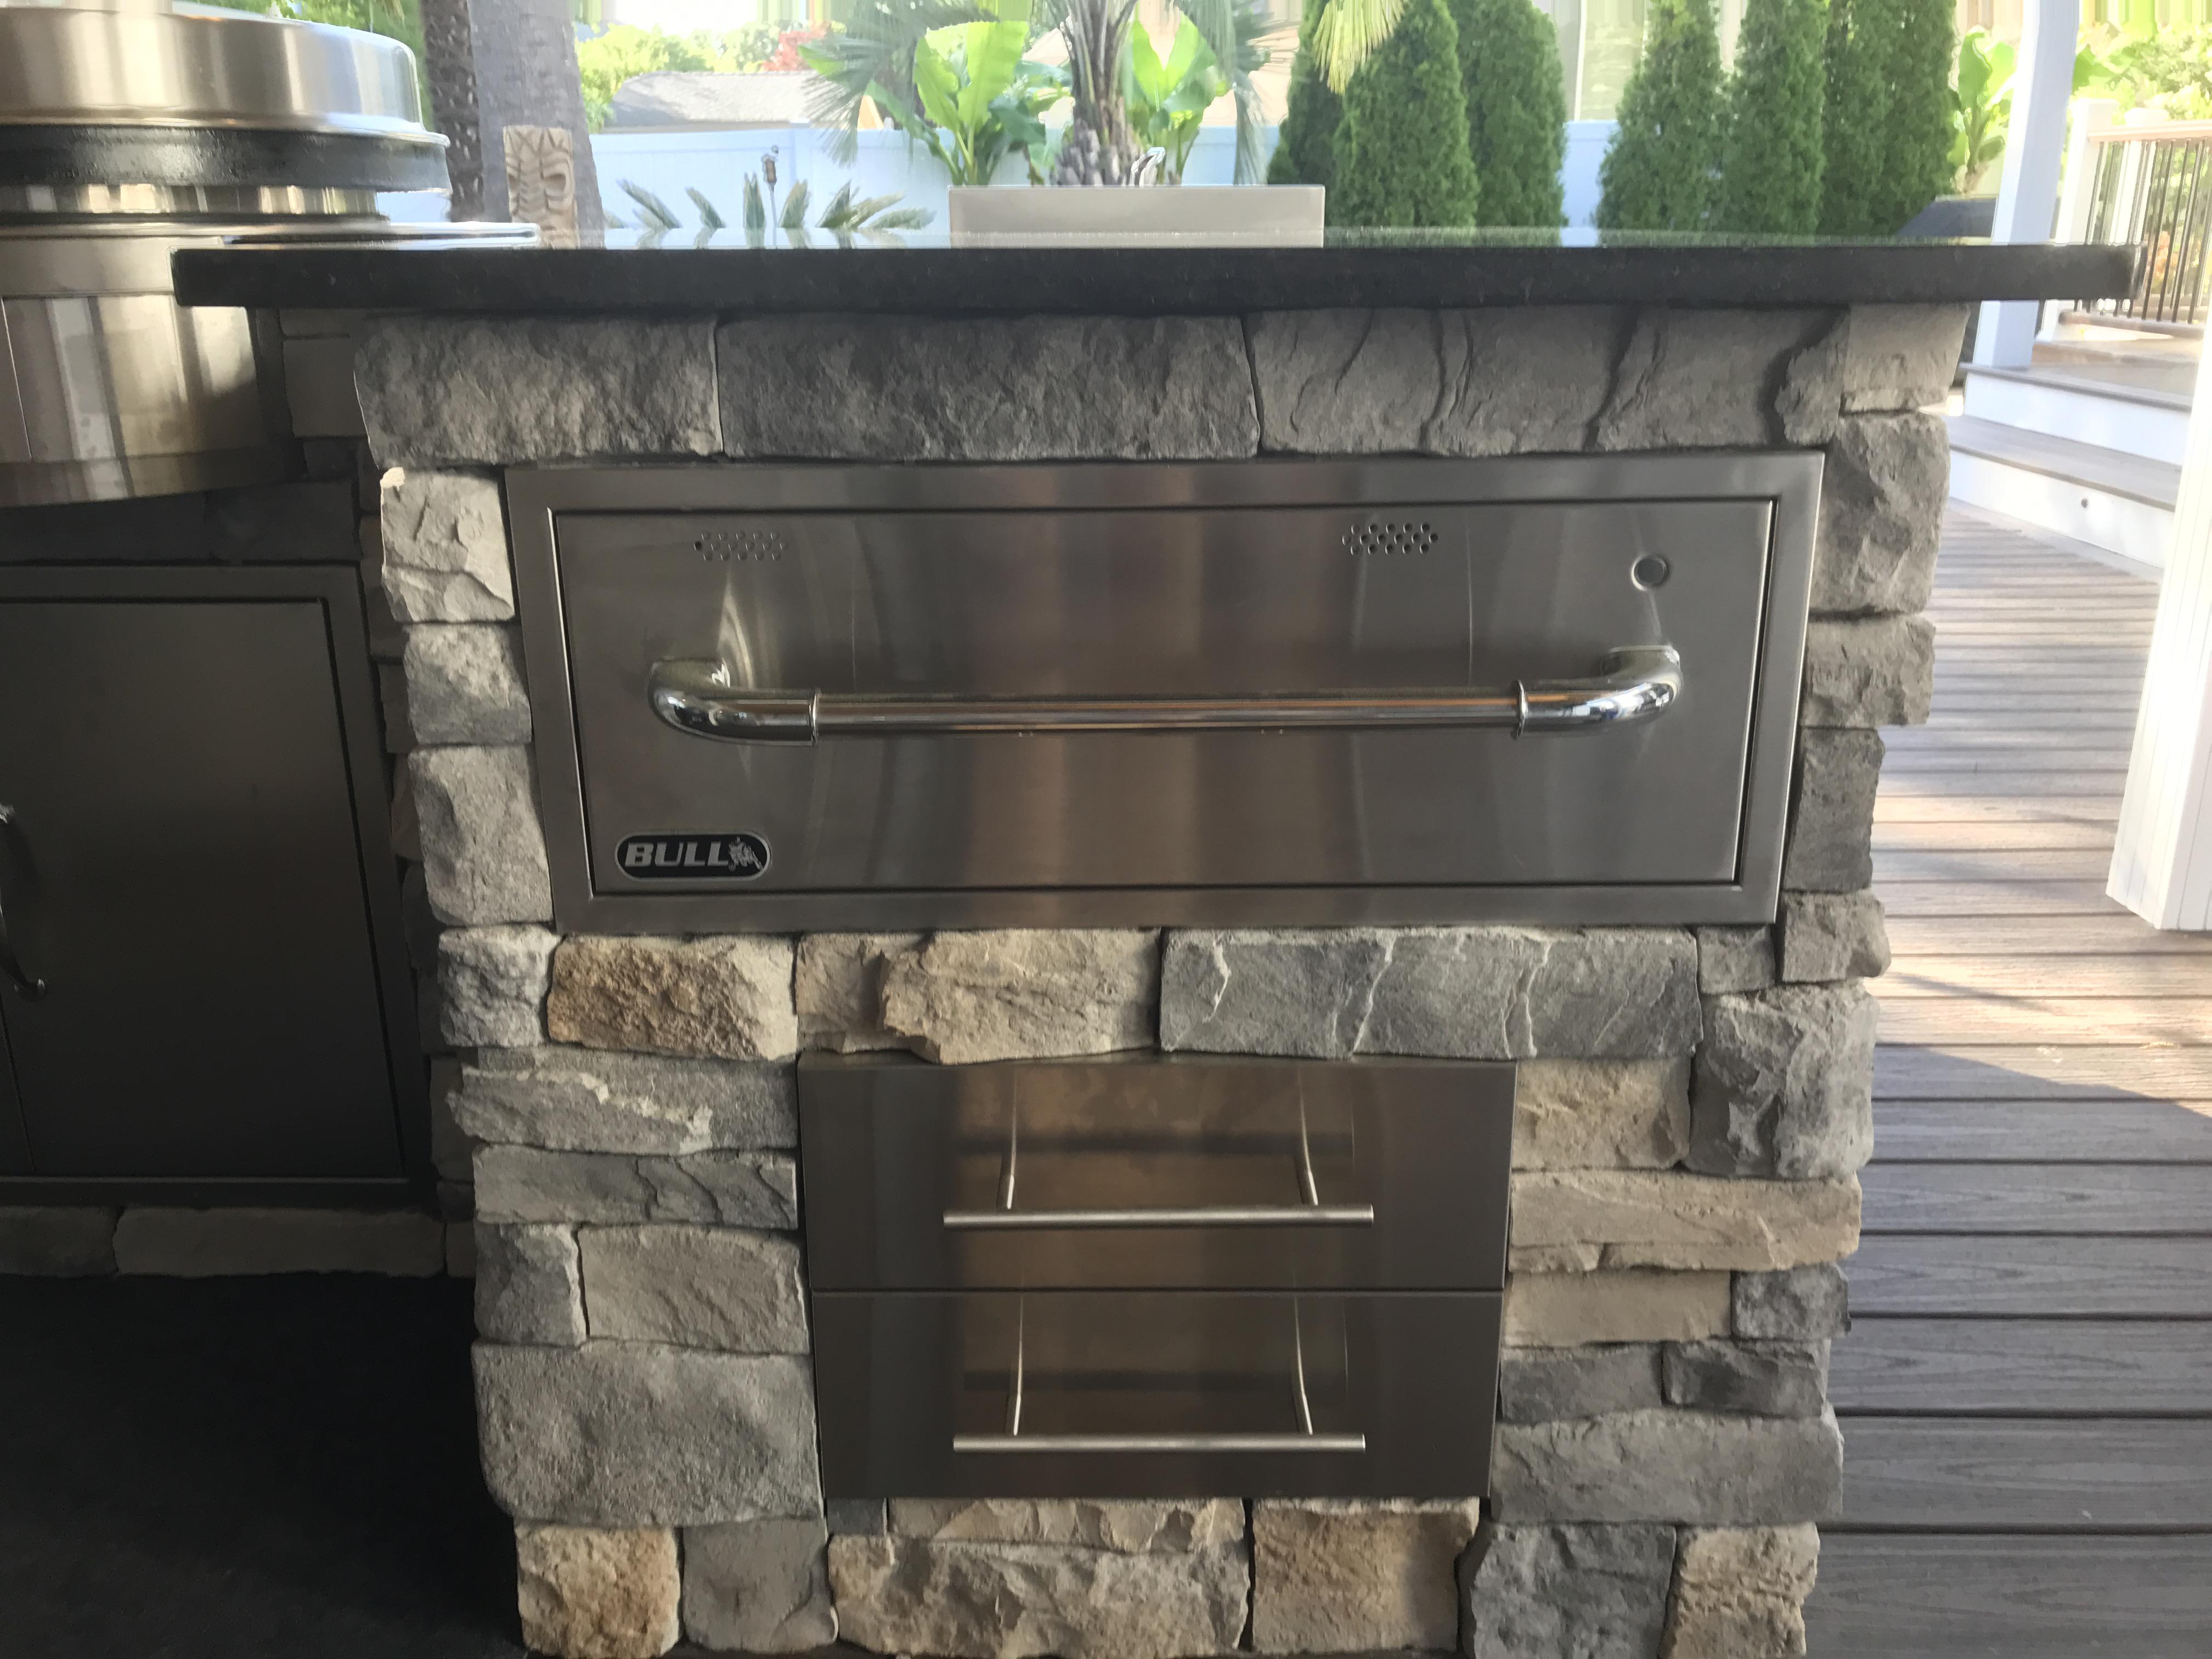
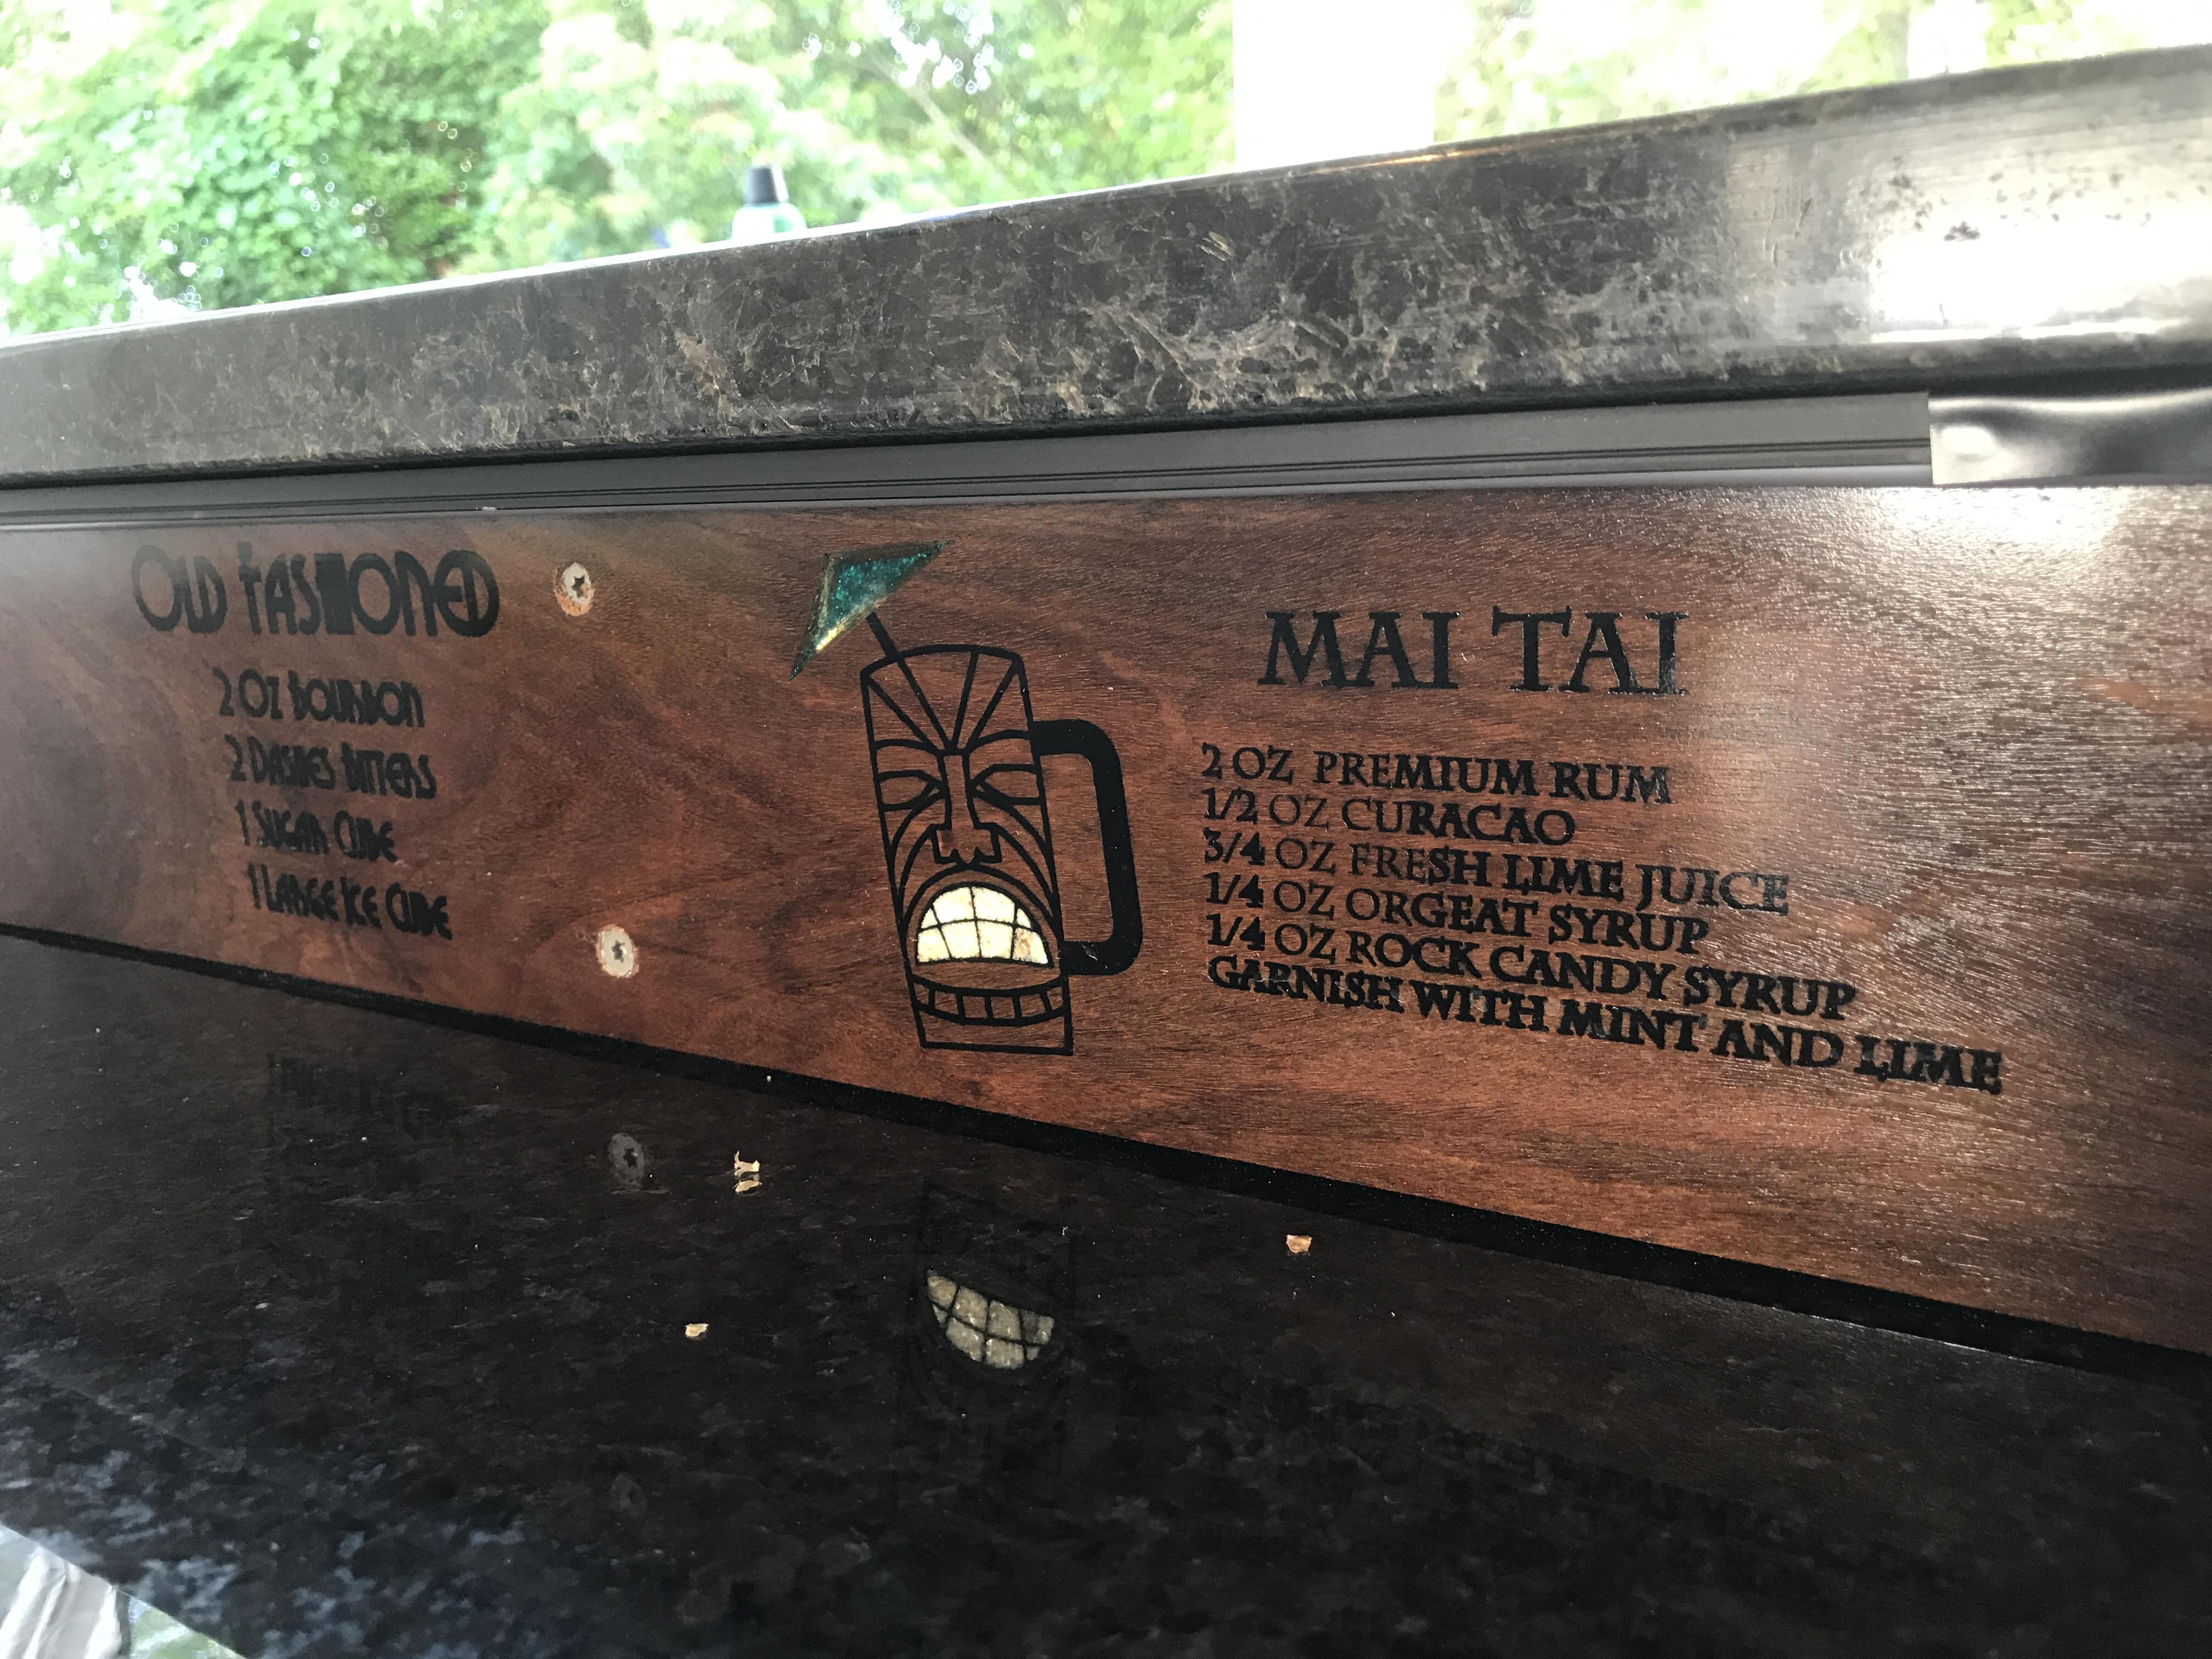
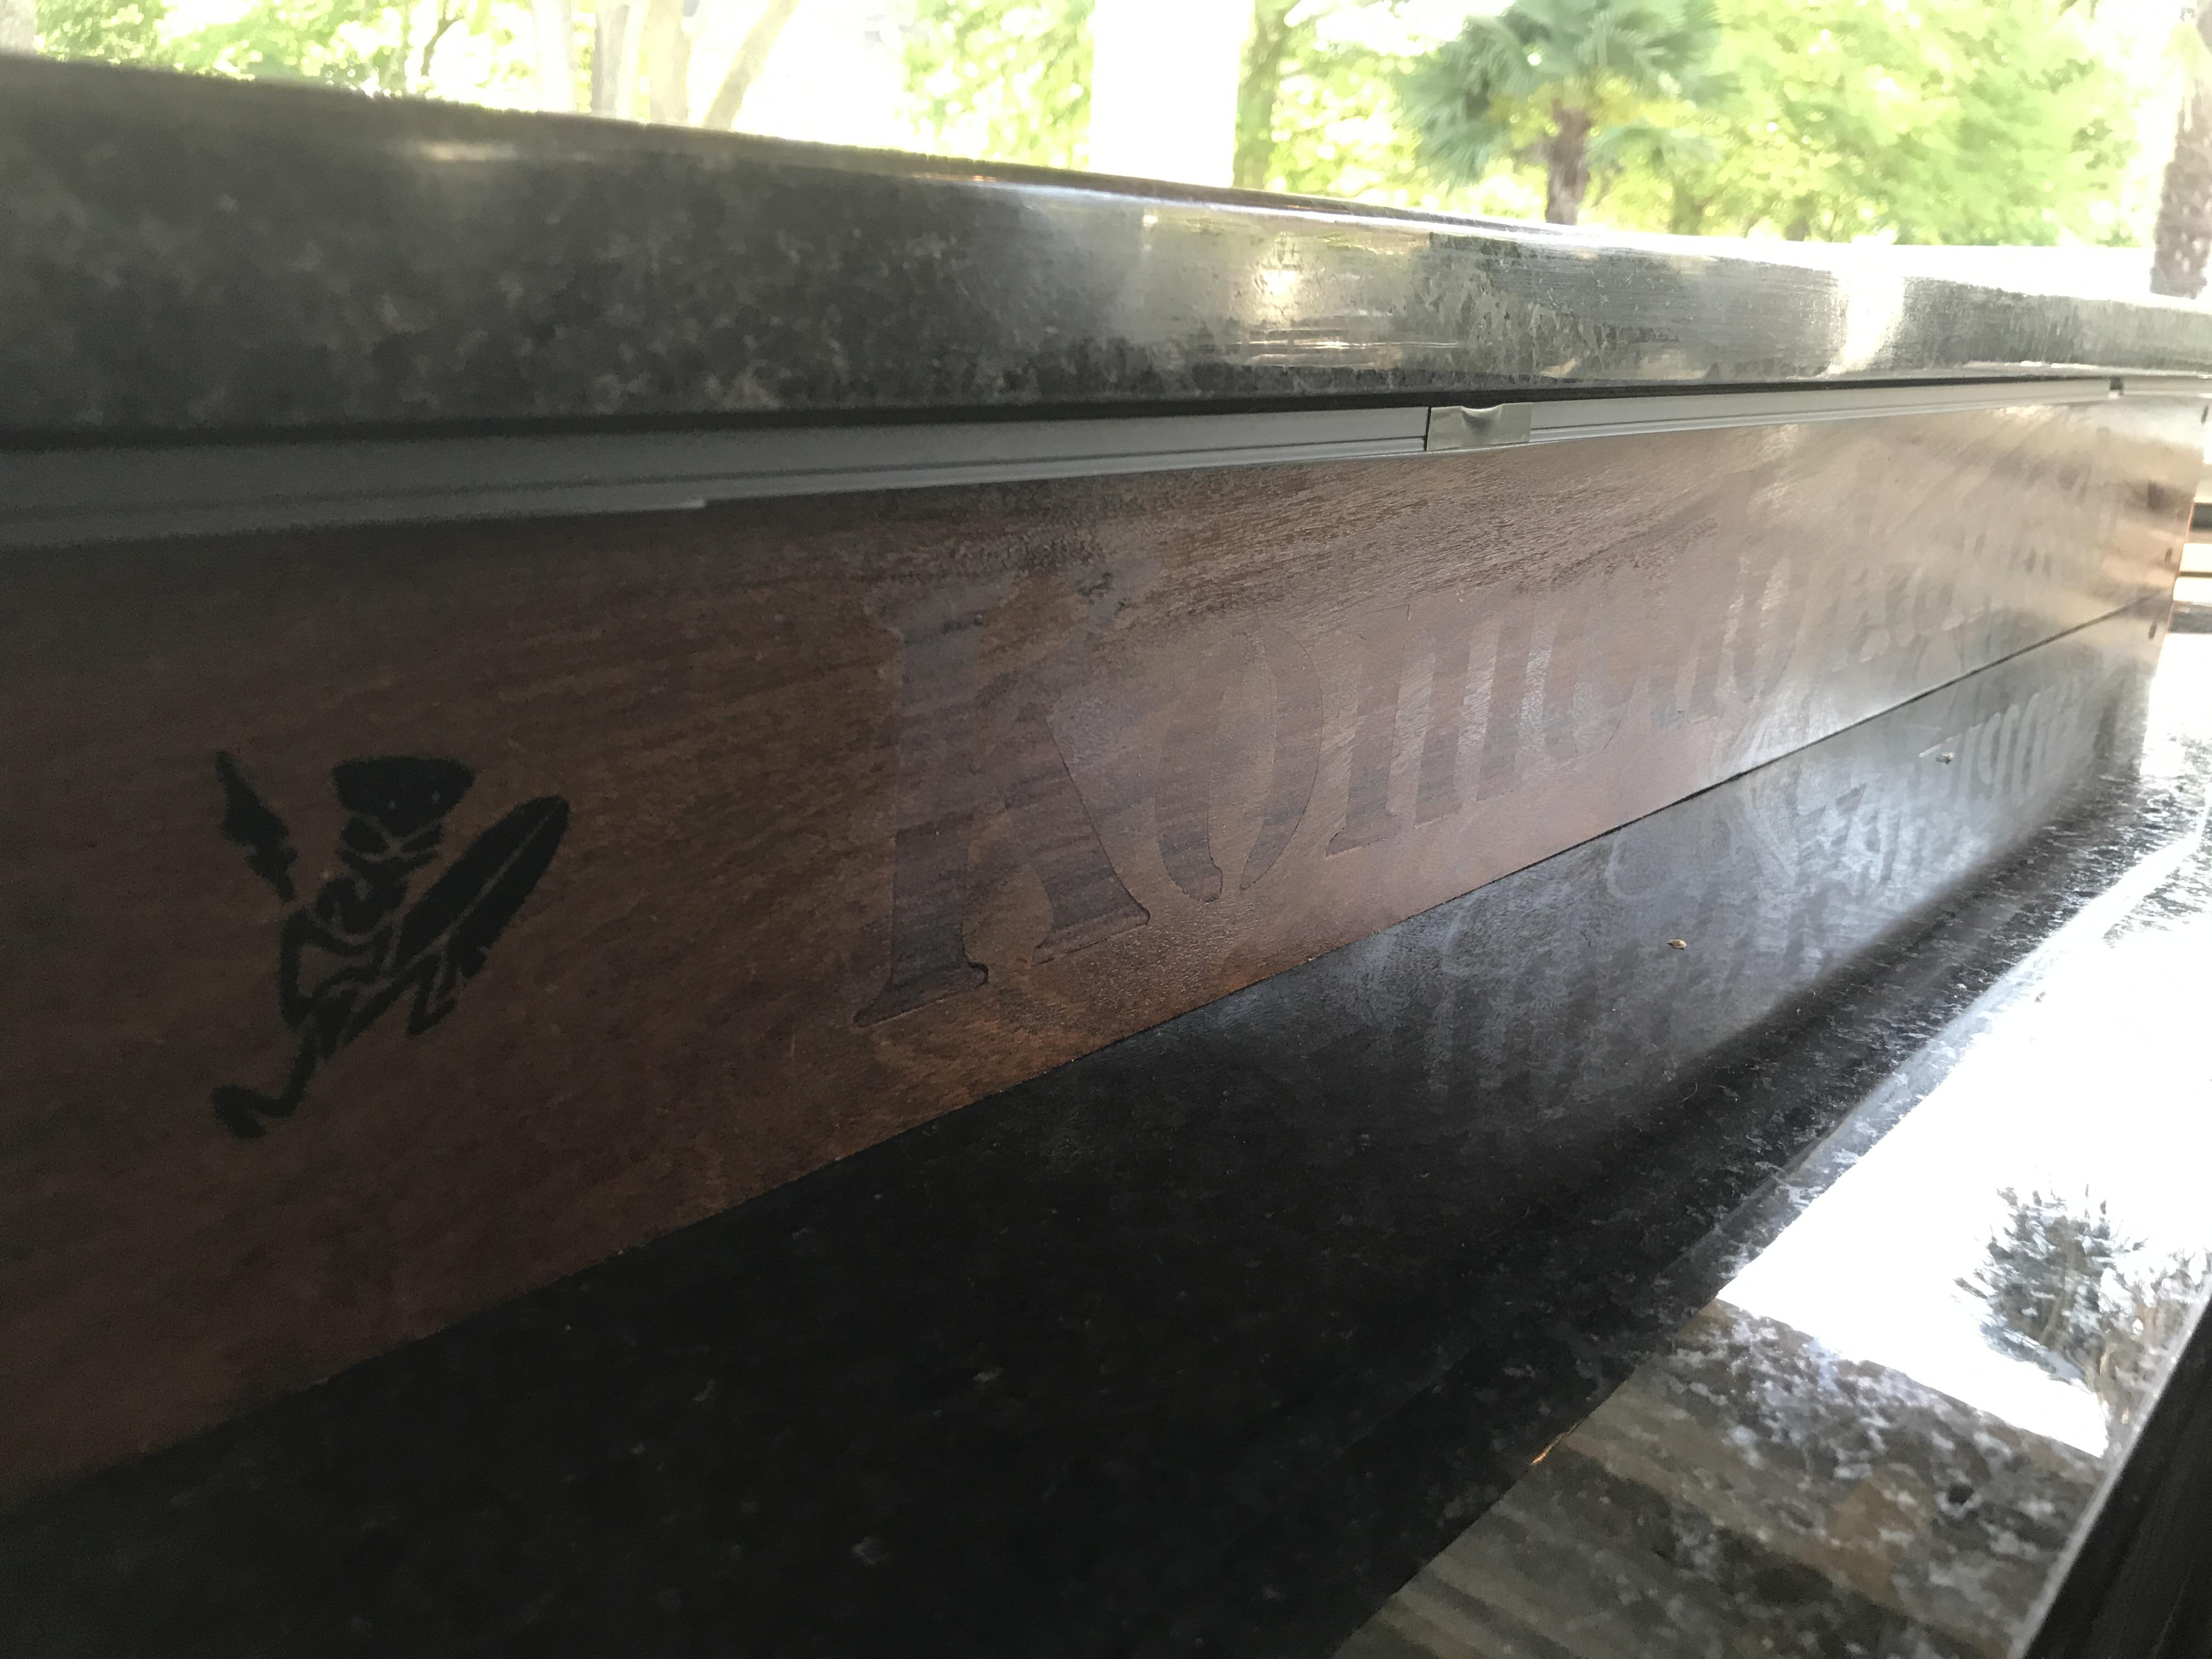
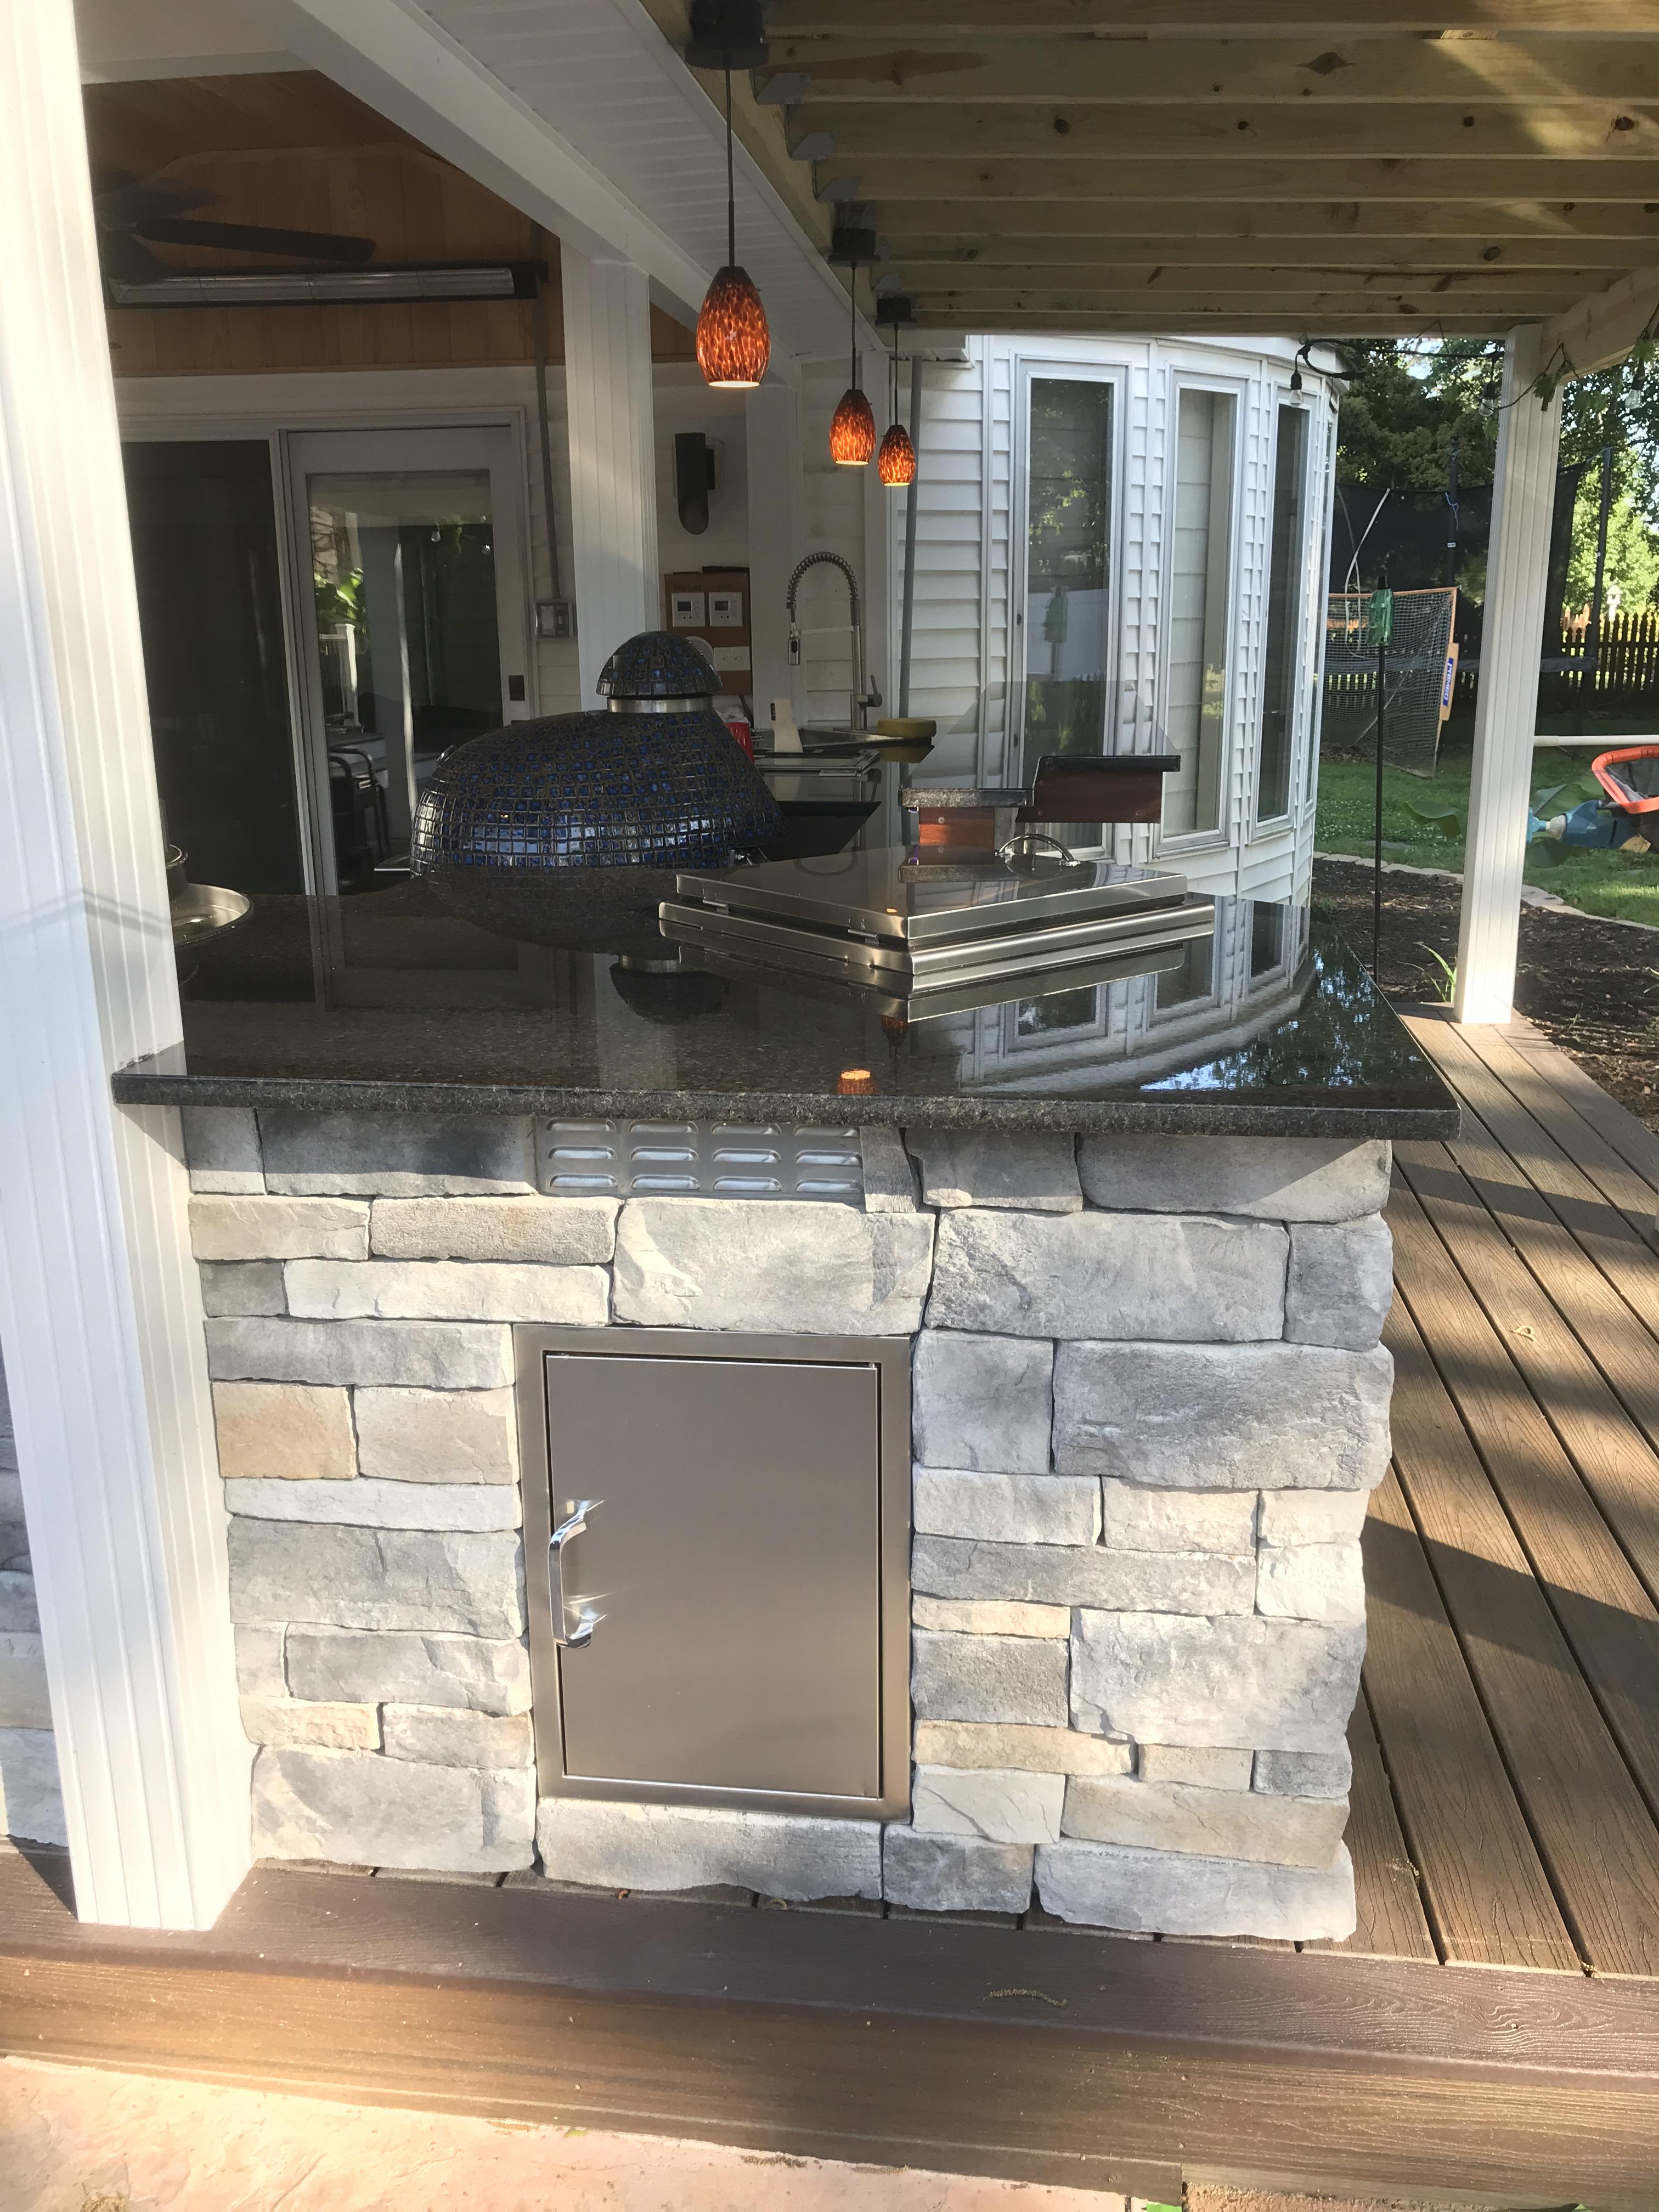
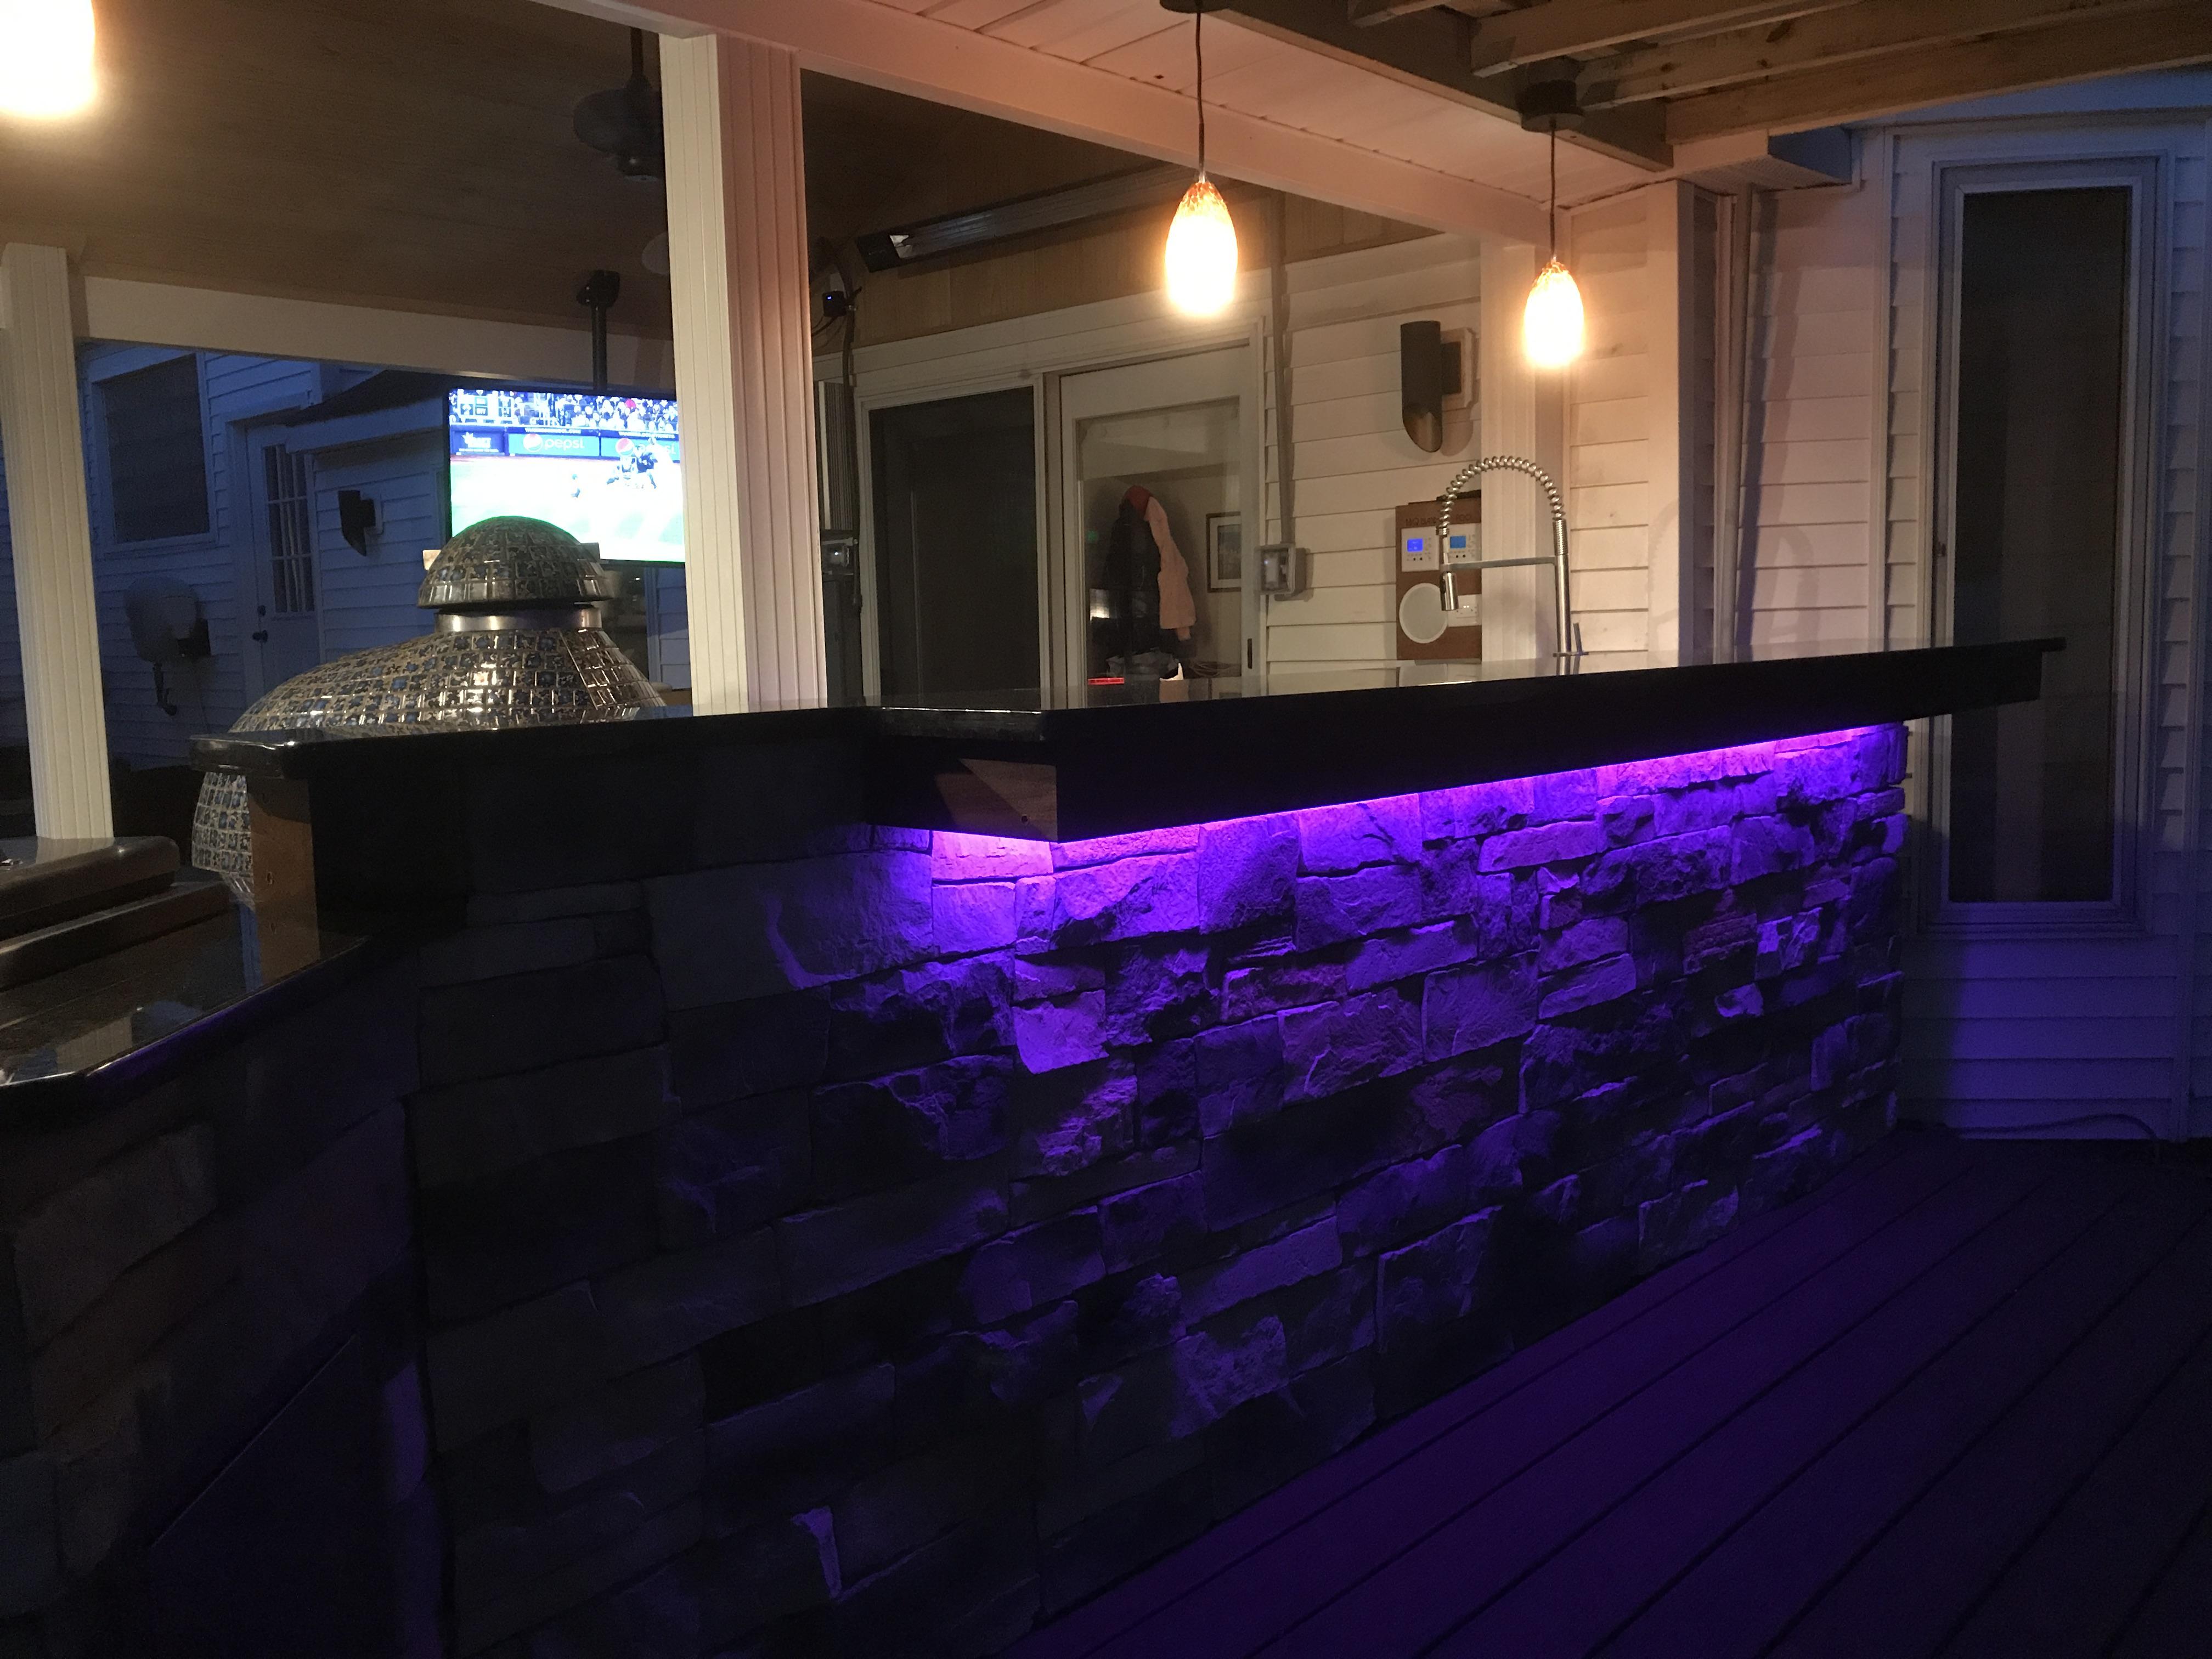
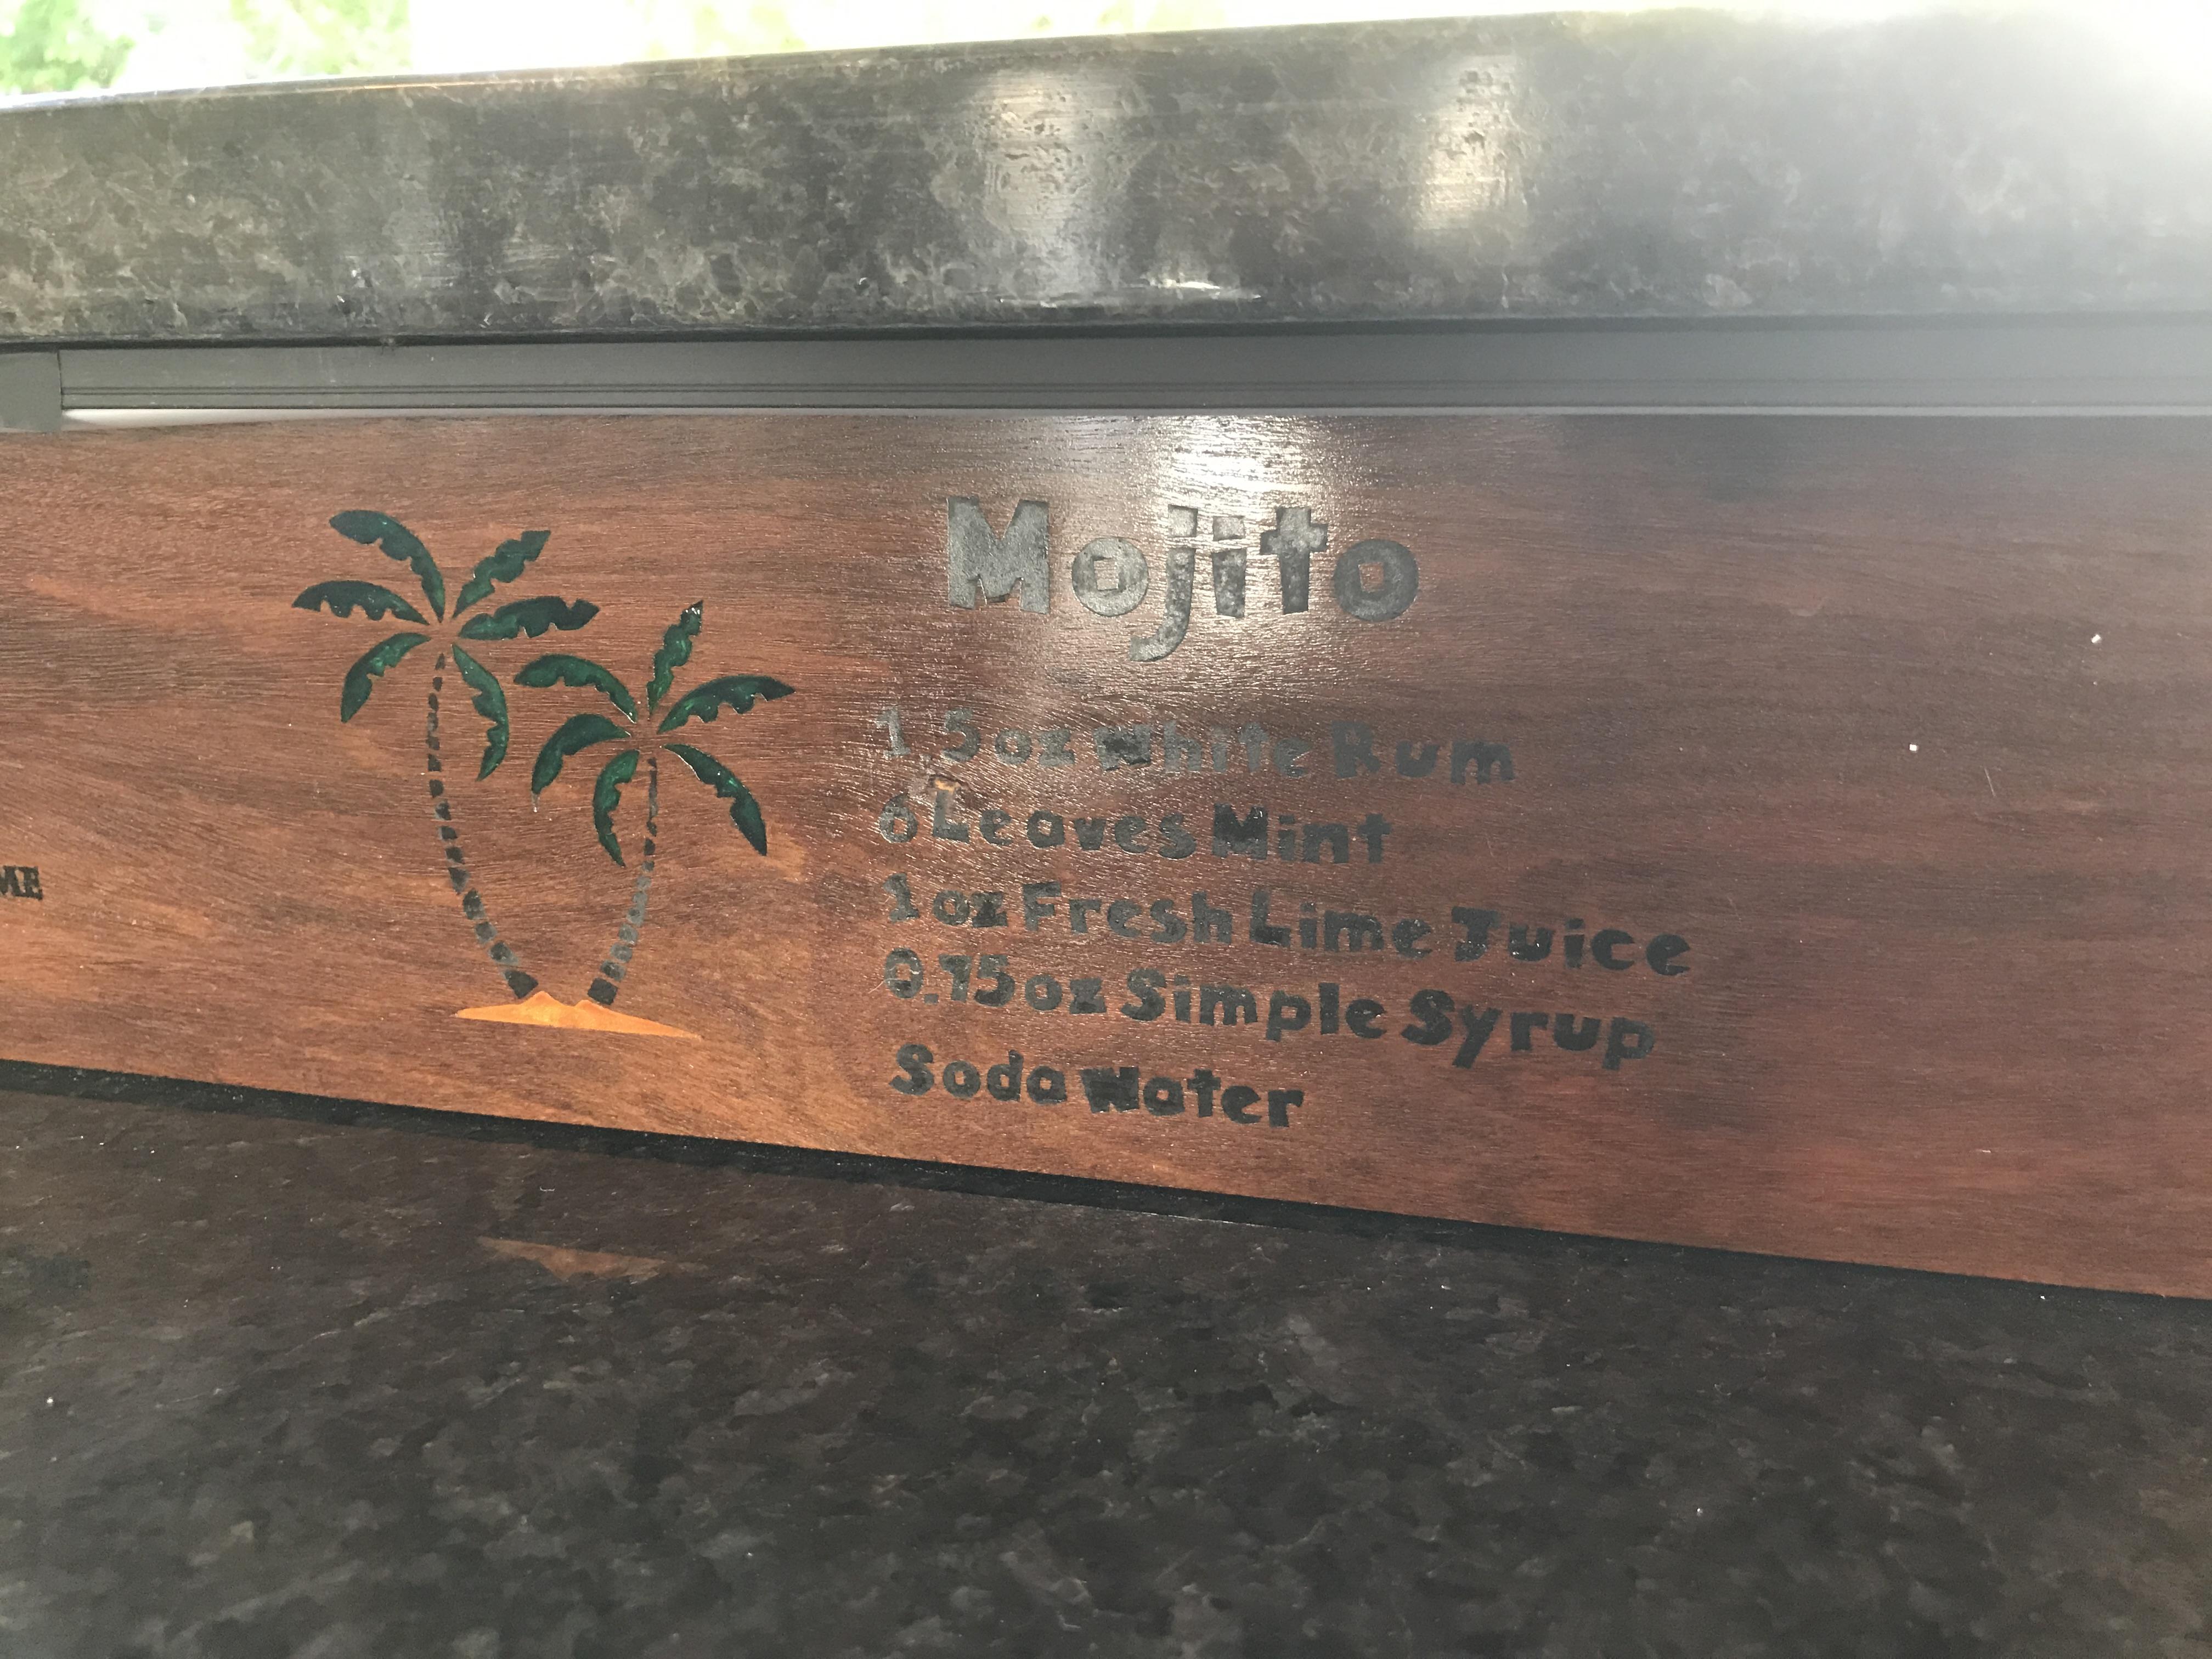
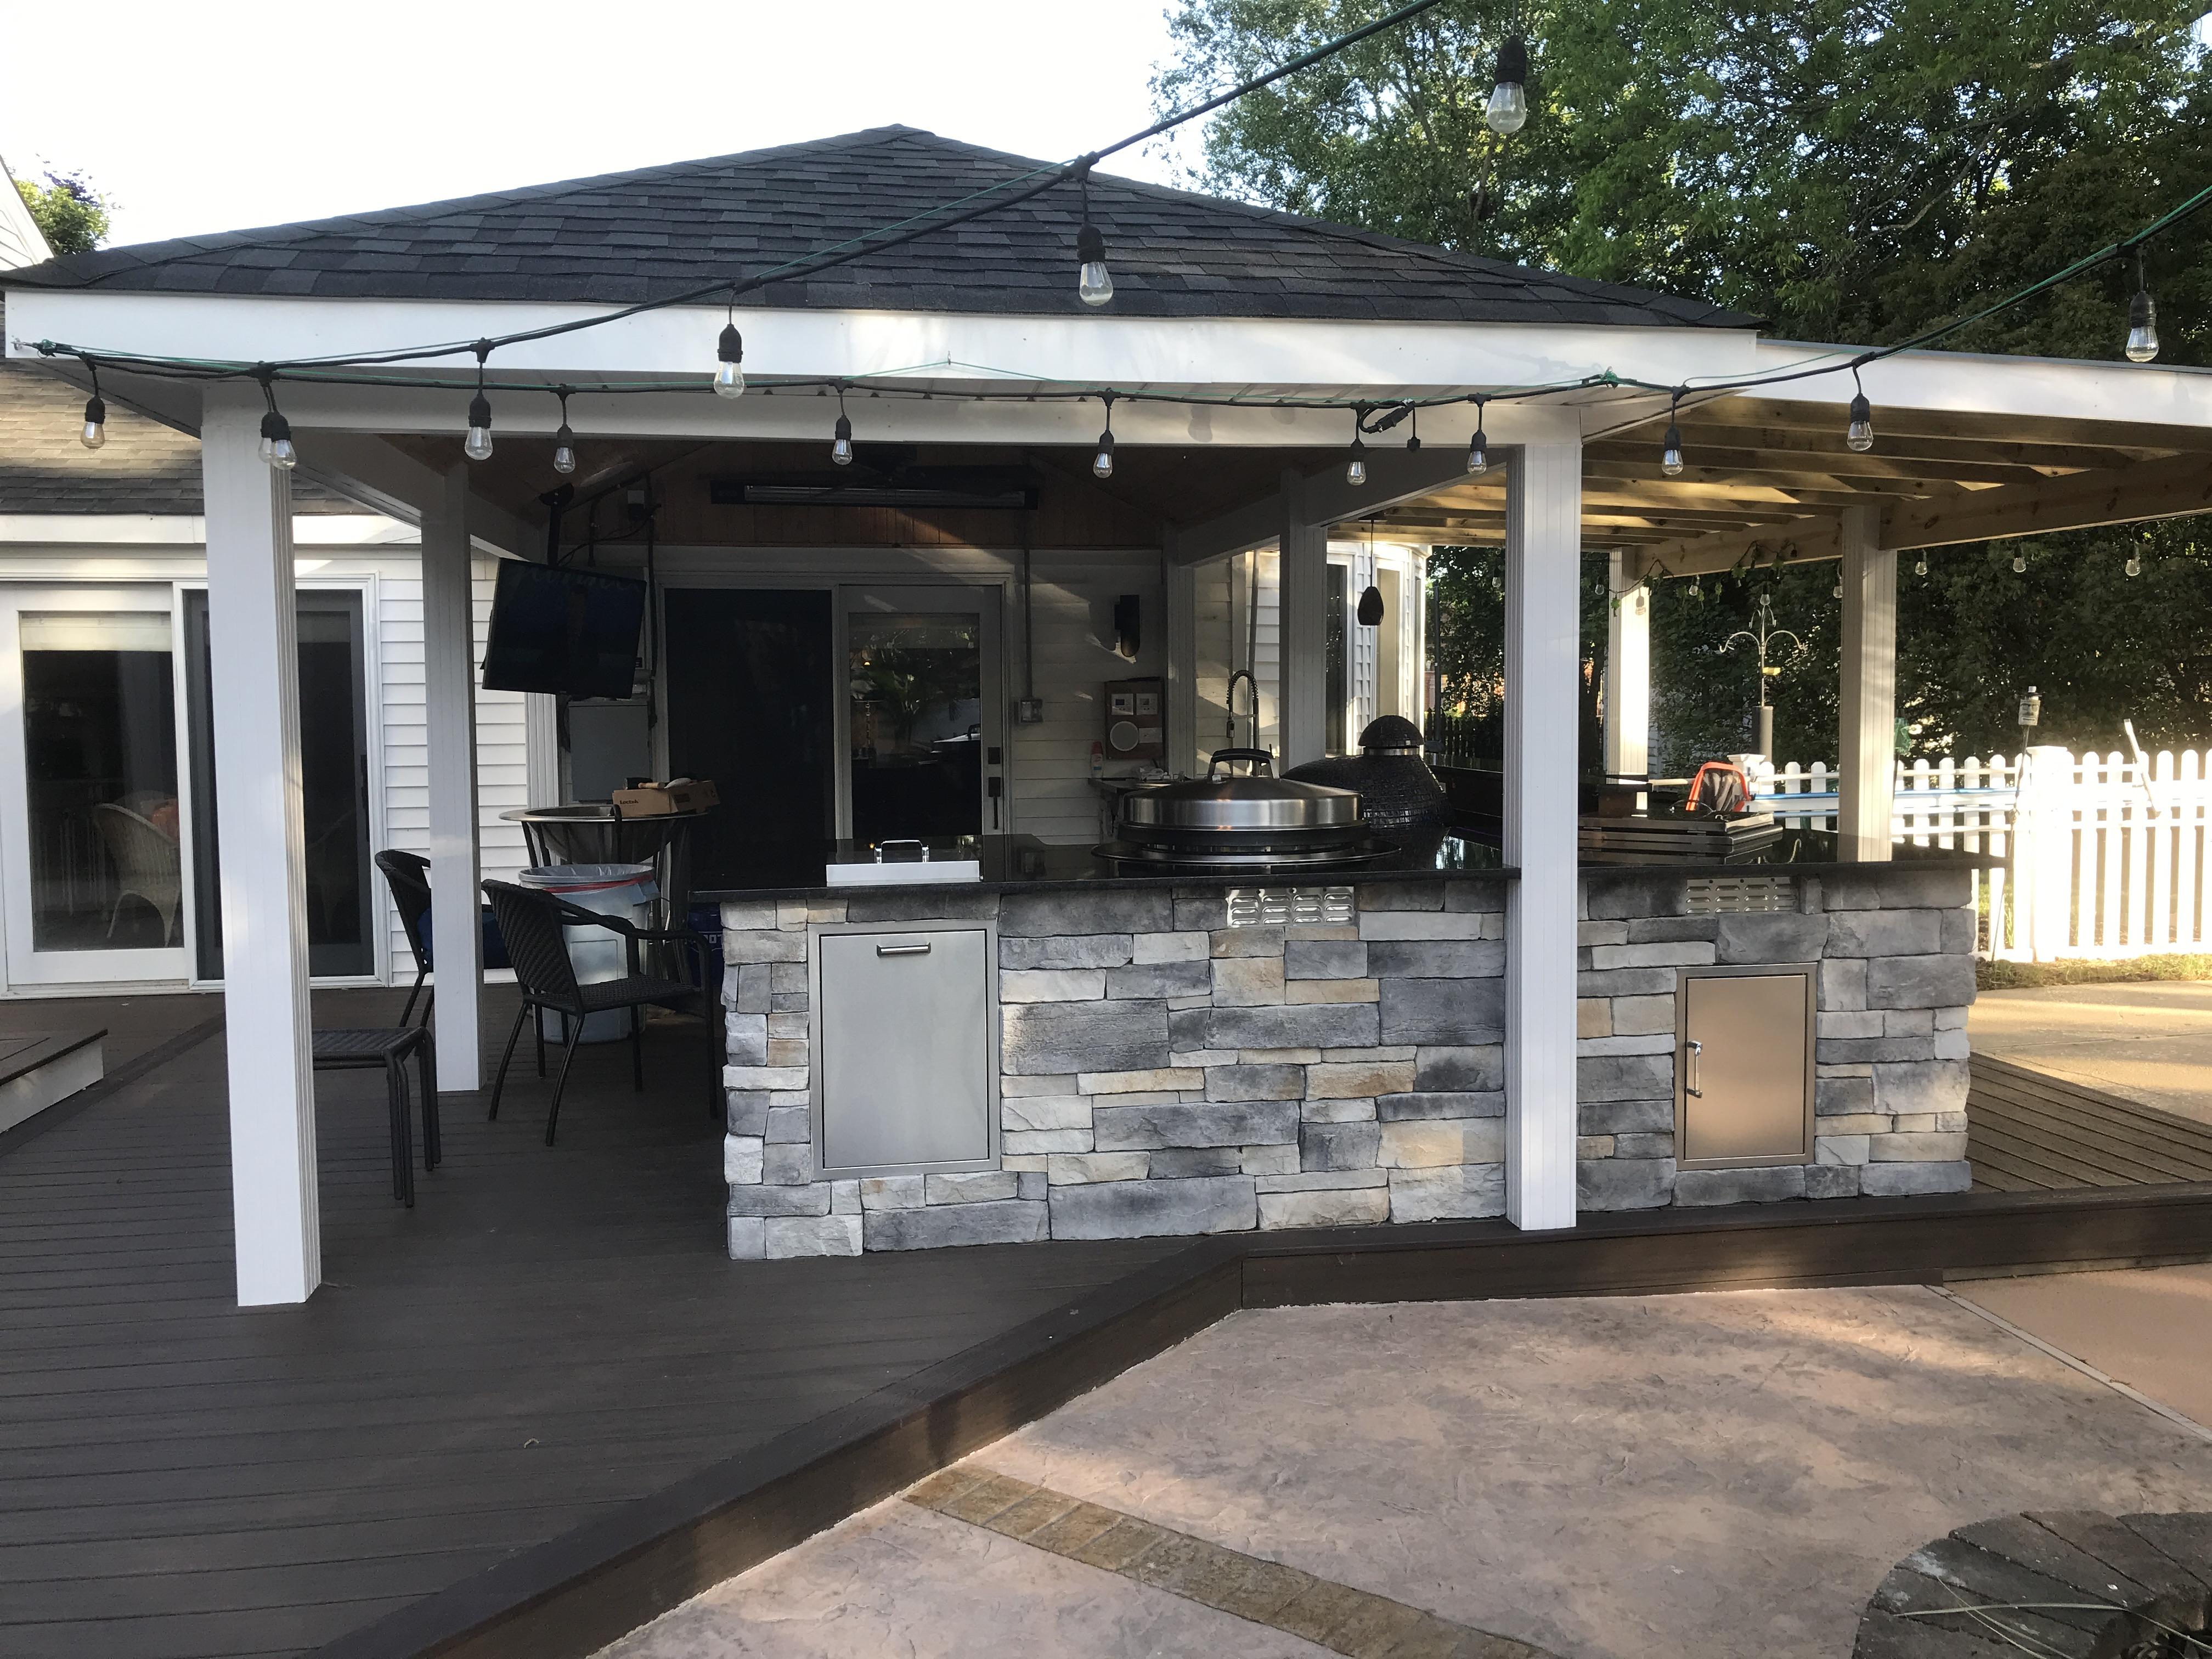
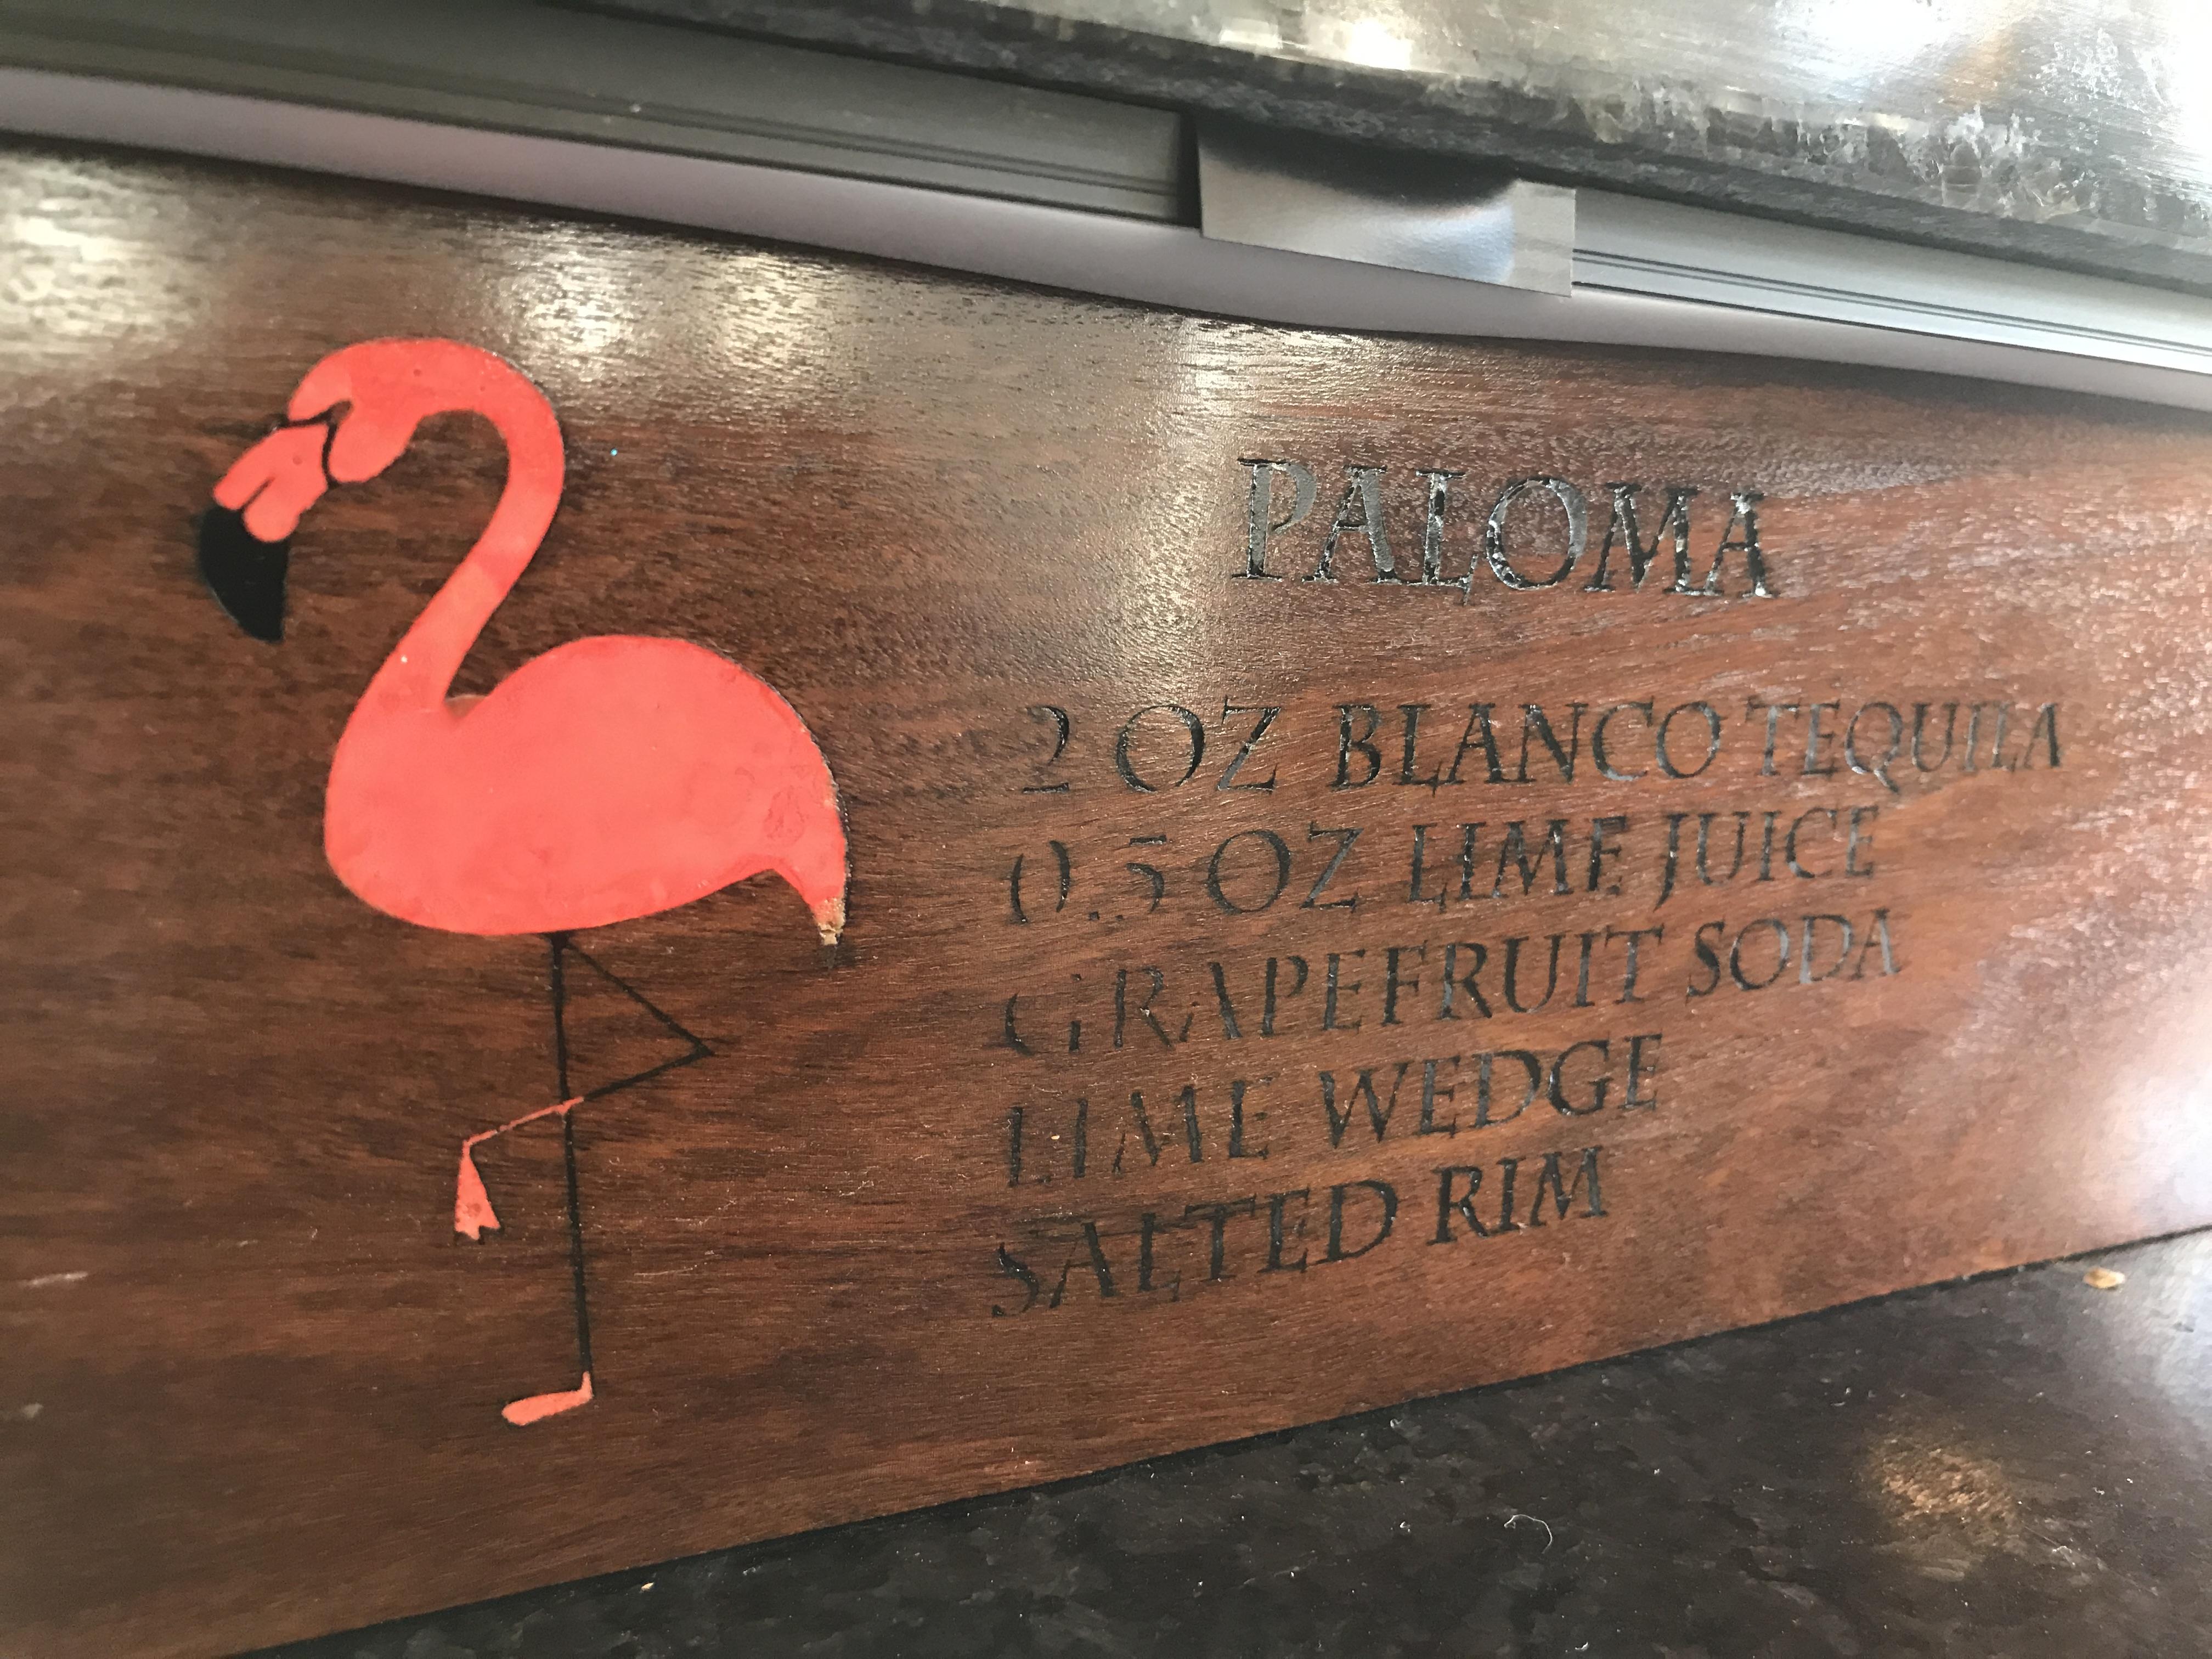
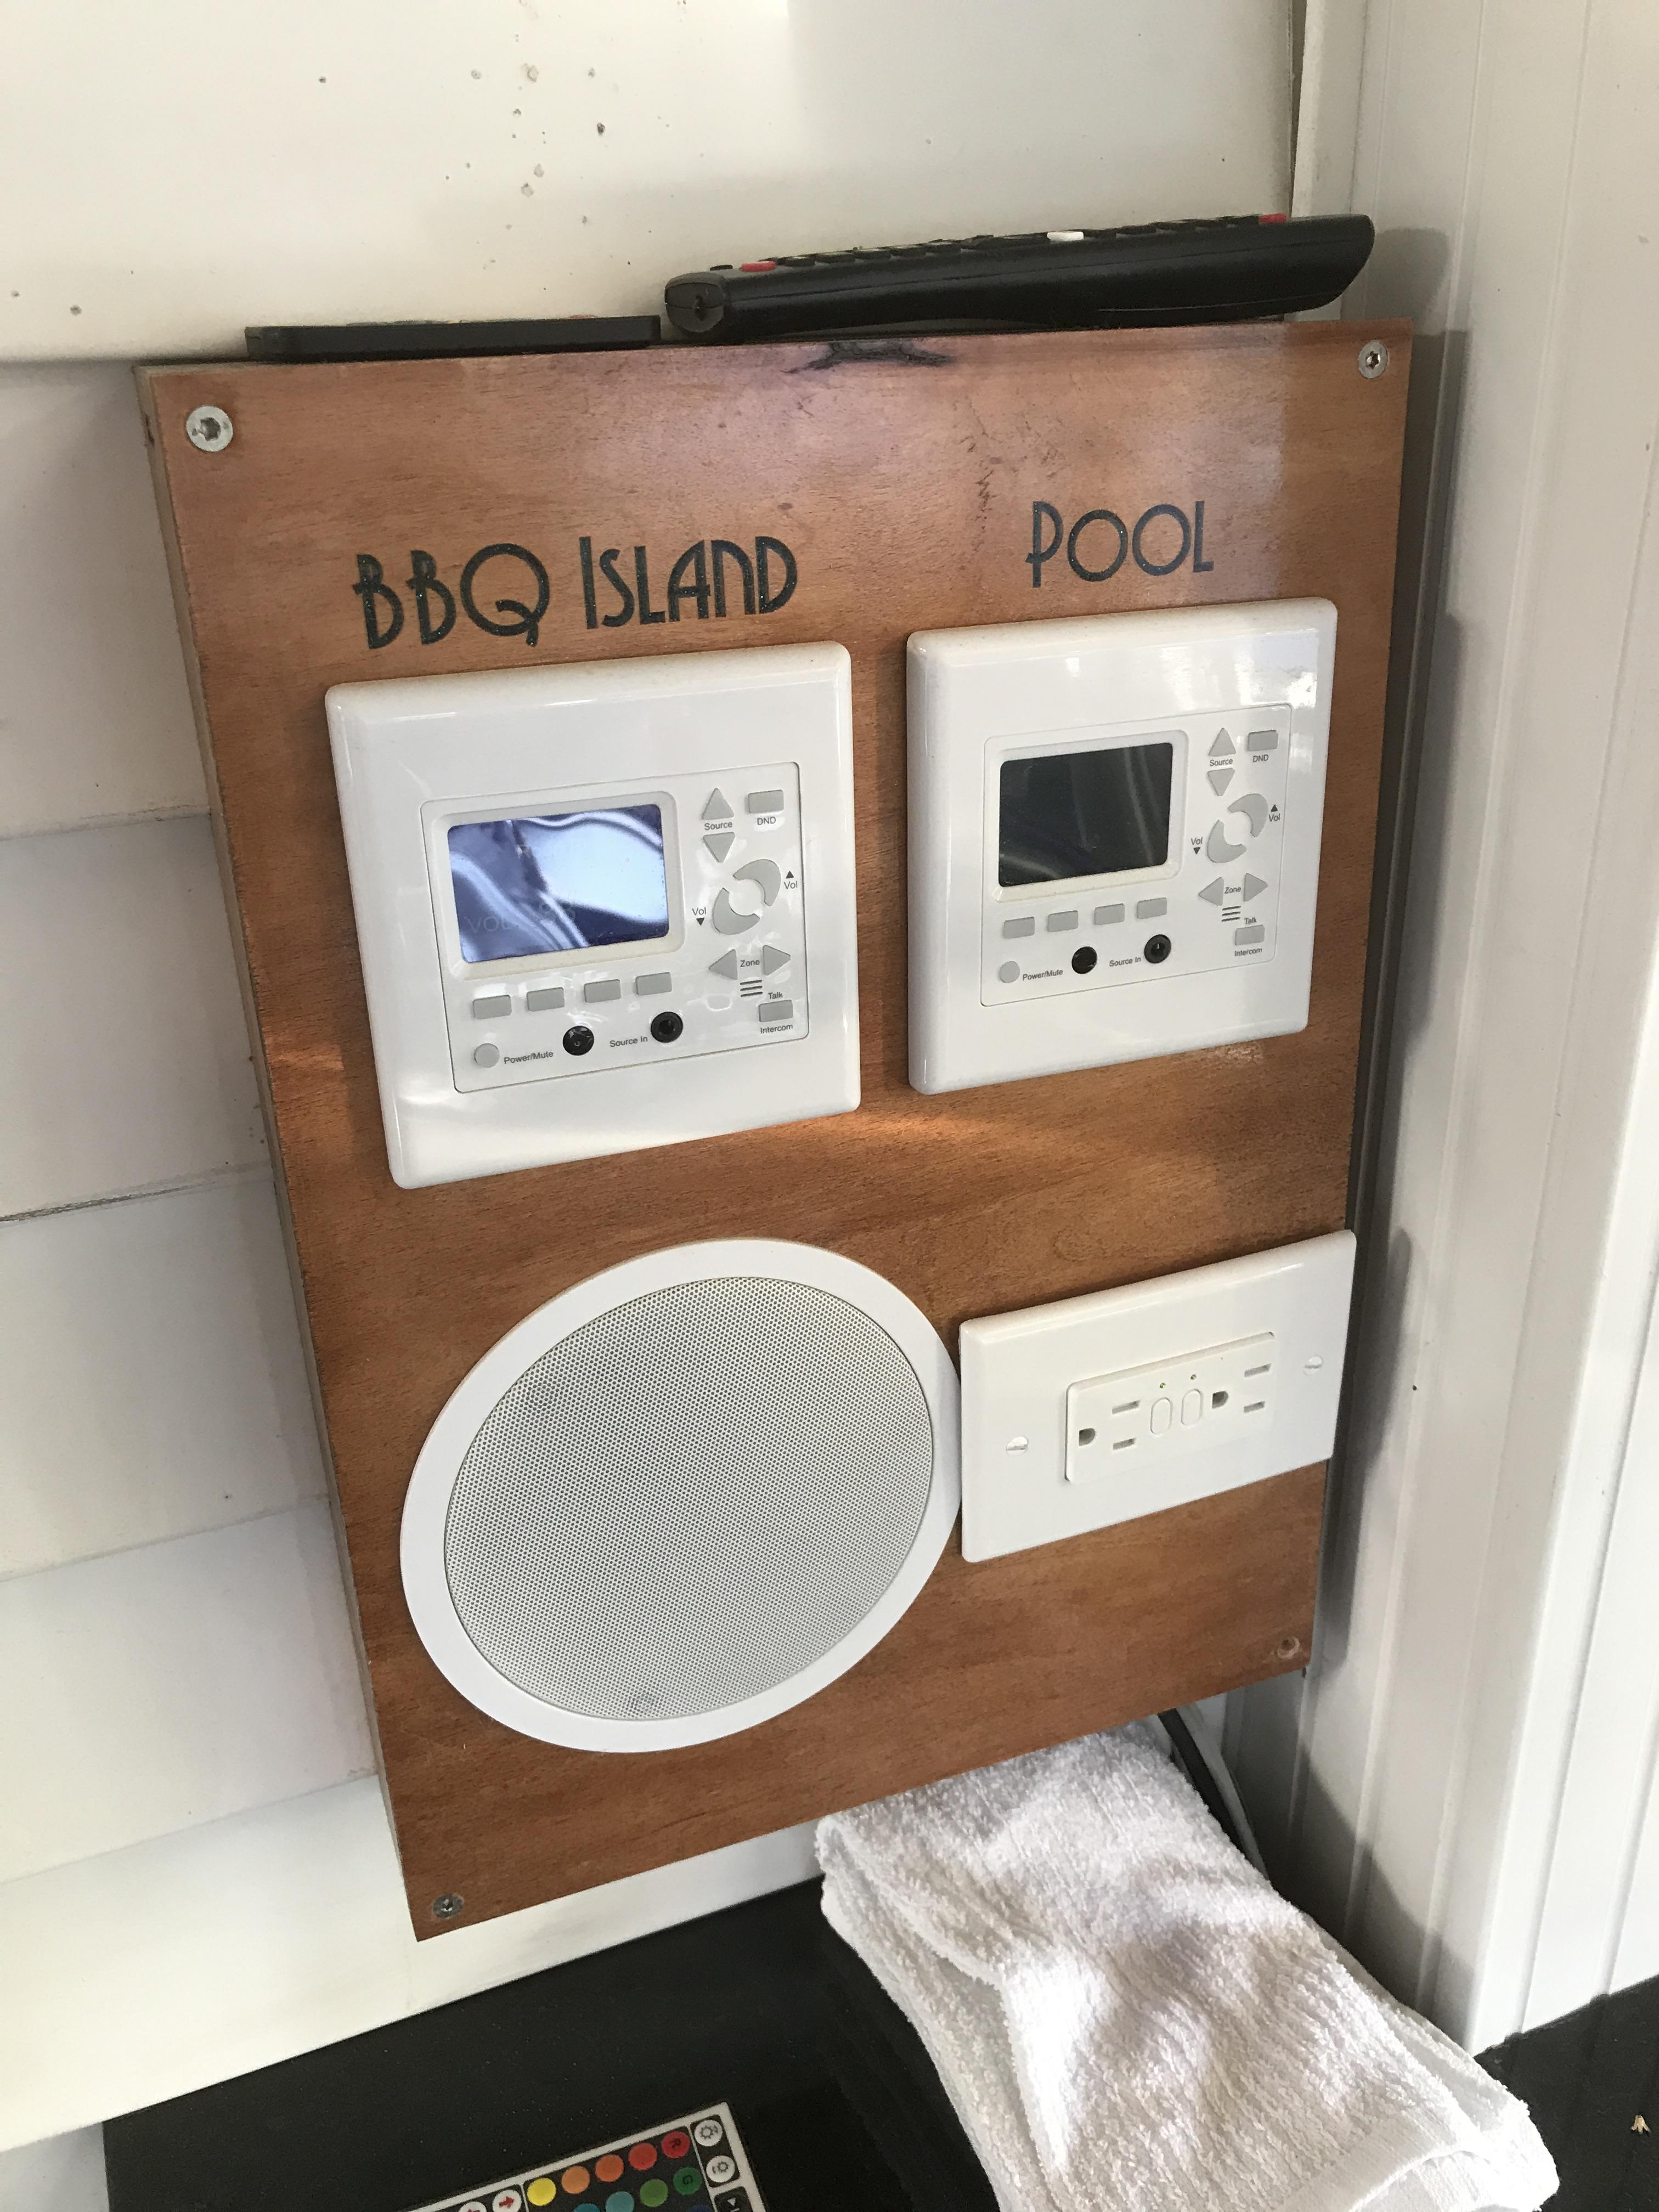
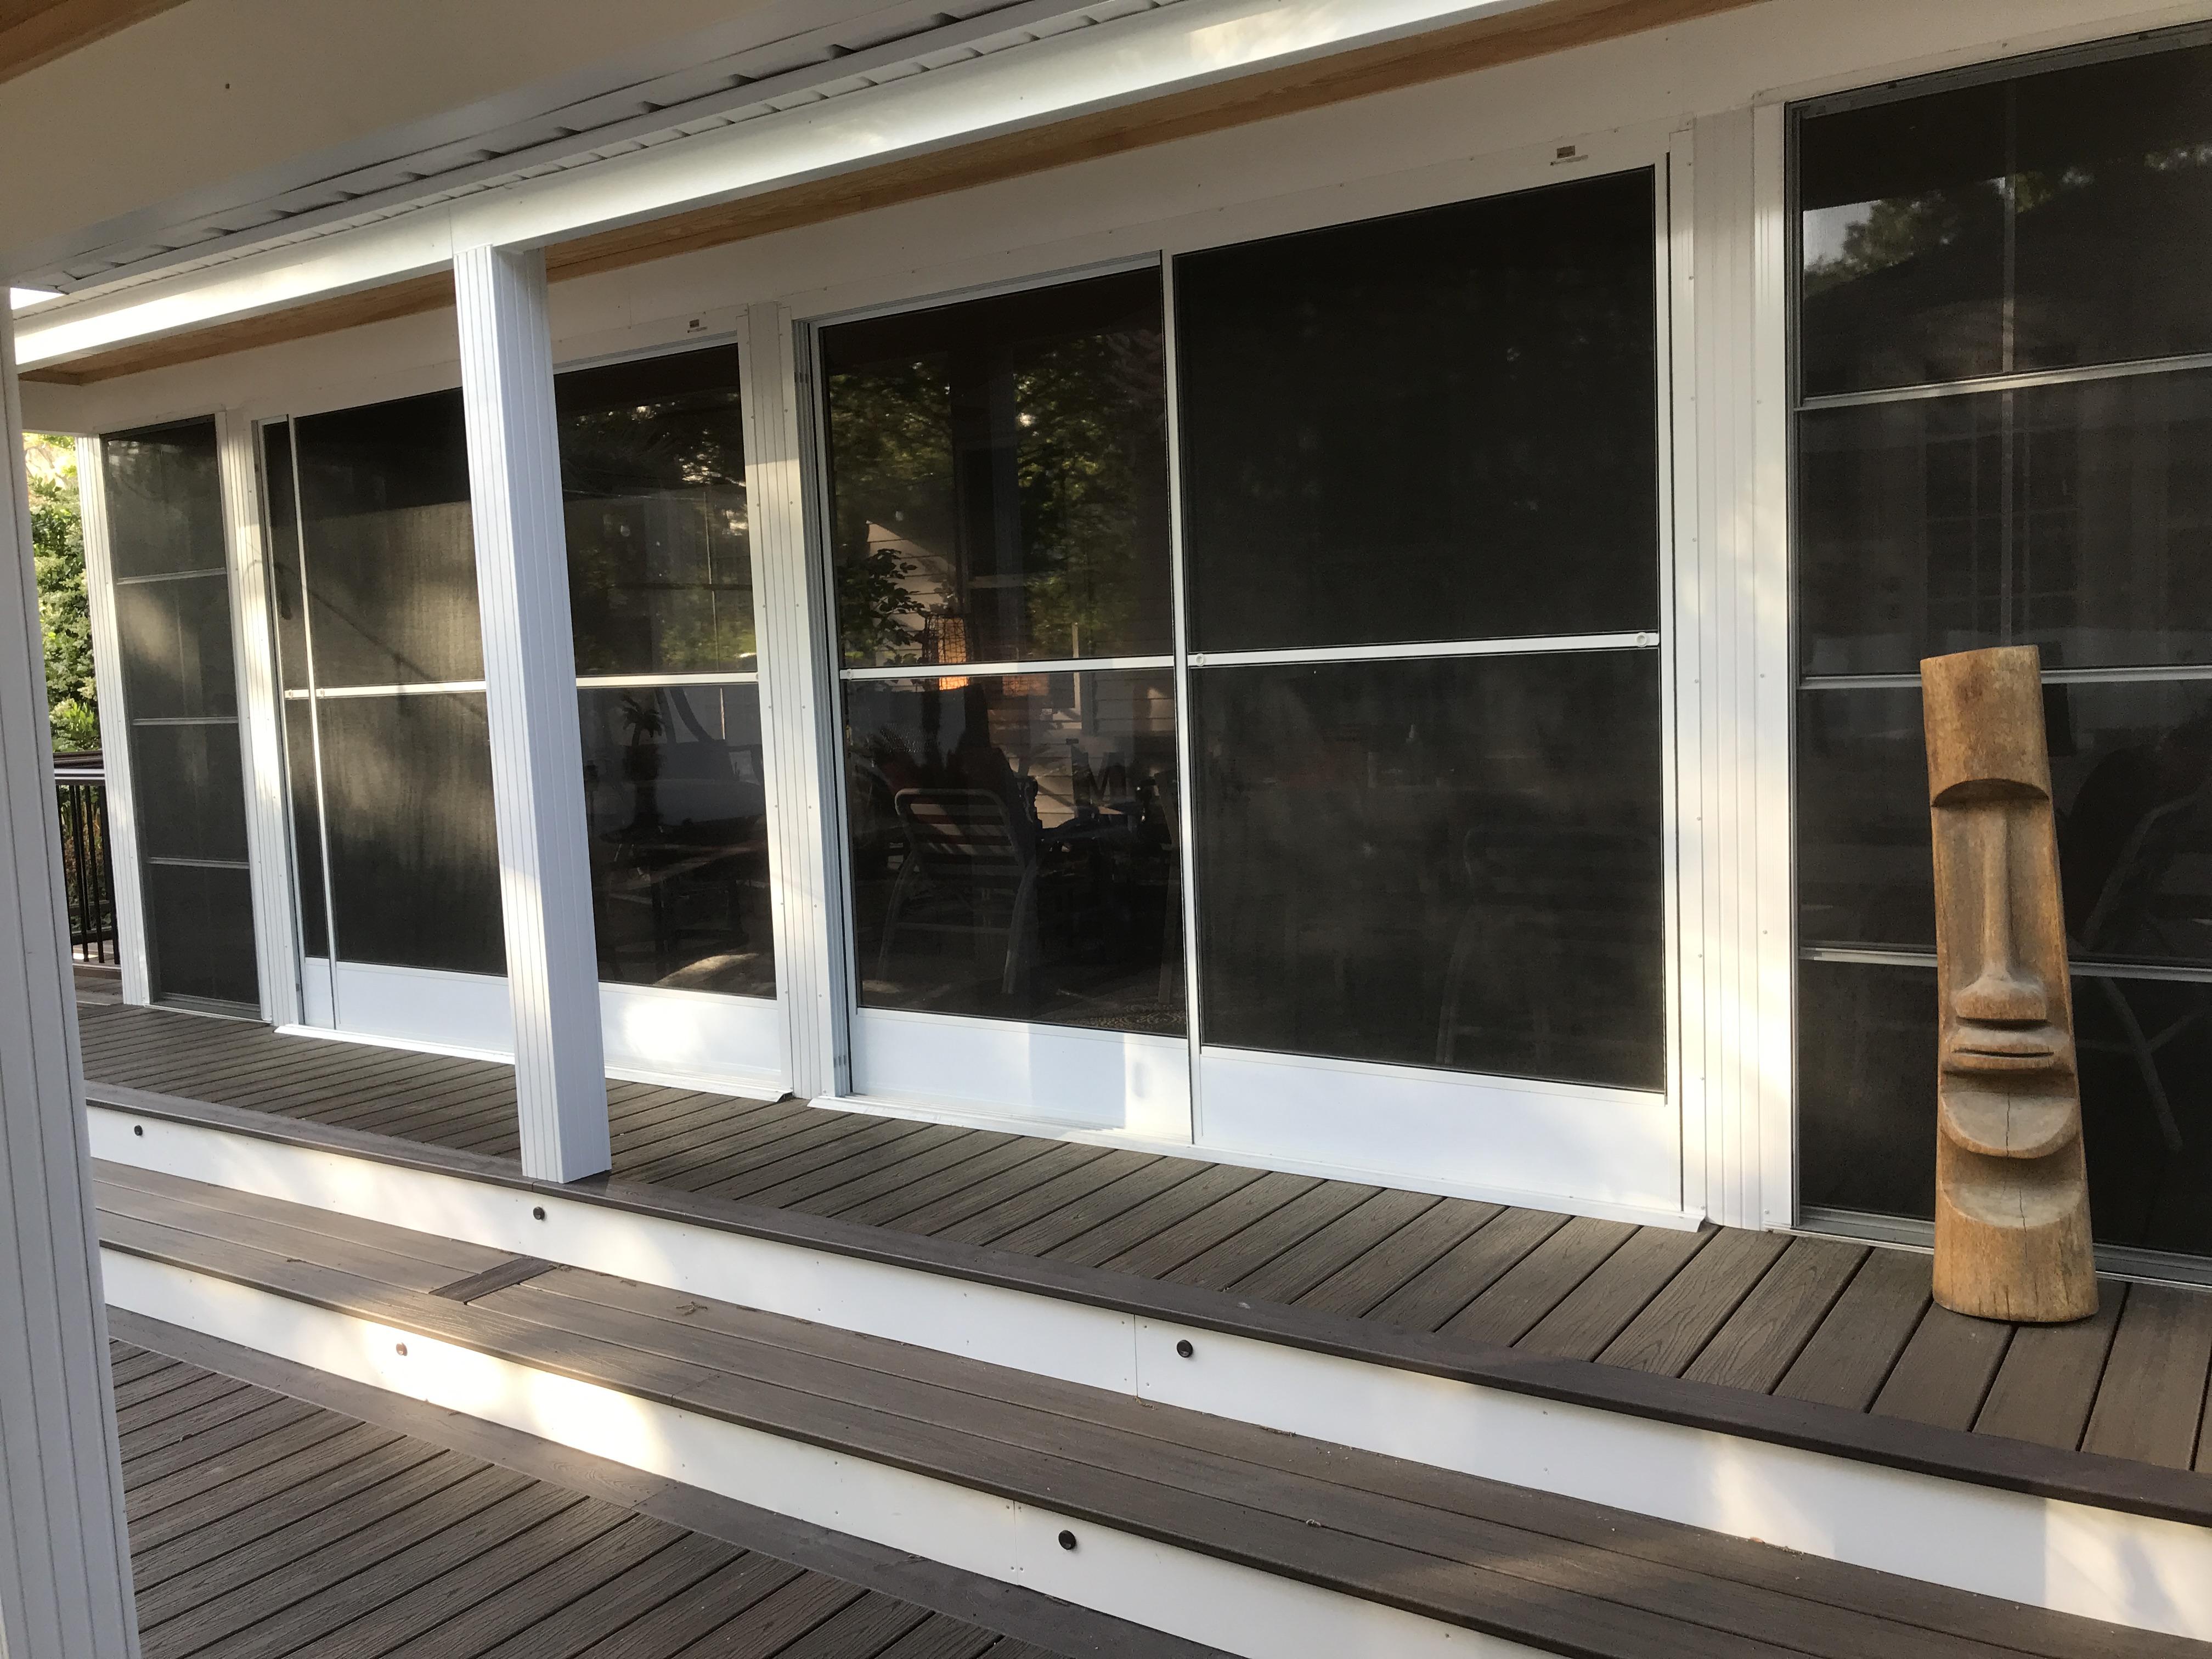
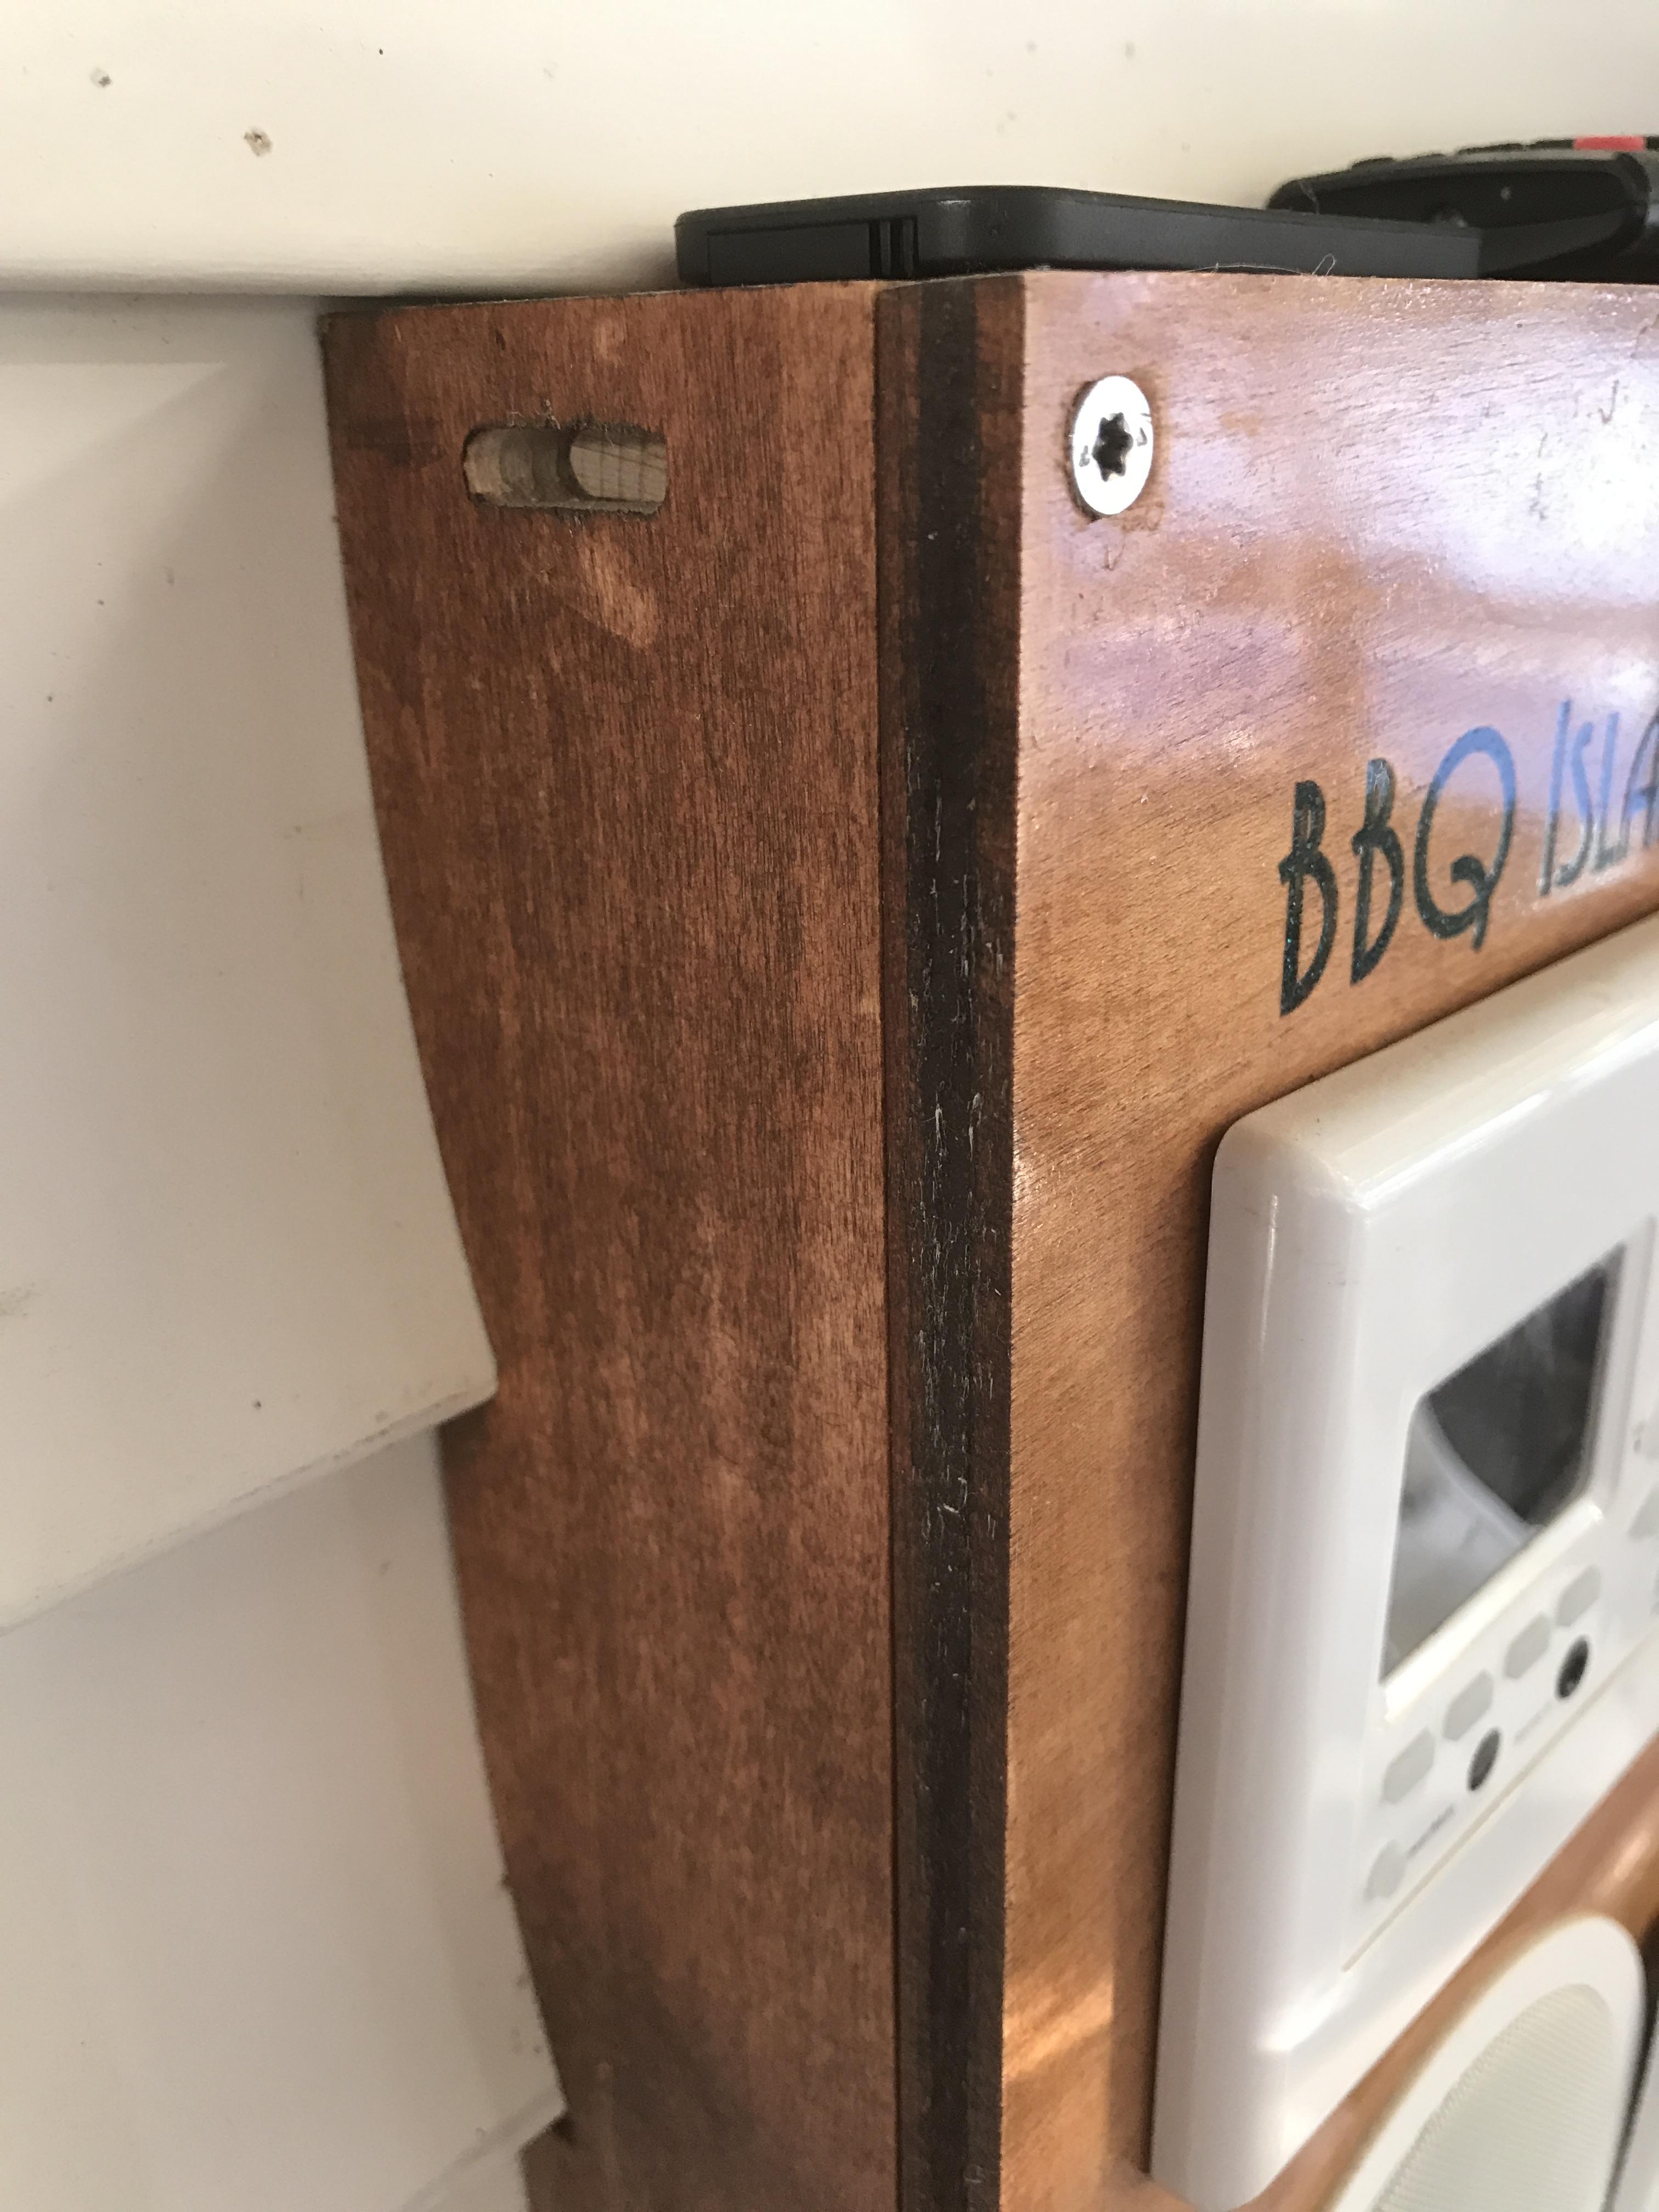
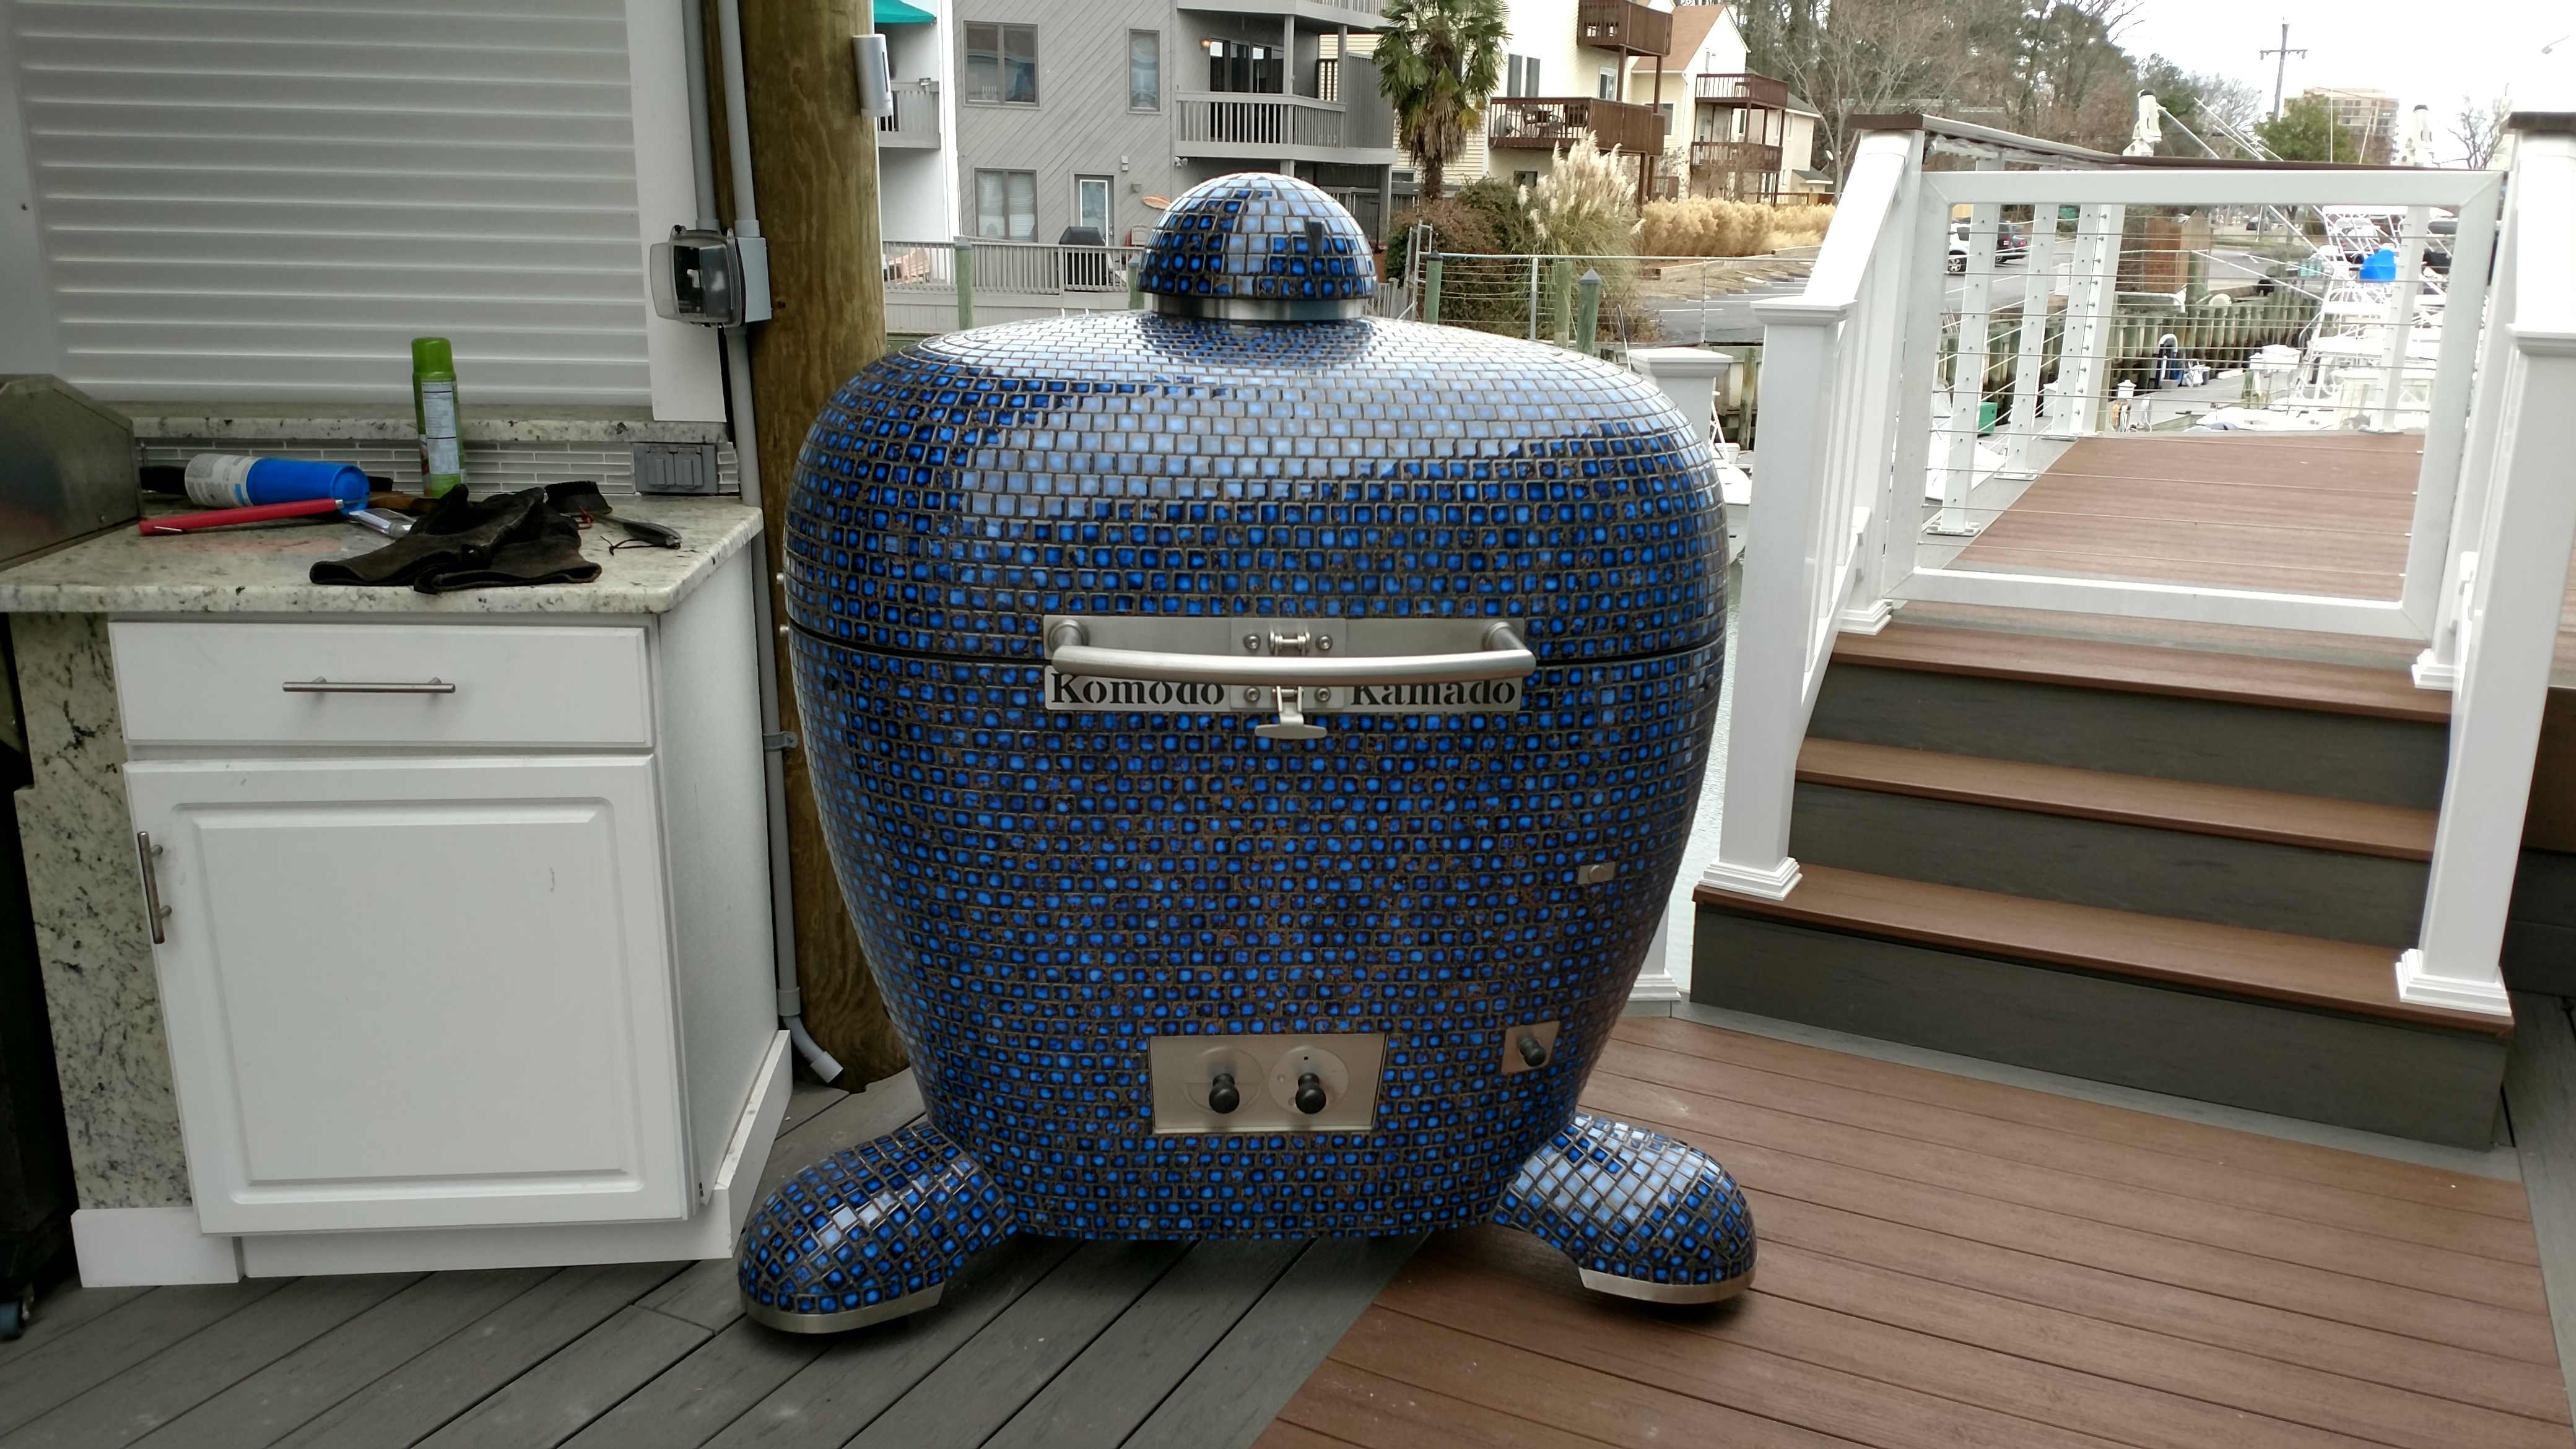
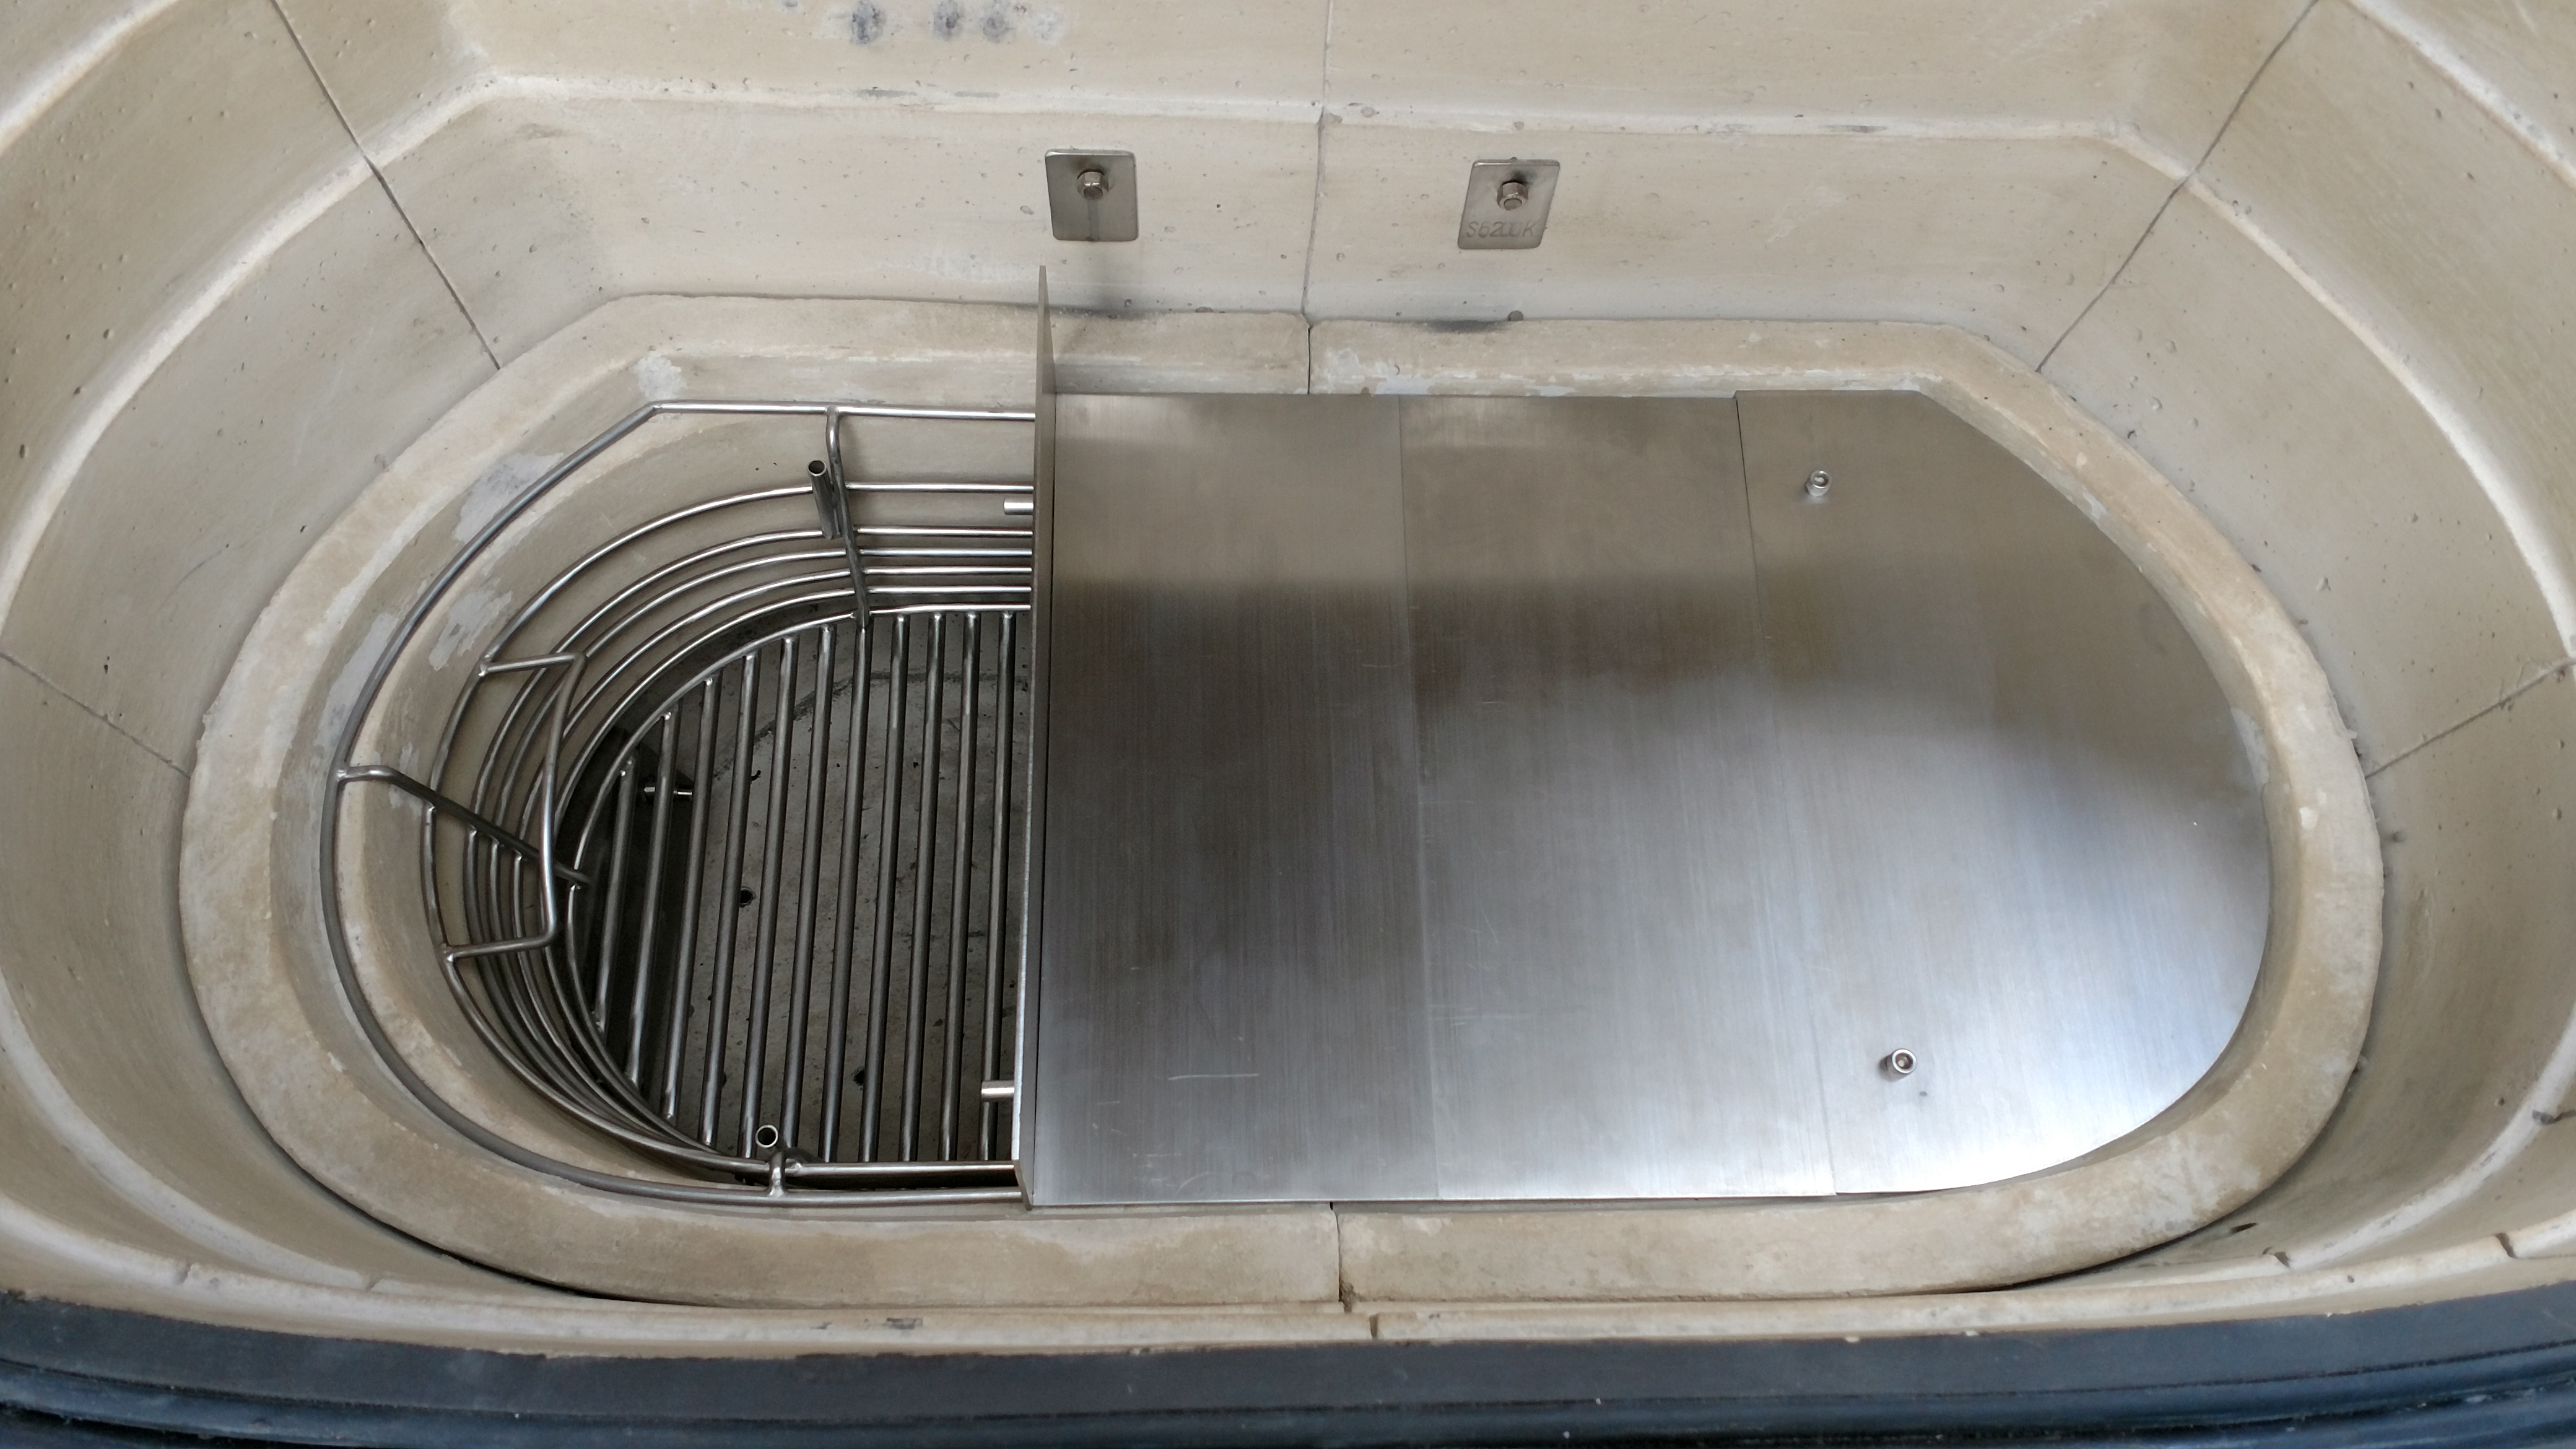
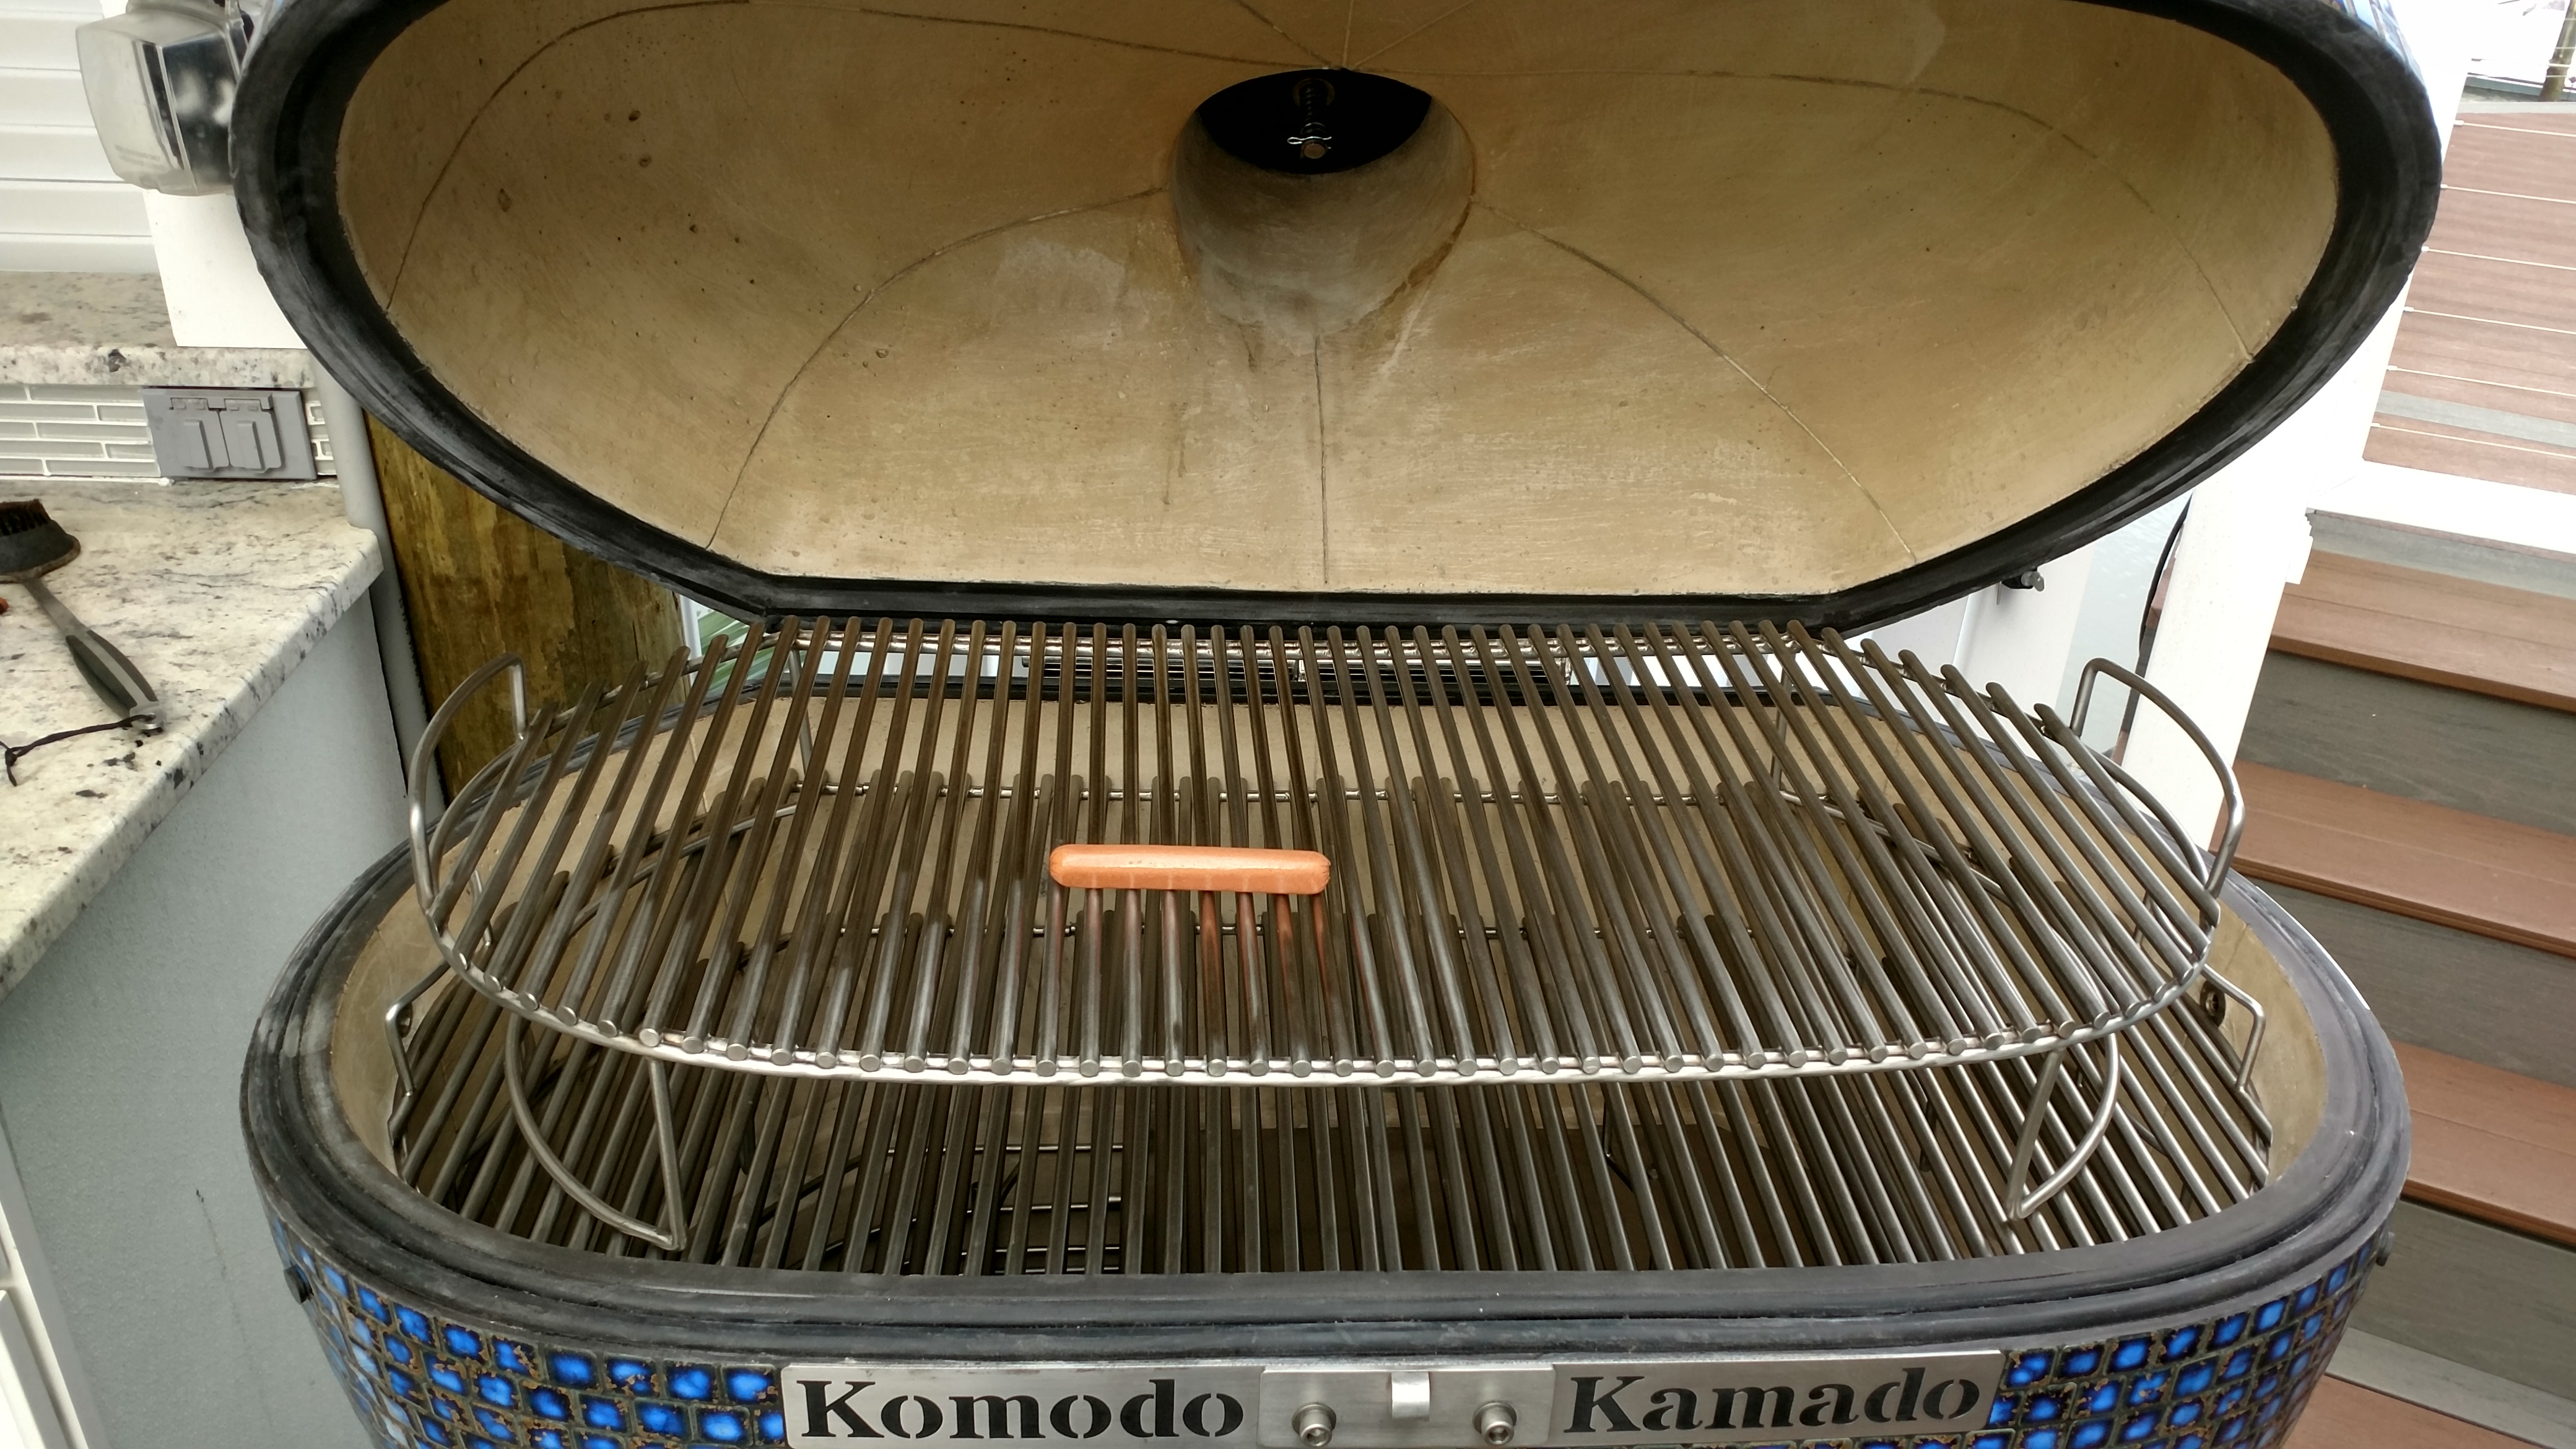
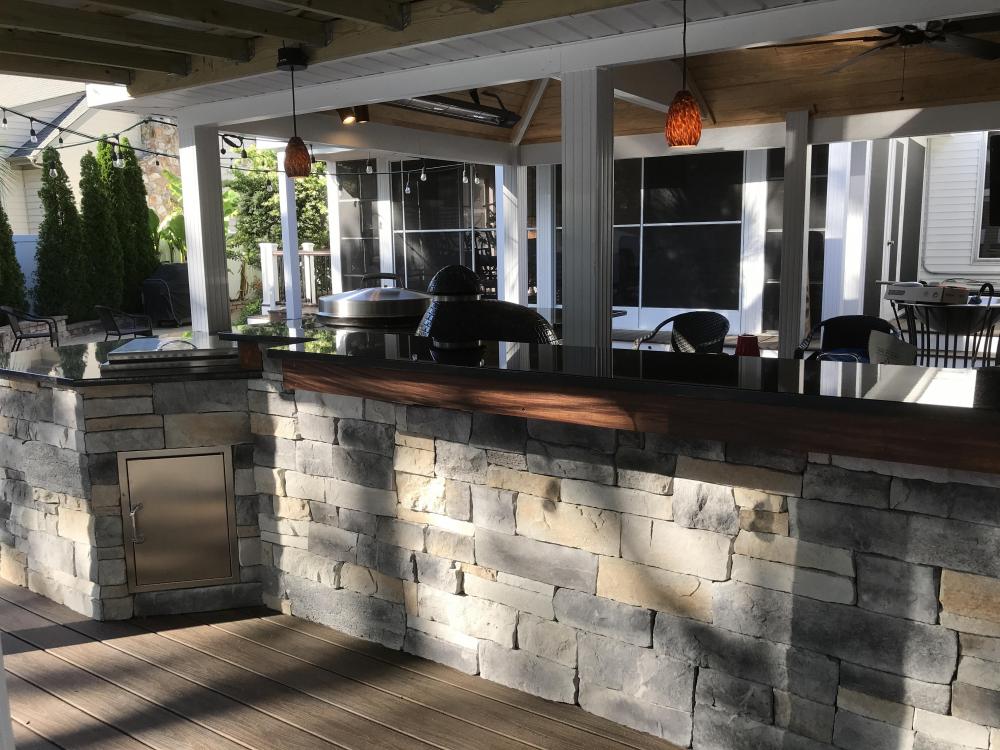
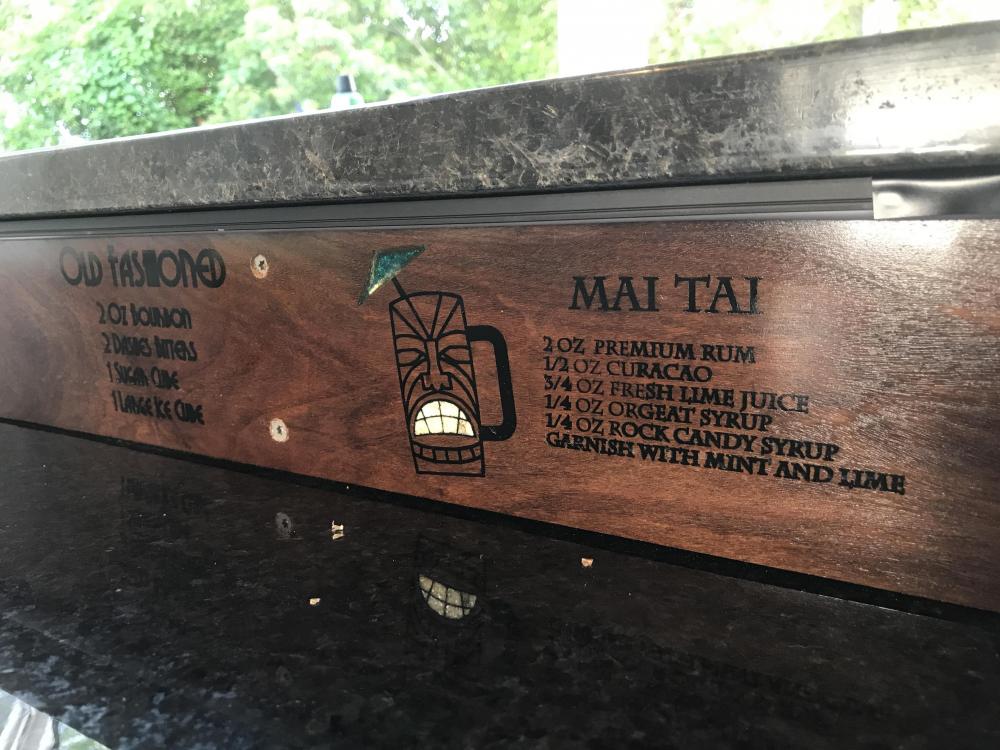
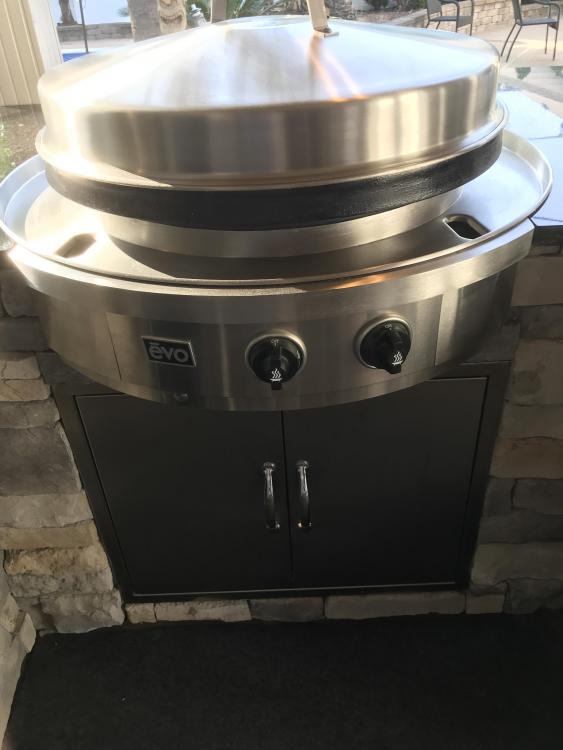
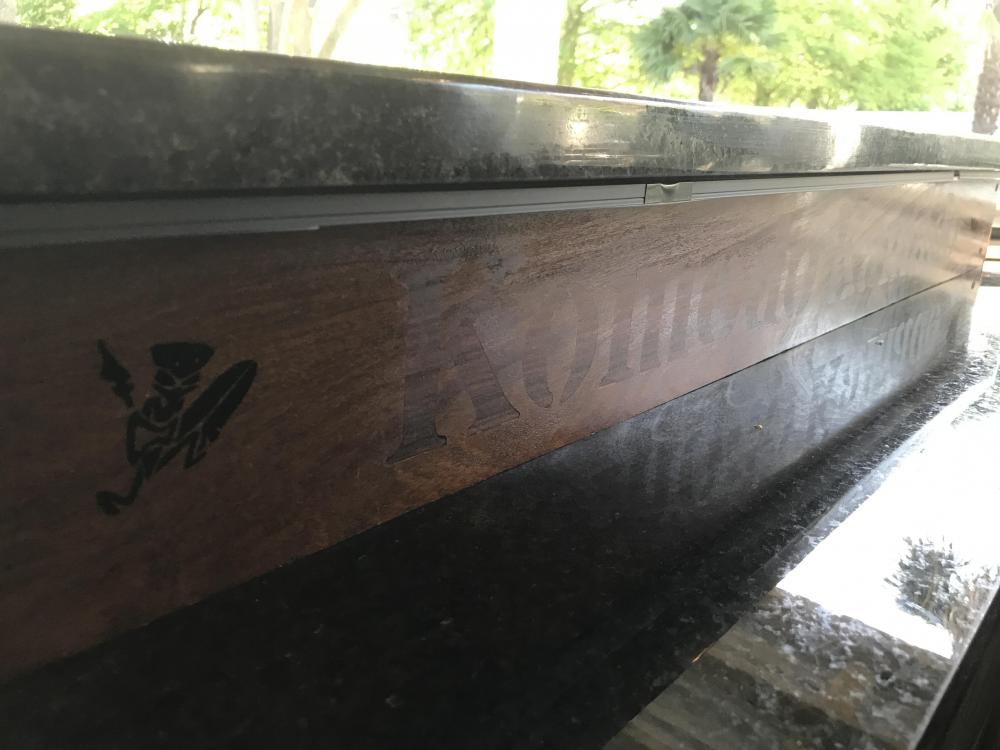
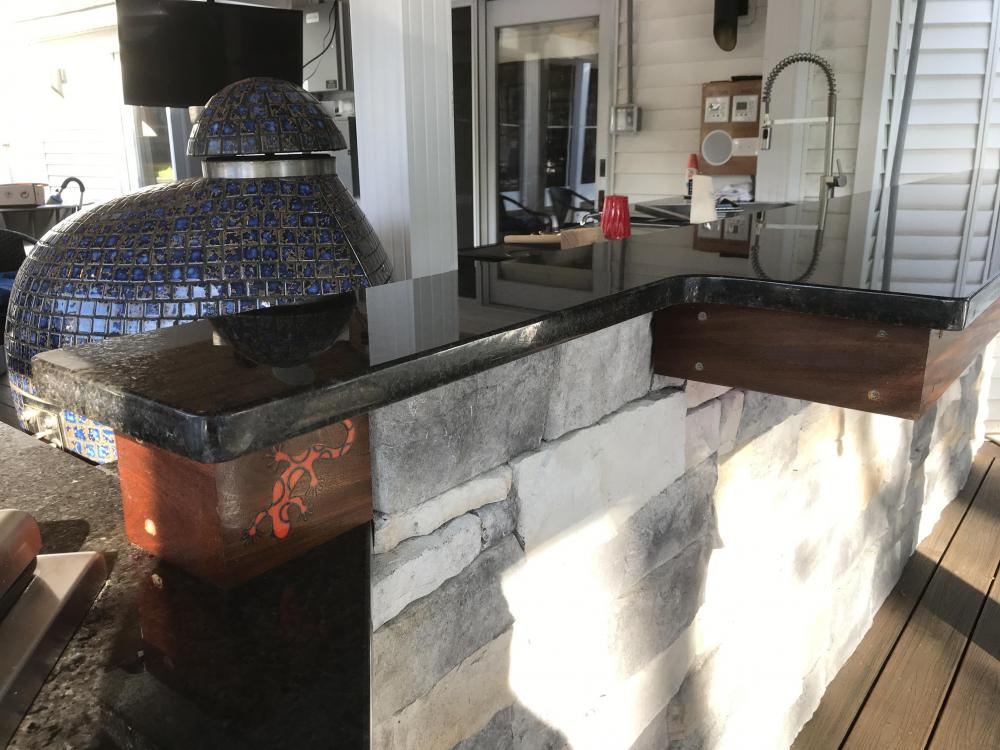
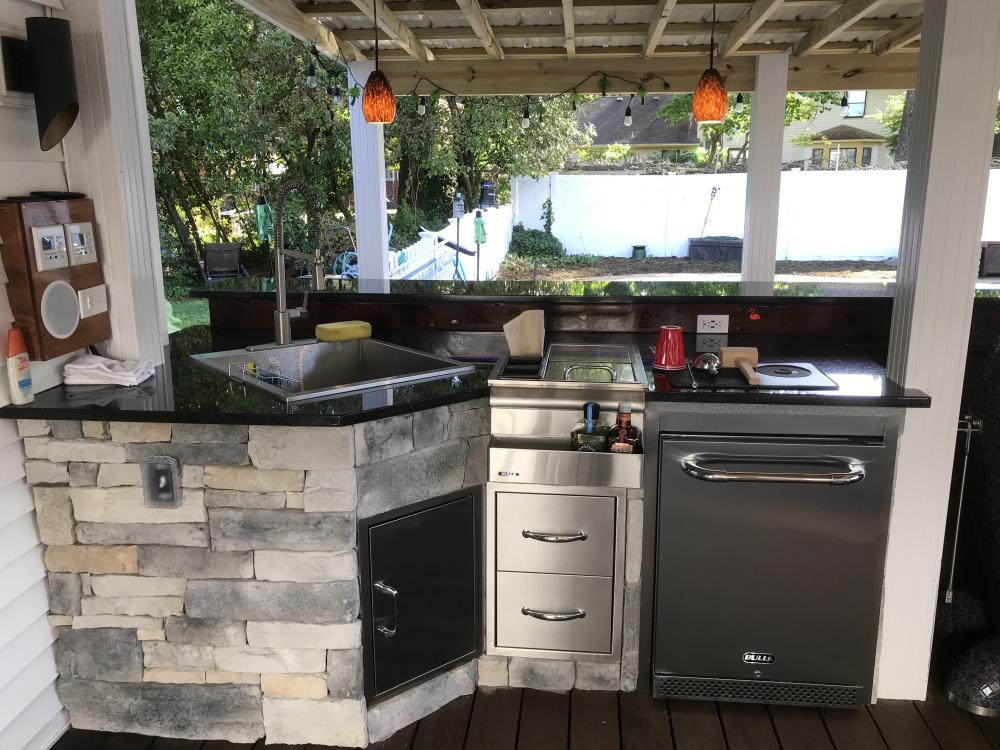
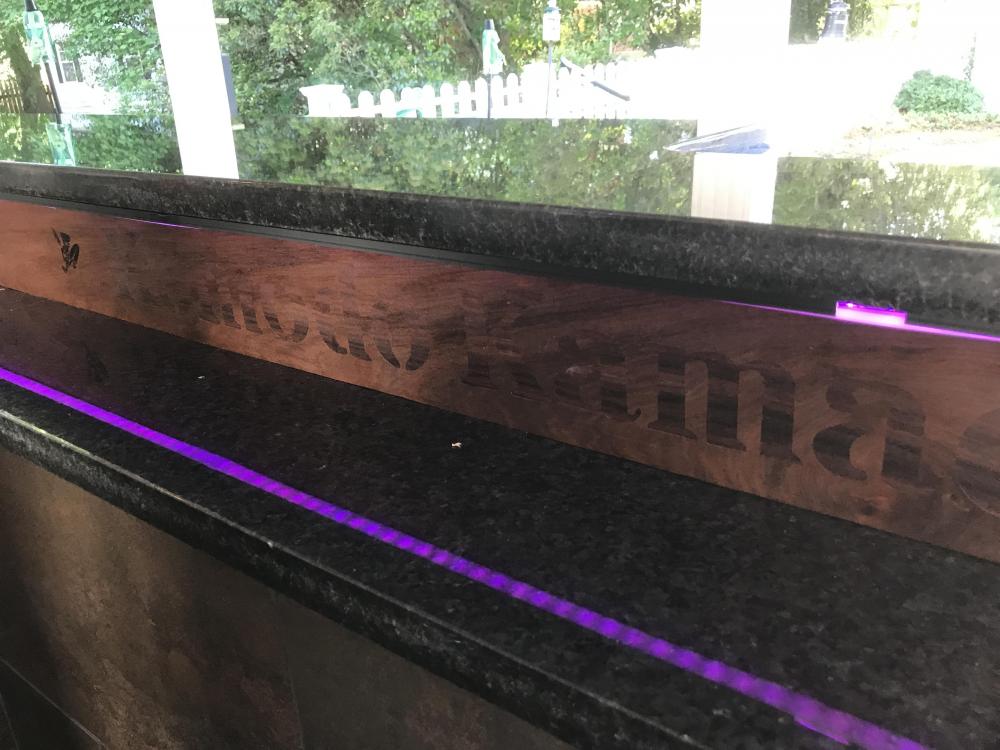
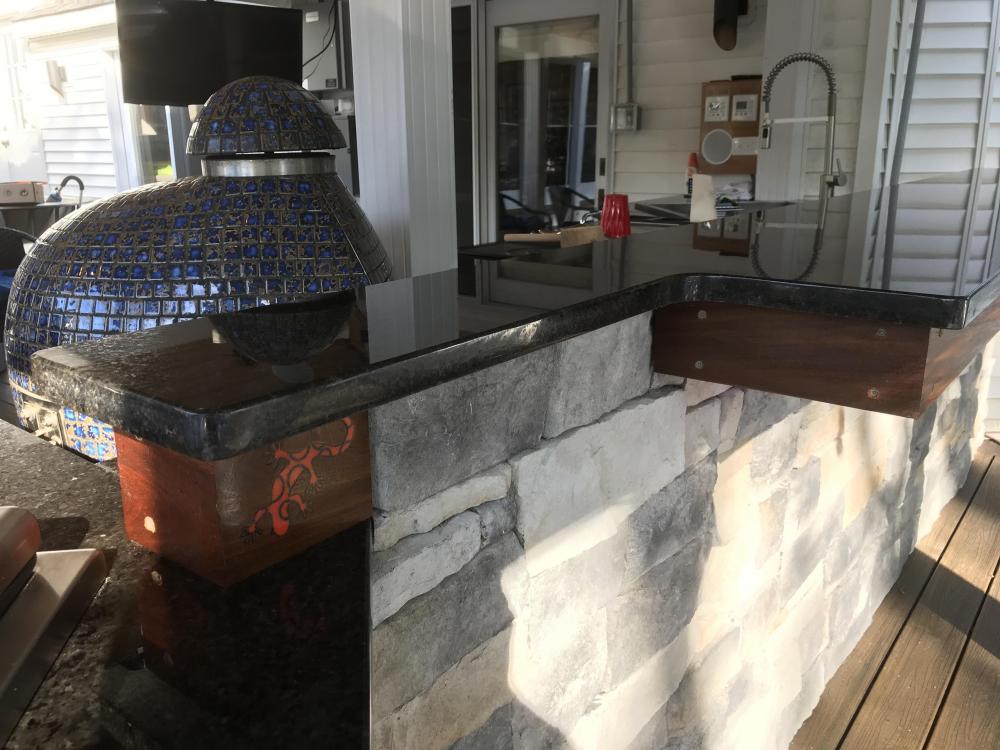
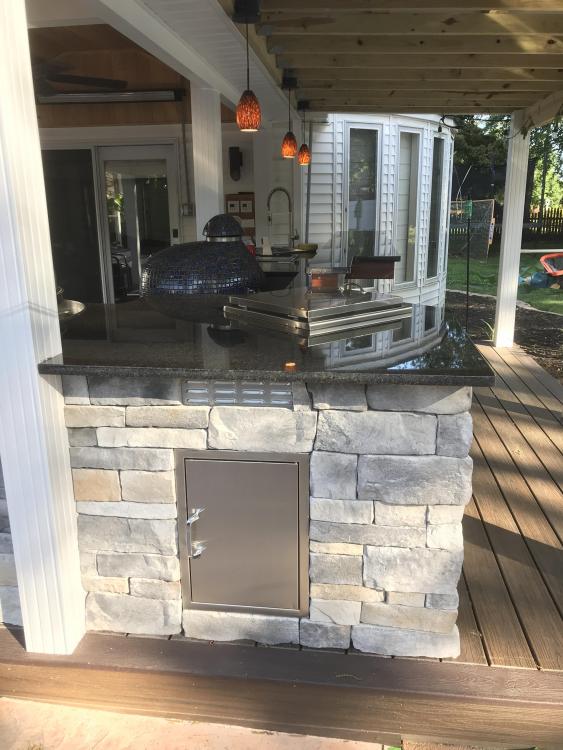
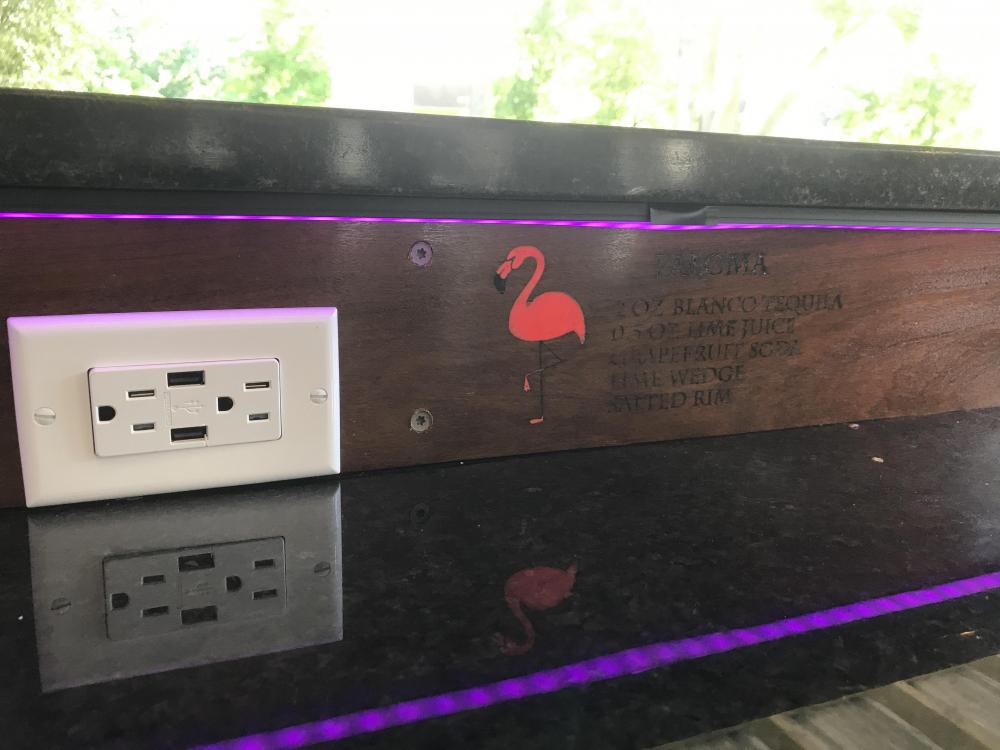
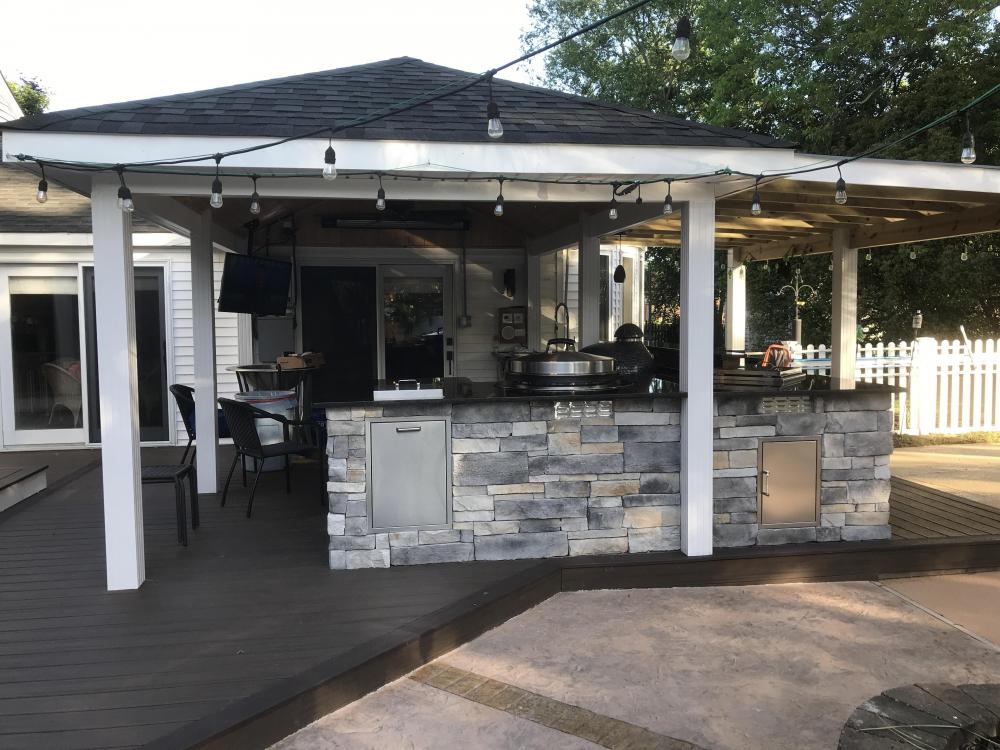
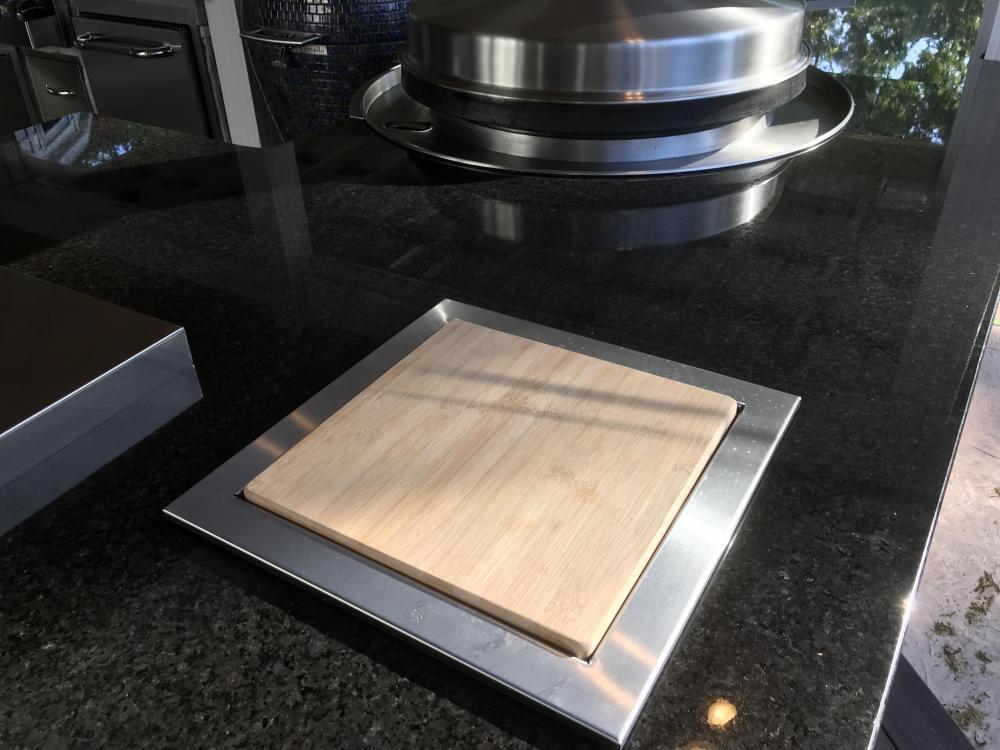
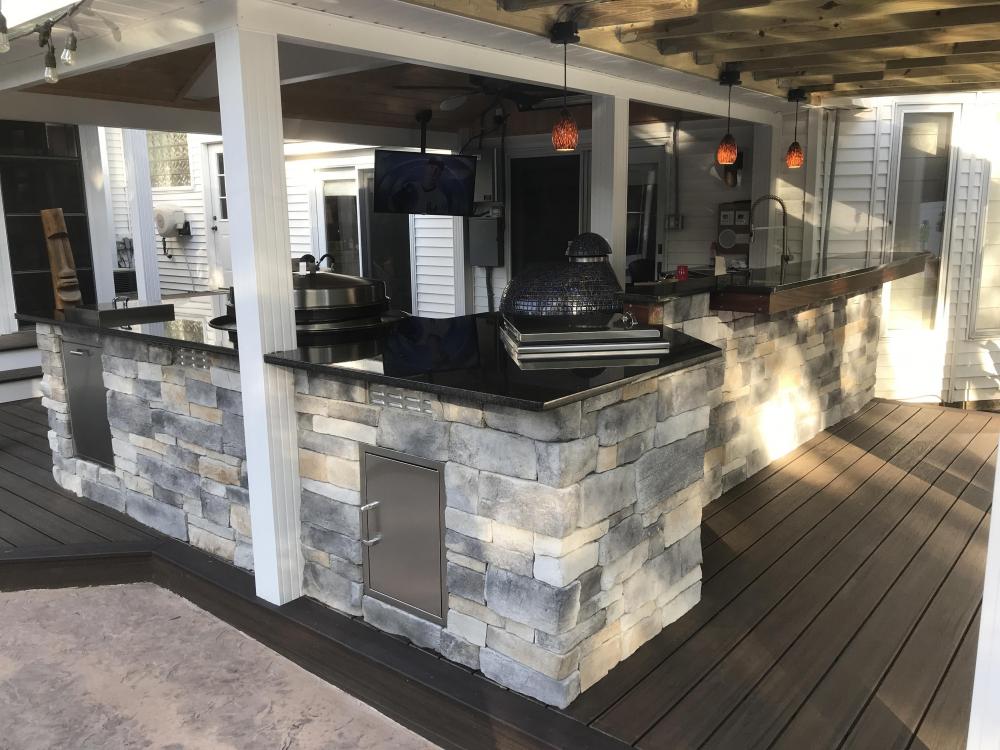
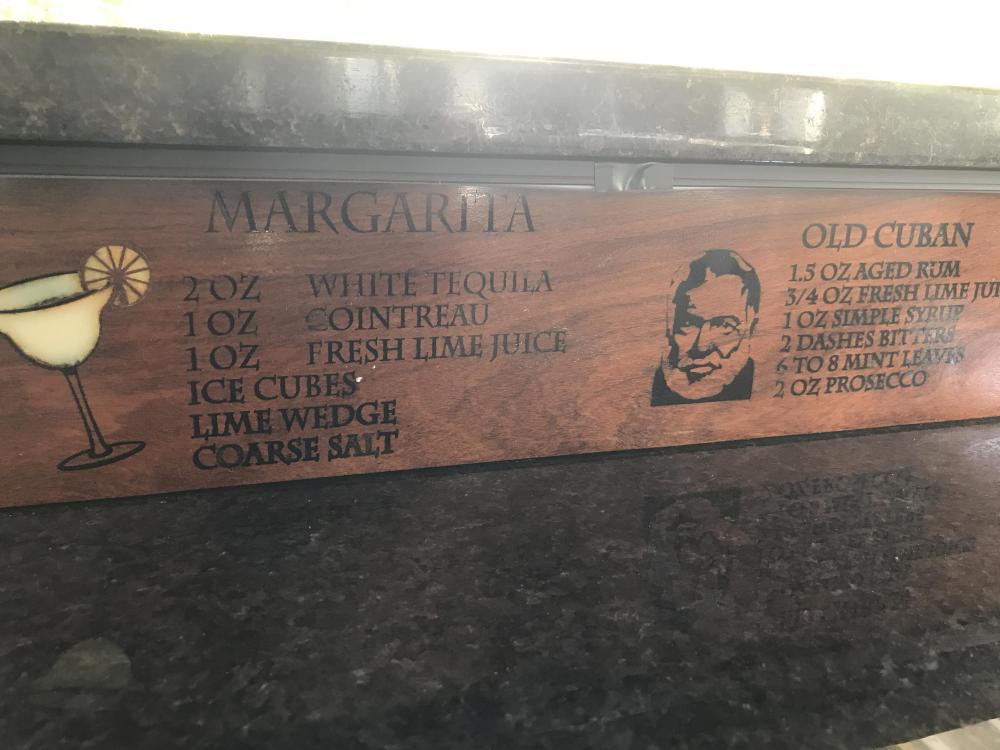
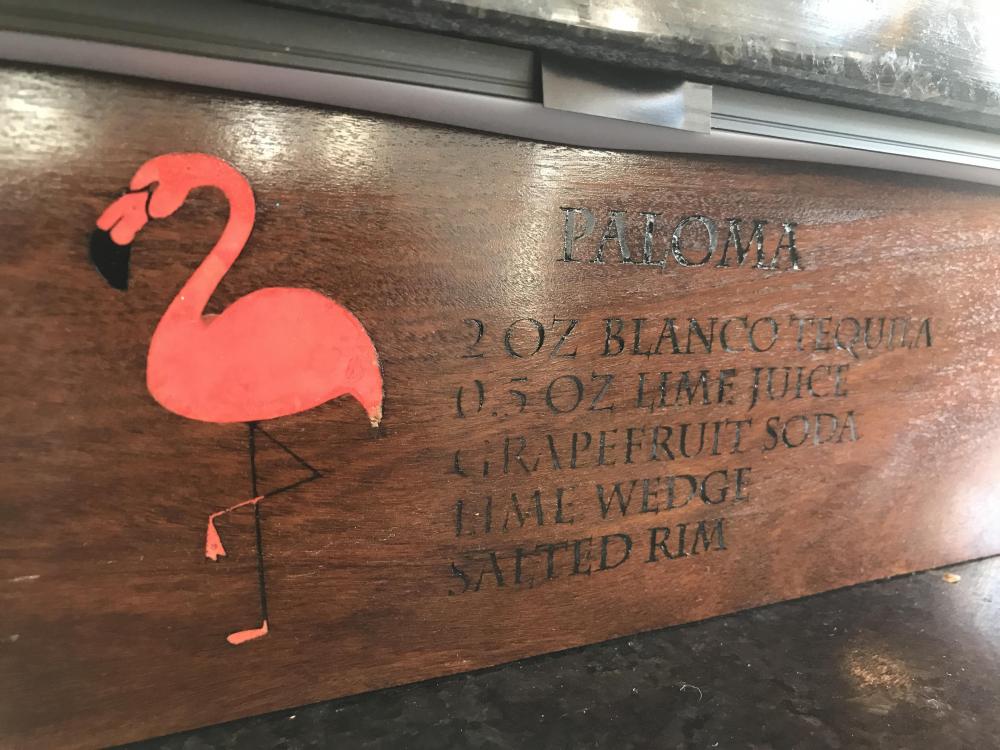
So nearly a year after I started the outdoor kitchen, I'm calling the construction done. I finished up the trim about a week ago and the electrician came today to finish the remaining outlets. This will be a pic heavy post! This is the sink and bar area. The sink is huge and large enough to soak a grill grate. Sliding the refrigerator in today was very satisfying. Here are some shots of the backsplash. One piece that runs the length of the bar with all inlaid features. I can't even remember how many individual steps were involved. Warming drawer and storage for the griddle supplies: Area behind the KK has nice copper tiles that no one will ever see: Also behind the KK - inlaid kk logo: More inlay near the drop in cooler Trash chute with a cutting board on top that is prett functional: Some good storage throughout including under the griddle for kk accessories And the first Mai Tai of the season


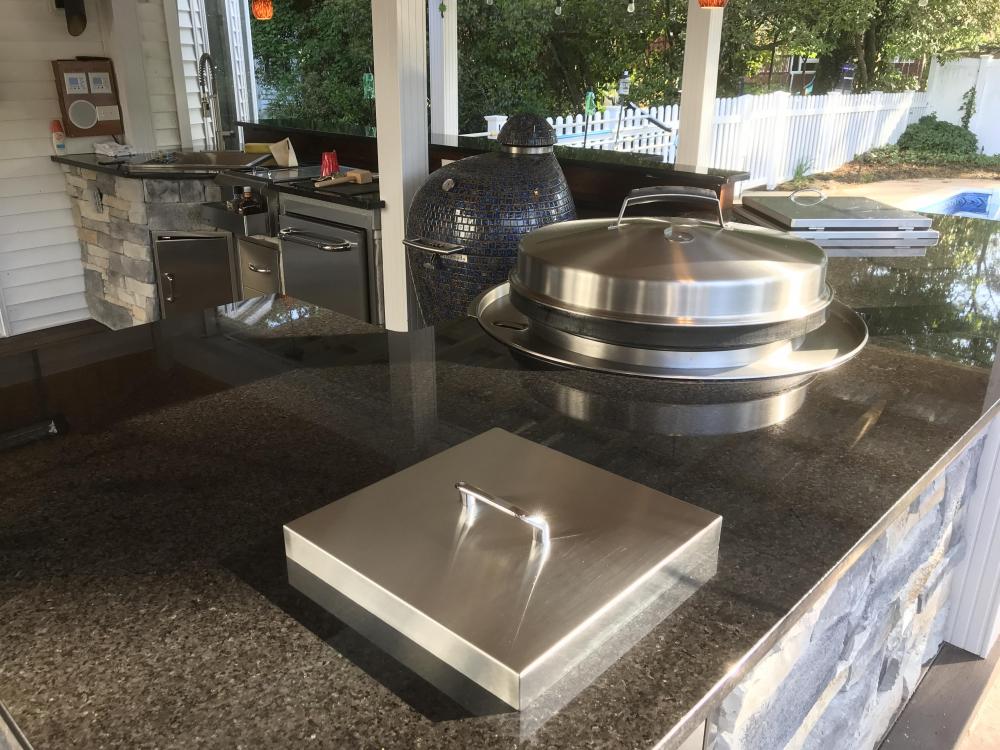
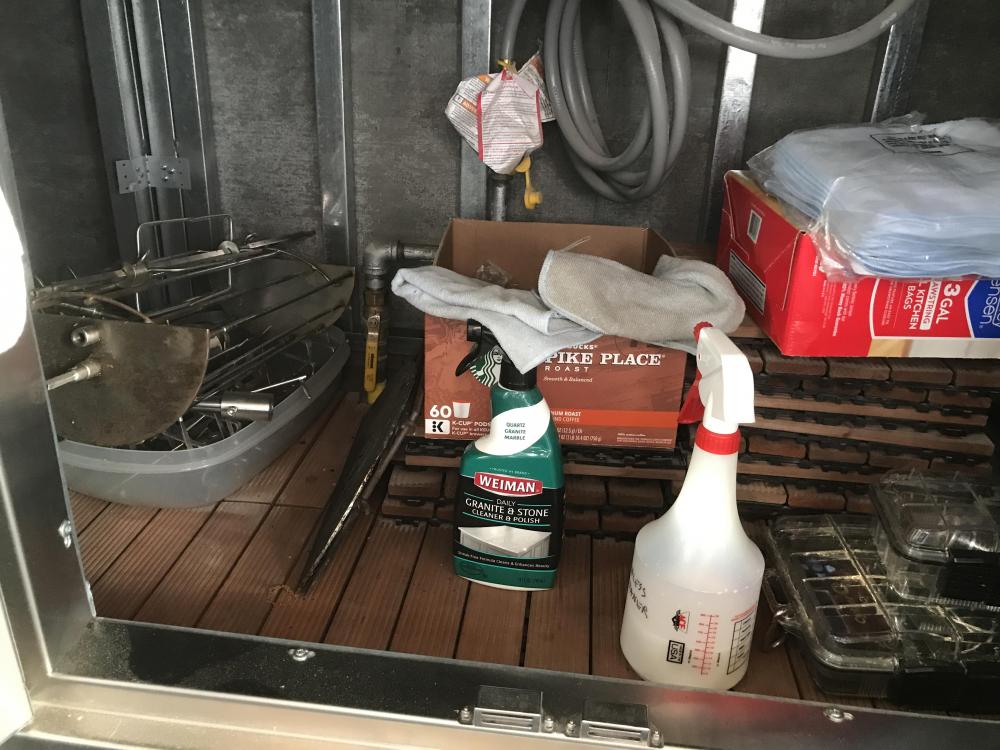
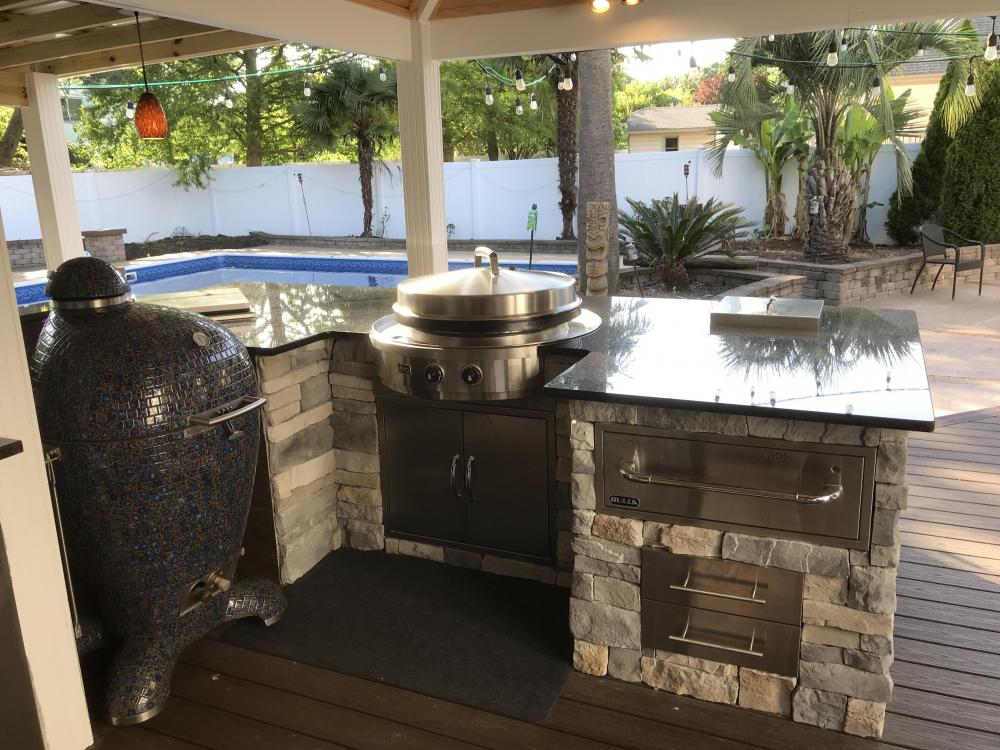
 2 points
 -
I order my Komodo Kamado yesterday just waiting on shipping updates. I’m super excited and I also sold my egg. I can’t wait to share pics and stories with everyone. I gonna miss my egg so I’m gonna get as much cooks on it before i sell it.
 1 point
 -
I use coco char for low and slow cooks where I want no flavor imparted by the charcoal, only the smoke wood. The coffee lump is good for everything.1 point
-
1 point
-
Don’t worry, once your kk arrives, you’ll forget all about that ol’ green thing.. Sent from my iPad using Tapatalk1 point
-
Stunning! I am soooo jealous - just don't have the weather here to justify the expense of the ODK.1 point
-
As Buddha once said, "there are only two mistakes once can make along the road to truth: not going all the way and not starting."1 point
-
Looks awesome Aussie! Sent from my iPhone using Tapatalk1 point
-
It is all their and well thought out, no matter the weather it will be a wonderful cooking area and the recipes are right there just in case there is temporary memory failure. Stunning. Thanks for posting the pixs.1 point
-
Well done!! absolutely gorgeous.1 point
-
I understand Eucalyptus working as charcoal but as a smoking wood I'd be concerned that the high oil content would impart off flavors. Eucalyptus oil of course is very aromatic but not the type of flavor profile I would want to eat.. Super dense woods like Gidgee are extremely slow growing.. which means they should probably be conserved not cut down for charcoal. Why cut down a tree that is hundreds or possibly thousands of years old for charcoal? Just my 2 cents.. as someone who has guilt issues over all the trees I've milled over the last 30 years.1 point
-
WOW! That is areal beautiful setup. I like your style. I guess I know where all the cooking will be going on. Thanks for all the photos. Looking forward to pics of future cooks. Happy grilling!1 point
-
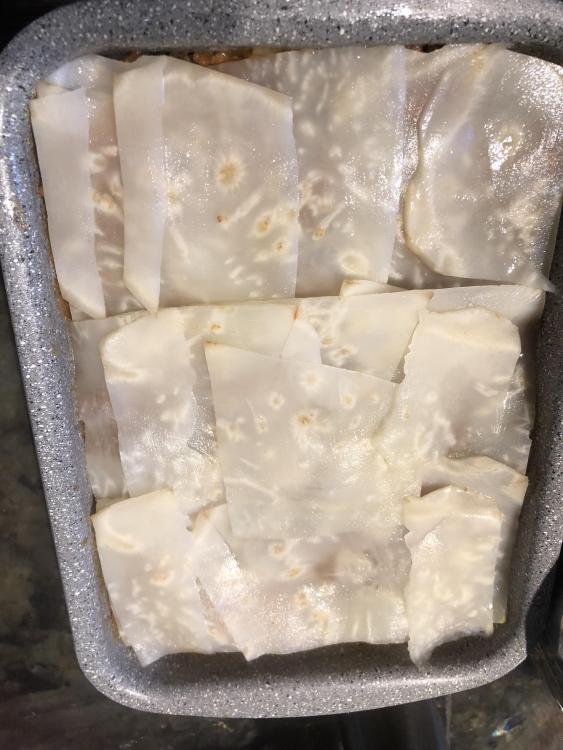
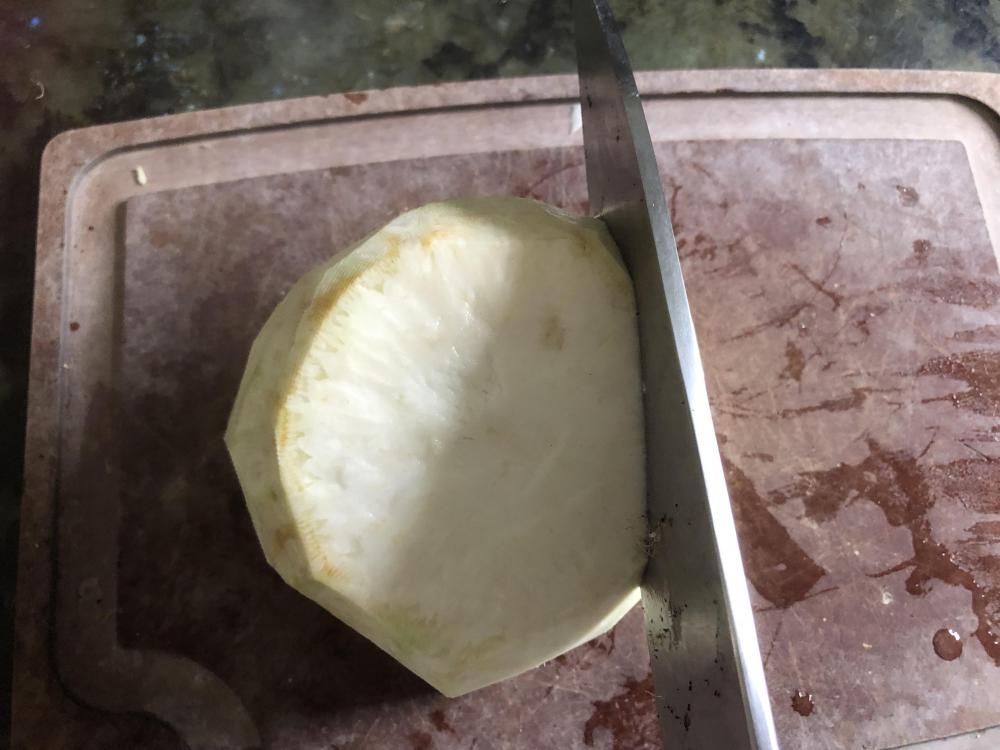
You have to try this lasagna recipe. Celeriac is a root vegetable that is relatively low in carbohydrate and here I was able to replace pasta and flour with celeriac to make a gluten free lasagna. I used this vegetarian recipe (https://thepassionatecook.typepad.com/thepassionatecook/2004/06/celeriac_lasagn.html) for inspiration but added in the usual mince in tomato sauce to make this super tasty meat version. First the ugly bit. You can buy nice pretty celeriac from supermarkets but I had a couple left over, still growing in the garden, from the batch I planted last summer. I had run out of ideas about how to use them when I thought about lasagna and went searching on the internet for a recipe. So, here is my rather sad looking over wintered celeriac. Reminded me of the grandad on the Simpsons. Cleaned up. Sorry, didn't photograph this stage properly but, having cut the clean central lump into a rectangle, I cubed the offcuts and put them in to boil. I sliced the rectangle into lasagna "sheets" using a mandolin. Here is the lasagna with layers of mince and sliced celeriac. And this is a magical stage. The Husband whizzed up the boiled chunks in the Vitamix with cream and nutmeg. It made a beautiful smooth spread that looked and tasted just like bechamel. Baked for about half an hour with cheese on top. Super delicious and much lighter to eat than a traditional pasta lasagna. Don't tell nonna!


 1 point
 -
It looks soooo tasty.1 point
-
1 point
-
For us non-Australians! This one is not as "user friendly" but a bit more comprehensive. SmokingFlavorChart.pdf
 1 point
 -
Looks wonderful!1 point
-
I do seem to recall us chatting about this before. Deja vu all over again!1 point
-
I was so hungry and could have gone back for seconds.
 1 point
 -
Aussie, now I want pork for dinner.1 point
-
Yum Sent from my SM-T835 using Tapatalk1 point
-
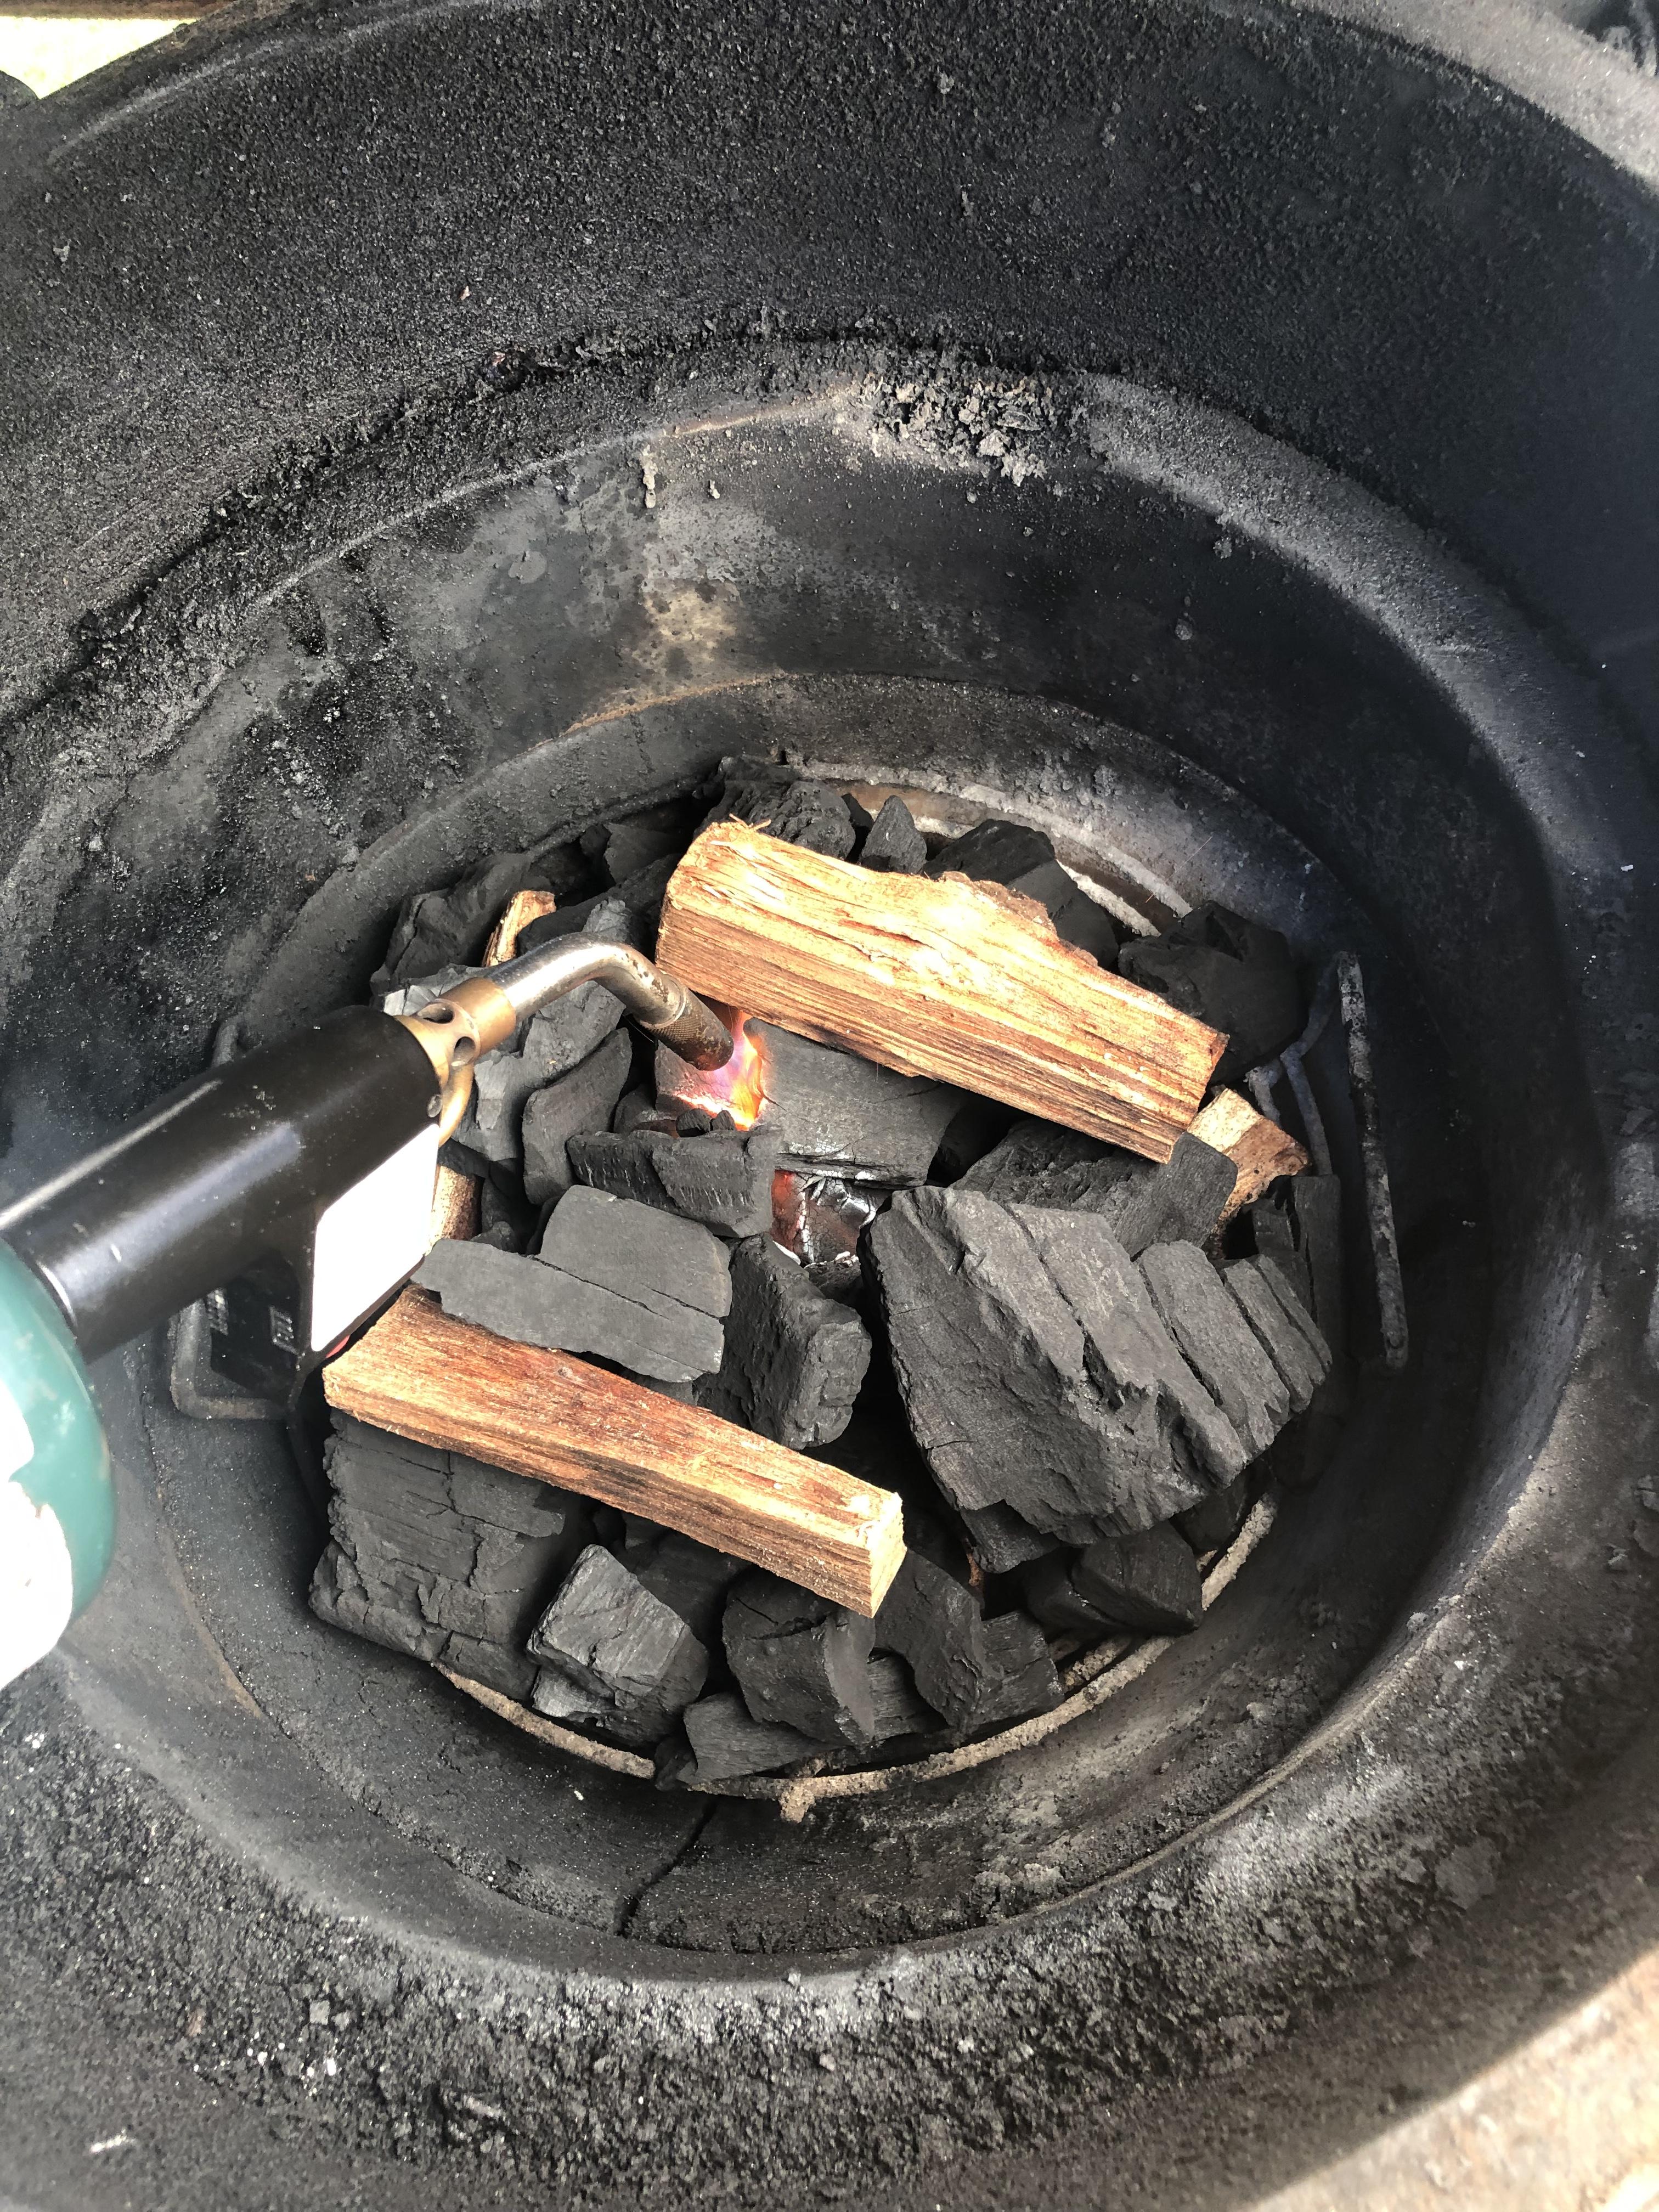
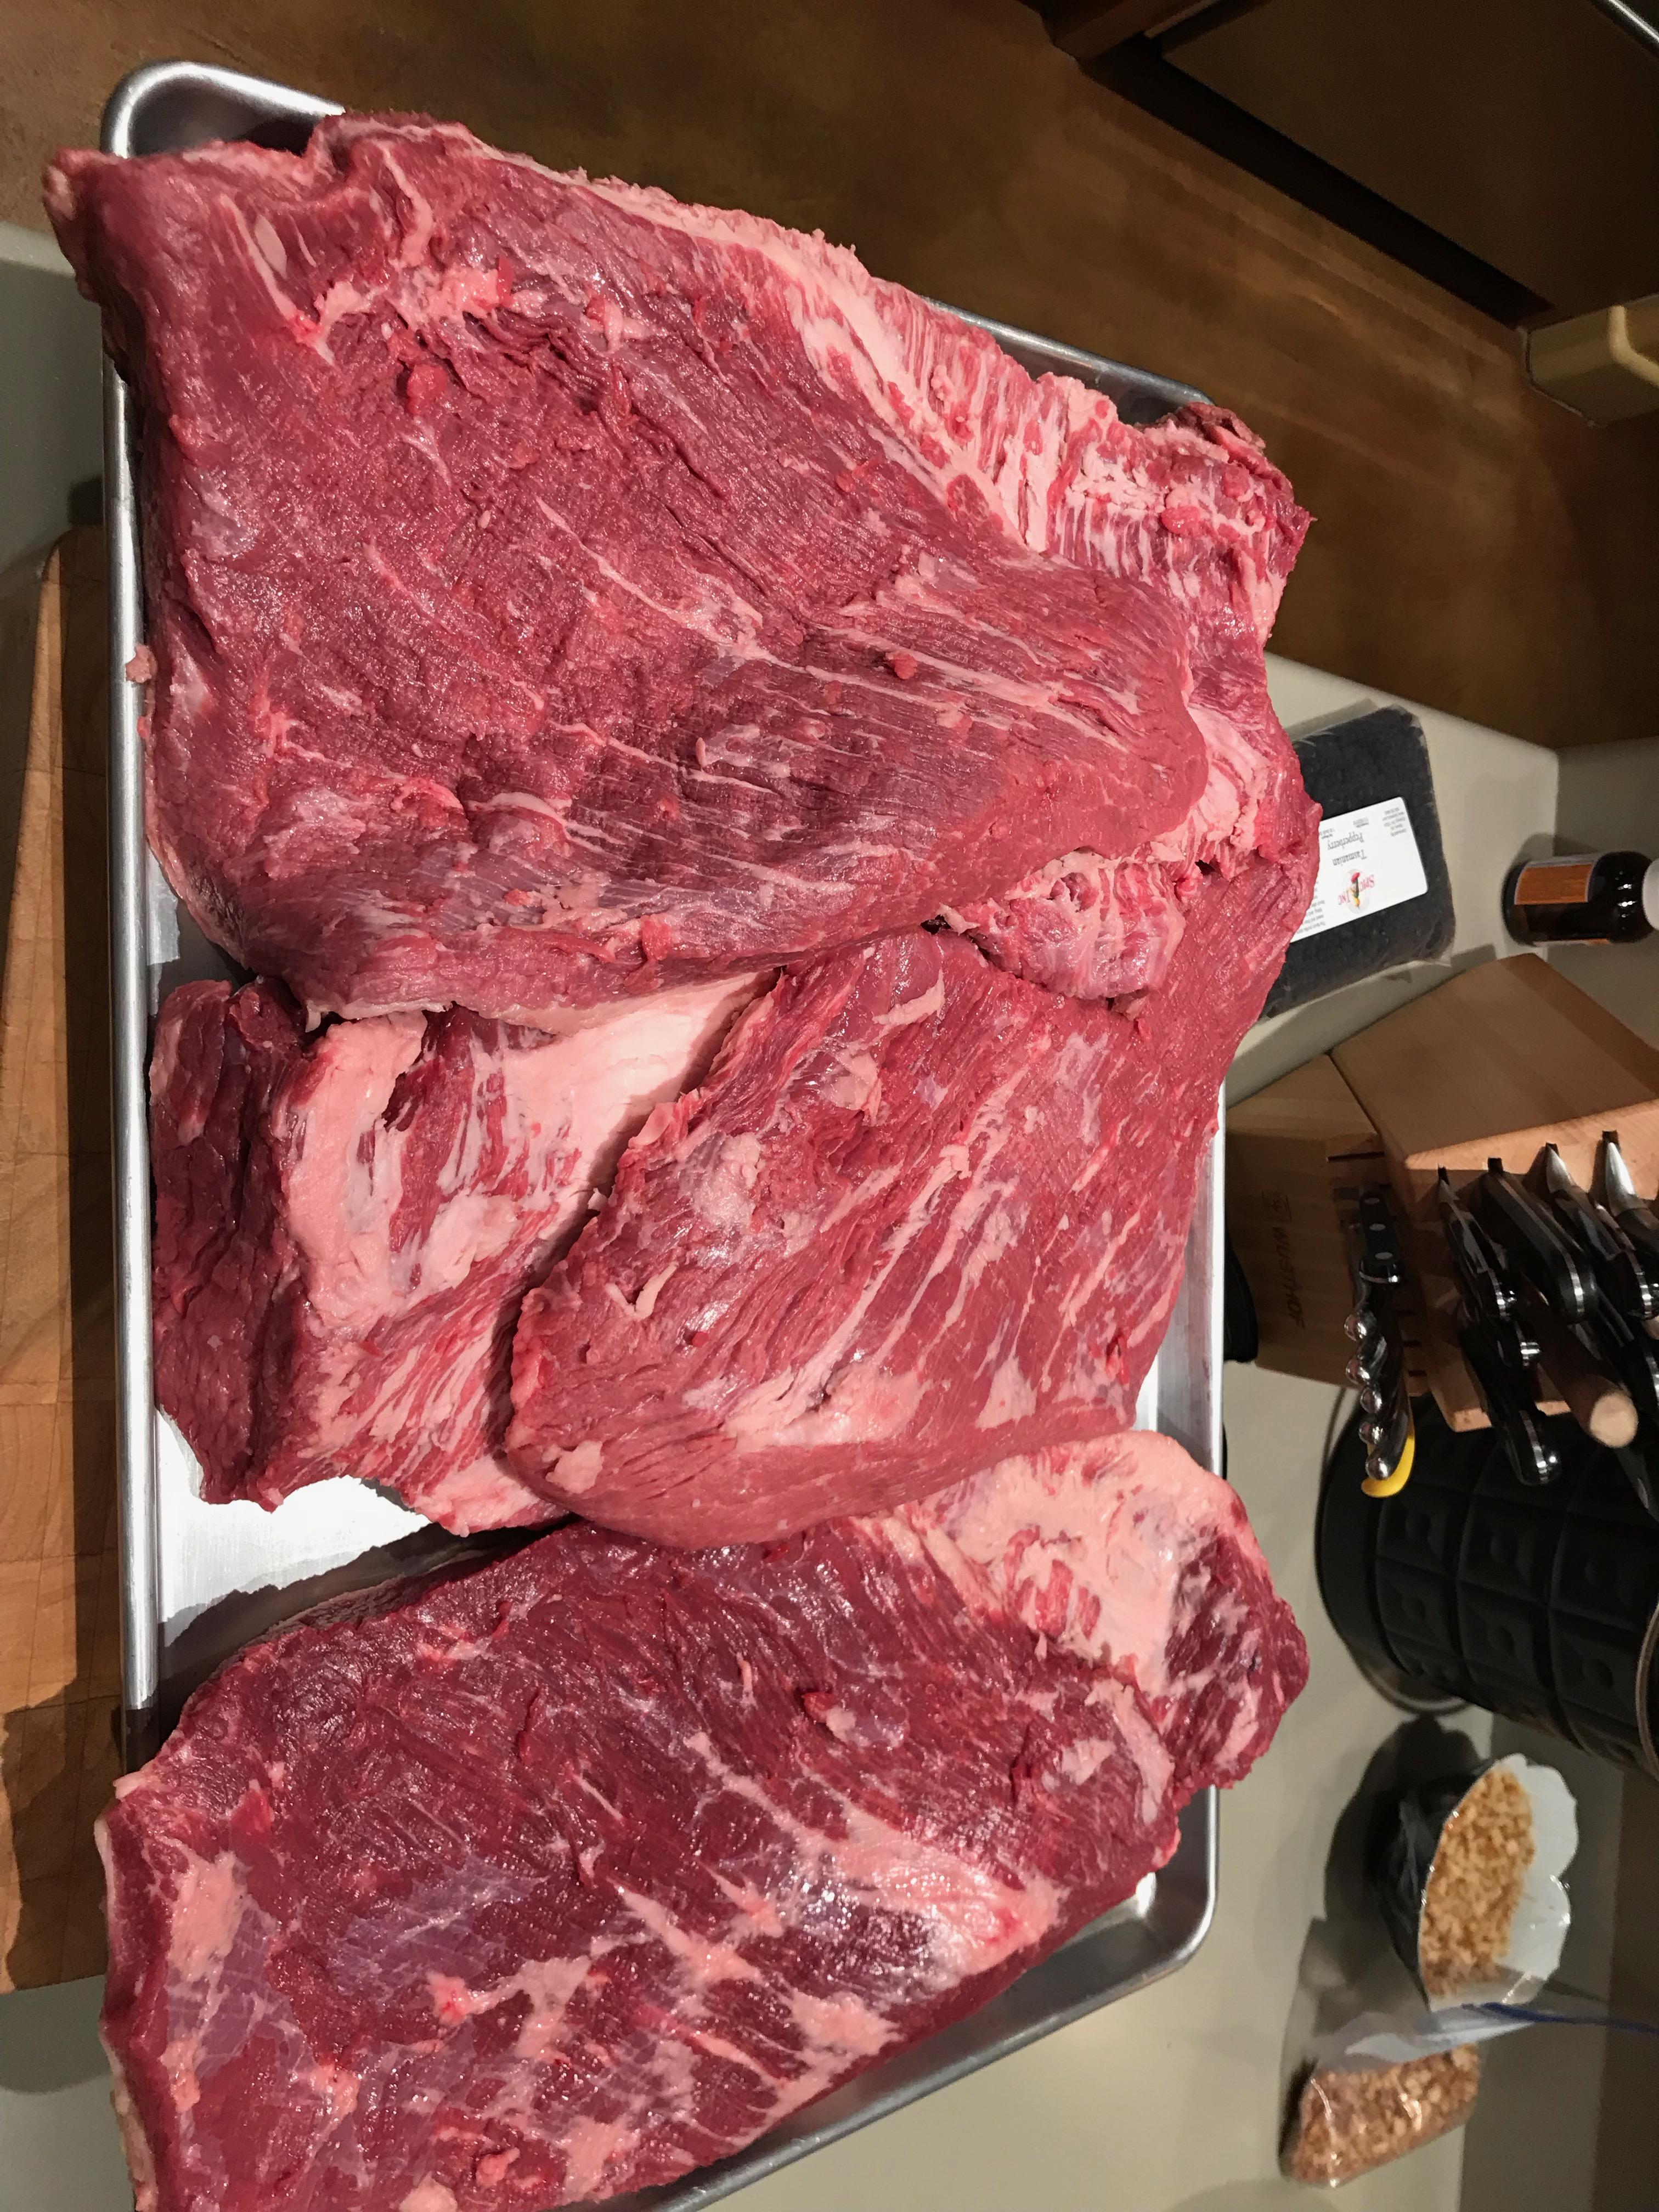
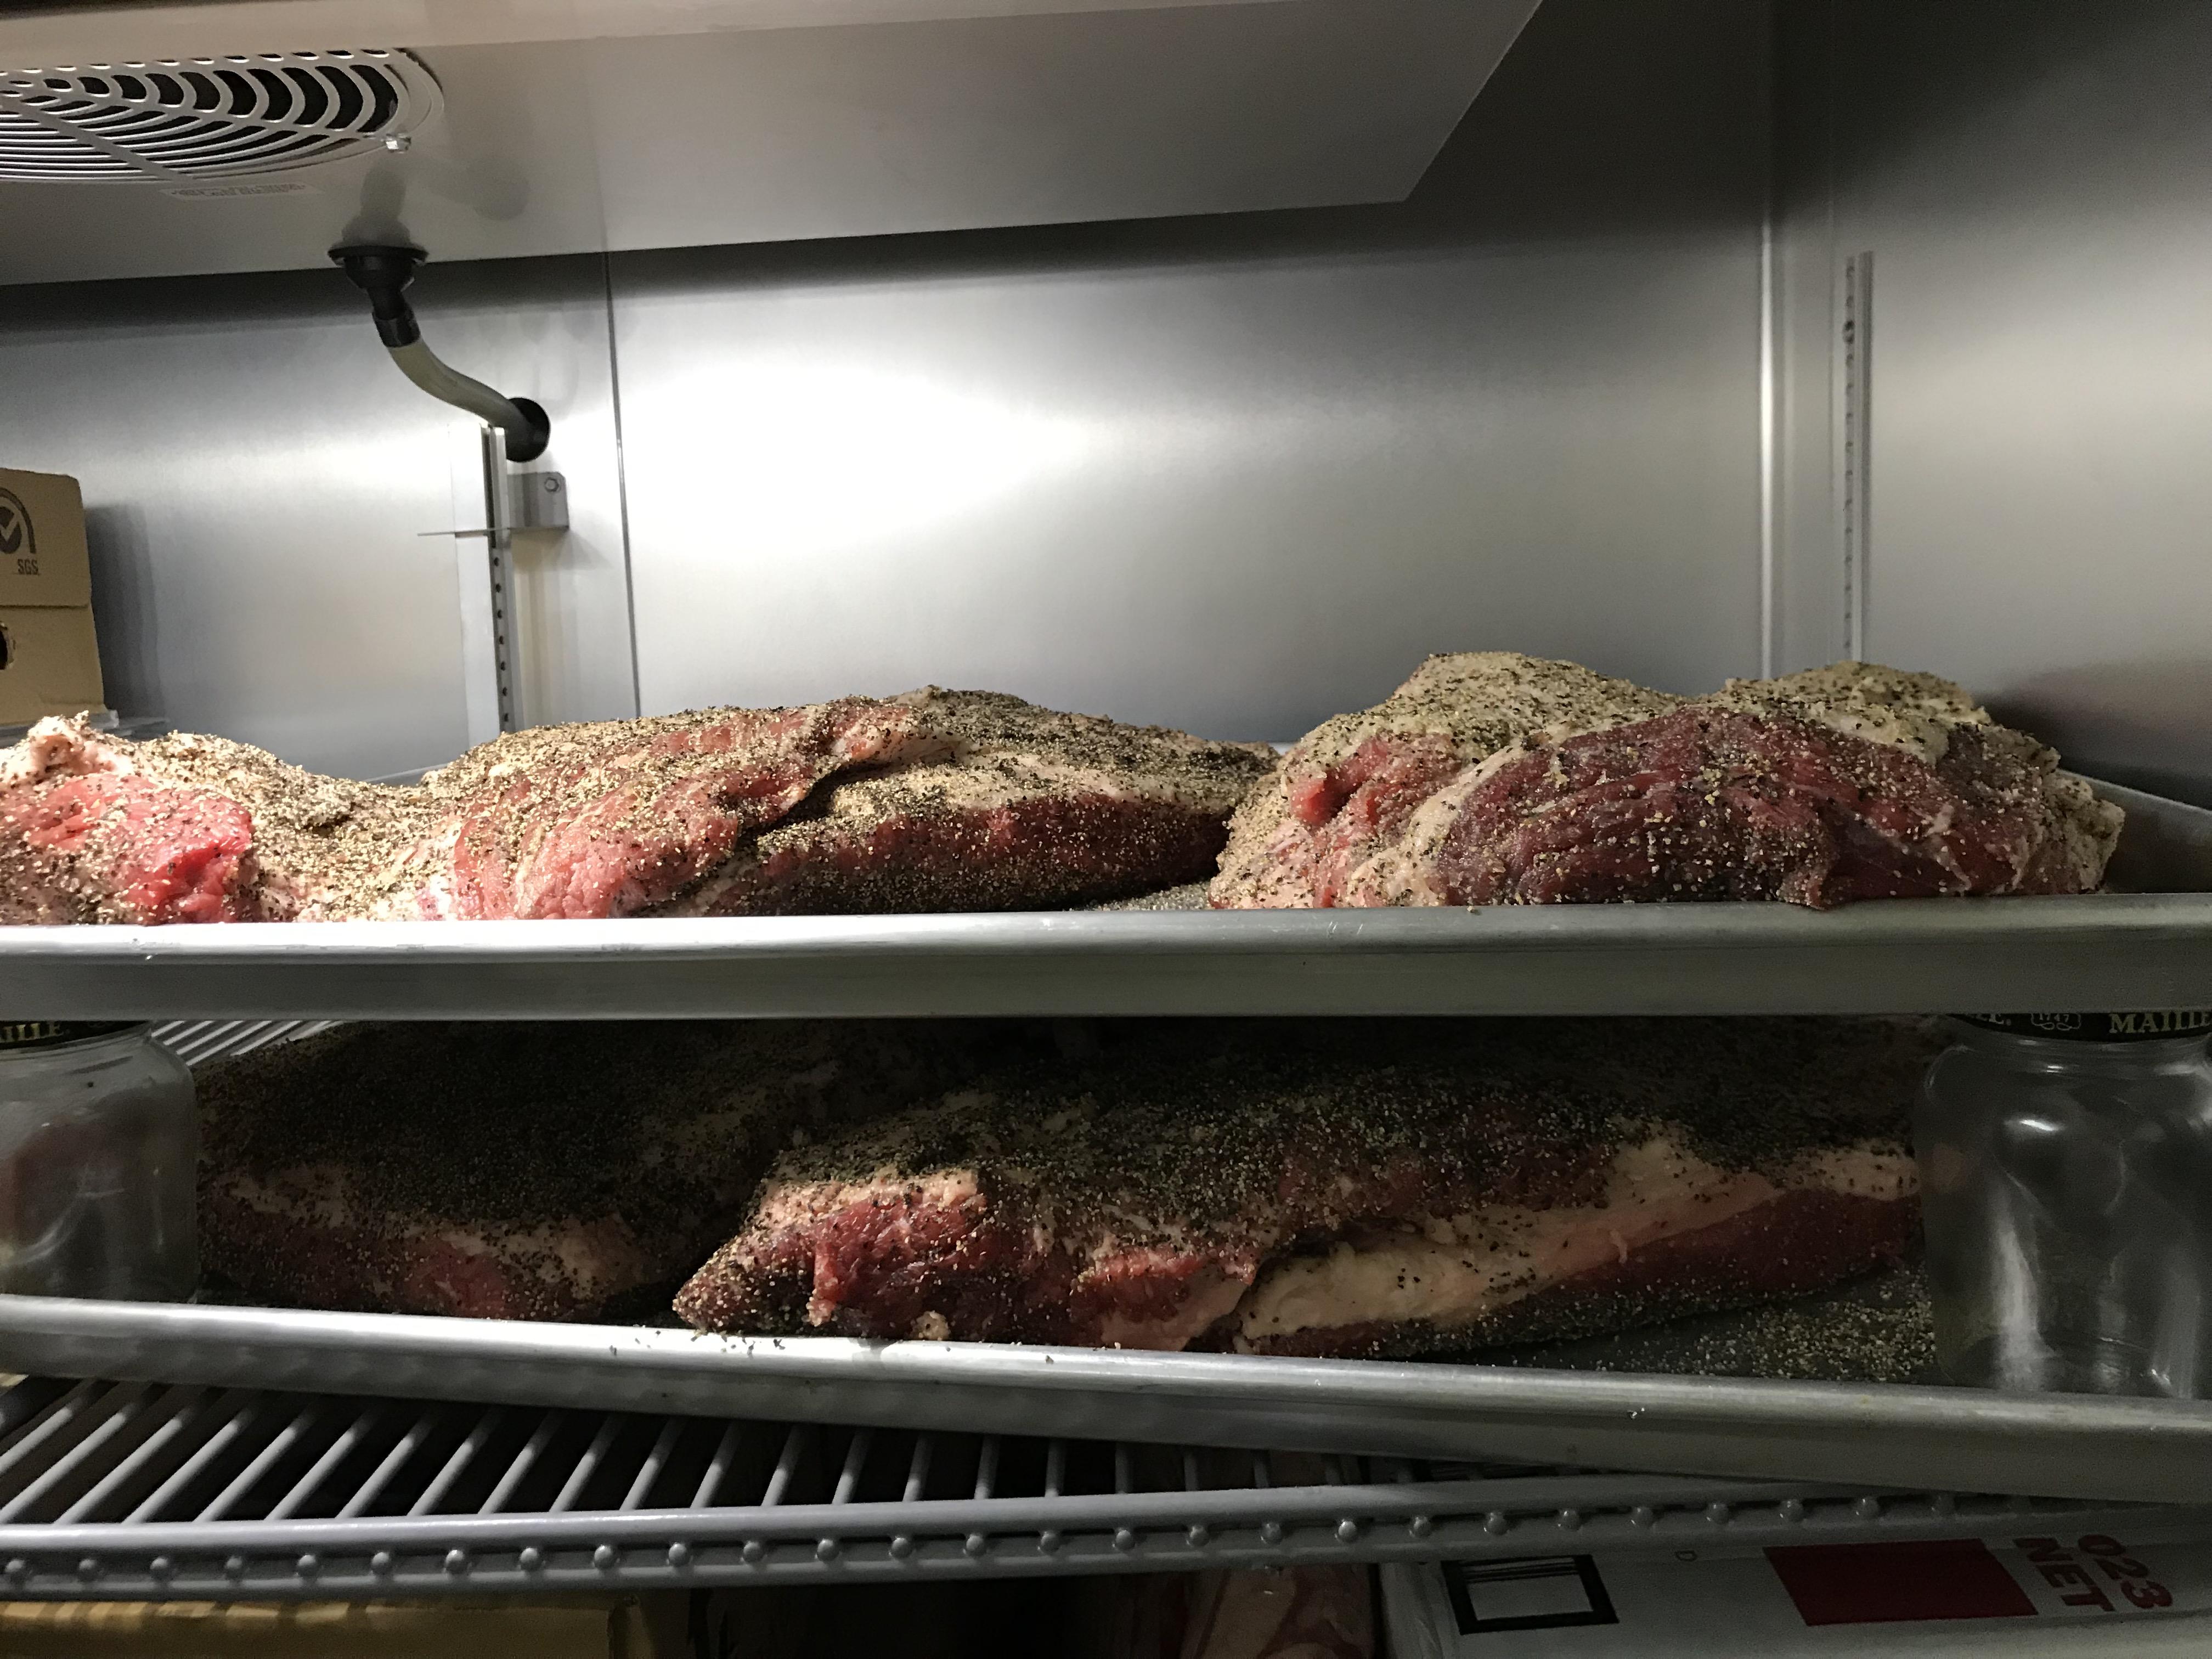
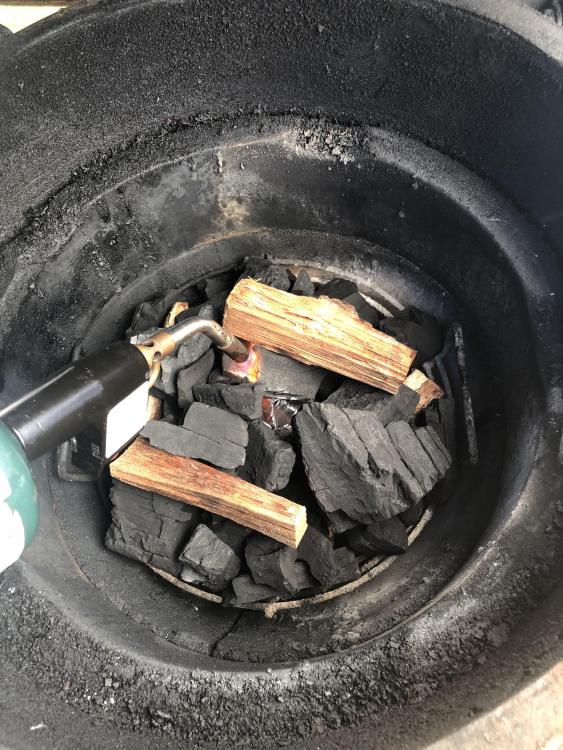
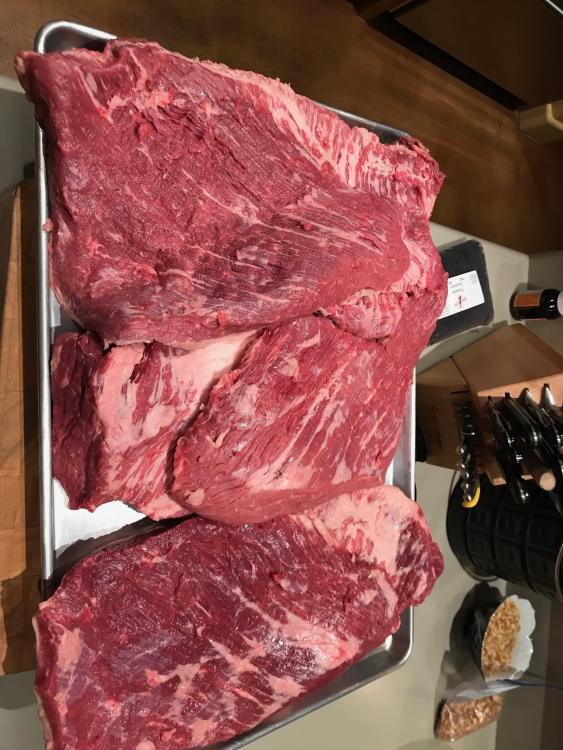
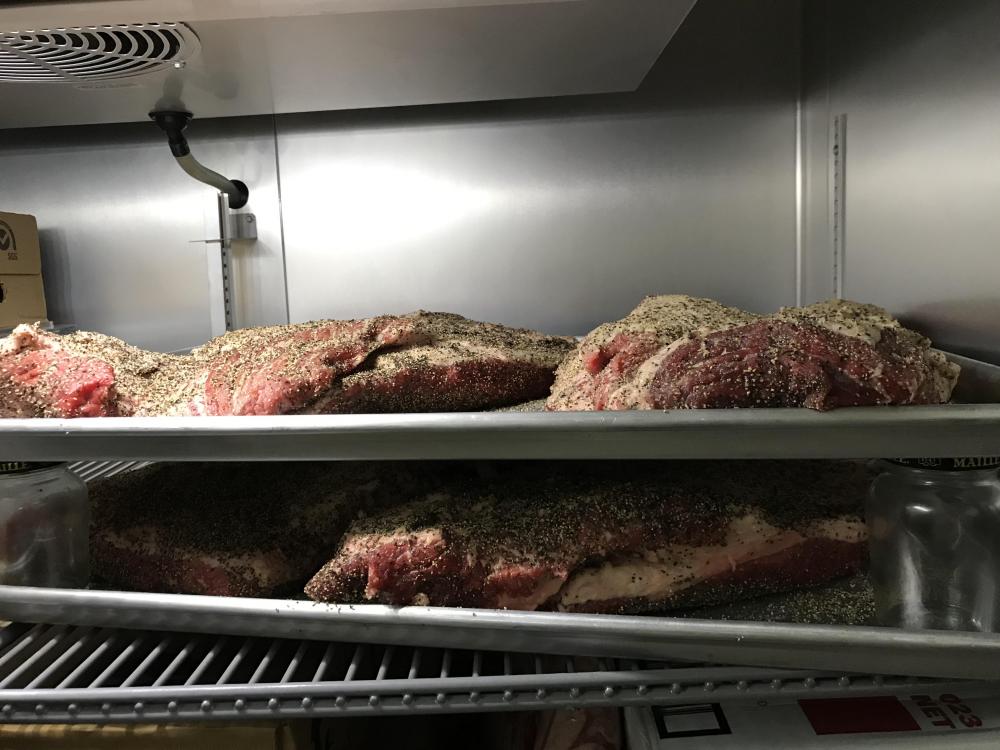
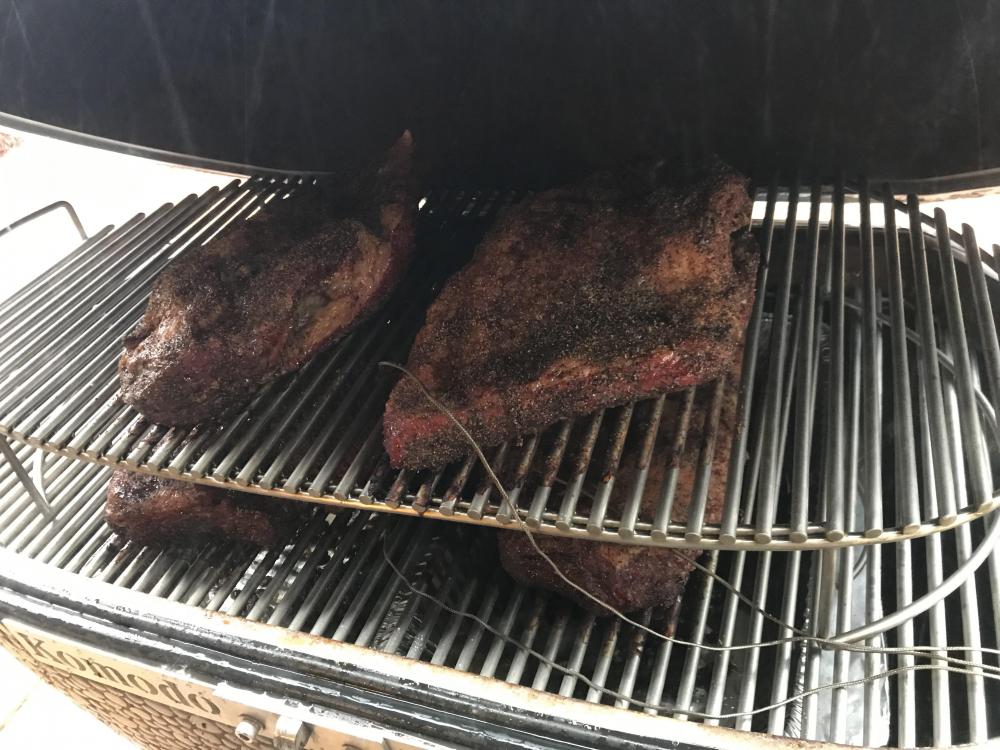
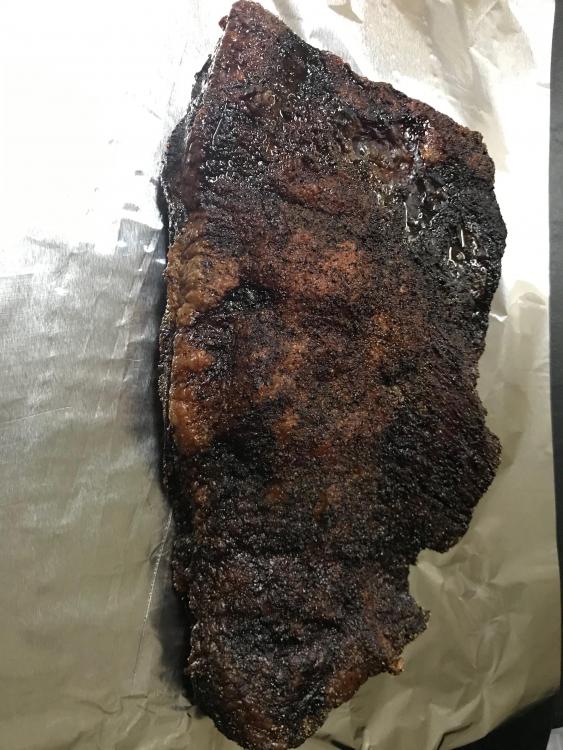
OK, So the first cook went off effortlessly on 4 packers, I did a heavy trim to reduce the rendering, as 4 packers un-trimmed could create a lake in my charcoal basket. seasoned and cooled in the fridge. Next was to get the cook set up, so I used about 15 lbs of coco charcoal in the center of the charcoal basket, installed two heat deflectors over the heat source, then two large disposable aluminum roasting pans to catch drippings. I lit the charcoal and installed the main grate, temp probes and DigiQ wifi. heat soaked to 240 degrees then added the meat directly over the roasting pans with good spacing for air flow. things progressed, but very wet and cool all day. and then, the stall..... decided not to wrap as with all the rain, humidity was 100% I feel that the results (about 11 hours later) were acceptable. I am working on a job for a large group, so i have a few more of these cooks to do over the coming days so as I learn more, I will post those findings as well. Here is one of the briskets from this cook prior to wrapping and resting. A 'Huge Thank You' to all who contributed via comment and encouragement to this thread. I'm pretty sure I could cook six briskets at once, but I think 4 is optimal.


 1 point
 -
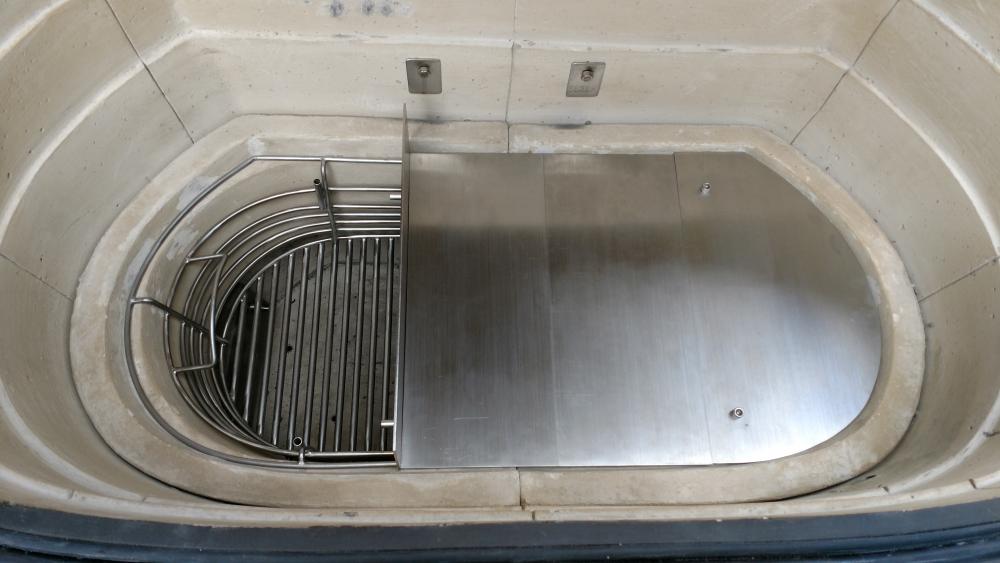
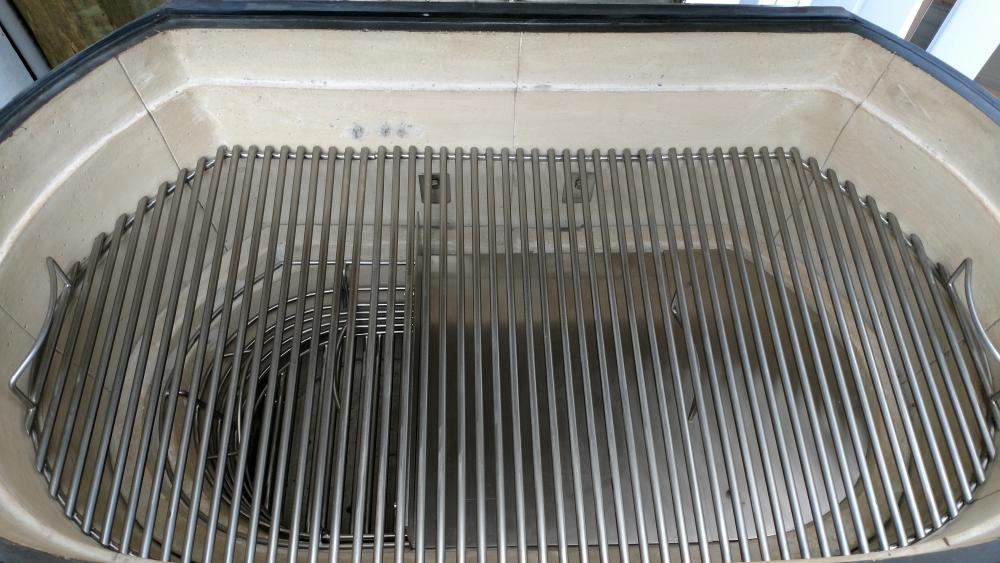
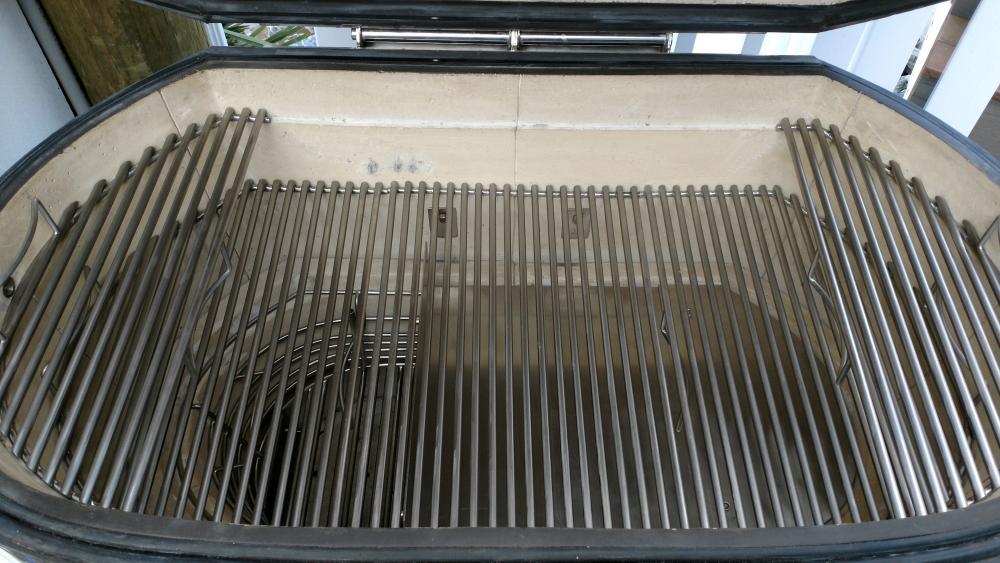
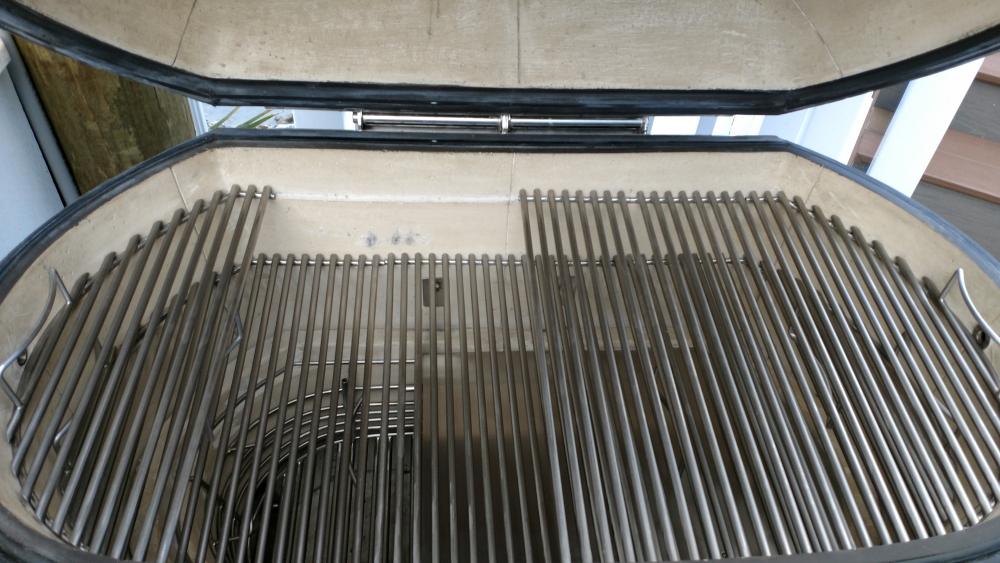
All I can says is - WOW! One tip for cleaning off gunky grates - get some Powdered Brewers Wash (PBW) at any local home brewing supply store. This stuff is amazing. Just soak the grates overnight in a 1 TB/gal of hot water solution. Everything will wipe off easily with a damp sponge. Only way that I'll try and clean my rotisserie baskets.1 point
-
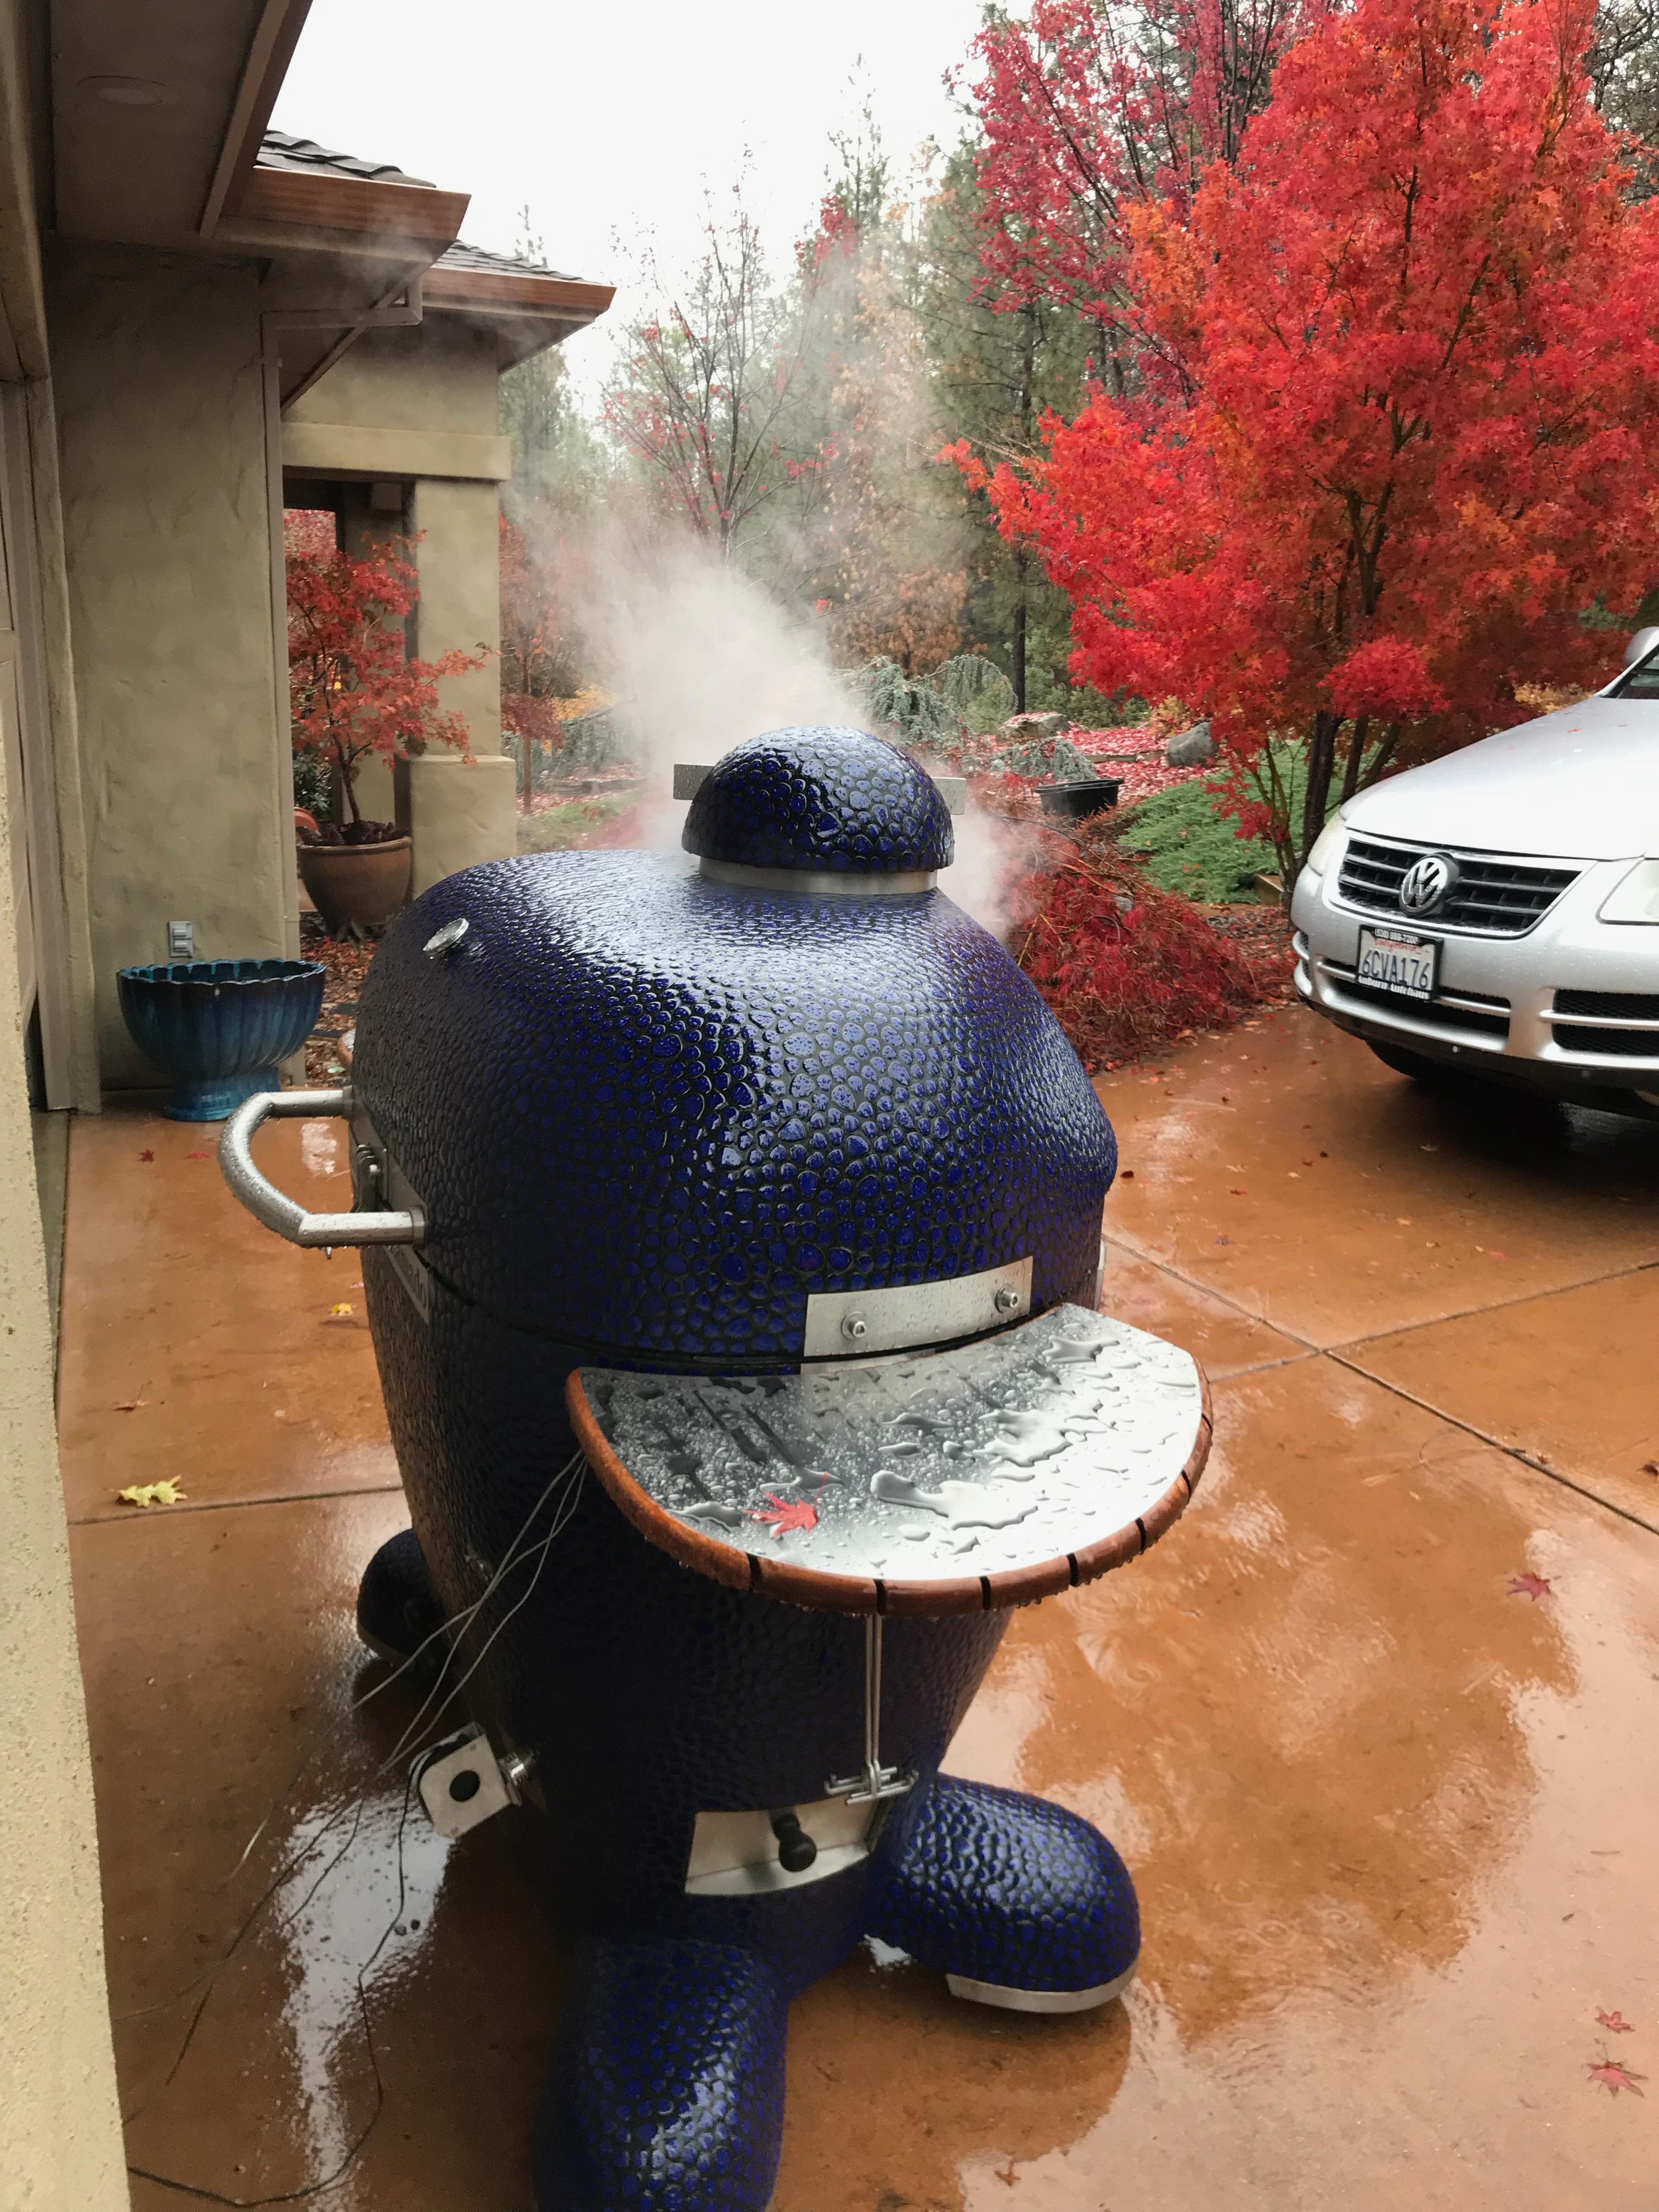
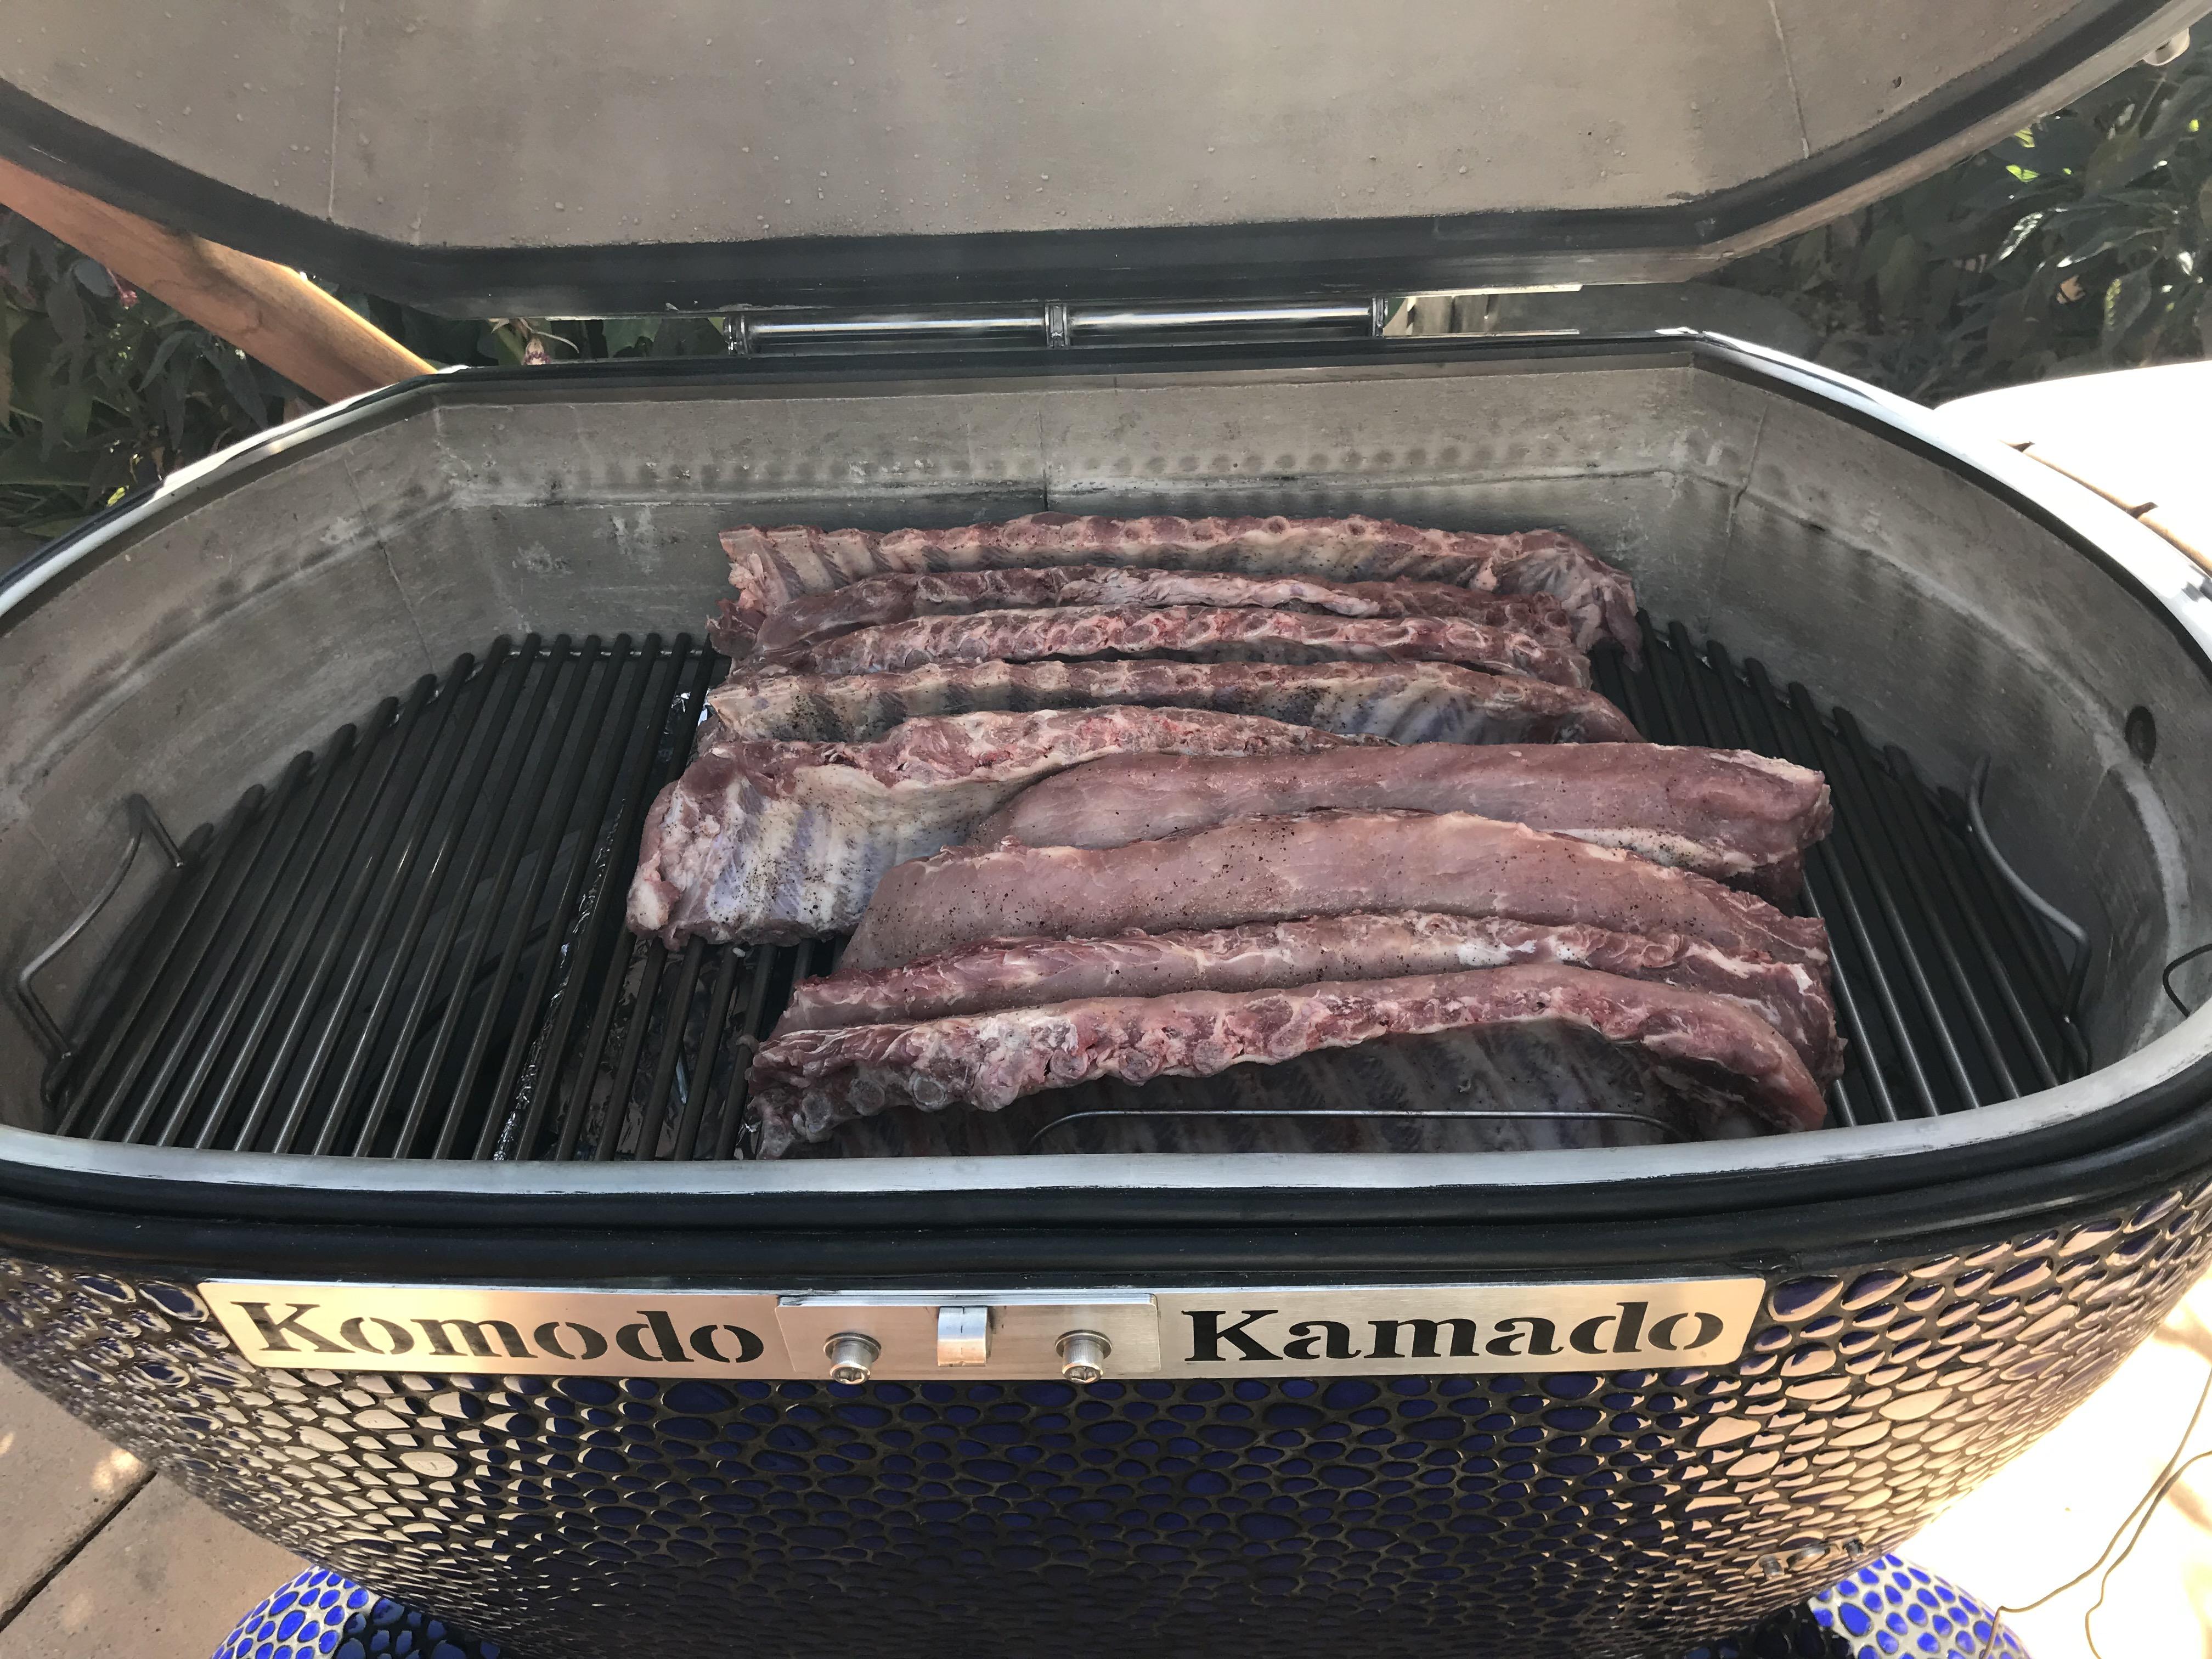
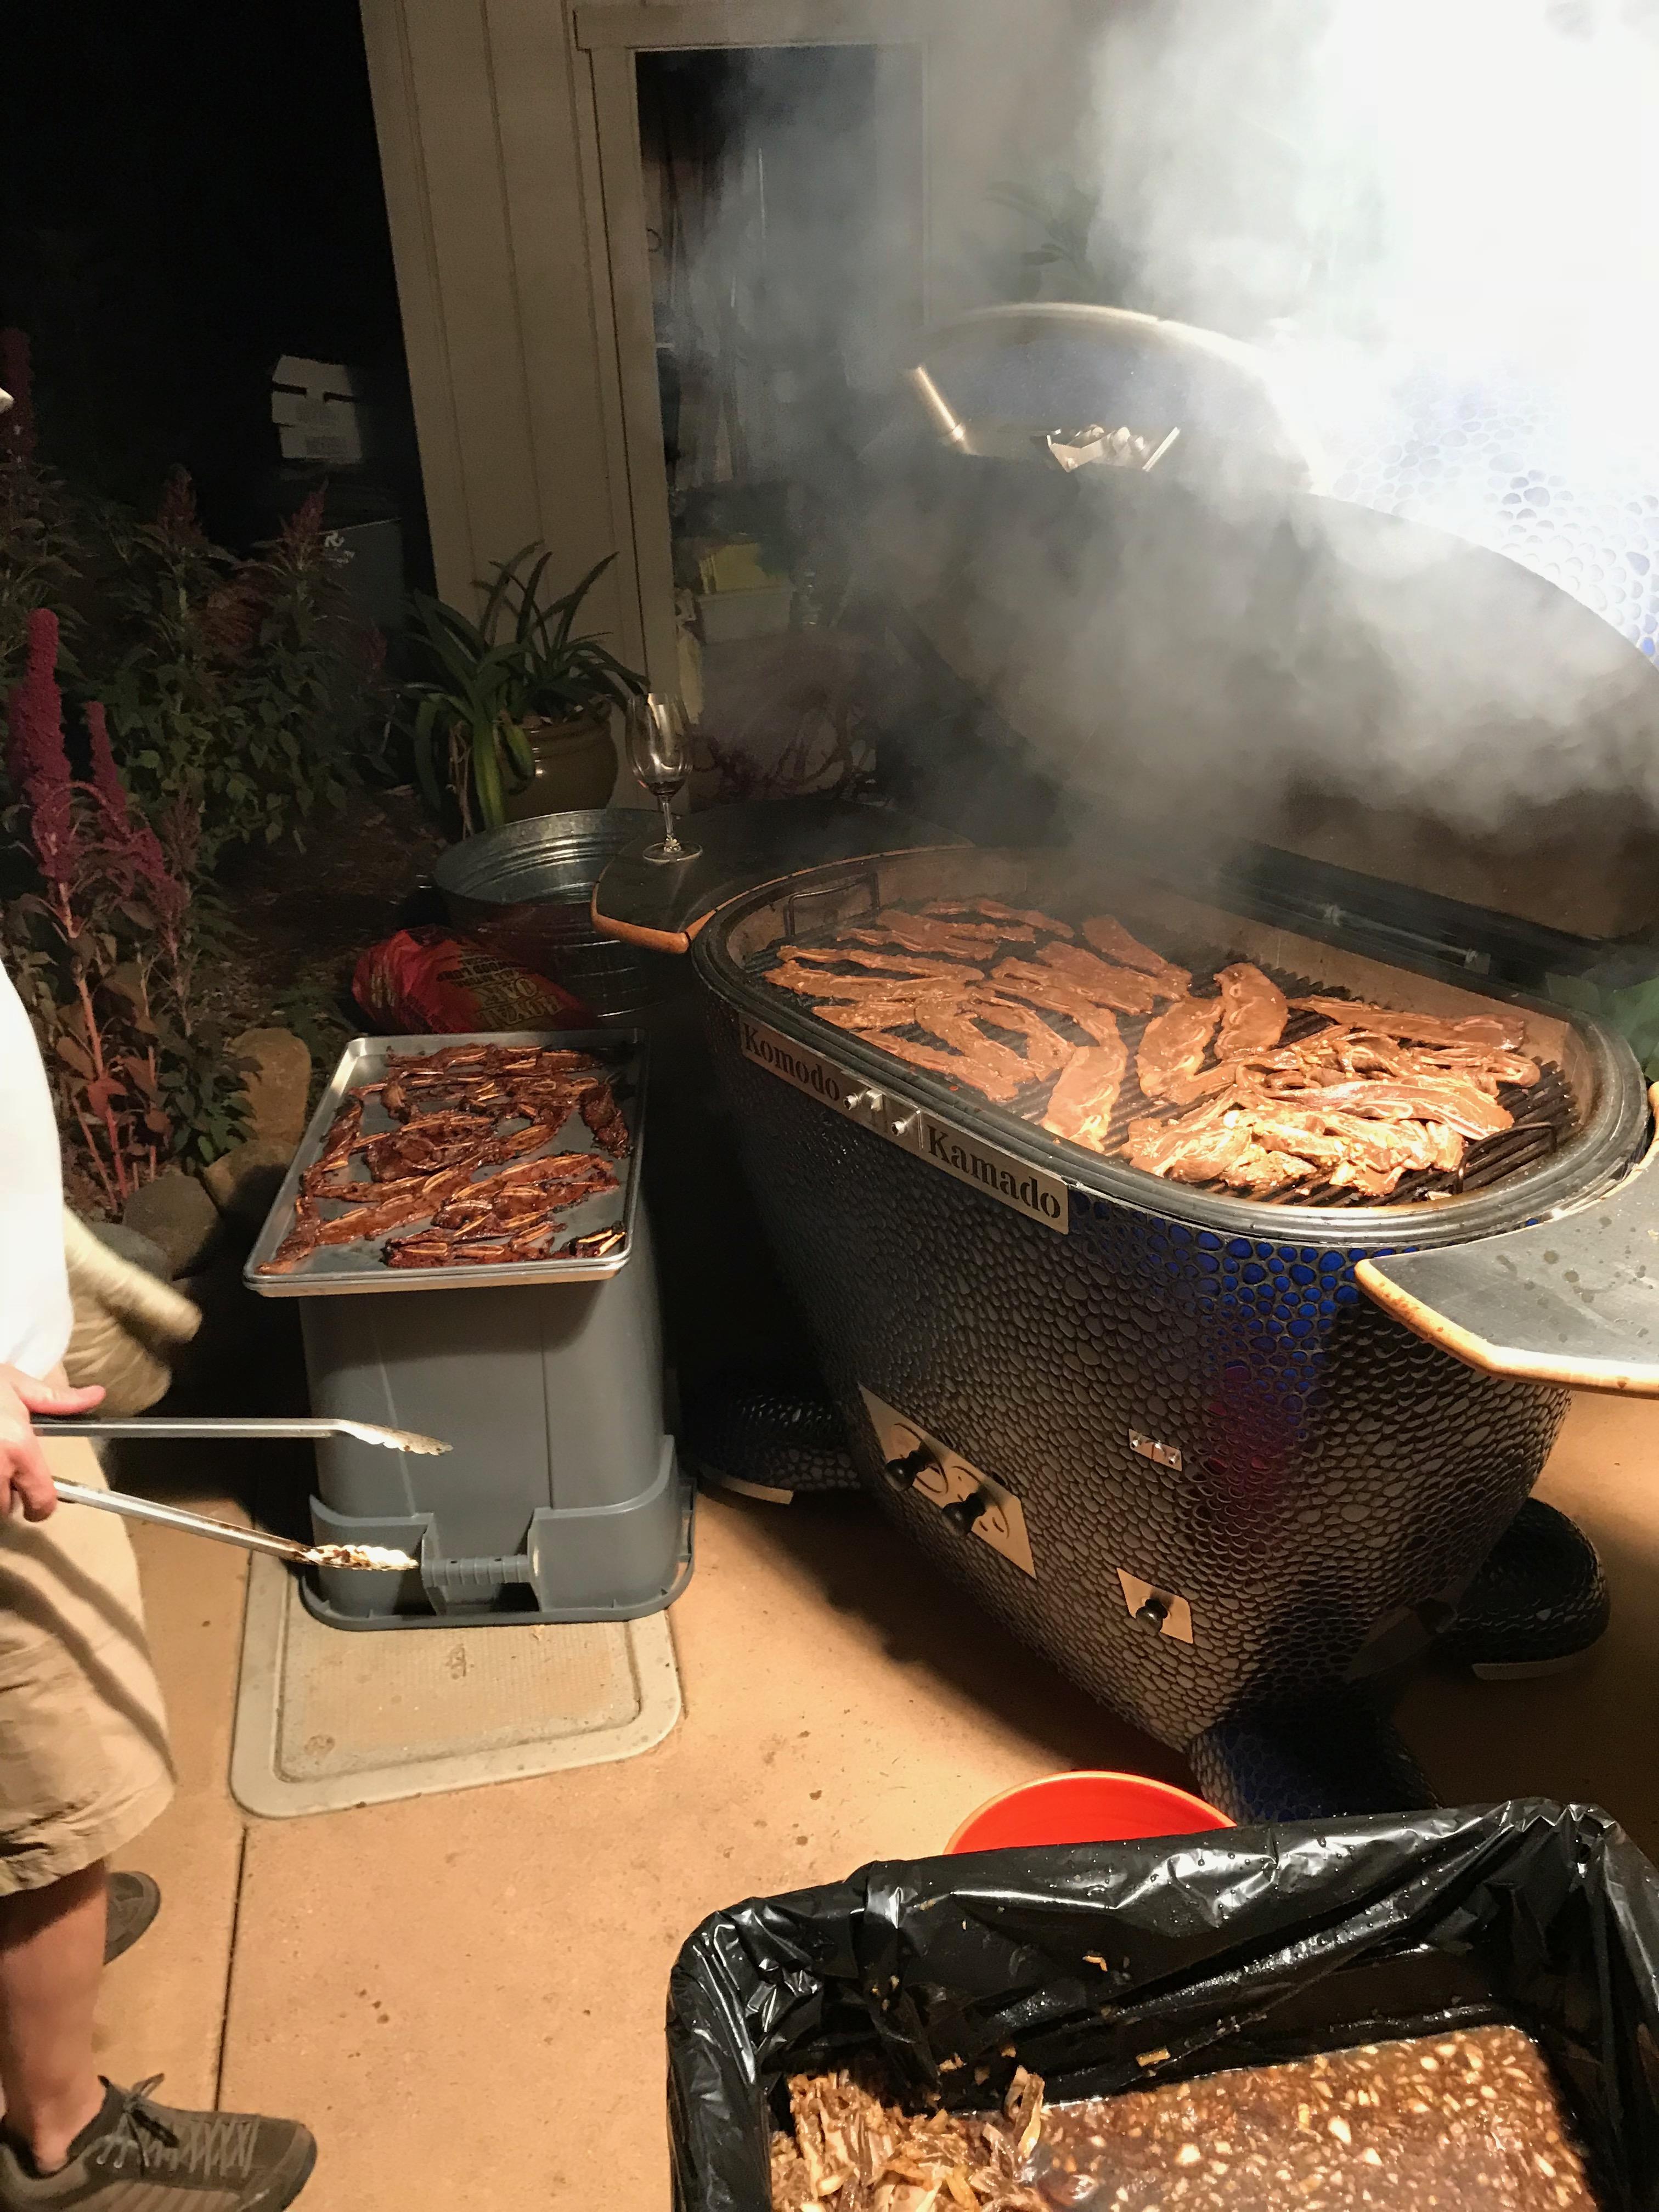
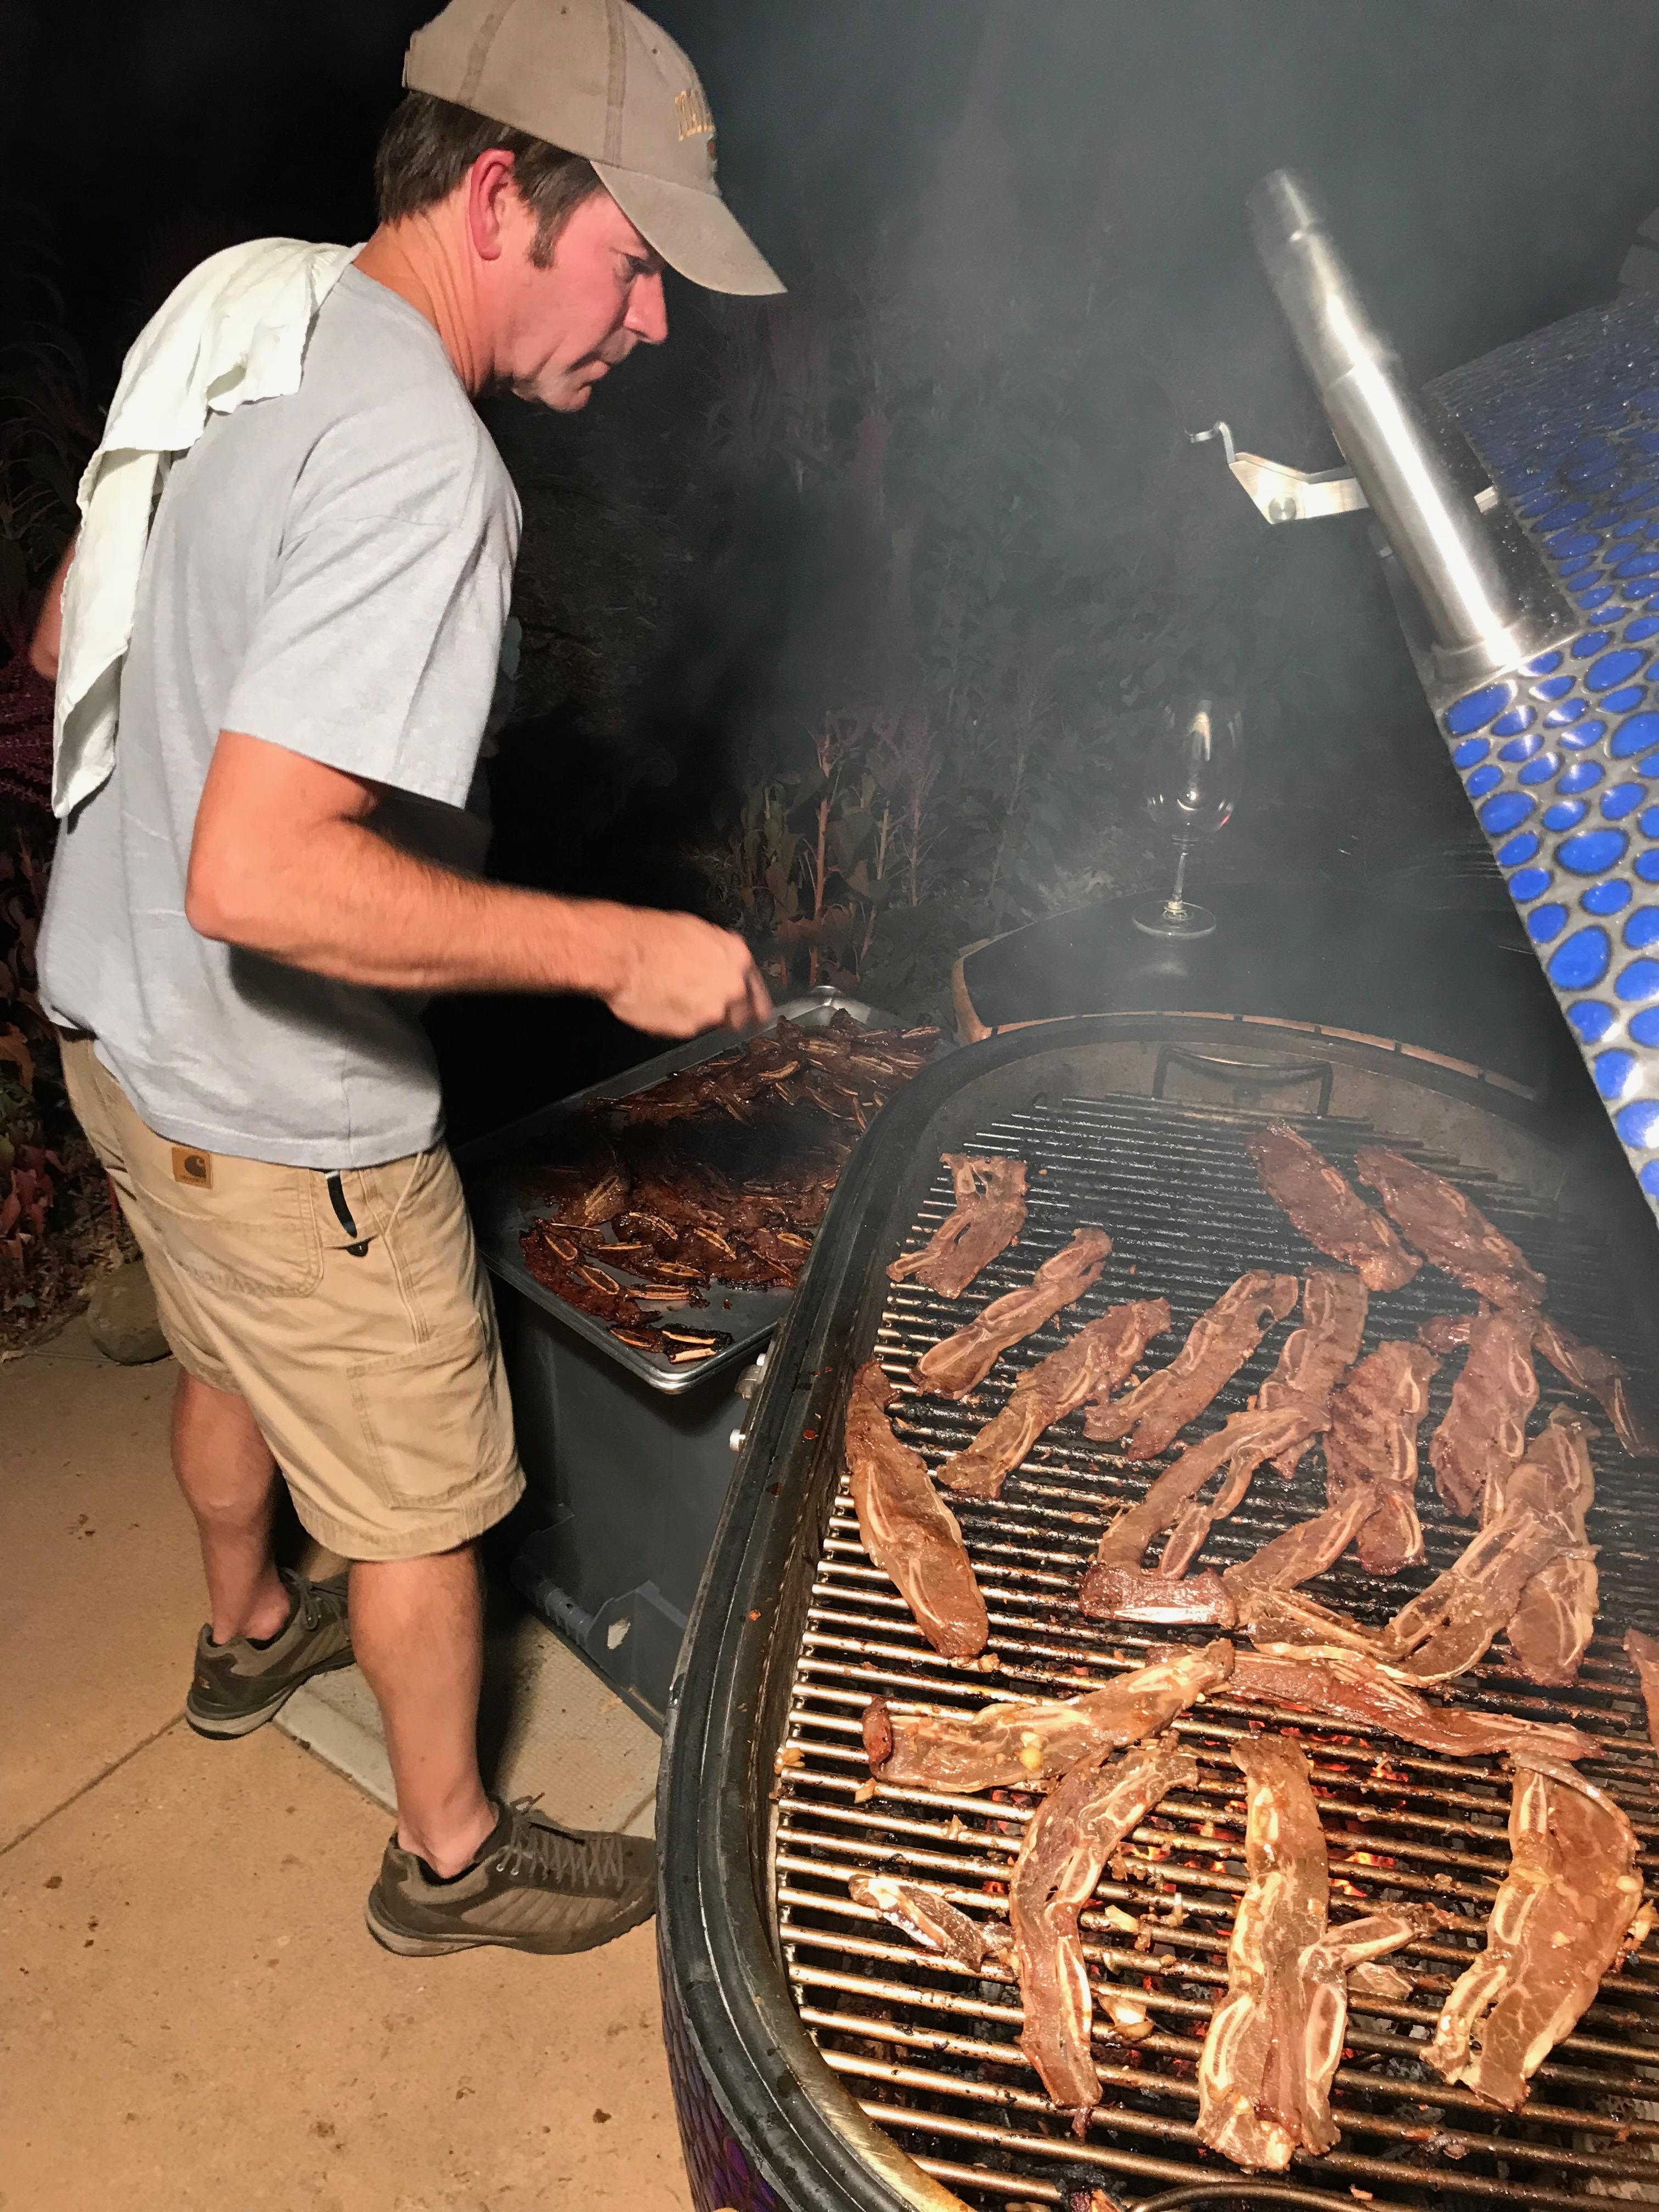
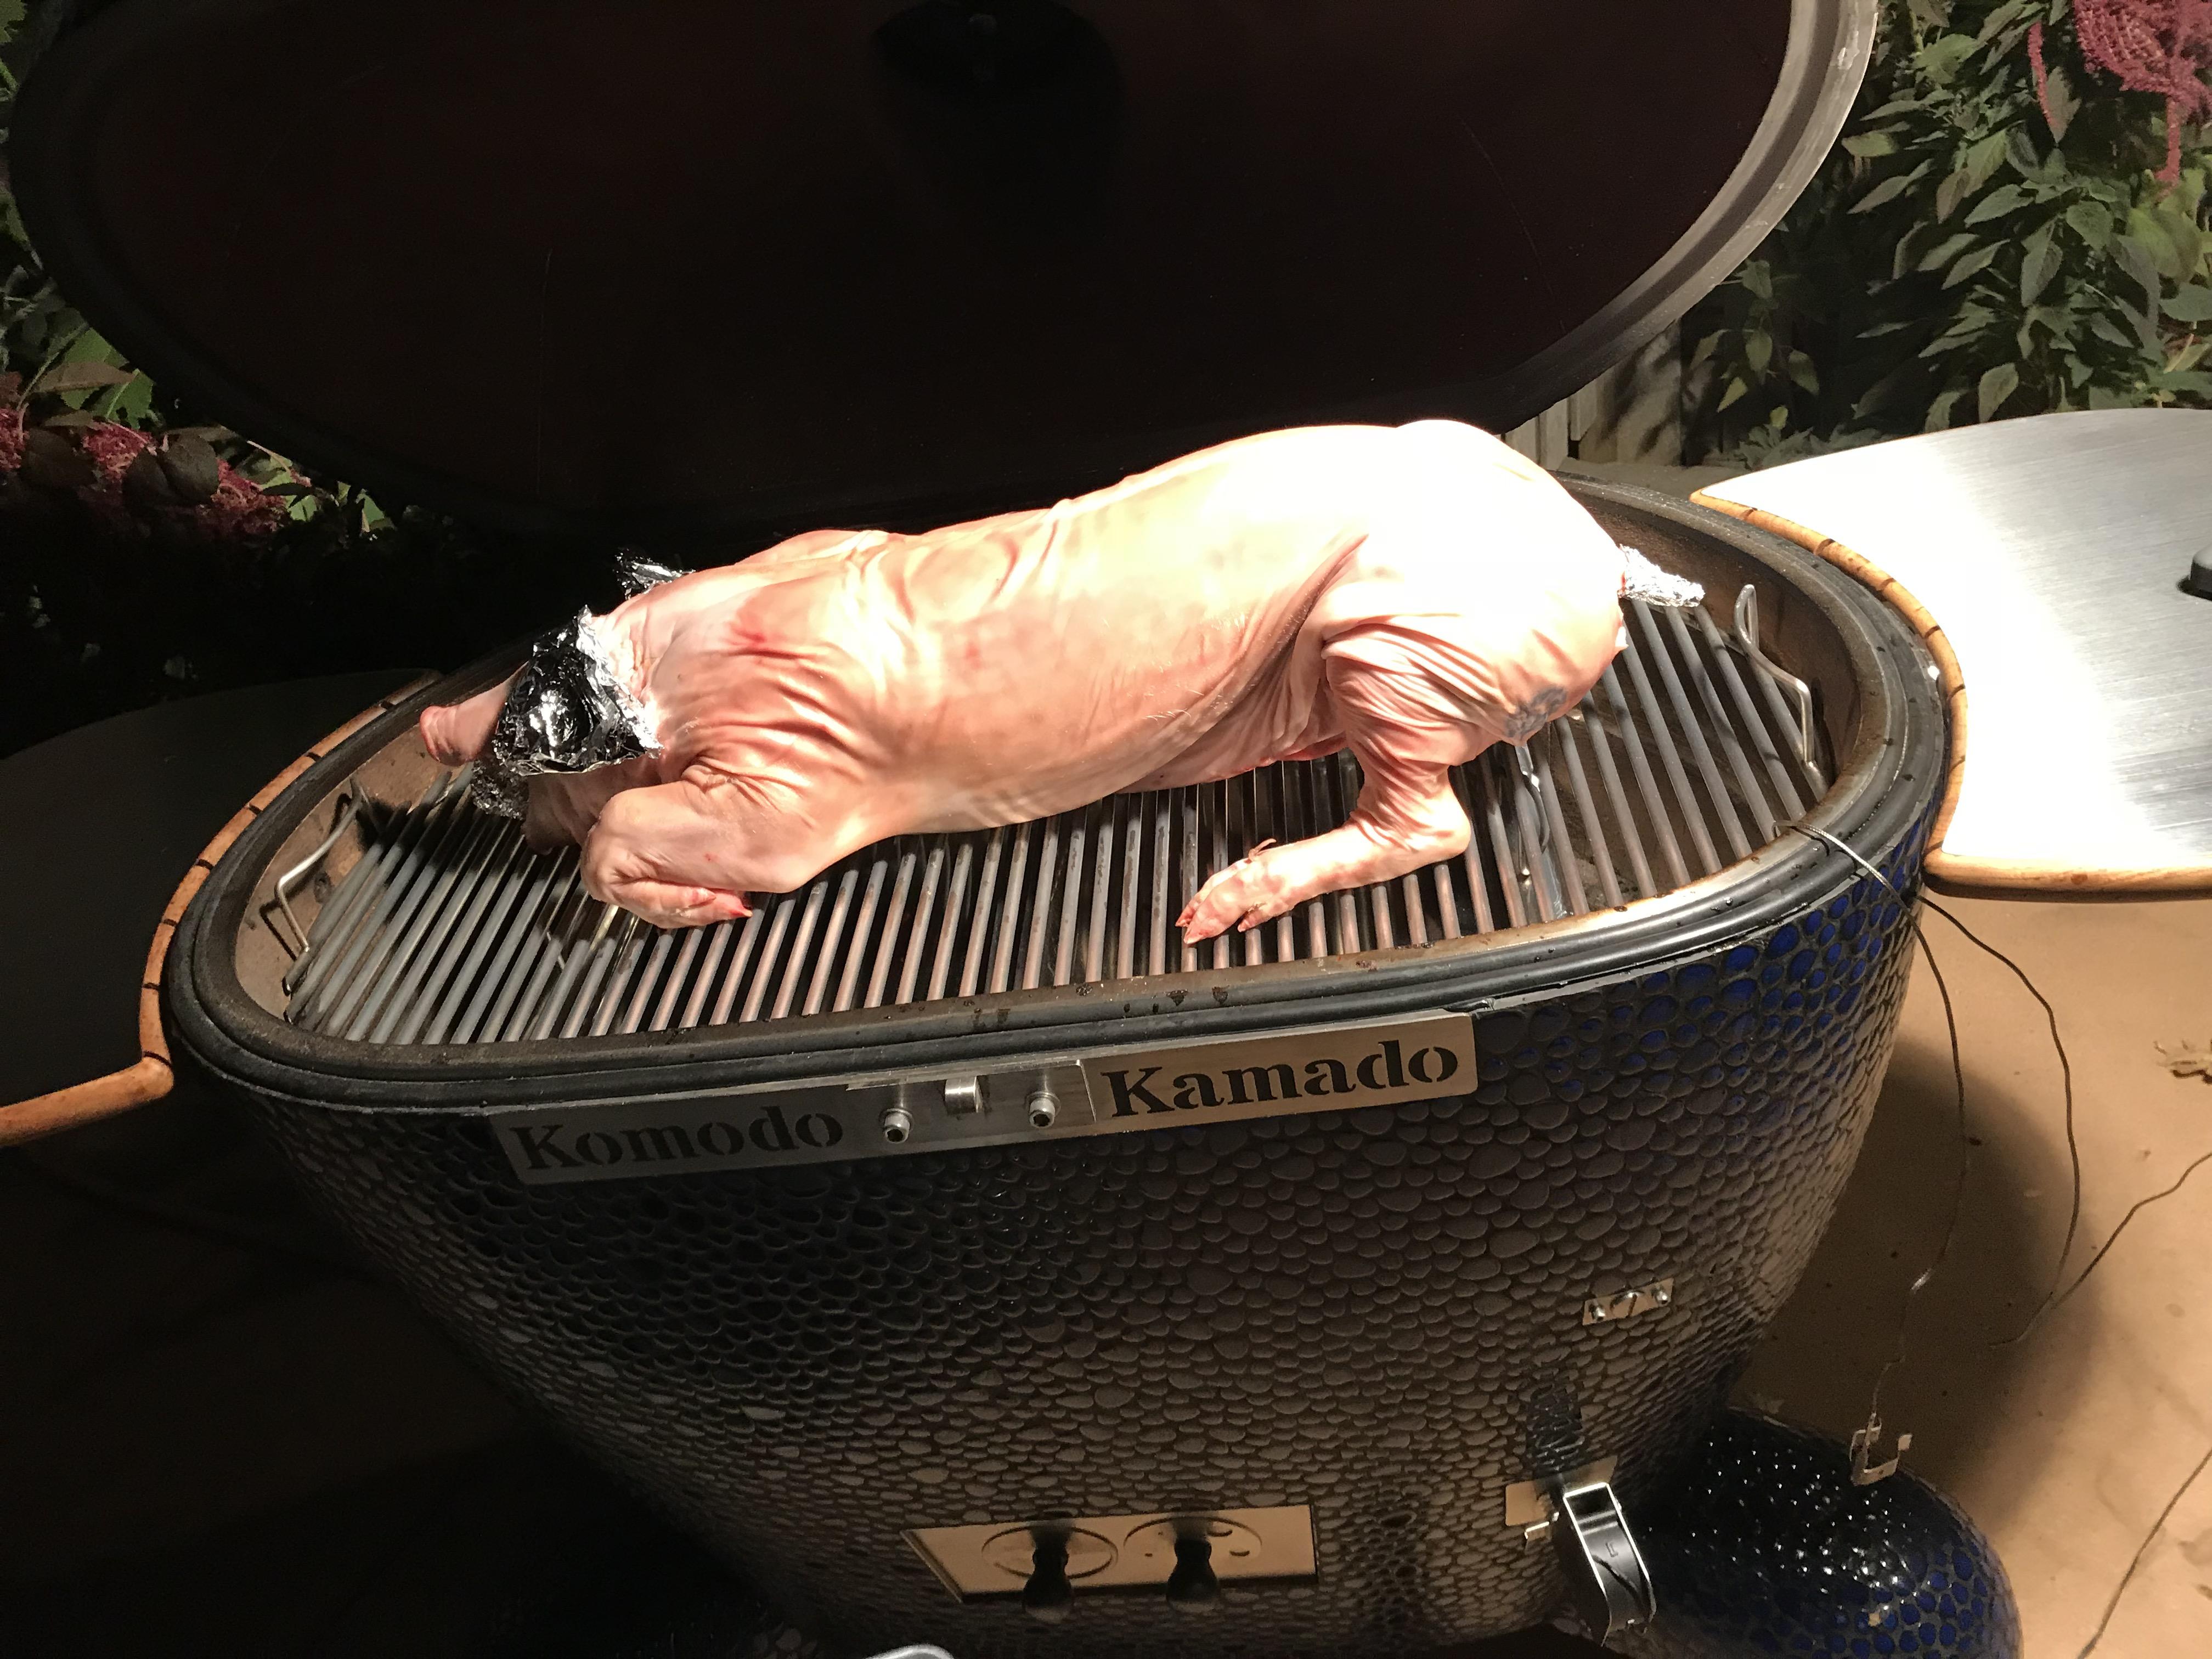
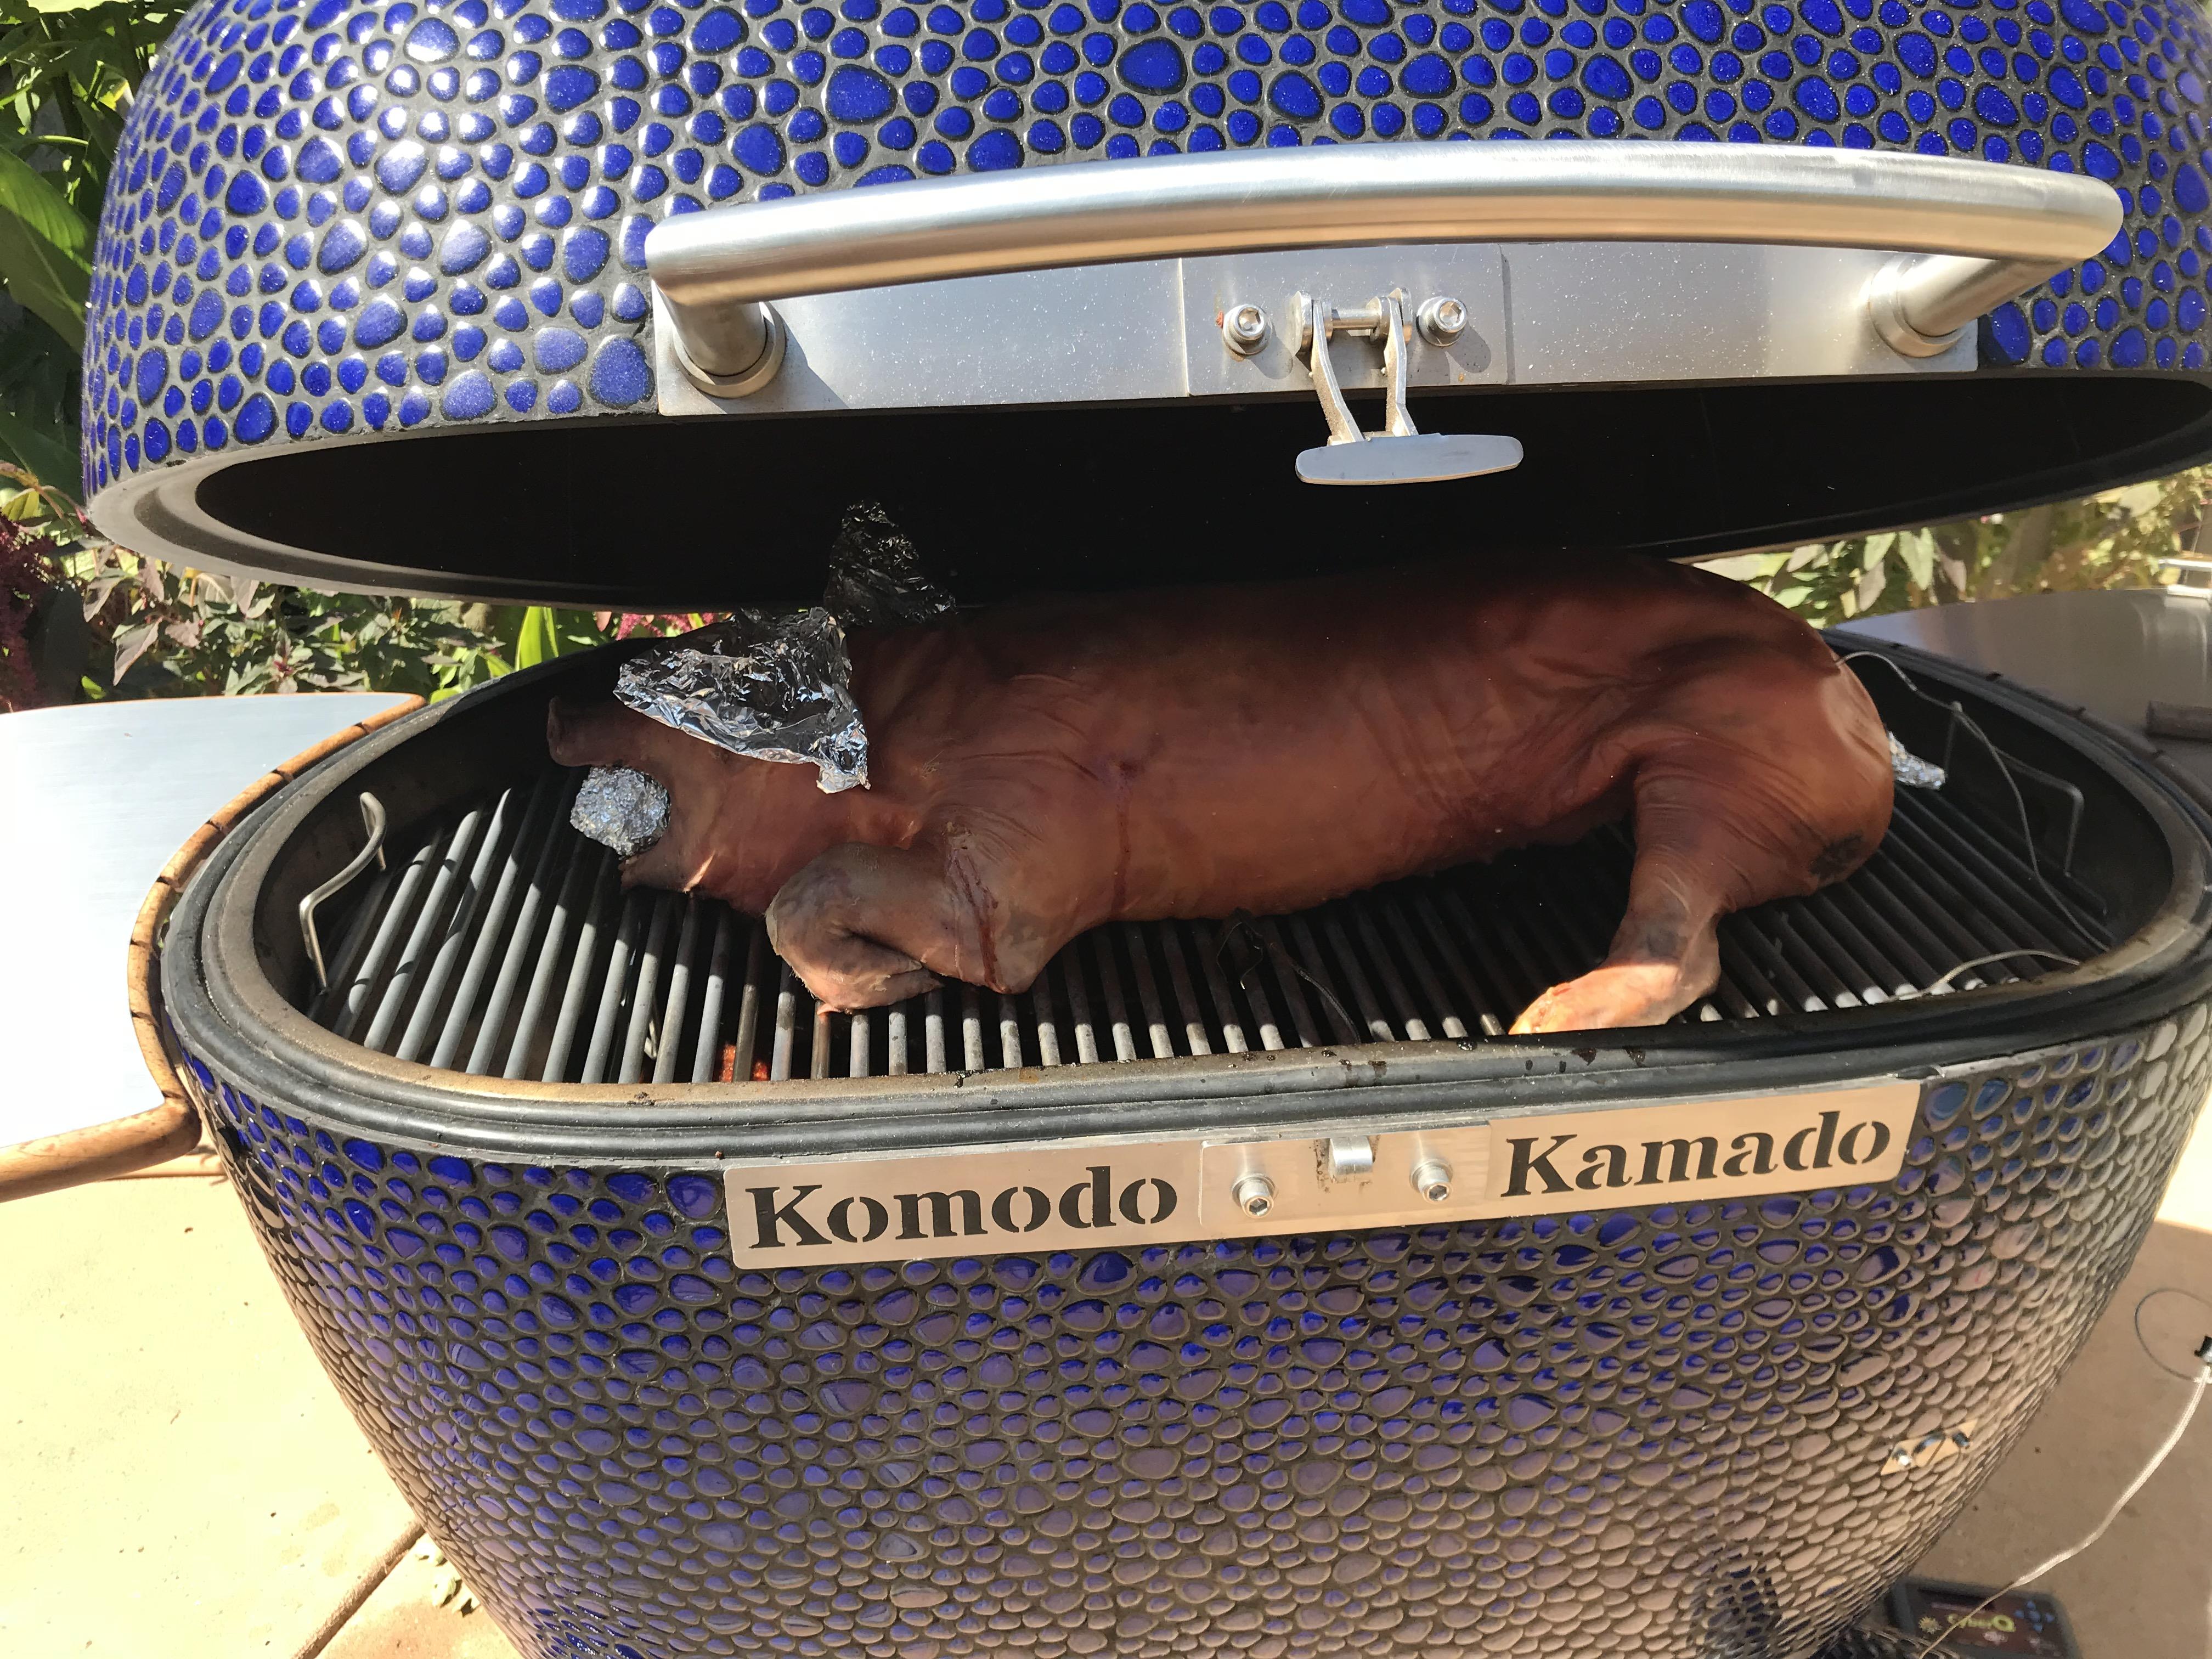
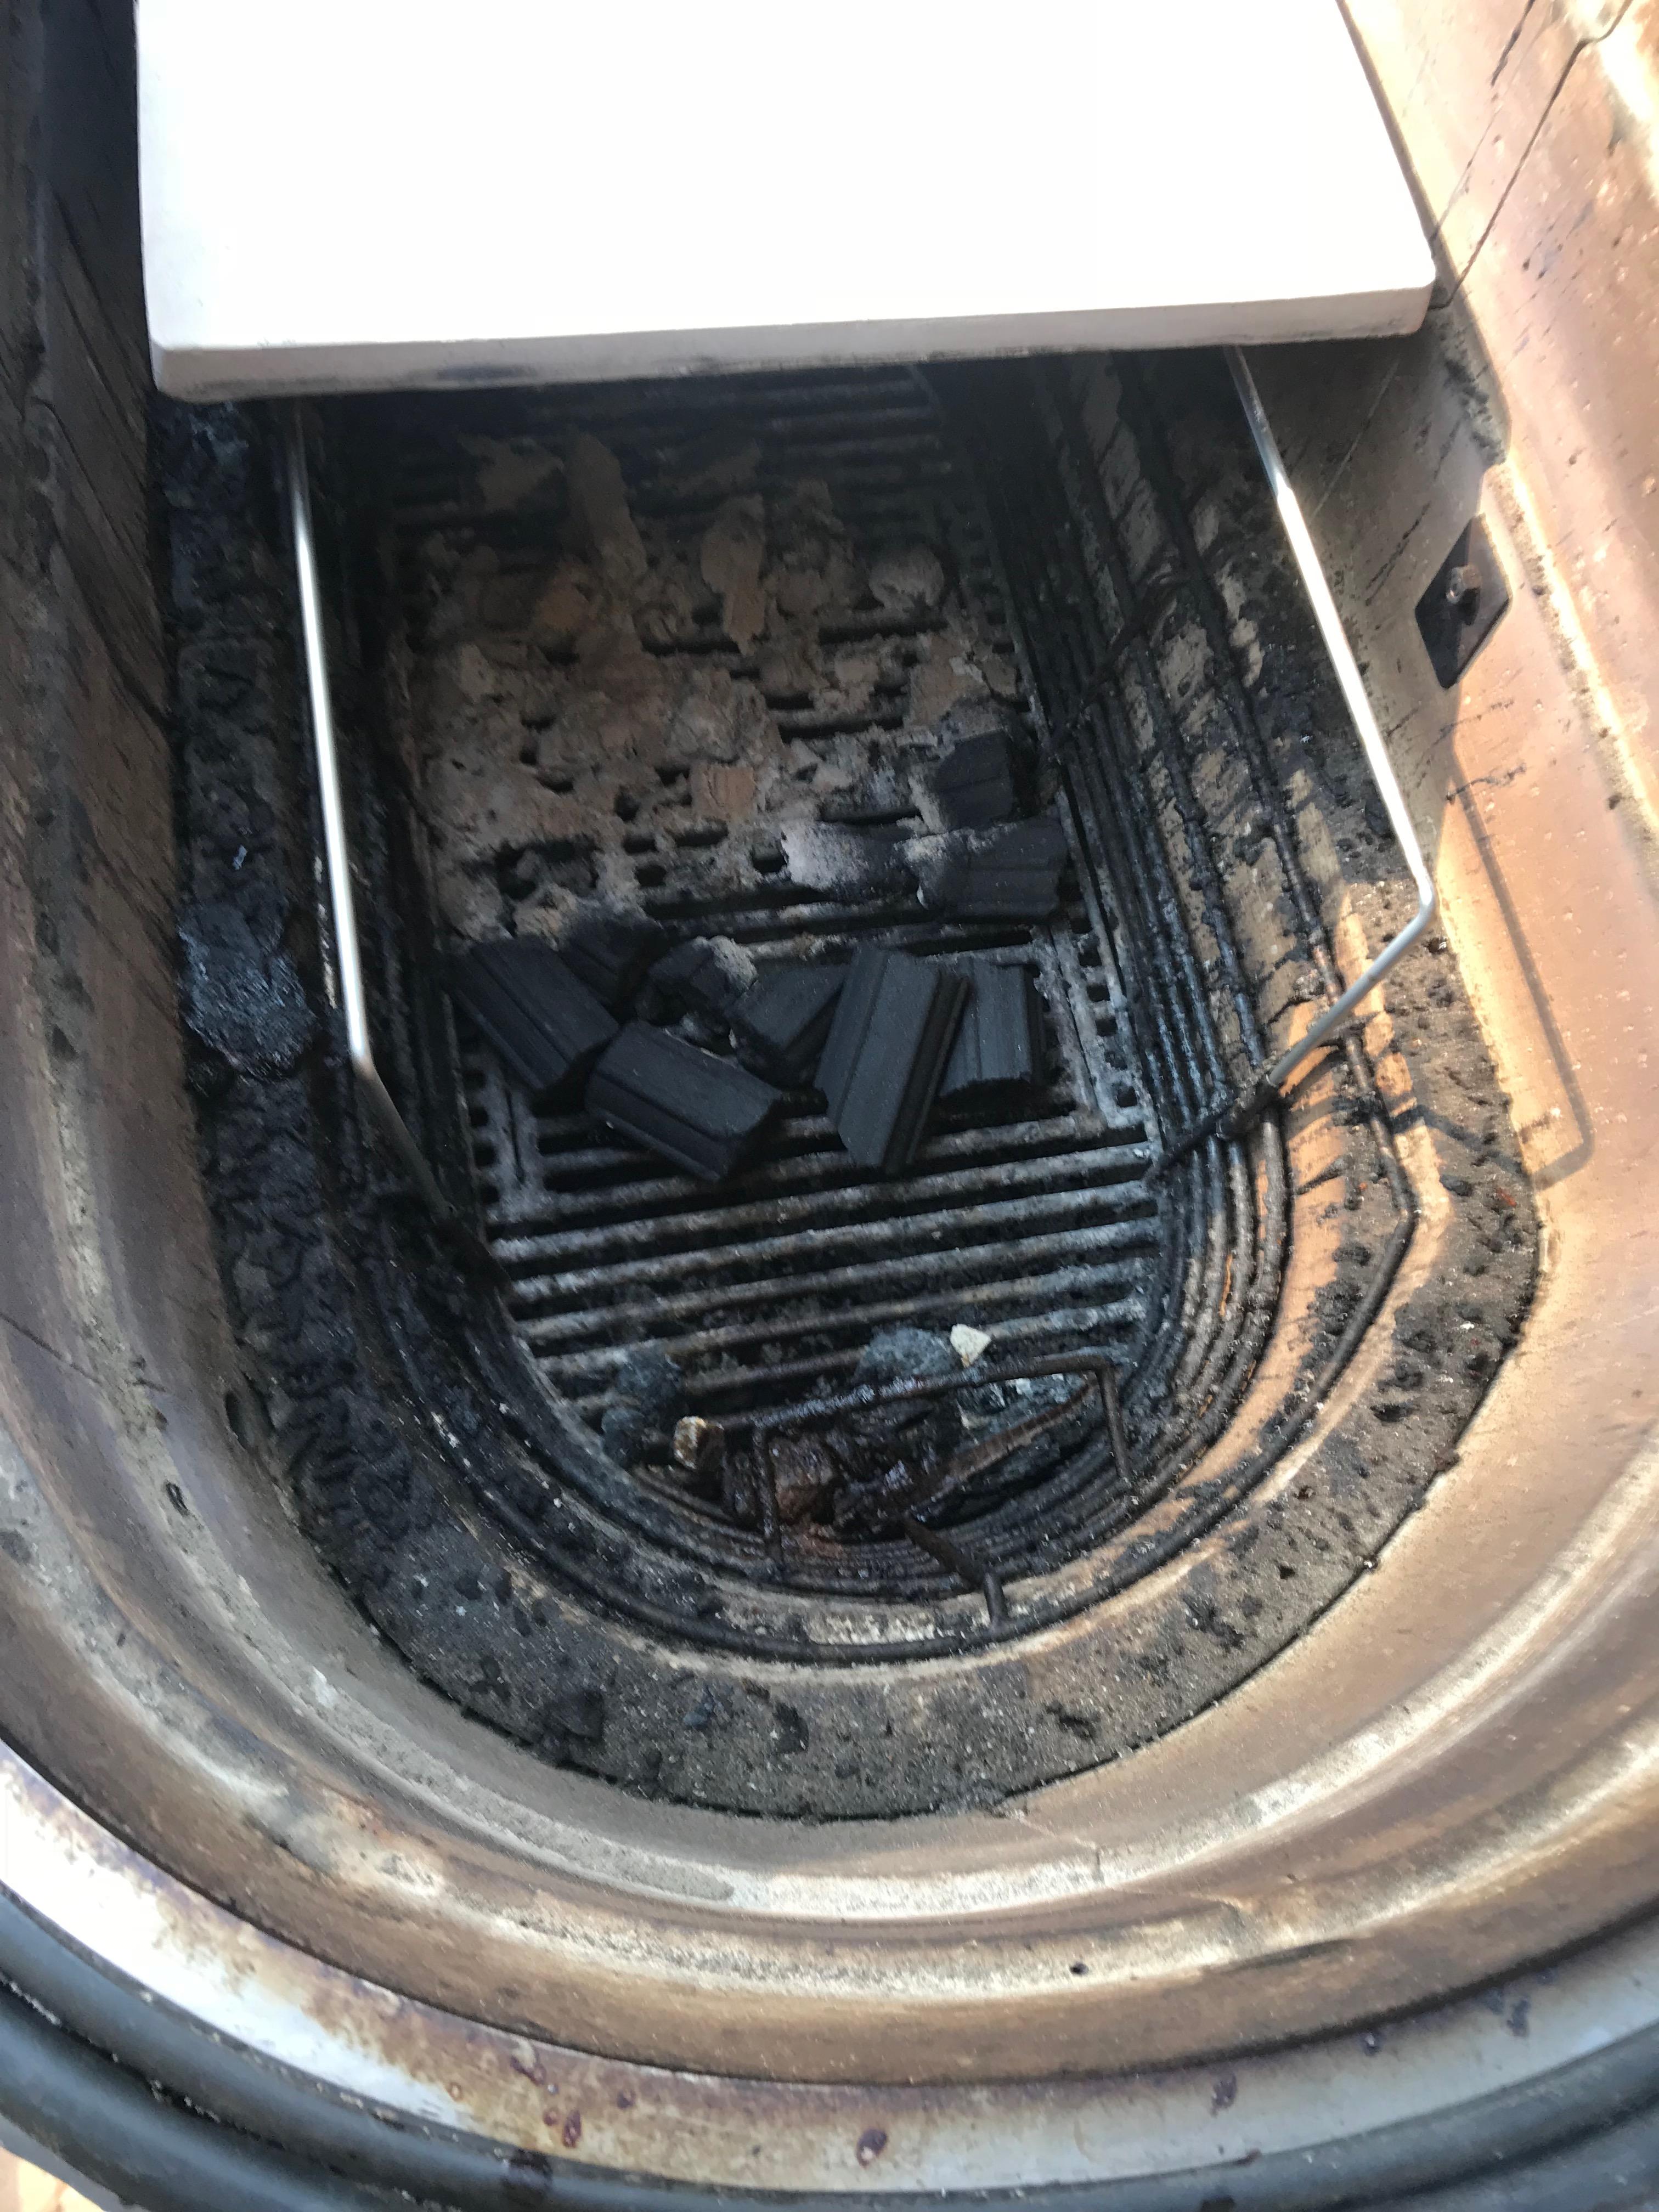
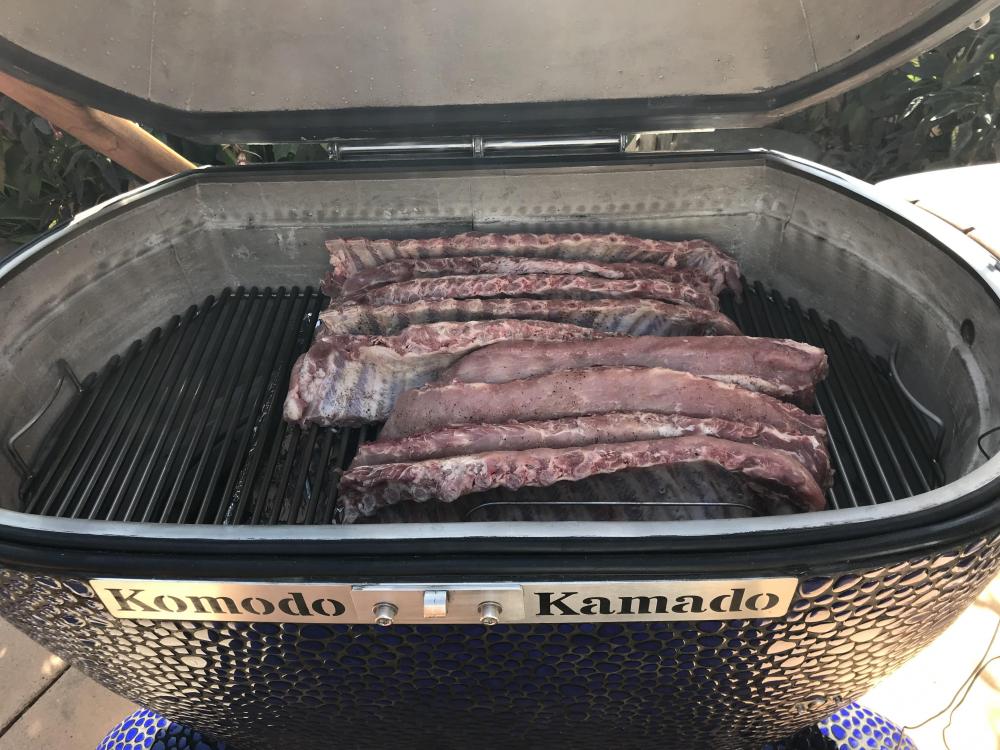
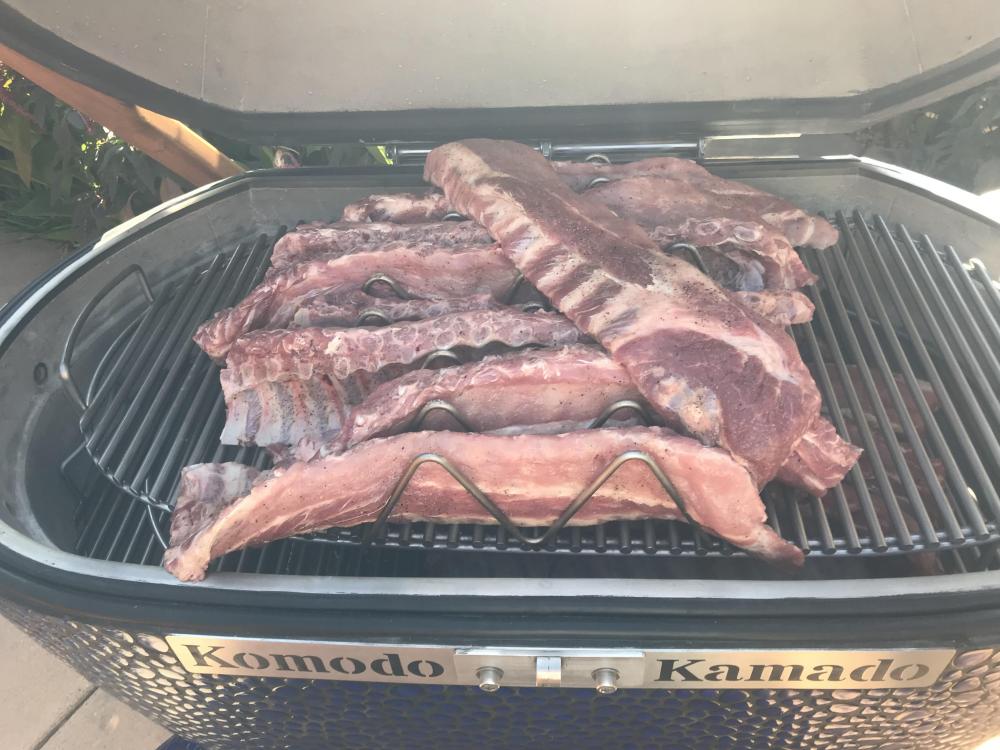
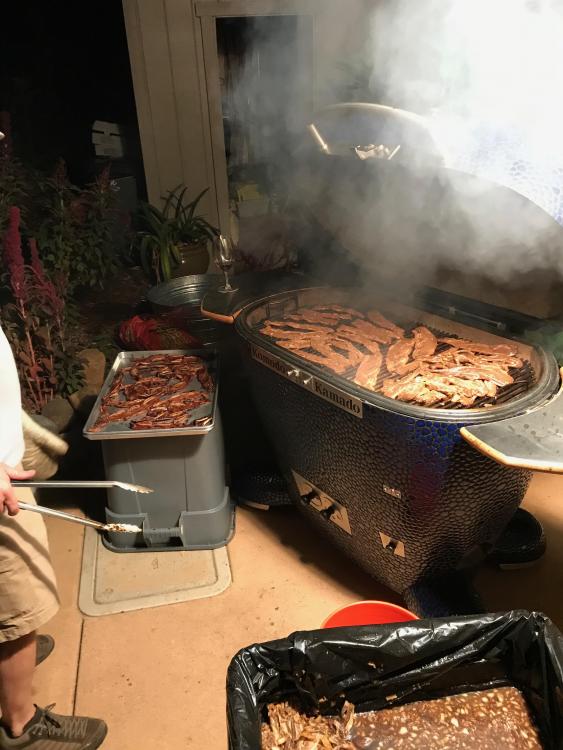
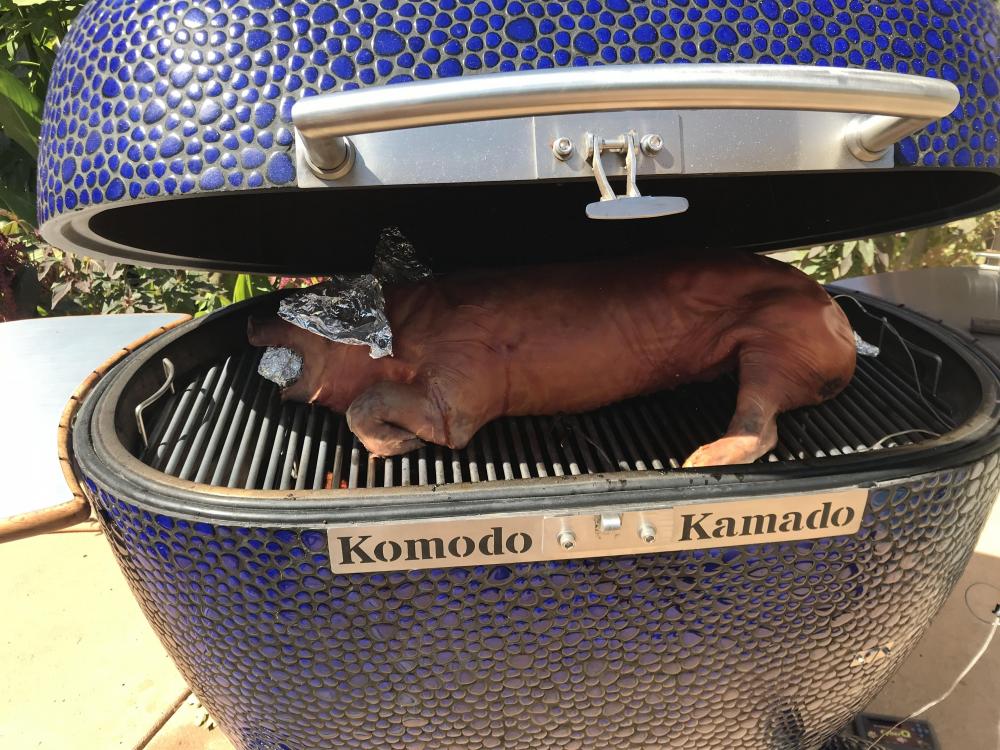
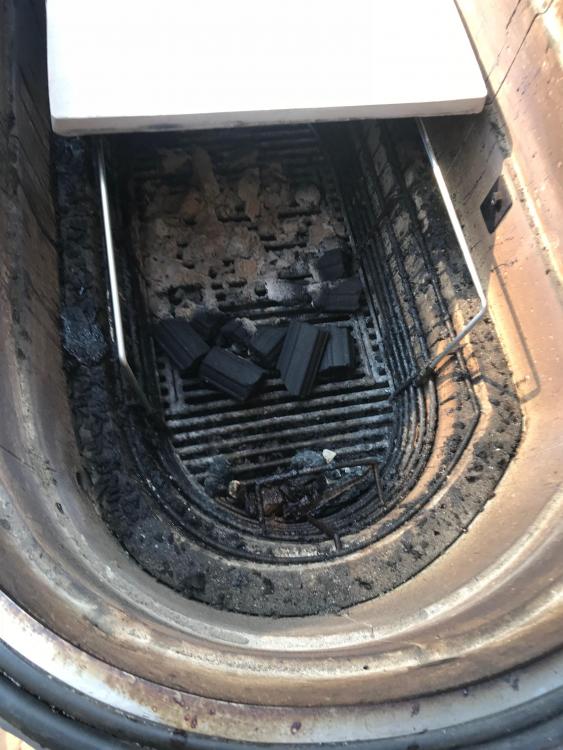
Thank you for all the congratulations and positive comments! I did mention that I would be cooking a pig on the 42 for a wedding reception Luau on Saturday. After recovering from the job I can now share a comments and pictures along with the sequence of my first 4 cooks. I will say that Soy and sugar can make for a very messy cleanup, which I did not enjoy performing. So here goes: Monday: KK retrieved, a very good day! Tuesday: 18 Racks of Baby Backs. No time for pics after I got it started so just 1 below. I shot for the DENNIS BOOK OF WORLD RECORDS... mistakenly thinking I could easily cook 18 Racks of Baby Backs simultaneously. I miscalculated and placed the first 9 racks on the lower grate, the additional 9 racks on the Upper Grate (not the main grate). Charcoal basket splitter was at about 20% capacity with Coco Char. I don't recommend this configuration! What I should have done was: Light the coco char in the center of the basket, place a couple of heat deflectors covered with foil with attendant drip pans, then used the main grate and upper grate for the cook. I also would recommend splitting the cook into 2 sessions 4 rack on on grate and 5 on the other. This would improve the airflow and browning/bark on the rib racks. I survived the cook, took almost 8 hours, and I had to add coco char, and rotate the ribs between grates to get the desired results. Lots more work that I wanted to do, and a horrendous amount of cleanup. Wednesday: 40 lbs of Korean Beef Spareribs This was a cook that blew my mind! After I spent a whole work day cooking baby backs, I was afraid I would find myself spending another long night working this ribs through their cooking process. Not so! I received the cross-cut short Ribs (Korean style doesn't separate the individual ribs but rather cross cuts through the bones, my ribs were only 1/4" thick) on Monday and marinated them in traditional Brown Sugar Rub, Soy, garlic, onion, ginger and diced asian pears overnight. I loaded the basket with hardwood lump charcoal and lit in 4 placed across the bottom of the cooker, closed the lid and heat soaked to 325. Took about an hour to get to operating temperature. Then I opened up and started laying on the ribs from left to right. by the time I go the ribs laid out, it was time to flip. So I flipped, then started retrieving. About an hour later, I was done! Great results, but a very crusty set of stainless to deal with, burnt on marinade was a real pain to clean! One note, because the cook went so fast, I had to leave the top open, this allowed tons of airflow to the coals and when I was done and closed the lid, my temp soared to 550 degrees at shut down. This caused the grill to start off-gassing for a short while so I had to babysit the KK for a couple more hours pressing down the tiles as a few started to bubble from beneath. No big deal as the hardwood charcoal was basically consumed during the cook, so I didn't have a long session before cooling took me below the level of gassing off. Thursday: 60 lbs of Teriyaki Chicken thighs Pretty much the same as the Korean ribs. Went quick (less than an hour)! Surface area of the main grate is amazing to work with. Same lengthy cleanup though. Almost 2 hours of scrubbing grates after a full overnight soak. did not get any photos of the chicken cook. Friday: Took the day off, went and got the pig. Not a big pig, just 45 lbs. it was to be more of a center piece than the main course per the client. I had to deliver the pig by 1PM on Saturday and didn't really know what to expect from a heat soak and cook time perspective to on Friday night at about 8pm, I assembled the cook. 16 lbs of coco char in the center of the charcoal basket, no splitter installed, and lit the coals for a low n slow. I then installed supports and 2 center head deflectors covered in foil to keep them clean, placed the two drip pans on top of the deflectors and installed the main grate. I used my digit Wifi to keep the temp at 225 and let her go all night long. I got up a 4:30 AM and prepped the pig with just some salt and pepper in the cavity, a few herbs as well. I foiled the tail and ears to prevent them from over browning and stuff a ball of foil in the pigs mouth to enable placement of garnish after the cook. Put the pig in place on the grate and monitored till internal hindquarter reached 180 degrees, then I cranked up the heat to 325 to finish of the cook! at 1PM I pulled the pig at 192 degrees. That said my 16lbs of coco char burned for 17 hours and still had plenty left! A buddy and I used a couple of pitchforks to lift of the pig and serve at the wedding. Everything went very well and I will remember this week my whole life! What fun cooking with such a great and versatile tool! I was concerned that As Porky Pig would say: "th, th, th, thaat's all Folks.. !!!!


 1 point
 -
We waited as long as we could,,, But the grey won.
 1 point
 -
God help me...now I want one of those too!1 point
-
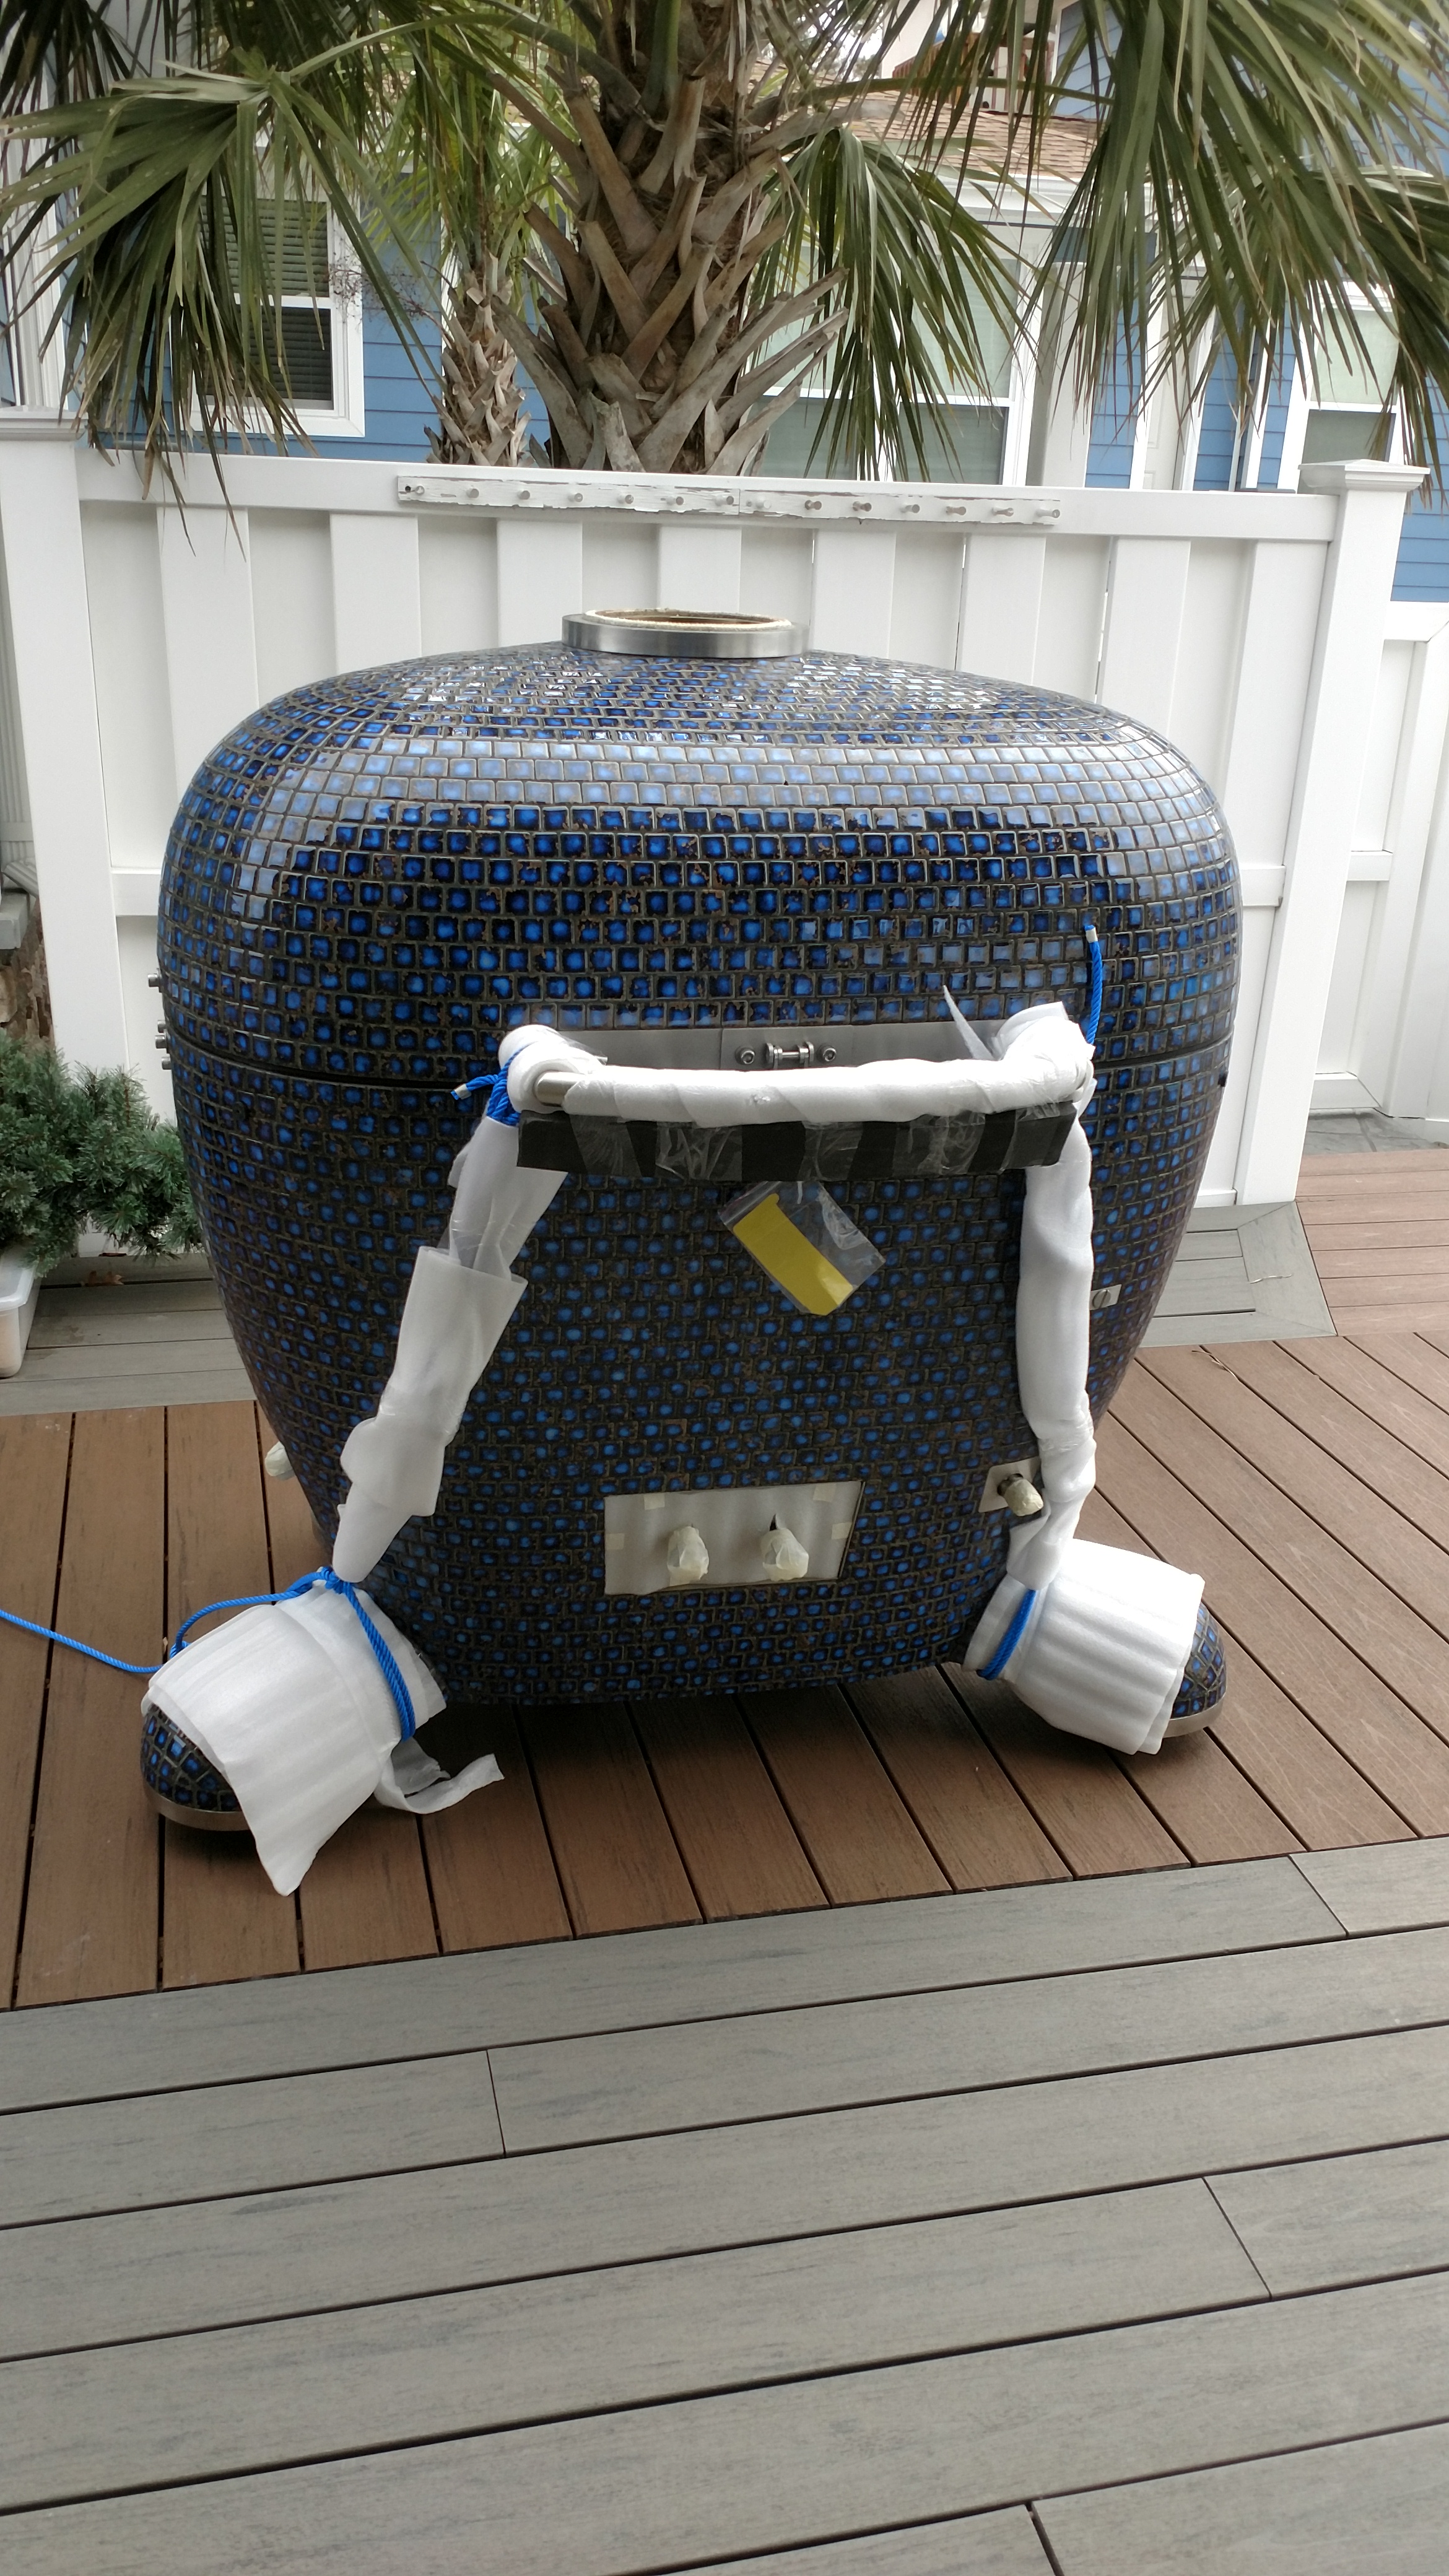
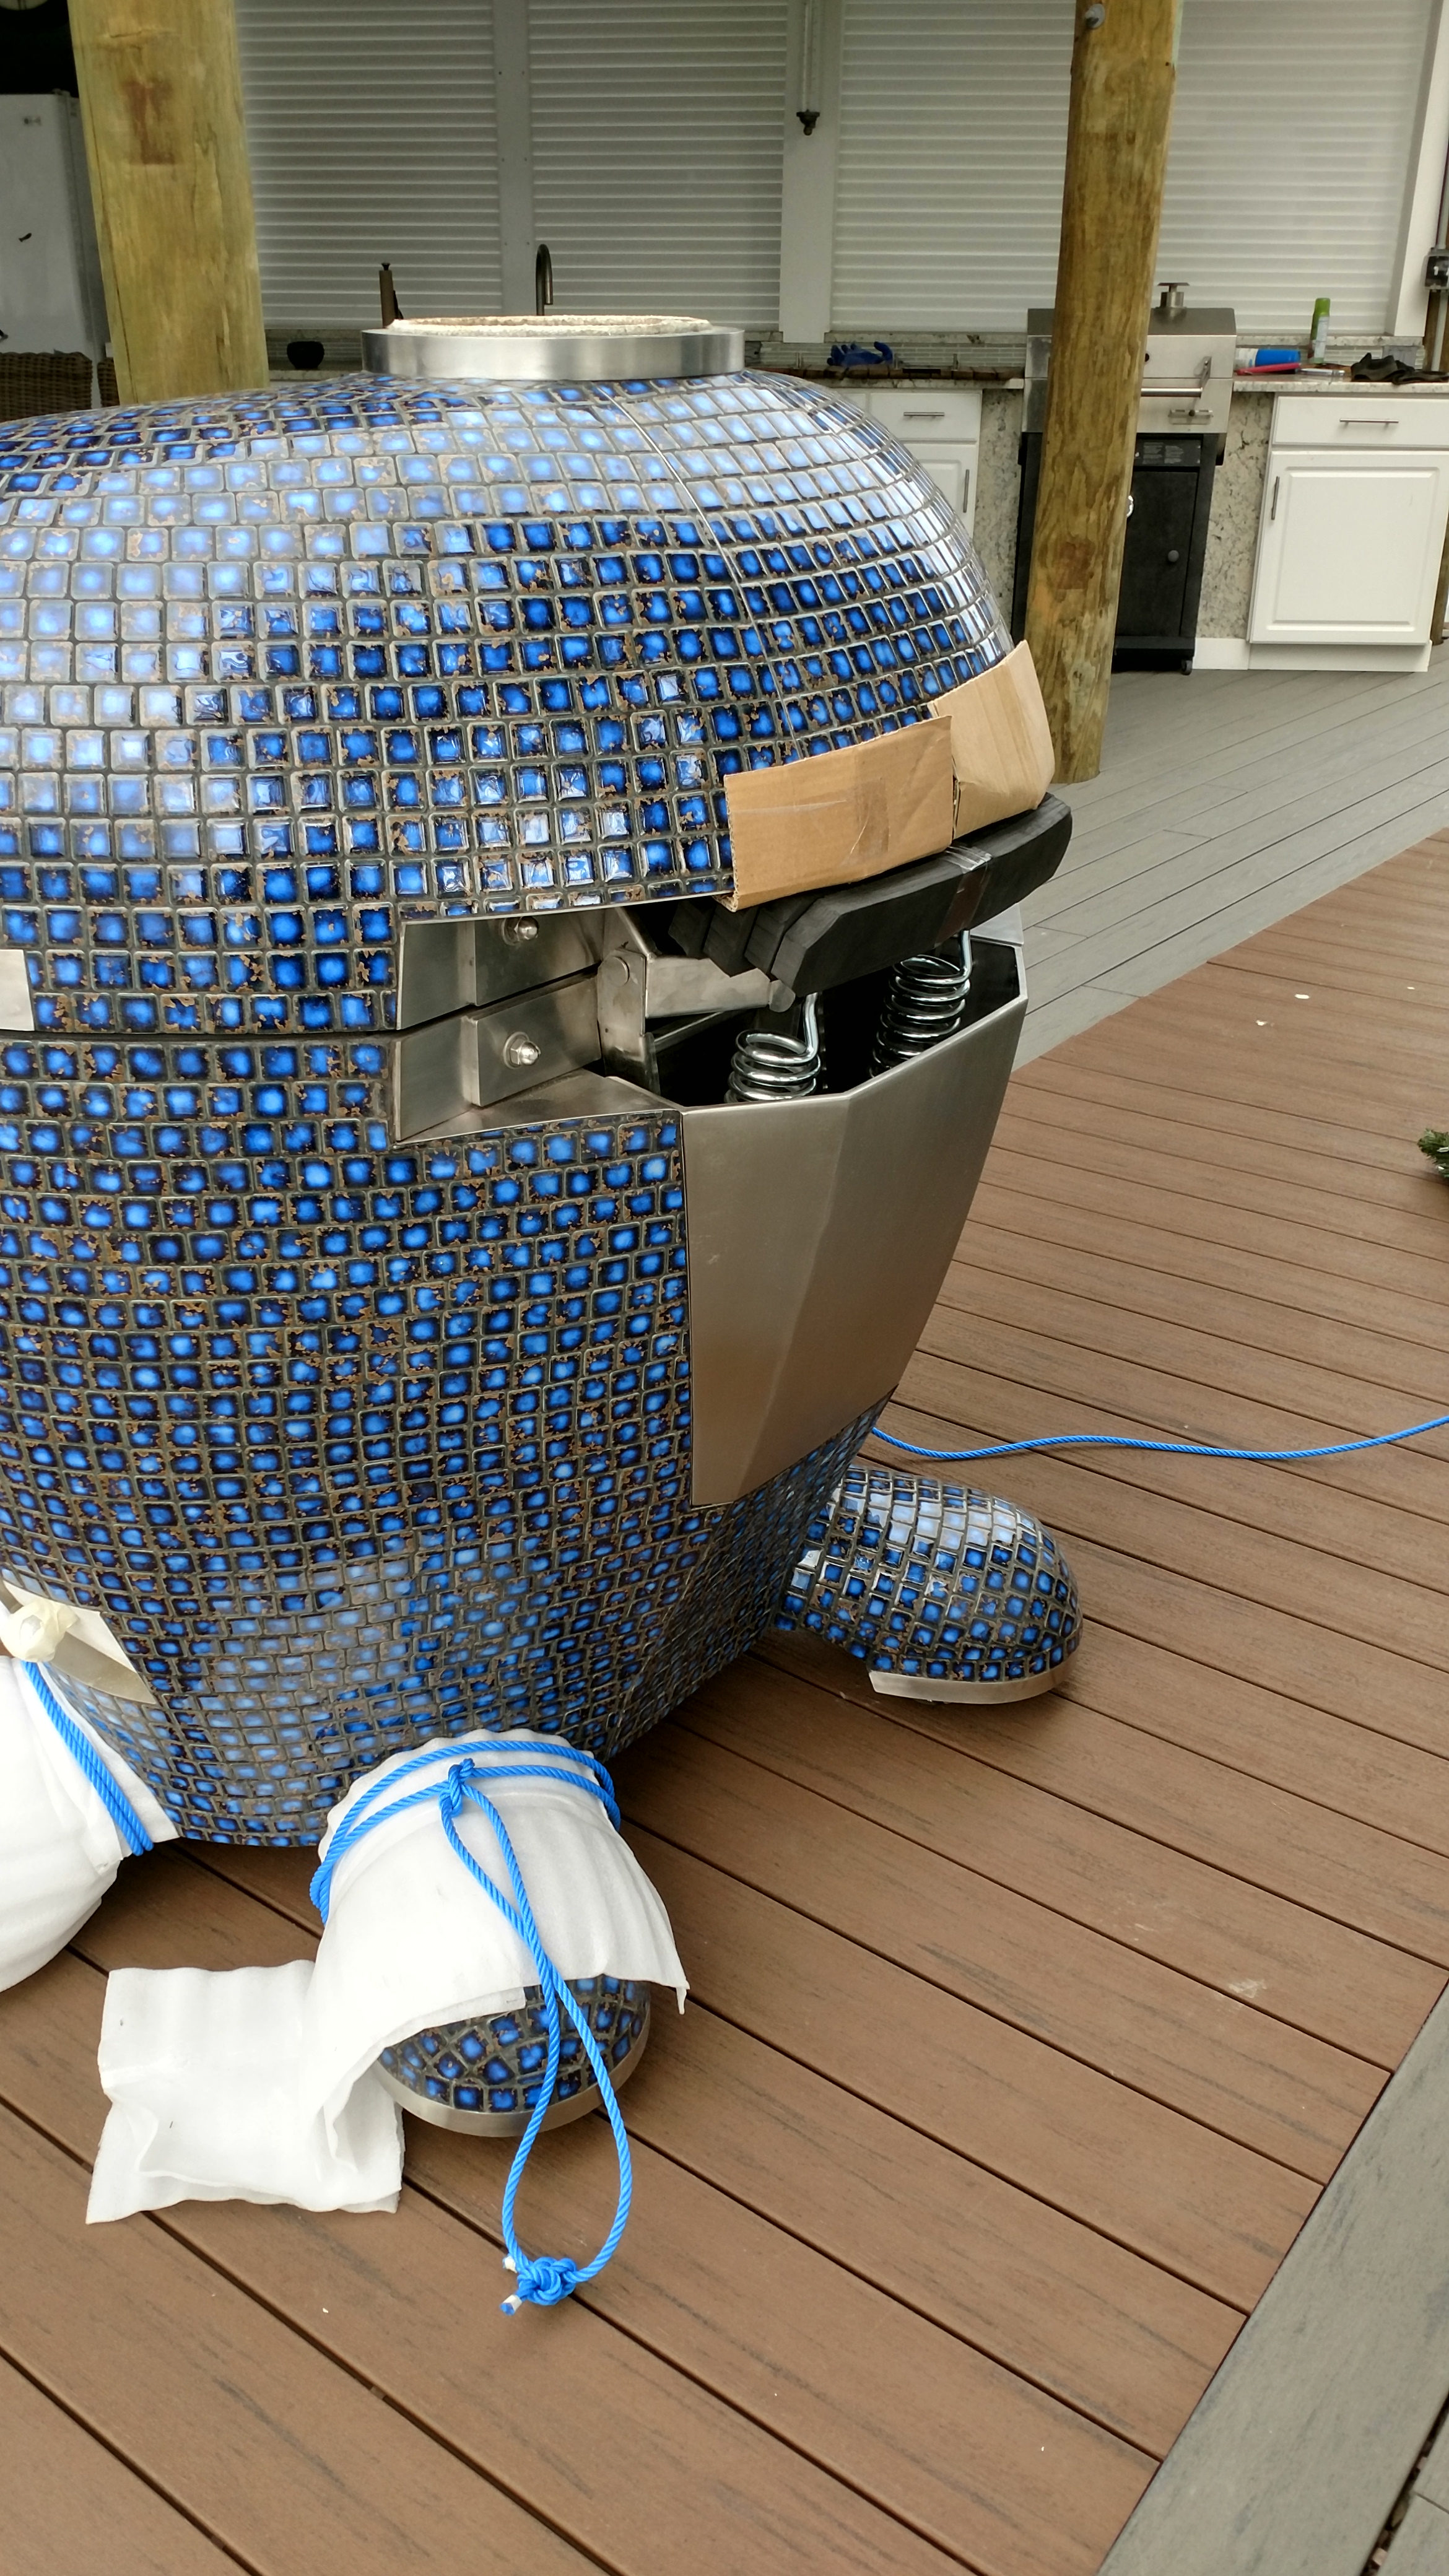
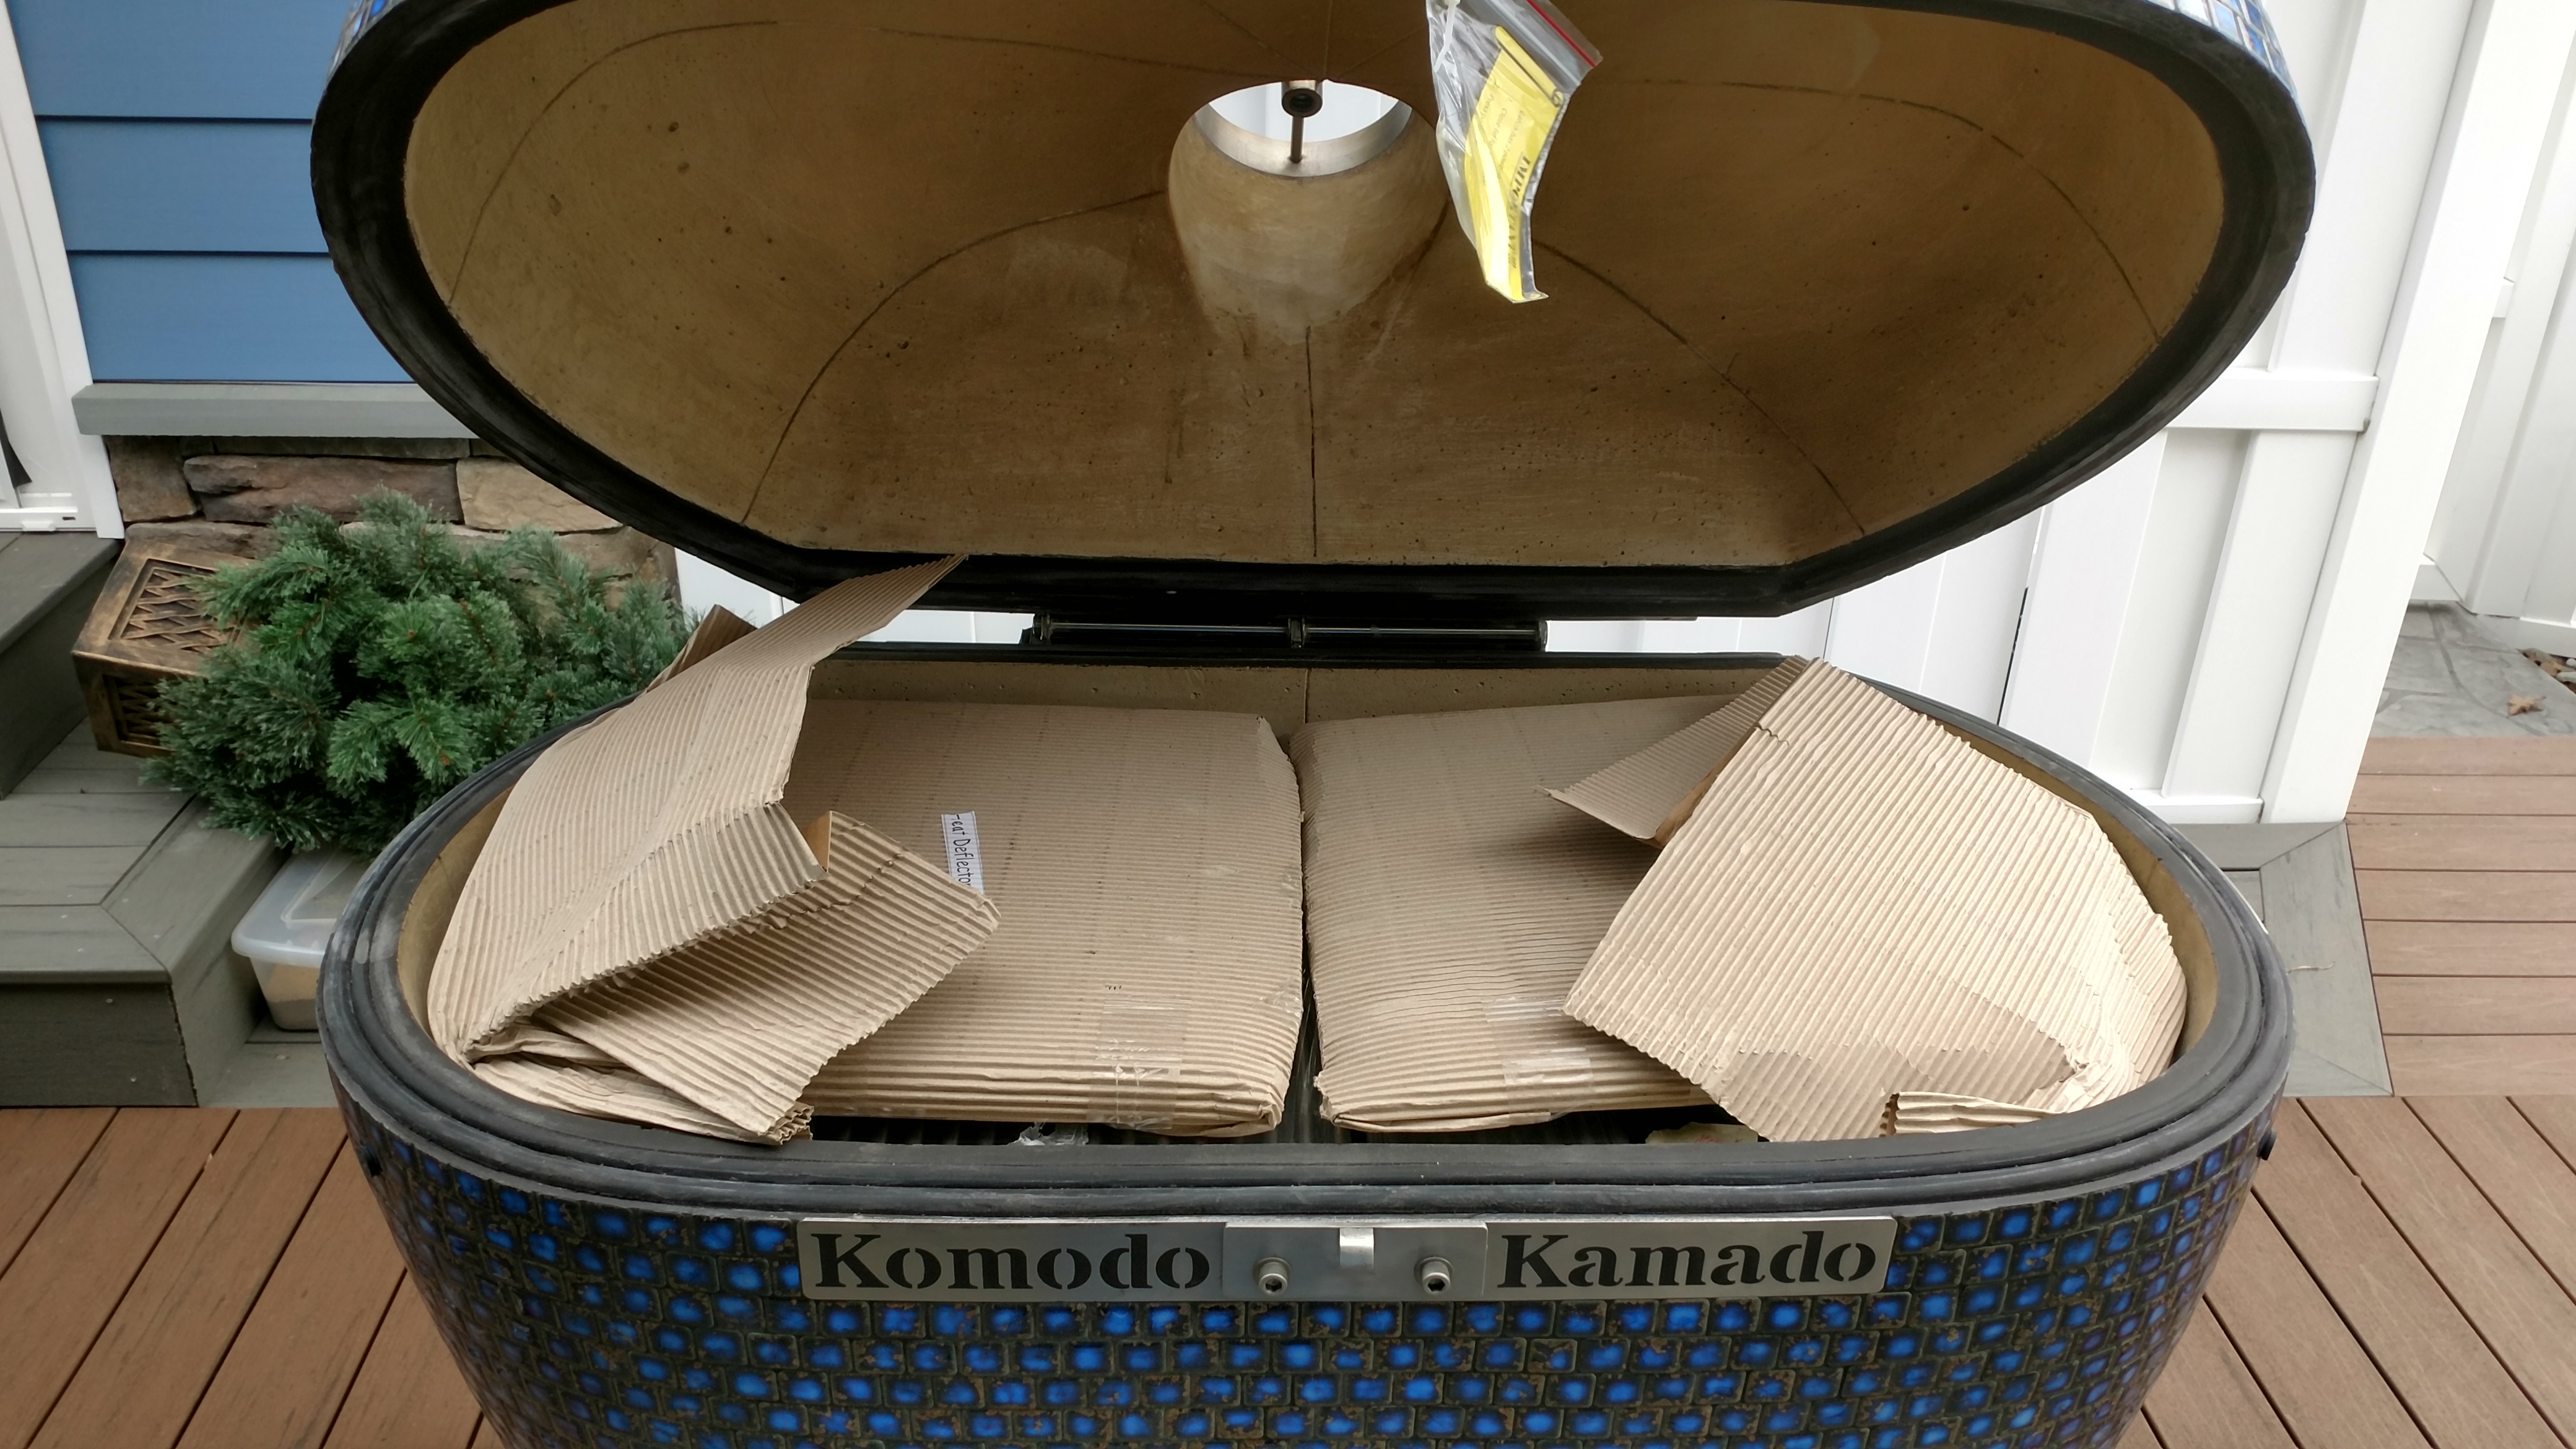
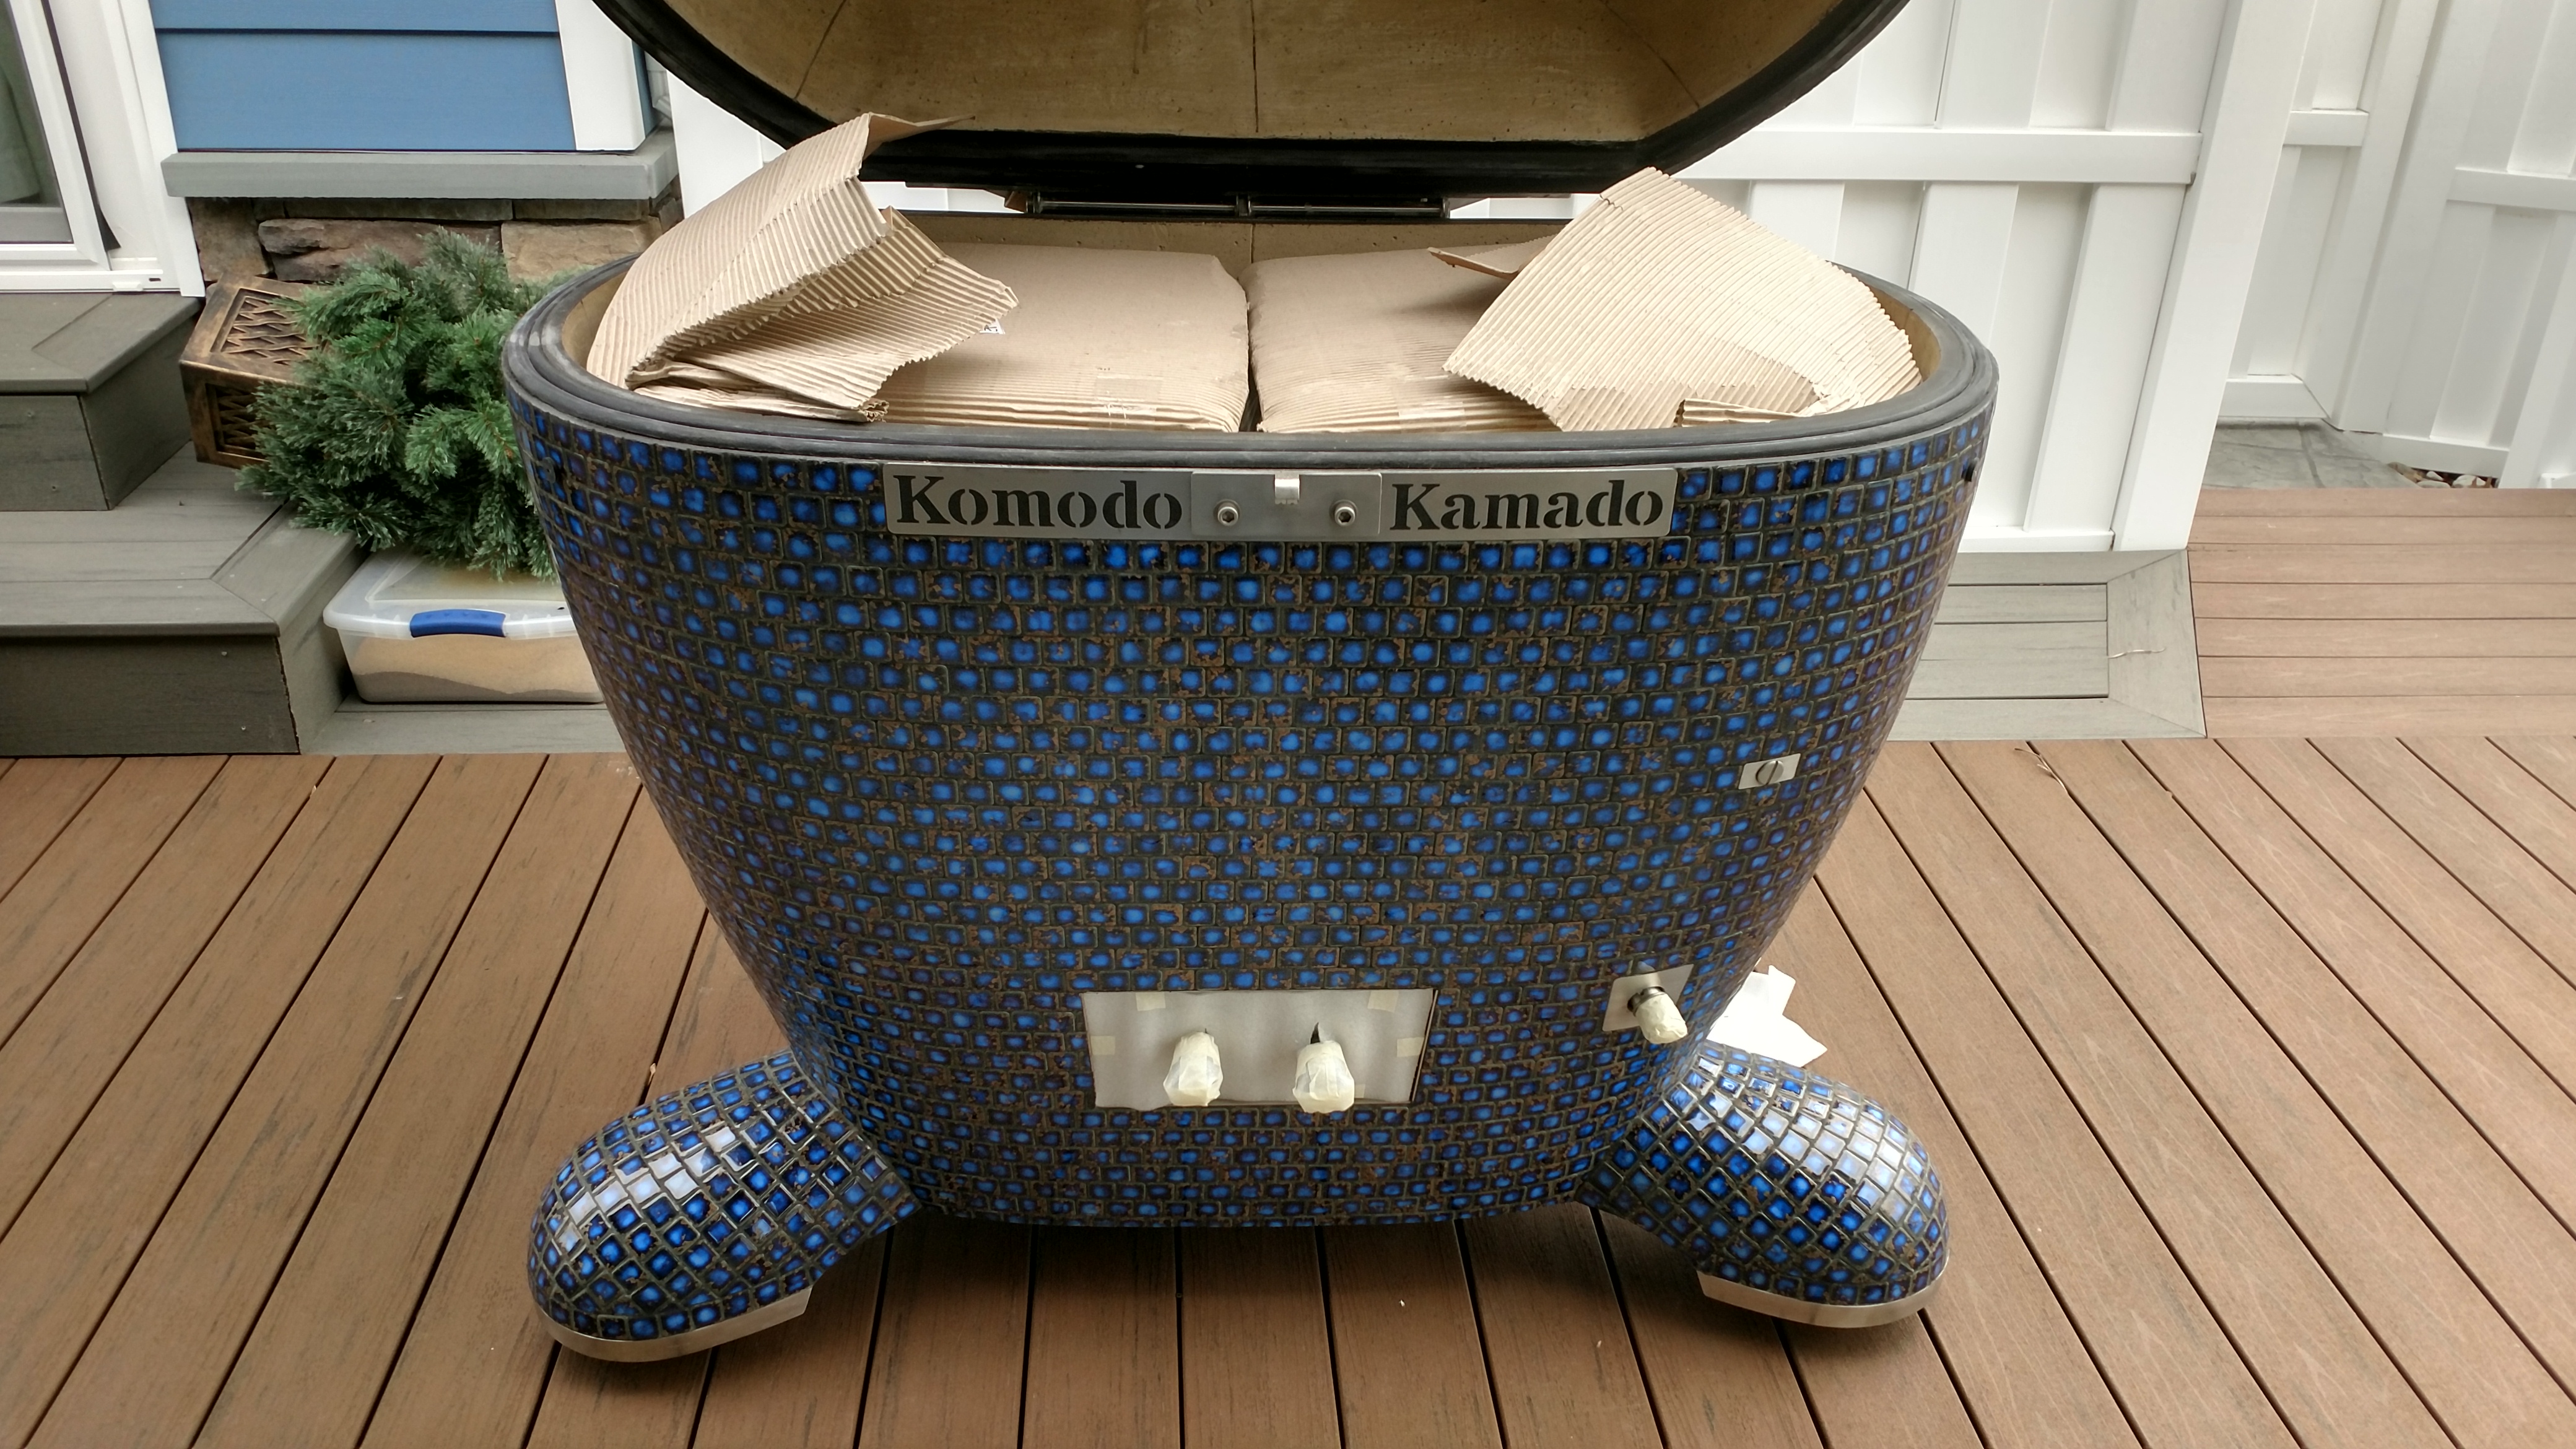
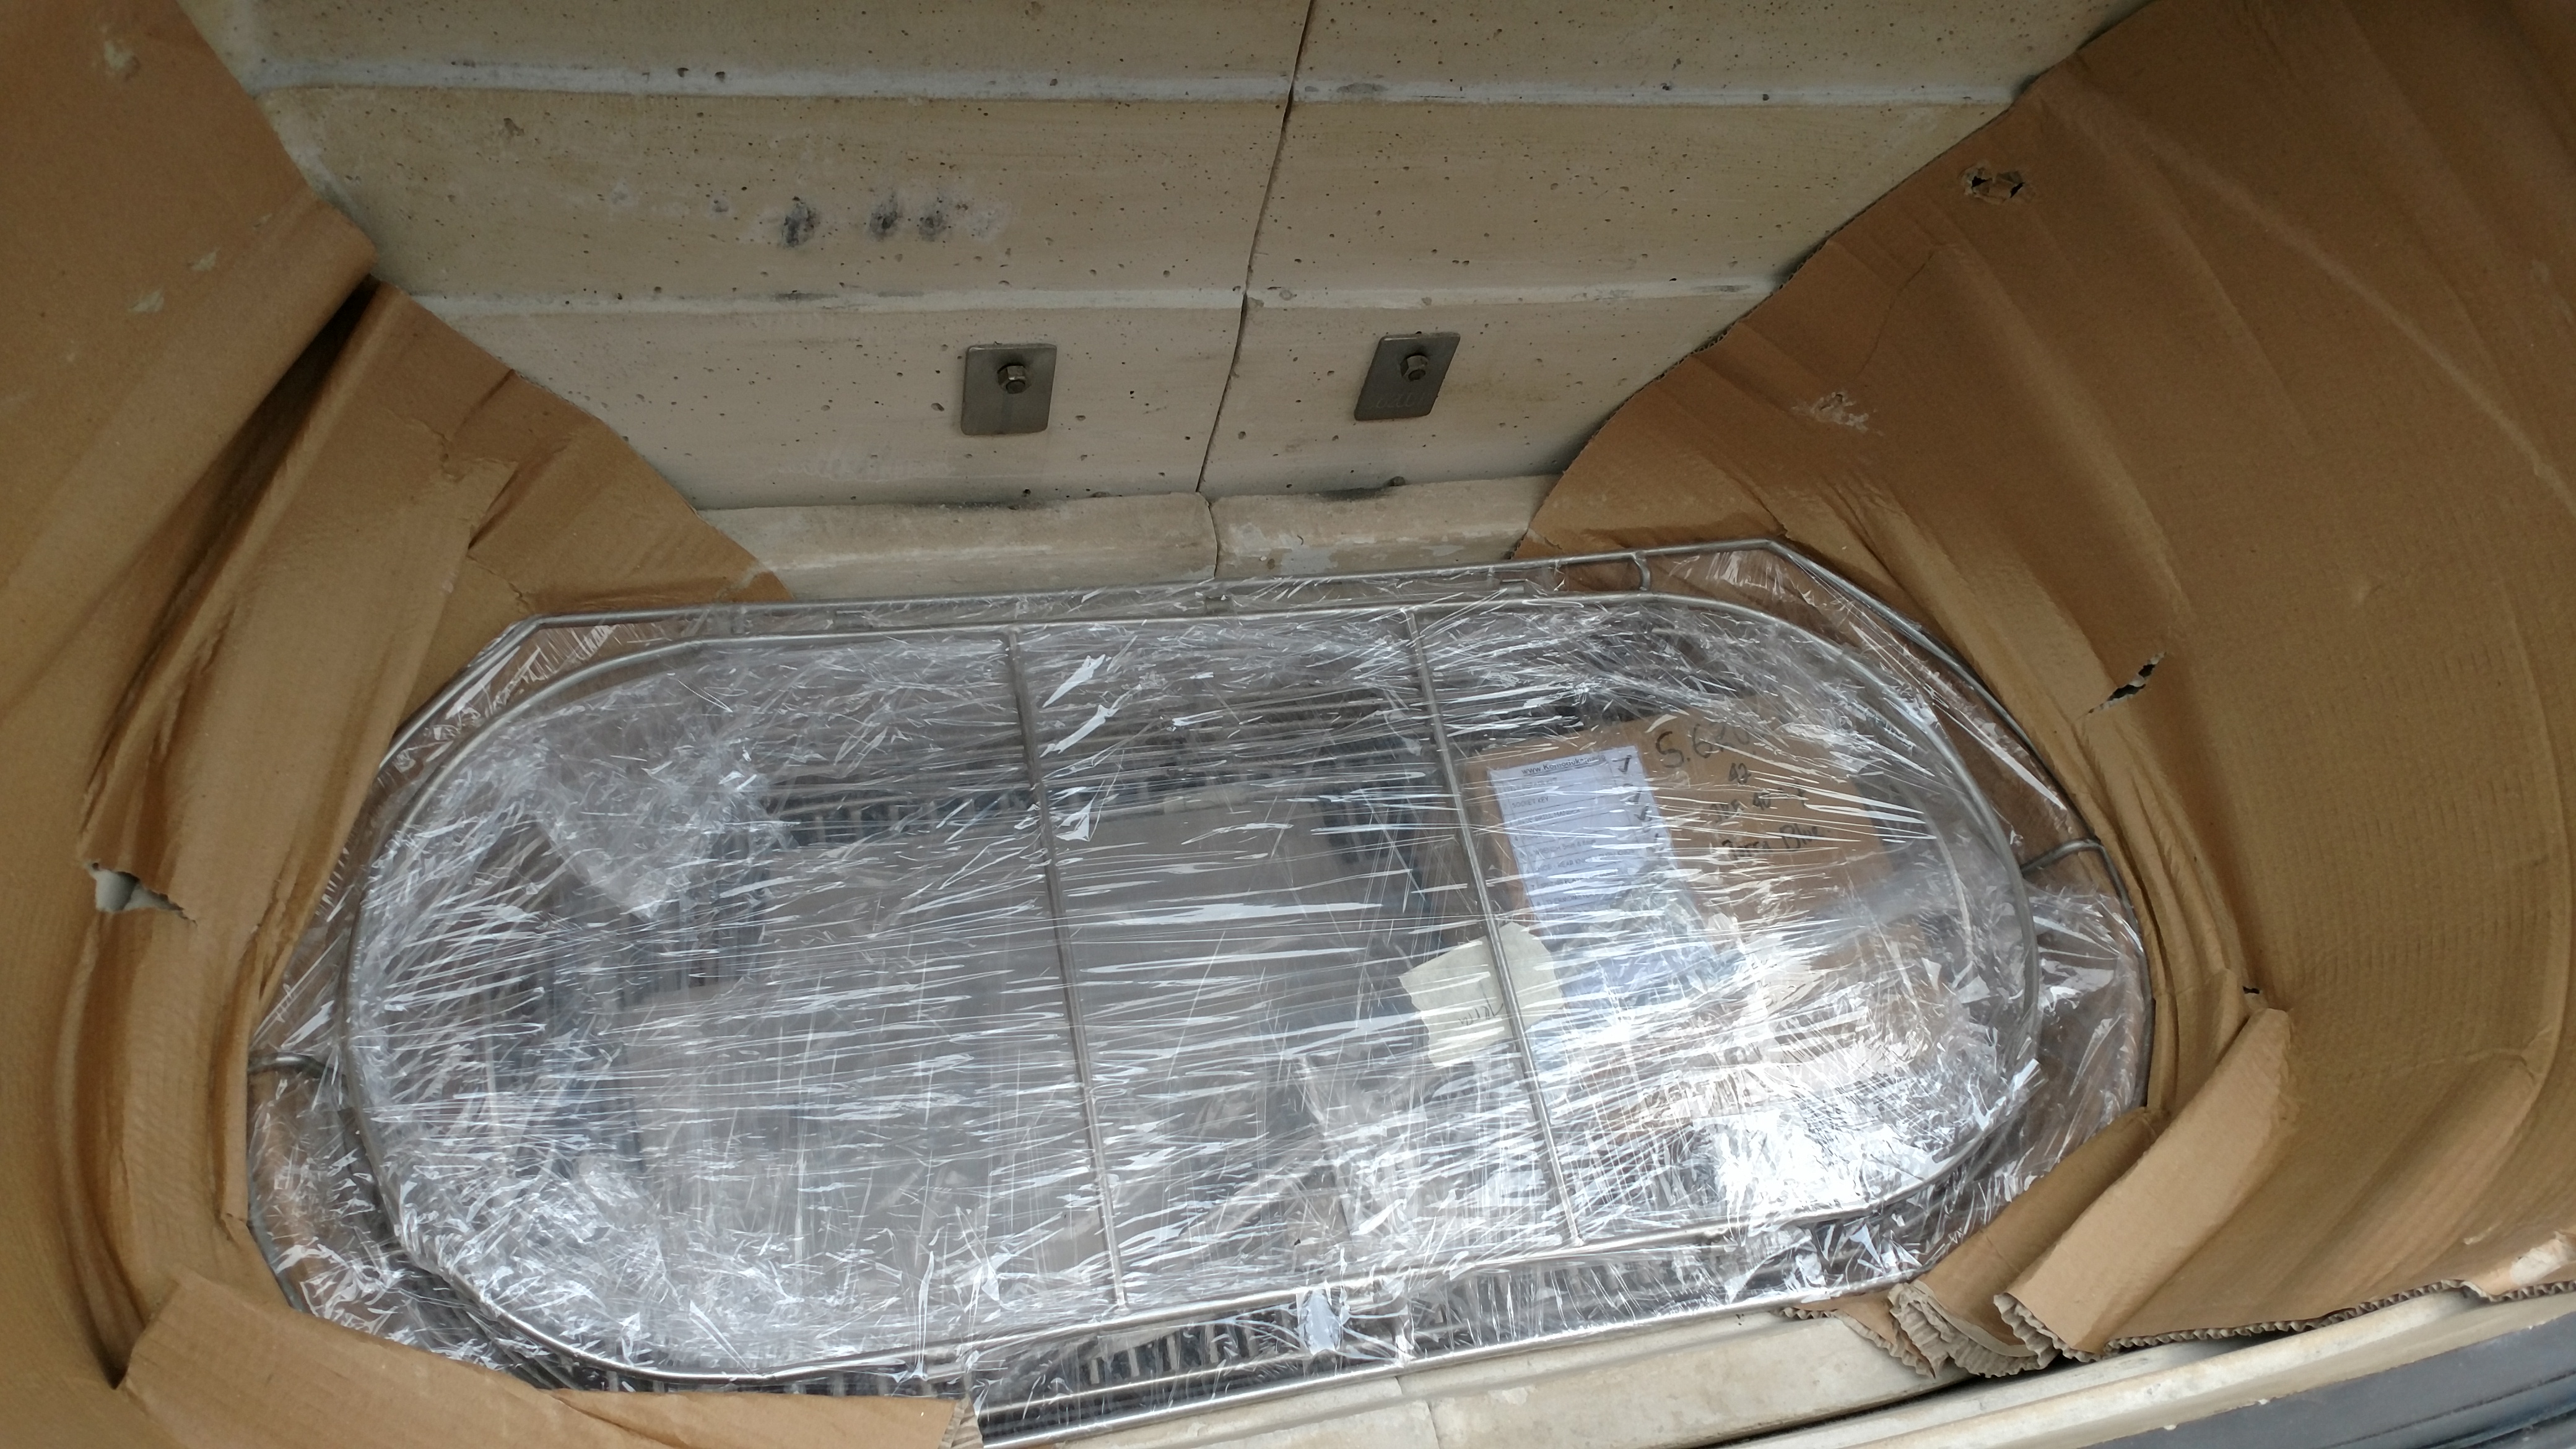
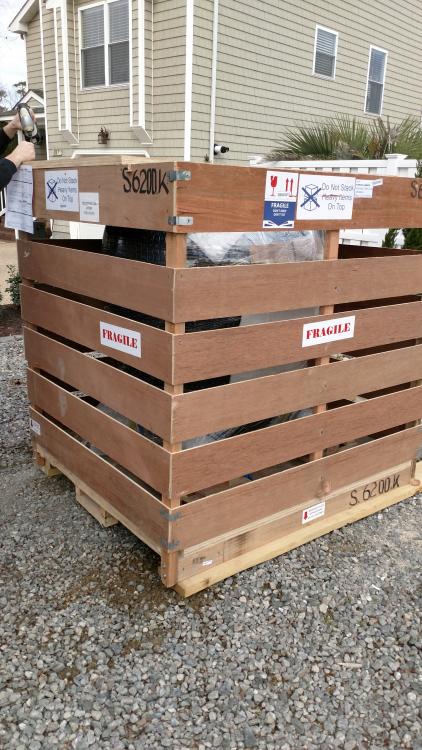
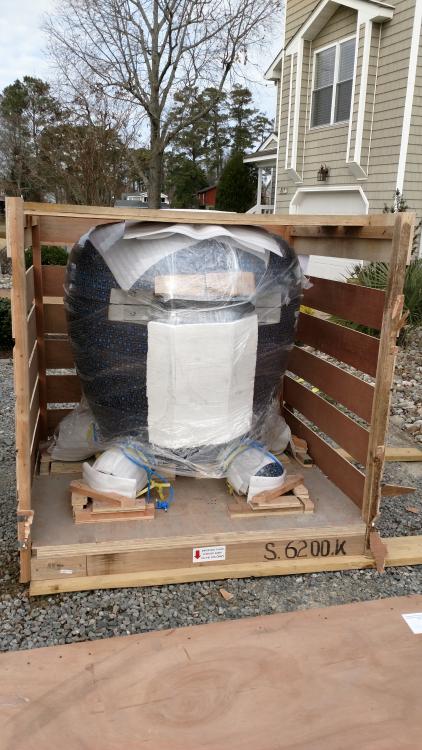
Ok........Not sure where to begin For starters make sure and have some help! Packaging is the same as the 23", well done Dennis. To make life easier, unscrew the 8 lag bolts at the base of the crate; the crate will pull straight up. However this didn't happen in my case; I stepped away for a few mins to grab some tools and my helper was feeling like Hercules and started destroying the casing At any rate, from start to finish it took us about 2hrs to get her to the final destination. I CANNOT believe how much stainless steel she comes with!!!!!!!!!! I need to go see my Chiropractor after lifting all the grates. Below are all the photos from the unboxing; enjoy!!! Dennis you are a mad MAN; this thing is beyond anything I could imagine!!!!!! BTY - The last photo is for member 5698K


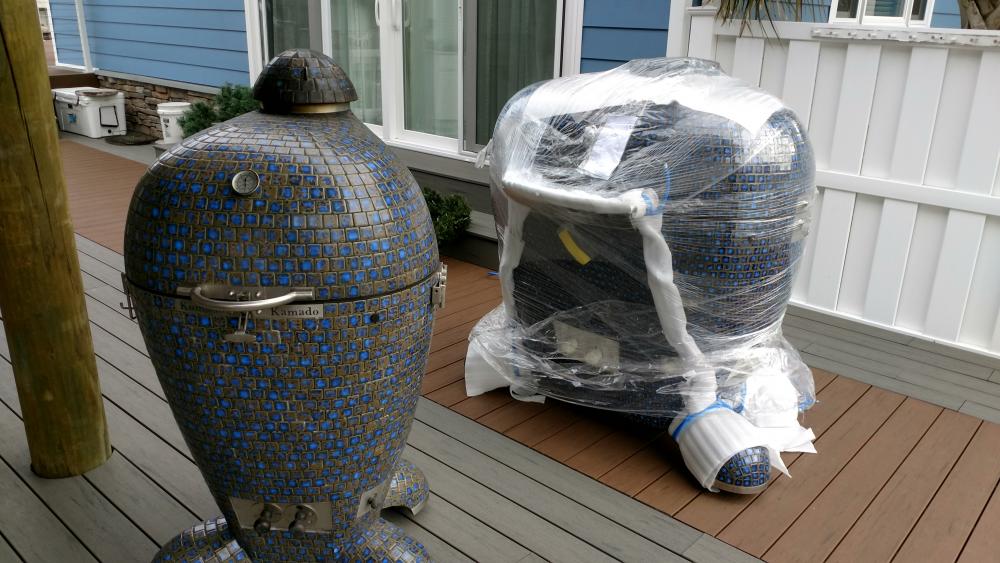

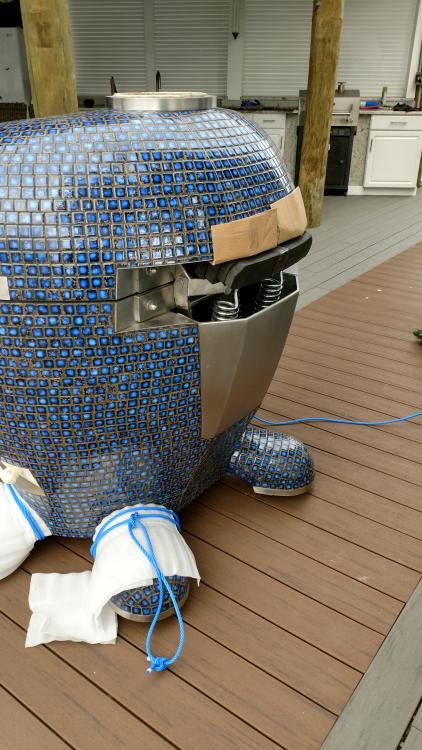


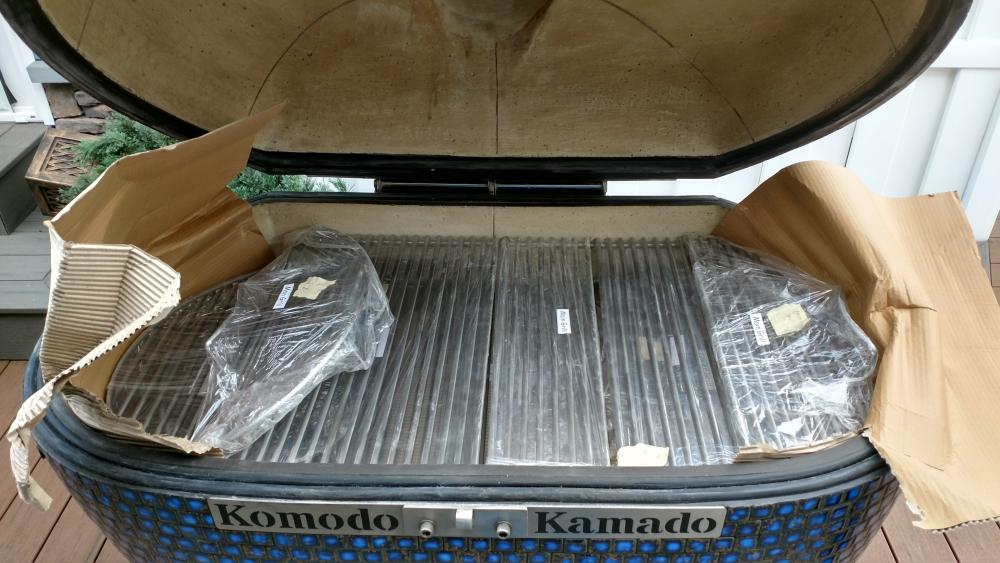
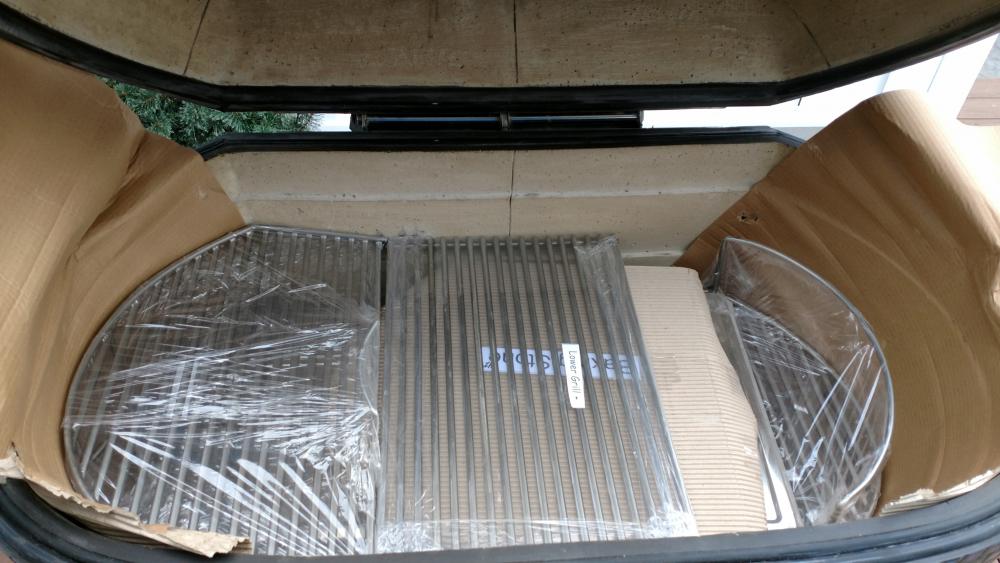
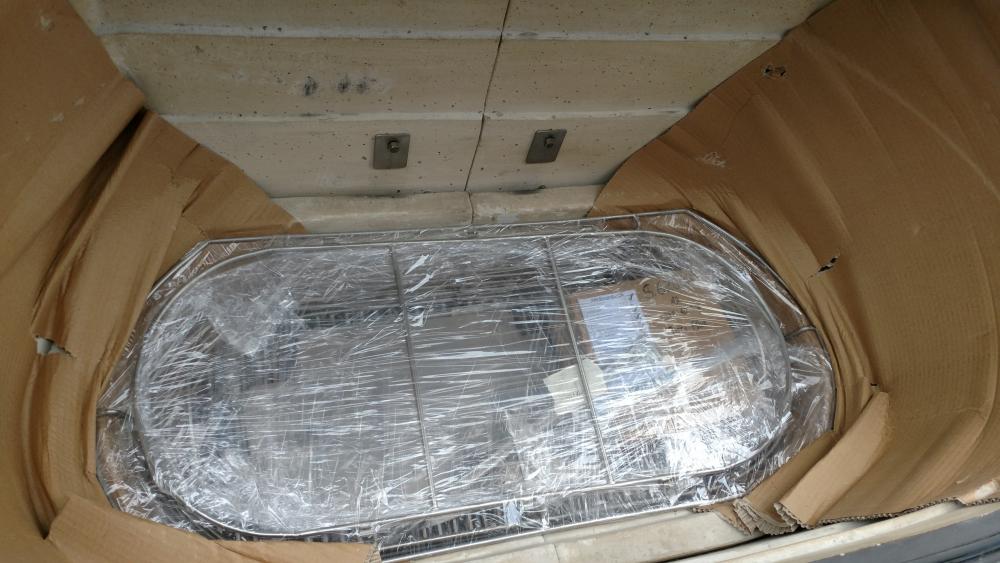
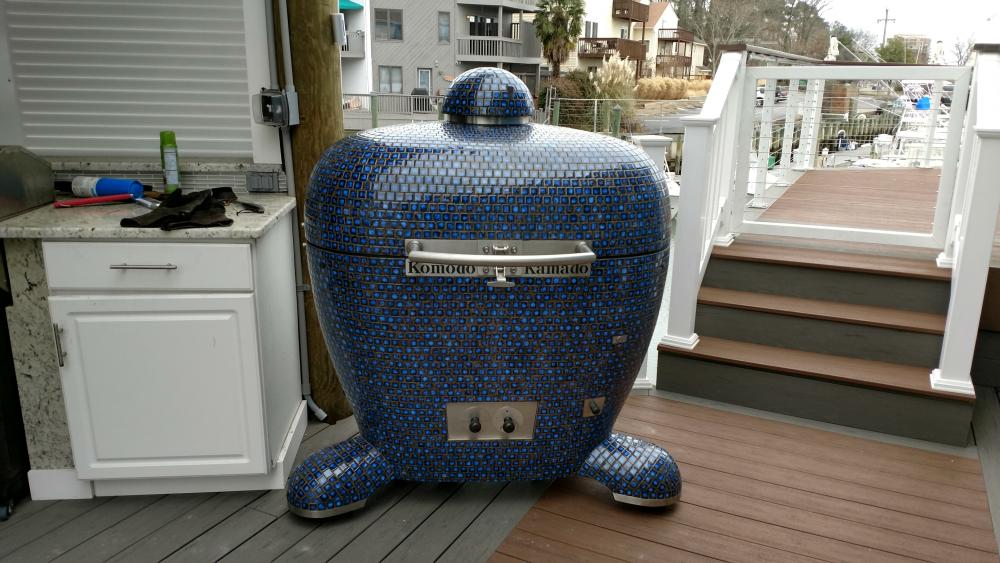
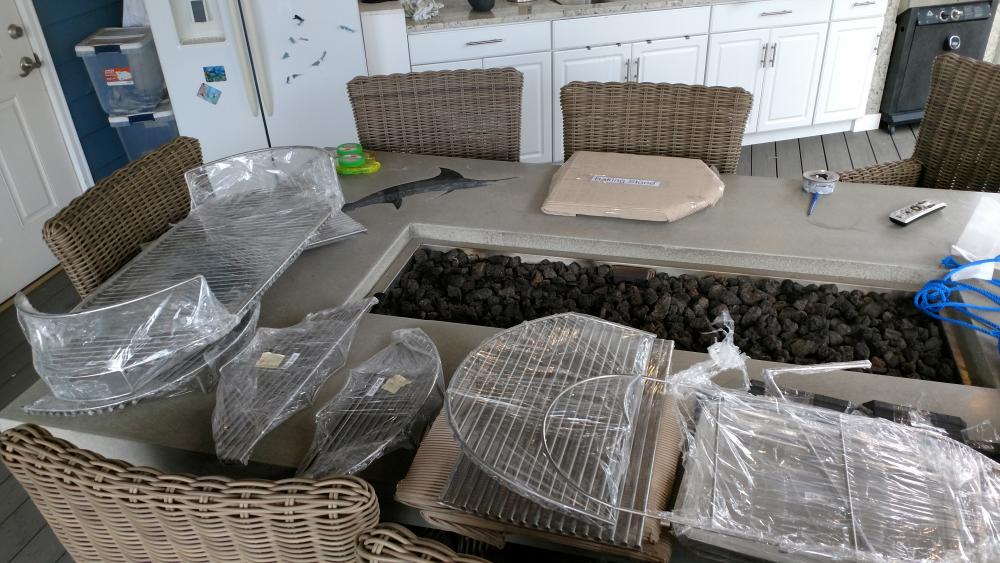
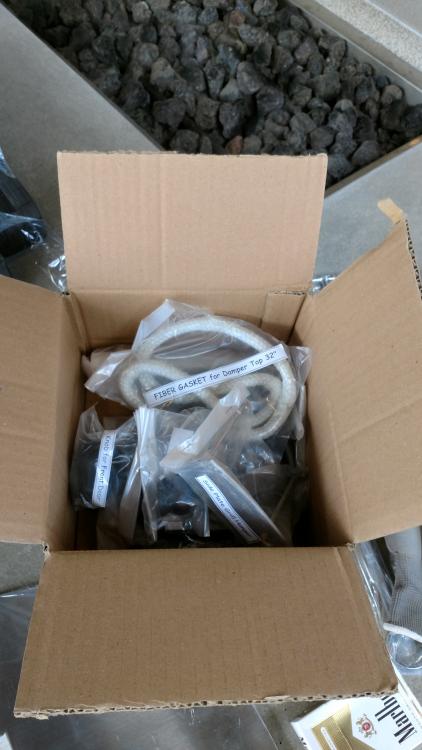

 1 point


Bull.thumb.jpg.50d347aabd71178c9d9a16b7663cfa1a.jpg)